
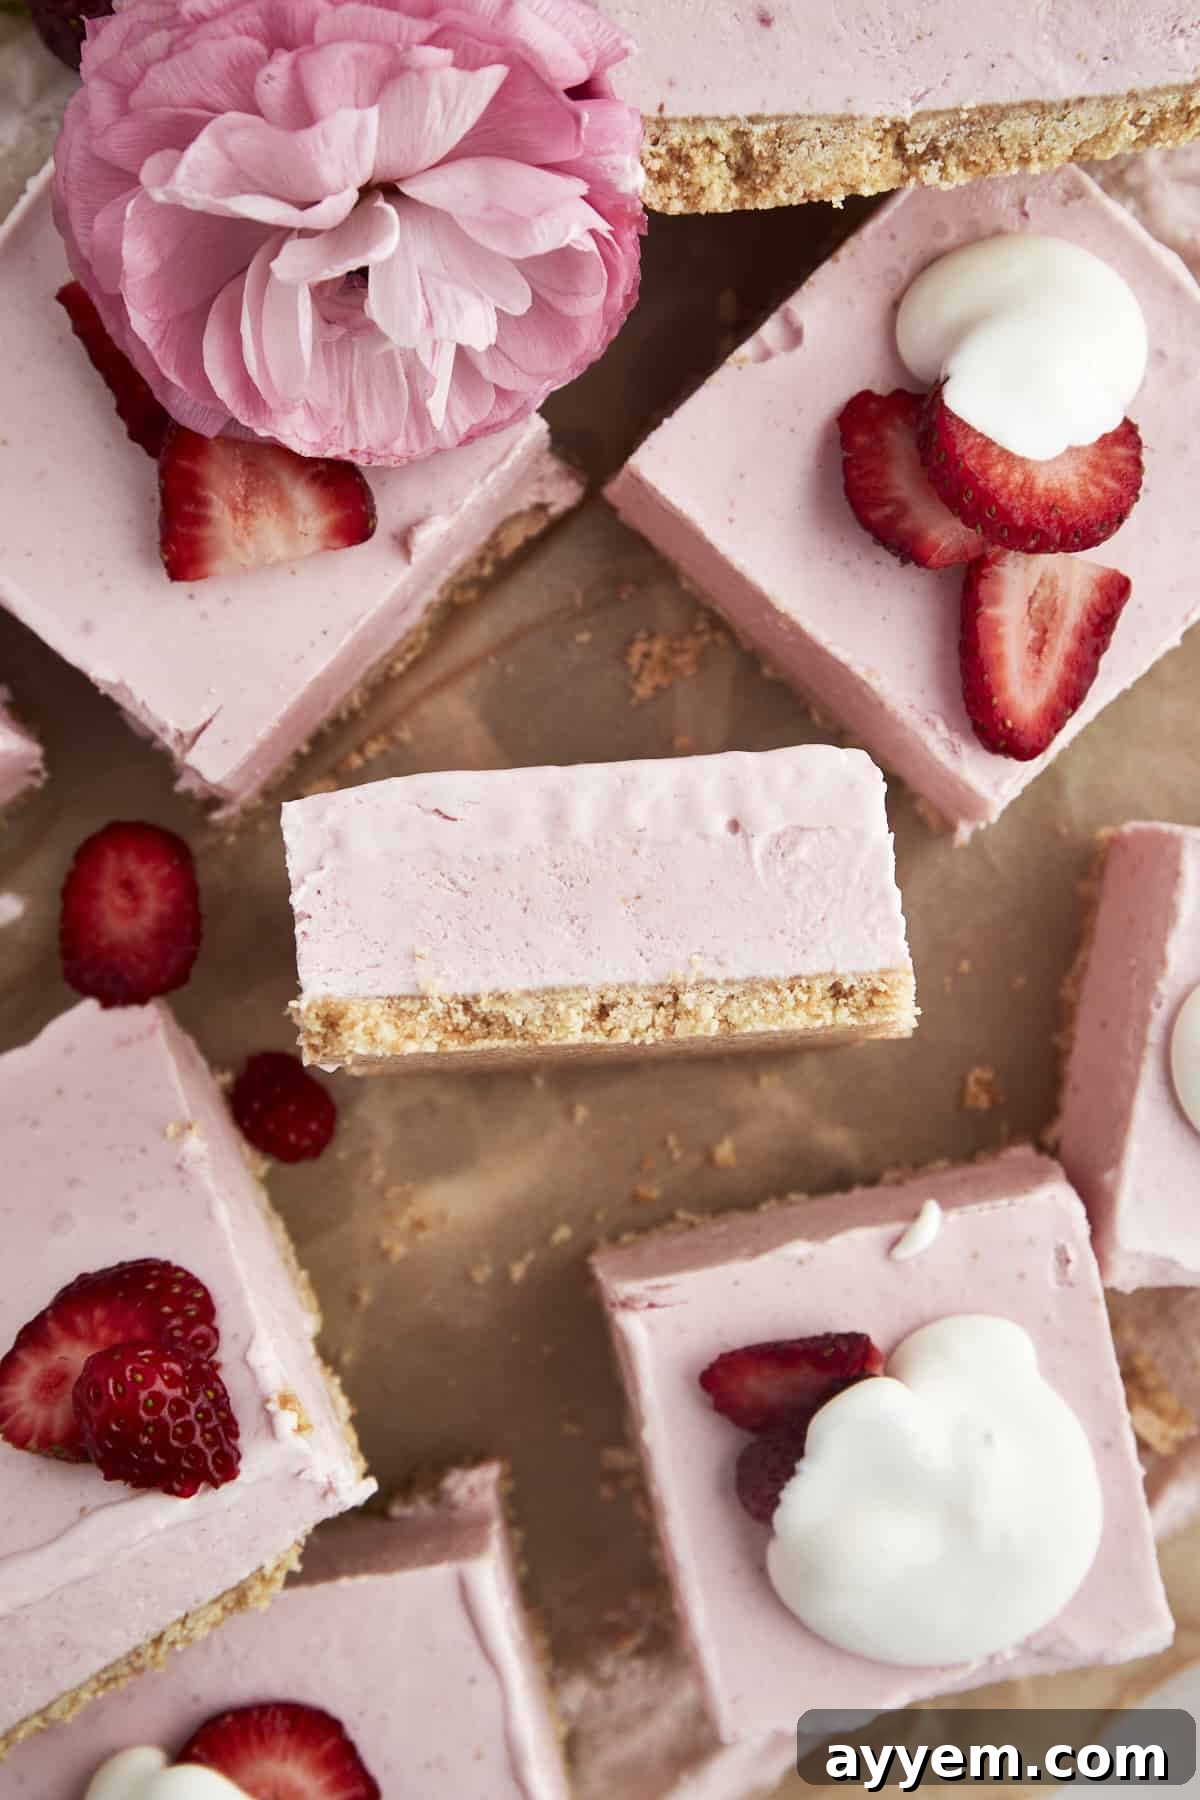
Indulge in a truly delightful and effortlessly simple dessert that’s guaranteed to impress! These luscious No-Bake Strawberry Cheesecake Squares are a sweet dream come true, offering a creamy texture, vibrant fruity flavor, and an irresistible charm that makes them a perfect centerpiece for any occasion. Whether you serve them as a straightforward treat or elevate them with creative toppings, these squares are designed for both convenience and culinary pleasure, making them an instant hit at family gatherings, summer parties, or just a cozy night in.
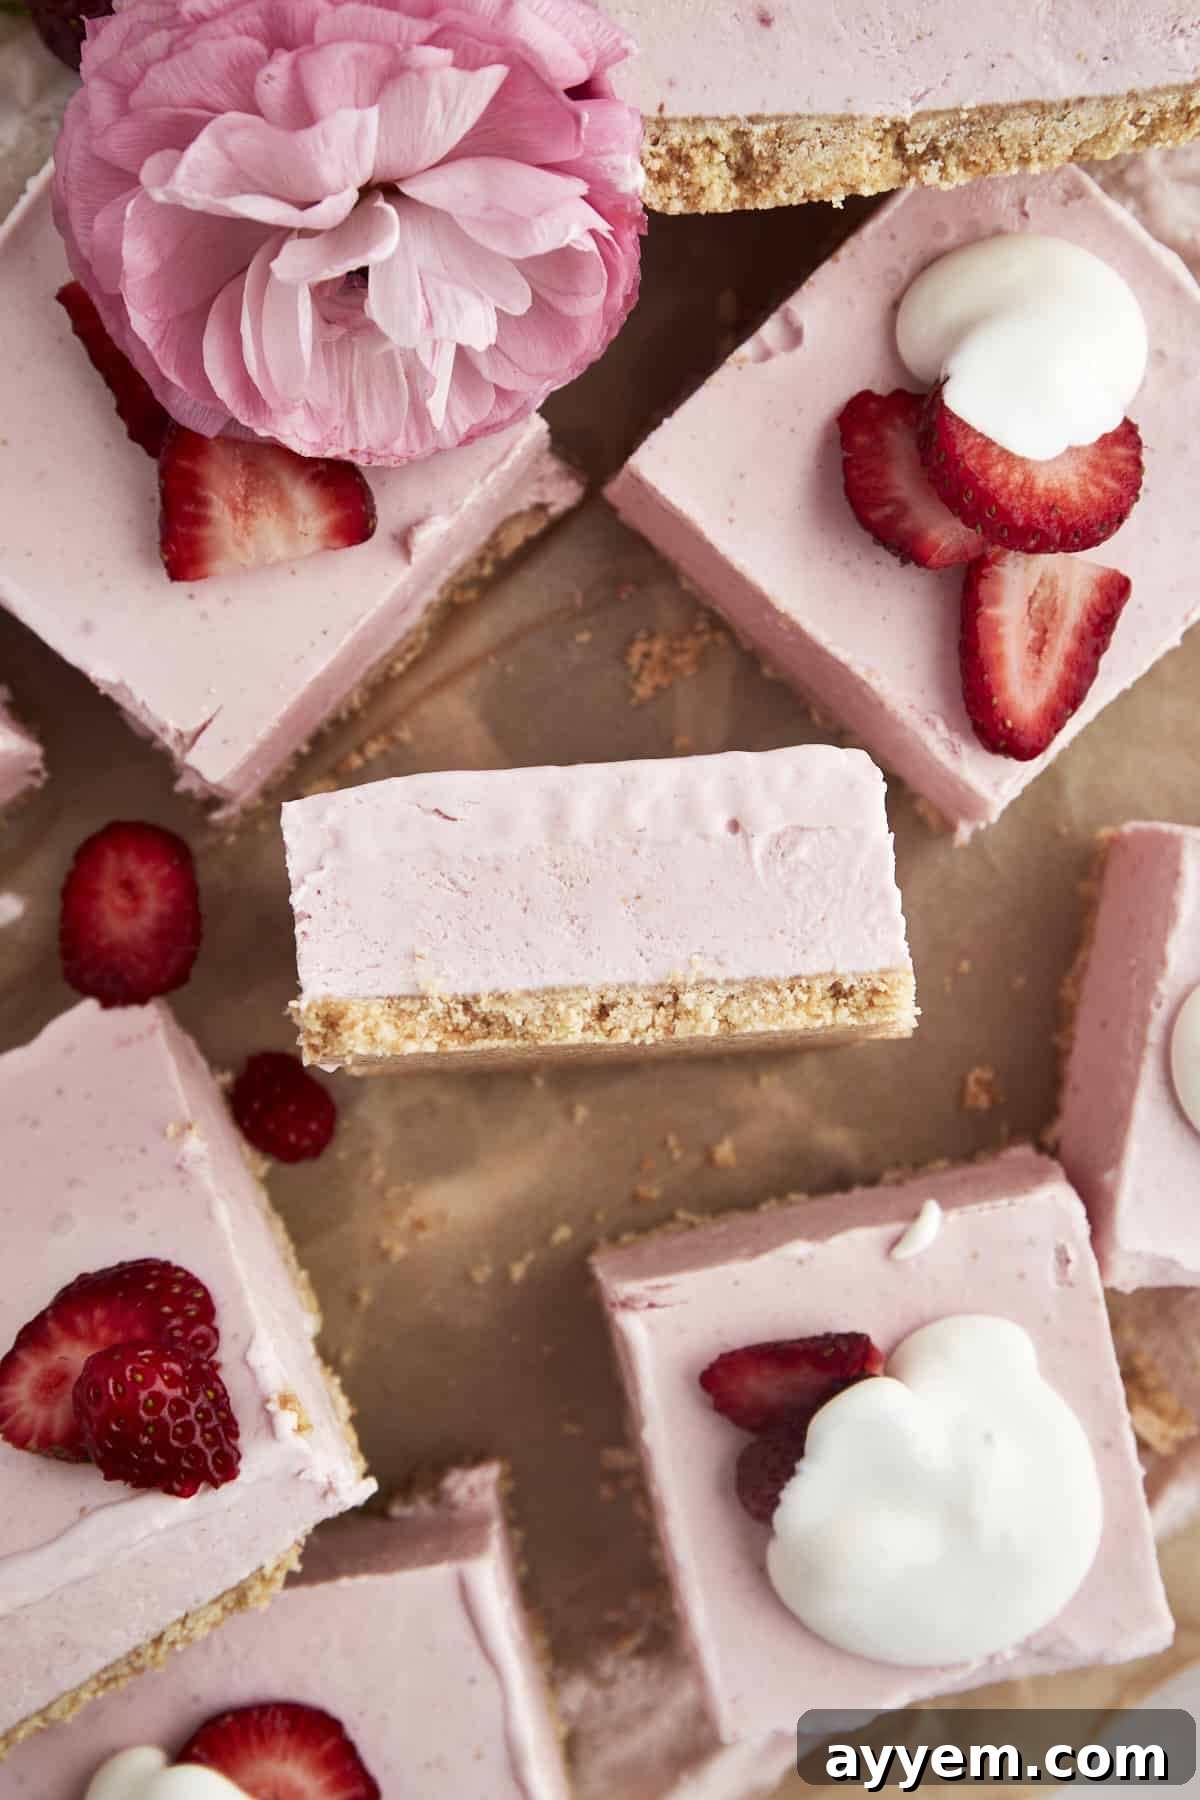
Why You’ll Adore These Easy No-Bake Strawberry Cheesecake Squares
Forget the oven and complicated steps; these strawberry cheesecake squares are a simplified, yet utterly decadent, take on the classic baked cheesecake. Crafted with a perfectly sweetened, buttery cookie crust and generously topped with a thick, velvety smooth layer of strawberry-infused cream cheese, this dessert is a true summertime sensation that will have everyone reaching for seconds. Beyond their undeniable deliciousness, these squares offer numerous advantages:
- Effortless Preparation: As a truly no-bake recipe, they eliminate the need for an oven, making them ideal for hot weather or busy schedules. Just mix, chill, and serve!
- Minimal Cleanup: Utilizing a food processor for both the crust and the filling significantly reduces prep time and makes cleanup a breeze, leaving you more time to enjoy your creation.
- Budget-Friendly Ingredients: Made with readily available and simple ingredients, this recipe proves that extraordinary flavor doesn’t have to come with an exorbitant price tag.
- Perfect for Any Crowd: These cheesecake squares are excellent for making in larger batches, making them a fantastic choice for feeding a crowd at parties, potlucks, or family celebrations. Their convenient individual portions also make serving incredibly easy.
- Versatile & Customizable: The base recipe is fantastic on its own, but it also serves as a perfect canvas for endless customization with various toppings and garnishes, allowing you to tailor it to any taste preference or occasion.
- Make-Ahead Marvel: This dessert improves with chilling, meaning you can prepare it well in advance, freeing up your time on the day of your event.
What Makes a Truly Great No-Bake Cheesecake?
Creating an exceptional no-bake cheesecake goes beyond simply combining ingredients; it’s about achieving that perfect balance of textures and flavors. Unlike traditional baked cheesecakes, which rely on eggs and oven heat for structure, no-bake versions achieve their luxurious creaminess through careful chilling and the right blend of dairy components. The ideal no-bake cheesecake filling should be incredibly smooth, dense enough to hold its shape, yet melt-in-your-mouth soft. It shouldn’t be overly sweet, allowing the natural tang of cream cheese and the fresh brightness of fruit to shine through.
The crust is equally important. A great no-bake crust needs to be firm and buttery, providing a satisfying crunch that contrasts beautifully with the silky filling. It acts as the foundation, ensuring each square is easy to handle and a pleasure to eat. Our recipe meticulously balances these elements, ensuring you get a dessert that’s not only easy to make but also rivals the complexity and enjoyment of its baked counterparts.
Furthermore, the choice of fruit and complementary flavors plays a crucial role. Strawberries, with their natural sweetness and slight tartness, are a quintessential choice for cheesecake. When combined with lemon zest and a hint of vanilla, they create a harmonious symphony of flavors that truly elevates this dessert from good to absolutely extraordinary. The goal is a refreshing, light, yet rich experience that satisfies your sweet tooth without being heavy.
Essential Ingredients for Your Strawberry Cheesecake Squares
With just a select few quality ingredients, you can transform simple pantry staples into a show-stopping dessert. Here’s a closer look at what you’ll need to create these heavenly strawberry cheesecake squares, along with some tips for selecting the best components:
For the Crispy Cookie Crust:
- Vanilla Wafers: These classic cookies provide a delicate vanilla flavor and a perfectly crumbly texture that forms the base of our crust. While any brand works, classic Nilla wafers are a timeless choice for their consistent quality and flavor profile. Ensure they are fresh for the best crunch.
- Granulated Sugar: A small amount of granulated sugar is added to the crushed wafers to enhance their sweetness and help in caramelization when mixed with butter, contributing to a richer flavor.
- Unsalted Butter (Melted): Melted unsalted butter is crucial. It acts as the binding agent, coating the cookie crumbles to create a decadent, rich flavor while ensuring the crust holds together beautifully when chilled. Using unsalted butter allows you to control the overall saltiness of the dessert.
- Salt: Just a tiny pinch of salt in the crust is a flavor enhancer. It cleverly balances the sweetness of the cookies and butter, preventing the crust from tasting one-dimensional and bringing out its nutty notes.
For the Irresistible Strawberry Cheesecake Filling:
- Cream Cheese (Room Temperature): The star of any cheesecake! Use full-fat cream cheese for the creamiest, richest texture. Bringing it to room temperature is vital for a smooth, lump-free filling that blends effortlessly.
- Sour Cream: This ingredient is a secret weapon. It contributes to an extra soft, almost cloud-like filling while adding a subtle tangy note that beautifully cuts through the sweetness and complements the strawberries. Opt for full-fat sour cream for the best results.
- Granulated Sugar & Powdered Sugar: A combination of both sugars ensures the perfect sweetness and texture. Granulated sugar provides foundational sweetness, while powdered sugar (confectioners’ sugar) dissolves easily, contributing to the filling’s incredibly smooth consistency without any graininess.
- Fresh Strawberries & Strawberry Preserves: This dynamic duo delivers an intense, authentic strawberry flavor. Fresh, ripe strawberries provide natural sweetness and juicy chunks for delightful texture, while strawberry preserves intensify the berry essence and add a lovely sheen to the filling.
- Lemon Juice & Zest: Don’t skip these! The acidity from fresh lemon juice brightens the flavors, balancing the sweetness and adding a refreshing tang. The zest, rich in natural pectins, not only infuses a vibrant citrus aroma but also subtly helps in thickening and setting the cheesecake filling.
- Pure Vanilla Extract: Use a high-quality pure vanilla extract. Its warm, aromatic notes enhance all the other flavors, adding depth and complexity to the overall cheesecake experience.
- Whipped Topping (Thawed) or Fresh Whipped Cream: Folding in a thawed whipped topping (like Cool Whip) or freshly made whipped cream provides the signature light and airy texture that makes this no-bake cheesecake so dreamy. It makes the filling incredibly fluffy and ensures it’s not too dense.
Step-by-Step Guide: How to Craft Your No-Bake Strawberry Cheesecake Squares
Preparing these no-bake strawberry cheesecake squares is not only incredibly simple but also a truly enjoyable process. Follow these straightforward steps to create a dessert that will delight your taste buds and impress your guests:
- Prepare Your Pan: Begin by lining a 9-inch square baking pan with parchment paper. Ensure that there’s an overhang of paper on two opposite sides. This thoughtful step creates “handles” that will make lifting the chilled cheesecake out of the pan remarkably easy, preventing any potential sticking or breakage.
- Assemble the Cookie Crust: In the bowl of a food processor, add your vanilla wafer cookies. Pulse the cookies repeatedly until they are transformed into very fine, uniform crumbs, resembling the texture of coarse sand. Transfer these fine crumbs to a large mixing bowl. Add the granulated sugar and the melted unsalted butter to the bowl. Mix thoroughly with a spatula or your hands until all the cookie crumbs are evenly coated in the buttery mixture. The consistency should be moist and able to hold together when pressed.
- Form and Chill the Crust: Firmly press the buttery cookie crumb mixture into an even, compact layer at the bottom of your prepared baking pan. Use the bottom of a glass or a flat measuring cup to ensure it’s tightly packed and uniformly smooth. Place the pan in the freezer to chill for at least 15-20 minutes while you prepare the filling. This crucial step helps the crust set firmly and prevents it from crumbling when the filling is added.
- Prepare the Luscious Filling: In a high-speed blender or a food processor, combine the cream cheese (ensure it’s at room temperature for optimal smoothness), granulated sugar, powdered sugar, sour cream, fresh chopped strawberries, strawberry preserves, lemon zest, and pure vanilla extract. Pulse and blend the mixture until it is completely smooth and creamy, with no lumps of cream cheese visible and the strawberries fully incorporated. Transfer this vibrant mixture to a separate large mixing bowl. Gently fold in the thawed whipped topping (or fresh whipped cream) using a spatula until the mixture is light, airy, and uniformly combined. Finally, stir in the fresh lemon juice, which brightens the flavor profile.
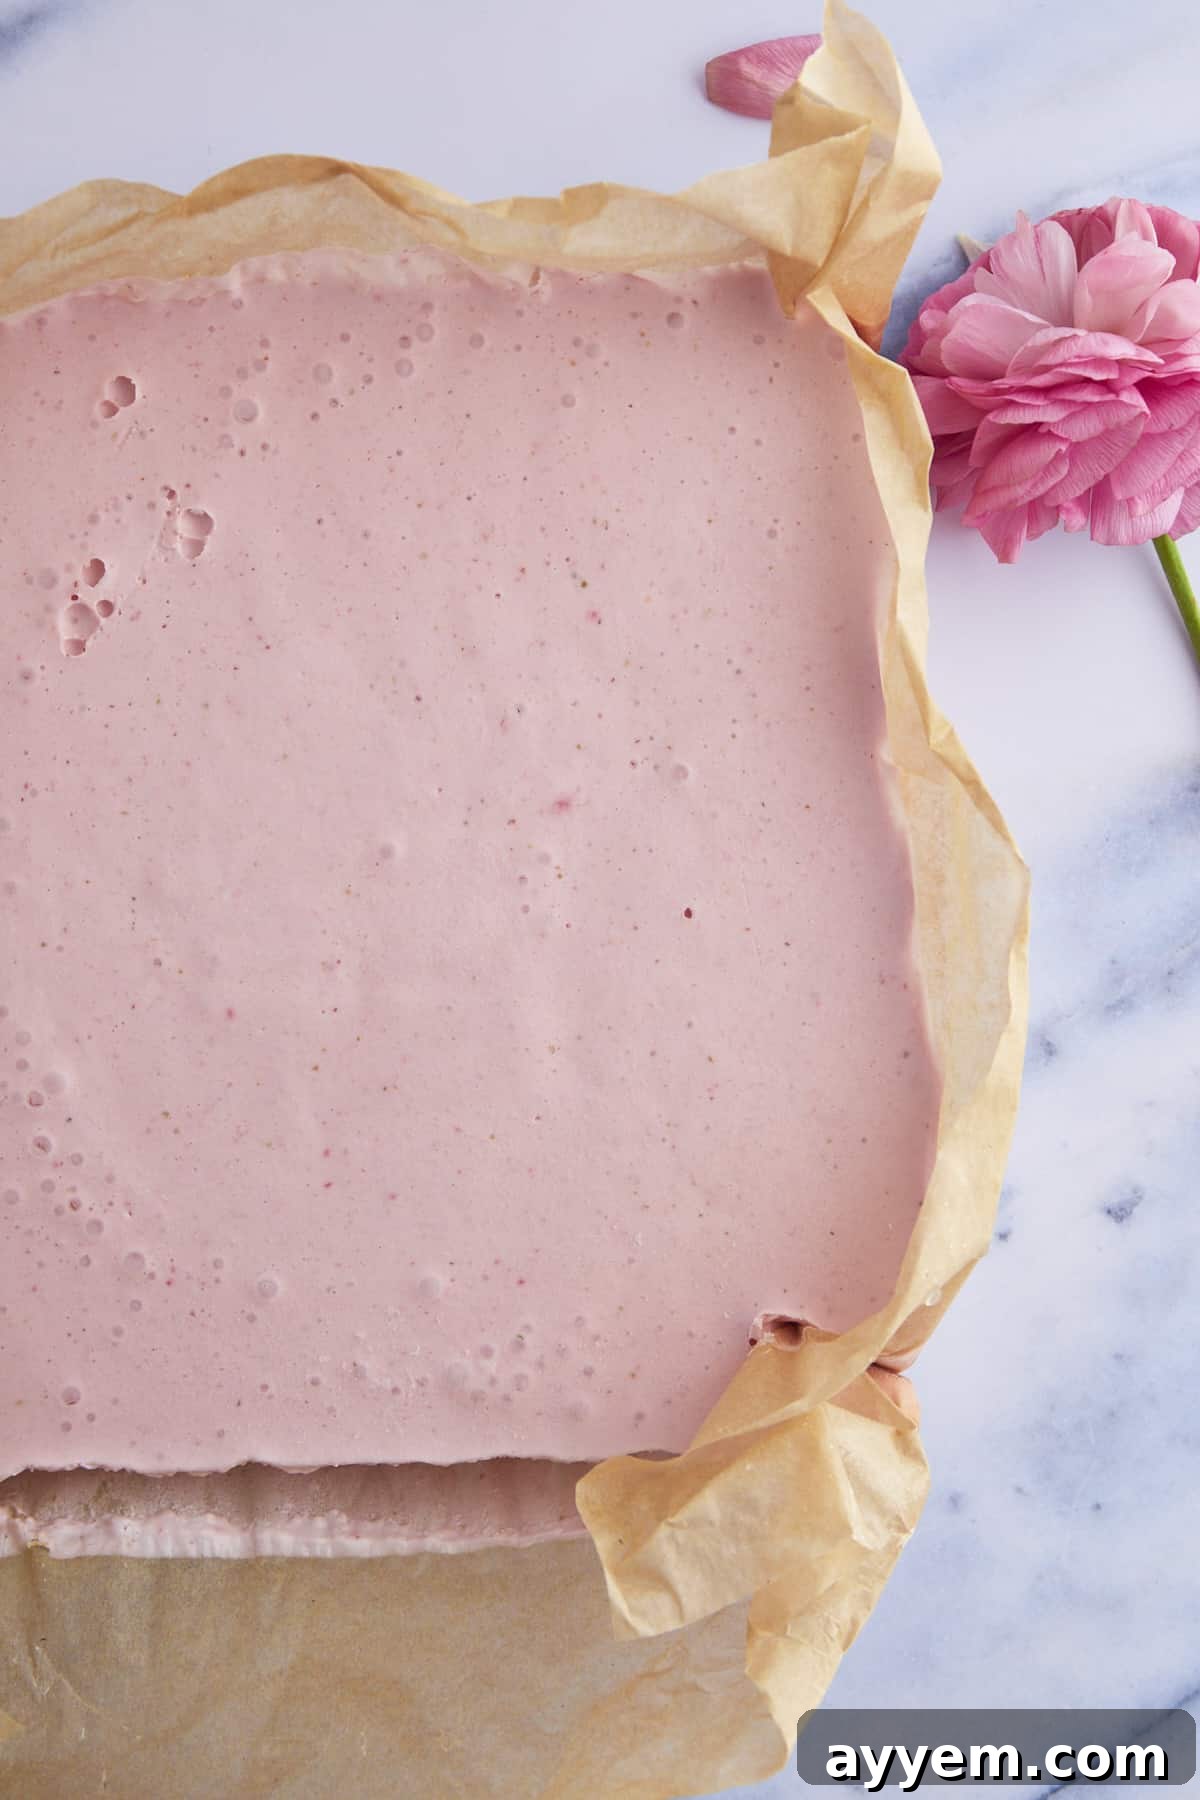
- Layer the Cheesecake: Retrieve your baking pan with the chilled crust from the freezer. Carefully pour the strawberry cheesecake filling over the firm cookie crust, spreading it out evenly with a spatula to create a single, smooth layer. Ensure the top is as flat as possible for a beautiful presentation.
- Freeze to Perfection: Return the baking pan with the layered cheesecake squares to the freezer. Allow them to freeze overnight, or for a minimum of 8-12 hours. This extended chilling time is paramount, as it allows the filling to fully set, develop its rich texture, and fuse perfectly with the crust, ensuring your squares are firm, easy to slice, and hold their shape beautifully.
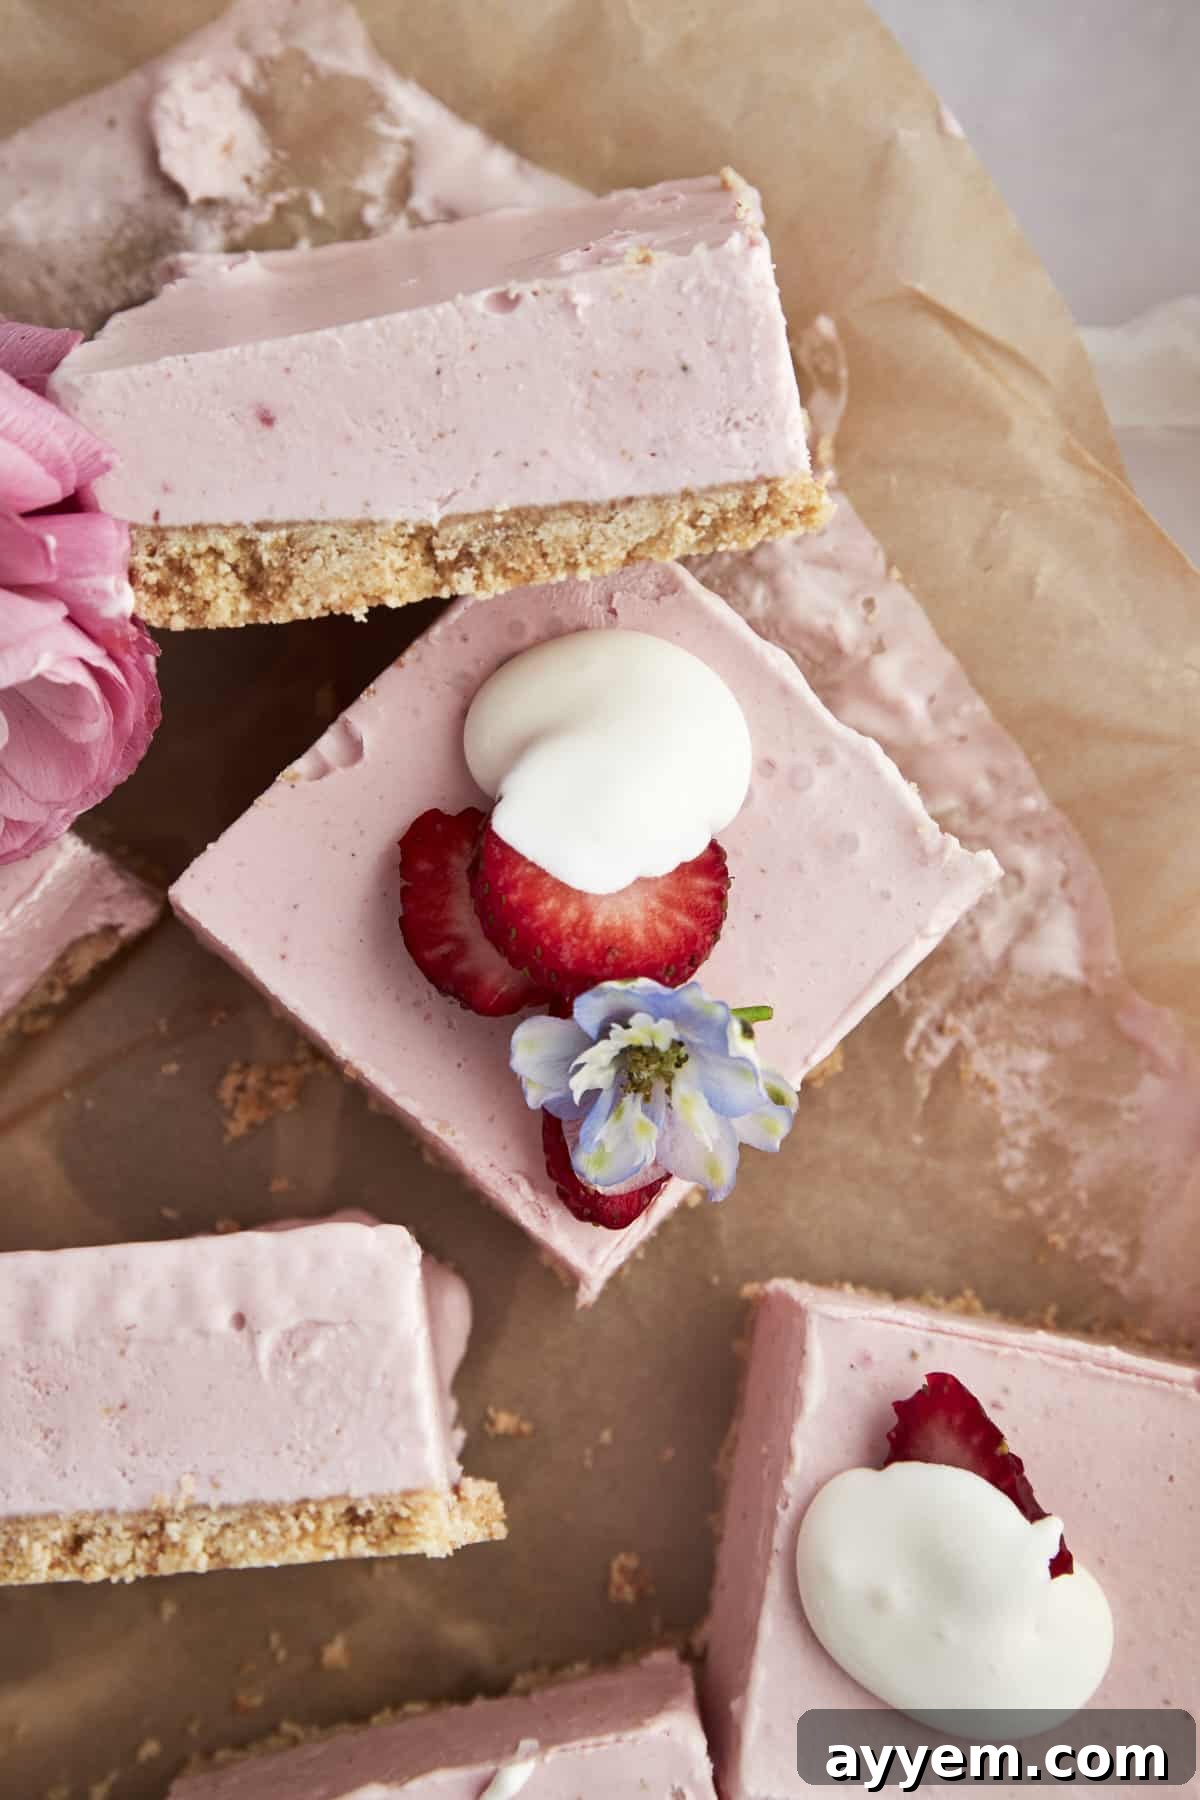
- Slice, Serve, and Savor: Once thoroughly chilled and set, use the parchment paper overhangs to carefully lift the entire cheesecake slab out of the pan and onto a cutting board. For clean, precise slices, use a sharp serrated knife. Wipe the knife clean with a damp cloth or paper towel between each cut to prevent dragging and ensure neat edges. Let the sliced squares sit at room temperature for about 10-20 minutes to slightly soften to their ideal creamy consistency before serving. Enjoy your homemade, delightful no-bake strawberry cheesecake squares!
Expert Tips for Achieving Perfect No-Bake Cheesecake Squares Every Time
While this recipe is incredibly forgiving, a few expert tips can elevate your no-bake strawberry cheesecake squares from delicious to absolutely sublime:
- Mastering the Pan Lining: When you line your baking pan with parchment paper, consciously allow a generous amount of paper to hang over both sides. These “wings” are your best friends when it’s time to unmold the cheesecake. They provide a sturdy lift, making it incredibly easy to remove the entire chilled slab from the pan without damaging the edges or worrying about it sticking.
- The Importance of Room Temperature Ingredients: This tip is non-negotiable for a silky-smooth filling. Before you begin mixing, ensure your cream cheese and sour cream have been allowed to sit out and come to true room temperature. Cold ingredients will resist blending, resulting in a lumpy filling and an uneven texture. Planning ahead for this step will make a world of difference in the final consistency.
- Blend Thoroughly, Don’t Be Shy: Unlike delicate batters for brownies or cookies where overmixing can lead to tough results, the filling for this no-bake cheesecake benefits from thorough blending. Don’t be afraid to let your food processor or blender run for longer than you might initially think is necessary. The goal is an ultra-smooth, homogeneous mixture where all ingredients are perfectly incorporated, yielding that signature creamy texture.
- Patience with the Chilling Process: This is arguably the most critical step for no-bake success. Rushing the chilling process is the most common mistake. Allow your cheesecake squares to chill in the freezer for a full overnight period, or at least 8-12 hours. This extended time allows the filling to properly set and firm up, ensures the crust adheres perfectly, and helps all the flavors meld together beautifully. A well-chilled cheesecake is easier to slice and won’t fall apart.
- Achieving Clean Slices: For presentation-perfect, even cheesecake squares, technique matters. Use a long, sharp serrated knife. After each slice, wipe the blade clean with a damp cloth or paper towel. This prevents the filling from sticking to the knife and creating messy edges on subsequent cuts, ensuring every piece looks as good as it tastes.
- Quality of Ingredients: While simple, the quality of your ingredients shines through. Opt for full-fat cream cheese and sour cream for the richest, most luxurious filling. Choose ripe, fragrant strawberries for the most intense natural flavor. High-quality vanilla extract also makes a noticeable difference.
- Adjusting Sweetness: Taste your filling mixture before adding the whipped topping and make adjustments if desired. If your strawberries are particularly sweet, you might reduce the sugar slightly. If they are tart, a little extra sugar can balance it out.
- Serving Temperature: For the ideal creamy texture, remove the cheesecake squares from the freezer and let them sit at room temperature for 10-20 minutes before serving. This allows them to soften just enough to achieve that perfect melt-in-your-mouth consistency.
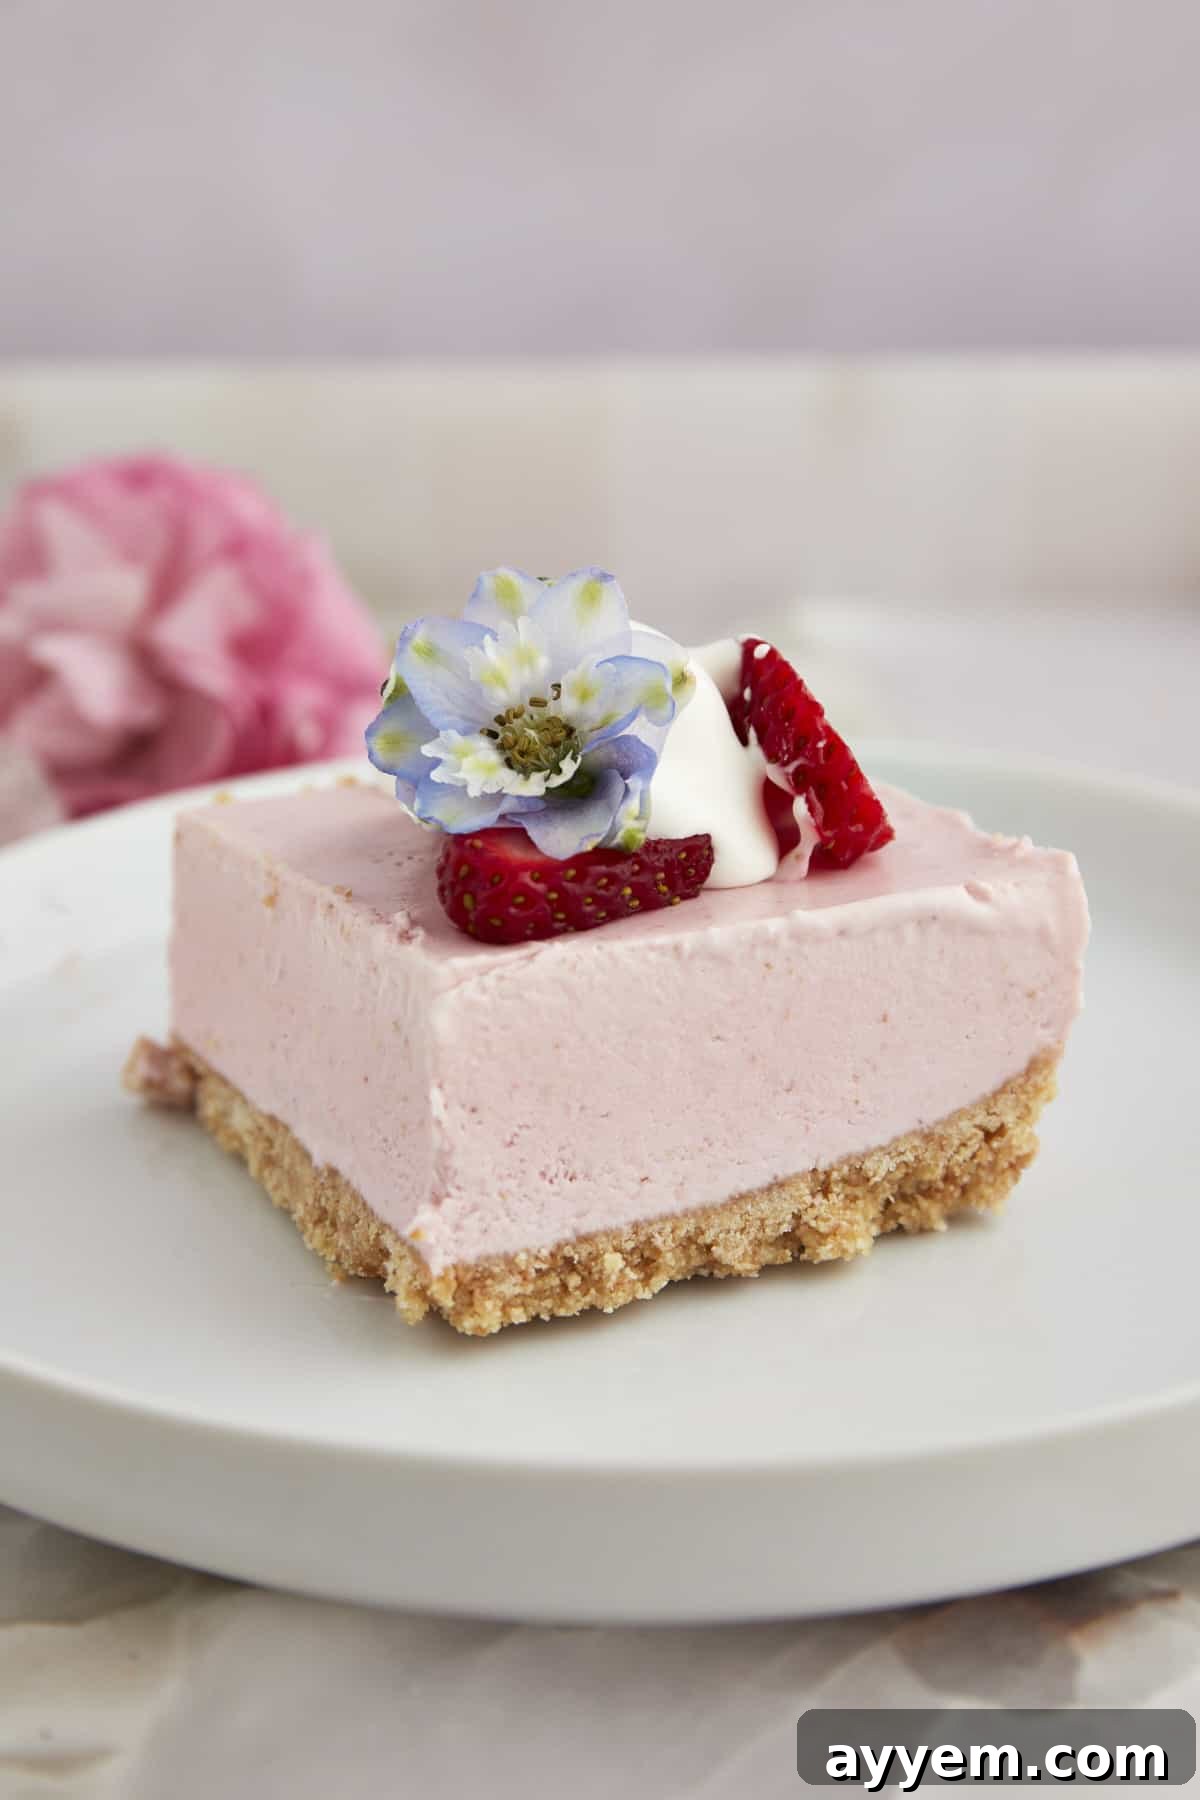
Creative Serving Suggestions & Topping Ideas
While these no-bake strawberry cheesecake squares are absolutely delicious on their own, the opportunity to enhance them with extra toppings is simply too good to pass up! Elevate your dessert experience with these delightful additions:
- A Generous Dollop of Whipped Cream: A classic for a reason! A swirl of freshly whipped cream or a light whipped topping adds an ethereal cloud-like texture and a delicate sweetness that perfectly complements the rich cheesecake.
- Berry Coulis or Fruit Sauce: Drizzle with a vibrant raspberry, blueberry, or additional strawberry sauce. This intensifies the fruity notes and adds a beautiful visual appeal. A hint of mint sprig can also add freshness.
- Toasted Coconut Flakes: For a tropical twist and added texture, sprinkle some lightly toasted coconut flakes over the top. The subtle nuttiness and chewiness pair wonderfully with the creamy strawberry.
- Delicate Chocolate Shavings: A sprinkle of dark or white chocolate shavings adds a touch of elegance and a sophisticated flavor contrast to the sweet strawberries.
- Rich Caramel Sauce: For those who love a sweet and salty combination, a light drizzle of homemade or store-bought caramel sauce can add a delightful depth of flavor and a luxurious stickiness.
- Fresh Mint Leaves: A small sprig of fresh mint not only adds a pop of color but also a refreshing aroma that brightens the entire dessert.
- Crushed Nuts: A sprinkle of finely chopped pistachios or pecans can add a satisfying crunch and earthy flavor.
- A Dusting of Powdered Sugar: For a simple yet elegant finish, a light dusting of powdered sugar adds a touch of visual charm and a hint of extra sweetness.
Storage & Make-Ahead Perfection
One of the many beauties of these no-bake cheesecake squares is their suitability for making ahead, making them an ideal choice for summer cookouts, festive holiday parties, or simply having a convenient weeknight dessert on hand. Proper storage ensures they remain fresh and delicious:
Refrigeration: If you plan to consume the squares within a few days, store them in an airtight container in the refrigerator. They will remain wonderfully fresh and creamy for up to 3-4 days. For optimal texture, allow them to sit at room temperature for 10-15 minutes before serving.
Freezer: For longer storage, these cheesecake squares freeze exceptionally well. Once fully set and sliced, carefully wrap each individual square tightly in plastic wrap, then again in aluminum foil. This double layer of protection prevents freezer burn and helps maintain their texture and flavor. Place the wrapped squares in a freezer-safe, sealable bag or container. They can be kept frozen for up generous of 2 months. When you’re ready to enjoy them, simply transfer the desired number of squares to the refrigerator to thaw for several hours, or let them sit at room temperature for 20-30 minutes for a softer, more scoopable consistency. They are also delicious served directly from the freezer for an ice-cream like treat!
Common Questions About No-Bake Strawberry Cheesecake Squares
Absolutely, and it’s highly recommended! These cheesecake squares are perfect for meal prepping or preparing for events, as they develop an even better texture and deeper flavor after a full night of chilling in the refrigerator or freezer. This crucial setting time ensures the filling becomes firm and the crust remains intact, creating a perfectly structured and delicious dessert when you’re ready to serve.
The crust will generally maintain a good level of crispness for the first day or two, especially if it was firmly pressed and thoroughly chilled. Over time, as moisture from the filling permeates, it will naturally soften slightly. However, it will still hold its structure and provide a delightful textural contrast to the creamy filling. Storing them in an airtight container in the refrigerator helps preserve its texture longer.
This is truly a matter of personal preference, as both serving styles are absolutely fantastic! If you prefer a classic, soft, and melt-in-your-mouth creamy cheesecake experience, chill them in the refrigerator until firm. For a firmer, more refreshing, ice-cream-bar-like treat, freeze them until solid. Allow frozen squares to sit at room temperature for 10-20 minutes before enjoying for optimal texture.
Yes, you can certainly use frozen strawberries if fresh ones are not available. The key is to make sure they are completely thawed and thoroughly drained before adding them to the filling mixture. Frozen strawberries tend to release more liquid, and excess moisture can make the cheesecake filling too runny or alter its desired creamy texture. Pat them dry with a paper towel after thawing for best results.
Absolutely! While vanilla wafers are a classic choice, you can experiment with other cookies to create different flavor profiles. Graham crackers, digestive biscuits, shortbread cookies, or even golden Oreos (with the cream filling removed) would all make excellent alternatives for the crust. Just ensure you adjust the amount of melted butter slightly if the cookie crumbles have a different absorption rate, aiming for that “wet sand” consistency.
Achieving the perfect sweetness level is crucial. The recipe calls for a balanced amount of sugar, but you can adjust it to your taste. If your strawberries are particularly sweet, or if you prefer a less sweet dessert, you can slightly reduce the amount of granulated sugar in the filling by 1-2 tablespoons. The lemon juice and sour cream also play a vital role in balancing the sweetness with their tangy notes, so ensure those are included for a well-rounded flavor.
More Decadent Cheesecake-Inspired Recipes You’ll Love
If you’ve fallen in love with the luscious flavors of cheesecake, then you’ll be thrilled to explore more of these delightful, cheesecake-inspired creations from our kitchen!
- Strawberry Cheesecake French Toast Buns
- Strawberry Cheesecake Croissant French Toast
- Strawberry Cheesecake Overnight Oats
- Strawberry Cheesecake Chimichanga
- No-Bake Pumpkin Cheesecake Bars
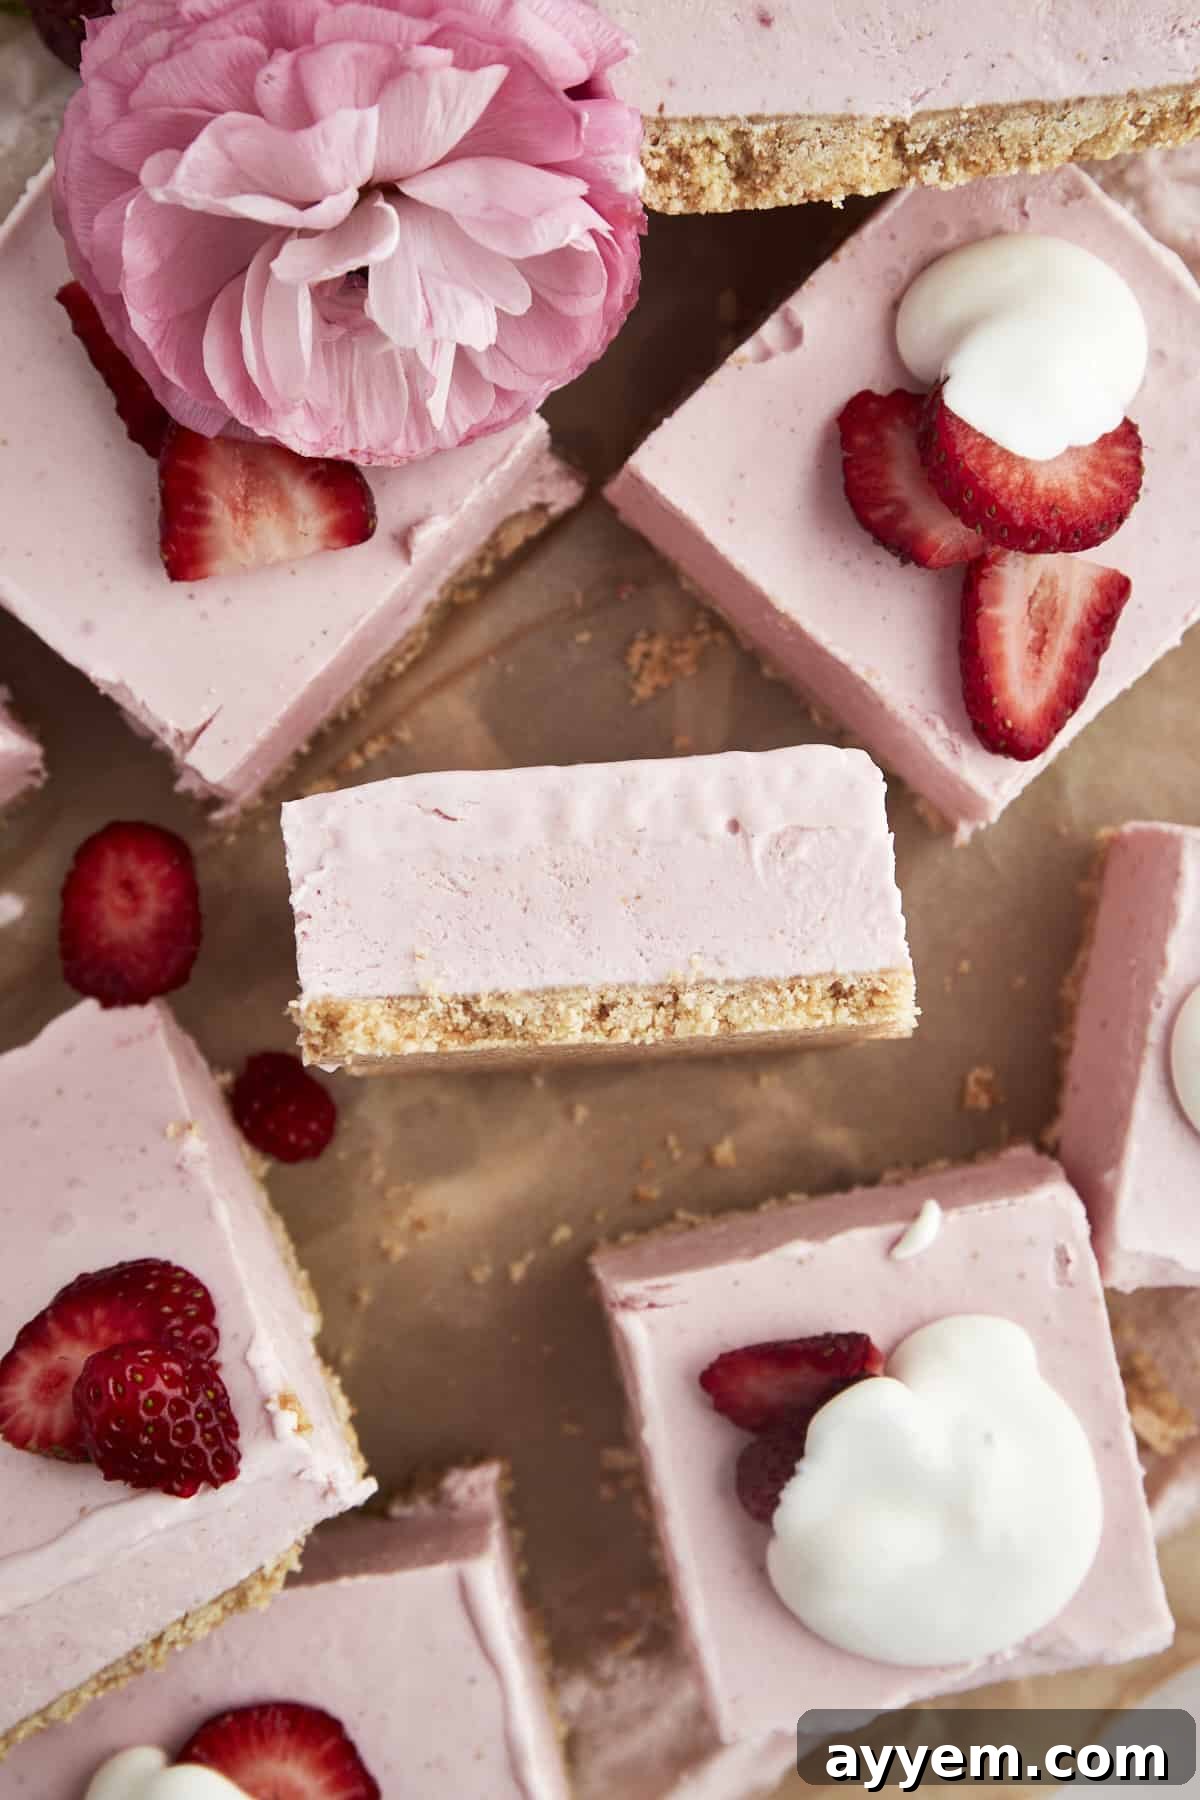
No-Bake Strawberry Cheesecake Squares Recipe
Food Dolls
12 servings
20 minutes
12 hours
12 hours 20 minutes
Ingredients
For the Cookie Crust:
- 6 ounces vanilla cookies wafers
- 1 tablespoon granulated sugar
- Salt to taste
- 6 Tablespoons unsalted butter melted
For the Strawberry Cheesecake Filling:
- 16 ounces cream cheese room temperature
- 1/2 cup granulated sugar
- 1/2 cup powdered sugar
- 1/4 cup sour cream
- 1 1/2 cups fresh strawberries chopped
- 2 Tablespoons strawberry preserves
- 1 Tablespoon lemon juice
- ½ lemon zested
- 1 teaspoon pure vanilla extract
- 2 cups whipped topping or fresh whipped cream If using whipped topping, be sure it is thawed in the refrigerator.
Instructions
For the Cookie Crust:
-
Line a 9-inch square baking dish with parchment paper, allowing the paper to hang over two opposite sides of the dish to create handles. Set the prepared pan aside.
-
In a food processor, add the vanilla wafer cookies. Pulse until very fine crumbs are formed. Transfer this mixture to a large bowl along with the granulated sugar, a pinch of salt, and the melted butter. Mix until all ingredients are thoroughly combined and the cookie crumbs are fully coated in butter.6 ounces vanilla cookies wafers, 1 tablespoon granulated sugar, 6 Tablespoons unsalted butter, Salt to taste
-
Press the entire cookie mixture firmly and evenly into the bottom of the prepared baking pan, creating a compact crust. Place the pan into the freezer to chill and set while you prepare the filling.
For the Strawberry Cheesecake Filling:
-
In a blender or food processor, combine the room temperature cream cheese, granulated sugar, powdered sugar, sour cream, fresh chopped strawberries, strawberry preserves, lemon zest, and pure vanilla extract. Blend until the mixture is completely smooth, creamy, and free of any lumps.16 ounces cream cheese, 1/4 cup sour cream, 1/2 cup granulated sugar, 1/2 cup powdered sugar, 1 1/2 cups fresh strawberries, 2 Tablespoons strawberry preserves, 1 Tablespoon lemon juice, ½ lemon, 1 teaspoon pure vanilla extract
-
Transfer the smooth mixture to a large mixing bowl. Gently fold in the thawed whipped topping (or fresh whipped cream) using a spatula until the mixture is light, airy, and evenly incorporated. Stir in the fresh lemon juice.2 cups whipped topping or fresh whipped cream
-
Retrieve the baking pan with the chilled crust from the freezer. Pour the strawberry cheesecake filling evenly over the crust, spreading it smoothly to the edges with a spatula. Return the pan to the freezer and chill overnight (at least 12 hours) to allow the cheesecake to firm up completely.
-
Once fully set, use the parchment paper overhangs to lift the entire cheesecake out of the pan onto a cutting board. Slice the mixture into uniform cheesecake squares using a sharp serrated knife, wiping the blade clean between each cut. Let them sit at room temperature for approximately 20 minutes to soften slightly before serving.
-
Store any leftover cheesecake squares in an airtight container in the freezer for longer freshness.
Nutrition
Calories: 349kcal |
Carbohydrates: 34g |
Protein: 4g |
Fat: 23g |
Saturated Fat: 13g |
Polyunsaturated Fat: 2g |
Monounsaturated Fat: 6g |
Trans Fat: 0.3g |
Cholesterol: 58mg |
Sodium: 189mg |
Potassium: 121mg |
Fiber: 1g |
Sugar: 25g |
Vitamin A: 738IU |
Vitamin C: 14mg |
Calcium: 62mg |
Iron: 0.2mg
Nutrition information is automatically calculated and should be considered an approximation.