
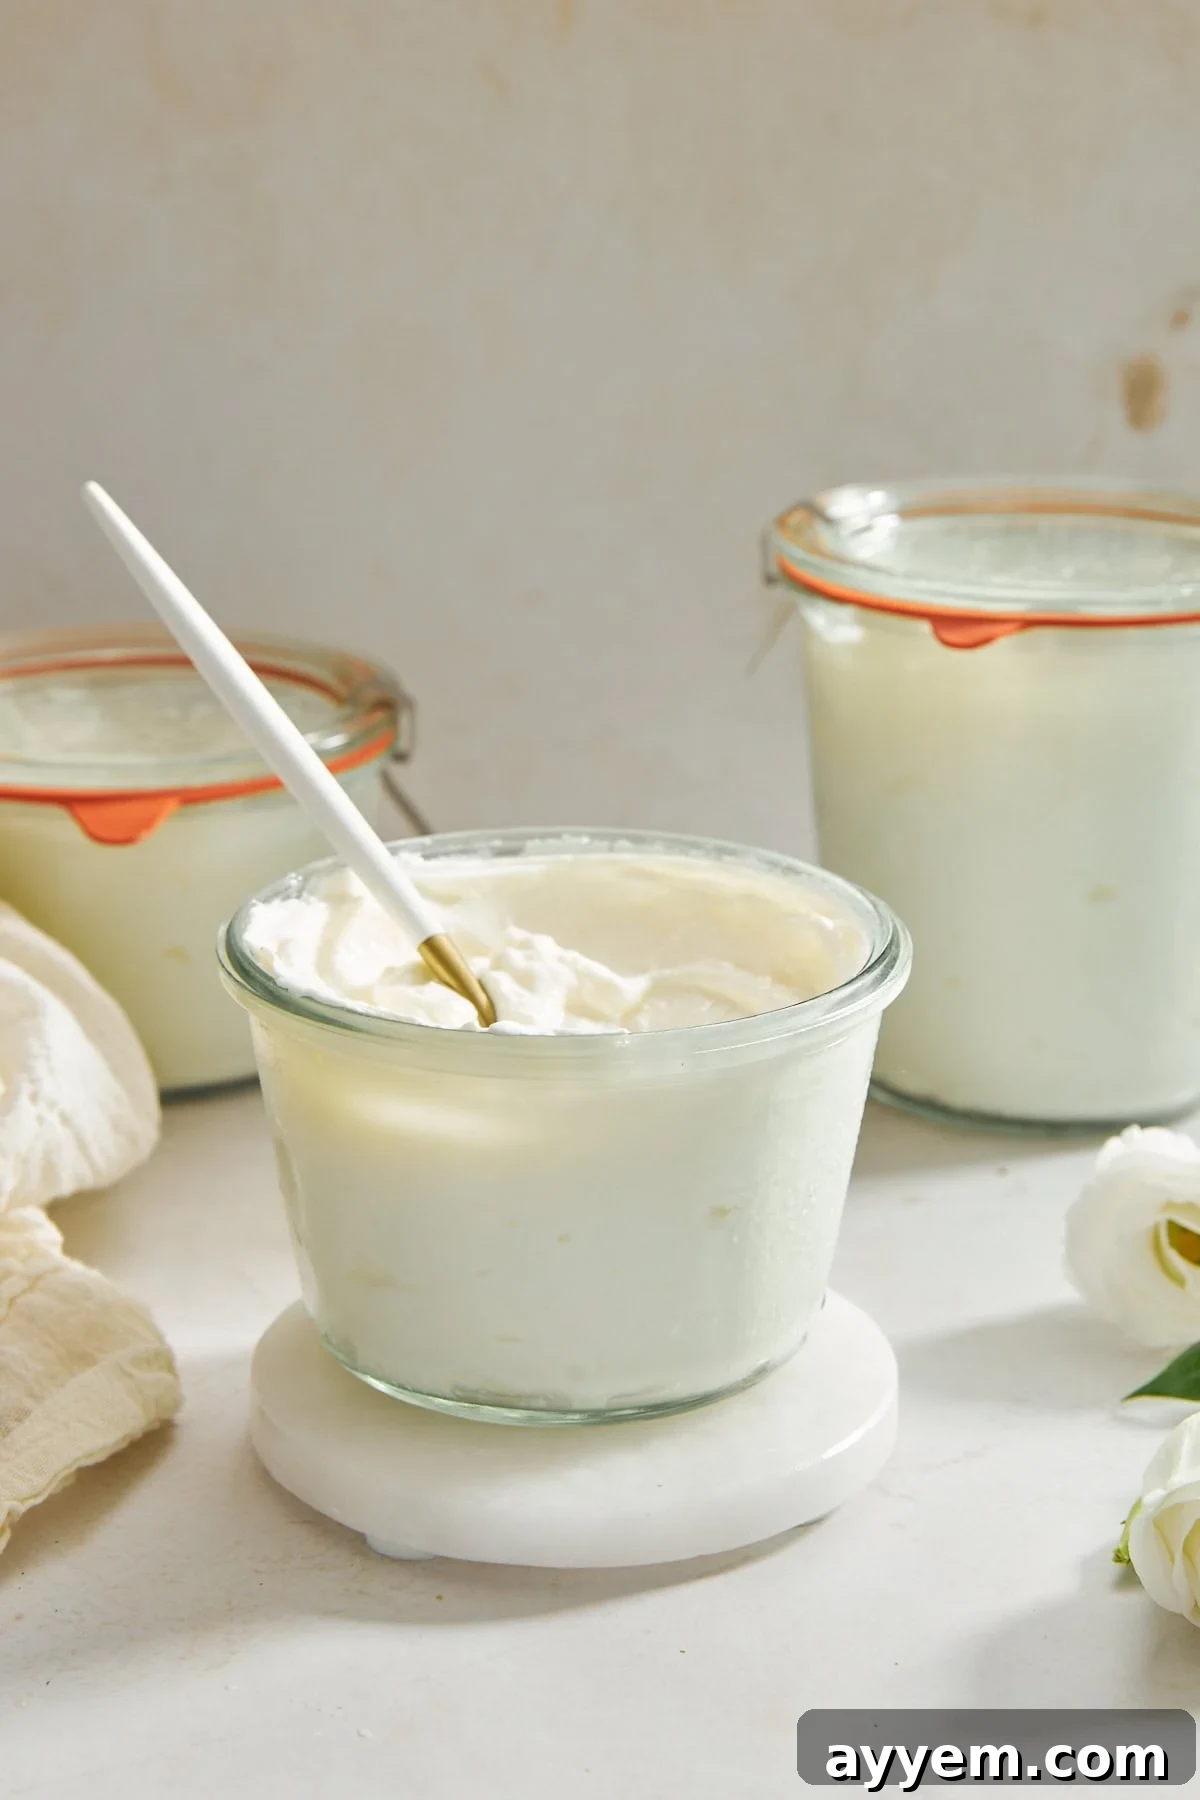
Mastering Homemade Greek Yogurt: A Step-by-Step Guide to Creamy Perfection
Have you ever dreamt of savoring rich, tangy Greek yogurt, made fresh in your own kitchen? The good news is, it’s not just a dream – it’s surprisingly simple to achieve! Forget store-bought varieties that often come with added sugars or stabilizers. With just two fundamental ingredients and a few straightforward steps, you can craft truly authentic homemade Greek yogurt that’s both delicious and incredibly nutritious. This comprehensive guide will walk you through everything you need to know, from selecting the right ingredients to troubleshooting common issues, ensuring your homemade Greek yogurt is nothing short of perfection.
Understanding Homemade Greek Yogurt
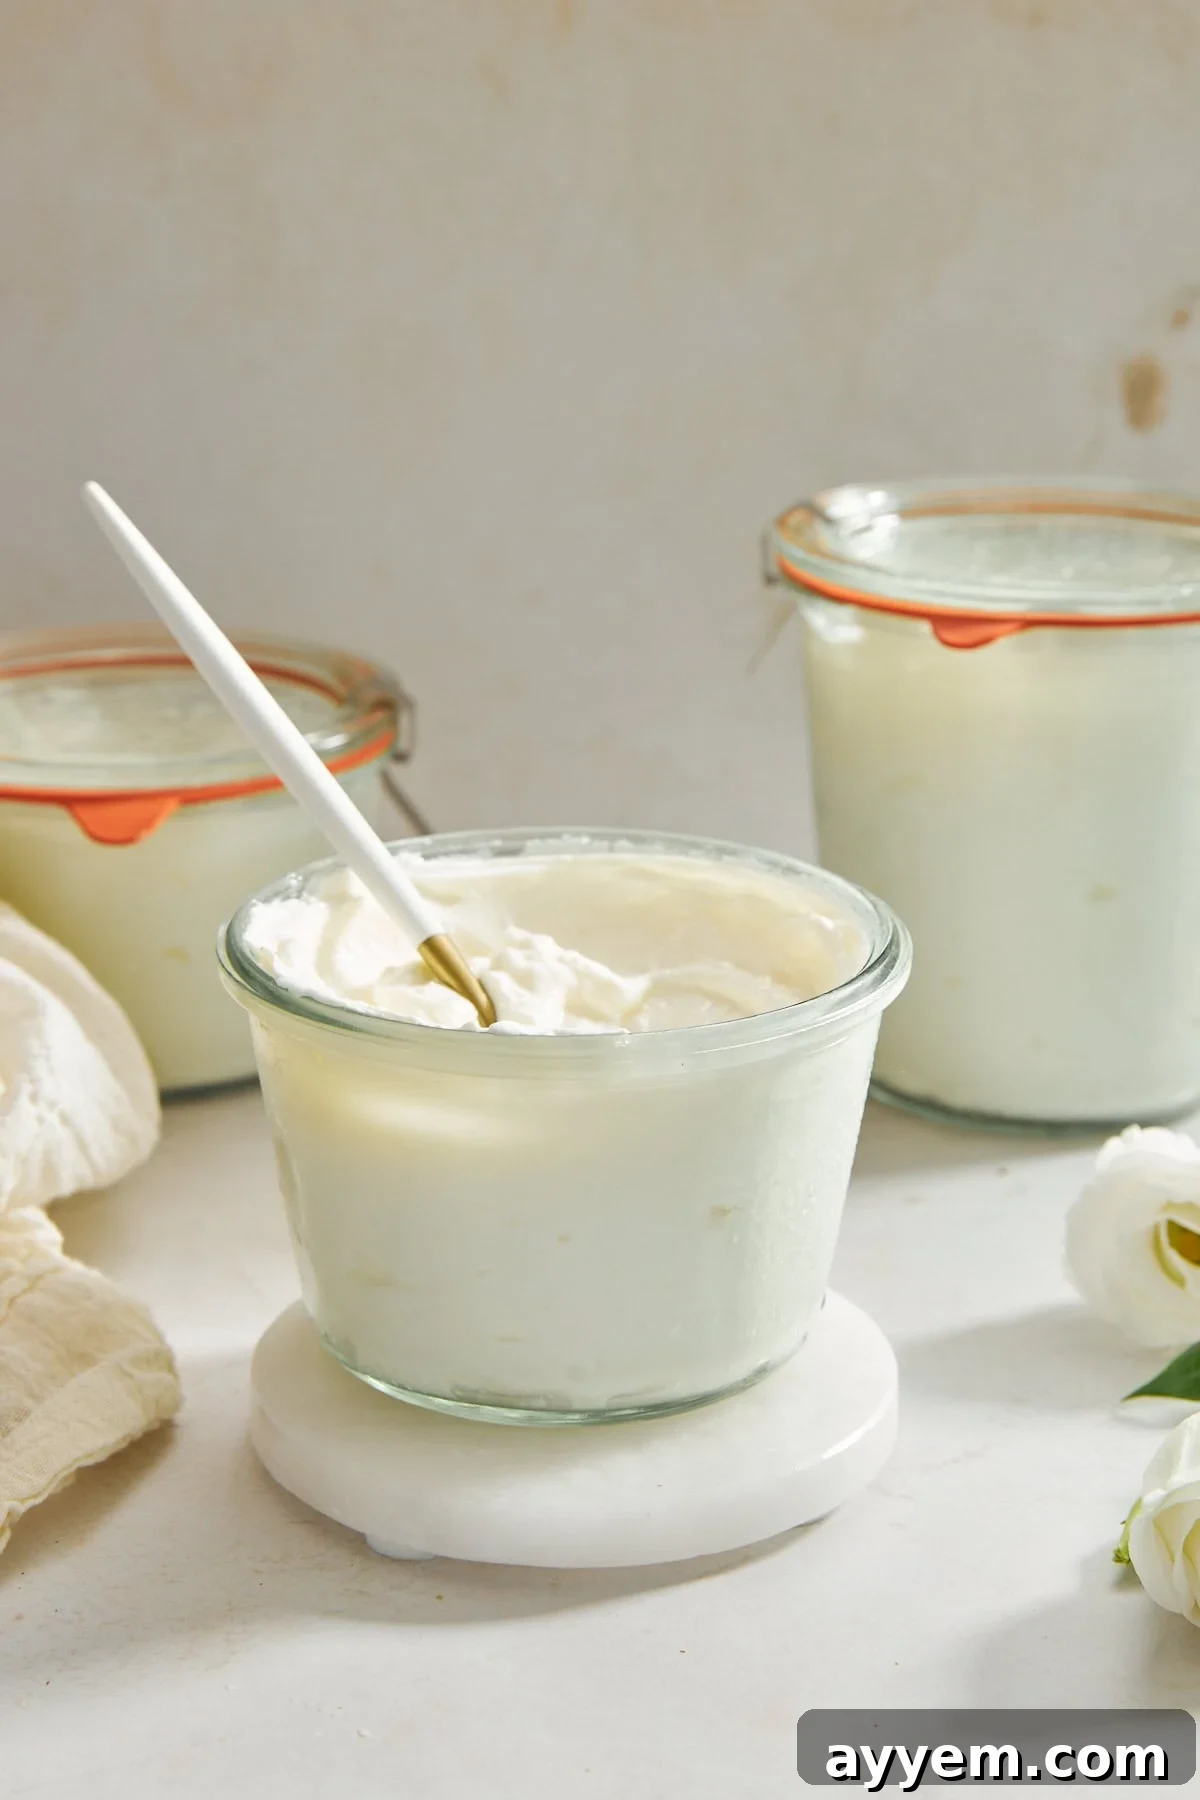
Greek yogurt stands out from regular yogurt due to its distinctive thick, creamy texture and higher protein content. This difference arises from an additional straining process that removes a significant amount of whey (the liquid byproduct of milk coagulation). This careful straining not only concentrates the milk solids, resulting in that luxurious mouthfeel, but also boosts its nutritional value, packing more protein and fewer carbohydrates into each serving. The characteristic tangy flavor of Greek yogurt adds a delightful zing that enhances both sweet and savory dishes, making it an incredibly versatile staple in any kitchen.
Historically, fermented dairy products like yogurt have been a cornerstone of diets across many cultures, particularly in the Mediterranean and Middle East. While the term “Greek yogurt” is widely used, similar strained yogurts are enjoyed globally under different names. Making it at home allows you to reconnect with this ancient culinary tradition, ensuring a product free from commercial additives and tailored precisely to your taste and texture preferences.
Why Make Your Own Greek Yogurt?
Beyond the simple satisfaction of DIY, there are compelling reasons to make Greek yogurt from scratch:
Unparalleled Freshness and Flavor
Homemade Greek yogurt boasts a vibrant, fresh taste that often surpasses its store-bought counterparts. You control the fermentation time, allowing you to achieve your preferred level of tanginess. The absence of industrial processing means a purer flavor profile, making it a true culinary delight.
Control Over Ingredients
Many commercial yogurts contain added sugars, artificial flavors, or thickeners. When you make yogurt at home, you dictate what goes in. This is particularly beneficial for those with dietary restrictions or who prefer to avoid unnecessary additives. You can choose organic milk, ensure a high-quality starter, and keep your yogurt naturally clean.
Exceptional Nutritional Value
By concentrating the milk, the straining process significantly increases the protein content, making homemade Greek yogurt an excellent choice for a filling breakfast or a satisfying snack. It’s also a powerhouse of live active cultures, essential for a healthy gut microbiome, which in turn supports digestion and a robust immune system. Plus, it’s a great source of calcium for strong bones.
Cost-Effectiveness
Making yogurt at home is remarkably budget-friendly. A large batch of homemade Greek yogurt costs a fraction of what you would pay for an equivalent amount of high-quality store-bought Greek yogurt. This saving adds up, especially if yogurt is a regular part of your diet.
Customization and Versatility
Once you master the basic recipe, the possibilities for customization are endless. You can adjust the thickness to your liking, from a pourable consistency for smoothies to an extra-thick spread for dips. Experiment with different milks, incubation times, and flavor additions to create your signature yogurt.
Essential Ingredients for Homemade Greek Yogurt
The beauty of homemade Greek yogurt lies in its simplicity, requiring only two key ingredients:
- Milk: The foundation of your yogurt. While 2% milk can be used, we highly recommend whole milk for the richest, creamiest, and most satisfying Greek yogurt. The higher fat content contributes significantly to the final texture and flavor. Opt for organic or local milk if possible, as the quality of the milk directly impacts the taste of your yogurt. Ensure your milk is fresh and not ultra-pasteurized, as ultra-pasteurized milk can sometimes result in a thinner, less consistent yogurt.
- Plain Yogurt: This acts as your starter culture. It is absolutely crucial to use plain yogurt that explicitly states it contains live active cultures. These beneficial bacteria are responsible for fermenting the milk and transforming it into yogurt. A good quality, fresh plain yogurt will ensure a vigorous and successful fermentation. Avoid flavored yogurts or those with added sweeteners, as these can interfere with the culturing process.
Equipment for Homemade Greek Yogurt
Having the right tools makes the yogurt-making process smooth and enjoyable:
- Large Saucepan: For heating your milk evenly without scorching. A heavy-bottomed pan is ideal.
- Kitchen Thermometer: Essential for accurately monitoring milk temperatures. An instant-read digital thermometer works best.
- Whisk or Wooden Spoon: For stirring the milk and mixing the starter.
- Clean Glass Container or Bowl: For incubating the yogurt. Ensure it’s food-grade and can be covered.
- Lid or Kitchen Towel: To cover the container during incubation, keeping the mixture warm and clean.
- Fine Mesh Strainer: To separate the whey from the yogurt.
- Cheesecloth or Clean Kitchen Towel: To line the strainer, allowing the whey to drain while retaining the yogurt solids. Ensure it’s tightly woven to prevent yogurt from slipping through.
- Another Bowl: To collect the strained whey underneath the strainer.
Crafting Your Homemade Greek Yogurt: Step-by-Step
Follow these detailed steps to create your own creamy Greek yogurt:
- Heat the Milk: Pour 8 cups of your chosen milk into a large, clean saucepan. Place the saucepan over medium heat. Stir the milk periodically with a wooden spoon to prevent it from scorching at the bottom and to ensure even heating. Monitor the temperature closely with your kitchen thermometer. Remove the pan from the stove once the milk reaches 185 degrees Fahrenheit (85 degrees Celsius). This heating step helps kill undesirable bacteria and denatures proteins, which contributes to a thicker yogurt.
- Cool the Milk: After heating, it’s crucial to cool the milk down to the ideal incubation temperature. You can let it cool naturally at room temperature, which might take a while, or expedite the process by placing the saucepan in an ice bath. To do this, fill a larger bowl or sink with ice water and carefully place the saucepan in it, stirring the milk occasionally until it cools. The goal is to bring the milk down to 110 degrees Fahrenheit (43 degrees Celsius). Cooling it to this specific temperature is vital because it’s the optimal environment for the live active cultures to thrive without being killed by excessive heat.
- Add the Yogurt Starter: Once the milk reaches 110 degrees Fahrenheit, measure out about 1 cup of this warmed milk. In a separate small bowl, combine this 1 cup of milk with ½ cup of your plain yogurt (the starter culture). Whisk these two ingredients together thoroughly until the mixture is smooth and lump-free. This tempering step helps to gradually introduce the starter culture to the warmer milk, preventing shocking the bacteria. Then, gently stir this yogurt-milk mixture back into the large saucepan with the remaining warm milk. Mix well to ensure the starter cultures are evenly distributed throughout the milk.
- Incubate the Mixture: Transfer the milk and yogurt mixture into a clean glass container or bowl. Cover it tightly with a lid or a clean kitchen towel. Now, you need to provide a warm, stable environment for the fermentation process. The ideal temperature for incubation is around 110 degrees Fahrenheit (43 degrees Celsius). Several methods work:
- Yogurt Maker: The simplest option, as it maintains a consistent temperature.
- Oven with Light On: The warmth from the oven light is often sufficient to keep the temperature stable.
- Cooler with Warm Water: Place your yogurt container in a cooler filled with warm water (around 110°F), closing the lid to trap the heat.
- Warm Spot in Kitchen: A less controlled but sometimes effective method if your kitchen has a naturally warm area.
Allow the mixture to incubate for 6 to 12 hours. The longer it incubates, the tangier and thicker your yogurt will become. After the incubation period, the mixture should have set and thickened into a creamy, gelatinous yogurt.
- Strain and Store: To transform your plain yogurt into Greek yogurt, it needs to be strained. Line a fine mesh strainer with a cheesecloth or a clean, tightly woven kitchen towel, then place this strainer over a larger bowl (to catch the whey). Carefully pour the thickened yogurt into the lined strainer. Allow it to drain for at least 2 hours, or until it reaches your desired thickness. For an extra-thick, spreadable Greek yogurt, you might strain it for 4-6 hours or even overnight in the refrigerator. The liquid that drains off is whey, which is rich in nutrients and can be used in smoothies, baking, or even as a fertilizer for plants. Once your Greek yogurt has achieved the perfect consistency, transfer it to an airtight container and store it in the refrigerator.
Troubleshooting Common Homemade Yogurt Issues
While making yogurt is generally straightforward, you might encounter a few hurdles:
- Yogurt is too thin or hasn’t set:
- Temperature issues: The milk might not have been heated enough (to 185°F) or was too hot (above 115°F) when the starter was added, killing the cultures.
- Insufficient incubation: Not enough time for the cultures to work. Extend incubation time.
- Inactive starter: Ensure your starter yogurt has fresh, active cultures.
- Ultra-pasteurized milk: This type of milk can sometimes result in a thinner yogurt.
- Yogurt is too tangy: You’ve likely incubated it for too long. Reduce the incubation time next time to achieve a milder flavor.
- Yogurt has a grainy texture: This can happen if the milk was heated too quickly or scorched, or if the starter wasn’t fully whisked into the milk before adding. Ensure gentle heating and thorough mixing.
- Mold or strange colors: This indicates contamination. Discard the batch immediately. Always use sterilized containers and fresh ingredients.
Delightful Serving Suggestions for Your Homemade Greek Yogurt
Your freshly made Greek yogurt is incredibly versatile. Here are just a few ways to enjoy it:
Breakfast & Snacks:
- Classic with Honey and Berries: A timeless combination that highlights the yogurt’s natural tang.
- Granola Parfait: Layer with your favorite granola, fresh fruits, and a drizzle of maple syrup.
- Smoothie Base: Adds creaminess and protein to any fruit or vegetable smoothie.
- Fruit Dip: Mix with a touch of honey and vanilla for a healthy dip for apple slices or strawberries.
Savory Dishes:
- Tzatziki Sauce: The quintessential Greek dip, perfect with grilled meats or vegetables.
- Creamy Salad Dressings: A healthier alternative to mayonnaise or sour cream in dressings.
- Marinade for Meats: Its acidity tenderizes meat while adding a subtle tang.
- Topping for Soups and Chilis: A dollop adds richness and a cooling contrast.
- High Protein Feta Cucumber Sauce: A refreshing and flavorful sauce for various dishes.
Desserts:
- Yogurt Bark: Spread on a baking sheet, top with fruit and nuts, and freeze for a healthy treat.
- No-Bake Cheesecakes: Can replace cream cheese for a lighter, tangier dessert.
- Yogurt Filled Granola Cups: A creative and satisfying dessert or breakfast option.
- Viral Chocolate Strawberry Yogurt Clusters: A trendy and delicious way to enjoy your homemade yogurt.
Exciting Variations to Customize Your Yogurt
Once you’ve mastered the basic recipe, feel free to get creative with flavor additions:
- Sweetness: Drizzle in honey, maple syrup, or agave nectar after straining for a touch of sweetness.
- Fruity Boost: Fold in fresh berries, diced peaches, or a swirl of fruit compote.
- Vanilla Aroma: Add a splash of pure vanilla extract for an amazing fragrance and flavor.
- Citrus Brightness: Shave in orange, lime, or lemon zest for a refreshing, bright note.
- Warm Spices: Shake some ground nutmeg, cinnamon, or allspice into the yogurt for a comforting, warm flavor.
- Nutty Crunch: Stir in chopped nuts like almonds, walnuts, or pecans for added texture and healthy fats.
- Non-Dairy Options: While this guide focuses on dairy milk, advanced yogurt makers can experiment with non-dairy milks like almond or soy, though the process and results may vary.
Storing Your Homemade Greek Yogurt
Yes, you can absolutely store your homemade Greek yogurt, and it keeps remarkably well! Proper storage ensures you can enjoy your delicious creation for an extended period.
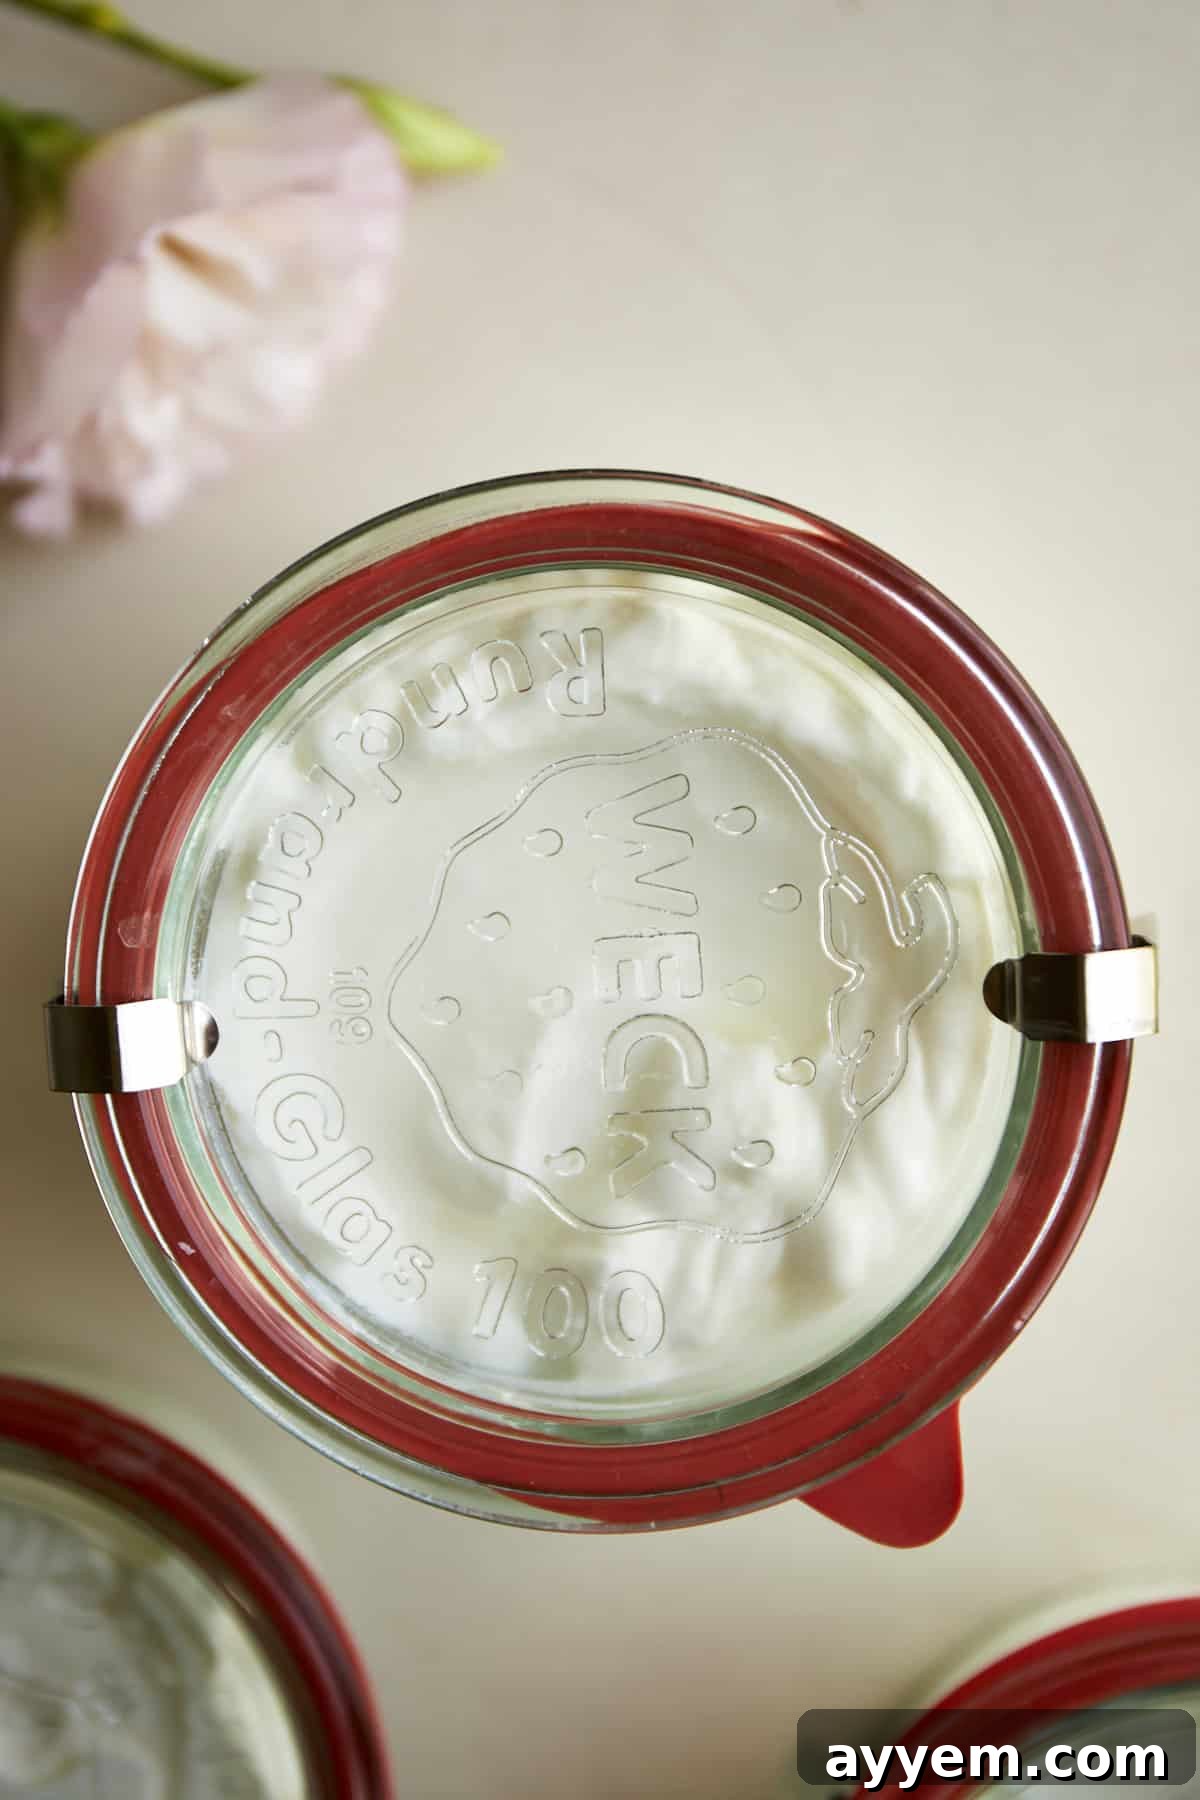
Once strained to your desired consistency, transfer the Greek yogurt to an airtight container. Store it in the refrigerator at a consistent cool temperature. Properly stored homemade Greek yogurt will stay fresh and delicious for 1 to 2 weeks. Always use a clean spoon each time you serve yourself to prevent introducing foreign bacteria that could shorten its shelf life. If you notice any unusual odors, discoloration, or mold, it’s best to discard the batch.
Common Questions About Homemade Greek Yogurt
Absolutely! The straining process removes much of the whey, which is mostly water, and concentrates the milk solids. This means that homemade Greek yogurt is significantly higher in protein than regular yogurt, making it an excellent choice for satiety, muscle repair, and a fulfilling snack or breakfast. It’s one of the most effective ways to boost your protein intake without relying on meat or protein powders.
Yes, it is! As long as you use a starter yogurt with live active cultures and maintain proper temperatures during incubation, your homemade Greek yogurt will be packed with beneficial bacteria. These probiotics are known to support healthy digestion, improve gut health, and contribute to overall well-being and immunity.
Naturally, yes. Yogurt itself is a dairy product and does not contain gluten. Therefore, your homemade Greek yogurt will be gluten-free, provided you don’t add any gluten-containing ingredients as mix-ins. Always check the labels of any additional ingredients like granola or toppings if you are strictly adhering to a gluten-free diet.
Many enthusiasts argue that homemade Greek yogurt tastes vastly superior. It offers a freshness and vibrant tanginess that is often missing from mass-produced versions. You also have the advantage of adjusting the thickness and tanginess to your personal preference. Plus, there’s an undeniable sense of accomplishment and satisfaction that comes from making something so delicious from scratch.
You can, but expect a thinner result. Whole milk yields the creamiest and thickest Greek yogurt due to its higher fat content. Skim milk yogurt will still be nutritious and tangy, but its texture will be noticeably lighter and less rich, even after straining.
Don’t discard the whey! It’s a nutrient-rich liquid. You can use it in smoothies for an extra protein boost, as a liquid in baking (replacing water or milk in recipes for bread or pancakes), to ferment vegetables, or even as a high-nutrient water for plants in your garden. It’s a fantastic byproduct with many uses!
Recipes You Can Make With Homemade Greek Yogurt
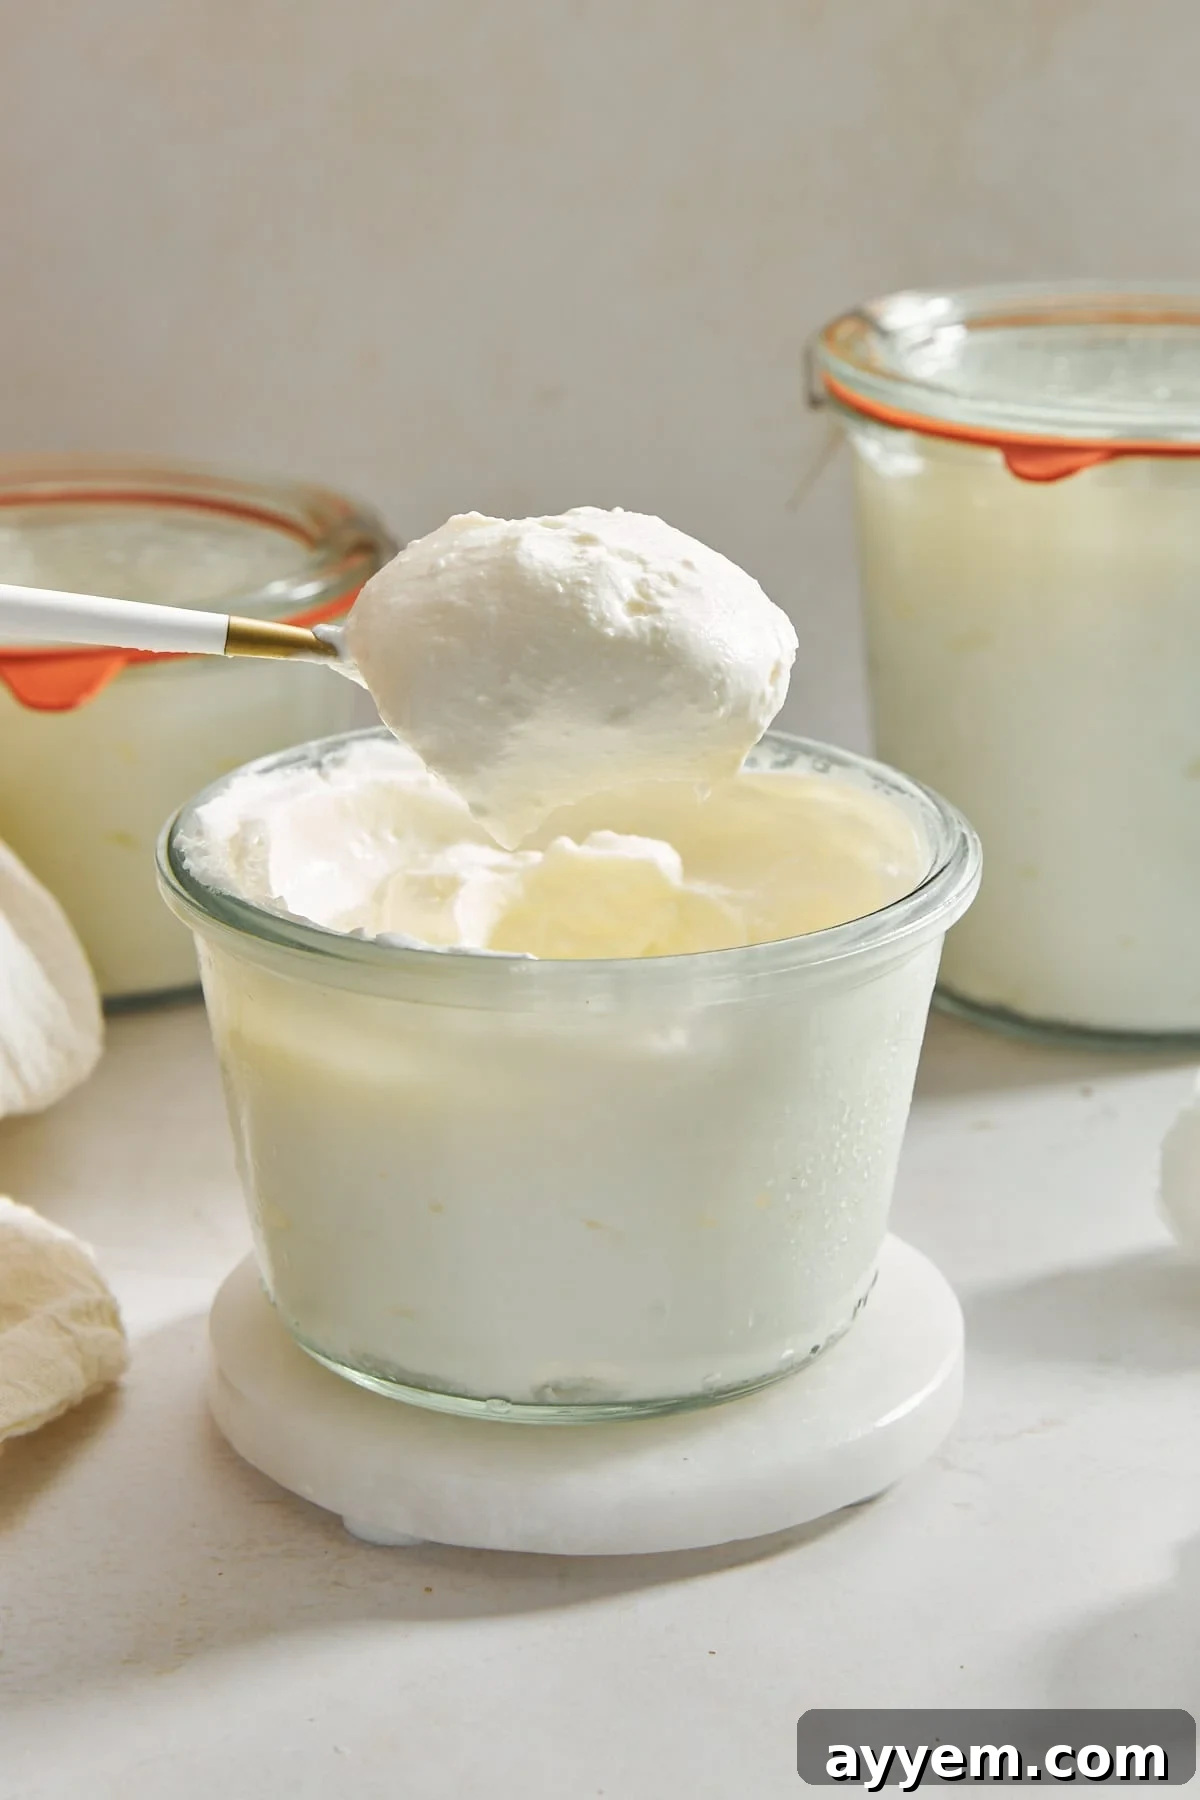
Once you’ve made a big batch of your delicious homemade Greek yogurt, the culinary possibilities are endless! Beyond enjoying it by the spoonful, here are some fantastic recipes where your yogurt will shine:
- Viral Chocolate Strawberry Yogurt Clusters
- Tzatziki Sauce
- Watermelon Pizza
- High Protein Feta Cucumber Sauce
- Yogurt Filled Granola Cups
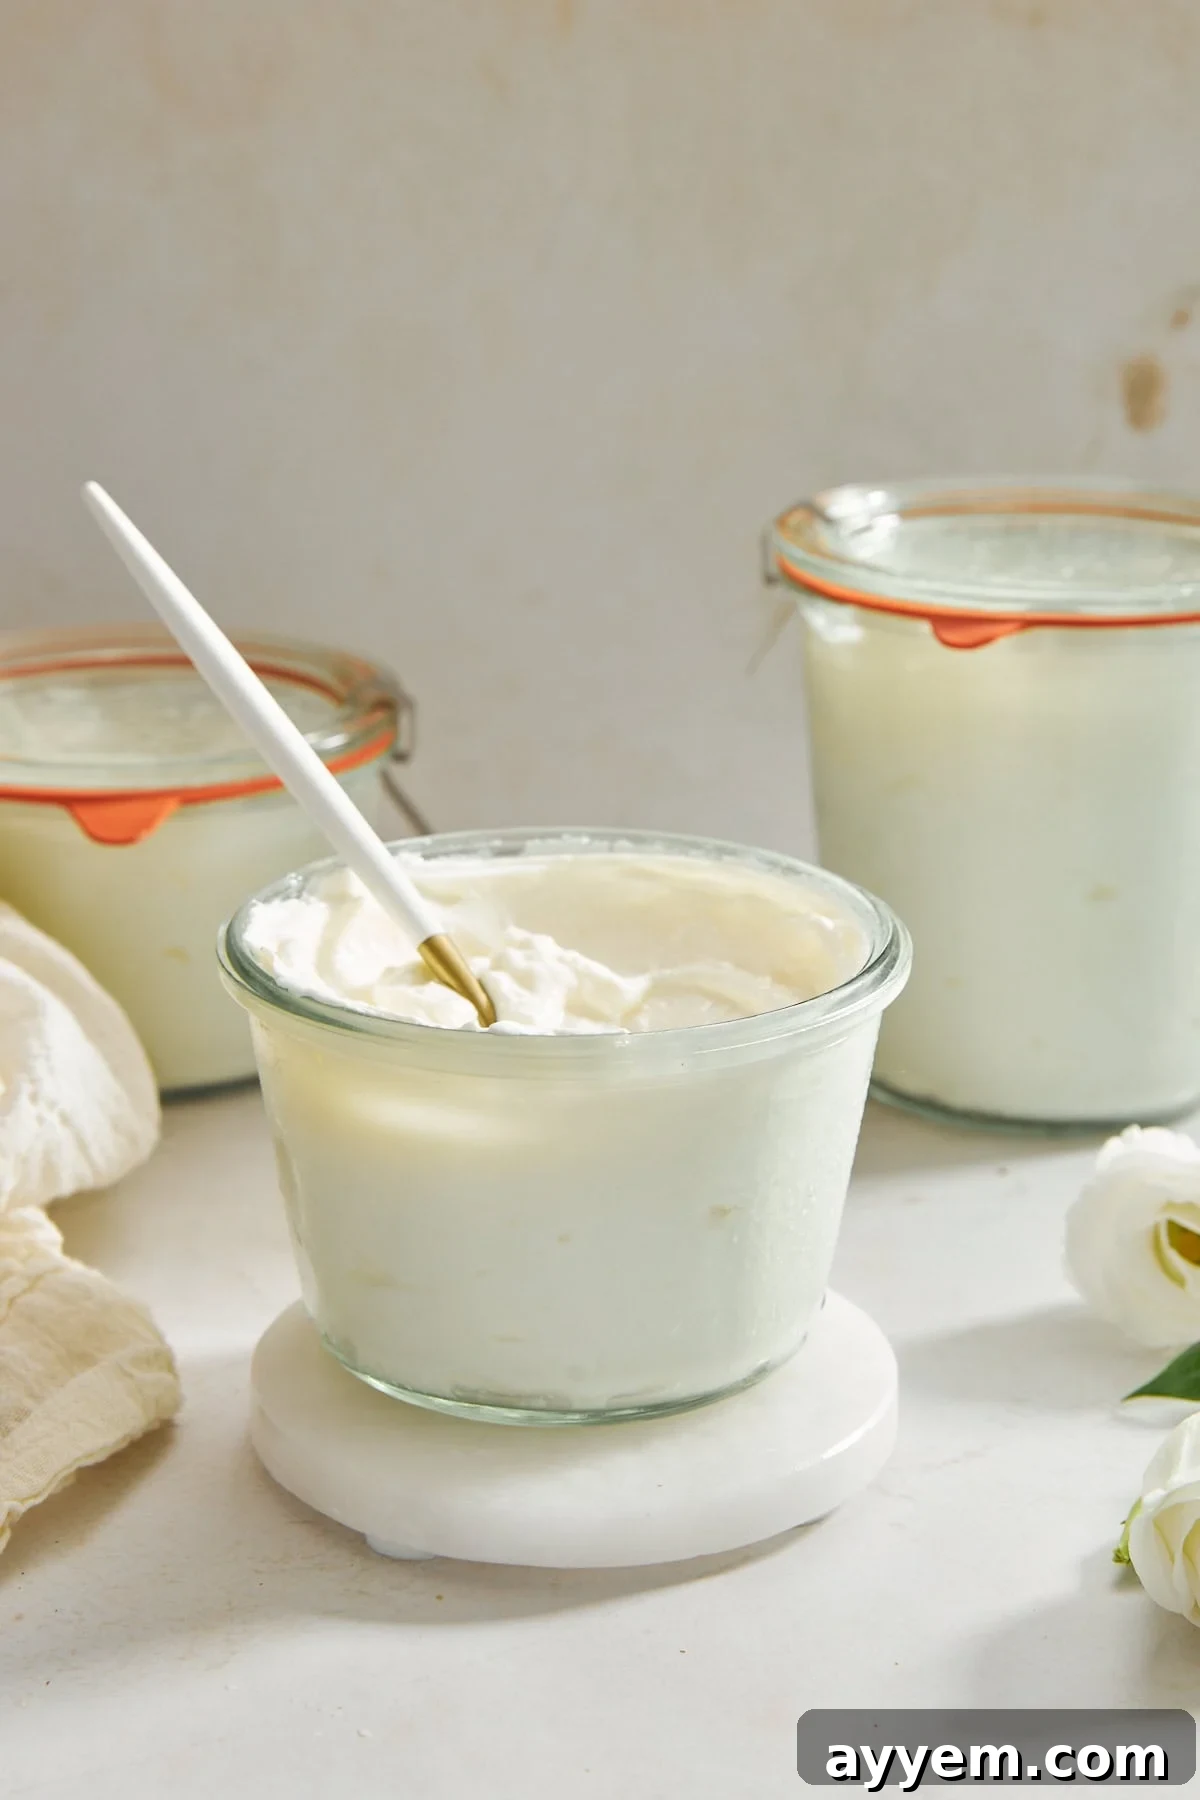
Homemade Greek Yogurt Recipe
Food Dolls
8 servings
10 mins
5 mins
15 mins
Ingredients
- 8 cups 2% or whole milk (preferably whole for a creamier yogurt)
- ½ cup plain yogurt with live active cultures (for starter)
Instructions
-
Pour the milk into a large saucepan.8 cups 2% or whole milk
-
Heat the milk over medium heat until it reaches 185°F. Use a kitchen thermometer to check the temperature.
-
Stir the milk occasionally to prevent a skin from forming and to ensure even heating. Remove the saucepan from the heat.
-
Allow the milk to cool down to 110°F. Tip: To speed up the cooling process, you can place the saucepan in an ice bath.
-
Once the milk has cooled to 110°F, take about 1 cup of the milk and mix it with the yogurt in a small bowl until smooth.½ cup plain yogurt with live active cultures
-
Pour this mixture back into the saucepan and stir gently to combine.
-
Pour the milk mixture into a clean glass container or bowl. Cover it with a lid or a clean kitchen towel.
-
Place the container in a warm environment where it can maintain a temperature of about 110°F. You can use an oven with the light on, a yogurt maker, or a warm spot in your kitchen.
-
Let the mixture incubate for 6-12 hours, depending on how tangy you like your yogurt. The longer it incubates, the tangier it will be. After the incubation period, the mixture should have thickened into yogurt.
-
To make Greek yogurt, strain the yogurt to remove excess whey. Place a cheesecloth or a clean kitchen towel over a fine mesh strainer, and set it over a bowl.
-
Pour the yogurt into the strainer and let it drain for at least 2 hours, or until it reaches your desired thickness.
-
Store it in the refrigerator and consume within 1-2 weeks.
Equipment
Nutrition
Carbohydrates: 97 g |
Protein: 68 g |
Fat: 66 g |
Saturated Fat: 39 g |
Polyunsaturated Fat: 2 g |
Monounsaturated Fat: 15 g |
Cholesterol: 250 mg |
Sodium: 798 mg |
Potassium: 3118 mg |
Sugar: 100 g |
Vitamin A: 3284 IU |
Vitamin C: 1 mg |
Calcium: 2549 mg |
Iron: 0.1 mg
Nutrition information is automatically calculated, so should only be used as an approximation.
Like this recipe?
Please leave a comment!
Conclusion: Embrace the Art of Homemade Greek Yogurt
Making your own Greek yogurt is a rewarding experience that offers a multitude of benefits, from superior taste and freshness to significant cost savings and complete control over ingredients. It’s a simple process that demystifies a pantry staple, empowering you to create a healthy, versatile, and utterly delicious dairy product right in your own kitchen.
With just milk and a quality yogurt starter, you can embark on a culinary journey that yields creamy, protein-packed Greek yogurt tailored to your exact preferences. Whether you enjoy it plain, sweetened with honey, or as a base for savory dips, the possibilities are endless. So, gather your ingredients, follow these steps, and discover the pure joy of homemade Greek yogurt. Your taste buds and your wallet will thank you!