
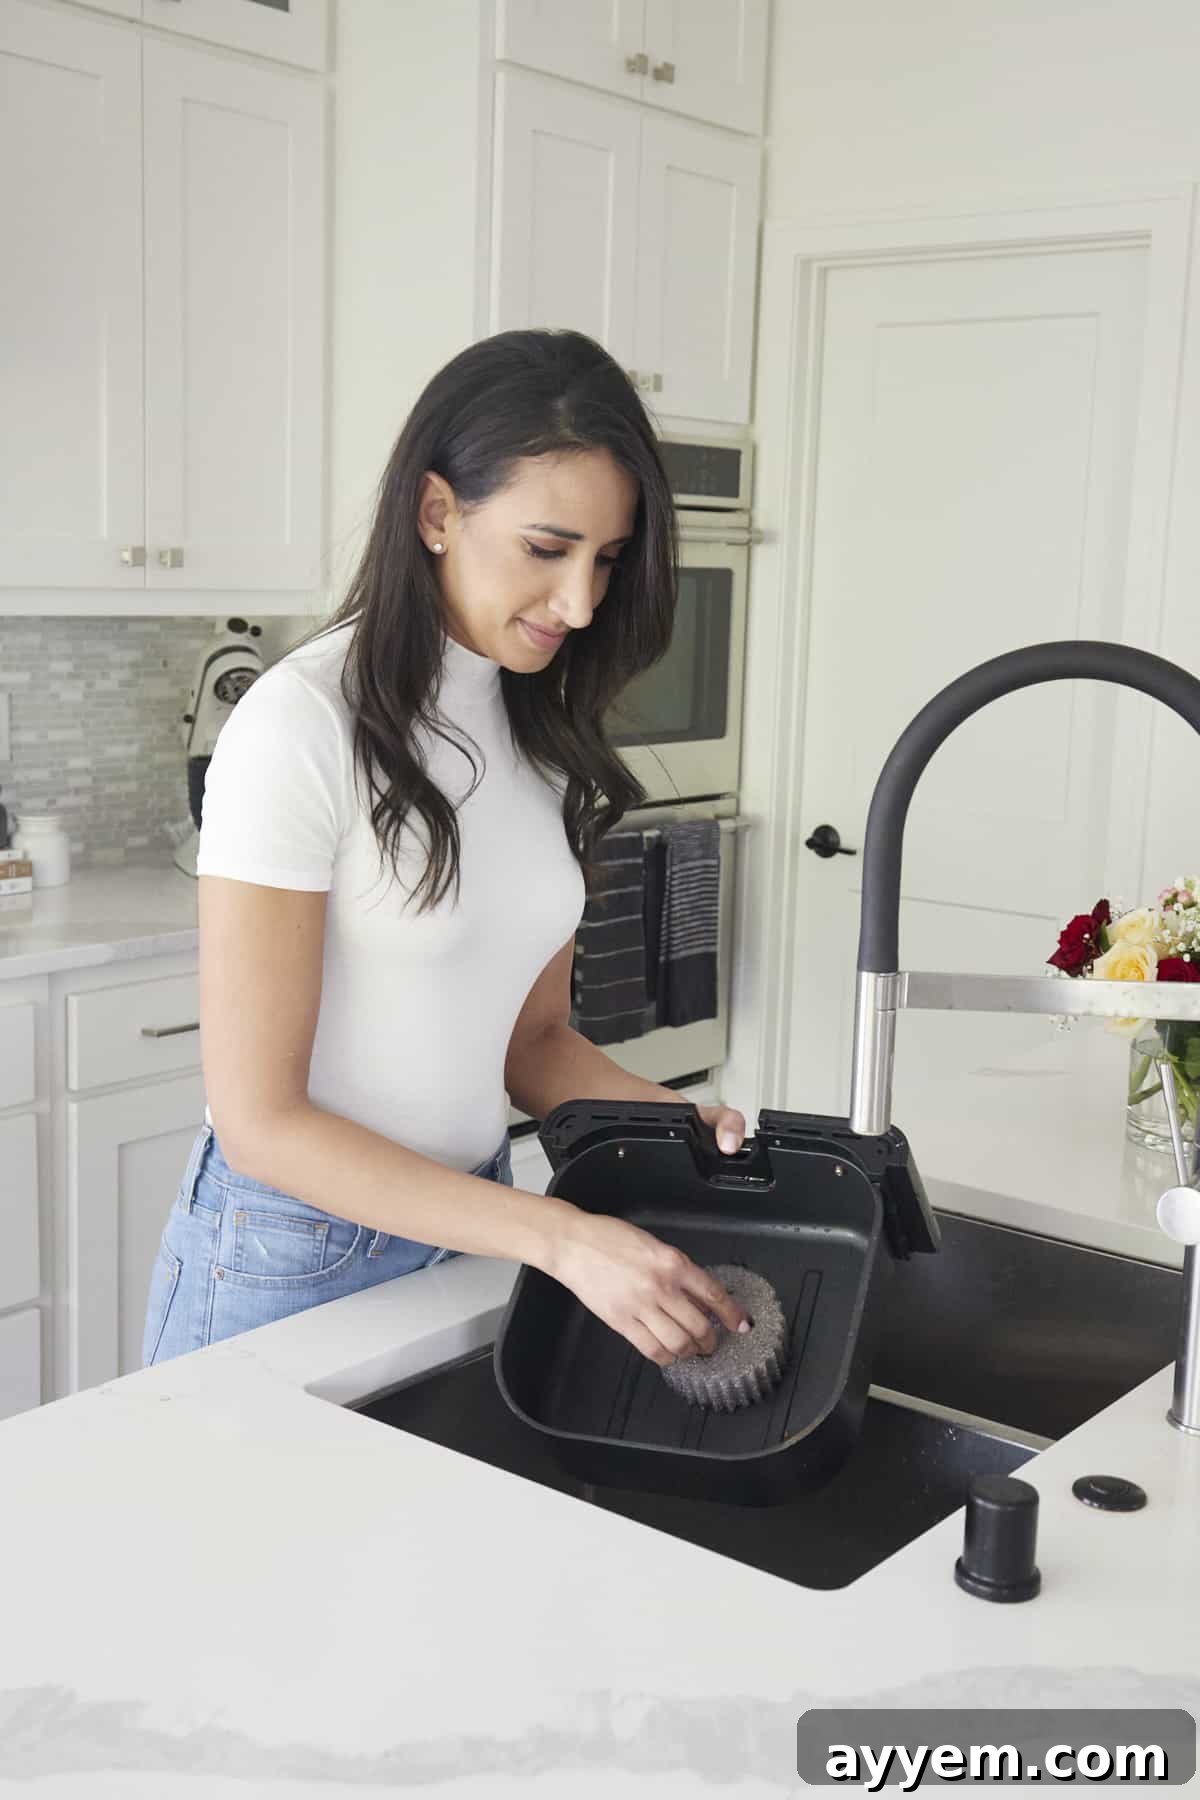
Your air fryer has likely become an indispensable kitchen companion, transforming everyday meals and making healthier cooking a breeze. From crispy breakfast treats to succulent weeknight dinners, this versatile gadget works tirelessly to deliver delicious results. But with great power comes great responsibility – the responsibility of keeping it impeccably clean. A well-maintained air fryer not only performs better but also lasts longer, ensures food safety, and prevents unpleasant odors and smoke. Our comprehensive guide will walk you through the simplest and most effective ways to clean your air fryer, ensuring it stays pristine and functions like new for years to come.
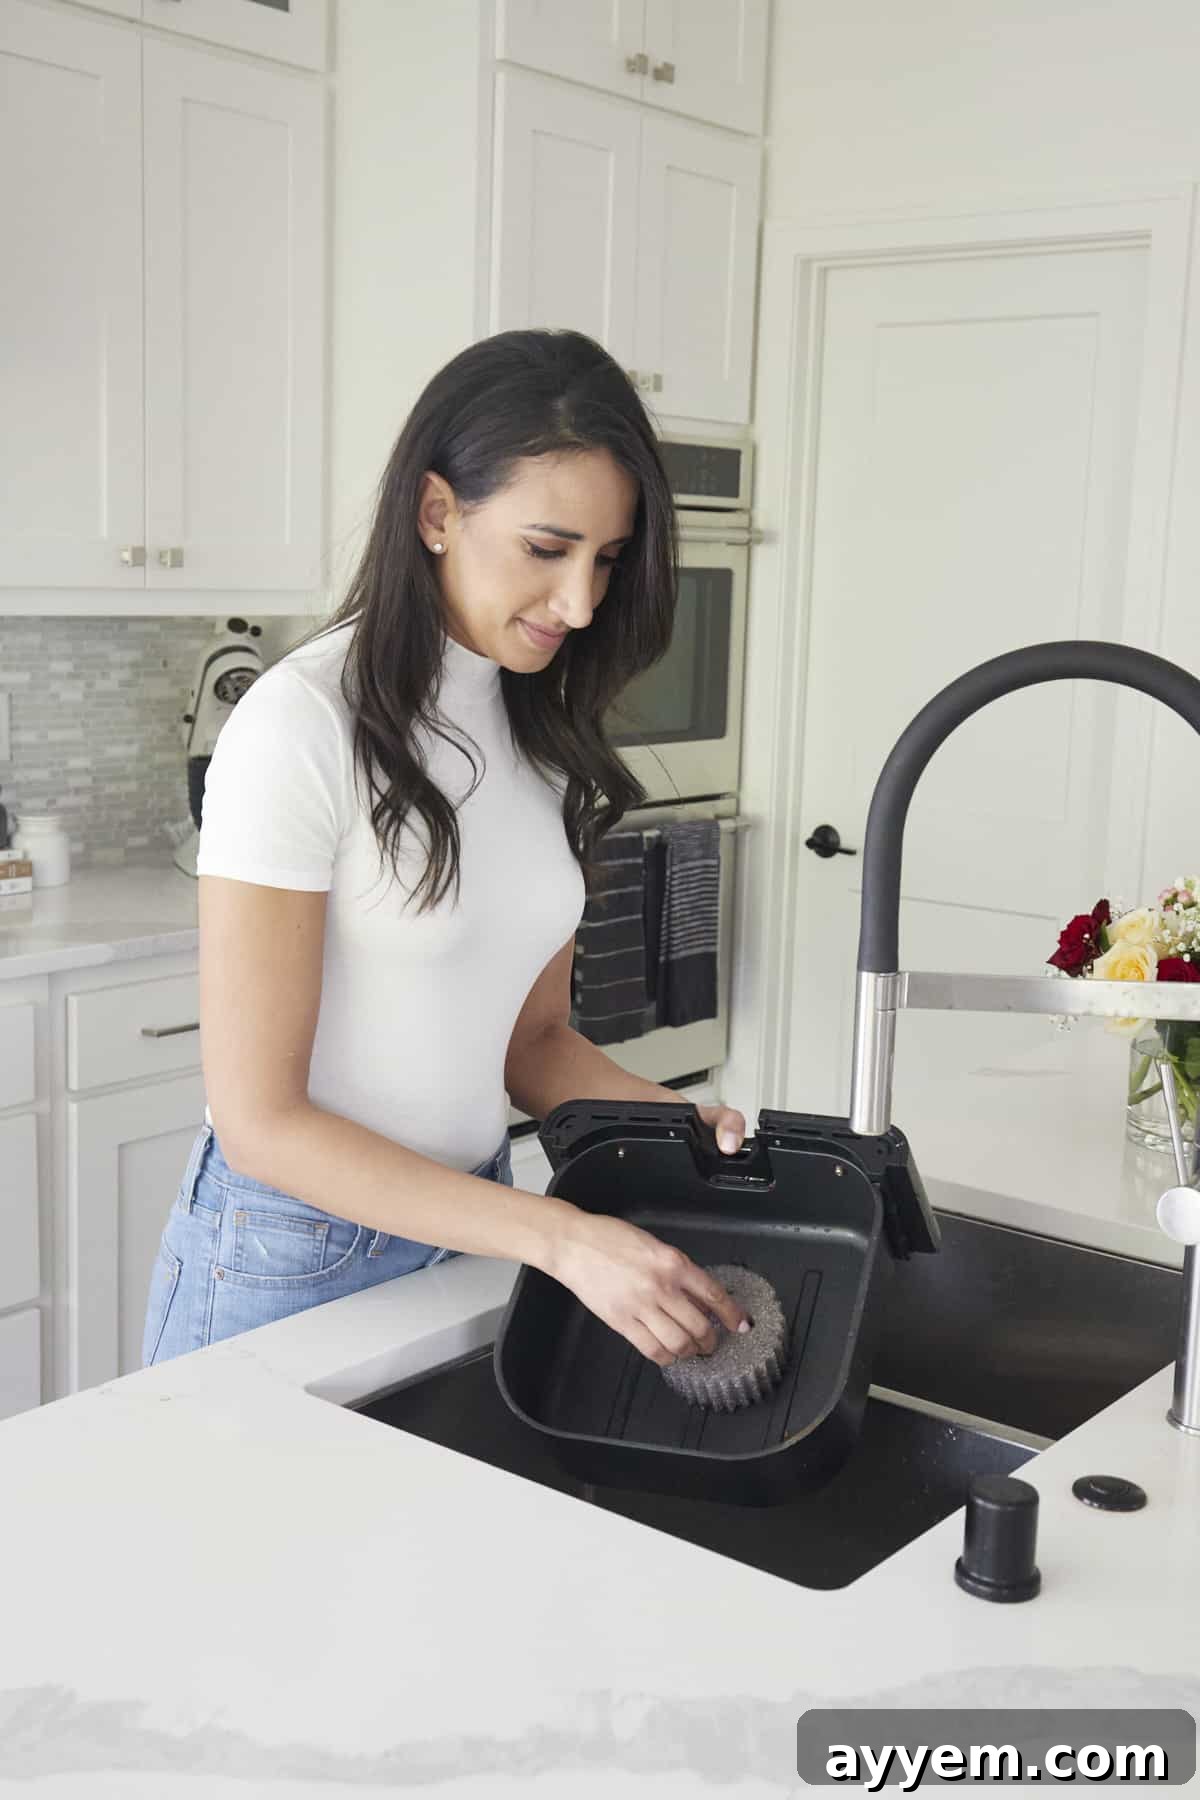
If your air fryer is anything like ours, it’s probably running almost constantly. We rely on it daily for everything from quick breakfast options like Cinnamon Roll French Toast Roll-Ups to satisfying afternoon snacks such as Air Fryer Sesame Crusted Feta and Air Fryer Mozzarella Cheese Sticks. It even takes center stage for delicious weeknight dinners, including our favorite Air Fryer Chicken Shawarma. With such heavy use, it’s inevitable that food residues, grease, and crumbs will accumulate, making regular cleaning essential.
🆓 🖨 🚨 FREE PDF PRINTABLE
All that delicious cooking comes at a cost, and that cost is a bit of mess. We used to approach air fryer cleaning with a sense of dread, imagining it to be a time-consuming and difficult chore, especially when faced with stubborn baked-on grease. However, over time, we discovered the proper techniques for cleaning an air fryer, and it turns out, it’s incredibly simple and quick, even for the toughest messes! Now, we’re happy to share all our tried-and-true methods with you, so you can keep your air fryer spotless without the fuss.
Why Regularly Cleaning Your Air Fryer Matters
Beyond simply maintaining a tidy kitchen, consistent air fryer cleaning offers several significant benefits:
- Enhanced Food Safety: Food particles left behind can harbor bacteria and lead to mold growth, posing health risks. Regular cleaning prevents cross-contamination and keeps your meals safe.
- Improved Performance: Accumulated grease and crumbs can hinder airflow, making your air fryer less efficient. A clean air fryer heats more evenly and cooks food faster and crispier.
- Extended Appliance Lifespan: Grease buildup can degrade nonstick coatings and even damage heating elements over time. Proper maintenance protects your investment and ensures your air fryer lasts longer.
- Prevents Unpleasant Odors and Smoke: Lingering food smells and the burning of old grease can create an unpleasant cooking experience and even trigger smoke alarms. A clean air fryer means fresh-smelling food and a smoke-free kitchen.
- Better-Tasting Food: Who wants their fries to taste like last night’s fish? Cleaning eliminates flavor transfer, allowing each dish to taste exactly as it should.
How to Clean an Air Fryer Effectively
Below, we’ll guide you through the complete process of cleaning your air fryer effectively. Adhering to these steps after every few uses (or even a quick wipe-down after each use) will proactively prevent food buildup, minimize cross-contamination risks, and ultimately make the cleaning process a straightforward task.
What You’ll Need for Air Fryer Cleaning
Gathering your cleaning supplies before you start will make the process much smoother. Here’s a list of essential items:
- Water: Both warm and hot water will be your best allies for dissolving grease and rinsing.
- Degreasing Dish Soap: Choose a dish soap known for its grease-cutting power to tackle stubborn oil and food residues.
- Soft Sponge or Bristled Brush: A non-abrasive sponge is perfect for general cleaning, while a soft-bristled brush (like a silicone kitchen brush or an old toothbrush) can reach crevices and gently dislodge stuck-on bits without scratching surfaces.
- Damp Cloth or Clean Paper Towels: For wiping down surfaces and ensuring everything is dry. Microfiber cloths are excellent for streak-free drying.
- Baking Soda (Optional, for stubborn messes): A natural abrasive and deodorizer, useful for creating a paste to tackle baked-on gunk.
- Lemon (Optional, for odors): Great for neutralizing persistent cooking smells.
Step-By-Step Instructions for a Sparkling Clean Air Fryer
Follow these detailed steps to ensure every part of your air fryer is thoroughly cleaned and ready for its next culinary adventure:
- Prioritize Safety: Unplug and Cool. First and foremost, safety comes first. Always begin by unplugging your air fryer from the electrical outlet. This prevents any risk of electrical shock. Once unplugged, allow the appliance to cool down completely before you even think about touching it. Residual heat can cause severe burns, so patience here is key – usually 15-30 minutes, or until the exterior is cool to the touch. In general, we recommend keeping your air fryer unplugged when it’s not in active use.
- Disassemble All Removable Parts. Carefully remove the air fryer basket, interior pan (if separate), racks, and any other removable components. Separate them thoroughly so each piece can be cleaned individually and effectively. This ensures no hidden nooks or crannies are missed.
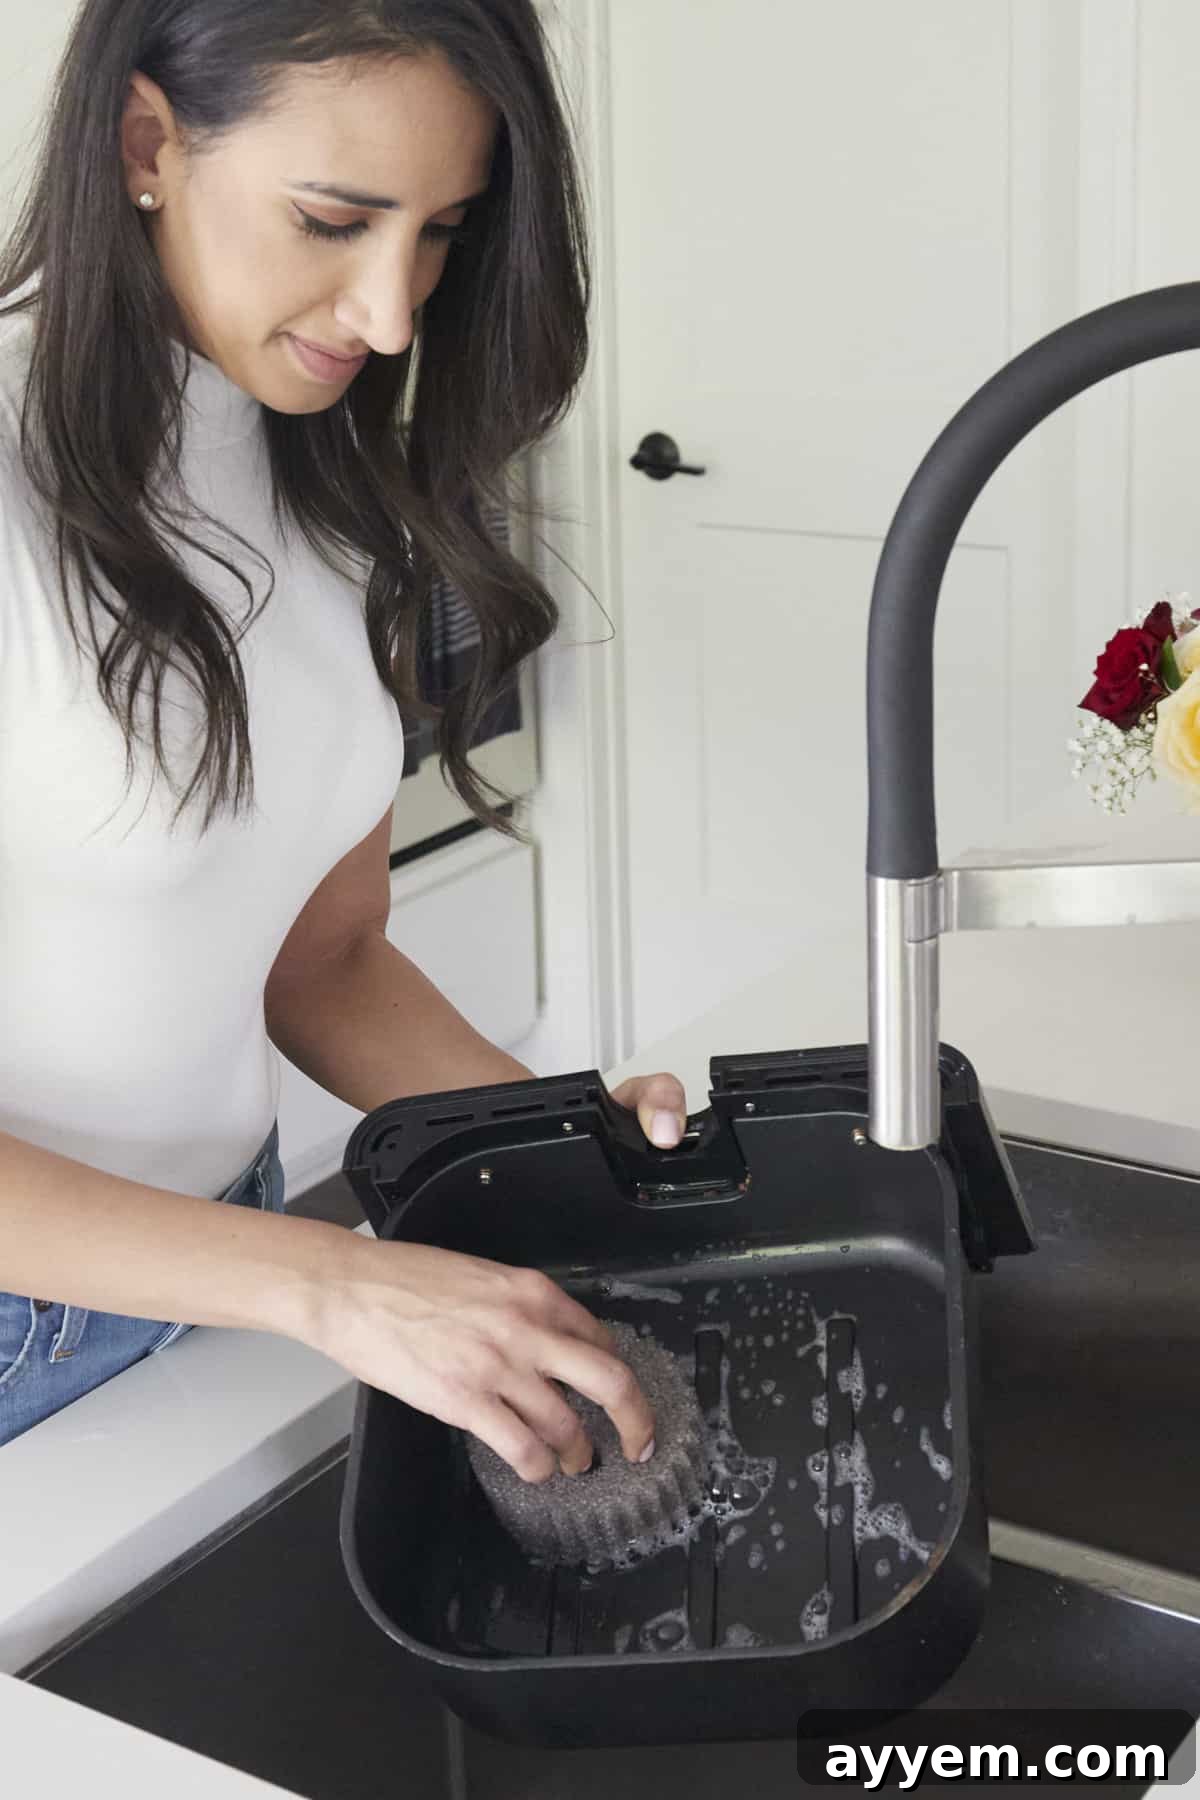
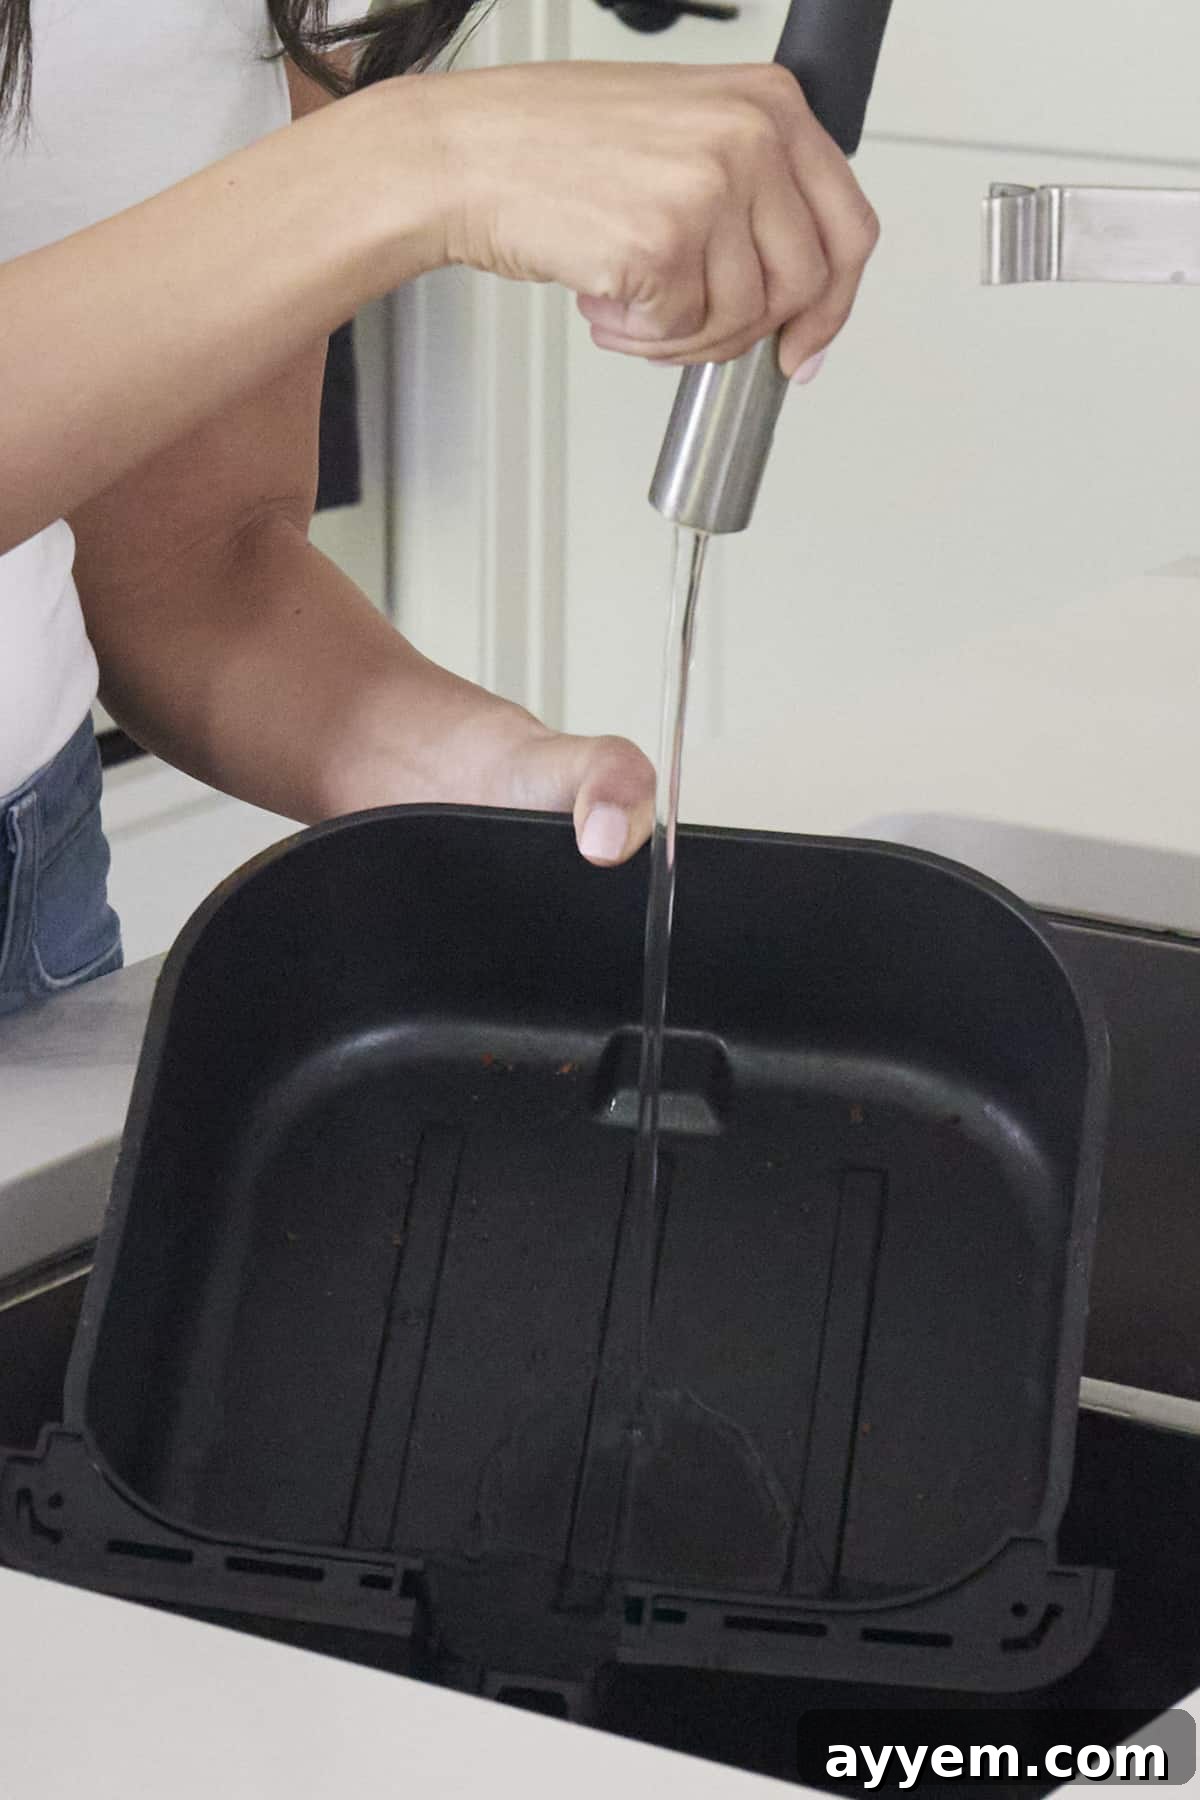
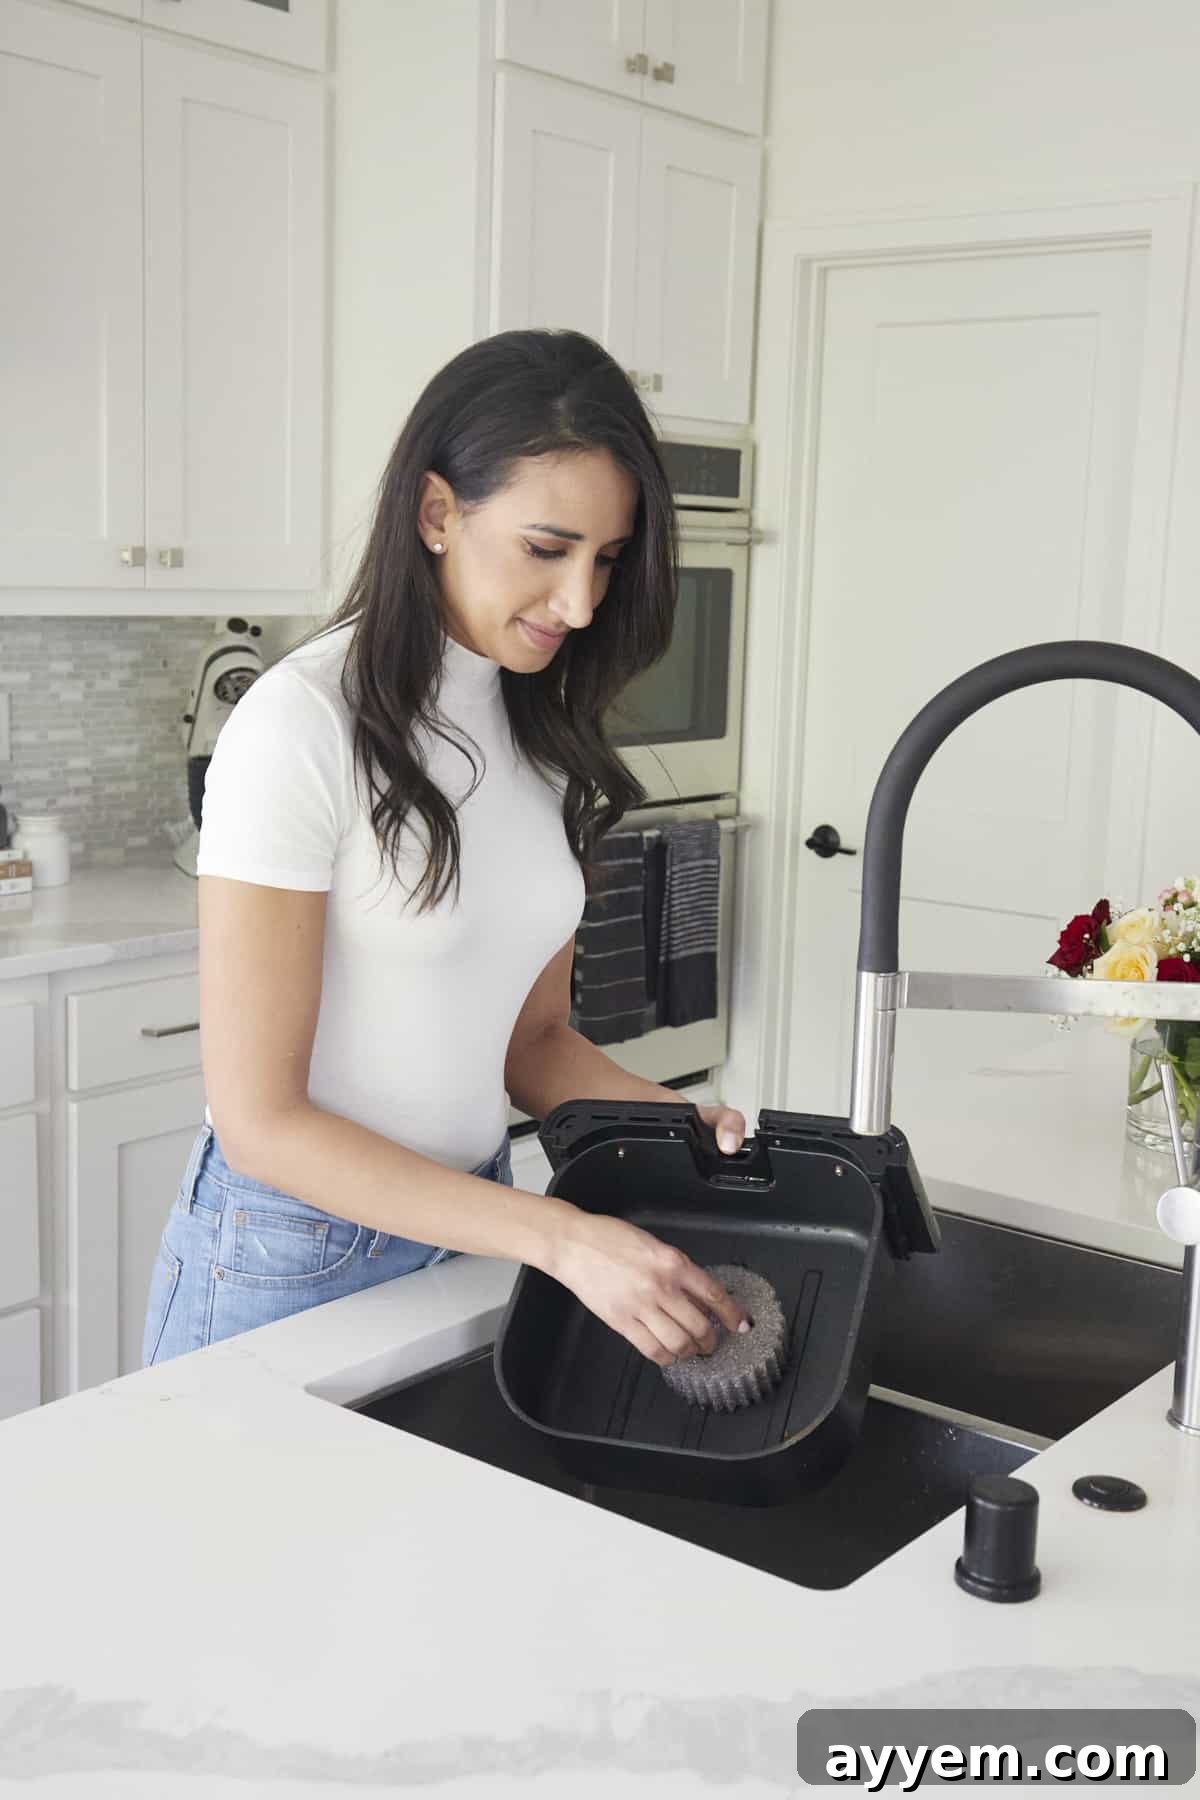
- Wash Removable Components. Take the basket, pan, and any other dishwasher-safe parts to the sink. Fill the sink with warm, soapy water using a good degreasing dish soap. Use a non-abrasive sponge or soft-bristled brush to gently scrub away any food debris, grease, and residue. For tougher spots, a little extra elbow grease or a longer soak might be necessary. Many air fryer components are dishwasher safe – check your appliance manual for specific instructions regarding your model to confirm. If handwashing, pay special attention to perforations and edges where grime can hide.
- Clean the Interior of the Main Unit. While the removable pieces are drying, turn your attention to the main body of the air fryer. Using a damp cloth or a slightly moistened sponge with a tiny bit of dish soap, wipe down the inside cavity. Be careful not to use excessive water, especially near the heating element. Avoid abrasive cleaners or scouring pads, as these can scratch the nonstick coating or damage the interior surface. For persistent stains, a gentle baking soda paste (detailed below) can be effective.
- Address the Heating Element. The heating coil, typically located at the top of the air fryer’s interior, can accumulate grease splatter and food particles. Use a soft, dry brush (like an old, clean toothbrush or a pastry brush) to gently dislodge any trapped food bits from the heating element. It’s crucial not to use water or any liquid cleaners on the heating element, as this can cause damage to the appliance and pose an electrical hazard. Only clean it when the air fryer is completely cool and unplugged.
- Wipe Down the Exterior. Finish by wiping down the exterior of your air fryer. Use a fresh damp cloth or sponge, possibly with a small amount of mild all-purpose cleaner if needed, to remove fingerprints, grease, and dust. Again, be extremely cautious not to allow any water to drip or spray into the interior or vents of the air fryer, which could damage electrical components. Follow up with a dry cloth for a streak-free shine.
- Ensure Thorough Drying. Before reassembling, make sure all parts – both removable and the main unit’s interior and exterior – are completely dry. Air drying is best, or use clean paper towels or a microfiber cloth. Reassembling a damp air fryer can lead to mold, mildew, or even electrical issues.
- Reassemble the Air Fryer. Once every component is perfectly clean and dry, carefully reassemble your air fryer. Now, it’s sparkling clean, fresh, and ready for your next culinary creation!
Maintaining a Clean Air Fryer: Best Practices
Now that your air fryer is pristine and sparkling, you’re probably wondering how to keep it that way. Unfortunately, because it deals with food and high temperatures, preventing it from getting dirty entirely is impossible. However, consistent cleaning and preventative measures are the best way to keep messes from getting out of hand and make future cleaning much easier.
- Wipe Down After Every Use: For minor splashes and crumbs, a quick wipe-down of the basket and interior with a damp paper towel immediately after use (once cooled) can prevent buildup.
- Clean After Every Few Batches: Aim to give the basket and pan a proper wash with soap and water after every one to two cooking sessions, especially if cooking greasy or saucy foods.
- Empty the Drip Tray Regularly: If your air fryer has a separate drip tray, empty and clean it frequently to prevent grease accumulation and smoke.
- Use Air Fryer Liners (with caution): Specially designed air fryer parchment paper liners can help contain messes. They have perforations to allow air circulation. However, ensure they are weighted down by food and don’t come into contact with the heating element, as they can catch fire. Avoid standard baking parchment or aluminum foil unless explicitly recommended by your air fryer manufacturer for specific recipes, as they can block airflow and damage the nonstick coating.
Tackling Stubborn Sticky Residue and Baked-On Grease
Sometimes, warm water and dish soap just aren’t enough to banish those super tough, sticky messes or baked-on grease spots. Don’t despair! There are effective methods to restore your air fryer to its former glory:
Soaking Method: For heavily soiled baskets or trays, fill them with hot water and a generous amount of degreasing dish soap. Let them soak for at least 30 minutes, or even a few hours, to loosen the baked-on grime. This often softens the residue enough for easy scrubbing. After soaking, use your soft sponge or brush to remove the softened residue, then rinse thoroughly.
Baking Soda Paste: For localized sticky spots or baked-on grease that resist soaking, a baking soda paste is a miracle worker. Mix roughly ½ cup of baking soda with a small amount of water to form a thick, spreadable paste. Dab this mixture generously over the stubborn residue and let it sit for 10-15 minutes, allowing the baking soda to work its magic and break down the grime. Then, gently use a soft-bristled brush to scrub the area. The mild abrasive nature of baking soda will help lift the residue without scratching. Wipe off the paste and grime with a damp paper towel or cloth. Finish with a dry cloth, and your air fryer should be good as new.
Vinegar Solution: For an eco-friendly and effective degreasing solution, mix equal parts white vinegar and warm water in a spray bottle. Spray it liberally on greasy areas and let it sit for about 10 minutes. The acidity of the vinegar helps cut through grease. Follow up by scrubbing with a non-abrasive sponge and rinsing thoroughly.
Eliminating Persistent Air Fryer Odors
Cooking strong-smelling foods like fish, garlic, or certain spices can leave a lingering odor in your air fryer that can transfer to subsequent dishes. Here’s how to banish those stubborn smells:
- Lemon Rub: After cleaning, cut a lemon in half. Rub the exposed part of one half over the basket and interior pan. Let it sit for about 15-30 minutes, allowing the natural acids and fresh scent of the lemon to neutralize the odors. Then, wash and rinse the parts as usual.
- Baking Soda Soak: For truly persistent smells, create a thick paste of baking soda and water and spread it over the air fryer basket and pan. Let it sit overnight, then wash thoroughly. Baking soda is a natural deodorizer.
- Vinegar Wash: A quick wash with a solution of warm water and white vinegar can also help neutralize odors. For the main unit, wipe down the interior with a cloth dampened with diluted vinegar.
- Run Empty with Lemon/Vinegar: In some cases, you can place a small, heat-safe bowl with a mixture of water and a few lemon slices or a tablespoon of white vinegar in the air fryer basket. Run the air fryer at a low temperature (e.g., 300°F / 150°C) for 5-10 minutes. The steam generated can help deodorize the interior. Ensure the bowl is heat-safe and only use a small amount of liquid.
Using Air Fryer Liners: Parchment Paper or Foil?
While the idea of using parchment paper or foil to minimize mess is appealing, it comes with important considerations and caveats:
- Aluminum Foil: We generally do not recommend using aluminum foil unless a specific recipe or your air fryer manual explicitly states it’s safe and provides clear instructions. Small pieces of foil can break off and get caught in the heating element or fan, potentially causing damage or even fire. Moreover, foil can block essential airflow, which is critical for the air fryer’s cooking mechanism, leading to unevenly cooked or less crispy food. It can also scratch or degrade the nonstick coating over time.
- Parchment Paper: If you’re looking to reduce cleanup, purpose-made air fryer parchment paper liners are a better option than foil. These liners are designed with perforations to allow air to circulate properly, ensuring your food still cooks evenly and gets crispy. They help prevent food from sticking to the basket and catch drips, making cleanup much quicker. Always ensure the liner is weighted down by food during cooking to prevent it from flying up into the heating element, which can be a fire hazard. Never preheat your air fryer with an empty parchment liner inside.
Ultimately, while liners can help, they shouldn’t replace regular cleaning. A quick wash of the basket and pan remains the most effective way to maintain hygiene and performance.
Common Questions about Cleaning an Air Fryer
Most air fryer baskets and trays are designed to be dishwasher-safe, offering a convenient cleaning option. However, it is always best practice to consult your specific model’s instruction manual first to confirm. Even if it is safe for the dishwasher, handwashing can often help extend the life of the nonstick coating and prevent premature wear.
Yes, at least a quick clean is highly recommended after every use! This involves emptying any crumbs, wiping out visible oil or grease, and ideally washing the basket and drip pan with soap and water. Establishing a regular cleaning routine not only keeps your food tasting fresh and pure but also significantly prevents the dangerous accumulation of grease, which can lead to smoke and reduce the efficiency of your appliance.
To protect the nonstick coating and internal components of your air fryer, you should absolutely avoid using metal utensils, steel wool, or any harsh abrasive sponges or cleaners. These items can scratch and damage the delicate surface, compromising its nonstick properties and making it harder to clean in the future. Similarly, harsh chemical cleaners are unnecessary and can leave behind residues that might contaminate food or damage the appliance; gentle dish soap and water are typically all you need.
While a light cleaning after every use is crucial for daily maintenance, a deeper, more thorough clean is advisable once or twice a month, depending on how frequently you use it. A deep clean involves meticulously wiping down the heating coil (ensuring it’s dry and cool), thoroughly scrubbing the exterior, and diligently checking for and cleaning any hidden grease spots in crevices or under components. This periodic deep cleaning ensures your air fryer continues to run at its optimal performance and maintains its longevity.
More Kitchen Storage and Organization Tips
On a cleaning and organization kick? Check out more of our helpful tips and tricks for a perfectly organized kitchen!
- How to Organize Spices
- Drawer Organizers
- How to Store Uncooked Ground Beef
- How to Store Garlic
How to Clean an Air Fryer
Pin
Would you like to save this? 🔖
We’ll email this post to you, so you can come back to it later!
Ingredients
- Air fryer
Instructions
-
Unplug the air fryer, and let it cool completely.
-
Remove all the parts. Wash them with warm, soapy water and a non-abrasive brush or sponge, removing all debris. Set aside to dry.
-
Using a damp cloth, wipe down the inside of the air fryer. Dry it with a dry cloth.
-
Use a soft-bristled brush to remove any food particles from the heating element. Do NOT use water!
-
Using a damp cloth, wipe down the exterior of the air fryer, being careful not to get any water inside. Dry the device.
-
Reassemble.
Equipment
Nutrition information is automatically calculated, so should only be used as an approximation.
Conclusion: A Clean Air Fryer is a Happy Air Fryer
Maintaining a clean air fryer doesn’t have to be a dreaded chore. By following these simple steps and incorporating regular cleaning into your routine, you can ensure your favorite kitchen gadget remains in top working condition. Not only will a clean air fryer enhance its performance and extend its lifespan, but it will also guarantee healthier, more delicious meals for you and your family every time. Embrace these tips, and enjoy the ongoing benefits of a pristine, high-performing air fryer!