
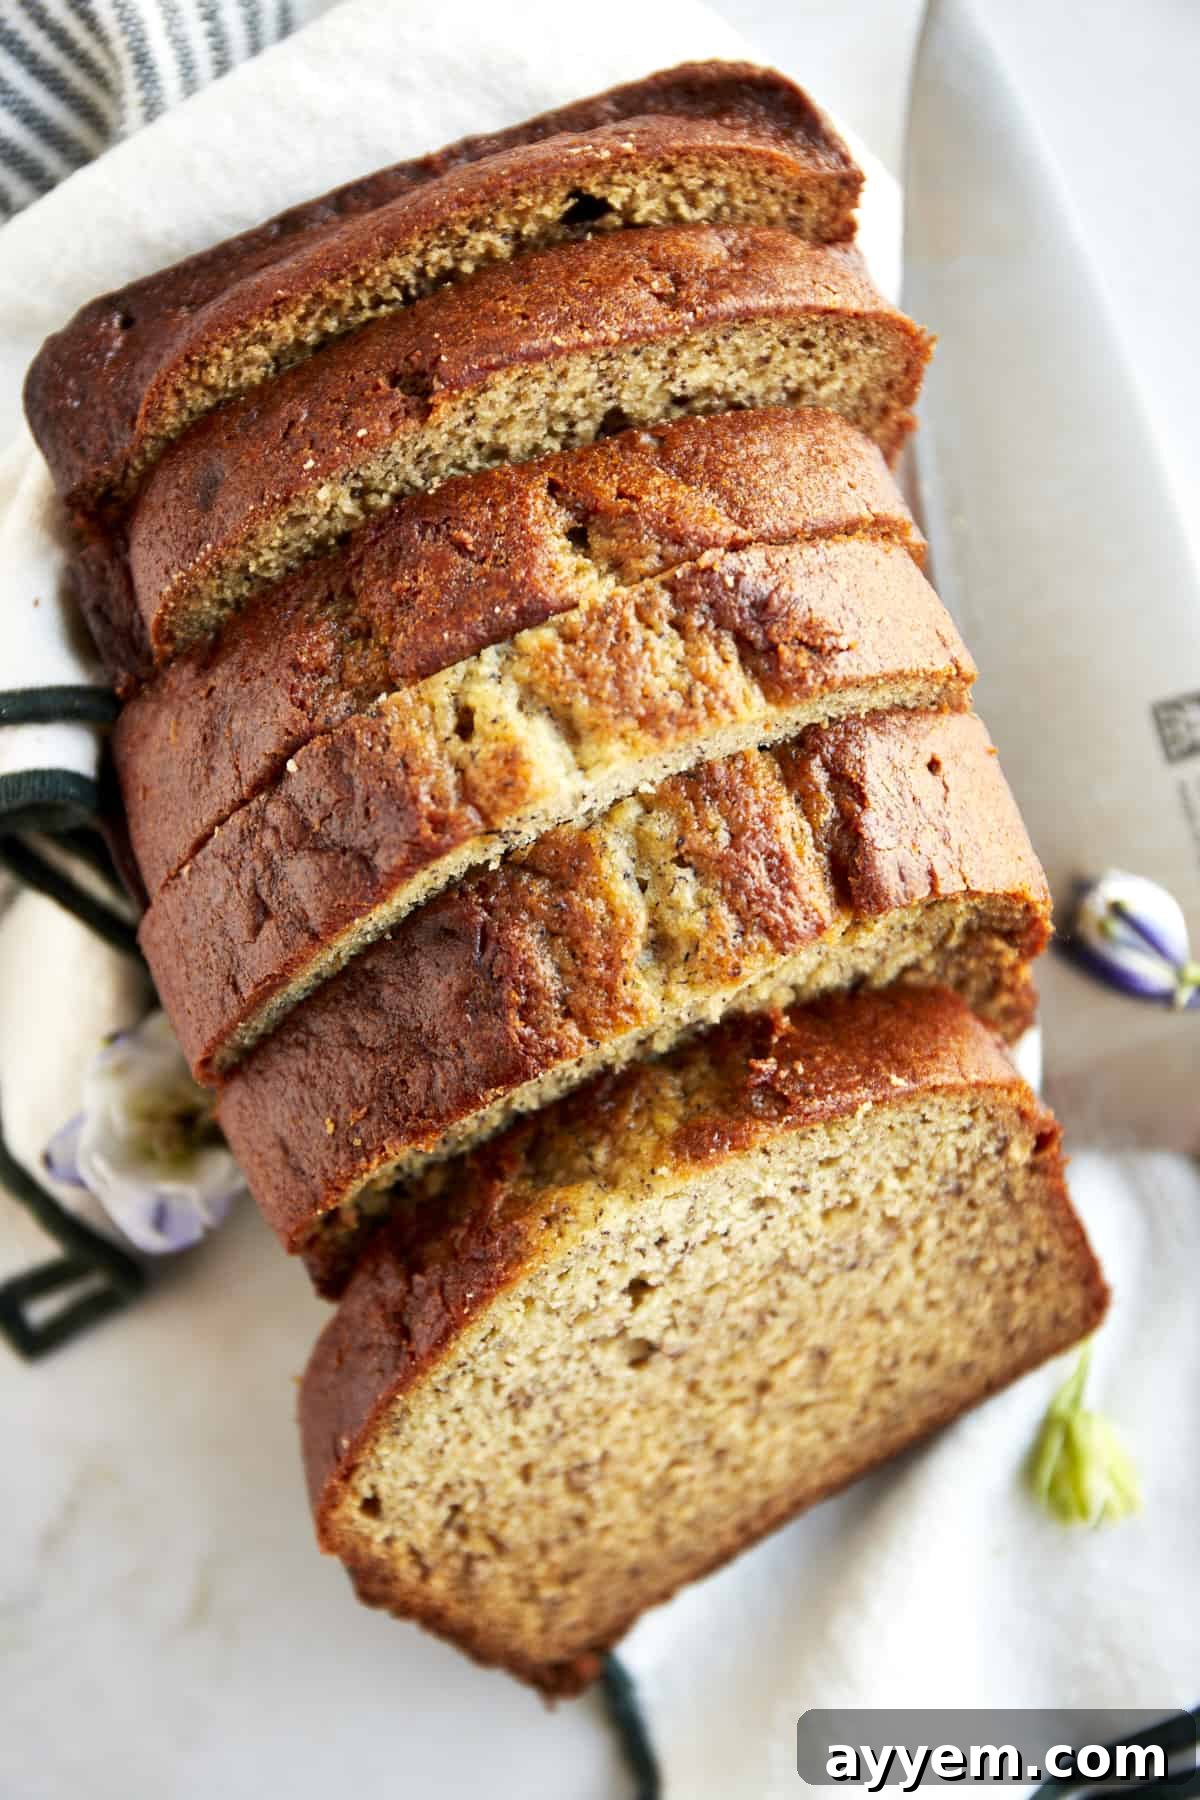
Welcome to the world of effortless baking with our incredible **Blender Banana Bread**! Forget about messy countertops, multiple bowls, and arm-aching mashing. This innovative recipe transforms the classic, beloved banana bread into a quick, one-blender wonder. Imagine sinking your teeth into a perfectly tender, incredibly moist slice, bursting with the sweet, comforting flavor of ripe bananas, all achieved with minimal effort. It’s not just a recipe; it’s a baking revolution for anyone who loves homemade goodness but is short on time.
Whether you’re a busy parent, a student craving a comforting snack, or a novice baker looking for a foolproof triumph, our blender banana bread recipe is designed to deliver outstanding results every single time. It’s a true game-changer, making homemade treats accessible and enjoyable without the usual fuss. Prepare to savor a slice of pure comfort, warmth, and deliciousness, all thanks to a little kitchen magic and the power of your blender!
What Makes Blender Banana Bread a Baking Game Changer?
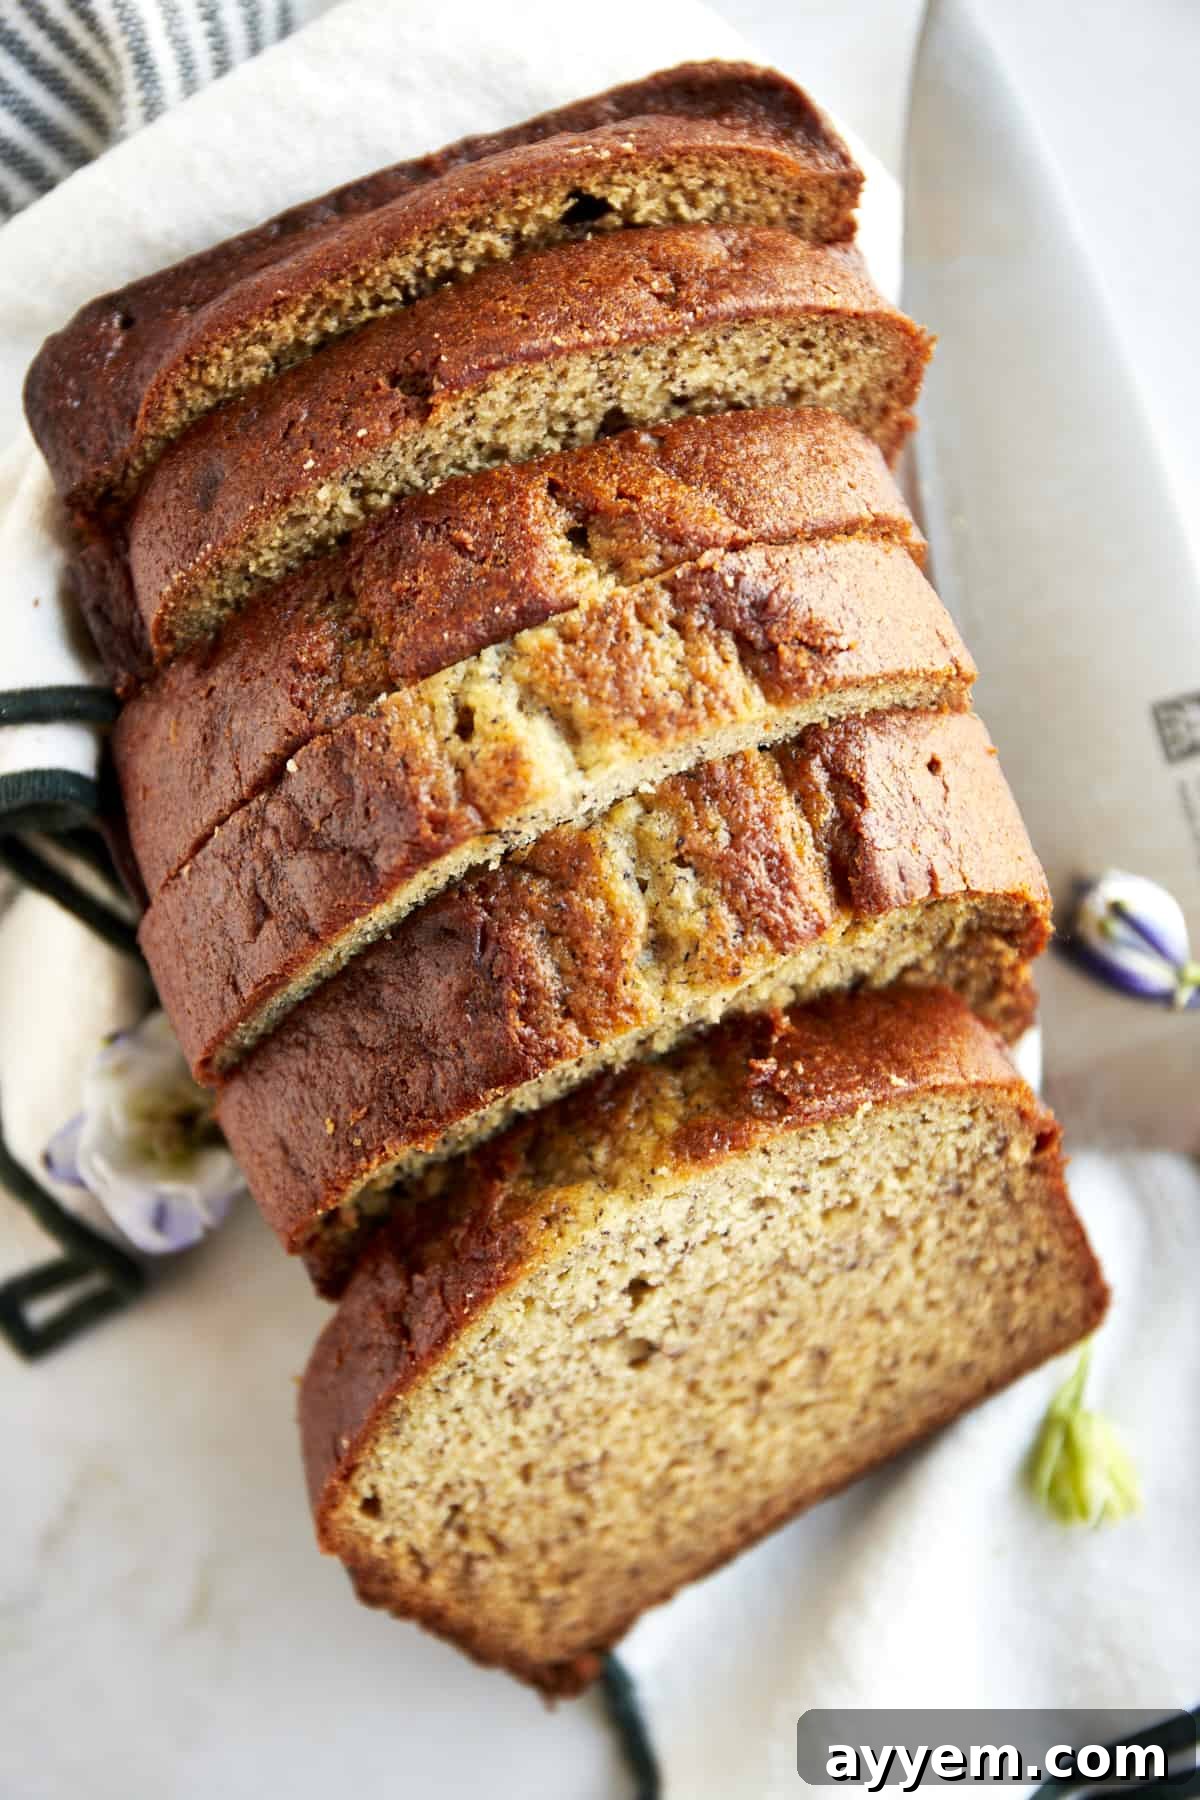
Blender banana bread is exactly what it sounds like: a delightful twist on traditional banana bread where almost all the mixing happens in a blender. Instead of individually mashing bananas, creaming butter and sugar, and then carefully folding in dry ingredients, you simply toss everything into one powerful appliance. This method drastically reduces prep time, minimizes cleanup, and ensures a consistently smooth batter with perfectly incorporated ingredients.
This approach isn’t just about convenience; it’s about efficiency and superior texture. The blender expertly mashes the ripe bananas to a velvety consistency, ensuring every bite is infused with their natural sweetness. It also thoroughly combines the wet ingredients, creating a homogeneous base before the dry components are gently pulsed in. This careful, controlled blending helps prevent overmixing the flour, a common pitfall that can lead to tough, dense banana bread. The result is an effortlessly tender, exceptionally moist, and flavor-packed loaf that comes together in mere minutes, allowing you to be in and out of the kitchen faster than ever. It’s a revelation for anyone seeking delicious homemade treats without the usual kitchen chaos.
Essential Ingredients for Irresistible Blender Banana Bread
Creating an outstanding blender banana bread starts with understanding the role of each ingredient. Below is a comprehensive guide to the components that make this recipe shine, along with crucial tips for selecting and preparing them for optimal results. For precise measurements and detailed nutrition facts, please refer to the complete recipe card further down the page!
- Very Ripe Bananas: The Heart of the Flavor – The secret to truly delicious banana bread lies in using very ripe bananas. Look for bananas with abundant brown spots or even entirely brown skins. At this stage, their starches have converted into sugars, resulting in a naturally sweeter flavor and a softer texture that’s incredibly easy for the blender to pulverize. If your bananas aren’t quite ripe enough, you can speed up the process by placing them in a paper bag with an apple or baking them on a sheet pan at a low temperature until the skins blacken. This concentrated banana flavor is non-negotiable for a vibrant, sweet bread.
- Unsalted Butter (Melted): For Richness and Moisture – We recommend using unsalted butter to have full control over the salt content in your recipe. Melting the butter before adding it to the blender ensures it integrates seamlessly with the other wet ingredients, contributing to a rich flavor and a wonderfully moist crumb throughout the bread. It also adds a depth of flavor that oil simply can’t match.
- Granulated Sugar: Sweetness and Structure – Granulated sugar not only enhances the natural sweetness of the ripe bananas but also plays a vital role in the bread’s structure and tenderness. It helps tenderize the crumb and contributes to the beautiful golden-brown crust through caramelization during baking. Feel free to adjust the quantity slightly based on your personal preference for sweetness and the ripeness of your bananas.
- Large Eggs (Room Temperature): Binding and Lift – Eggs are crucial for binding the ingredients together, providing structure, and adding richness to the batter. Using large eggs at room temperature is important because they emulsify better with other ingredients, resulting in a smoother, more uniform batter and a lighter texture. We have not tested this recipe with egg substitutes and do not recommend them, as they may significantly alter the bread’s texture, potentially leading to a denser result.
- Sour Cream: The Ultimate Moisture Secret – Sour cream is a star ingredient in this recipe, delivering unparalleled moisture, tenderness, and a subtle tangy note that perfectly complements the sweet banana flavor. Its acidity also reacts with the baking soda, aiding in leavening and creating a soft, airy crumb. Full-fat sour cream will yield the richest results, but Greek yogurt can be a suitable substitute if you’re looking for an alternative, though it might slightly change the tanginess.
- All-Purpose Flour: The Foundation of Your Loaf – Standard all-purpose flour provides the necessary structure for the banana bread. For those with gluten sensitivities, a 1:1 gluten-free all-purpose flour blend can be used as a direct substitute. Be aware that gluten-free flours may absorb liquid differently, so slight adjustments to moisture might be needed, and the texture may vary slightly, often being a bit denser.
- Baking Soda & Baking Powder: The Leavening Dream Team – This duo provides the lift needed for a light and fluffy banana bread. Baking soda reacts with the acidic sour cream and bananas, while baking powder offers additional leavening, ensuring a beautifully risen loaf with a tender crumb.
- Sea Salt: Flavor Balancer – A touch of sea salt is essential to balance the sweetness and enhance all the flavors in the bread. It truly makes the banana and other ingredients sing.
- Vanilla Extract: Aromatic Depth – Pure vanilla extract adds a warm, aromatic note that elevates the overall flavor profile of the banana bread, making it even more inviting and delicious.
Mastering the Blender Banana Bread: Simple Steps for Success
Making delicious banana bread has never been easier! Follow these straightforward steps to achieve a perfectly baked, moist, and flavorful loaf every time. The key is in the order of ingredients and careful blending to avoid overmixing.
- Combine the Wet Ingredients First: Begin by adding all your wet ingredients to the blender. This includes the melted butter, room-temperature eggs, roughly chopped very ripe bananas, sour cream, vanilla extract, and granulated sugar. The order matters here: starting with the liquids and softer ingredients helps the blender create a smooth mixture efficiently. Pulse the mixture just until a smooth, uniform consistency forms. This typically takes about 4-5 quick pulses, ensuring everything is well combined without over-processing.
- Gently Incorporate the Dry Ingredients: Next, add all the dry ingredients, including the all-purpose flour, sea salt, baking soda, and baking powder, directly into the blender with the wet mixture. Pulse again, but be extra cautious not to overblend. The goal is to mix until the dry ingredients are just incorporated and no streaks of flour remain. Overblending develops the gluten in the flour too much, which can result in a tough, chewy, and dense banana bread. Just a few quick pulses (another 4-5) should do the trick.
- Prepare for Baking: Preheat your oven to 350°F (175°C). While the oven heats, grease a standard 9×5-inch loaf pan with butter or cooking spray, or line it with parchment paper for easy removal. This preparation prevents sticking and ensures your beautiful loaf comes out intact.
- Pour and Bake: Carefully pour the freshly blended batter into your prepared loaf pan, spreading it evenly. Place the pan into the preheated oven and bake for an initial 45 minutes.
- Cover and Continue Baking for Perfection: After 45 minutes, the top of the bread should be golden brown and set. To prevent the crust from becoming too dark or overcooked while the inside finishes baking, loosely tent the loaf with aluminum foil. This acts as a shield, allowing the internal temperature to rise slowly. Continue baking for an additional 15 to 20 minutes, or until a toothpick inserted into the very center of the loaf comes out clean. This indicates it’s fully cooked through.
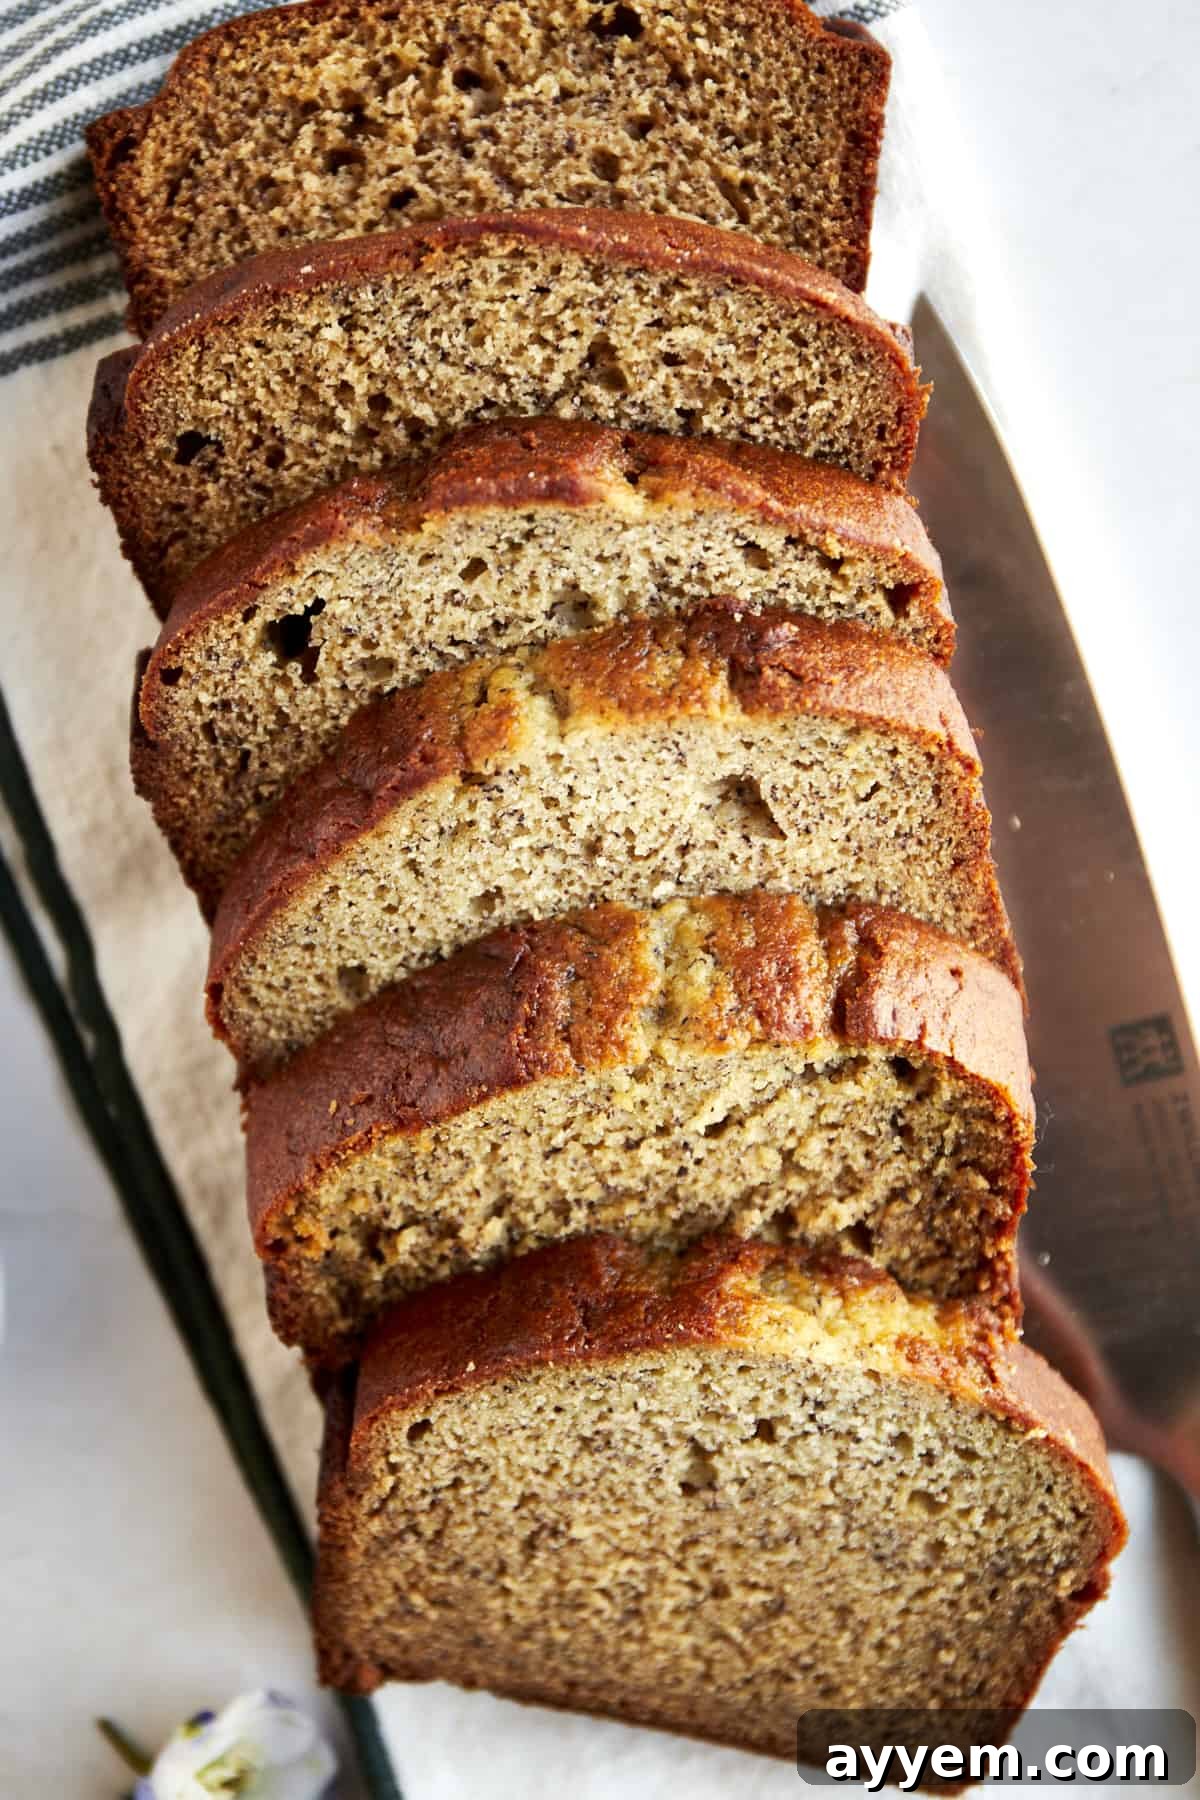
- Cool for Optimal Texture: Once baked, remove the banana bread from the oven. Allow it to cool in the loaf pan for about 10-15 minutes. This crucial resting period allows the bread to set and firm up, making it easier to transfer and preventing it from crumbling. After this initial cooling, carefully transfer the loaf from the pan to a wire rack to cool completely. Cooling on a wire rack ensures air circulation around all sides, preventing condensation and a soggy bottom. Slice and enjoy once fully cooled for the best texture and flavor.
Unleashing Your Creativity: Optional Mix-Ins and Variations
While our blender banana bread is incredibly delicious on its own, allowing the sweet, fruity essence of the bananas to truly shine, it’s also a fantastic canvas for your culinary creativity! Adding mix-ins can introduce exciting new textures and flavors, transforming each slice into a unique experience. Here are some of our favorite optional additions to elevate your banana bread:
- Chopped Nuts: For a delightful crunch and earthy flavor, stir in about 1/2 to 1 cup of chopped walnuts or pecans after you’ve blended the dry ingredients but before the final pulse. Their slightly bitter notes perfectly complement the sweet banana.
- Chocolate Chips: A classic pairing! Milk, semi-sweet, or dark chocolate chips (1/2 to 1 cup) melt beautifully into the warm bread, creating pockets of gooey indulgence. Mini chocolate chips distribute more evenly, but standard chips offer a more substantial chocolatey bite.
- Extra Banana Chunks: For an even more intense banana flavor and delightful pockets of soft fruit, gently fold in 1/2 cup of small banana chunks by hand after the batter is blended. This adds textural contrast to the smooth bread.
- Fresh or Frozen Blueberries: Add a burst of juicy sweetness and a beautiful purple hue with 1/2 to 1 cup of blueberries. If using frozen blueberries, toss them with a tablespoon of flour before adding to the batter to prevent them from sinking to the bottom.
- Spices: Warm spices like 1 teaspoon of ground cinnamon, 1/2 teaspoon of nutmeg, or a pinch of ground cloves can add a wonderfully aromatic depth to your banana bread.
- Dried Fruit: Consider adding 1/2 cup of dried cranberries, raisins, or chopped dates for extra chewiness and concentrated sweetness.
- Coconut Flakes: Toasted or untoasted coconut flakes (1/2 cup) can add a tropical twist and a lovely texture.
- Streusel Topping: For an extra layer of sweetness and crunch, sprinkle a simple streusel topping (made from flour, sugar, cold butter, and cinnamon) over the batter before baking.
Remember, when adding mix-ins, it’s best to gently fold them into the batter by hand after the main blending steps. This prevents them from being pulverized by the blender blades and ensures they are evenly distributed without overmixing the batter.
Storing Your Blender Banana Bread to Maintain Freshness
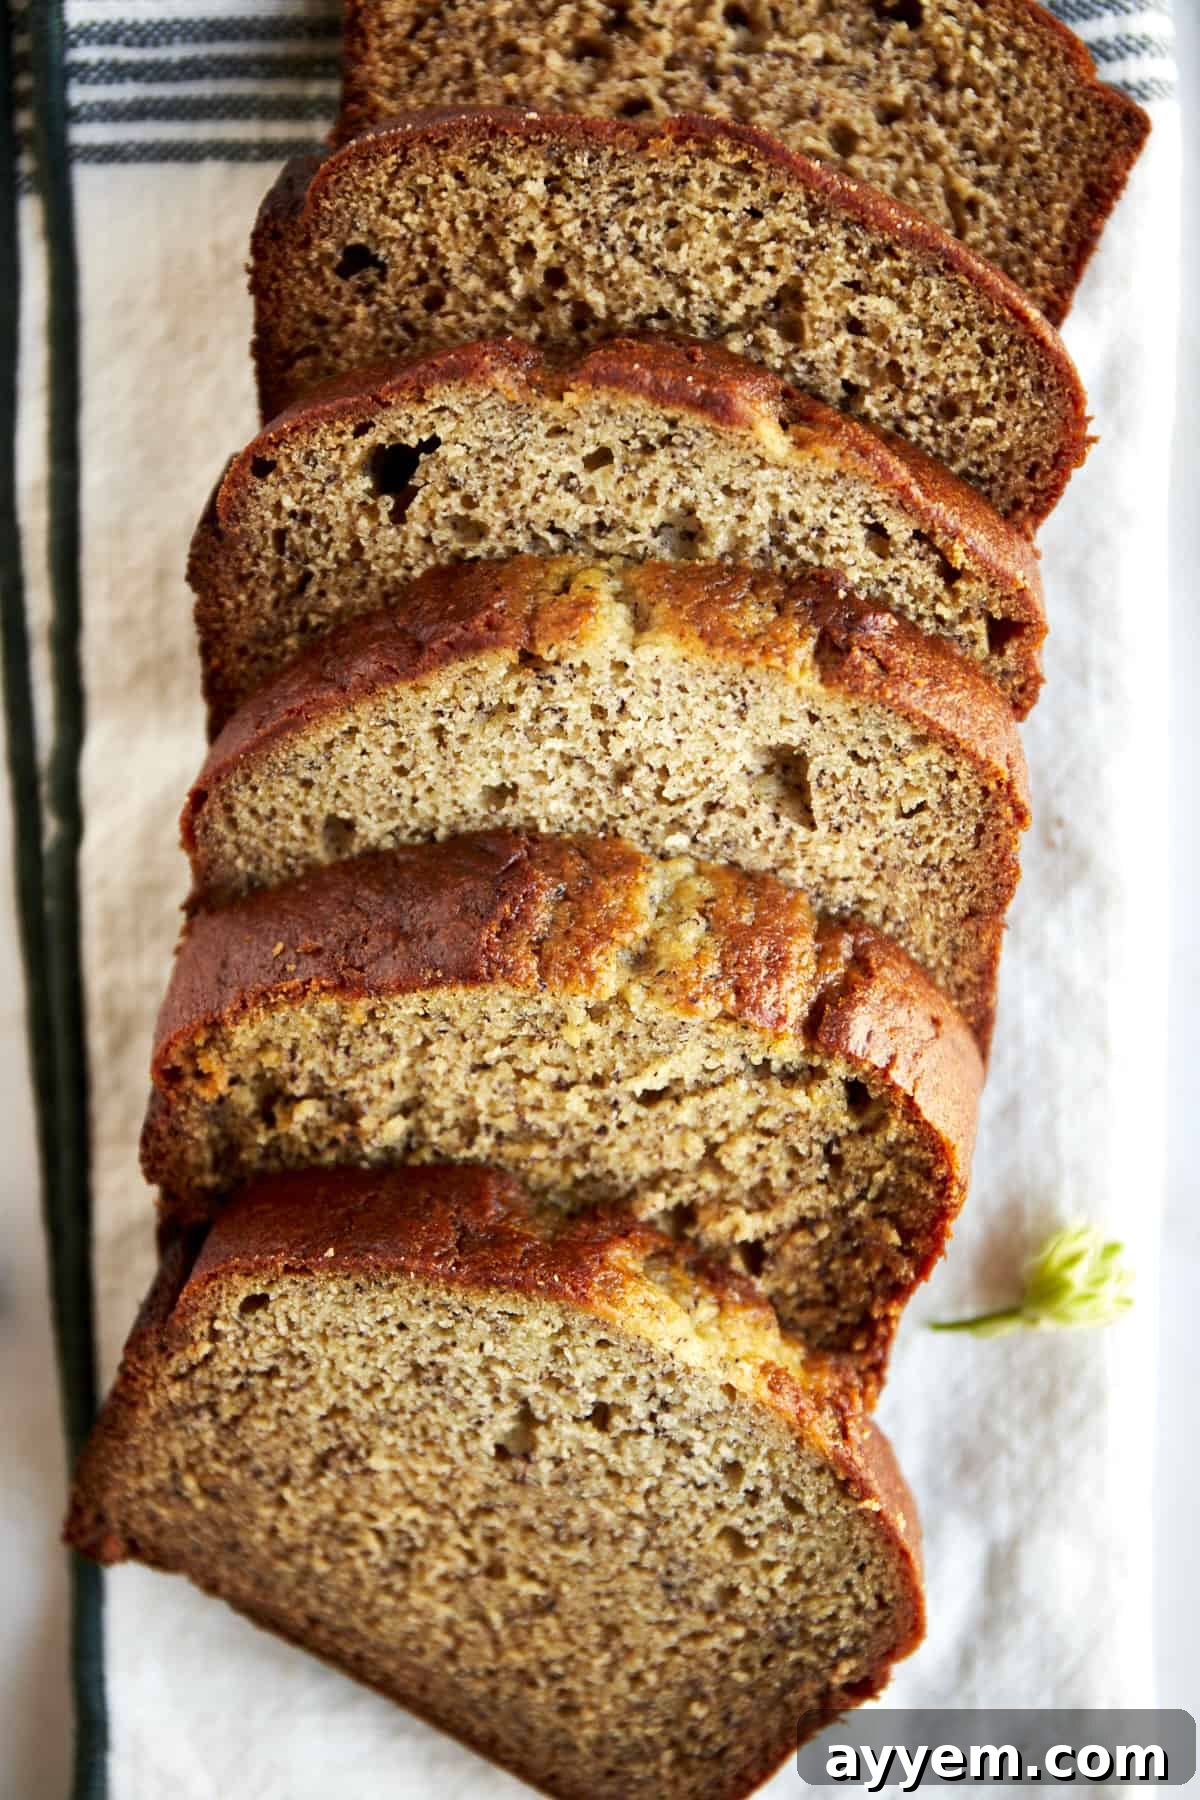
One of the best things about homemade banana bread is its versatility and how well it keeps, allowing you to enjoy slices of comfort for days or even weeks. Proper storage is key to maintaining its delicious moisture and flavor. Here’s how to store your blender banana bread effectively:
Room Temperature Storage
For immediate enjoyment, store leftover banana bread in an airtight container at room temperature. This will keep it wonderfully fresh and moist for two to three days. Make sure it’s completely cooled before placing it in the container to prevent condensation, which can make the bread soggy.
Refrigeration for Extended Freshness
If you want to extend its shelf life slightly, transfer your banana bread to the refrigerator. When stored in an airtight container, it will remain fresh for up to one week. The cooler temperature slows down spoilage, but it can also slightly alter the texture, sometimes making the bread a bit firmer. A quick reheat can bring back its tender qualities.
Freezing for Long-Term Enjoyment
Blender banana bread freezes exceptionally well, making it perfect for meal prepping or always having a homemade treat on hand. You can freeze your banana bread for two to three months without compromising its taste or texture. To do so, follow these steps:
- Cool Completely: Ensure the loaf is entirely cooled before freezing. Warm bread will create ice crystals and freezer burn.
- Slice or Whole: You can freeze the entire loaf or, for convenience, slice it into individual portions. Freezing slices allows you to thaw only what you need.
- Wrap Properly: Wrap individual slices or the whole loaf tightly in plastic wrap, then an additional layer of aluminum foil. This double layer protects against freezer burn.
- Airtight Container/Bag: Place the wrapped bread into a sealable freezer bag or an airtight freezer-safe container. If freezing slices, placing a sheet of parchment paper between each piece can prevent them from clumping together, making it easier to grab a single serving.
Serving Frozen Banana Bread
To serve frozen banana bread, simply thaw the desired slices or the whole loaf in the refrigerator overnight. Once thawed, you can enjoy it cold, at room temperature, or warm it up in the microwave for 15-30 seconds, or in a toaster oven for a few minutes, to revive its freshly baked warmth and tenderness. It’s the perfect way to enjoy a comforting treat anytime!
Common Questions About This Easy Blender Banana Bread Recipe
Absolutely! Frozen bananas are perfect for banana bread as they are typically very ripe when frozen, contributing excellent sweetness and moisture. Just be sure to thaw them completely before adding them to the blender. It’s also a good idea to drain off any excess liquid that accumulates during thawing to prevent your batter from becoming too wet, which could affect the final texture of your bread.
Yes, it’s entirely possible to make a delicious gluten-free version of this blender banana bread! Simply swap out the regular all-purpose flour for a 1:1 gluten-free flour blend. Many brands offer excellent blends that mimic the properties of wheat flour. Oat flour can also work wonderfully, particularly if you’re aiming for a slightly heartier, more wholesome texture. Keep in mind that gluten-free flours can sometimes absorb liquids differently, so the batter might be a little thicker or thinner; slight adjustments might be needed, but generally, a direct swap works well.
The beauty of this recipe is its adaptability. Any standard kitchen blender you own will do the trick! A high-speed blender, like a Vitamix or Blendtec, will certainly give you an ultra-smooth, perfectly consistent batter with almost no effort. However, even a basic, everyday blender will work just fine to mash the bananas and combine the ingredients efficiently. Just ensure your blender is capable of handling thicker mixtures without overheating.
Nope, that’s the magical part of using a blender for this recipe! You don’t need to pre-mash the bananas at all. The blender takes care of all the mashing and mixing in one swift go, saving you an extra step and another dirty bowl. Just roughly cut your very ripe bananas into chunks, toss them into the blender with the other wet ingredients, and let the machine do the hard work for you.
The most common culprits for dry or dense banana bread are overmixing the batter (especially after adding dry ingredients) or using too much flour. Overmixing develops gluten, leading to a tough texture. Ensure you only pulse the dry ingredients until just combined. Also, accurately measure your flour, preferably by weight, or by spooning flour into a measuring cup and leveling it off, rather than scooping directly from the bag.
Absolutely! This versatile batter works perfectly for muffins. Simply grease or line a 12-cup muffin tin and fill each cup about two-thirds full. The baking time will be significantly shorter for muffins, typically around 18-25 minutes, depending on your oven and muffin size. Keep an eye on them and test for doneness with a toothpick inserted into the center of a muffin.
More Delightful Banana Bread Creations to Explore
If you’ve fallen in love with the ease and deliciousness of this Blender Banana Bread, you’re in for a treat! We have a fantastic array of other quick bread recipes that celebrate the humble banana in exciting new ways. Expand your baking repertoire and discover your next favorite treat:
- Easy Pecan Banana Bread: A delightful twist for nut lovers, featuring crunchy pecans folded into a classic banana bread base.
- Chocolate Chip Peanut Butter Banana Bread: An irresistible combination of sweet banana, rich peanut butter, and decadent chocolate chips for an ultimate flavor experience.
- Pumpkin Banana Bread: A seasonal sensation that blends the comforting flavors of pumpkin spice with the sweetness of banana, perfect for autumn.
- Double Chocolate Banana Bread: For the ultimate chocolate aficionado, this bread features cocoa powder in the batter and plenty of chocolate chips, delivering an intensely chocolatey experience.
- One Bowl Banana Bread: If you love minimal cleanup, this traditional one-bowl method is another fantastic option for a fuss-free classic.
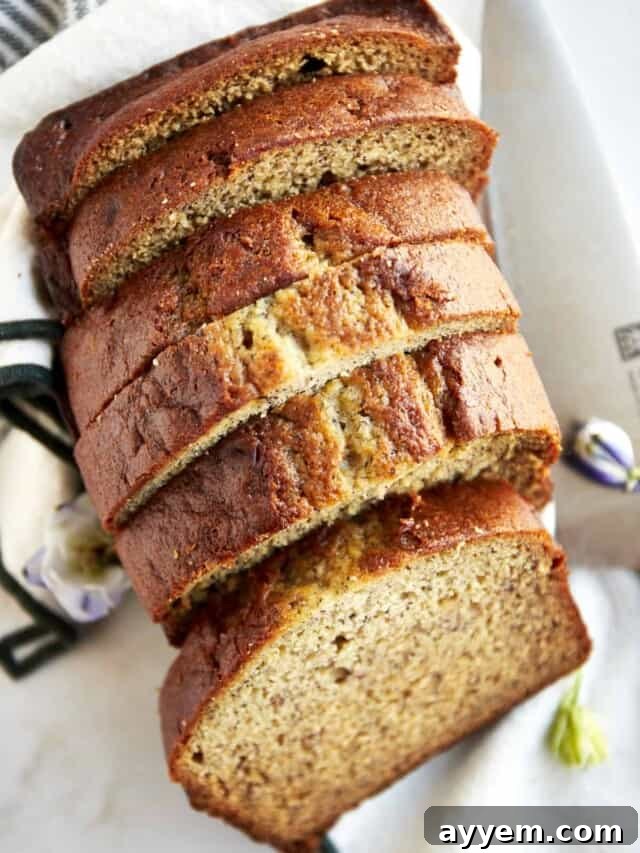
Blender Banana Bread Recipe
Print Recipe
Email Recipe
Ingredients
- 1/2 cup unsalted butter melted
- 2 large eggs at room temperature
- 2 medium bananas very ripe, roughly cut into chunks
- 1/3 cup sour cream
- 2 teaspoons vanilla extract
- 1 cup granulated sugar
- 1/2 teaspoon sea salt
- 1/2 teaspoon baking soda
- 1 teaspoon baking powder
- 1 1/2 cups all-purpose flour
Instructions
-
In a blender, combine the melted butter, eggs, bananas, sour cream, vanilla extract, and sugar in that order. Pulse the mixture until just blended, about 4 pulses, ensuring a smooth consistency.1/2 cup unsalted butter, 2 large eggs, 2 medium bananas, 1/3 cup sour cream, 2 teaspoons vanilla extract, 1 cup granulated sugar
-
Add all the dry ingredients (sea salt, baking soda, baking powder, and all-purpose flour) to the blender. Pulse an additional 4-5 times or until the mixture is just combined. Be careful not to overblend, as it can result in a dry and dense banana bread.1/2 teaspoon sea salt, 1/2 teaspoon baking soda, 1 teaspoon baking powder, 1 1/2 cups all-purpose flour
-
Preheat the oven to 350 degrees Fahrenheit (175 degrees Celsius). Grease a 9×5 loaf pan or line it with parchment paper.
-
Pour the batter into the prepared loaf pan.
-
Bake for 45 minutes. Then, loosely cover the bread with aluminum foil and bake for an additional 15 minutes or until a toothpick inserted into the center comes out clean.
-
Allow the banana bread to cool in the pan for 10 minutes before transferring it to a wire rack to cool completely.
Equipment
Nutrition
Nutrition information is automatically calculated, so should only be used as an approximation.
Like this recipe?
Please leave a comment!