
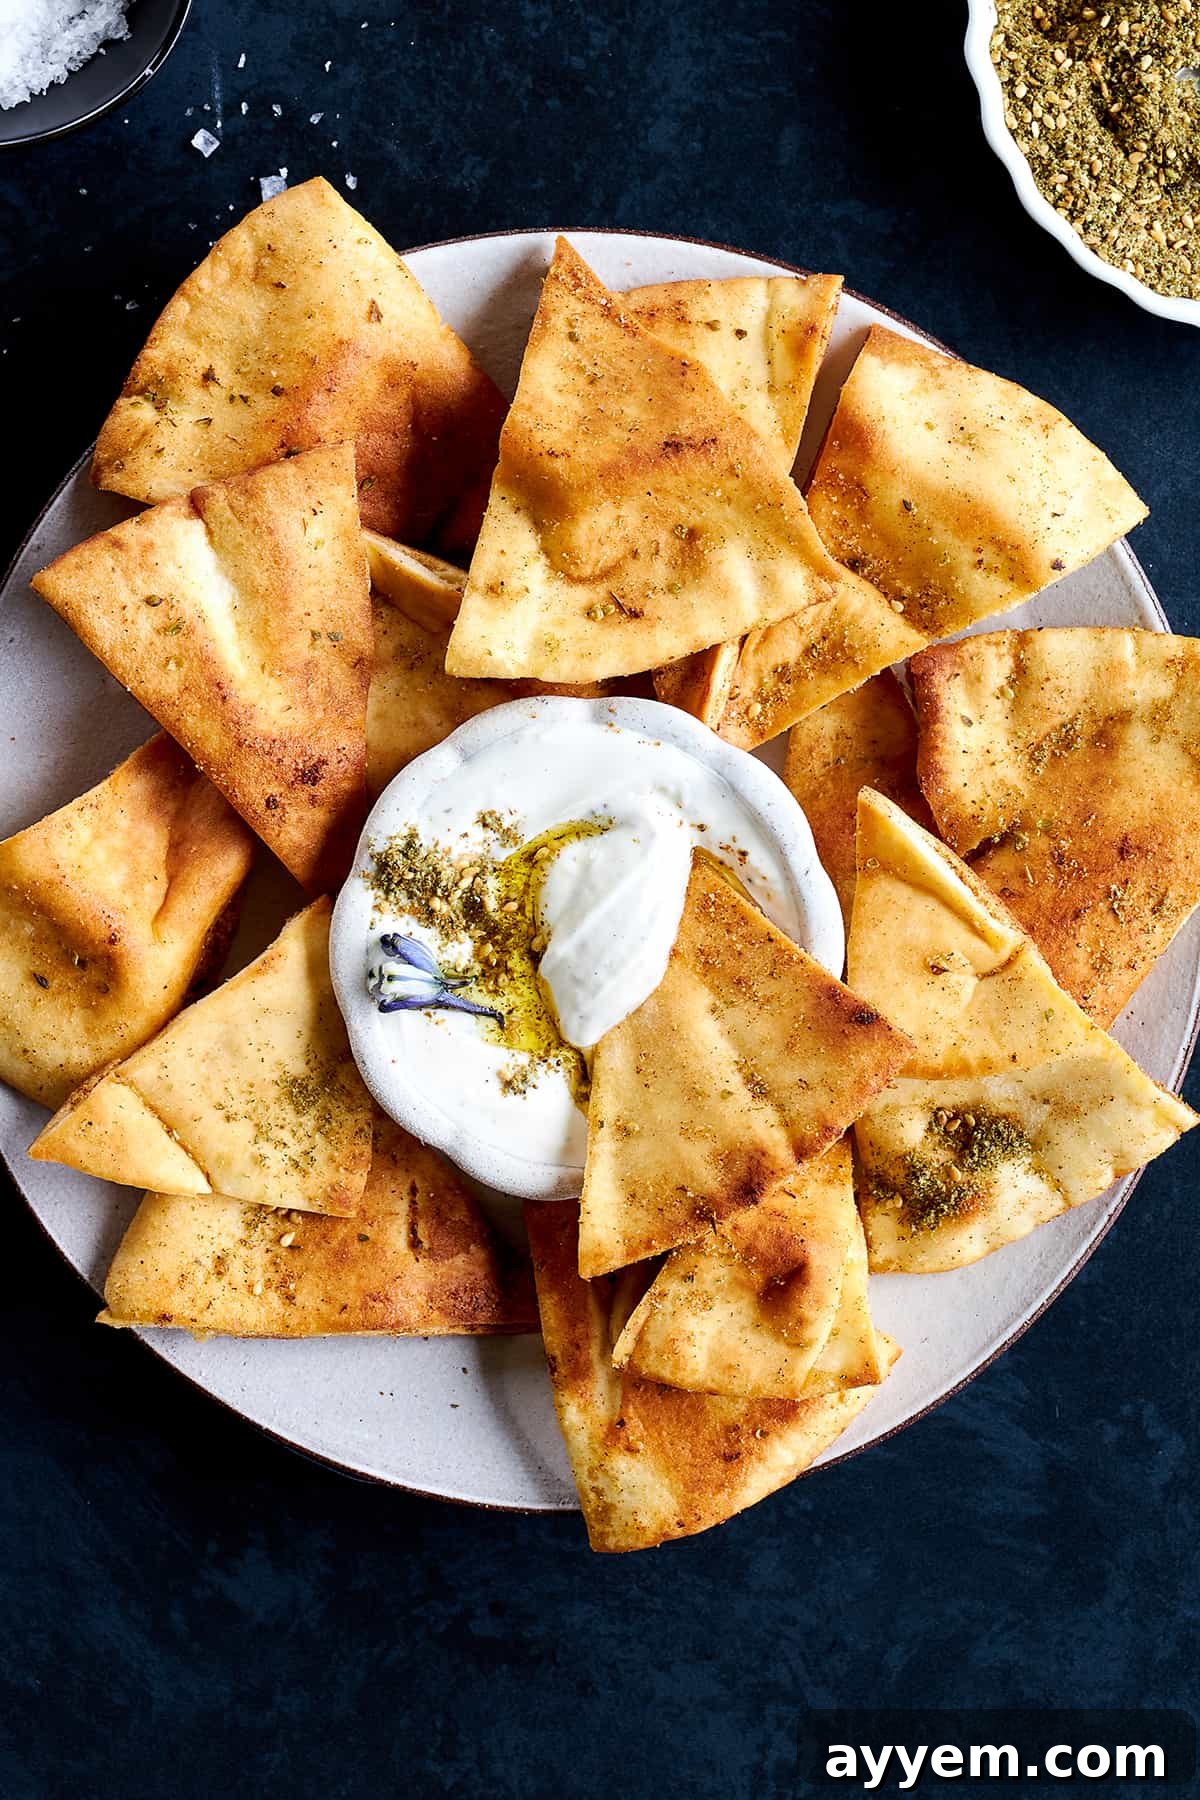
This comprehensive guide to homemade pita chips will transform your snacking experience! Forget store-bought options; these golden, perfectly crispy chips are an absolute game-changer. Whether you’re seeking a healthier snack, a delightful side dish, or the ideal companion for your favorite dips and spreads, this easy-to-follow recipe promises a burst of flavor and an irresistible crunch. Prepare to fall in love with the simple goodness of freshly baked pita chips, made right in your own kitchen!
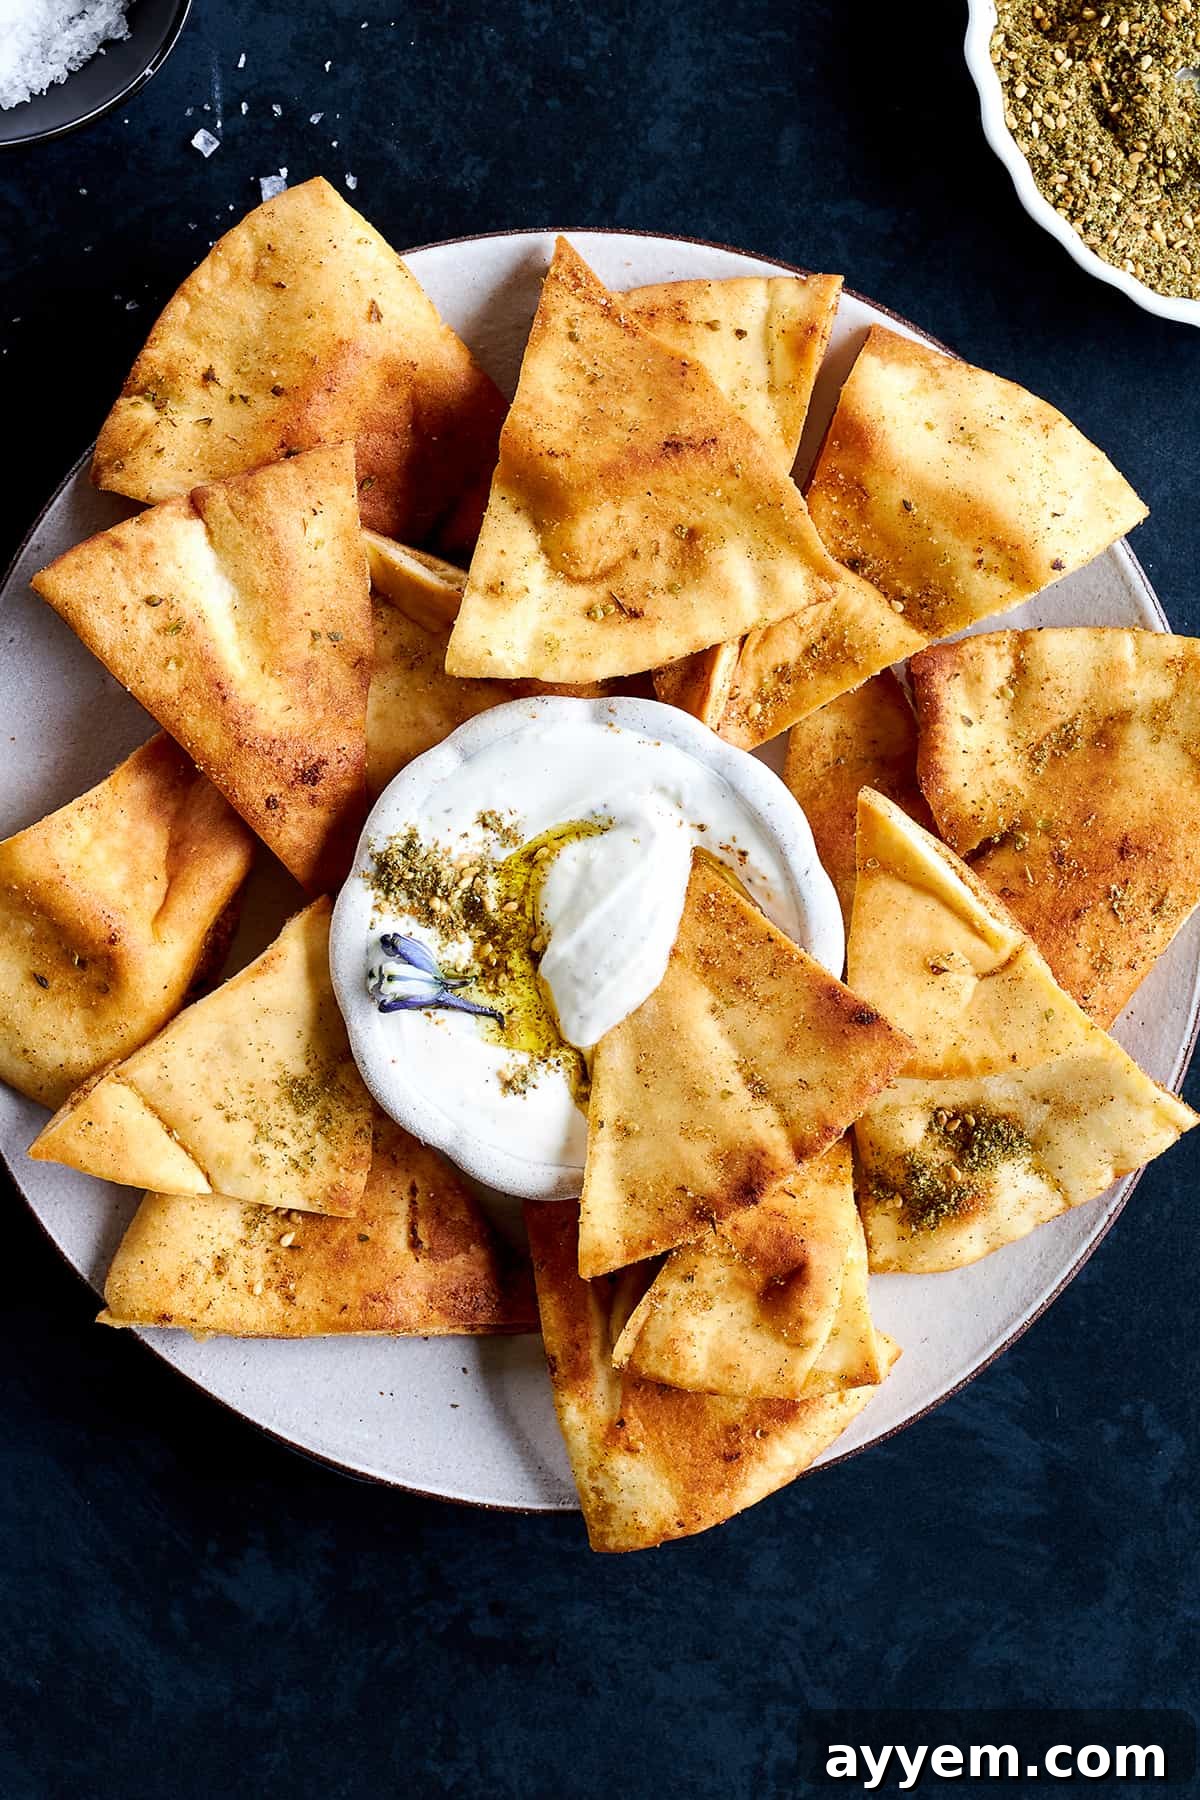
The Ultimate Homemade Pita Chips Recipe
Here at our kitchen, we have a deep appreciation for fantastic snack recipes, and when it comes to satisfying cravings, nothing quite measures up to homemade pita chips! They are not only an incredibly delicious treat but also our absolute favorite and most practical way to utilize leftover pita bread rounds or fresh batches of air fryer pita bread.
While it’s true that you can easily pick up pre-made pita chips from virtually any grocery store aisle, the difference in taste and texture when they’re made from scratch is simply incomparable. Believe it or not, crafting these crispy delights at home is far easier than you might imagine. We’re here to guide you through all our tried-and-true tips and clever tricks, ensuring you achieve perfectly golden and irresistibly crispy pita chips every single time. With minimal preparation and a total cooking time that’s quicker than a trip to the supermarket, you’ll wonder why you ever bought them pre-packaged!
Why Choose Homemade Over Store-Bought?
Opting for homemade pita chips offers several undeniable advantages that elevate your snacking experience. First and foremost is the unparalleled freshness. Store-bought chips often sit on shelves for weeks, losing their vibrant flavor and crispness. Homemade versions, however, are made with fresh ingredients and baked just hours before you enjoy them, ensuring maximum flavor and a superior crunch. Secondly, you have complete control over the ingredients. This means no artificial preservatives, unhealthy oils, or excessive sodium. You can tailor the seasoning to your exact preferences, experimenting with various herbs and spices that wouldn’t be found in commercial varieties. Lastly, it’s incredibly cost-effective. Pita bread is inexpensive, and a few basic pantry staples are all you need to create a substantial batch of flavorful chips, making it a budget-friendly snack option for families and gatherings.
Are Pita Chips a Healthy Snack Option?
When considering whether pita chips are “healthy,” it’s essential to define what that means for you. However, in the realm of snacks, homemade pita chips stand out as a significantly healthier alternative compared to many other popular choices, especially when you prepare them yourself.
The primary reason for their healthier profile lies in their preparation. Unlike many processed snacks that are deep-fried in excessive amounts of oil, homemade pita chips are typically baked, drastically reducing their fat content. Furthermore, by making them at home, you eliminate the need for artificial preservatives, trans fats, and high fructose corn syrup often found in commercial products. You can choose high-quality extra virgin olive oil for a source of healthy monounsaturated fats and control the amount of salt. This allows for a more wholesome snack that provides a satisfying crunch without the guilt, making them a smart choice for those mindful of their dietary intake.
Crafting Your Own Crispy Pita Chips: A Step-by-Step Guide
Making delicious, crispy pita chips at home is surprisingly straightforward. Follow these simple steps for a perfect batch every time:
- Preheat Oven: Begin by preheating your oven to 400 degrees Fahrenheit (200 degrees Celsius). This ensures the oven is at the optimal temperature for immediate crisping once the pita enters, preventing soggy chips.
- Prepare the Pita Bread: Arrange the pita bread rounds on a clean, dry work surface. Using a sharp knife or kitchen shears, carefully slice each round into 8-10 equal wedges or triangles, similar to how you would cut a pizza. Aim for consistent sizes to promote even baking. If desired, you can gently split each pita round horizontally into two thinner layers before cutting; this yields thinner, extra-crispy chips, though it’s an optional step.
- Season Generously: In a small bowl, combine your choice of oil (extra virgin olive oil is highly recommended for its flavor and health benefits) with your chosen seasonings. Whisk thoroughly to create a well-mixed blend. Next, transfer the sliced pita pieces to a large mixing bowl. Drizzle the prepared seasoning mixture evenly over the pita pieces. Gently toss them using your hands or a spatula, ensuring every single chip is thoroughly coated. This step is crucial for flavor penetration and even browning.
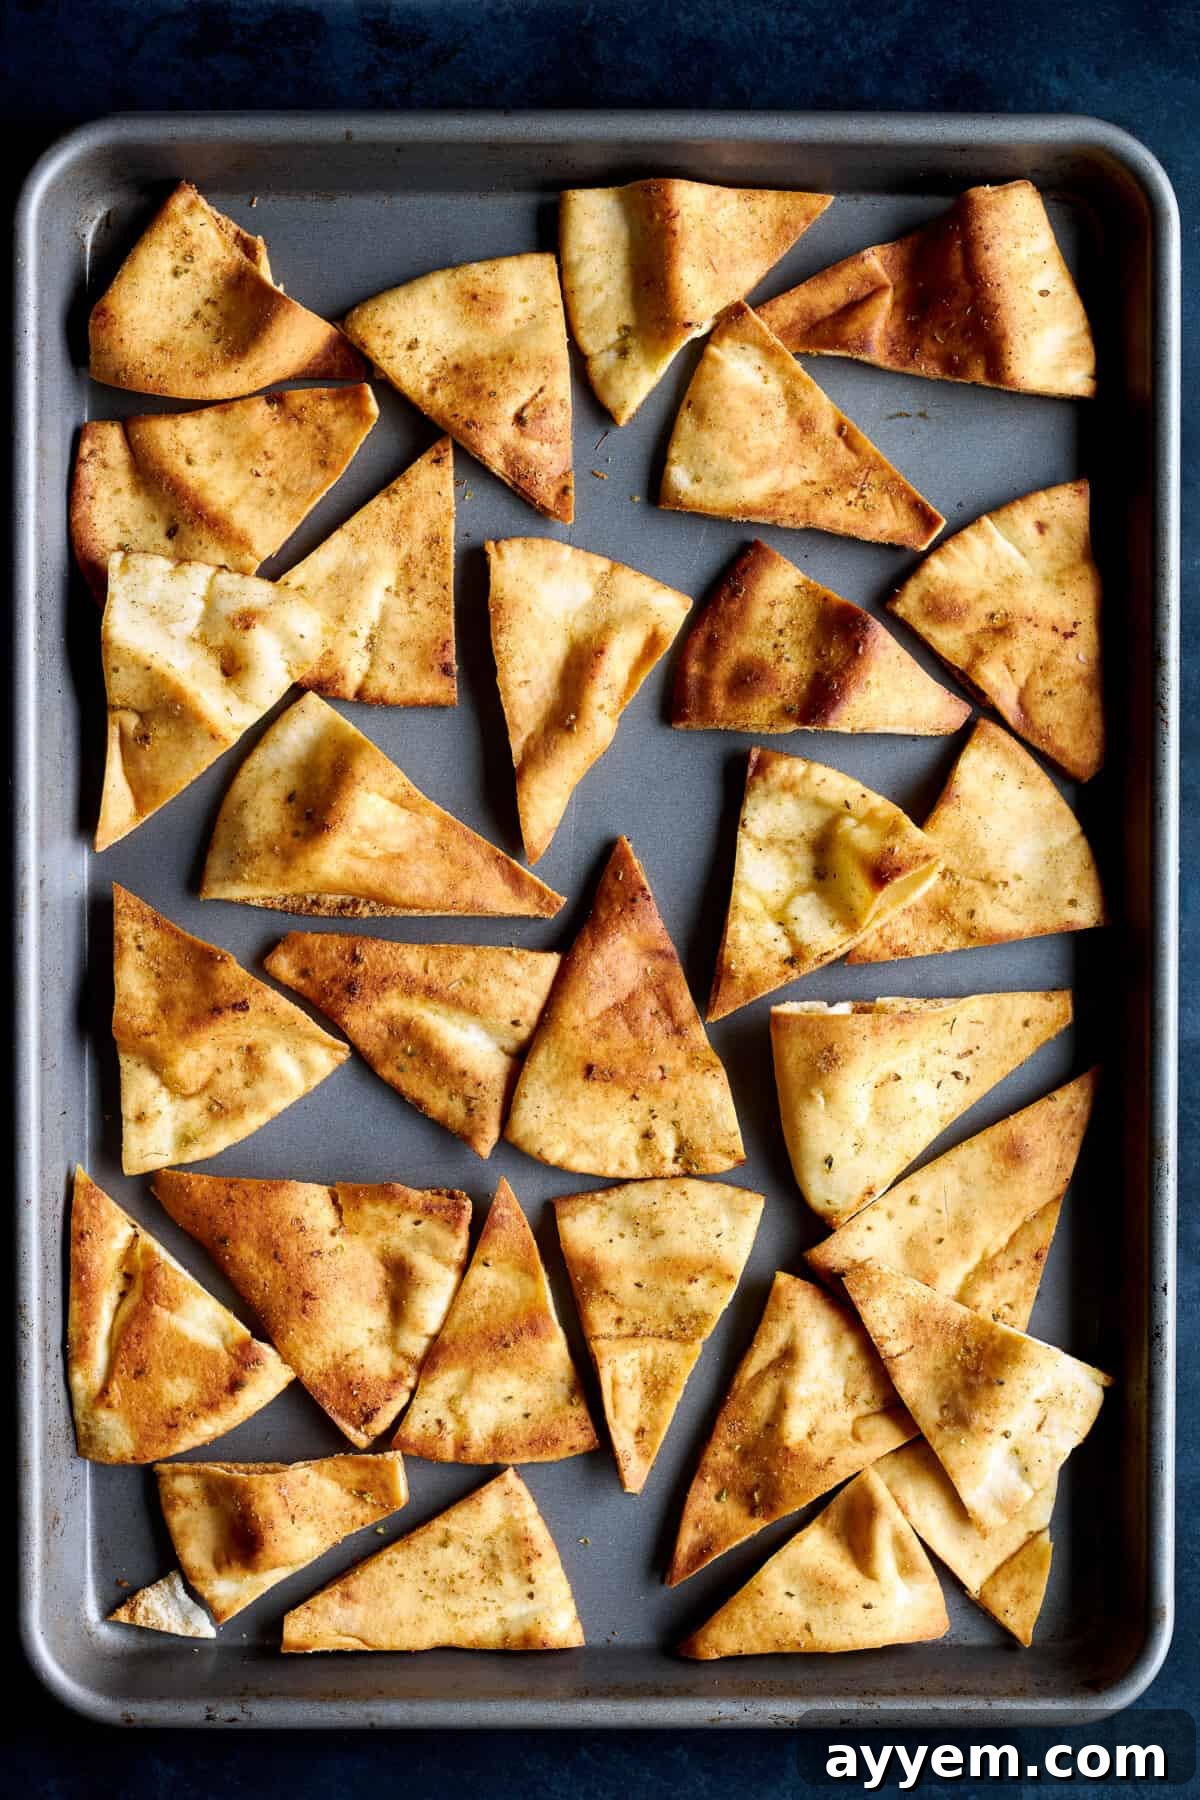
- Arrange and Bake: Distribute the seasoned pita pieces in a single layer across one or more unlined baking sheets. It’s important to leave a small amount of space between each chip to allow for proper air circulation, which is key to achieving maximum crispiness. Avoid overcrowding the baking sheets. Transfer them to your preheated oven. Bake for approximately 10-15 minutes, or until the chips turn a beautiful golden brown and are visibly crispy. For even cooking, make sure to flip the chips halfway through the baking process.
- Cool Completely: Once the pita chips have reached your desired level of crispness and golden color, remove the baking sheets from the oven. Allow the chips to cool completely on the baking sheet before transferring them to a serving bowl or storage container. As they cool, they will continue to firm up and become even crispier. This patience is vital to prevent them from becoming soft or soggy later.
Expert Tips for Pita Chip Perfection
Achieving consistently perfect, crispy homemade pita chips is simpler with these expert tips:
- Skip the Parchment Paper: Based on our extensive testing, we’ve found that using parchment paper on the baking sheet can hinder the chips from achieving their optimal crispness. The direct contact with the hot metal of the baking sheet is crucial for the moisture to evaporate quickly and for the chips to get that perfect golden crunch. For best results, bake directly on a clean, unlined metal baking sheet.
- Ensure Even Slicing: The size of your pita chips is a matter of personal preference – you can opt for larger, more substantial chips or smaller, delicate bites. Smaller pieces tend to become crispier throughout, while larger pieces might retain a slight chewiness in the center. Regardless of your chosen size, the key is to slice them into pieces that are as close to equal in size as possible. This uniformity is essential for ensuring that all chips bake evenly and finish cooking at the same time, preventing some from burning while others remain undercooked.
- Utilize Multiple Baking Sheets (Avoid Overcrowding): Proper air circulation is paramount for crispy pita chips. When arranging your pita pieces on the baking sheet, always leave a small gap between each chip. Overcrowding traps steam, leading to soggy results instead of crunchy ones. Depending on the quantity of chips you’re making, you may need to use two or even three baking sheets, baking in batches if necessary. This slight inconvenience is well worth the superior texture.
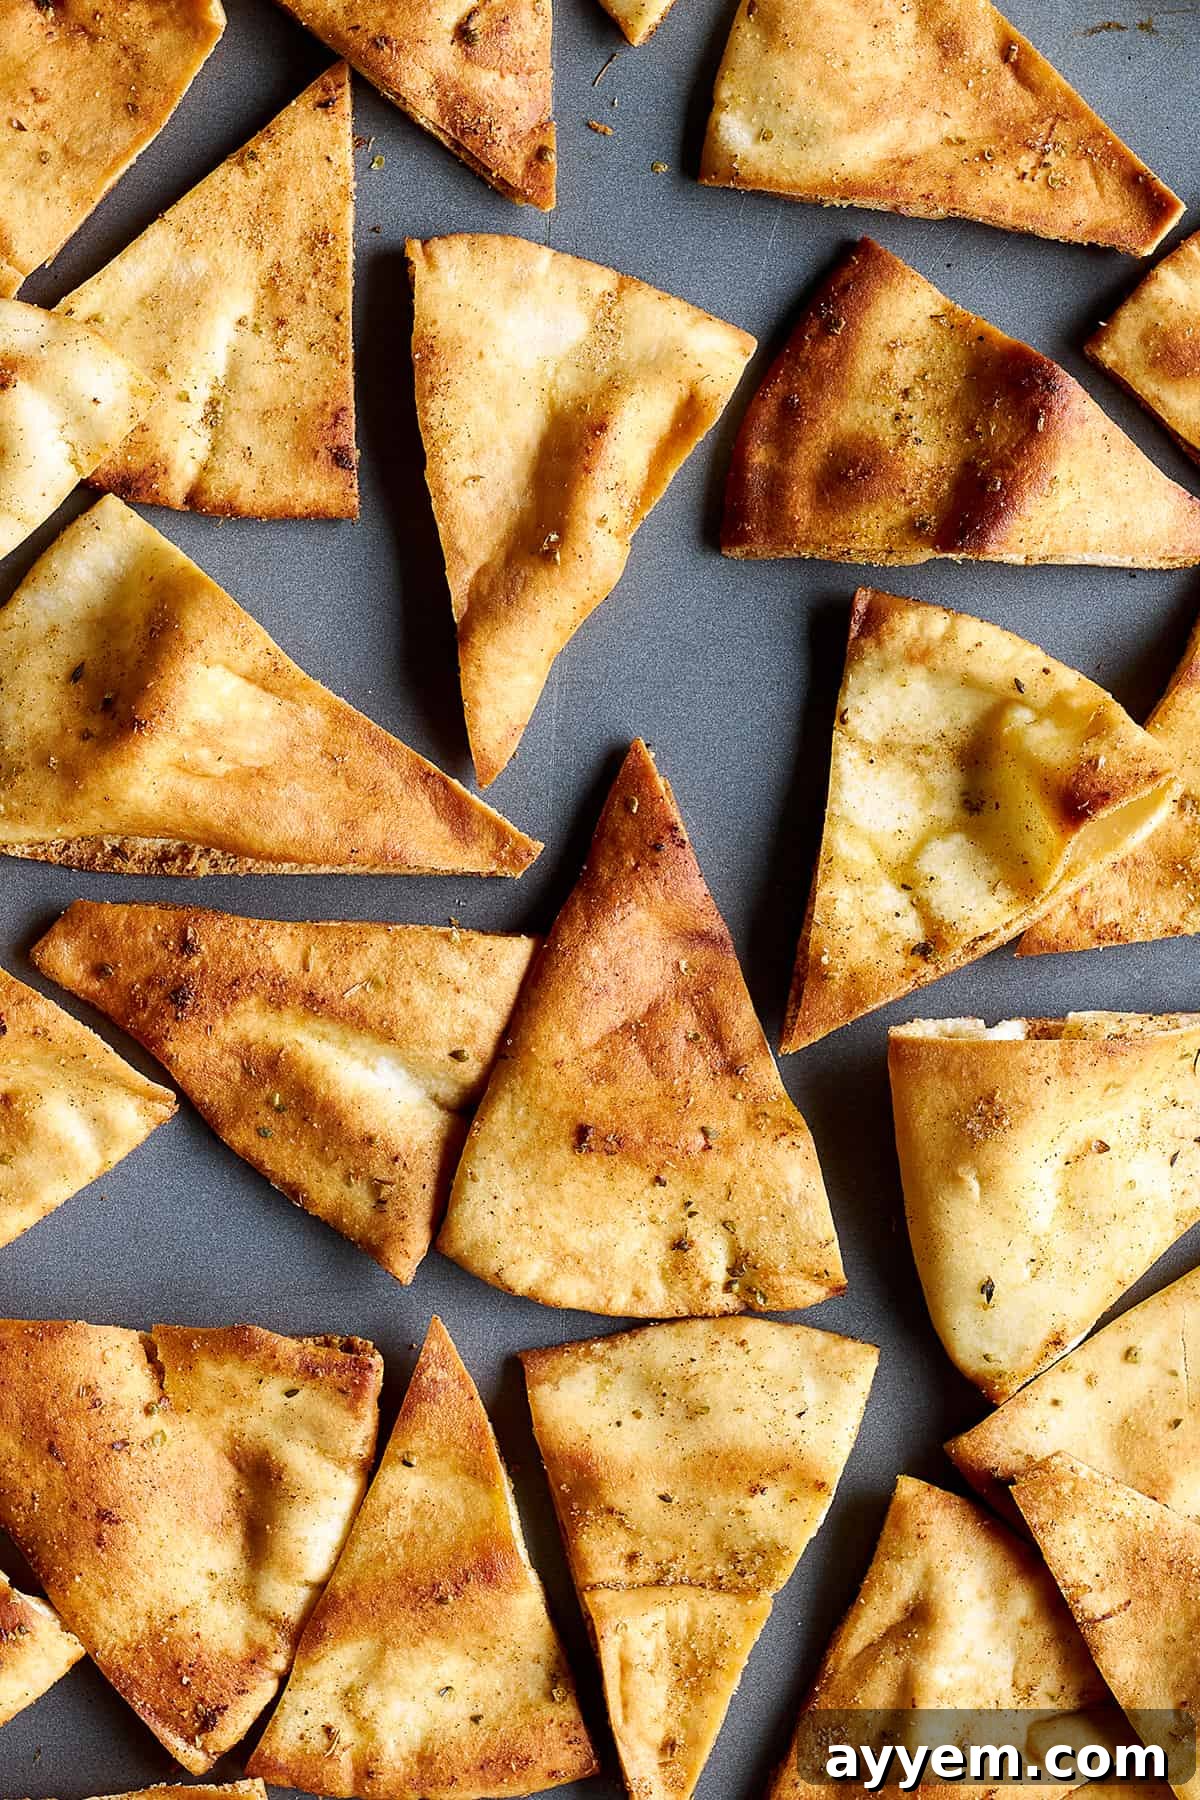
- Monitor Closely to Avoid Overbaking: Pita chips bake surprisingly quickly, and they can transition from perfectly golden to burnt in a matter of moments. Their thin structure means they have a low tolerance for overcooking. Keep a vigilant eye on them, especially during the last few minutes of baking. As soon as they achieve a beautiful golden-brown color around the edges and feel firm to the touch, remove them from the oven immediately.
- Cool Completely for Maximum Crispness: This step is often overlooked but is absolutely critical for the final texture. After removing the chips from the oven, resist the urge to transfer them immediately. Allow them to cool completely on the baking sheet. As they cool, residual heat continues to dry them out, and their structure hardens, leading to that satisfying, snappy crispness. Transferring them while still warm can trap steam, making them lose their crunch and become soft.
- Oil and Seasoning Distribution: Ensure that the pita pieces are evenly coated with oil and seasonings. Using a large bowl and tossing gently with your hands (or tongs) can help distribute the mixture uniformly. This guarantees every chip is flavorful and bakes evenly.
Delightful Serving Suggestions for Your Homemade Pita Chips
The crunchy deliciousness of these homemade pita chips makes them incredibly versatile. While they are utterly satisfying on their own, they truly shine when paired with an array of complementary dishes and dips. Here are some fantastic serving suggestions to elevate your culinary experience:
Perfect for Dipping:
- Classic Hummus: The creamy texture of chunky garlic hummus or traditional hummus is an absolute match made in heaven for crispy pita chips.
- Baba Ganoush: The smoky, rich flavor of baba ganoush offers a wonderful contrast to the crispness of the chips.
- Yogurt Dips: A cooling roasted eggplant and tomatoes with yogurt dip or a classic tzatziki provides a refreshing counterpoint.
- Spicy Dips: Experiment with a fiery harissa dip or a creamy sriracha-infused spread for those who love a kick.
- Cheese Spreads: A soft goat cheese dip, a robust feta cheese dip, or even a simple cream cheese spread can be delightful.
- Salsas & Guacamole: For a fresh, vibrant option, serve with your favorite homemade salsa or a chunky guacamole.
Accompaniments to Meals:
- Salads: Crumble them over fresh, crisp salads like a traditional fattoush salad or a vibrant Greek salad for an added layer of crunch and texture. They also make a fantastic side to any green salad.
- Soups: Serve them alongside hearty soups, such as a comforting Egyptian lentil soup, tomato soup, or a creamy vegetable bisque, for dipping and adding texture.
- Appetizer Platters: Feature them prominently on charcuterie boards or mezze platters alongside olives, cheeses, cured meats, and fresh vegetables.
- Unique Pairings: Try them with burrata with roasted tomatoes for an elegant appetizer, or with a simple olive tapenade.
Proper Storage and Re-Crisping Your Pita Chips
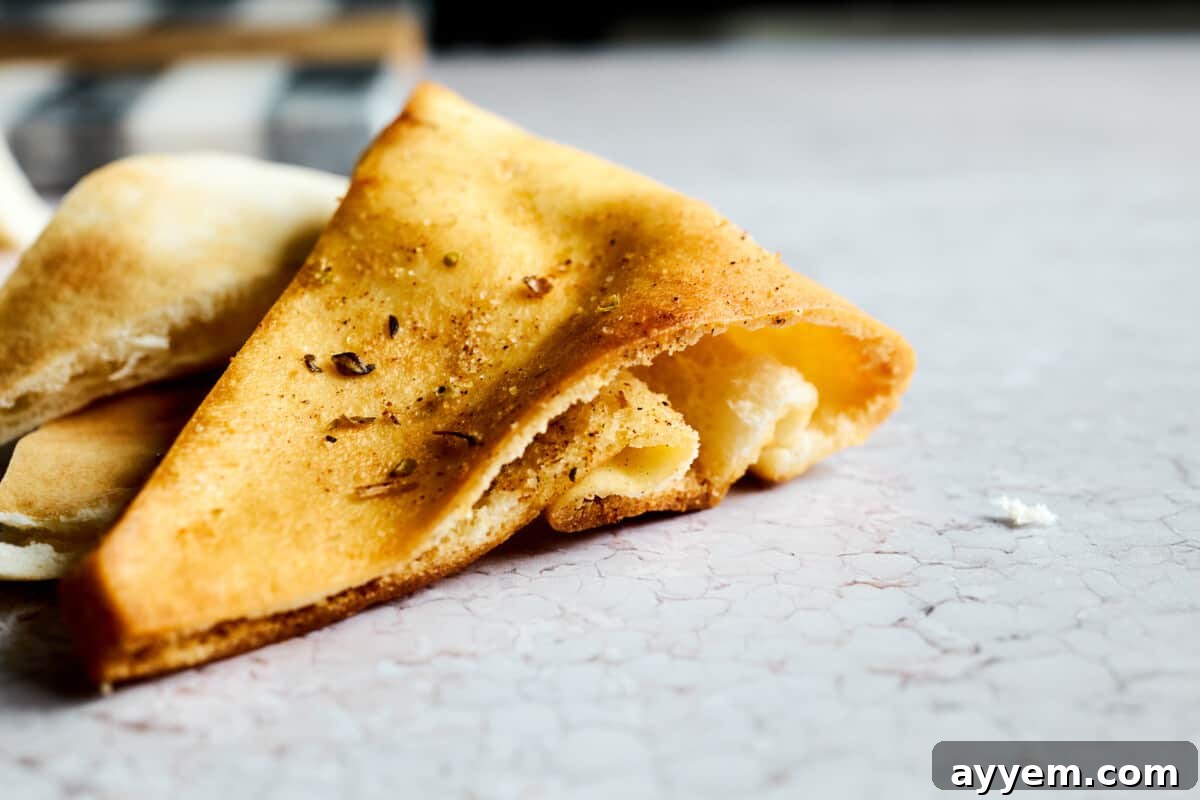
To keep your homemade pita chips at their absolute best, proper storage is key. Once they have cooled completely to room temperature (this is crucial to prevent condensation), transfer any leftovers to an airtight container or a heavy-duty sealable bag. Press out as much air as possible before sealing to minimize exposure to moisture, which is the enemy of crispiness. While they are certainly best enjoyed fresh, these chips will maintain their delightful crunch and flavor for up to three to seven days when stored correctly in a cool, dry place away from direct sunlight.
Did you know you can also freeze pita chips for longer preservation? To do so, arrange the cooled chips in a single layer on a baking sheet and freeze until solid, about 1-2 hours. Then, transfer them to a freezer-safe container or bag, squeezing out any excess air, and freeze them for up to two to three months. When you’re ready to enjoy them again, simply thaw them at room temperature for an hour or so. For an extra boost of crispiness, you can warm them in a preheated oven at 300°F (150°C) for a few minutes until they are perfectly revived.
Common Questions About Homemade Pita Chips
You absolutely can, and many people prefer to! Splitting the pita bread rounds horizontally before slicing them into wedges will give you thinner, lighter, and ultimately crispier chips. This is a great technique if you enjoy a delicate, shatter-crisp texture. However, if you prefer a slightly thicker chip with a bit more chewiness in the center, or if you’re short on time, you can certainly keep the layers together. Both methods yield delicious results, so it comes down to personal preference.
Yes, entirely! The beauty of this recipe is its adaptability. To make gluten-free pita chips, simply substitute regular pita bread with your favorite brand of gluten-free pita bread or any flatbread alternative. The rest of the recipe steps and seasoning ratios remain exactly the same. This ensures everyone can enjoy these delicious, crispy snacks regardless of dietary restrictions.
While “healthy” can be a subjective term, we firmly believe homemade pita chips are a superior choice compared to most commercially produced potato chips. The main advantage is that pita chips are baked, not deep-fried, which significantly reduces their overall fat content. Furthermore, you control the type and amount of oil (using healthy fats like extra virgin olive oil) and seasonings, avoiding artificial ingredients and excessive sodium often found in potato chips. This makes them a more wholesome and satisfying snack option.
Absolutely! These pita chips are perfect for scaling up. Whether you’re hosting a party, preparing for game day, or looking to have healthy snacks on hand for meal prep, this recipe is easy to double or even triple. The crucial point when making a large batch is to ensure you spread the pita pieces out sufficiently on your baking sheets. You’ll likely need to use multiple sheets and bake them in several batches to prevent overcrowding, which can lead to steaming rather than crisping. This extra step ensures every chip gets perfectly golden and crunchy.
For the best homemade pita chips, we recommend using fresh, soft pita bread that is not too thick. Thinner pita breads tend to crisp up better and more evenly. Both white and whole wheat pita bread work wonderfully, so choose based on your preference. Slightly stale pita bread can also be used, making this recipe excellent for reducing food waste!
Yes, absolutely! Air frying is a fantastic and quick method for making crispy pita chips. Preheat your air fryer to 350°F (175°C). Arrange the seasoned pita wedges in a single layer in the air fryer basket, ensuring not to overcrowd it. Air fry for 5-8 minutes, shaking the basket halfway through, until golden brown and crispy. Keep a close eye on them as air fryers can cook very quickly!
More Delicious Homemade Snacks You’ll Love
- Spanakopita Triangles
- Hummus with Meat
- Fried Feta Rolls with Hot Honey
- Za’atar Air Fryer Potato Wedges
Homemade Pita Chips Recipe
Food Dolls
4
servings
10 minutes
10 minutes
20 minutes
Ingredients
- 4 (6-8 inch) pita bread rounds
- 1/4 cup extra virgin olive oil
- 1 teaspoon dried oregano
- 1 teaspoon garlic powder
- ½ teaspoon paprika or smoked paprika for more of a smokey flavor
- ½ teaspoon sea salt
- ¼ teaspoon ground black pepper
Instructions
-
Preheat the oven to 400 degrees Fahrenheit (200 degrees Celsius).
-
Lay out the pita bread rounds on a clean work surface.4 (6-8 inch) pita bread rounds
-
Cut each pita round into wedges or triangles. Cut them into whatever size you prefer. Smaller pieces will become crispier, while larger pieces will be slightly chewier. Aim for relatively even sizes to ensure even baking.
-
Season the Chips: In a bowl, combine the olive oil, oregano, garlic powder, paprika, salt, and pepper. Mix well.1/4 cup extra virgin olive oil, 1 teaspoon dried oregano, 1 teaspoon garlic powder, ½ teaspoon paprika or smoked paprika for more of a smokey flavor, ½ teaspoon sea salt, ¼ teaspoon ground black pepper
-
Place the pita chips into a large mixing bowl. Drizzle the seasoned olive oil mixture over the pita chips and toss them gently to ensure each chip is evenly coated.
-
Spread the seasoned pita chips in a single layer on baking sheets. Use multiple sheets or bake in batches, if needed, to avoid overcrowding.
-
Place the baking sheets in the preheated oven, and bake for about 10-12 minutes or until the pita chips are golden brown and crispy. Flip them halfway through for even cooking.
-
Note: Keep a close eye on them, as they can go from perfectly crisp to overdone quickly due to their thinness.
-
Once the pita chips are done, remove them from the oven, and let them cool completely on the baking sheet. They will continue to crisp up as they cool down.
-
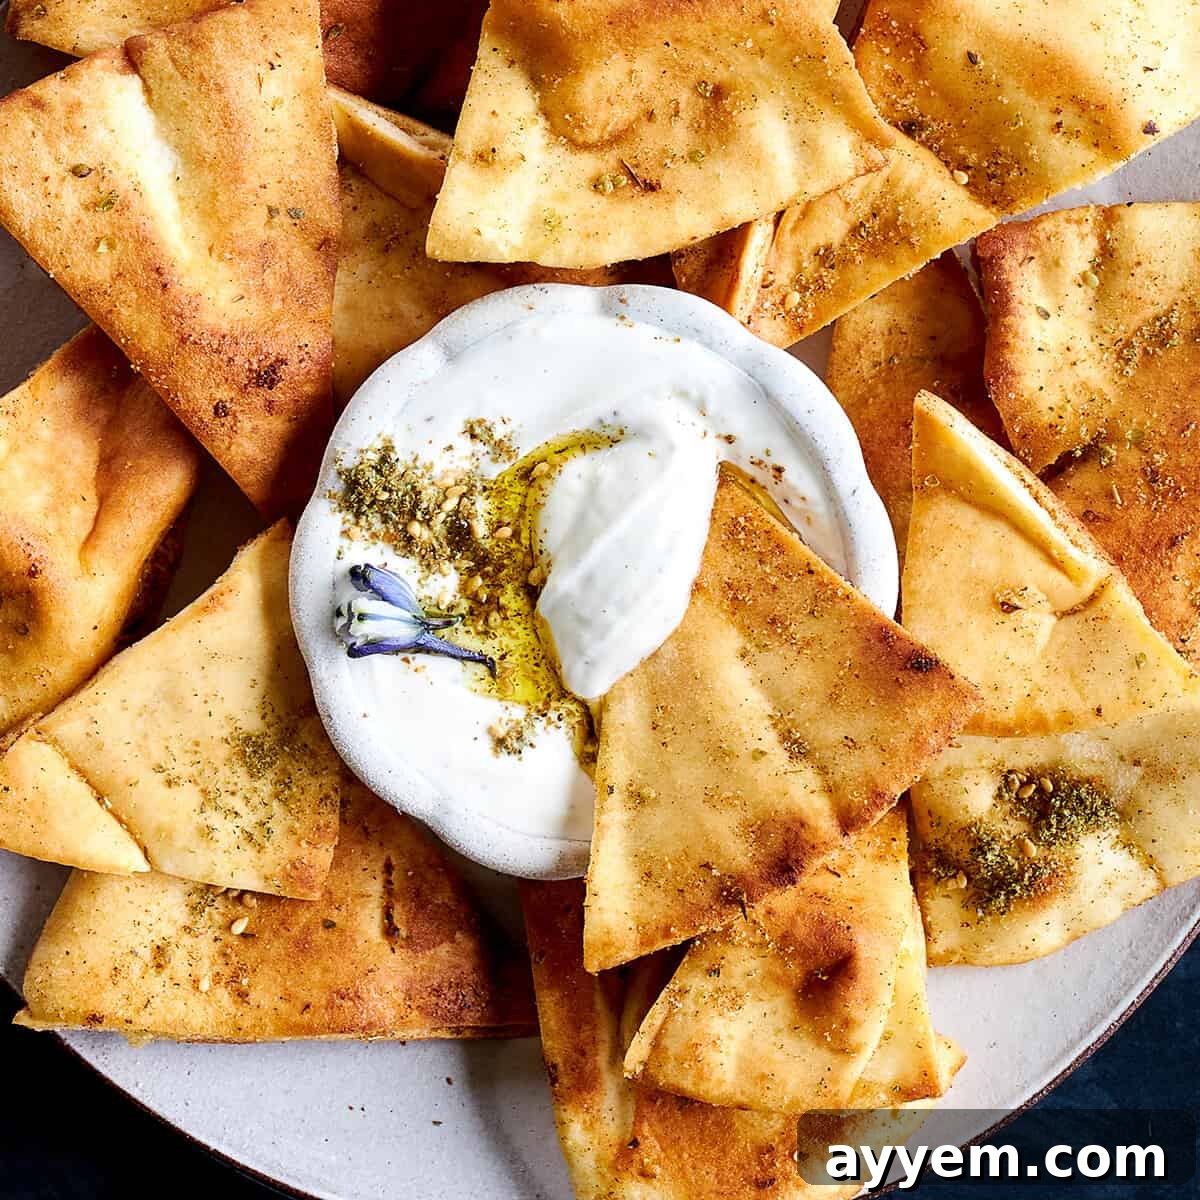
Once completely cooled, serve your homemade pita chips with your favorite dips, like hummus, tzatziki, salsa, or any dip of choice, and enjoy!
Equipment
Notes
Airtight Container: To maintain maximum crispness, place the cooled pita chips in an airtight container or a resealable plastic bag. Press out as much air as possible before sealing to prevent moisture and air from getting in. Store in a cool, dry pantry for up to 5-7 days.
Freezing: If you want to extend the shelf life even further, you can freeze pita chips. Place them in a freezer-safe container or bag, removing as much air as possible, and store them in the freezer for up to 2-3 months. When ready to use, you can thaw them at room temperature or reheat them in a moderate oven (around 300°F / 150°C) for a few minutes to restore their crispiness.
Yields approximately 32 chips.
Flavor Variation: For a spicy kick, consider adding 1/4 to 1/2 teaspoon of cayenne pepper to the olive oil mix along with the other seasonings!
Nutrition
Serving:
1
serving
|
Calories:
127
kcal
|
Carbohydrates:
2
g
|
Protein:
0.3
g
|
Fat:
14
g
|
Saturated Fat:
2
g
|
Polyunsaturated Fat:
1
g
|
Monounsaturated Fat:
10
g
|
Sodium:
297
mg
|
Potassium:
24
mg
|
Fiber:
0.4
g
|
Sugar:
0.1
g
|
Vitamin A:
132
IU
|
Vitamin C:
0.02
mg
|
Calcium:
11
mg
|
Iron:
0.4
mg
Nutrition information is automatically calculated, so should only be used as an approximation.
Like this recipe?
Please leave a comment!
Conclusion: Your New Favorite Snack Awaits!
From their irresistible crunch and customizable flavors to their healthier profile compared to many processed alternatives, homemade pita chips are a true culinary gem. They’re not just a delicious snack; they’re an experience waiting to happen, perfect for last-minute gatherings or simply elevating your everyday munching. With minimal effort and ingredients you likely already have on hand, you can whip up a batch of these golden wonders in no time. So, ditch the store-bought bags and embrace the simple joy of creating your own perfectly seasoned, wonderfully crispy pita chips. Get ready to impress your taste buds and those of your loved ones – happy snacking!