Indulge in the Legendary Billy Miner Ice Cream Pie: A Decadent Delight
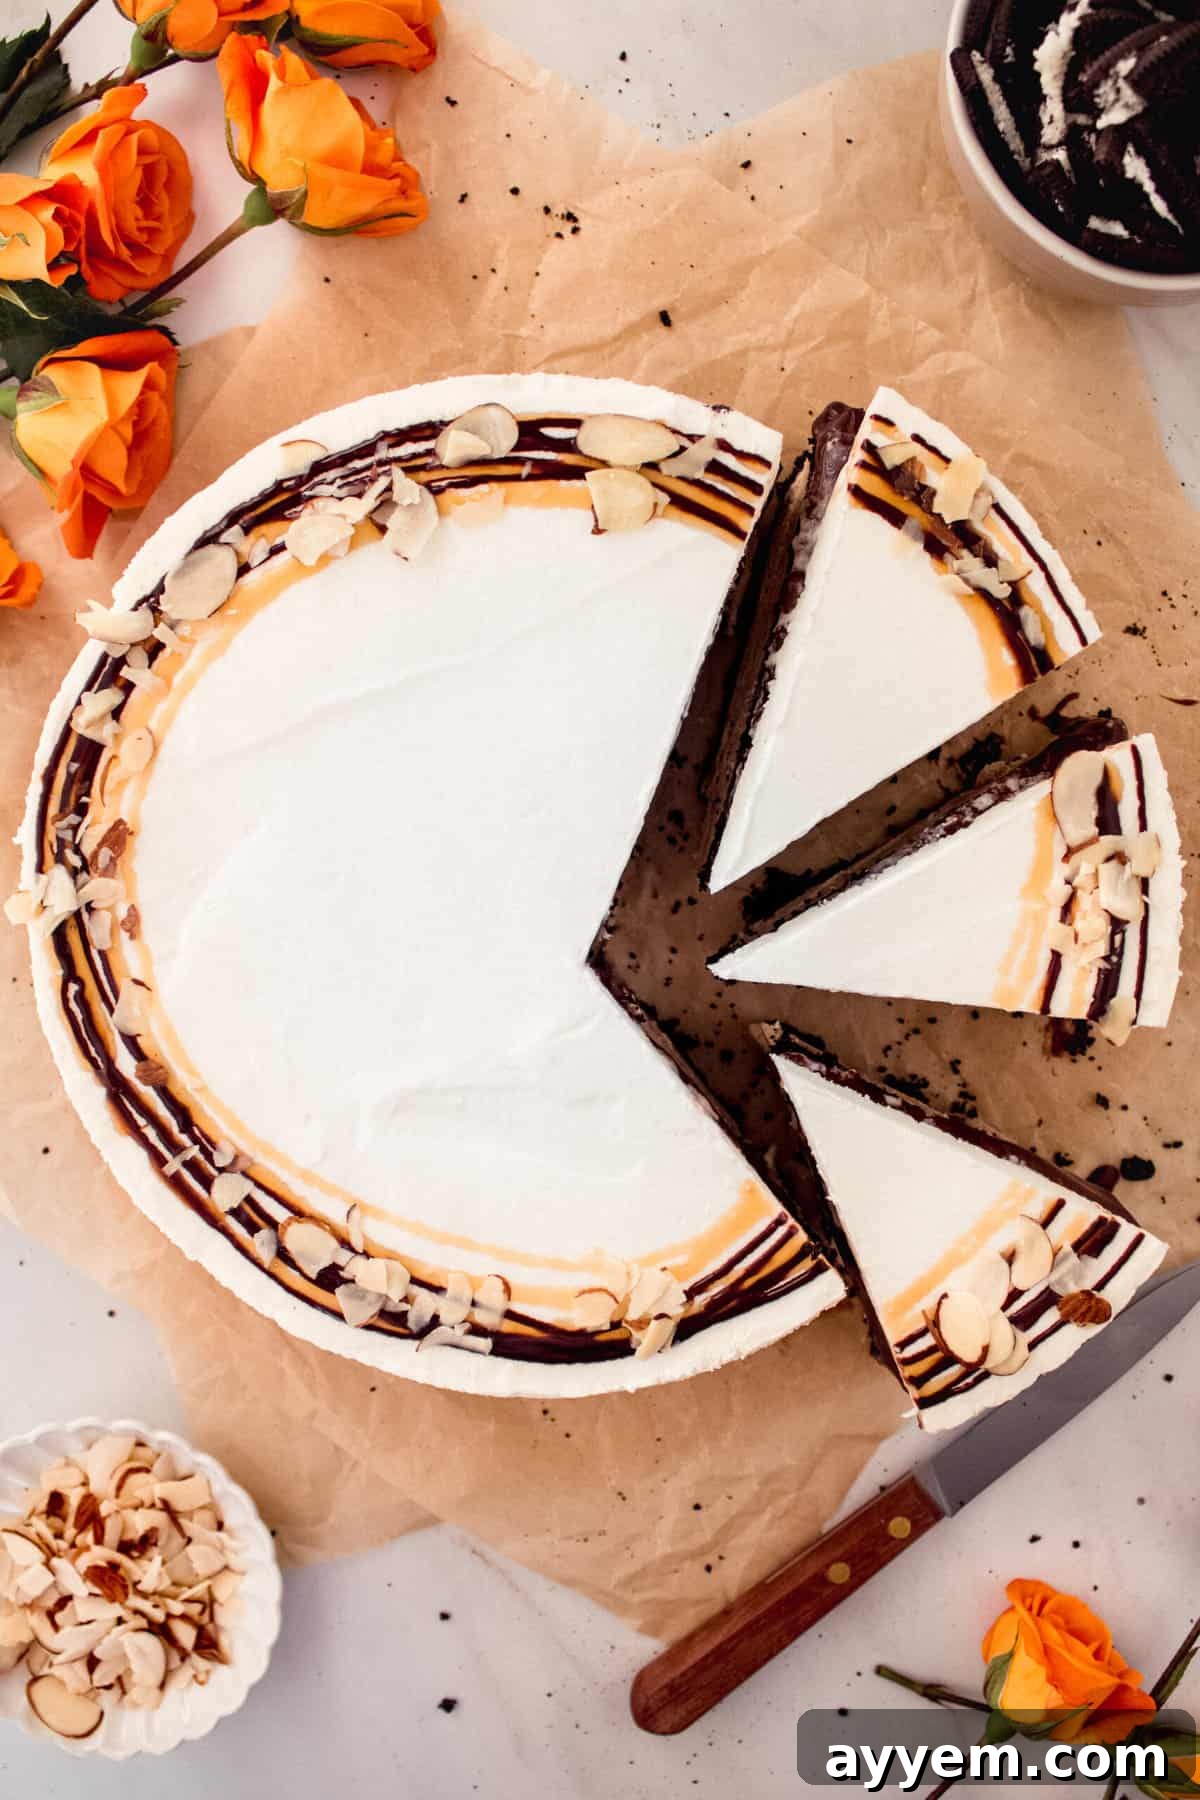
Prepare your taste buds for an extraordinary adventure with this sensational Billy Miner Ice Cream Pie recipe! Far from a simple dessert, this culinary masterpiece is a harmonious blend of rich flavors, contrasting textures, and pure indulgence. It’s the ultimate showstopper for any special occasion, from grand birthday celebrations to intimate gatherings, and an absolute dream come true for every passionate Oreo enthusiast.
Why the Billy Miner Ice Cream Pie is Our Ultimate Dessert Obsession
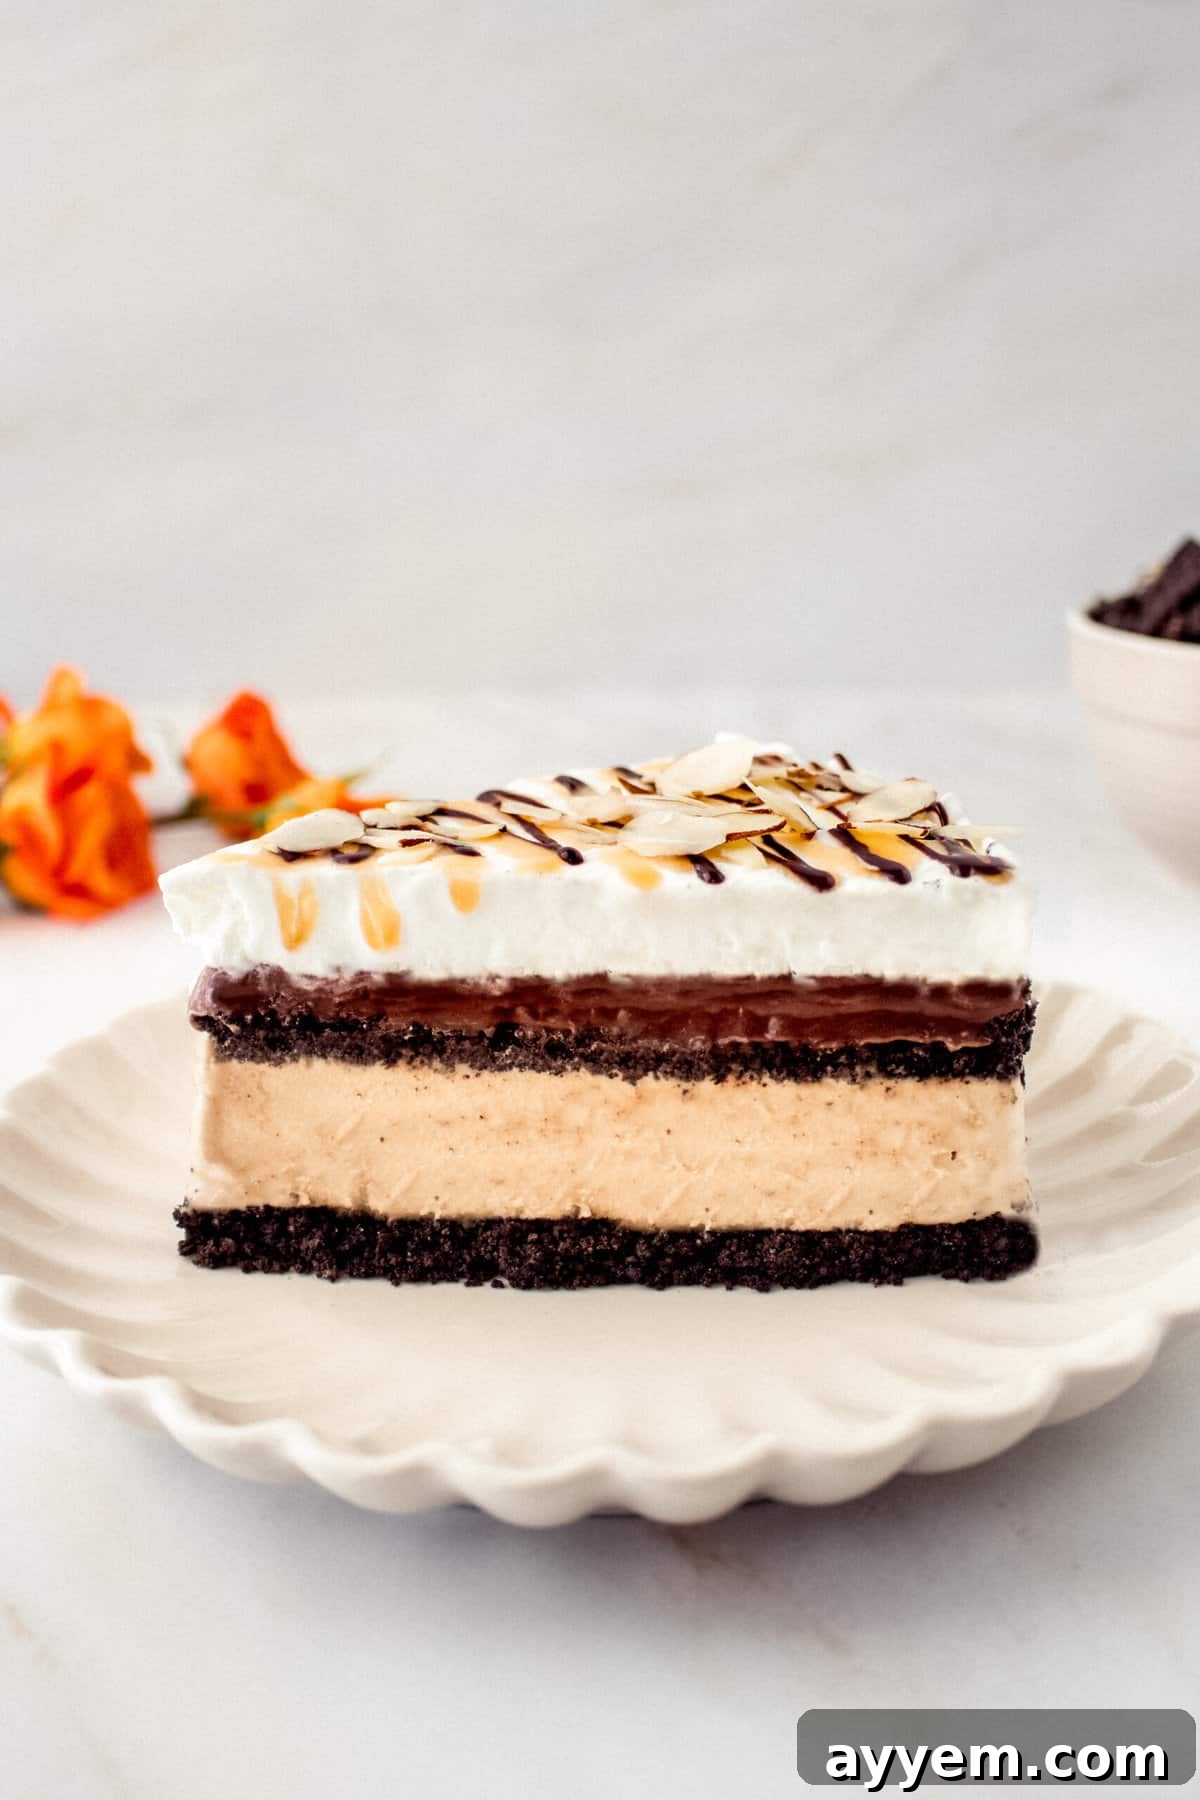
Our profound love for Oreo cookies means any dessert that features them prominently instantly captures our attention. The classic Billy Miner Pie is renowned for its irresistible Oreo cookie crust, a luscious coffee-flavored ice cream filling, and generous drizzles of warm fudge and sweet caramel sauce. It’s a combination that has charmed dessert lovers for decades, offering a perfect symphony of chocolate, coffee, and creamy textures.
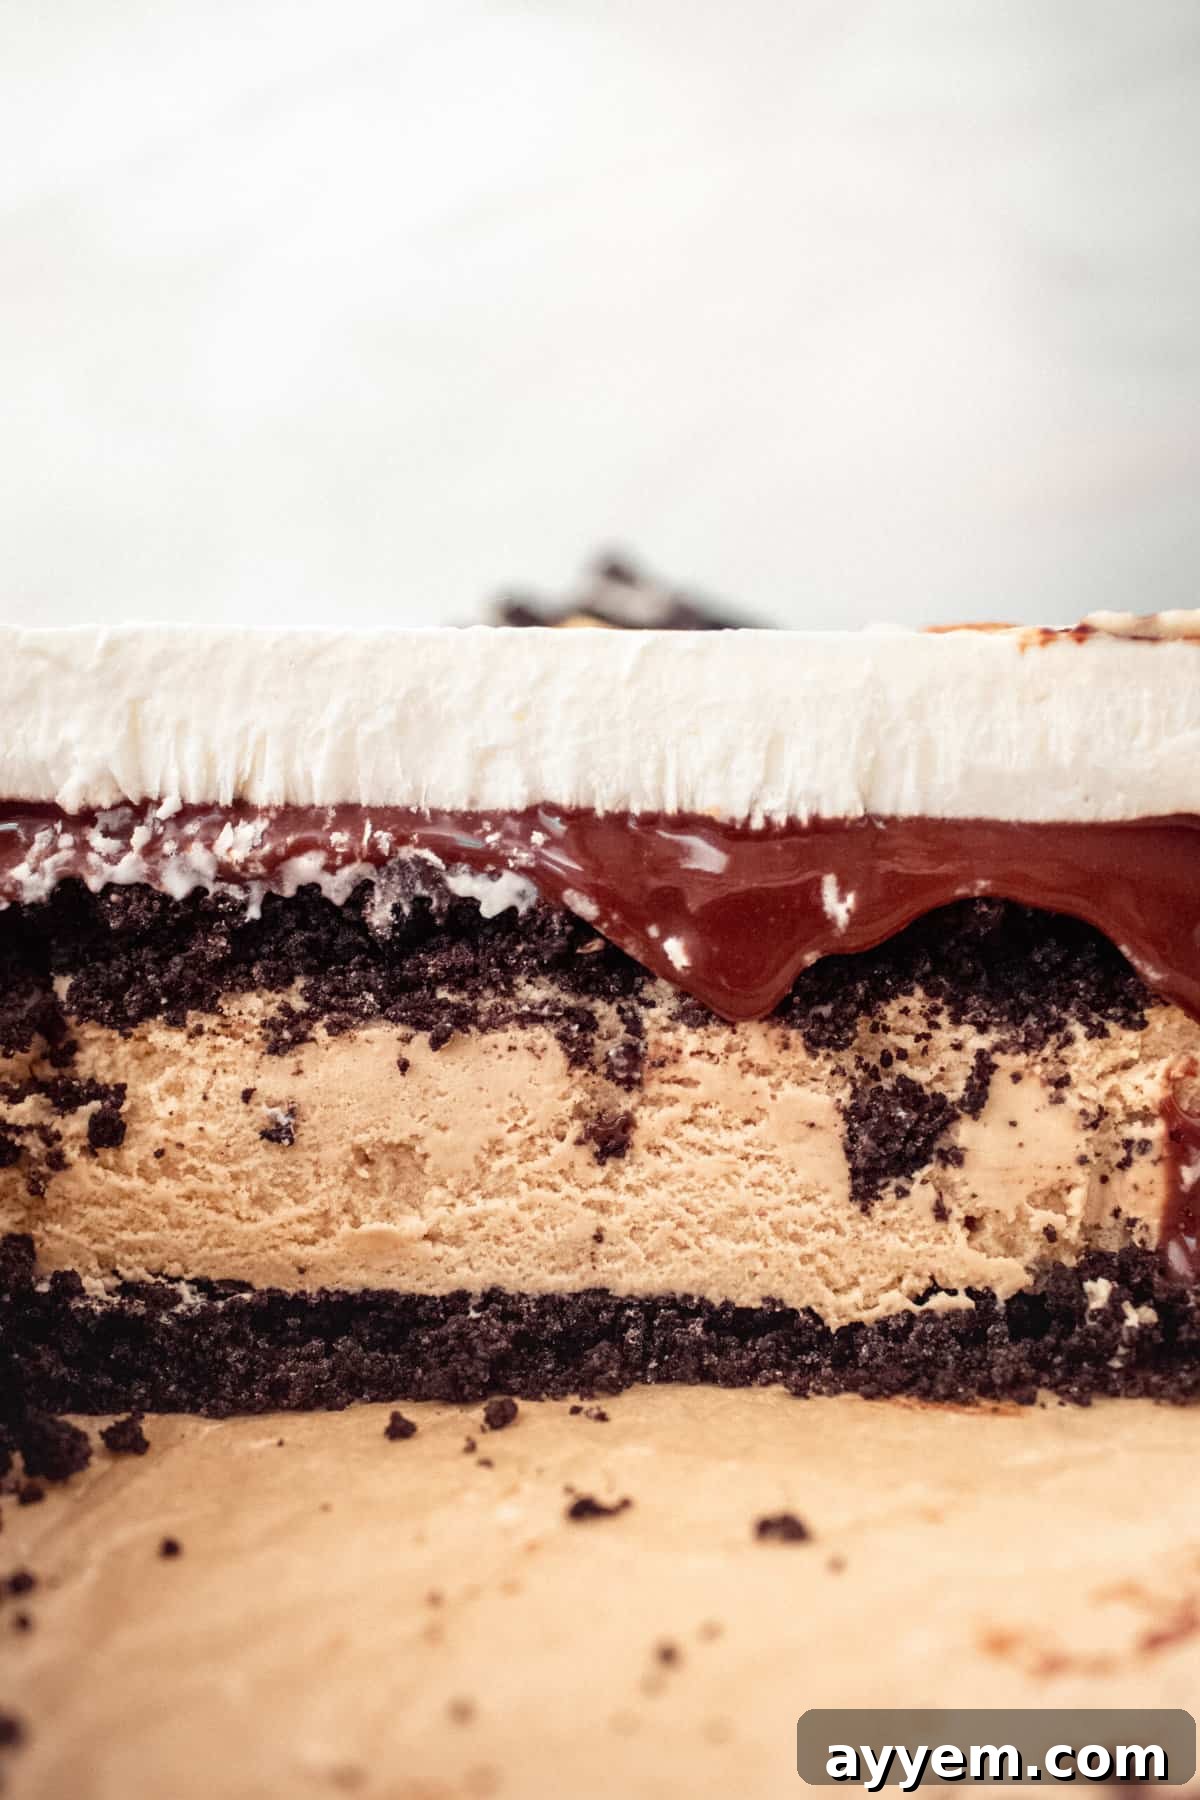
However, our rendition of this iconic dessert takes indulgence to an entirely new dimension. While the traditional Billy Miner Ice Cream Pie is undoubtedly fantastic, we believed there was room to elevate its luxurious appeal. That’s why we’ve incorporated an additional, glorious layer of crunchy Oreo crust, ensuring maximum chocolatey satisfaction in every bite. Beyond that, we’ve introduced an entire, thick layer of rich, homemade fudge, adding an unparalleled depth of chocolate flavor and a wonderfully chewy texture that melts in your mouth. And, of course, no extraordinary pie is complete without our signature, cloud-like homemade whipped cream layer, adding a light and airy counterpoint to the pie’s decadent foundation.
This upgraded Billy Miner Ice Cream Pie is truly an unforgettable creation that guarantees rave reviews at every celebration. We adore preparing it for all sorts of festivities, knowing it will always be the highlight of the dessert table. For those who also adore cookie dough, we even crafted a special variation: Cookie Lovers Billy Miner Ice Cream Pie, a delightful twist that’s equally as enchanting!
Unveiling the History of Billy Miner Ice Cream Pie
If the name “Billy Miner Ice Cream Pie” has piqued your curiosity, you’re not alone! Many wonder about the unique origin story behind this famously delicious dessert. Far from being a fictional character, this scrumptious ice cream pie is indeed named after a real, historical figure, adding an intriguing layer to its already captivating appeal.
Billy Miner was a notorious and charismatic train robber who operated in Canada during the late 19th and early 20th centuries. Born in Kentucky, he gained fame for his cunning and his distinct style of robbery, earning him the moniker “The Gentleman Bandit.” This nickname was bestowed upon him because he was known for never resorting to violence during his daring train heists, preferring persuasion and wit over force. His most famous exploit occurred in the fall of 1904, when he successfully robbed the Canadian Pacific Railroad, solidifying his legend in Canadian folklore.
The iconic Billy Miner Ice Cream Pie was first conceived and served at a beloved restaurant chain known as The Keg Steakhouse & Bar, which originated in western Canada. Recognizing the enduring local legend of Billy Miner, the restaurant decided to pay homage to him not only through this now-famous dessert but also by naming a variety of drinks after him and his adventurous life. The Keg further immersed its patrons in the lore of “The Gentleman Bandit” by famously decorating its dining rooms with images and memorabilia related to Billy Miner, turning a simple meal into an engaging historical experience. This clever branding helped cement the pie’s place in Canadian culinary culture and transformed it into a widely recognized and cherished treat, celebrated for both its taste and its intriguing backstory.
Crafting Your Own Billy Miner Ice Cream Pie: A Step-by-Step Guide
Creating this magnificent Billy Miner Ice Cream Pie at home is a rewarding experience, allowing you to control every layer of deliciousness. Follow these detailed steps to assemble your own showstopping dessert:
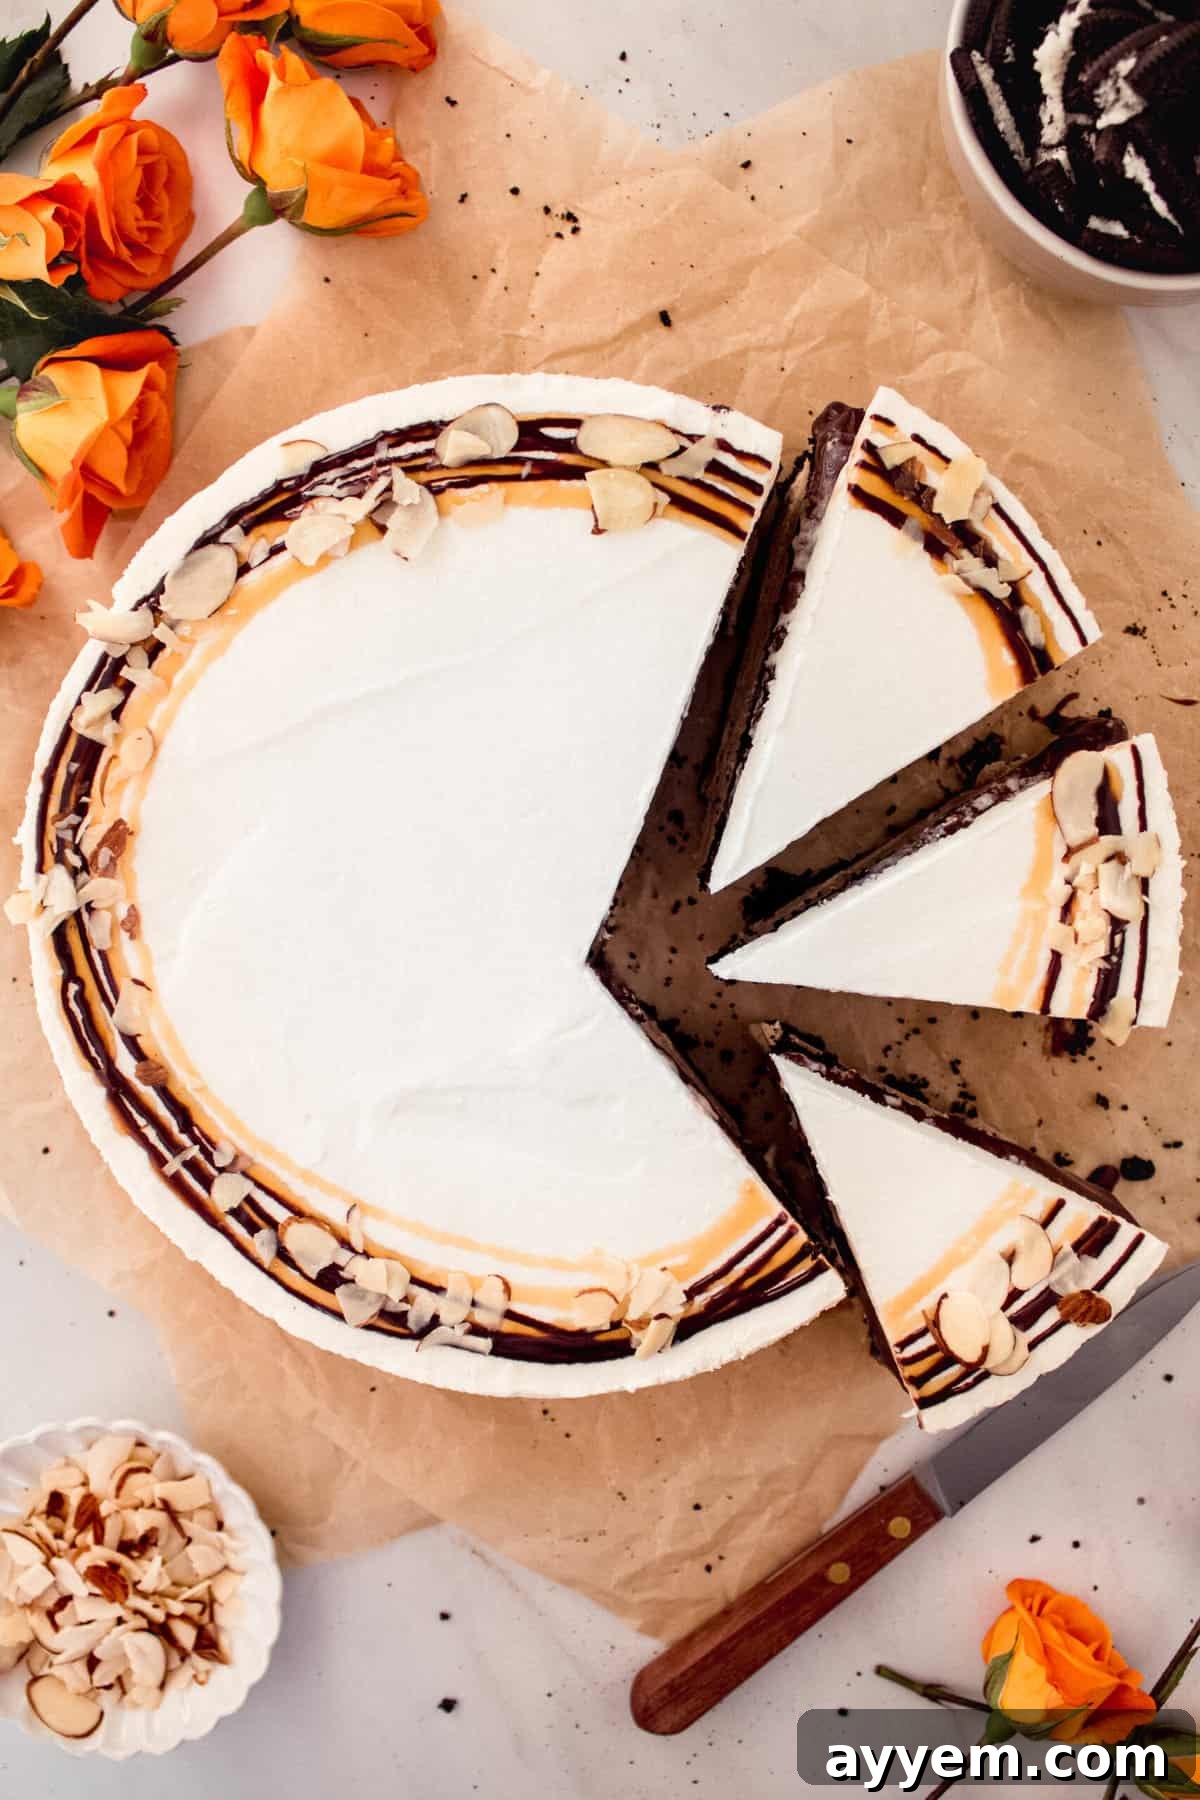
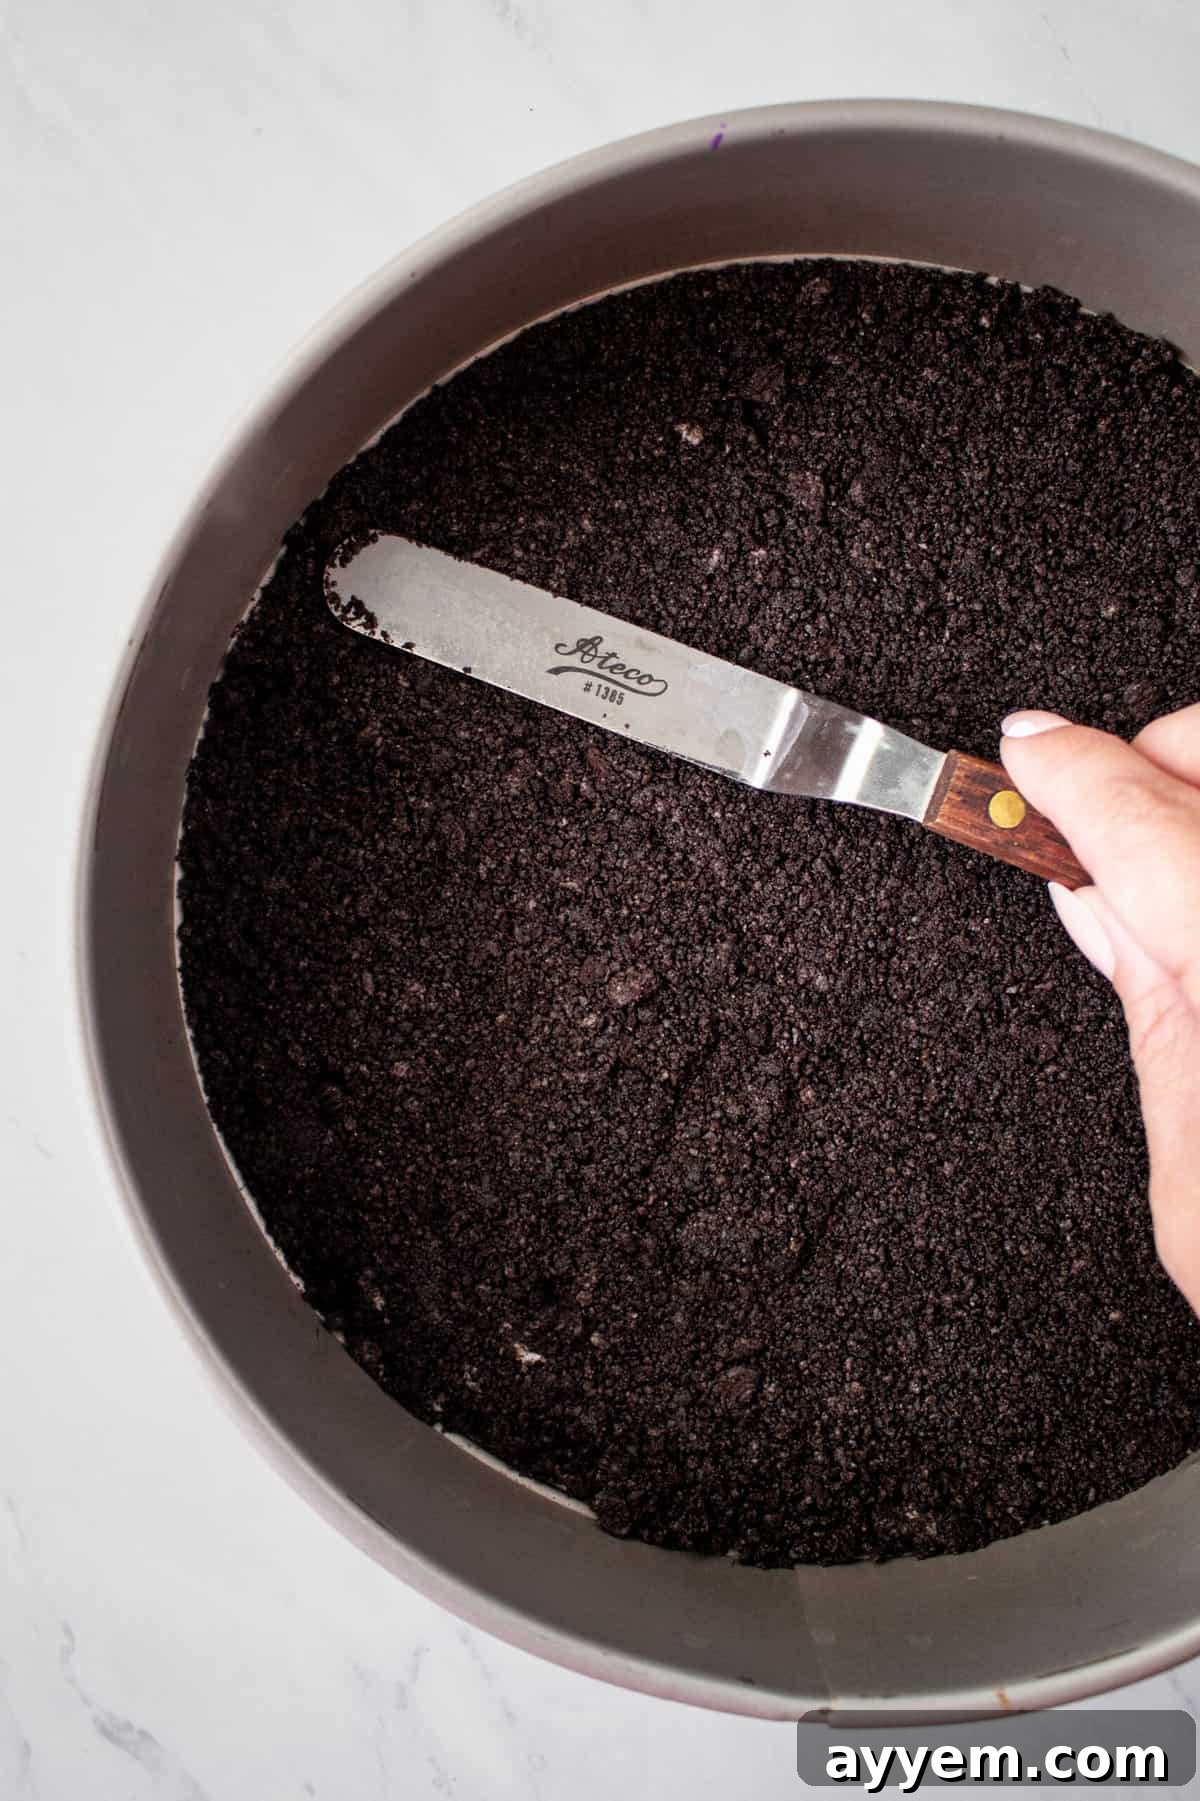
- Prepare the First Oreo Crust: Begin by melting ¼ cup of butter. You can do this quickly in the microwave in 30-second intervals until fully liquid, or gently in a small saucepan over low heat. Once melted, combine it thoroughly with half of your crushed Oreo cookies. This creates the foundational chocolatey crust.
- Form the Base Layer: Press this butter-cookie mixture firmly and evenly into the bottom of a 10-inch pie plate. Ensure it forms a compact layer that extends slightly up the sides. Place the pie plate in the refrigerator to chill while you prepare the other components. Set aside the remaining crushed cookie mixture for a later layer.
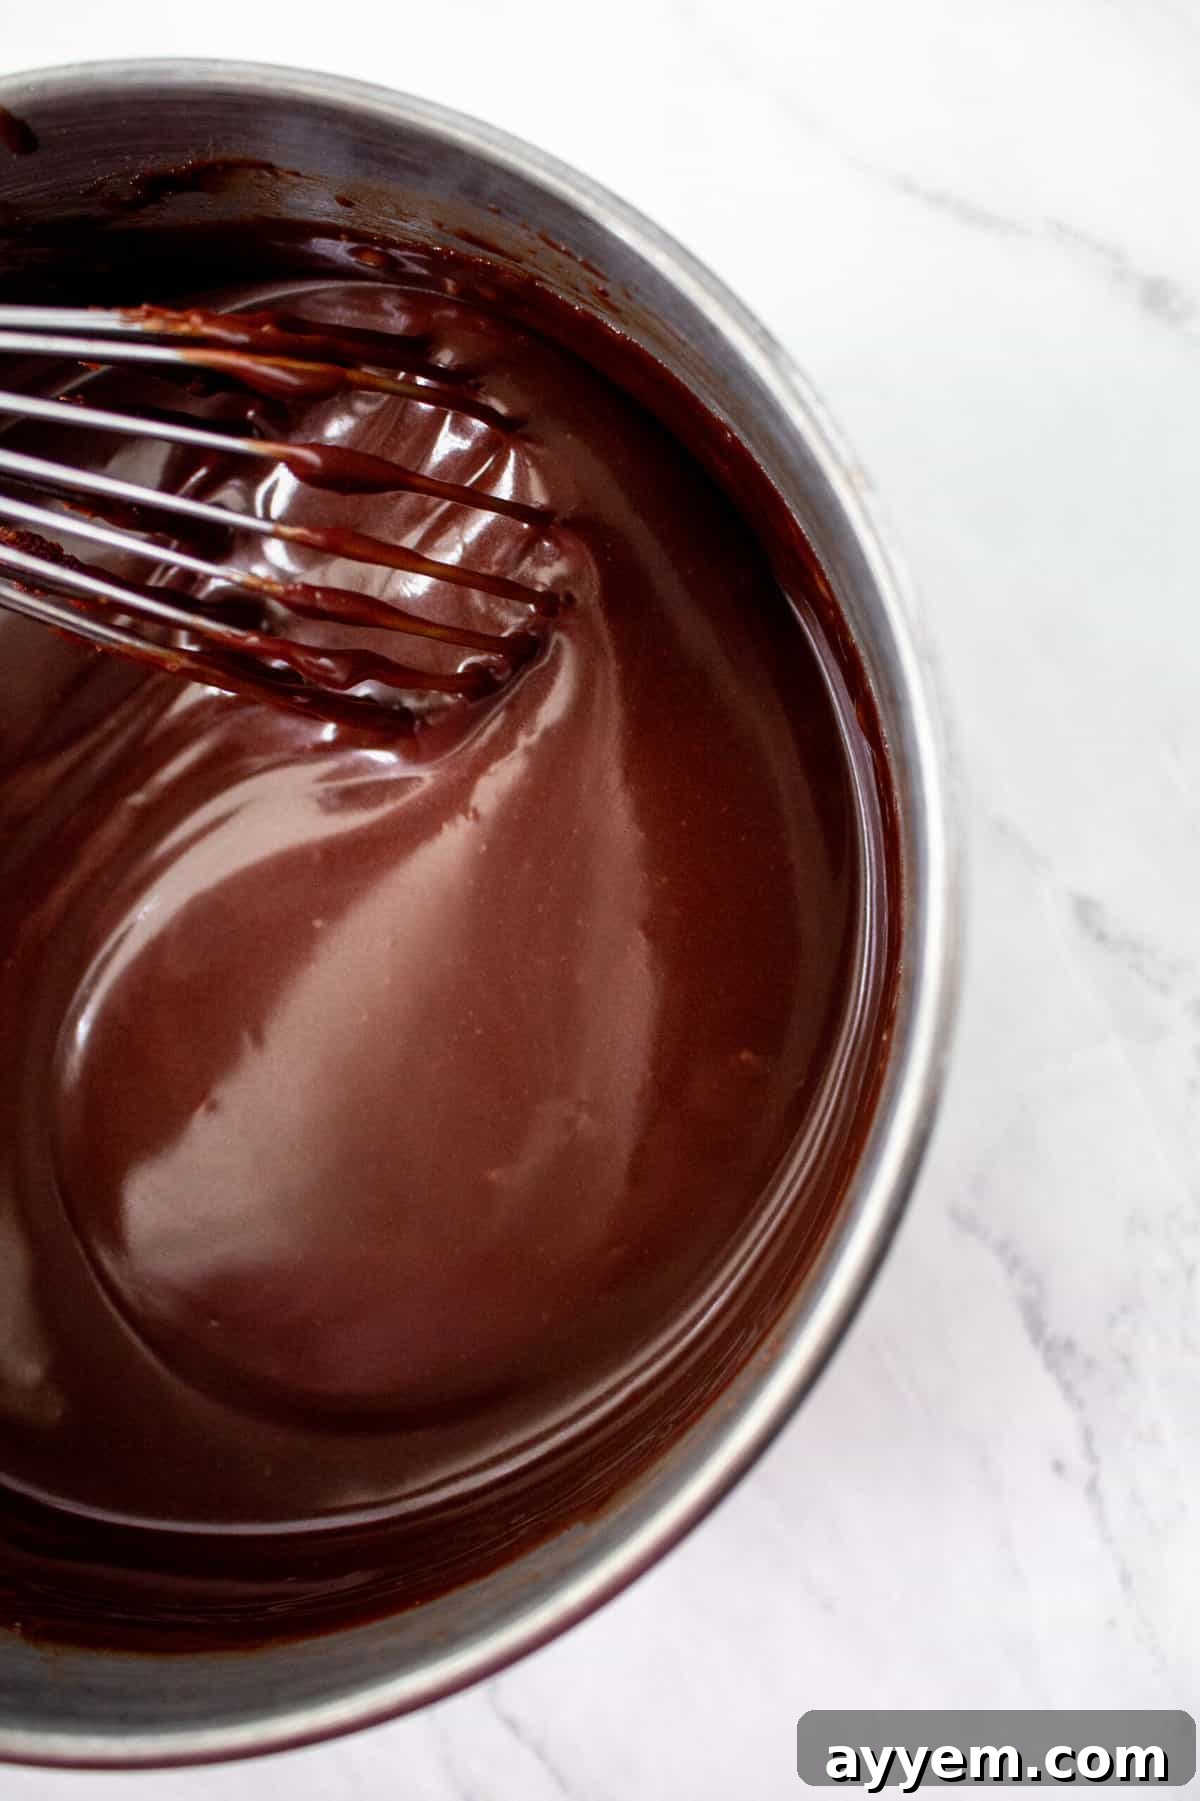
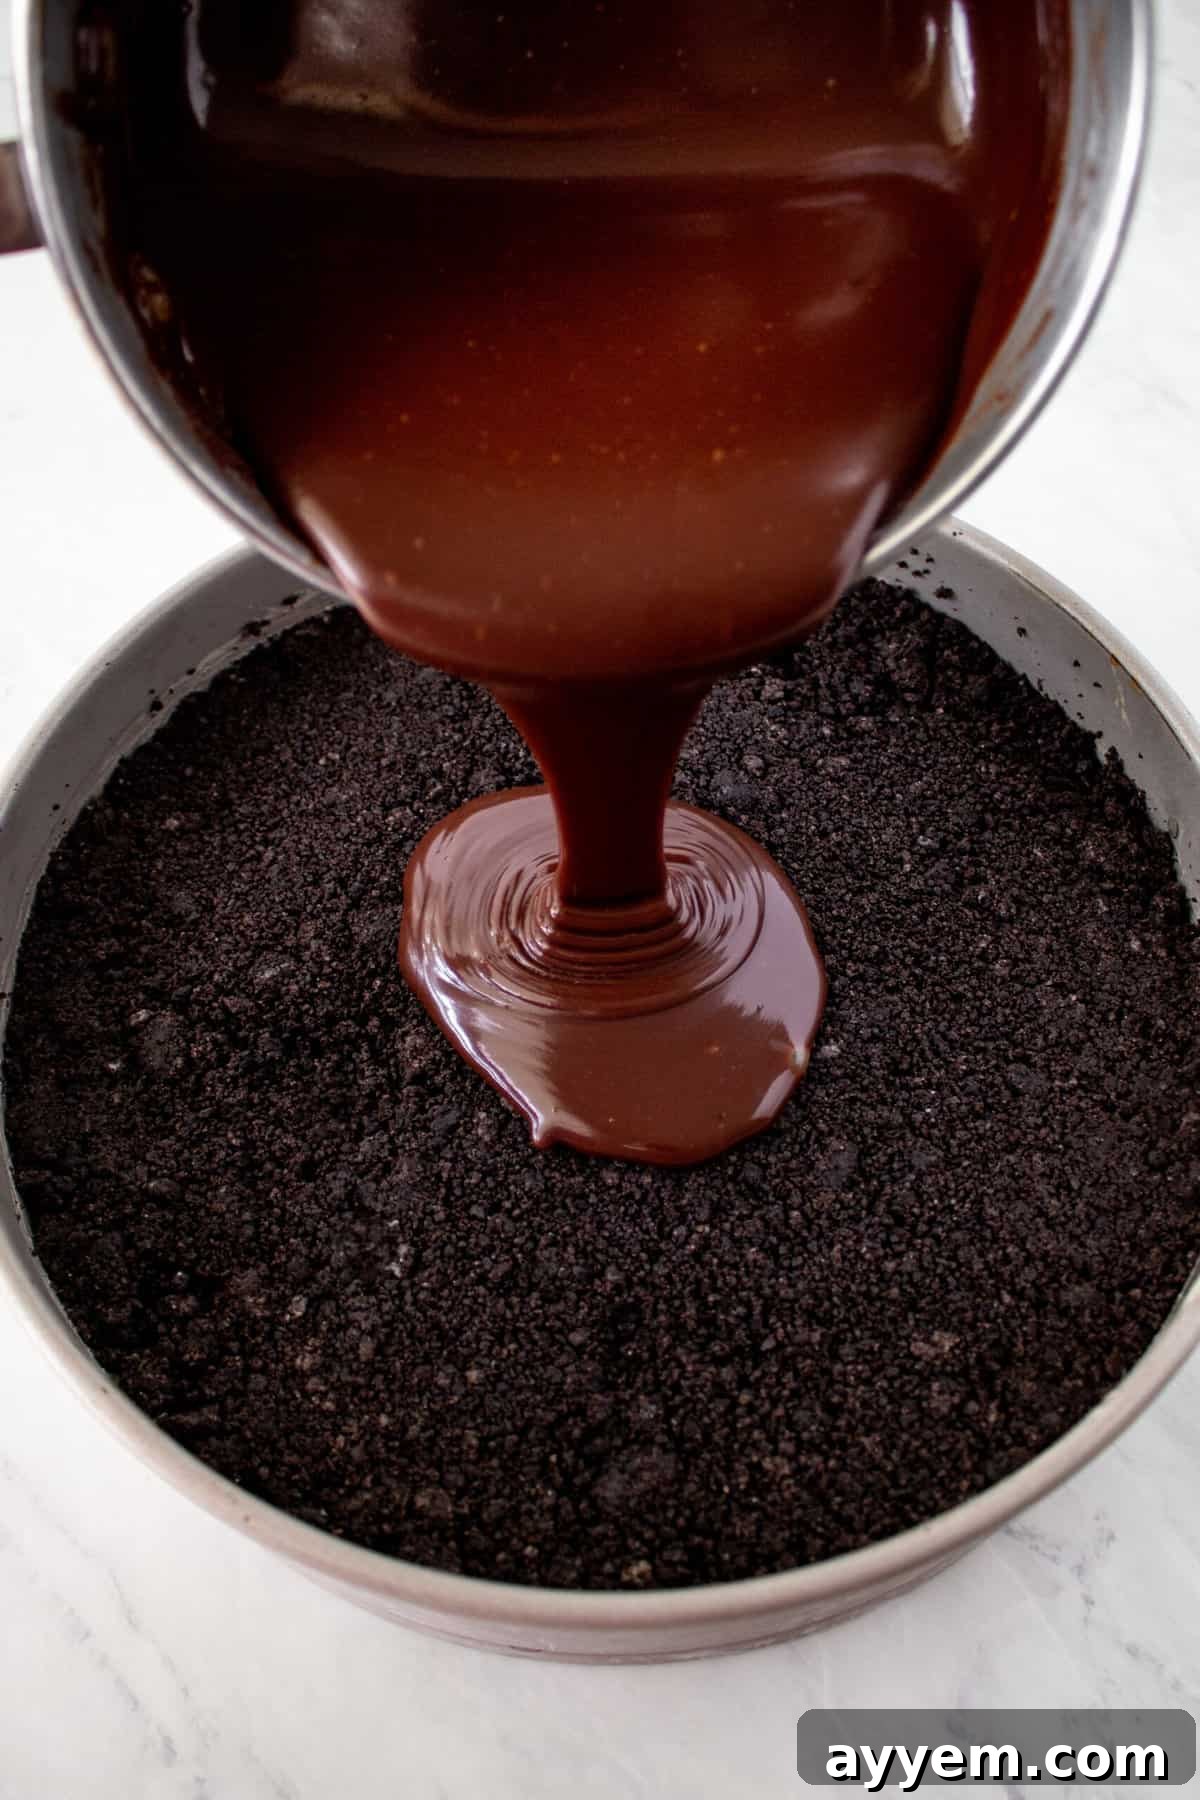
- Make the Decadent Fudge: In a small saucepan, melt the remaining butter along with the unsweetened dark chocolate over very low heat. This step requires careful attention, as chocolate can scorch easily. Stir continuously until the mixture is smooth and fully melted. Remove it from the heat immediately.
- Incorporate Sugar and Milk: While the chocolate-butter mixture is still warm, stir in the granulated sugar until it’s fully dissolved. Next, gradually pour in the evaporated milk, whisking constantly as you pour. This slow addition and continuous whisking are crucial to prevent the chocolate from seizing and hardening due to the sudden introduction of a colder liquid. Continue to whisk until the fudge mixture is smooth and glossy.
- Add Vanilla and Cool: Stir in the vanilla extract to enhance the fudge’s flavor. Set the fudge mixture aside to cool completely to room temperature. This cooling step is important to prevent it from melting the ice cream when assembled.
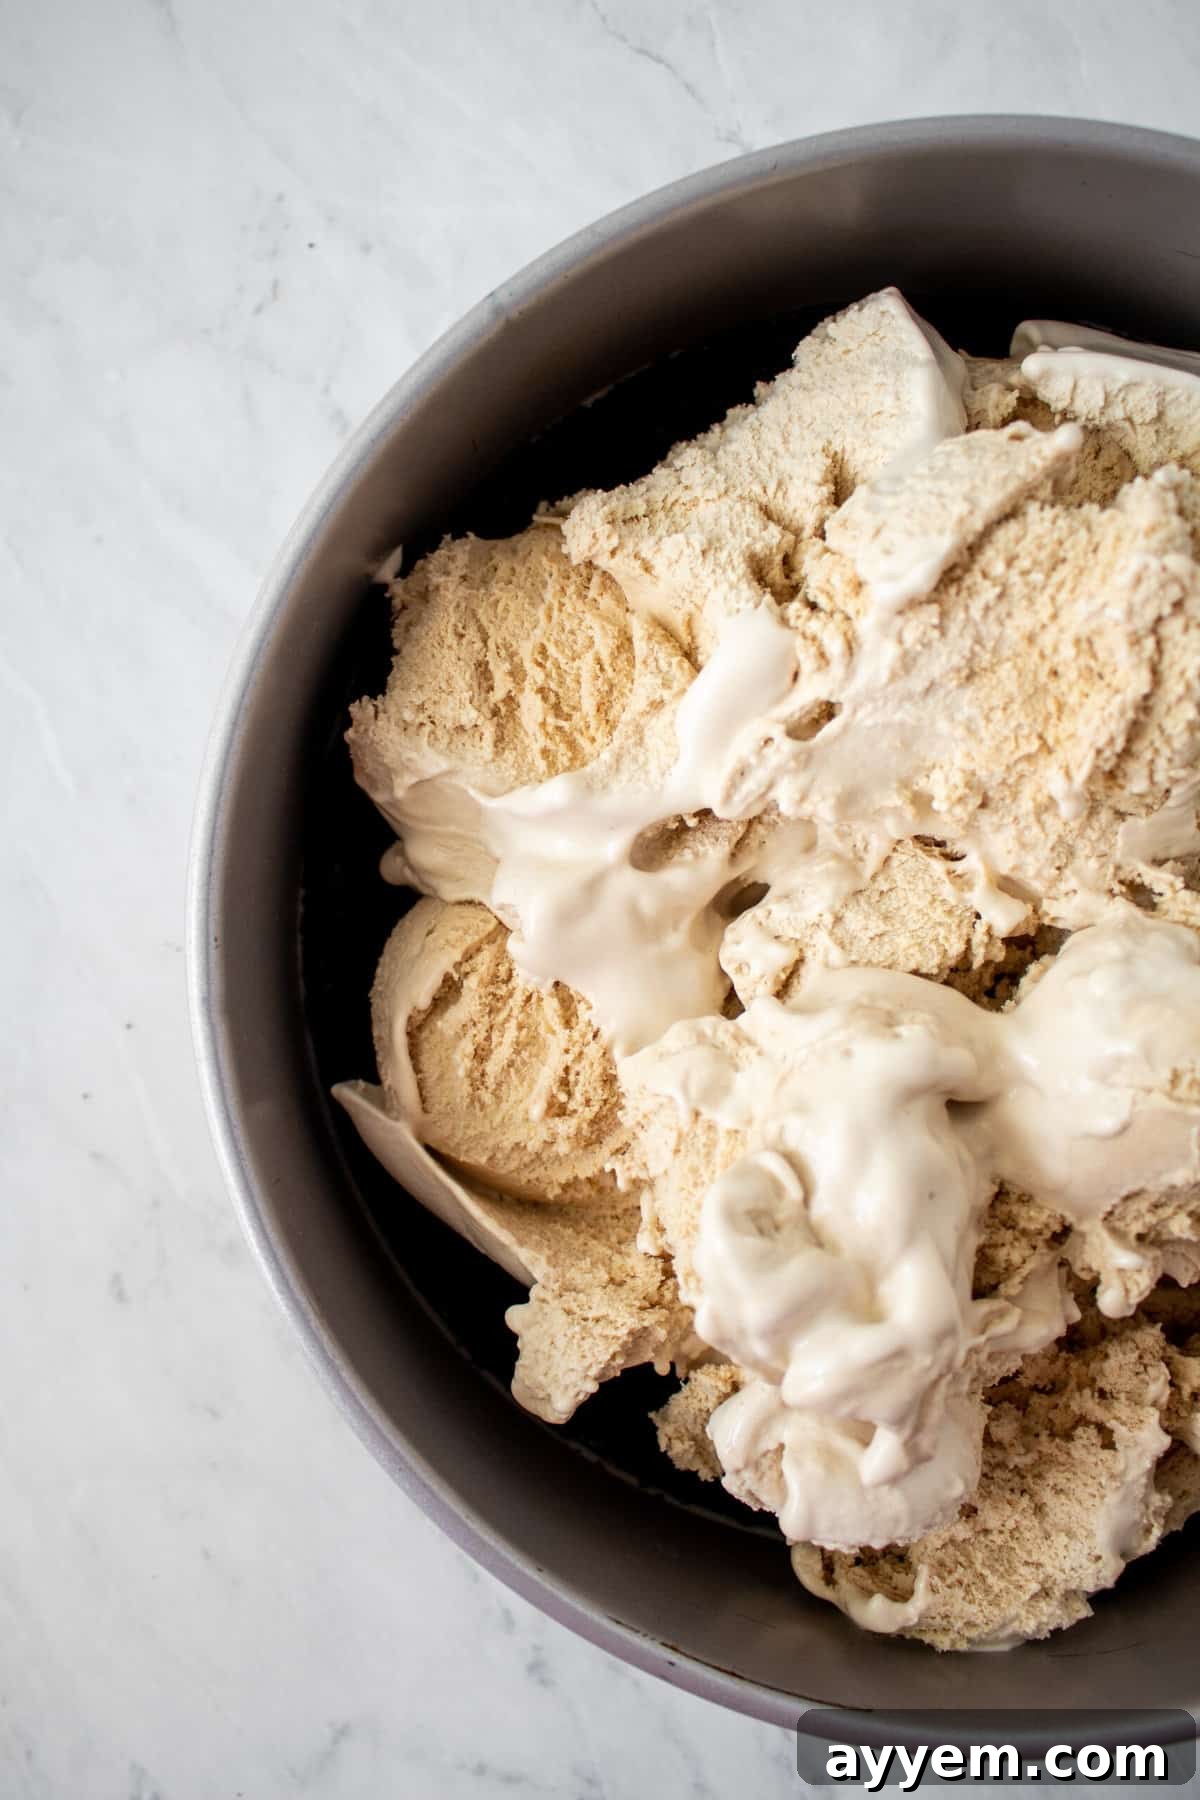
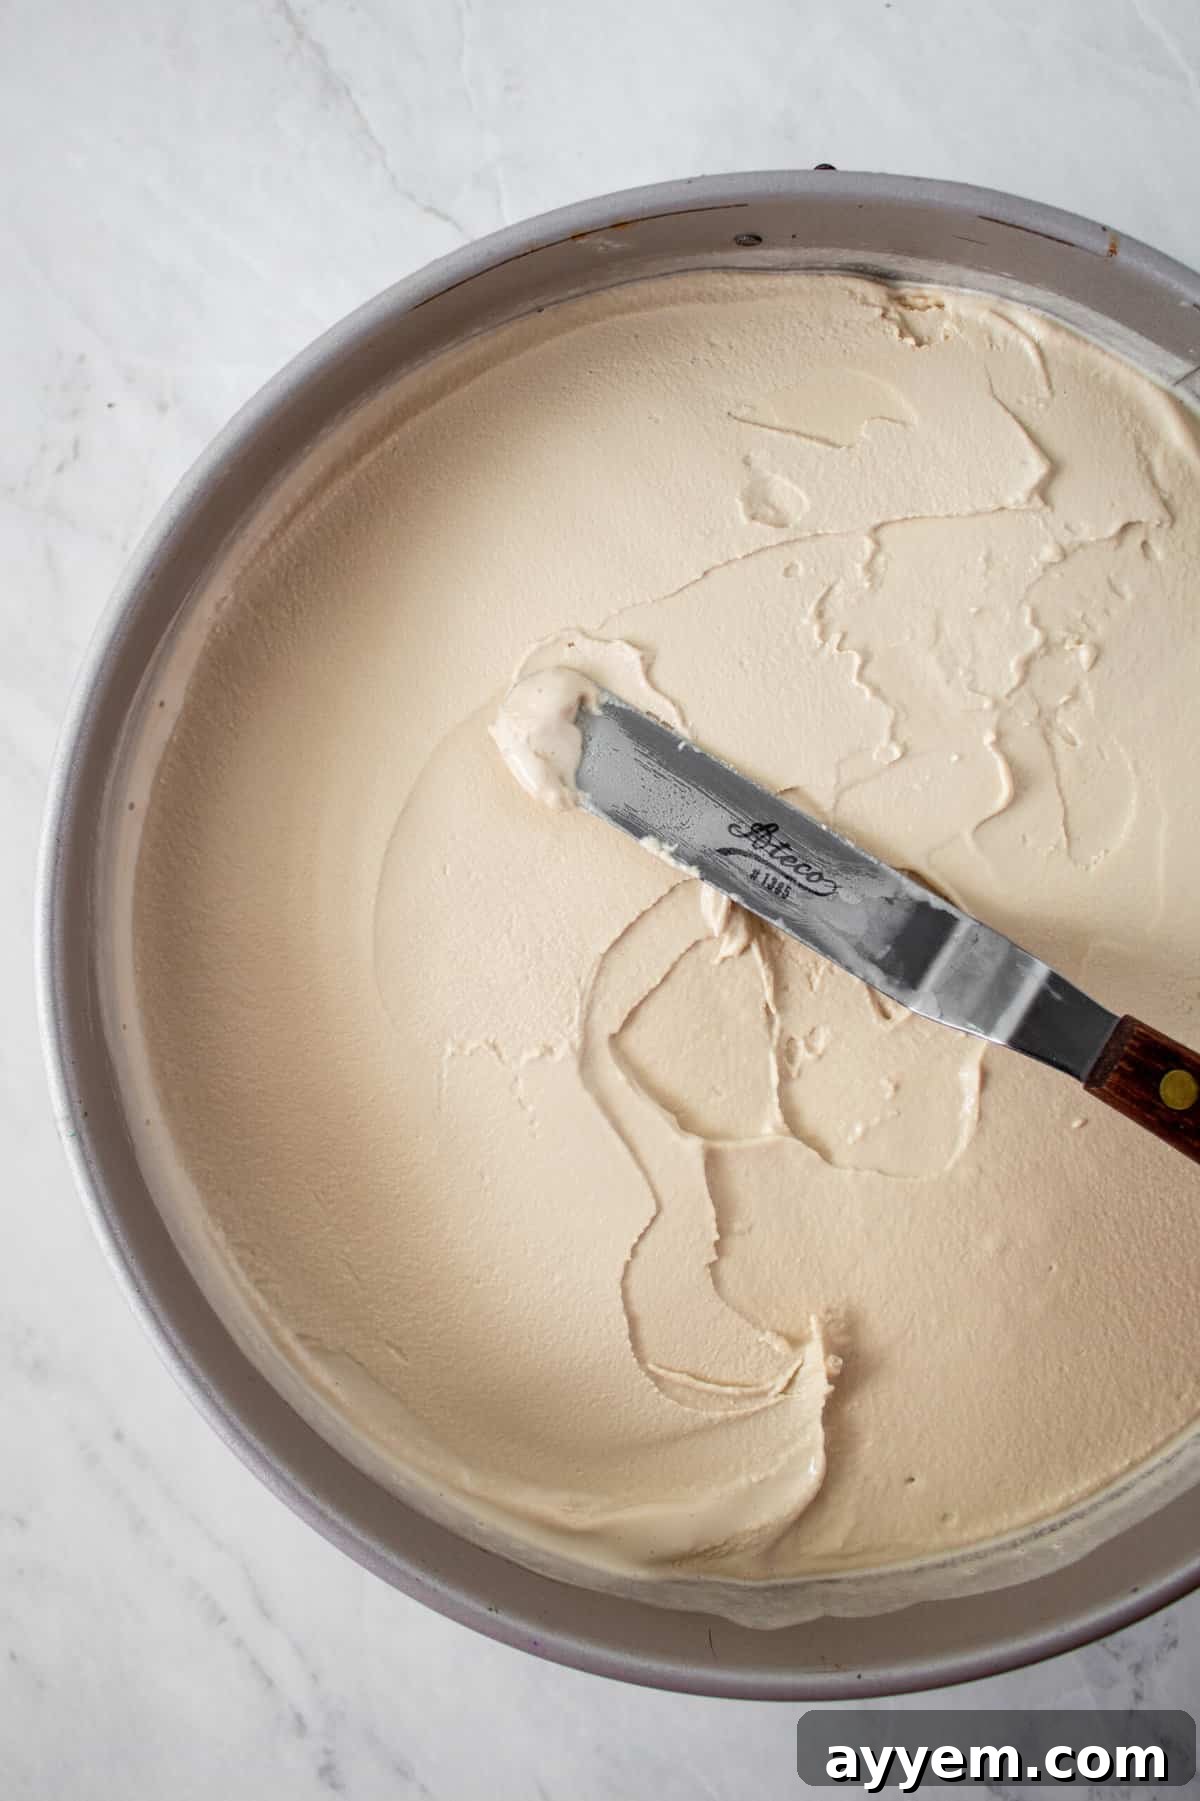
- Layer with Coffee Ice Cream: Retrieve your chilled pie crust from the refrigerator. Evenly spread the slightly softened coffee ice cream over the crust. Use the back of a spoon or an offset spatula to create a smooth, level surface.
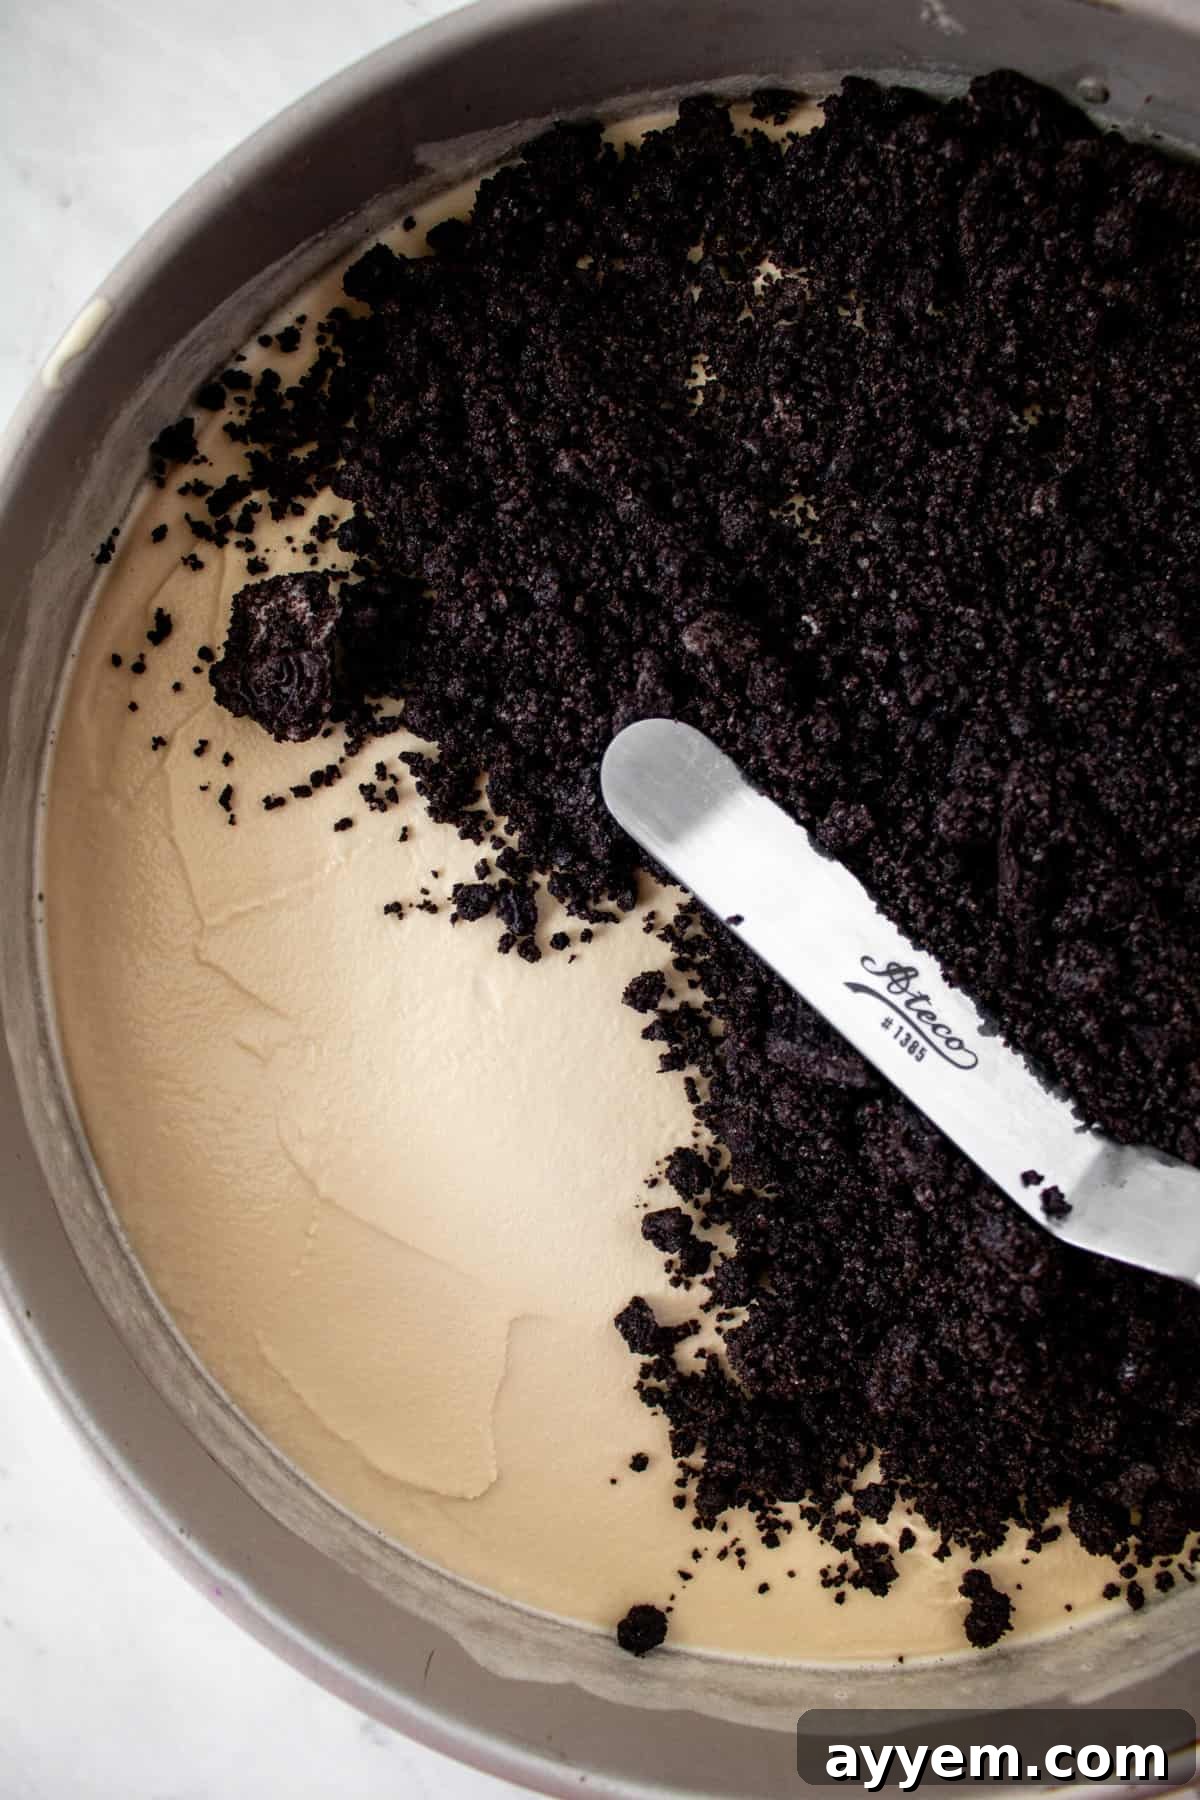
- Add Second Oreo Layer: Sprinkle the reserved crushed Oreo cookie mixture generously over the coffee ice cream layer. Gently press it down lightly to adhere. Place the pie back into the freezer to allow the ice cream to firm up completely, typically for at least 1-2 hours.
- Apply the Fudge Layer: Once the ice cream is firm, remove the pie from the freezer. Evenly spread the cooled fudge mixture over the now-firm ice cream and second Oreo layer. Ensure full coverage for that rich chocolate experience. Return the pie to the freezer for another 1-2 hours, or until the fudge layer is set.
- Whip the Cream: In a stand mixer fitted with a whisk attachment, or using a large bowl and an electric hand mixer, combine the cold heavy whipping cream and confectioners’ sugar. Whip on medium-high speed until thick, fluffy soft peaks form. Be careful not to over-whip, as it can turn granular.
- Finish and Chill: Carefully spread the freshly whipped cream over the set fudge layer, creating a beautiful, airy topping. For the best presentation and texture, store the assembled pie in the freezer until you are ready to slice and serve.
Perfectly Serving Your Billy Miner Ice Cream Pie
The moment you’ve been waiting for: serving your magnificent Billy Miner Ice Cream Pie! To ensure a picture-perfect slice and the best eating experience, follow these simple guidelines:
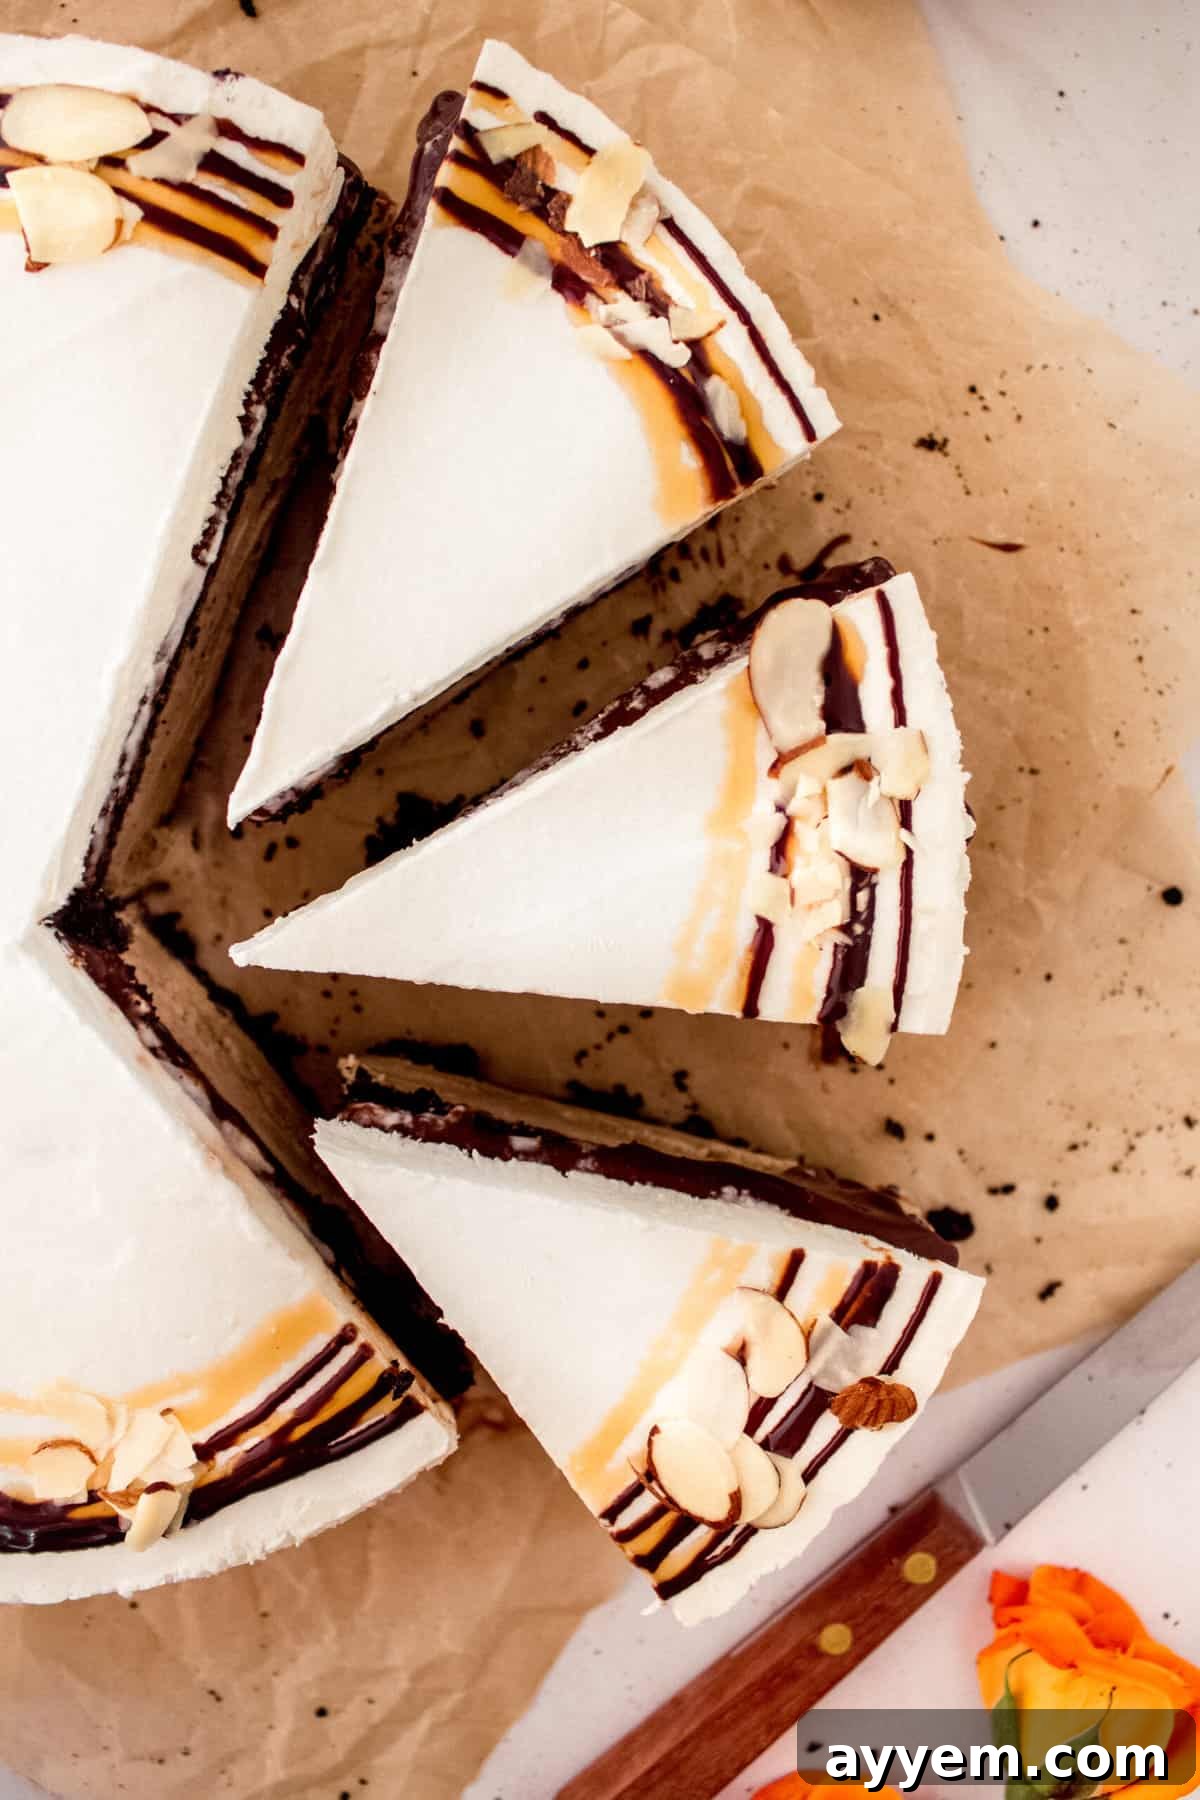
When you’re ready to serve, remove the ice cream pie from the freezer and let it sit on the counter for about 5-10 minutes. This brief resting period allows the ice cream and fudge layers to soften just enough for easier slicing, preventing any cracking or crumbling of your beautiful layers.
Here’s a crucial pro tip for effortless, clean slices: run your knife under hot water for about 10-15 seconds, then quickly dry it with a clean towel before each cut. The warmth from the knife blade will glide smoothly through the frozen layers, ensuring a pristine slice without compressing the delicious components. Repeat this process for every slice to maintain that professional, layered look.
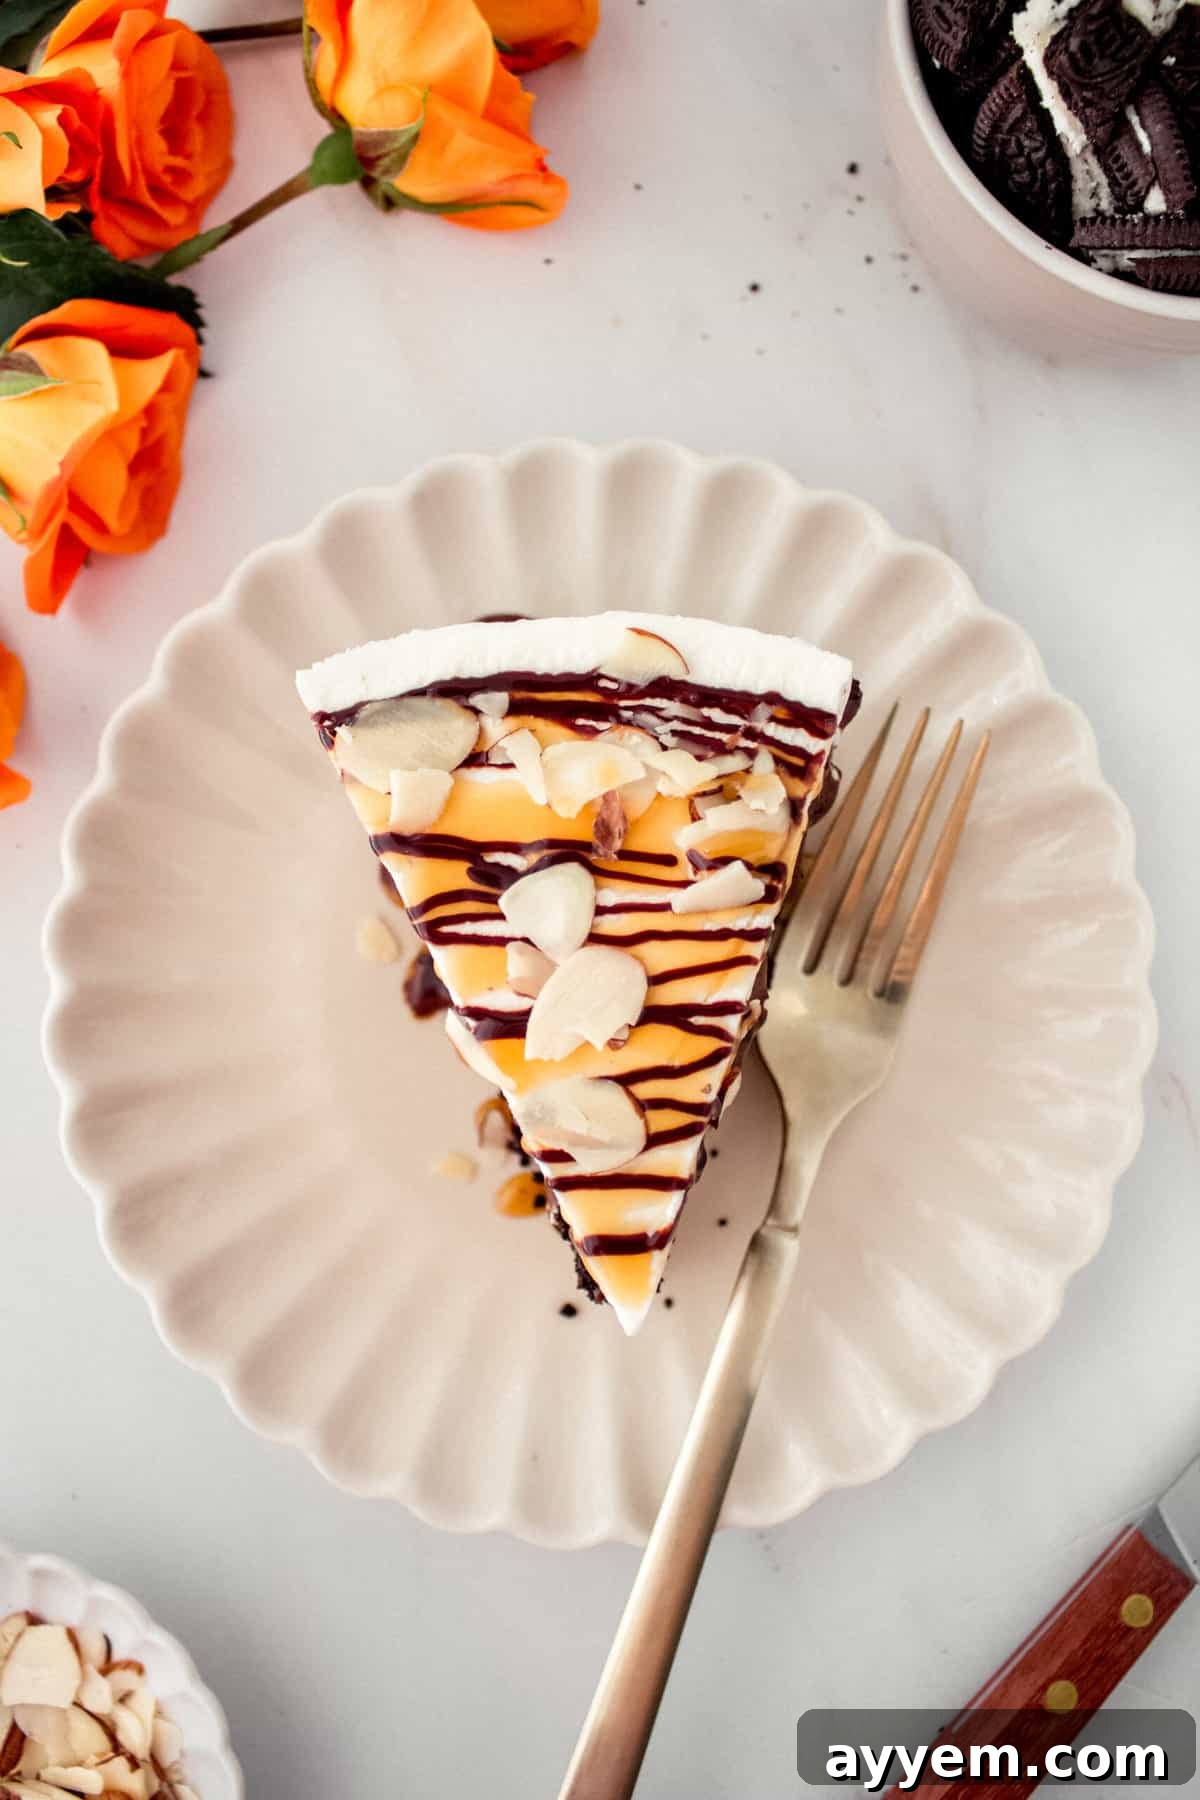
For an extra touch of gourmet elegance, garnish each slice just before serving. A sprinkle of toasted sliced almonds adds a delightful crunch, while a drizzle of store-bought or homemade caramel sauce and an extra swirl of hot fudge amplify the richness. You can also add a dollop of extra whipped cream, a few chocolate shavings, or even a fresh raspberry for a pop of color and tartness. Serve immediately to enjoy the perfect contrast of frozen creamy goodness and crunchy crust.
More Scrumptious Desserts to Elevate Your Recipe Collection!
If we had to pick a favorite meal, it would undeniably be dessert! If you fell in love with the indulgent layers of our Billy Miner Ice Cream Pie, you’re in for a treat with these other incredible, often Oreo-based, recipes. Get ready to expand your repertoire of sweet delights!
- Chocolate Peanut Butter Pie: If the irresistible Oreo pie crust was a highlight for you, then look no further than our Chocolate Peanut Butter Pie. This dessert boasts a perfectly crunchy Oreo crust, filled with a smooth, creamy, and utterly delightful chocolate peanut butter filling. It’s a guaranteed crowd-pleaser and a family-friendly recipe that everyone, young and old, absolutely adores!
- Oreo Tiramisu: Prepare yourself for an out-of-this-world experience with our Oreo Tiramisu. This unique twist on the classic Italian dessert replaces traditional ladyfingers with crushed Oreos, layering them with a rich, coffee-infused mascarpone cream. It’s just nearly as rich and indulgent as the Billy Miner pie, offering a different yet equally satisfying dessert adventure. Plus, if you’re curious about the fascinating history of Oreos, be sure to check out the accompanying blog post for this recipe!
- Cookies and Cream Rice Krispies Treats: Lastly, our Cookies and Cream Rice Krispies Treats are truly to die for! We adore the nostalgic crunch of classic Rice Krispie Treats, and our obsession with Oreos is well-documented. So, we thought, why not combine these two beloved treats to create the dessert of our dreams? These gooey, chewy, and wonderfully chocolatey treats are surprisingly simple to make and perfect for a quick snack or a fun party dessert.
Common Questions About Billy Miner Ice Cream Pie
Billy Miner Pie is a luxurious ice cream pie featuring a crunchy, flavorful Oreo cookie-based crust, a creamy coffee ice cream filling, and a generous layer of rich homemade fudge. It is traditionally garnished with drizzles of caramel and chocolate sauce, and often sprinkled with crunchy sliced almonds, creating a symphony of textures and flavors in every bite.
The pie is named after Billy Miner, a legendary Canadian train robber from the late 19th and early 20th centuries, known as “The Gentleman Bandit” for his non-violent approach to heists. It was created and named by The Keg Steakhouse + Bar, a popular restaurant chain in Western Canada, as a tribute to this local historical figure.
For optimal spreadability and to ensure smooth layers without melting the entire batch, we highly recommend allowing your carton of ice cream to soften in the refrigerator for approximately 20-30 minutes. This brings it to just the right scoopable consistency, making it easy to spread evenly into your pie crust while still maintaining its frozen structure.
While you can technically soften ice cream in the microwave, we generally advise against it for ice cream pies due to the high risk of over-melting certain sections while others remain too hard. The microwave’s uneven heating can quickly turn your ice cream into a soupy mess. If you’re in a real pinch, microwave it in very short 10-second intervals at 50% power, stirring diligently after each interval, until it reaches the desired slightly softened consistency.
Absolutely! This pie is an excellent make-ahead dessert. You can prepare and assemble the entire pie, including all layers and the whipped cream topping, up to 2-3 days in advance. Ensure it’s tightly covered with plastic wrap to prevent freezer burn and keep it tasting fresh. This makes it perfect for entertaining, as you can have a showstopping dessert ready to go!
Billy Miner Ice Cream Pie
Rating: 5 out of 5 stars from 1 vote
Save
Pin
Ingredients
- 1/2 cup butter divided
- 36 Oreo cookies crushed
- 3 ounces unsweetened dark chocolate
- 2/3 cups granulated sugar
- 2/3 cups evaporated milk
- 1 teaspoon vanilla extract
- 1 1/2 quarts coffee ice cream such as Haagen Daaz, slightly softened
- 1 cup heavy whipping cream
- 3 Tablespoons confectioners’ sugar
- 1 cup sliced almonds
Instructions
- Melt 1/4 cup butter in the microwave or in a small stock pot on the stove. This will be used to bind the cookie crumbs for the crust.
- Mix the crushed Oreo cookies with the melted butter until well combined. The mixture should resemble wet sand.
- Press half of the cookie mixture firmly into the bottom of a 10-inch pie plate. Ensure an even and compact base. Chill this crust in the fridge for at least 15 minutes to set. Set aside the remaining cookie mixture for a later layer.
- In a small saucepan, melt the remaining butter alongside the unsweetened dark chocolate over low heat. Stir frequently and watch carefully to prevent the chocolate from burning, as it can easily do so.
- Once the chocolate and butter mixture is smoothly melted, remove the saucepan from the heat. Stir in the granulated sugar until it is fully dissolved.
- Gradually pour in the evaporated milk while continuously mixing. This slow addition and constant stirring are essential because melted chocolate can seize and harden if a cold liquid is introduced too quickly. A gentle whisking throughout this process will help maintain a smooth consistency.
- Stir in the vanilla extract until fully incorporated. Set the fudge mixture aside to cool completely to room temperature. It’s crucial that the fudge is cool before adding it to the ice cream.
- Remove the chilled pie crust from the fridge. Evenly top the crust with the slightly softened coffee ice cream, spreading it smoothly across the base. Then, spread out the remaining crushed Oreos over the ice cream layer, gently pressing them in. Place the pie in the freezer for at least 1-2 hours, or until the ice cream layer is firm.
- Once the ice cream layer has firmed up in the freezer, remove the pie. Evenly spread the cooled fudge mixture over the firm ice cream and cookie layer. Return the pie to the freezer for another 1-2 hours to allow the fudge to set.
- In a stand mixer with a whisk attachment, or using a large bowl and an electric mixer, whip the cold heavy cream and confectioners’ sugar together. Whip on medium-high speed until the mixture becomes thick and forms soft peaks when the whisk is lifted. Your homemade whipped cream is now ready.
- Top the pie with this freshly whipped cream, spreading it evenly to cover the fudge layer. Store the finished pie in the freezer until you are ready to serve. For extra garnish, sprinkle with slivered almonds, and drizzle with caramel and chocolate sauce just before serving. Enjoy this magnificent dessert! Eat. Repeat.
Video
Notes
Top with whipped cream and sprinkle with almonds, caramel and chocolate sauce. Enjoy. Eat. Repeat.
Nutrition
Serving: 1serving | Calories: 641kcal | Carbohydrates: 79g | Protein: 10g | Fat: 35g | Saturated Fat: 18g | Polyunsaturated Fat: 3g | Monounsaturated Fat: 13g | Trans Fat: 0.02g | Cholesterol: 68mg | Sodium: 261mg | Potassium: 510mg | Fiber: 4g | Sugar: 61g | Vitamin A: 834IU | Vitamin C: 1mg | Calcium: 218mg | Iron: 6mg
Nutrition information is automatically calculated, so should only be used as an approximation.