
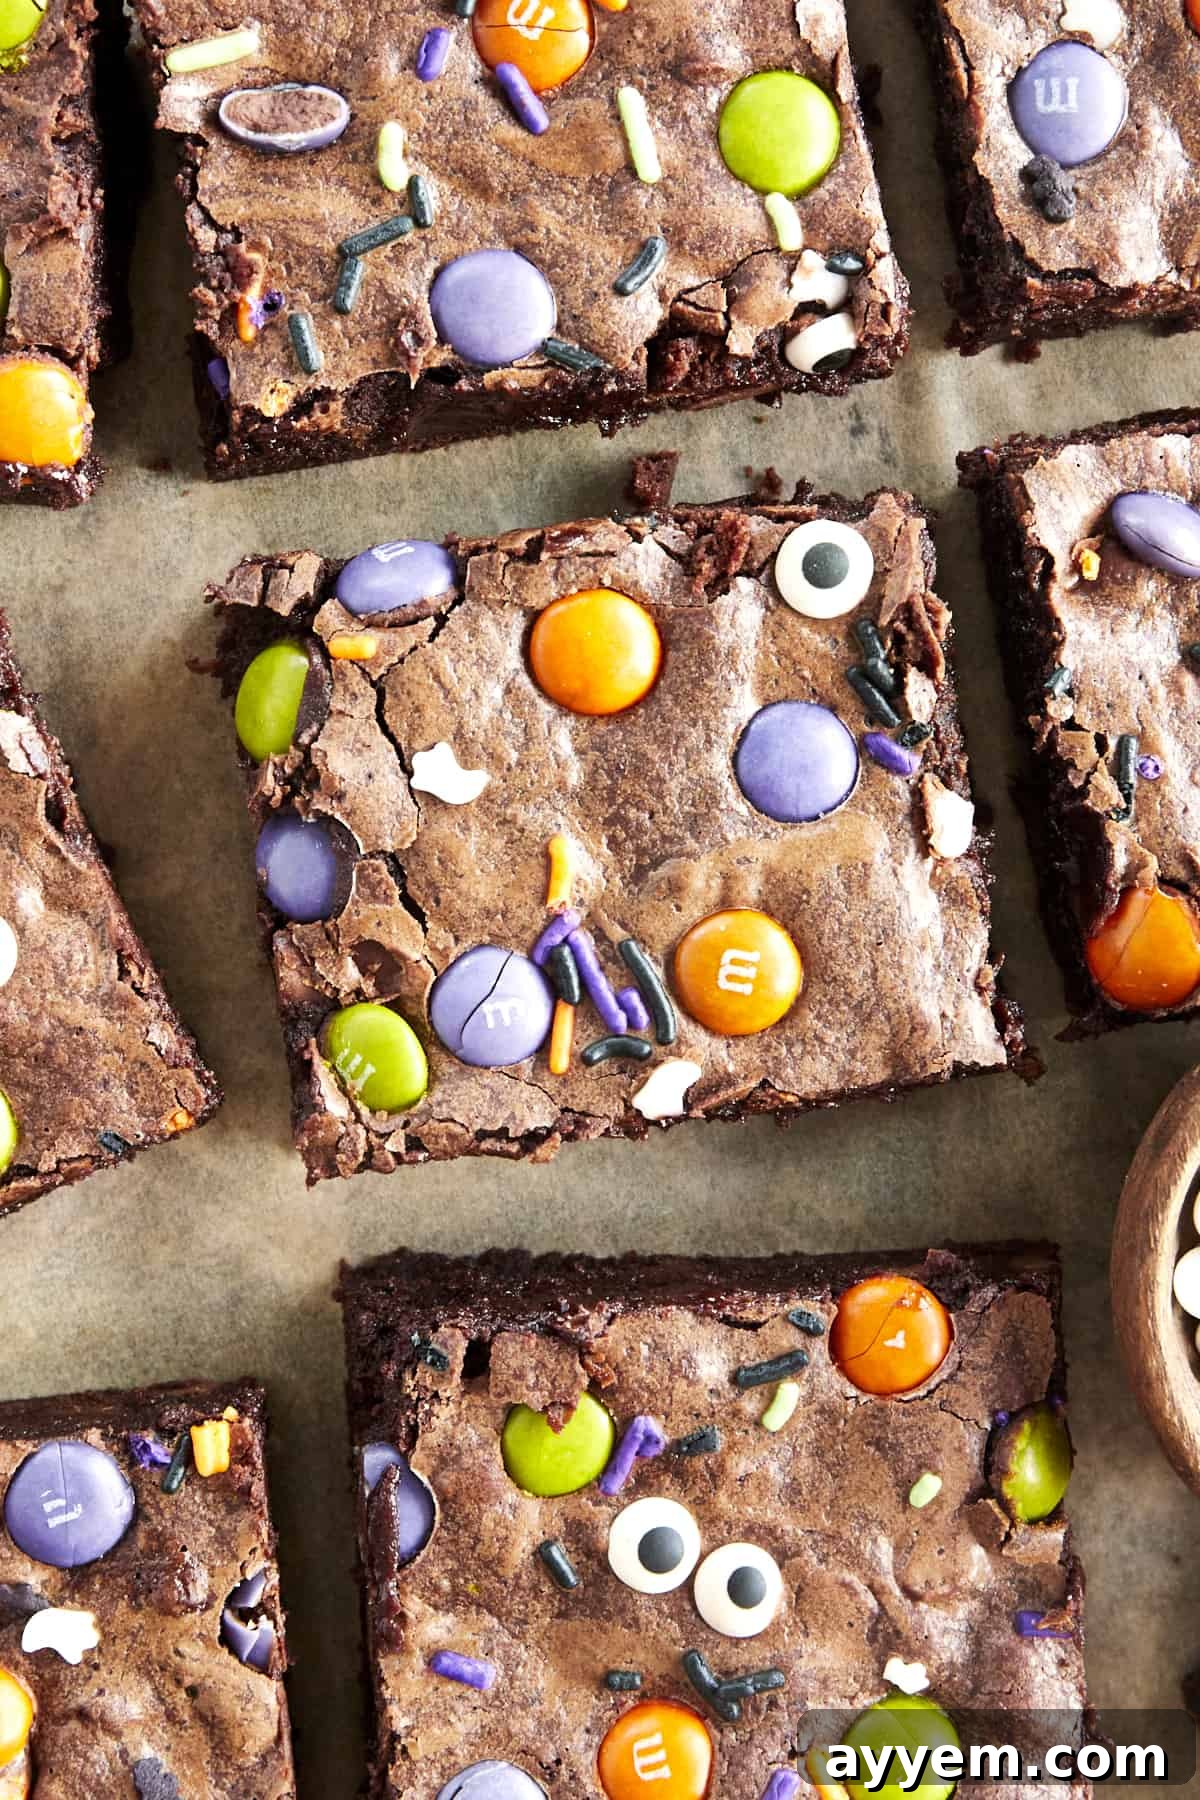
In the enchanting world of Halloween, where spooky spirits and sweet treats collide, nothing quite captures the magic like a batch of homemade brownies. Forget the store-bought mixes; in under an hour, you can create a truly decadent, fudgy, and utterly irresistible dessert that will bewitch everyone who takes a bite. These aren’t just any brownies; they’re the ultimate Halloween brownies, boasting a rich chocolate flavor and a canvas ready for your most ghoulishly creative decorations.
Whether you’re planning a haunted house party, looking for a festive school treat, or simply craving a comforting dessert as the crisp autumn air settles in, this recipe is your secret weapon. Using only a handful of simple ingredients, you’ll whip up a batch that is almost as much fun to make as it is to devour. Get ready to mix, bake, and decorate your way to the most spooktacular brownies of the season!
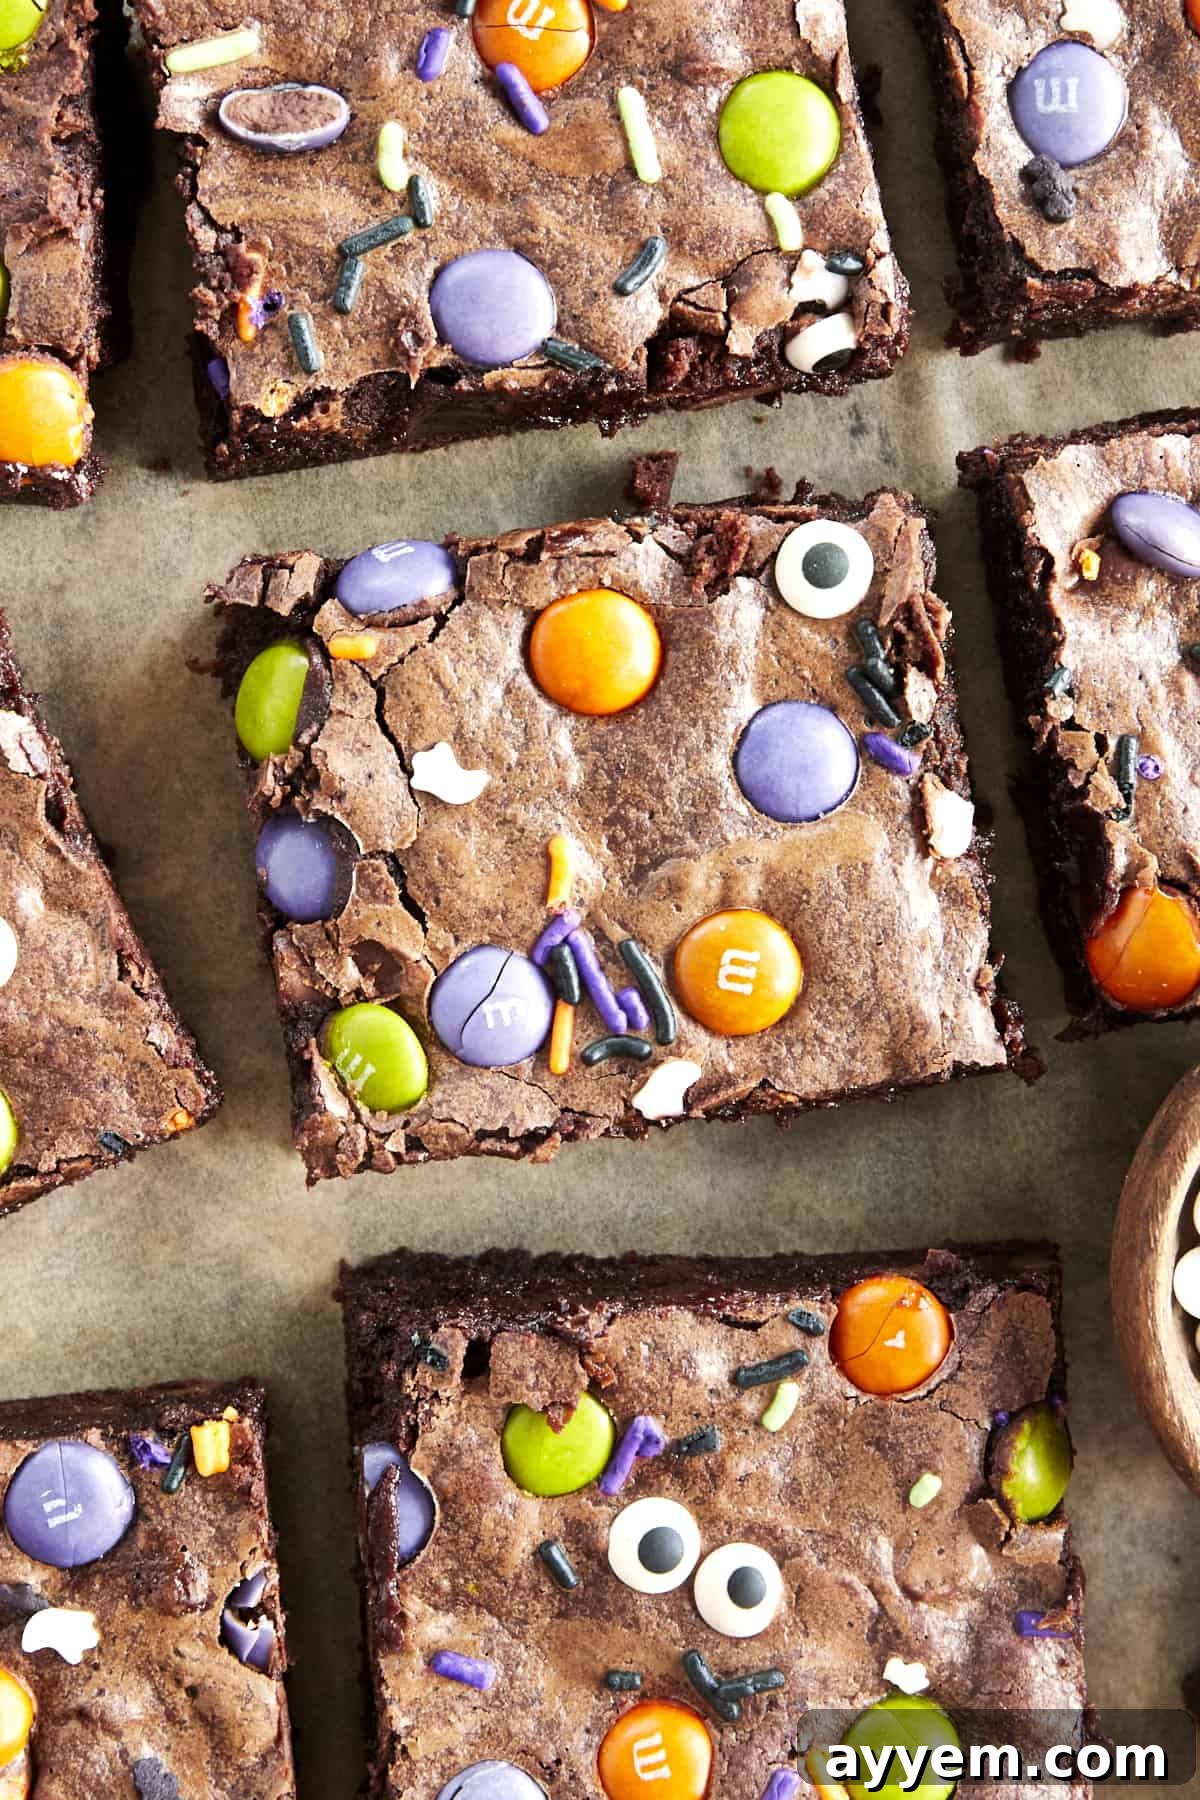
From Ghoul to Gourmet: Embrace the Allure of Halloween Brownies!
As the leaves begin to change and a mystical chill fills the air, October beckons with its promise of festive celebrations and delightful indulgence. Halloween isn’t just a holiday for costumes and trick-or-treating; it’s a prime opportunity to unleash your inner baker and craft treats that are both delicious and visually captivating. Our Halloween brownies recipe offers the perfect blend of simplicity and spectacular results, making it an ideal choice for bakers of all skill levels.
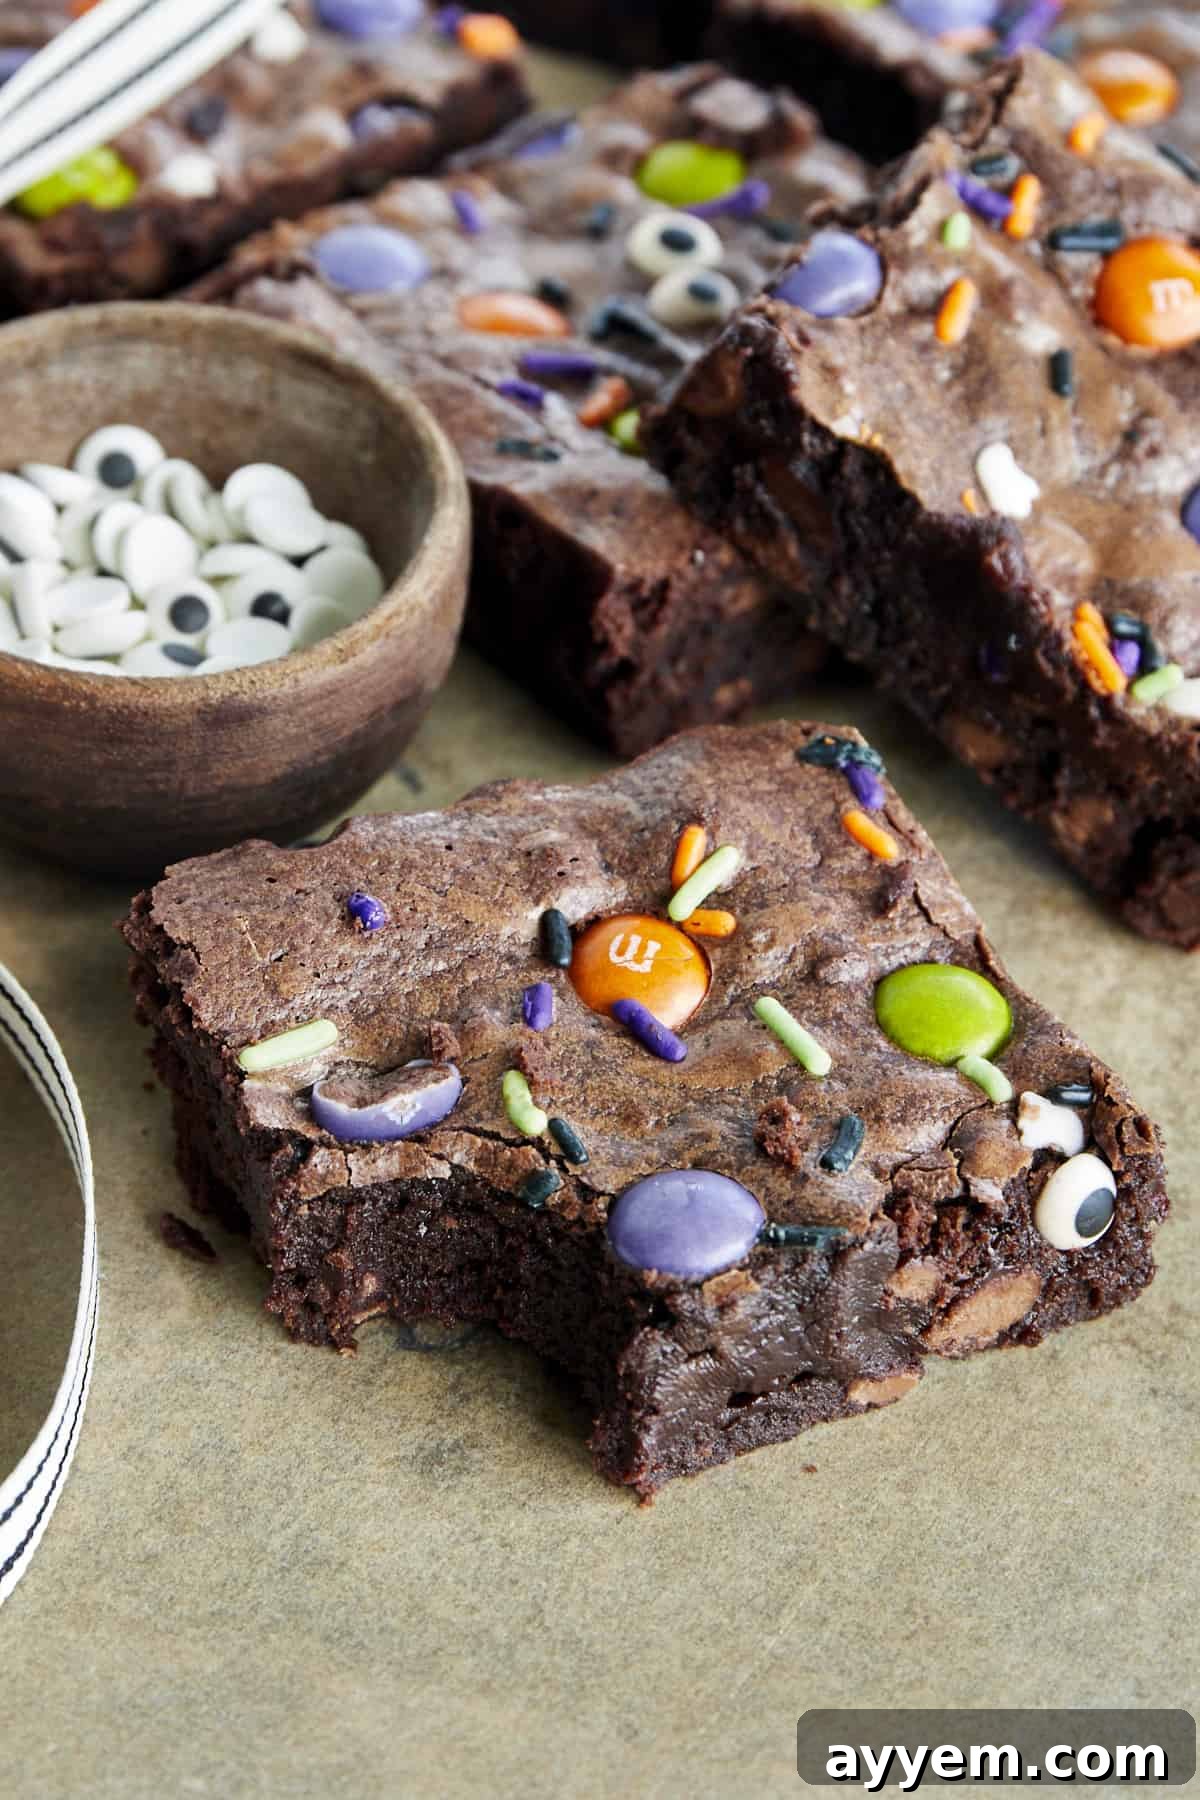
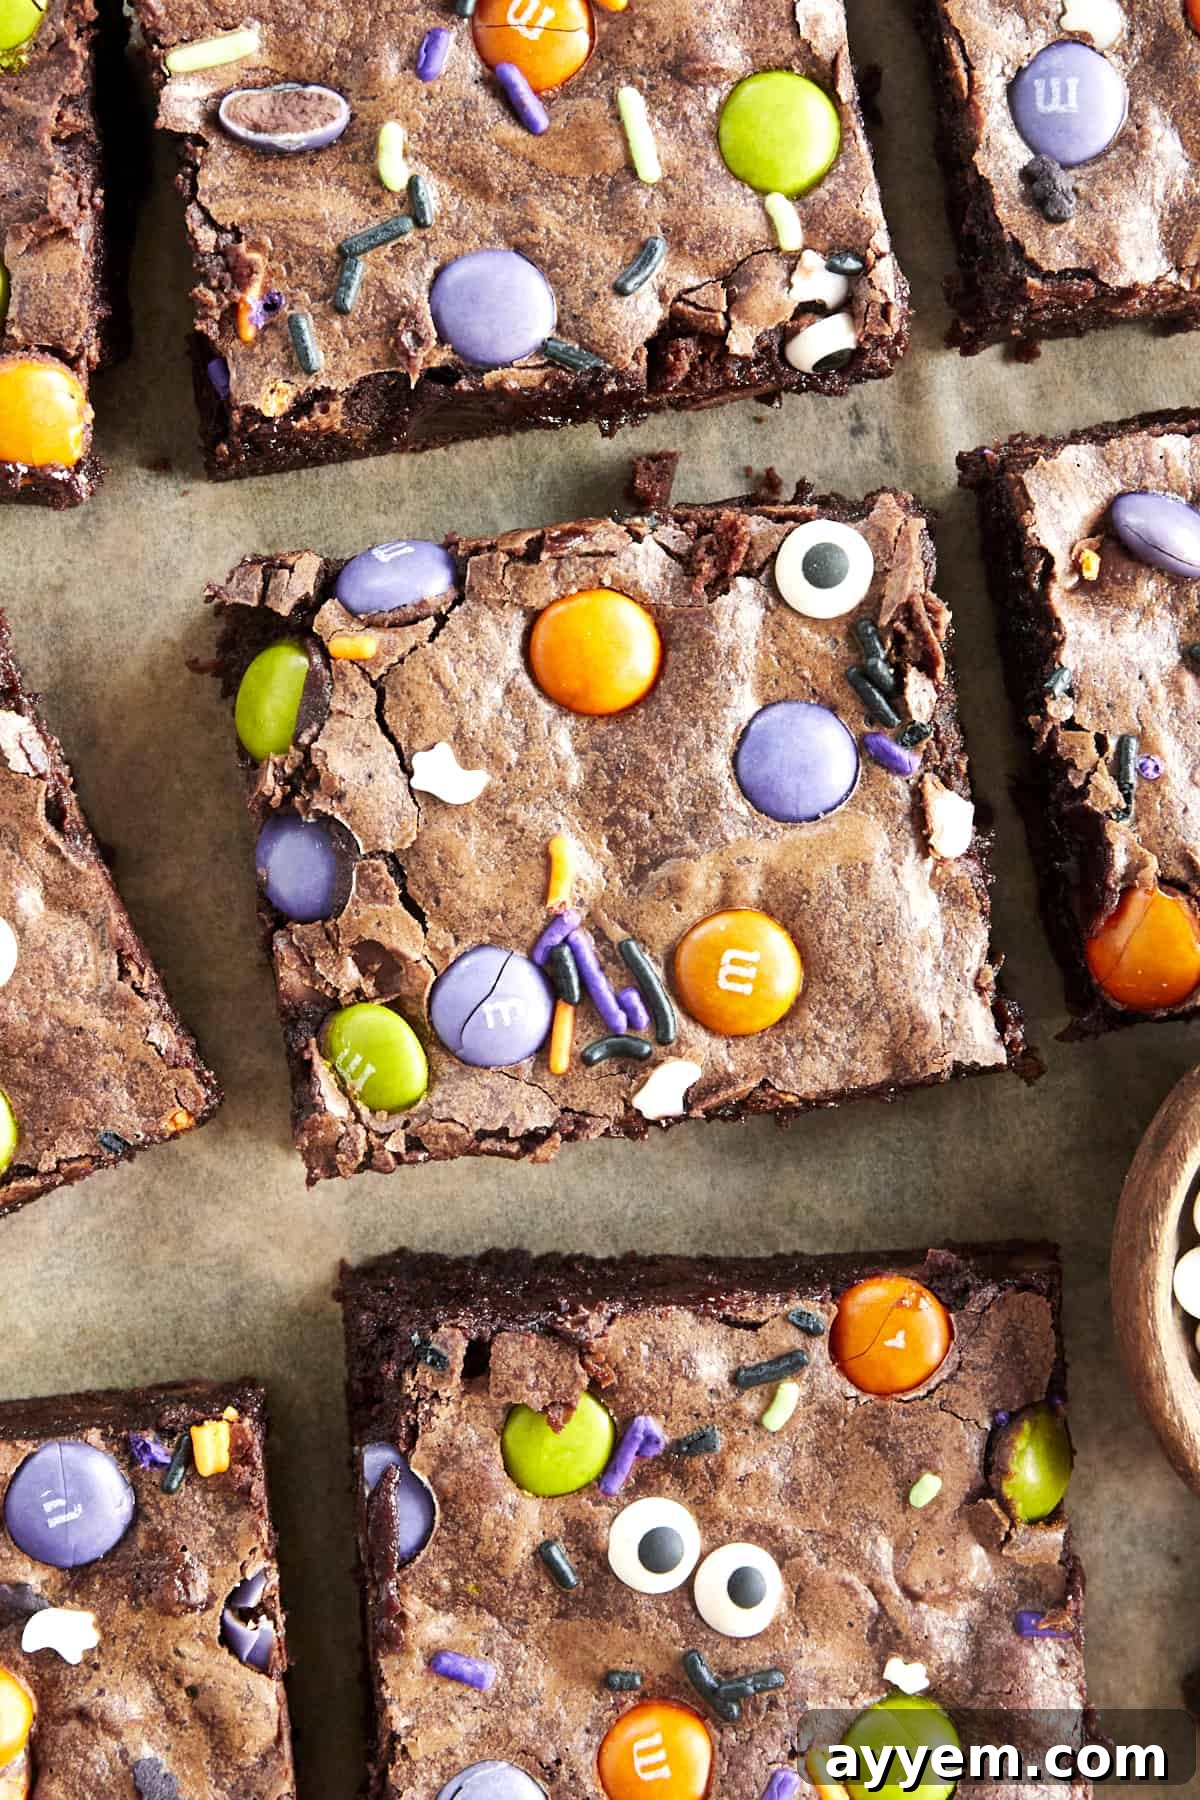
Inspired by our beloved one-bowl chocolate chip brownies, this seasonal variation elevates the classic fudgy texture and intense chocolate flavor with a playful twist. We’re talking about a brownie so rich it melts in your mouth, adorned with vibrant Halloween sprinkles and whimsical candy eyes that transform each square into a mini monster or a friendly ghost. It’s a culinary journey that begins with everyday pantry staples and ends with a dessert that’s anything but ordinary.
This comprehensive guide will walk you through every spellbinding step, from gathering your ingredients to mastering the perfect bake and unleashing your decorating prowess. We’ve packed it with essential tips, clever tricks, and all the guidance you need to ensure your Halloween brownies are a resounding success. Whether you’re hosting an elaborate haunted bash or simply seeking a festive activity for the family, these brownies are destined to become a cherished part of your October traditions.
Why You’ll Fall in Love with This Halloween Brownie Recipe
- Effortlessly Delicious: This recipe streamlines the baking process, requiring minimal effort for maximum flavor. You’ll be amazed at how quickly these come together.
- Perfectly Fudgy Texture: We’ve perfected the balance to deliver a dense, moist, and incredibly fudgy brownie every single time – never dry or cakey.
- Endlessly Customizable: The brownie base is a blank canvas. Let your imagination run wild with an array of Halloween-themed toppings and decorations.
- Crowd-Pleasing Favorite: From children to adults, everyone adores a rich, chocolatey brownie. Add some spooky flair, and they become the undisputed star of any gathering.
- Quick & Convenient: With less than an hour from prep to oven, these are ideal for last-minute party contributions or an impromptu treat session.
Unveiling the Enchanting Ingredients Behind the Best Halloween Brownies!
The magic of these Halloween brownies lies in a combination of everyday baking staples that, when brought together, create something truly extraordinary. Here’s a closer look at the key players that contribute to their rich flavor and irresistible texture:
- Granulated Sugar: Beyond just sweetness, granulated sugar plays a crucial role in achieving that coveted moist and fudgy texture. It interacts with the fat and other wet ingredients to prevent a dry, crumbly result and ensures the cocoa’s bitterness is perfectly balanced.
- All-Purpose Flour: This provides the essential structure for your brownies. While we haven’t extensively tested alternative flours, a 1:1 gluten-free all-purpose flour blend is generally a suitable substitute for those with dietary restrictions.
- Cocoa Powder: The heart of any good brownie, cocoa powder delivers the deep, rich chocolate flavor. We recommend using a high-quality unsweetened cocoa powder for the best results. You can choose between natural cocoa (lighter, more acidic) or Dutch-processed cocoa (darker, less acidic, smoother flavor). Either will work, but Dutch-processed often enhances the fudginess.
- Cornstarch: This secret ingredient is key to preventing excessive gluten development, which can lead to cakey brownies. By inhibiting gluten formation, cornstarch ensures your brownies are incredibly dense, chewy, and gloriously fudgy—a texture that’s truly to die for!
- Dark Chocolate Chips: These add pockets of melted chocolate goodness, boosting the overall chocolate intensity and providing a delightful textural contrast. Feel free to experiment with semi-sweet, milk, or even white chocolate chips based on your preference. Dairy-free chocolate chips are also an excellent option for those with allergies or dietary needs.
- Sea Salt: A pinch of sea salt is more than just a seasoning. It brightens and enhances the complex flavors of the chocolate, balances the sweetness, and brings out a more profound depth in every bite. Don’t skip it!
- Large Eggs: Eggs are crucial for binding the ingredients, providing structure, and contributing significantly to the fudgy consistency that defines these brownies. They emulsify the fats and liquids, creating a smooth, cohesive batter.
- Unsalted Butter: Butter contributes unparalleled richness, flavor, and tenderness to the brownies. Using unsalted butter allows you to control the exact amount of salt in the recipe. If you only have salted butter, simply reduce the added sea salt by about a quarter teaspoon. Dairy-free butter alternatives can also be used for those with lactose intolerance.
- Vegetable Oil: When combined with butter, vegetable oil is a powerhouse for moisture. Oil helps keep baked goods moist for longer and contributes to a wonderfully tender crumb. This dynamic duo ensures your brownies are unbelievably tender and stay fresh.
- Vanilla Extract: A good quality pure vanilla extract is essential. It doesn’t just add its own sweet aroma; it also amplifies and rounds out the chocolate flavor, making it even more pronounced and delicious.
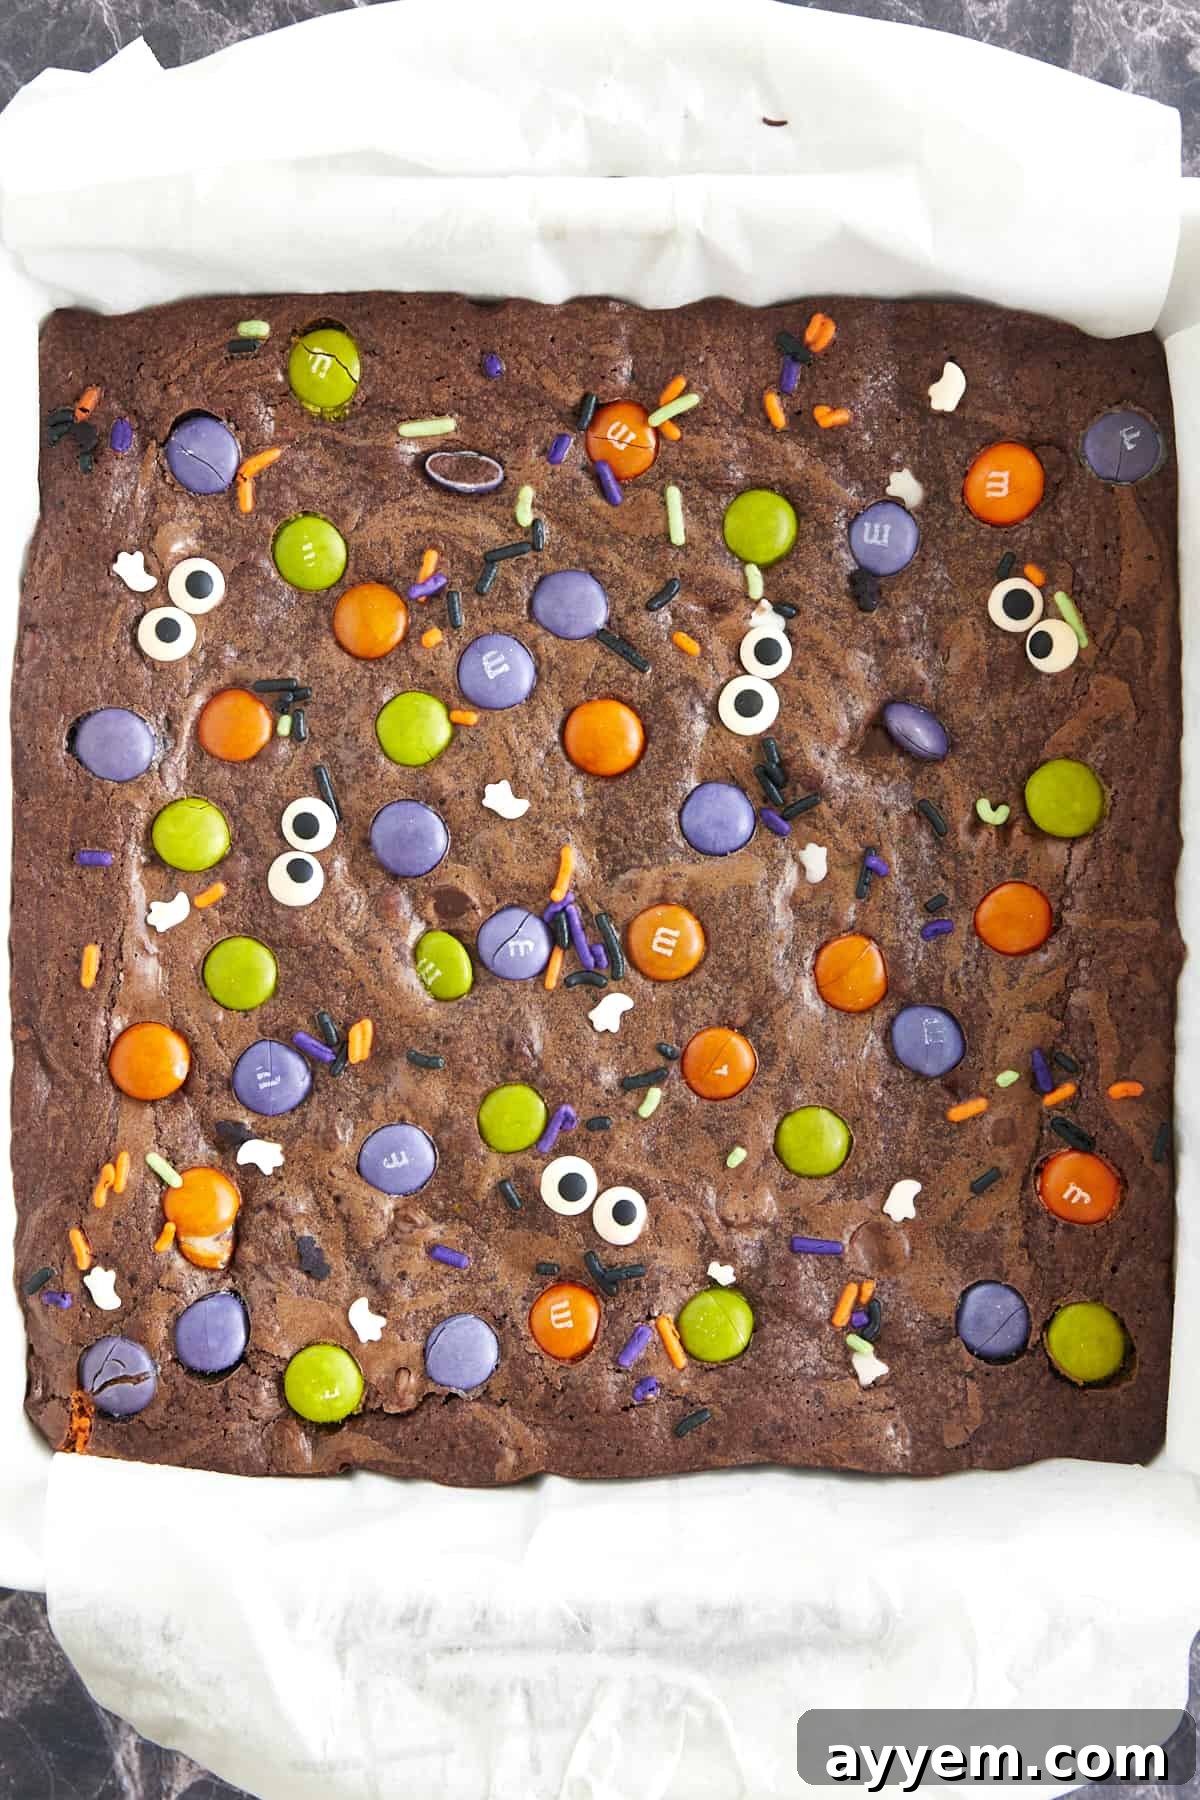
- Toppings: This is where the Halloween fun truly begins! We love using a mix of festive M&Ms, colorful sprinkles, and whimsical candy eyeballs for adorable (or spooky!) faces. The possibilities are endless—think gummy worms, candy corn, crushed Oreos, or even a drizzle of white chocolate “spiderwebs.”
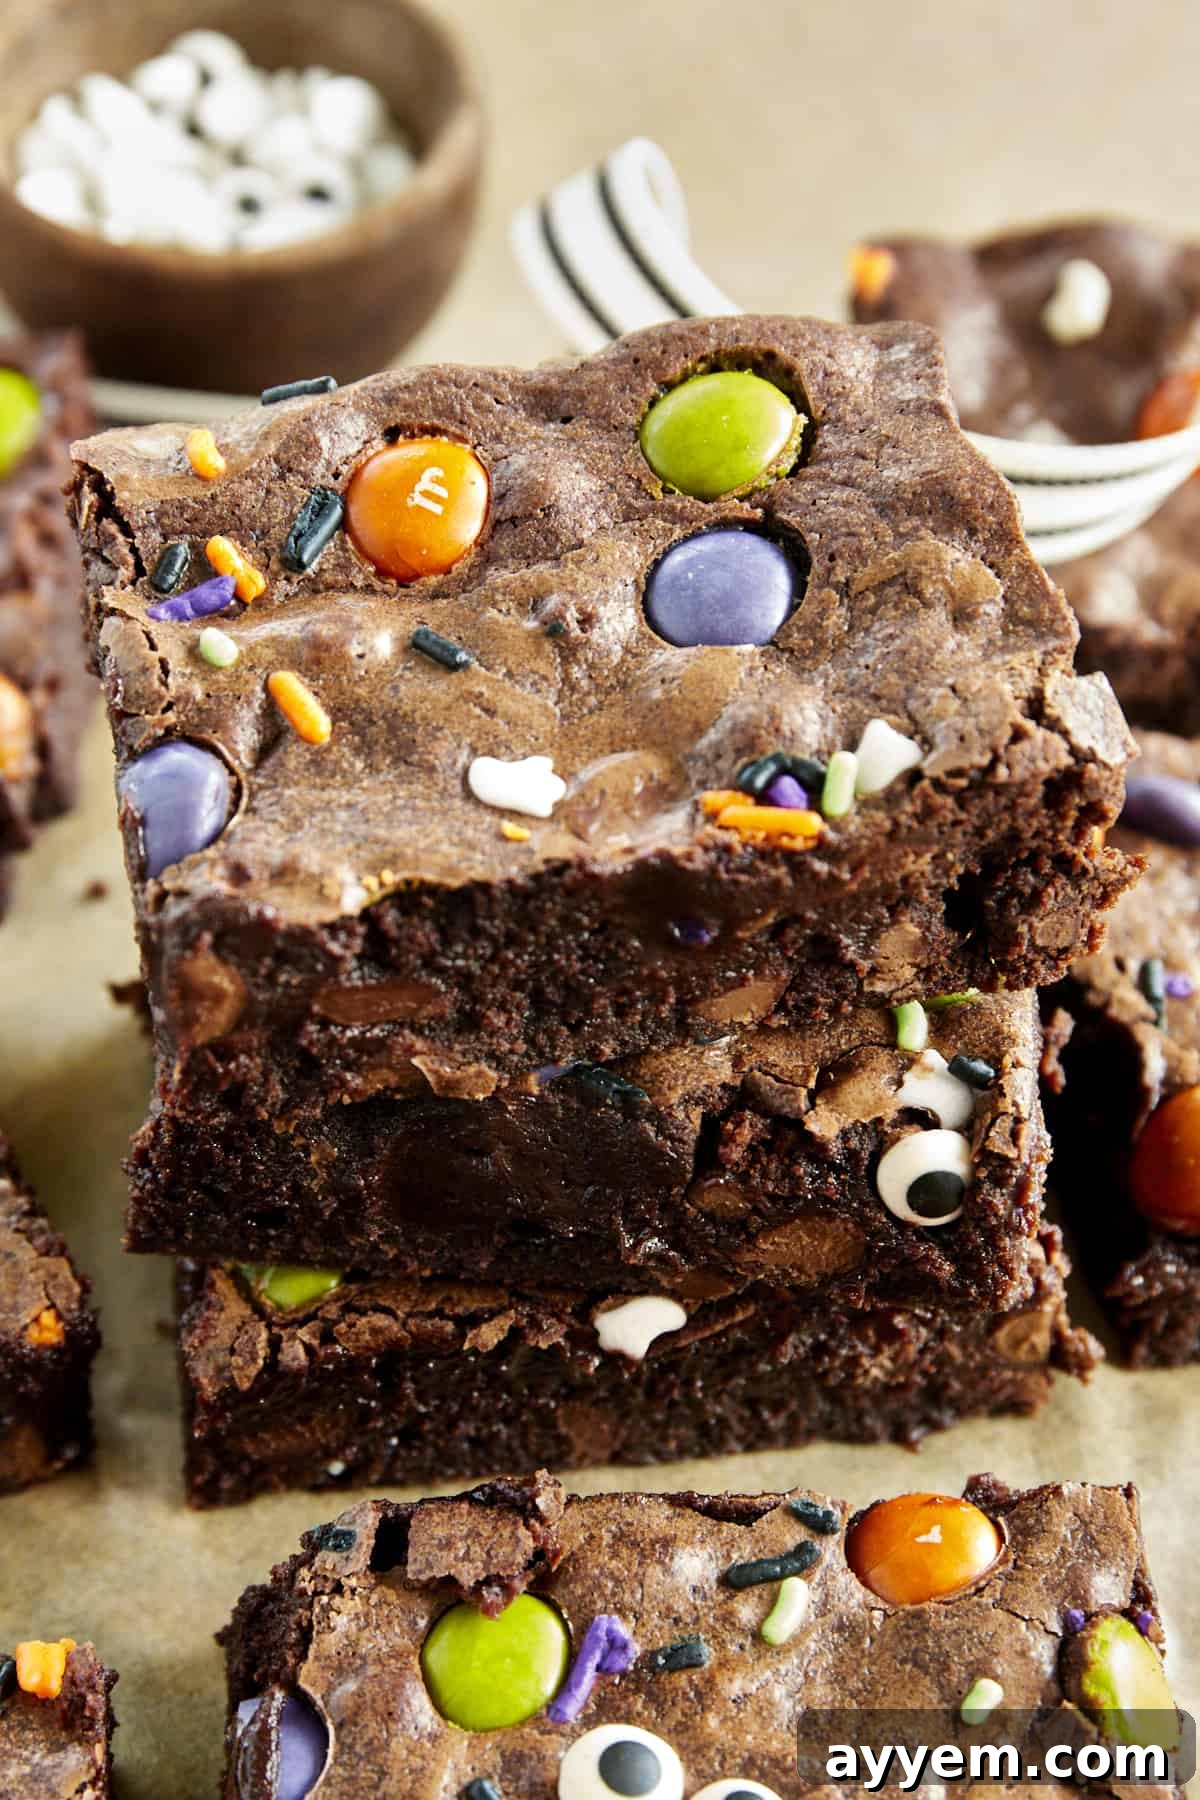
Creepy, Crawly, and Delicious: The Ultimate Guide to Making Halloween Brownies
Don’t let their gourmet look fool you; these spooktacular brownies are surprisingly straightforward to make, rivaling the ease of any boxed mix but with a superior homemade taste and texture. Follow these steps for brownie perfection:
- Preparation is Key: Begin by preheating your oven to 325°F (163°C). Next, line an 8×8-inch baking pan with aluminum foil or parchment paper, ensuring the lining extends over the sides to create “handles” for easy removal. Generously spray the lining with nonstick cooking spray, making sure to coat the corners thoroughly to prevent sticking. This crucial step guarantees your brownies will lift out cleanly once cooled.
- Melt the Fats and Sweetener: In a large microwave-safe bowl, combine the unsalted butter and granulated sugar. Microwave in 30-second intervals, stirring in between, until the butter is fully melted and the mixture is warm and slightly glossy (approximately 1 minute total). Stir in the vegetable oil until thoroughly combined. This mixture forms the moist and rich foundation of your brownies.
- Whisk in the Wet Ingredients: To the warm butter-sugar-oil mixture, add the large eggs and vanilla extract. Whisk vigorously until the mixture is smooth, well-emulsified, and takes on a slightly lighter color. This step incorporates air and ensures a uniform texture.
- Gently Fold in the Dry Ingredients: Into the bowl of wet ingredients, sift together the all-purpose flour, cocoa powder, cornstarch, and sea salt. Sifting helps prevent lumps and aerates the dry ingredients. Using a spatula, gently fold the dry ingredients into the wet mixture. Mix *just* until no streaks of flour remain. Be extremely careful not to overmix, as overmixing develops gluten, leading to tough, cakey brownies rather than the desired fudgy texture.
- Introduce the Chocolate Chips: Add the dark chocolate chips to the batter. Gently fold them in until they are evenly distributed throughout the mixture. This adds delightful pockets of melted chocolate in every bite.
- Spread and Decorate: Pour the brownie batter into your prepared baking pan. Use a spatula to spread it evenly into all corners. Now for the fun part: sprinkle your chosen Halloween toppings—M&Ms, sprinkles, and candy eyeballs—generously over the top of the batter. Don’t be shy; this is your chance to get creative!
- Bake to Perfection: Carefully place the pan into the preheated oven. Bake for approximately 30 minutes, or until the edges are set and a cake tester or toothpick inserted into the center comes out with moist crumbs attached, but not wet batter. The key to fudgy brownies is to *not* overbake them. They might seem slightly underdone in the center, but they will continue to set as they cool.
- Cool Completely: This step is paramount! Remove the brownies from the oven and allow them to cool completely in the pan on a wire rack. This could take several hours. Resisting the urge to cut them warm is crucial, as cutting hot brownies will result in a crumbly, messy outcome. Patience will be rewarded with perfectly structured, fudgy squares.
Tips for Perfectly Fudgy Halloween Brownies Every Time
- Don’t Overbake: This is the golden rule for fudgy brownies. Always err on the side of underbaking. A toothpick with moist crumbs is perfect; a clean toothpick means they’re likely overbaked.
- Cool Completely: As mentioned, cooling is non-negotiable for a neat, fudgy slice. It allows the brownies to set properly and intensify their texture.
- Quality Ingredients Matter: Good quality cocoa powder and chocolate chips make a noticeable difference in flavor.
- Pan Size: Stick to the recommended 8×8-inch pan. Using a different size will alter the baking time and potentially the texture.
- Parchment Paper Handles: The foil or parchment paper “sling” makes lifting the cooled brownies out of the pan incredibly easy, allowing for clean cuts.
- Don’t Overmix: Mix the dry ingredients into the wet ones just until combined. Overmixing develops gluten, leading to tougher, cake-like brownies.
More Decoration Ideas for Spooky Fun
While our base recipe keeps things simple with classic Halloween candies, the beauty of these chocolate brownies is their versatility. They’re a blank canvas awaiting your most imaginative and spooky transformations! Involve your little ones in this step for a fantastic, creative activity. Here are some alternative decorating ideas to inspire you:
- Marshmallow Ghosts: Top warm brownies with large marshmallows. As they melt slightly, use a tube of black icing or melted chocolate to draw on ghostly eyes and mouths.
- Spiderweb Swirls: Once the brownies are cooled, spread a thin layer of white icing (or melted white chocolate) over the top. Immediately, use black icing to draw concentric circles, then drag a toothpick from the center outwards to create intricate spiderweb designs.
- Fuzzy Monsters: Use green or purple icing for a base, then apply black sprinkles or shredded coconut dyed green or purple for “fur.” Add two candy eyeballs for a quirky monster face.
- Graveyard Scene: Crush Oreo cookies to create “dirt.” Arrange gravestone-shaped sugar cookies or plastic gravestone picks into the “dirt.” Add a few candy pumpkins or gummy worms for a truly eerie scene.
- Oreo Bat Wings: Carefully twist open Oreo cookies and use one half of each cookie as a bat wing. Arrange two halves on either side of a candy eye (or two small dots of white icing for eyes) to create adorable brownie bats.
- Mummy Brownies: After cooling, pipe thin lines of white icing or melted white chocolate back and forth across the brownies, leaving a gap for two candy eyeballs to peek through, creating a mummy effect.
Serving Suggestions for Your Halloween Brownies
These fudgy Halloween brownies are fantastic on their own, but they can also be elevated with a few simple serving suggestions:
- Warm with Ice Cream: Serve a warm brownie square with a scoop of vanilla ice cream, a drizzle of chocolate syrup, or even a dollop of whipped cream for an indulgent dessert.
- Coffee or Milk Pairing: They are the perfect accompaniment to a hot cup of coffee, a glass of cold milk, or even a festive spiced cider.
- Dessert Platter: Arrange them on a platter with other Halloween treats like cookies, candy corn, and fruit for a diverse party spread.
- Brownie Sundaes: Create individual brownie sundaes with mini brownie squares, ice cream, hot fudge, whipped cream, and extra Halloween sprinkles.
Storage Instructions for Freshness
To keep your Halloween brownies tasting their best, proper storage is essential:
- At Room Temperature: Store cooled brownies in an airtight container at room temperature for up to 3-4 days. For optimal freshness, a cool, dry pantry is ideal.
- In the Refrigerator: For a slightly firmer, chewier texture, or if your kitchen is warm, you can store them in an airtight container in the refrigerator for up to a week. Bring them back to room temperature or warm them slightly before serving for the best experience.
- Freezing: These brownies freeze beautifully! Once completely cooled, wrap individual brownies tightly in plastic wrap, then place them in a freezer-safe airtight container or heavy-duty freezer bag. They can be frozen for up to 2 months. Thaw at room temperature for a few hours, or warm gently in the microwave for a quick treat.
Common Questions About This Halloween Brownies Recipe
Absolutely! This recipe is wonderful for involving children. Little helpers can assist with measuring ingredients (especially dry ones), whisking the wet ingredients (with supervision for warm butter), folding in chocolate chips, and, most excitingly, decorating the brownies with sprinkles and candy eyes. It’s a fantastic way to create lasting holiday memories.
Yes, they are excellent make-ahead treats! Brownies often taste even better the day after they’re baked, as the flavors have time to meld and deepen. You can bake them a day or two in advance and store them in an airtight container at room temperature. This makes party prep much easier, allowing you to check one delicious item off your list.
Brownies are definitely our top choice due to their rich flavor and fudgy texture, which pairs well with almost any topping. However, you can also use Blondies for a vanilla-based treat, or even a simple cookie dough pressed into a pan. The key is to pick your favorite base and then layer on the Halloween magic with your chosen candies and decorations.
Yes, you absolutely can! Once completely cooled, wrap individual brownies tightly in plastic wrap, then place them in a freezer-safe bag or airtight container. They will maintain their quality for up to 2 months in the freezer. To enjoy, simply thaw a few pieces at room temperature for an hour or two, or pop them into the microwave for a quick warm-up.
For a gluten-free version, you can try substituting the all-purpose flour with a 1:1 gluten-free all-purpose flour blend. For dairy-free, use a good quality dairy-free butter alternative and dairy-free chocolate chips. Always ensure your cocoa powder is also dairy-free. Results may vary slightly in texture, but they should still be delicious!
Cocoa powder tends to clump easily. Sifting it ensures that it’s evenly distributed throughout the batter, preventing pockets of dry cocoa and resulting in a smoother, more uniform brownie texture and consistent chocolate flavor. It’s a small step that makes a big difference.
More Halloween Treats Perfect for the Spooky Season
Looking to expand your repertoire of Halloween delights? Explore these other irresistible recipes that are sure to add an extra layer of spooky flair and deliciousness to your festive gatherings!
- Halloween Crack Candy – Addictively sweet and salty, perfect for parties!
- The Best Halloween Snack Mix – A savory and sweet mix that’s great for munching.
- Caramel Apple Bark with Pretzels – A delightful autumnal treat with a perfect balance of sweet and salty.
- Homemade Caramel Popcorn Recipe – Classic, buttery, and utterly irresistible popcorn.
The Best Halloween Brownies Recipe
Servings: 12 servings
Cook: 30 mins
Total: 35 mins
Craft the perfect spooky Halloween brownies recipe with simple ingredients in under an hour for a festive, fudgy treat perfect for any party!
Ingredients
- 1/2 cup (1 stick) unsalted butter
- 1 1/4 cups granulated sugar
- 1/3 cup vegetable oil
- 3 large eggs
- 2 teaspoons vanilla extract
- 3/4 cup all-purpose flour
- 3/4 cup cocoa powder (sifted if lumpy)
- 1 Tablespoon cornstarch
- 3/4 cup dark chocolate chips
- 3/4 teaspoon sea salt
- Topping: Halloween M&Ms, sprinkles, and candy eyeballs
Instructions
- Preheat the oven to 325 degrees F (163 degrees Celsius). Line an 8×8-inch baking pan with foil or parchment paper and spray it with nonstick cooking spray.
- In a microwave-safe bowl, combine the 1/2 cup of butter and 1 1/4 cups of granulated sugar. Microwave for about 1 minute, or until the butter is melted. Add oil and stir until the mixture is well combined.
- Whisk in the 3 large eggs and the 2 teaspoons of vanilla extract until the mixture is smooth.
- Sift in 3/4 cup of all-purpose flour, cocoa powder, 1 tablespoon of cornstarch, and sea salt. Stir just until the dry ingredients are fully incorporated, do not overmix.
- Gently fold in the 3/4 cup of dark chocolate chips.
- Spread the brownie batter evenly into the prepared pan.
- Top with Halloween M&Ms, sprinkles, and candy eyeballs.
- Place the pan in the preheated oven and bake for 30 minutes, or until the brownies are set and a cake tester inserted into the center comes out with moist crumbs attached. Be careful not to overcook.
- Once done, remove the brownies from the oven and allow them to cool completely in the pan. They must cool completely!
- Store in an airtight container in the fridge for up to 2-3 days.
Equipment
- 1 8×8 Baking Dish

- 1 Large bowl
Nutrition
Nutrition information is automatically calculated and should only be used as an approximation.
Like this recipe? Please leave a comment and share your creations!