
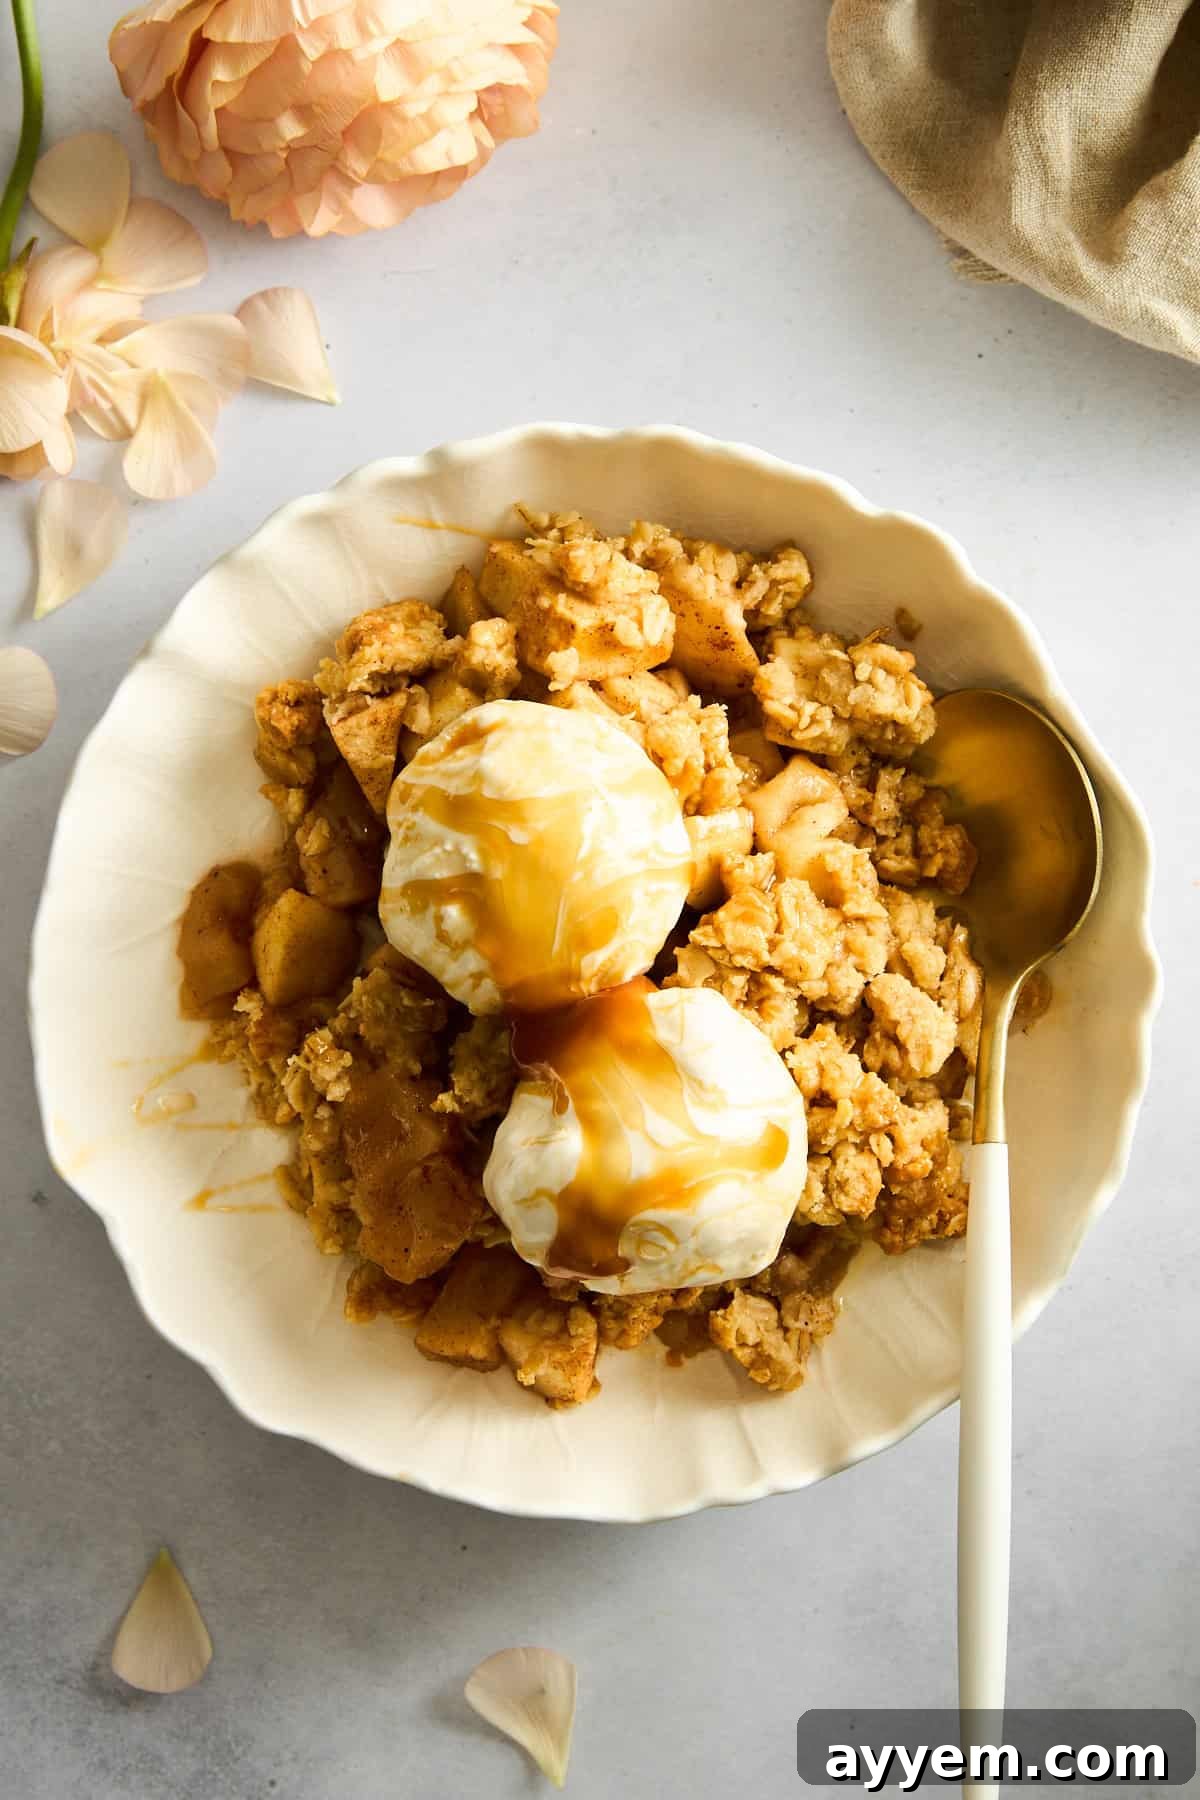
The Ultimate Homemade Apple Crisp: A Recipe for Cozy Comfort
Prepare yourself for an unparalleled dessert experience with this incredible Apple Crisp recipe! Imagine tender, juicy apple slices, perfectly seasoned with a symphony of warm cinnamon and aromatic nutmeg, all nestled beneath a generous, golden mountain of irresistible oat streusel topping. This isn’t just any apple crisp; it’s a timeless classic perfected, destined to become a beloved staple at your family table. Get ready to indulge in the cozy comfort of homemade deliciousness!
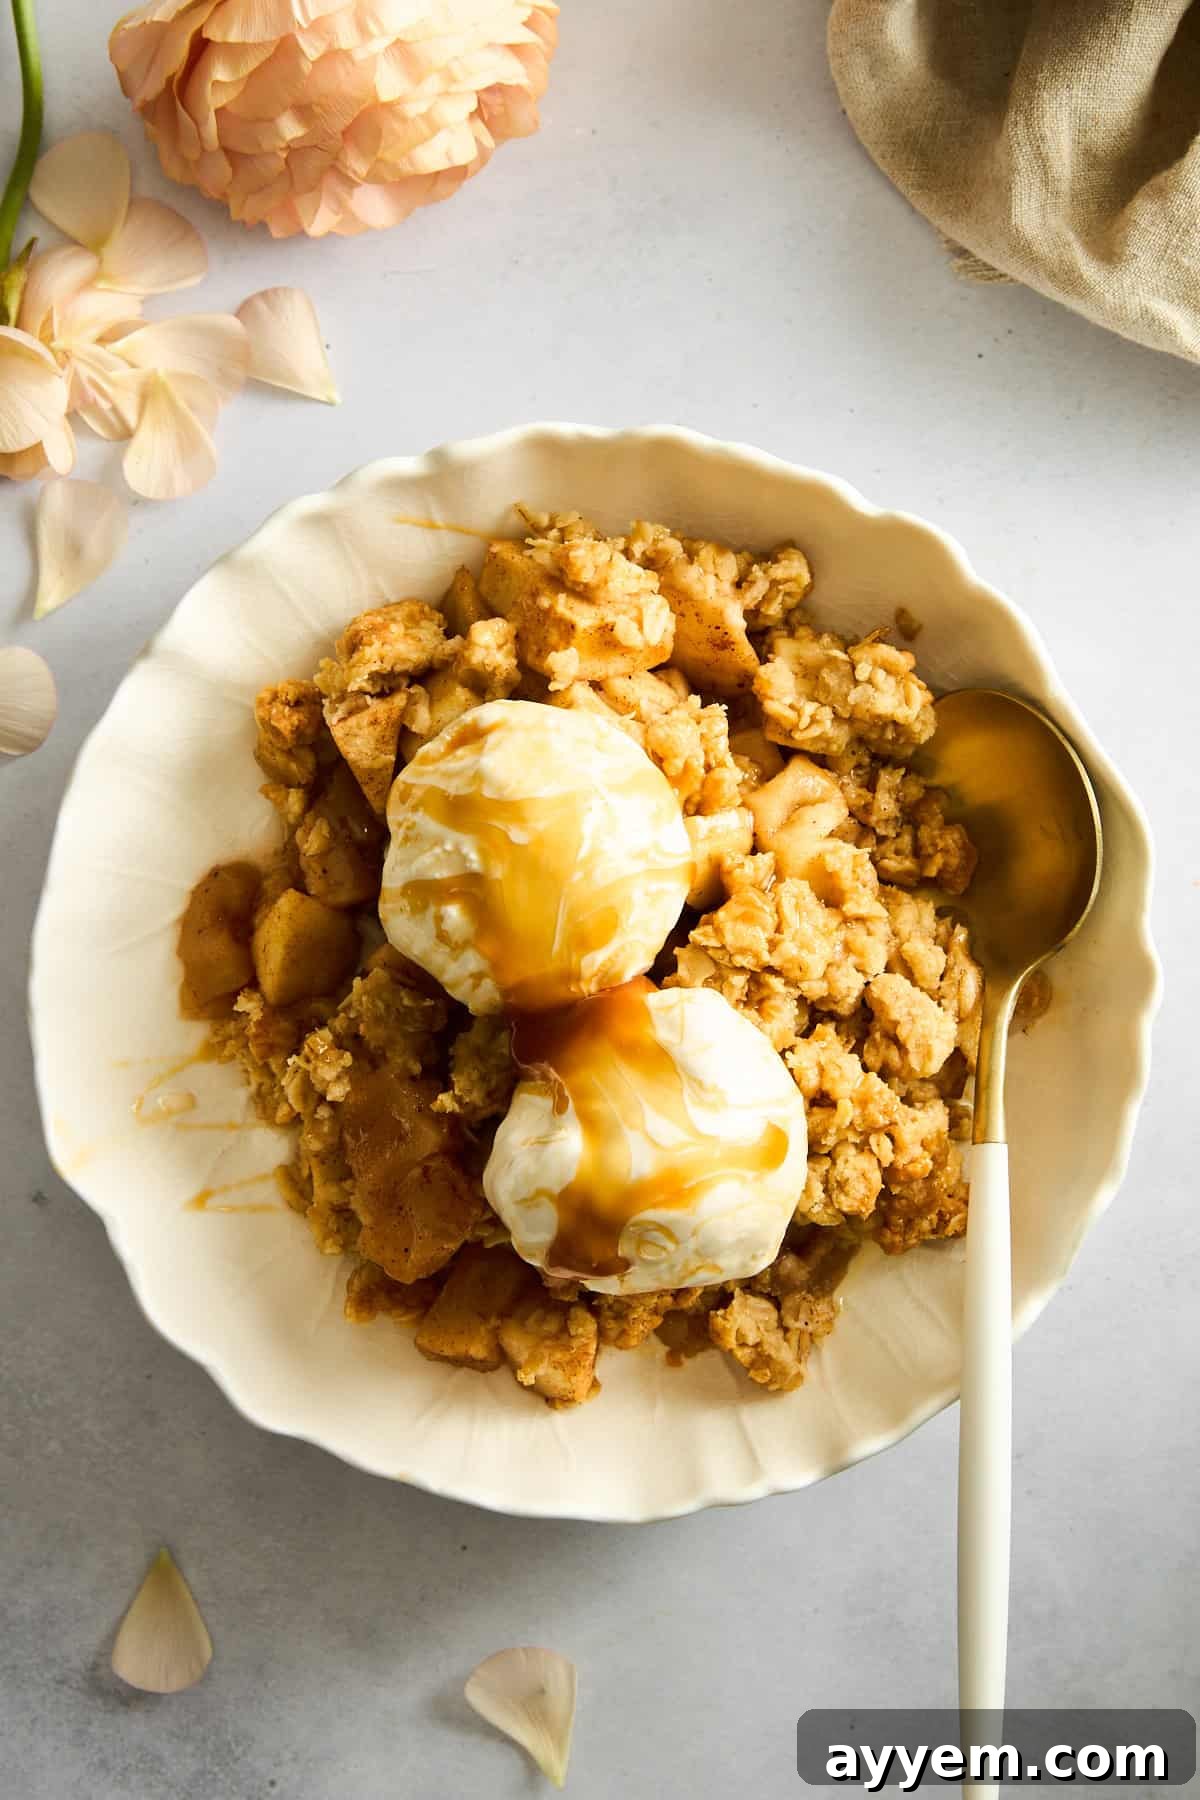
Why This Is The Best Apple Crisp Recipe You’ll Ever Make
There are countless apple crisp recipes out there, but ours stands out for several compelling reasons. We’ve meticulously crafted this recipe to ensure every spoonful is a delight, from the contrasting textures to the depth of flavor.
-
A Symphony of Flavors and Textures
The magic of this apple crisp lies in its exquisite contrast. We start with the delightful tartness of crisp Granny Smith apples, which provides a perfect counterpoint to the inherent sweetness of the dessert. This tart apple base is then crowned with a sweet, buttery, and incredibly crispy streusel topping, packed with wholesome oats. A final sprinkle of flaky sea salt on top elevates all the flavors, adding a sophisticated touch that will make your taste buds sing. Serve it warm with a scoop of cold vanilla ice cream, and you’ve got a party in your mouth – a harmonious blend of hot and cold, sweet and tart, crunchy and smooth!
-
Surprisingly Simple Preparation
You might think such a delicious dessert requires extensive effort, but this recipe is wonderfully straightforward. Forget a mountain of dirty dishes; all you truly need are a baking dish for the apples and a single mixing bowl for the streusel topping. This minimal equipment approach makes cleanup a breeze, allowing you to enjoy your culinary creation without the aftermath of a messy kitchen. It’s perfect for busy weeknights or when you want a homemade treat without the fuss.
-
A Guaranteed Family Favorite
This easy apple crisp recipe is a surefire hit with everyone. Its comforting flavors evoke nostalgic memories, making it a beloved dessert for all ages. What’s more, its make-ahead potential adds to its appeal. You can prepare the apple filling and the streusel topping in advance, refrigerating them until you’re ready to bake. This flexibility means you can have a warm, bubbling apple crisp on the table in about 30-35 minutes, perfect for impromptu gatherings or a convenient weeknight indulgence. It’s the kind of recipe that gets requested again and again!
Apple Crisp vs. Apple Cobbler: Understanding the Delicious Differences
While both apple crisp and apple cobbler are quintessential baked fruit desserts, they are distinct in their toppings. Understanding the difference can help you choose the perfect treat for your craving.
An apple cobbler typically features a thicker, biscuit-like topping that is dropped in dollops over the fruit filling, baking into soft, cakey mounds. This gives cobblers a more rustic, comforting, and often denser texture. In contrast, an apple crisp is defined by its signature streusel topping, which is made from a blend of oats, flour, sugar, butter, and sometimes nuts. As it bakes, this topping transforms into a golden-brown, wonderfully crumbly, and distinctively crispy layer – hence the name “crisp.” Our recipe embraces this crispy characteristic fully, promising a delightful textural contrast with every bite.
Essential Ingredients for Your Perfect Apple Crisp
Crafting the best apple crisp begins with selecting the right ingredients. Below is a detailed look at what you’ll need to create this comforting dessert, along with important tips for each component.
-
Apples: The Heart of the Crisp
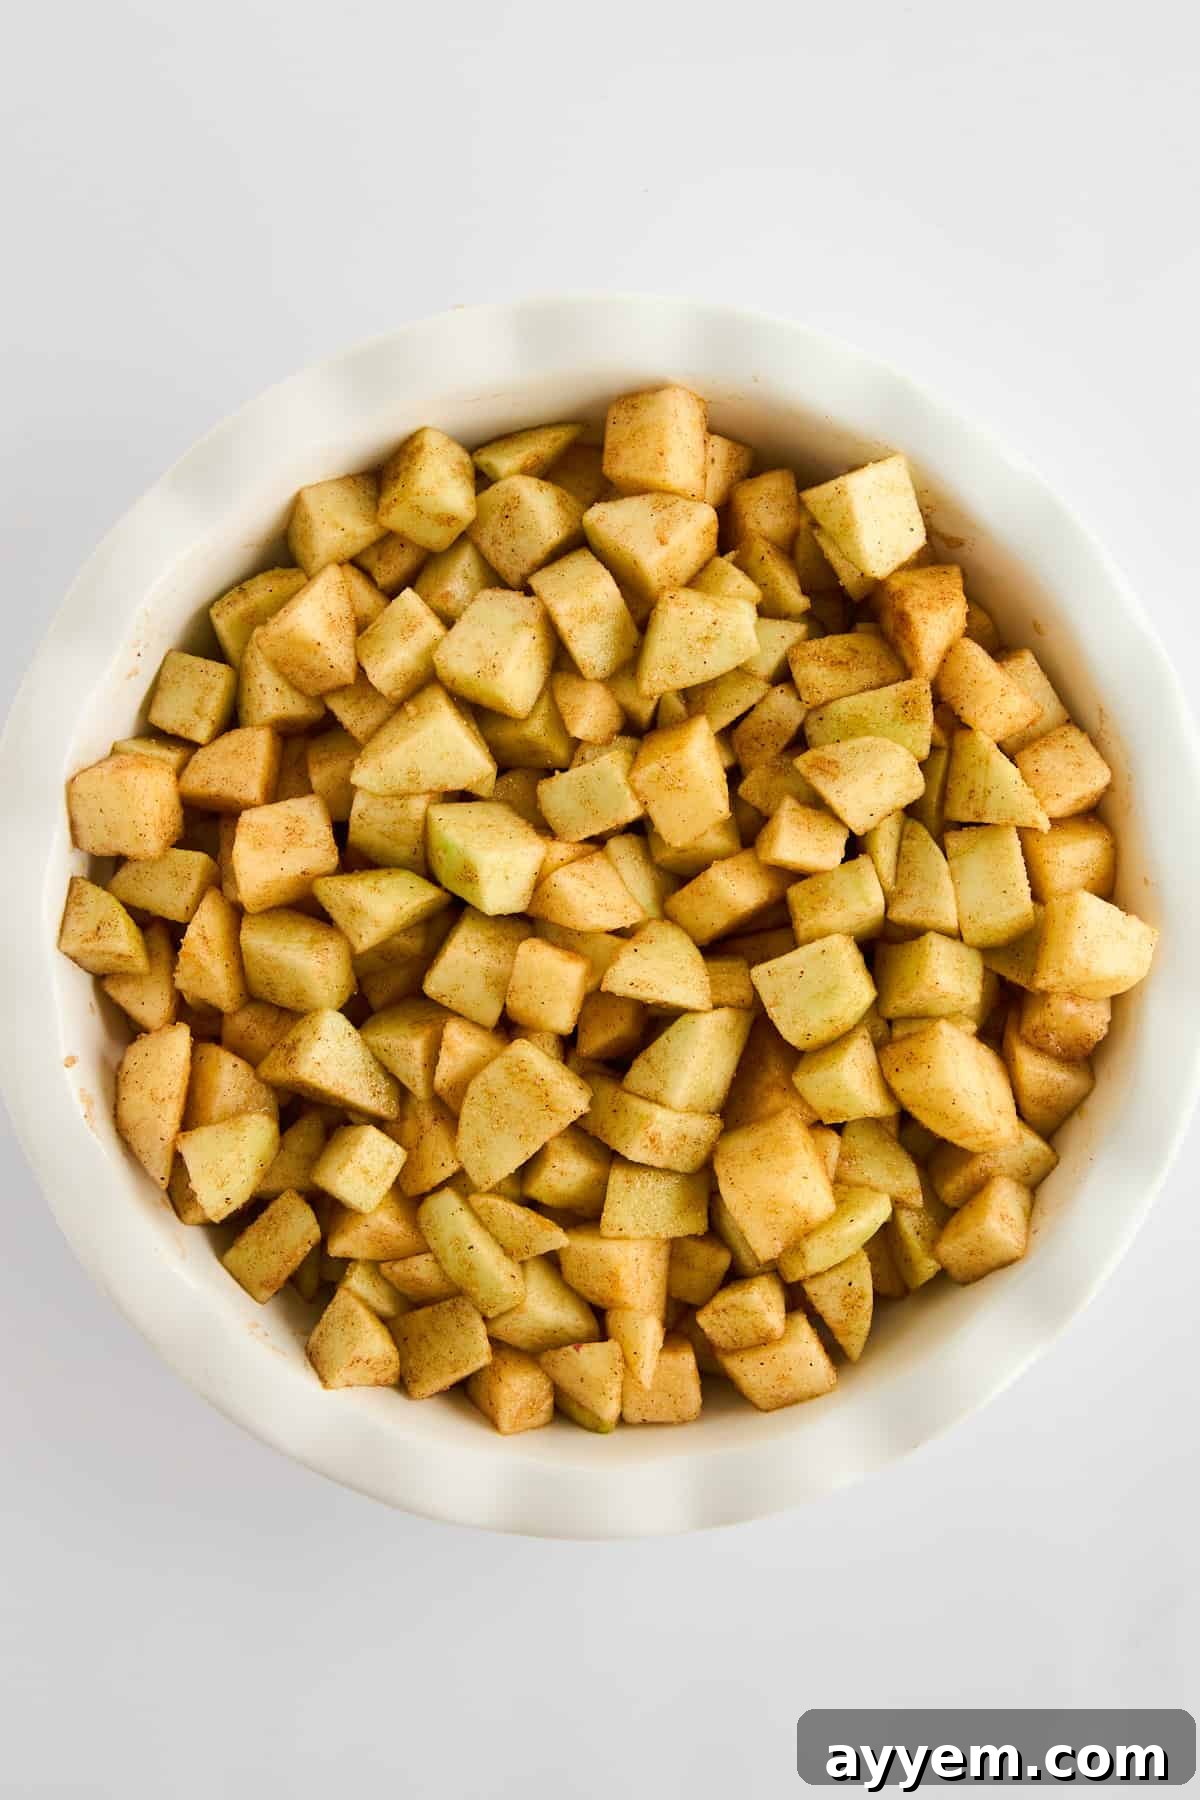
For the ultimate balance of flavor and texture, we highly recommend using a combination of apples. Granny Smith apples offer a crucial tartness that prevents the dessert from being overly sweet and helps them hold their shape during baking. Honeycrisp apples, on the other hand, contribute a lovely sweetness and retain a satisfying crispness even after baking, adding another layer of texture. This duo ensures a vibrant, complex apple filling that isn’t mushy. Peel and dice your apples into 1/2-inch cubes for even cooking and a pleasant bite.
-
Sugar: Sweetness in Balance
We use two types of sugar to achieve perfect sweetness and texture. Granulated sugar is used in the apple filling to sweeten the fruit without overpowering its natural flavor. For the streusel topping, light brown sugar is key. Its molasses content adds a rich, caramel-like depth and helps keep the crumble moist and tender while still achieving that desirable crispiness.
-
Flour: The Binding Agent
All-purpose flour plays a vital role in both the apple filling and the streusel topping. In the filling, a small amount of flour (or cornstarch) helps to thicken the delicious apple juices as they bake, preventing a watery, soggy bottom. In the topping, it provides structure and helps create that desirable crumbly texture. For a gluten-free option, you can easily substitute a 1:1 all-purpose gluten-free flour blend without compromising on taste or texture.
-
Spices: Warmth and Aroma
A classic apple crisp demands classic spices. A generous combination of ground cinnamon and nutmeg infuses the apples and topping with warm, inviting aromas and flavors. These spices perfectly complement the fruit, creating that quintessential cozy taste. A touch of sea salt, both in the topping and as a finishing sprinkle, enhances all the other flavors.
-
Oats: For the Signature Crispy Topping
Old-fashioned rolled oats are indispensable for achieving the perfect crispy, chewy texture in your streusel. Their larger, flatter flakes toast beautifully, contributing to the “crisp” in apple crisp. It’s crucial NOT to substitute quick oats (which can become mushy) or steel-cut oats (which won’t soften enough). If you need a gluten-free dessert, ensure you use certified gluten-free rolled oats.
-
Baking Powder: A Little Lift
Just a touch of baking powder in the streusel topping provides a slight lift and contributes to a more tender, less dense crumble. Be careful not to confuse it with baking soda, as they are not interchangeable in this recipe.
-
Butter: The Golden Key to Crumbly Goodness
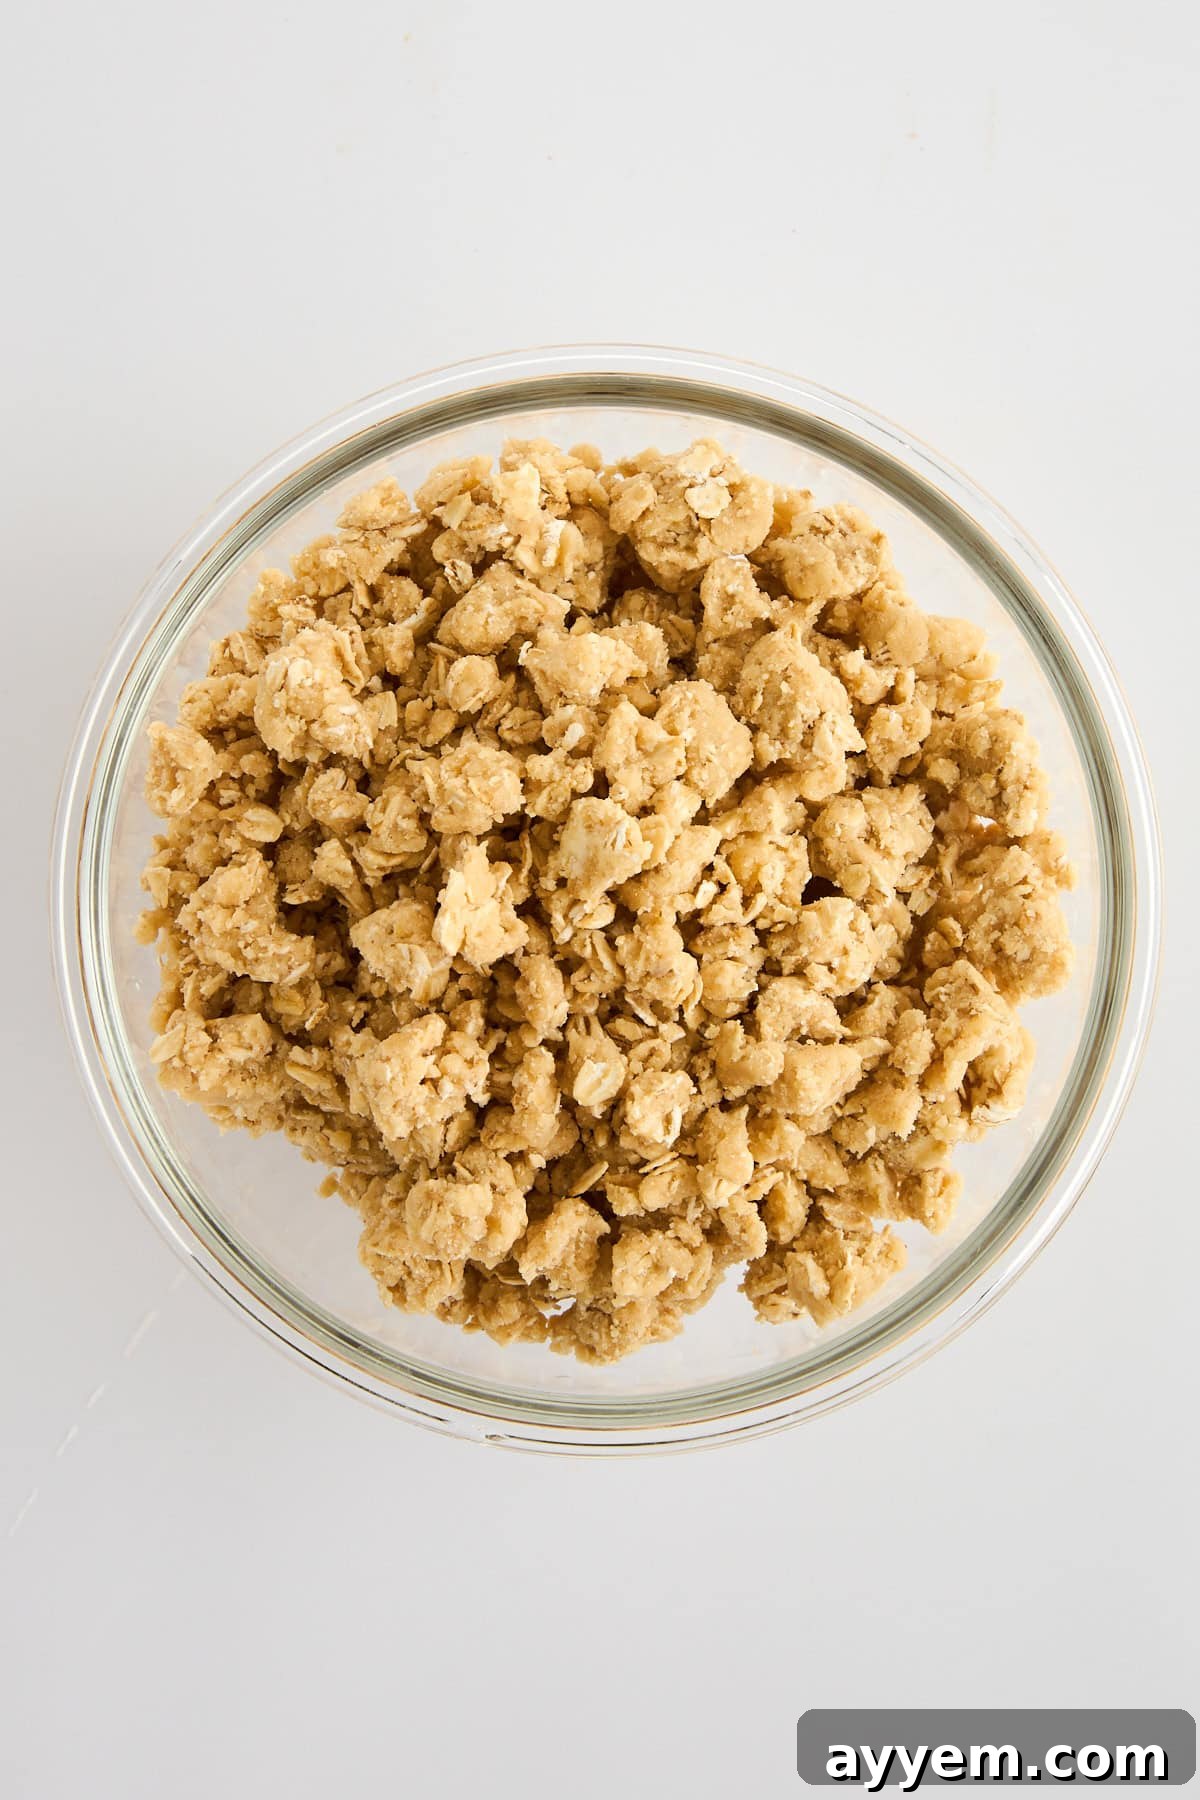
Unsalted butter is essential for a rich, flavorful streusel. Using unsalted butter allows you to control the overall saltiness of the dish. Most importantly, ensure your butter is thoroughly chilled and cut into small pieces before incorporating it into the topping. Cold butter is key to creating that desirable pebbly, crumbly texture. Melted butter will lead to a dense, soggy topping that lacks crispness.
-
For Serving: The Perfect Accompaniments
While delicious on its own, an apple crisp truly shines when served warm with a scoop of premium vanilla bean ice cream. The contrast between the warm fruit and cold, melting ice cream is heavenly. A drizzle of salted caramel sauce and a sprinkle of flaky sea salt flakes are optional but highly recommended additions that elevate this dessert to an even more gourmet level.
How to Make The BEST Homemade Apple Crisp with an Oat Topping
Follow these simple steps to create a show-stopping apple crisp that will impress everyone.
- Preheat Oven: Begin by preheating your oven to 350°F (175°C). This ensures the oven is at the correct temperature for even baking once your crisp is assembled.
- Prepare the Apple Filling: Peel and dice your Granny Smith and Honeycrisp apples into uniform 1/2-inch cubes. Uniform sizing is important for consistent cooking, preventing some pieces from becoming mushy while others remain too firm. Place the diced apples in a 12×8 oval baking dish. In a separate small bowl, combine 3 tablespoons of all-purpose flour, the granulated sugar, 1 teaspoon of cinnamon, and 1/2 teaspoon of ground nutmeg. Sprinkle this mixture over the apples in the baking dish and toss gently to ensure all apple pieces are evenly coated. This flour mixture will help thicken the juices and infuse the apples with warm spice.
- Craft the Crispy Streusel Topping: In a medium-sized mixing bowl, combine the remaining 1 cup of all-purpose flour, 1 cup of old-fashioned rolled oats, 1/4 teaspoon of baking powder, 3/4 cup of firmly packed light brown sugar, and 1/2 teaspoon of sea salt. Add the 10 tablespoons of cold, unsalted butter, cut into small cubes. Using a fork, your fingertips, or a pastry cutter, work the butter into the dry ingredients until the mixture resembles coarse crumbs with some pea-sized pieces of butter remaining. This technique ensures a truly crumbly and crispy topping. For best results, you can refrigerate the streusel topping for at least 15 minutes, or even up to 2-3 days in advance, until you are ready to assemble the crisp.
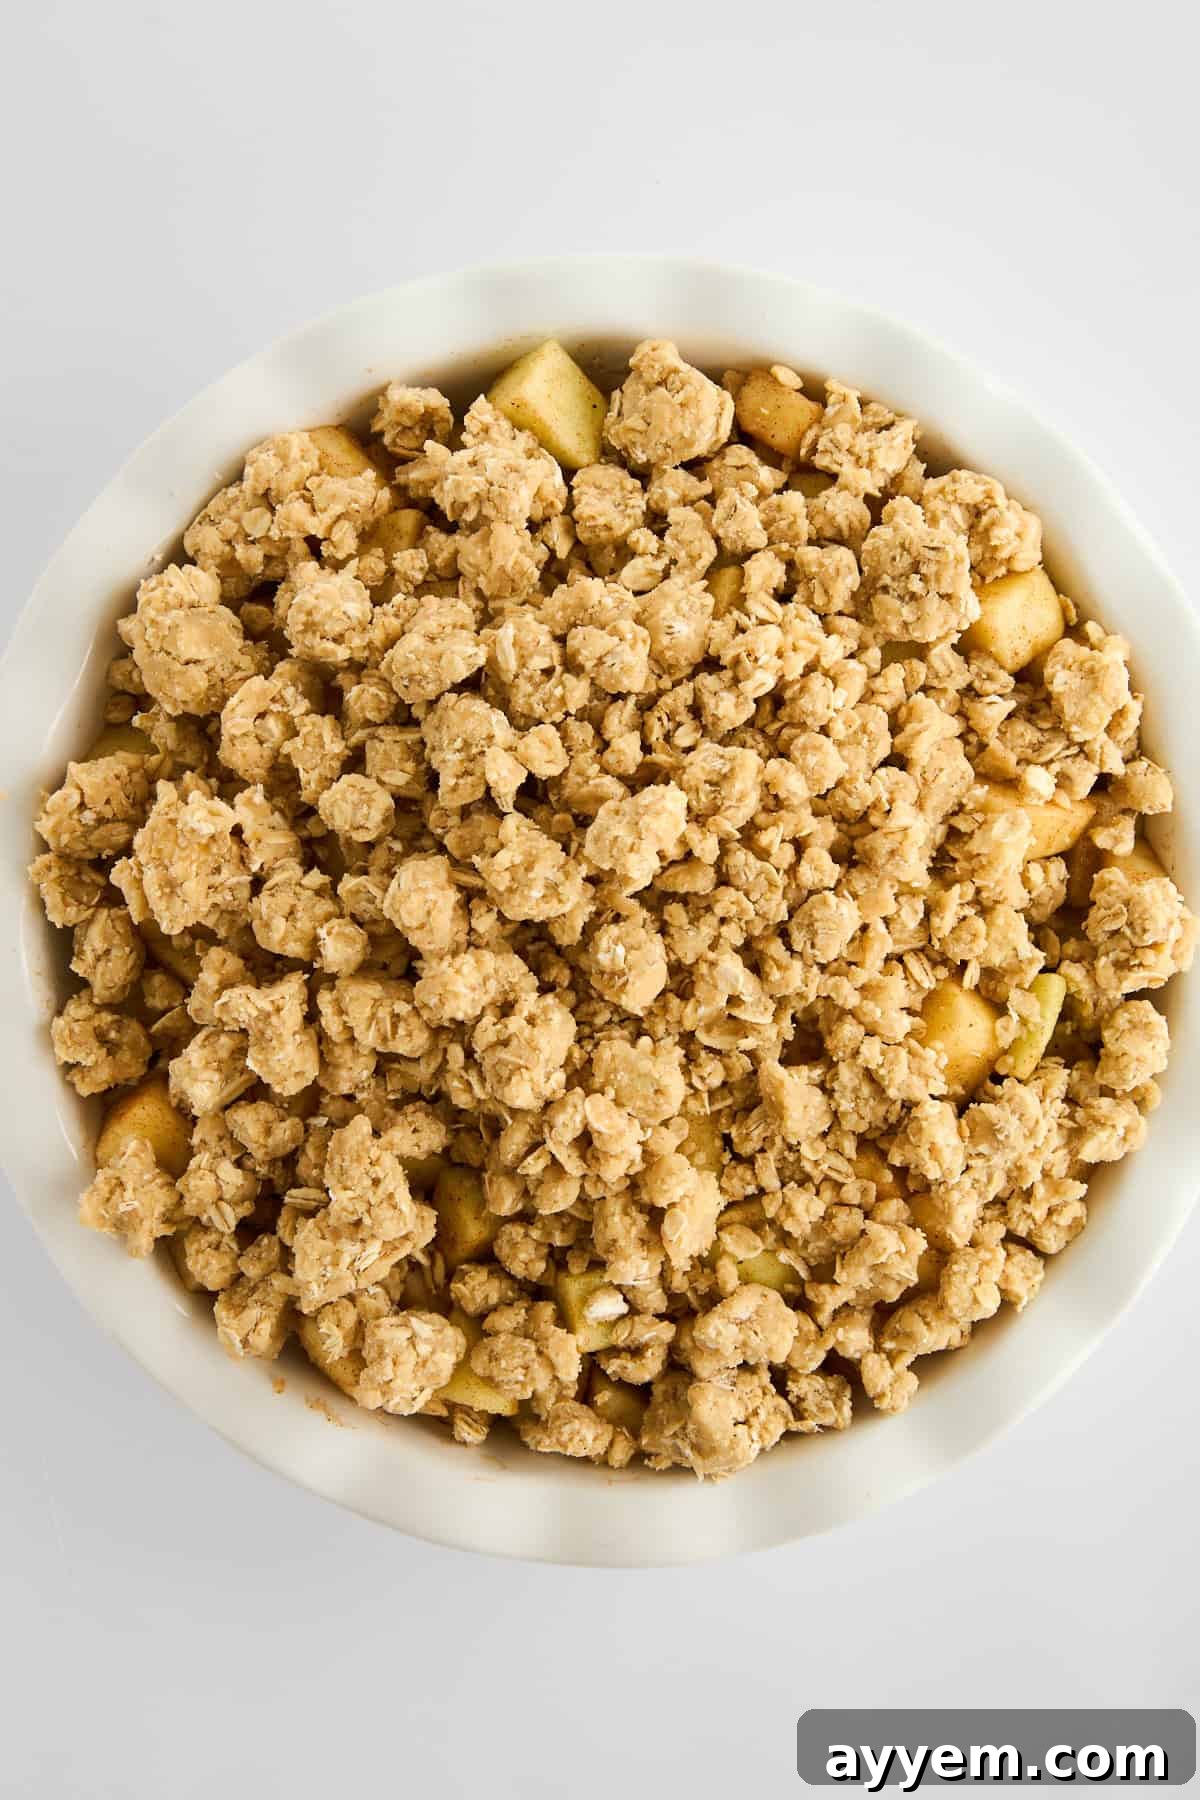
- Assemble the Crisp: Once your apple filling is in the baking dish and your streusel topping is prepared, sprinkle the streusel mixture evenly over the apples in a single layer. Do not press it down too firmly; a loose sprinkle helps achieve maximum crispness.
- Bake to Golden Perfection: Place the baking dish in your preheated oven and bake for 30-35 minutes, or until the streusel topping is beautifully golden brown and the apple filling is bubbly and tender when poked with a knife. The aroma alone will be tantalizing!
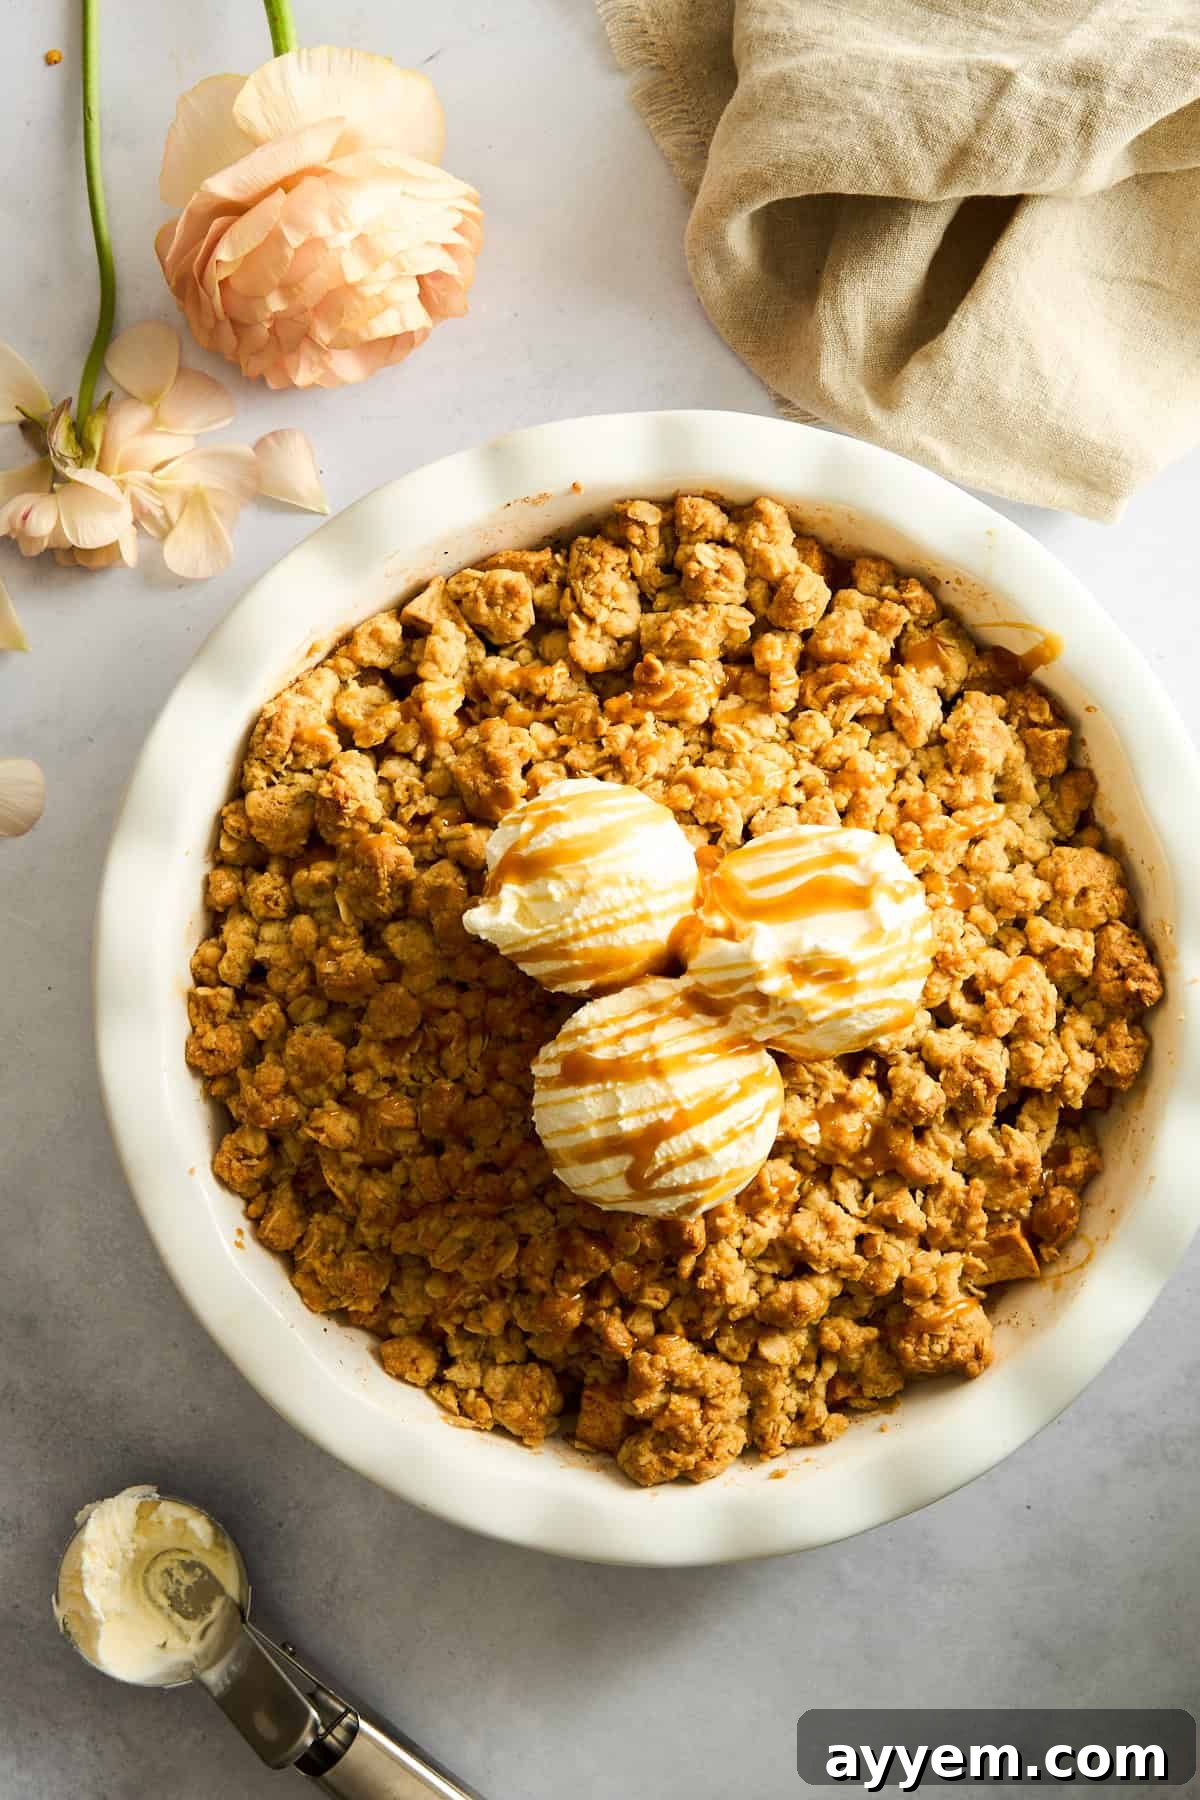
- Serve Warm: Allow the apple crisp to cool slightly for about 10-15 minutes before serving. This allows the filling to set slightly. Serve warm, topped with a generous scoop of vanilla bean ice cream, a drizzle of rich salted caramel sauce, and a sprinkle of flaky sea salt for an unforgettable dessert experience.
Tips for a Flawless Apple Crisp Every Time
Achieving a perfect apple crisp isn’t hard, but a few expert tips can elevate your dessert from good to absolutely phenomenal.
- Choose Your Apples Wisely: The combination of tart Granny Smiths and sweet, crisp Honeycrisps is ideal. Avoid apples that become too mushy when baked, like Red Delicious. Fuji, Gala, or Braeburn can also be great additions or substitutions.
- Keep Butter Cold: This is perhaps the most crucial tip for a truly crispy streusel. Cold butter, cut into small pieces, creates pockets of steam as it bakes, leading to that desirable crumbly, crisp texture. Melted butter will make a dense, cookie-like topping.
- Don’t Overmix the Streusel: Mix the topping just until the ingredients are combined and resemble coarse crumbs. Overmixing develops the gluten in the flour, which can lead to a tougher, less tender streusel.
- Prevent a Soggy Bottom: Tossing your sliced apples with a bit of flour or cornstarch before adding other ingredients is essential. This helps thicken the natural fruit juices as they bake, ensuring your crisp filling is perfectly saucy, not watery or soggy.
- Give it Room to Breathe: Don’t pack down the streusel topping over the apples. Sprinkle it loosely and evenly to allow air circulation, which promotes a crispier bake.
- Let it Rest: While tempting to dive in immediately, allowing the crisp to cool for 10-15 minutes after baking lets the filling set and the flavors meld, making for a cleaner serve and a more enjoyable experience.
Common Questions About This Apple Crisp Recipe
The key to preventing a soggy apple crisp lies in properly preparing the apples. Always toss your sliced or diced apples with a bit of flour or cornstarch before mixing in other ingredients. This starchy coating helps to absorb excess moisture and thicken those delicious fruit juices as they bake, resulting in a perfectly saucy (not watery) filling. Additionally, when reheating, avoid the microwave! Microwaves tend to steam the crisp, making the topping soft. Instead, place the apple crisp in an oven-safe baking dish and reheat at 350°F (175°C) for about 15-20 minutes, or until warmed through and the topping has re-crisped.
Several factors can lead to a less-than-crispy topping. Firstly, the ratio of butter to flour to sugar is crucial. Too much flour or too little butter can create a dry, powdery topping, while too little flour can make it greasy. Our recipe provides a balanced ratio for optimal crispness. Secondly, using old-fashioned rolled oats is essential, as their texture contributes significantly to the crunch. Avoid quick oats, which can turn mushy. Thirdly, always use cold butter and work it into the dry ingredients until you achieve a “pebbly” or coarse crumb texture; this ensures the butter slowly melts and creates steam, yielding crispness. Lastly, don’t pack down your topping! Sprinkle it loosely over the apples, allowing air to circulate and promote a golden, crunchy crust.
For an apple crisp with superb flavor and texture, we love a combination of tart and sweet apples that hold their shape well during baking. Granny Smith apples are a top choice for their firm texture and bright tartness, which provides a wonderful contrast to the sweet streusel. Lately, we’ve found that mixing them with sweet Honeycrisp apples creates an ideal balance – the Honeycrisp offers a delightful sweetness and maintains its crisp bite. Other excellent options include Fuji, Gala, Braeburn, or even a regional favorite like Sweet Tangos. The key is to select varieties that won’t turn to complete mush in the oven, ensuring a pleasant bite in your finished dessert.
Traditionally, apples are peeled for apple crisp to ensure a smooth texture in the filling. However, leaving the skins on is a fantastic way to add extra texture, fiber, and nutrients to your dessert! If you choose to leave the skins on, make sure to wash the apples very thoroughly and slice or dice them into thin, bite-sized pieces to ensure they soften adequately during baking. The slight chewiness of the skin can be a delightful addition to the overall experience of the crisp.
Storage and Reheating Your Apple Crisp
Proper storage ensures you can enjoy your delicious apple crisp for days, and reheating it correctly helps maintain its delightful texture.
Storage:
- Refrigerator: Allow the apple crisp to cool completely. Then, cover it tightly with plastic wrap or aluminum foil, or transfer it to an airtight container. Store in the refrigerator for up to 5 days.
- Freezer: For longer storage, cool the crisp completely. You can freeze it directly in the baking dish (if it’s freezer-safe and well-covered) or transfer individual portions to freezer-safe containers. Freeze for up to 3 months.
Reheating:
- From Refrigerator: For best results, avoid the microwave, as it can make the topping soggy. Preheat your oven to 350°F (175°C). Place the apple crisp (covered loosely with foil to prevent over-browning) in the oven and bake for about 15-20 minutes, or until warmed through and the topping is crisp again. Remove the foil for the last 5 minutes if needed.
- From Freezer: Thaw the frozen apple crisp in the refrigerator overnight. Once thawed, reheat it using the same method as described for refrigerated crisp.
More Delicious Crisp Recipes to Explore
If you loved this apple crisp, you’ll be thrilled to discover other fruit crisps that offer similar comfort and flavor. Each recipe features a unique fruit filling crowned with a irresistible oat streusel.
- Mixed Berry Crisp Recipe
- Easy Blueberry Crisp
- Easy Peach Crisp Recipe
- Strawberry Crisp with Oat Crumble
- Cherry Crisp
The BEST Apple Crisp Recipe
Make this easy apple crisp recipe with two kinds of apples, cinnamon, nutmeg, and a crumbly oat streusel topping!
Author: Food Dolls
Servings: 6 servings
Prep Time: 10 mins
Cook Time: 30 mins
Total Time: 40 mins
Ingredients
- 4 Granny Smith apples, peeled and diced
- 4 Honey Crisp apples, peeled and diced
- 1/3 cup granulated sugar
- 3 tablespoons all-purpose flour (for apples)
- 1 teaspoon cinnamon (for apples)
- 1/2 teaspoon ground nutmeg (for apples)
- 1 cup all-purpose flour (for topping)
- 1 cup old fashioned rolled oats
- 1/4 teaspoon baking powder
- 3/4 cup firmly packed light brown sugar
- 10 Tablespoons unsalted butter, cold and cubed
- 1/2 teaspoon sea salt (for topping)
- Optional Toppings: sea salt flakes, vanilla bean ice cream, salted caramel sauce
Instructions
- Preheat the oven to 350°F (175°C).
- In a 12×8 oval baking dish, add the peeled and diced Granny Smith and Honey Crisp apples. In a small bowl, toss together the 3 tablespoons all-purpose flour, granulated sugar, 1 teaspoon cinnamon, and 1/2 teaspoon ground nutmeg. Sprinkle this mixture over the apples and toss to coat evenly.
- In a medium bowl, combine the 1 cup all-purpose flour, rolled oats, baking powder, brown sugar, cold cubed butter, and 1/2 teaspoon sea salt. Use a fork or pastry cutter to cut the butter into the dry ingredients until the mixture resembles coarse crumbs.
- Take the prepared streusel topping and arrange it in a single layer over the apples in the baking dish.
- Bake for 30-35 minutes, or until the topping is golden brown and the apple filling is bubbly and tender. Serve warm with optional salted caramel, sea salt flakes, and a scoop of vanilla bean ice cream.
Equipment
- 1 (12×8) Oval Baking Dish
- 1 Medium Mixing Bowl
- Pastry Cutter or Fork (optional)
Notes
Storage:
- Store leftover apple crisp covered or in an airtight container in the fridge for up to 5 days.
- Freeze leftovers for up to 3 months. Thaw in the fridge overnight, then reheat at 350°F (175°C) for about 30 minutes or until warmed through.
Nutrition
Serving: 1 serving | Calories: 431kcal | Carbohydrates: 60g | Protein: 4g | Fat: 20g | Saturated Fat: 12g | Polyunsaturated Fat: 1g | Monounsaturated Fat: 5g | Trans Fat: 1g | Cholesterol: 50mg | Sodium: 221mg | Potassium: 105mg | Fiber: 2g | Sugar: 35g | Vitamin A: 585IU | Vitamin C: 0.1mg | Calcium: 45mg | Iron: 2mg
Nutrition information is automatically calculated and should only be used as an approximation.
We hope this detailed guide helps you create the most delightful and comforting apple crisp. This recipe is more than just a dessert; it’s an experience, a taste of home, and a perfect way to celebrate the simple joys of baking. Enjoy every warm, crispy, apple-filled bite, and don’t forget to share your creations!