
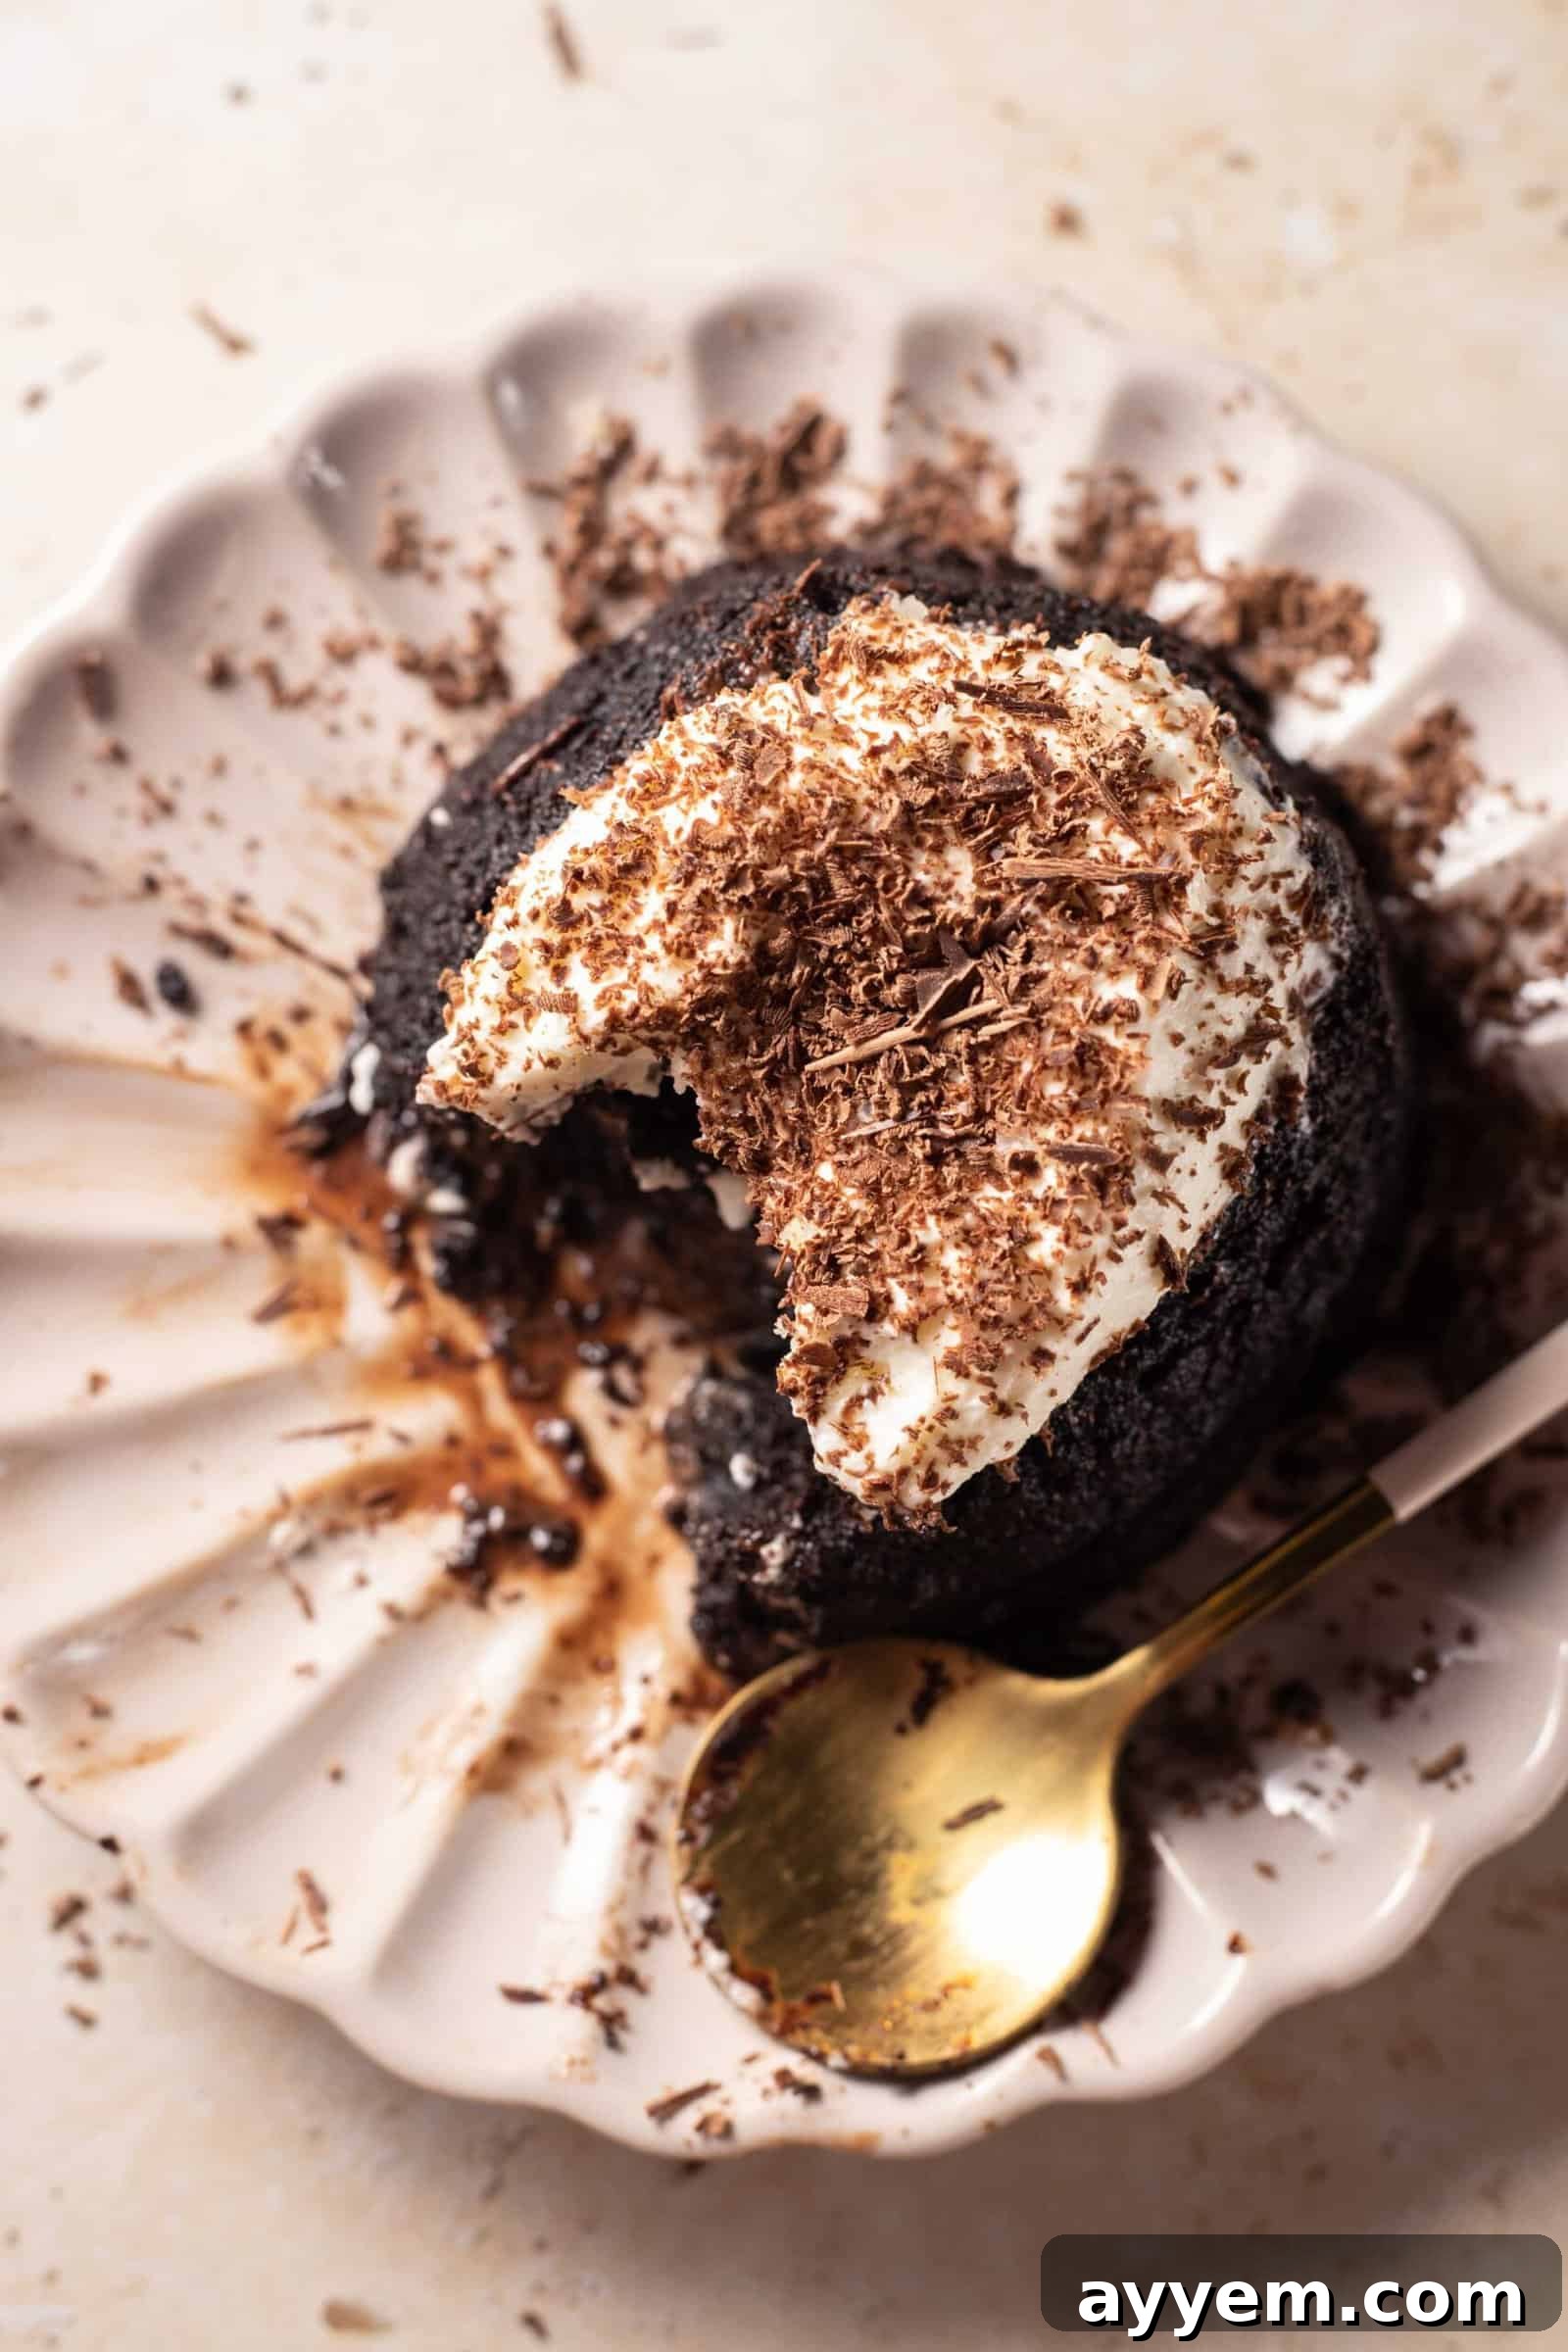
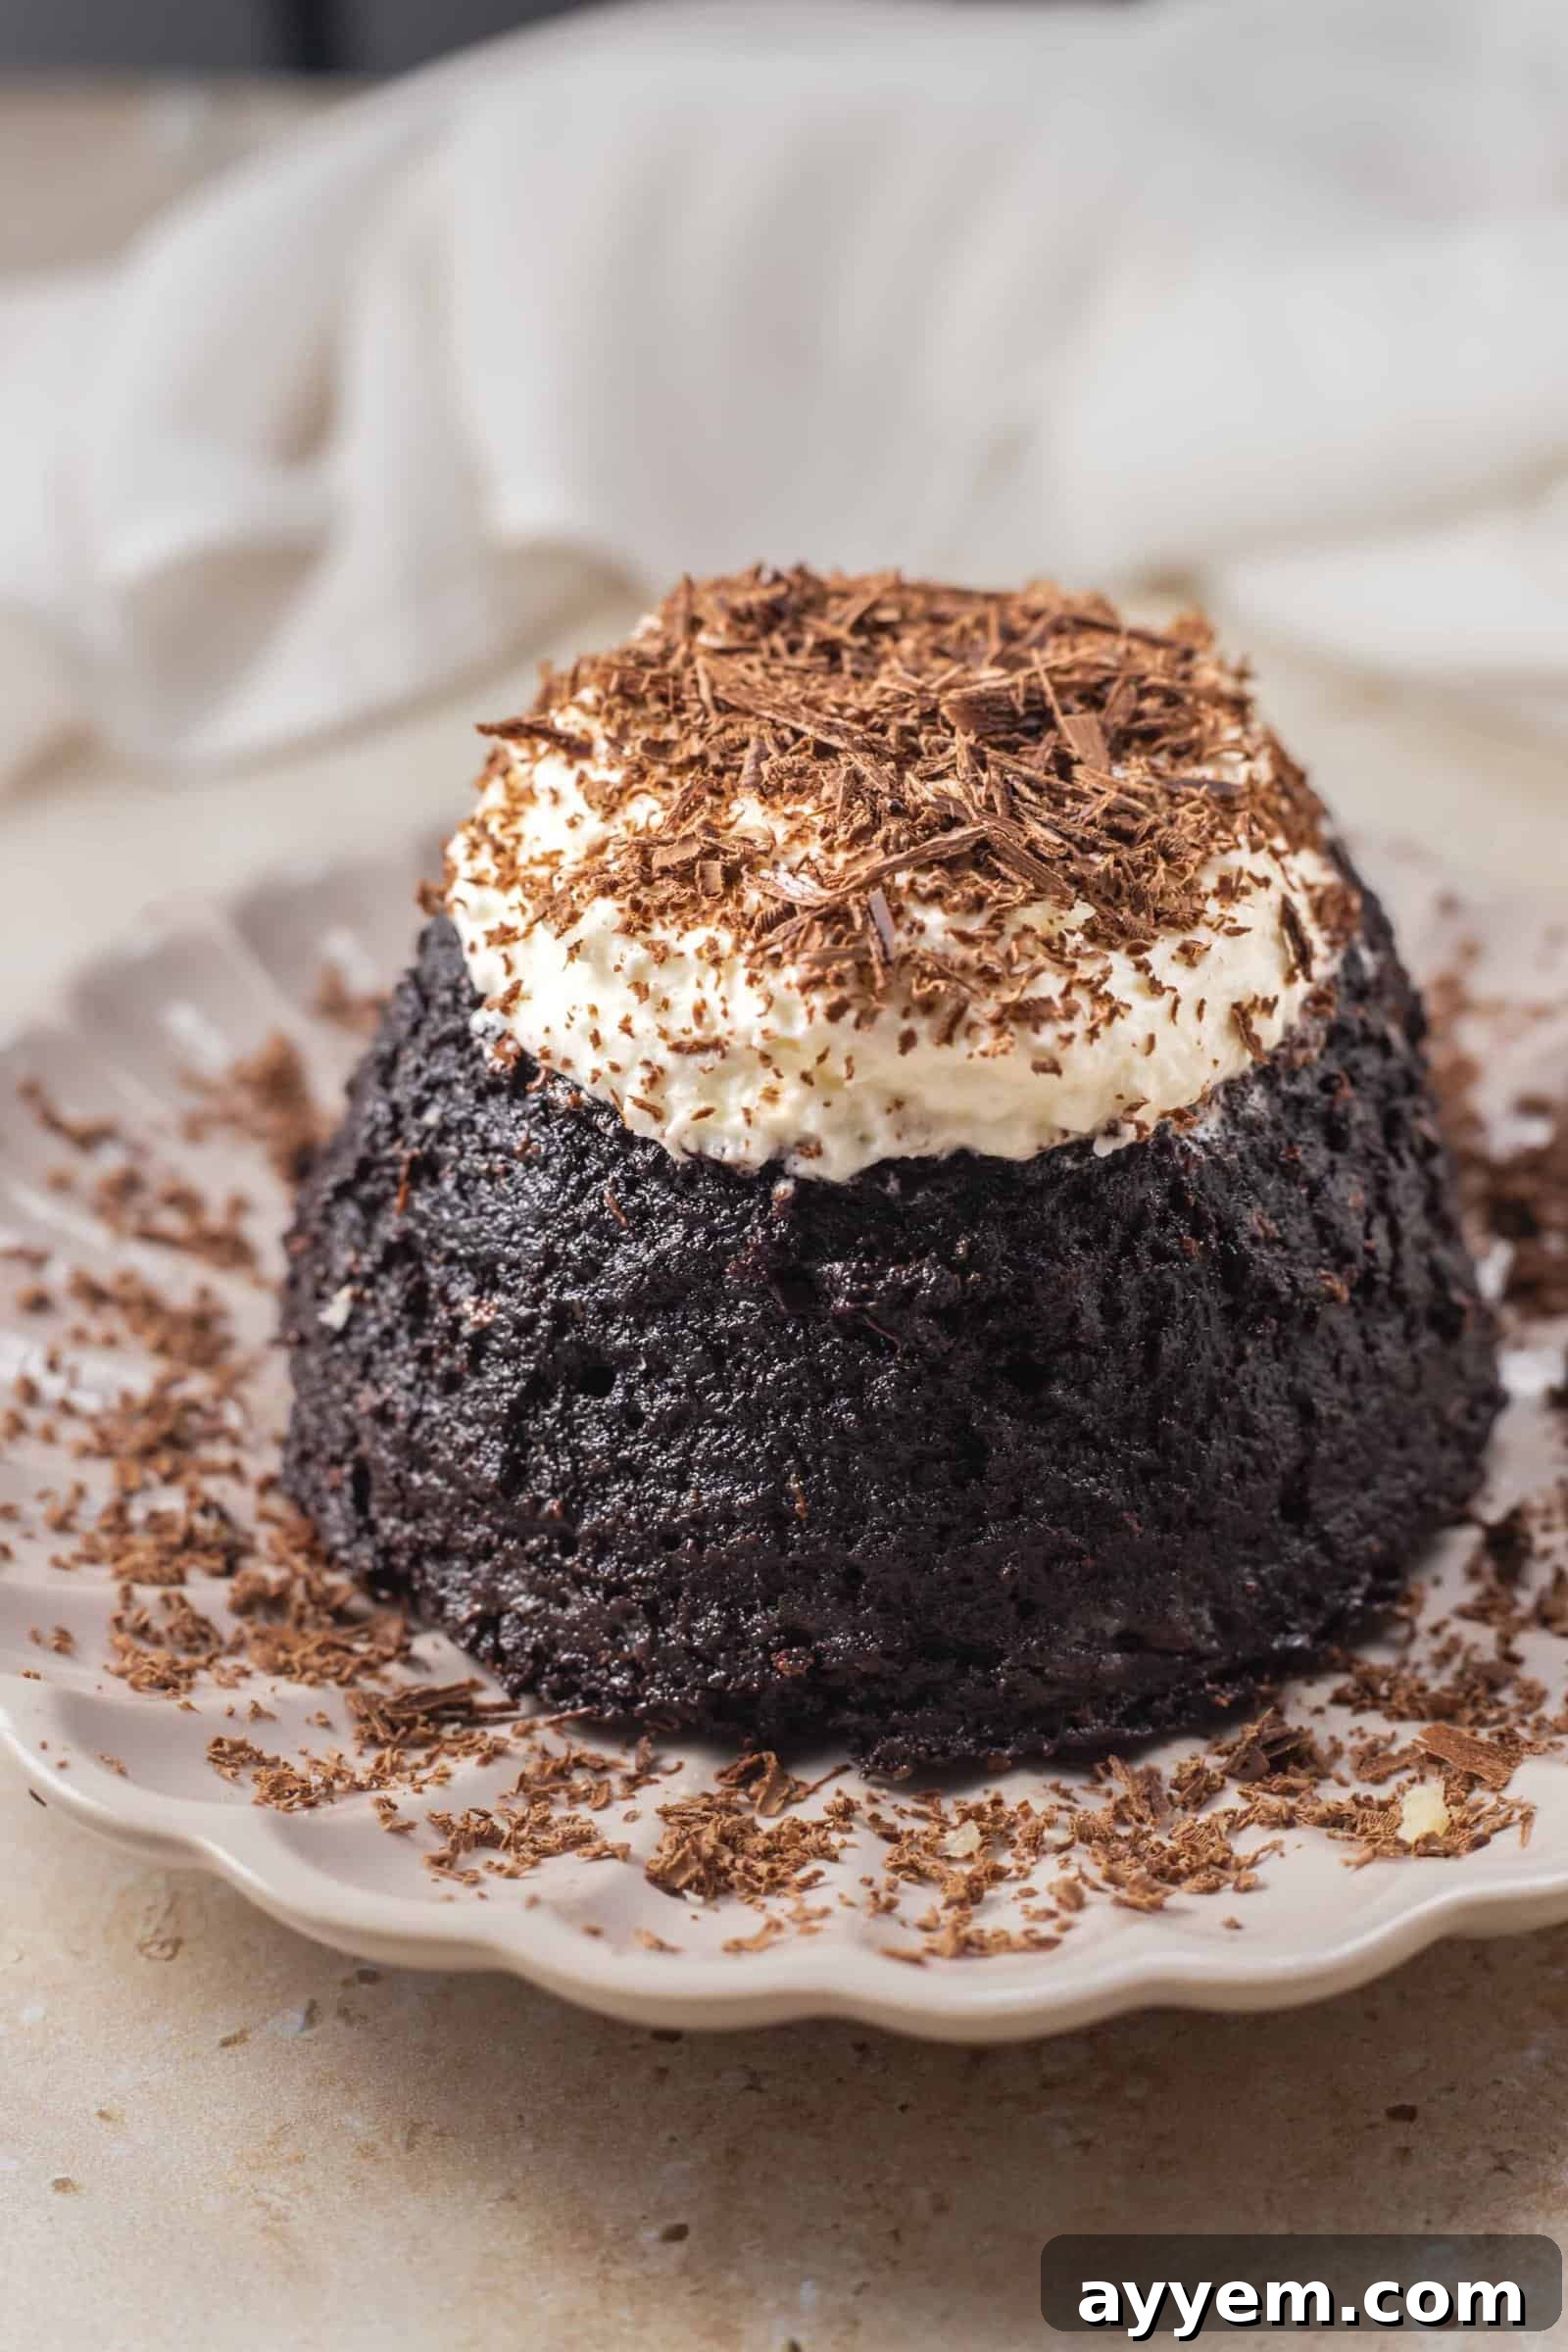
Indulge in an exquisite culinary experience with this recipe for the most divine Hazelnut Chocolate Lava Cake. This dessert is a true masterpiece, boasting an unbelievably rich chocolate flavor, a perfectly gooey, molten center, and the sophisticated crunch of hazelnut. It’s a showstopper that promises to impress, yet it’s surprisingly simple to create in your own kitchen. With a concise list of common ingredients and a quick bake time of just 30 minutes from start to finish, you’ll be serving up a decadent, single-serving treat that looks and tastes like it came from a gourmet patisserie. Prepare to delight your senses and those of your guests with every warm, chocolatey bite.
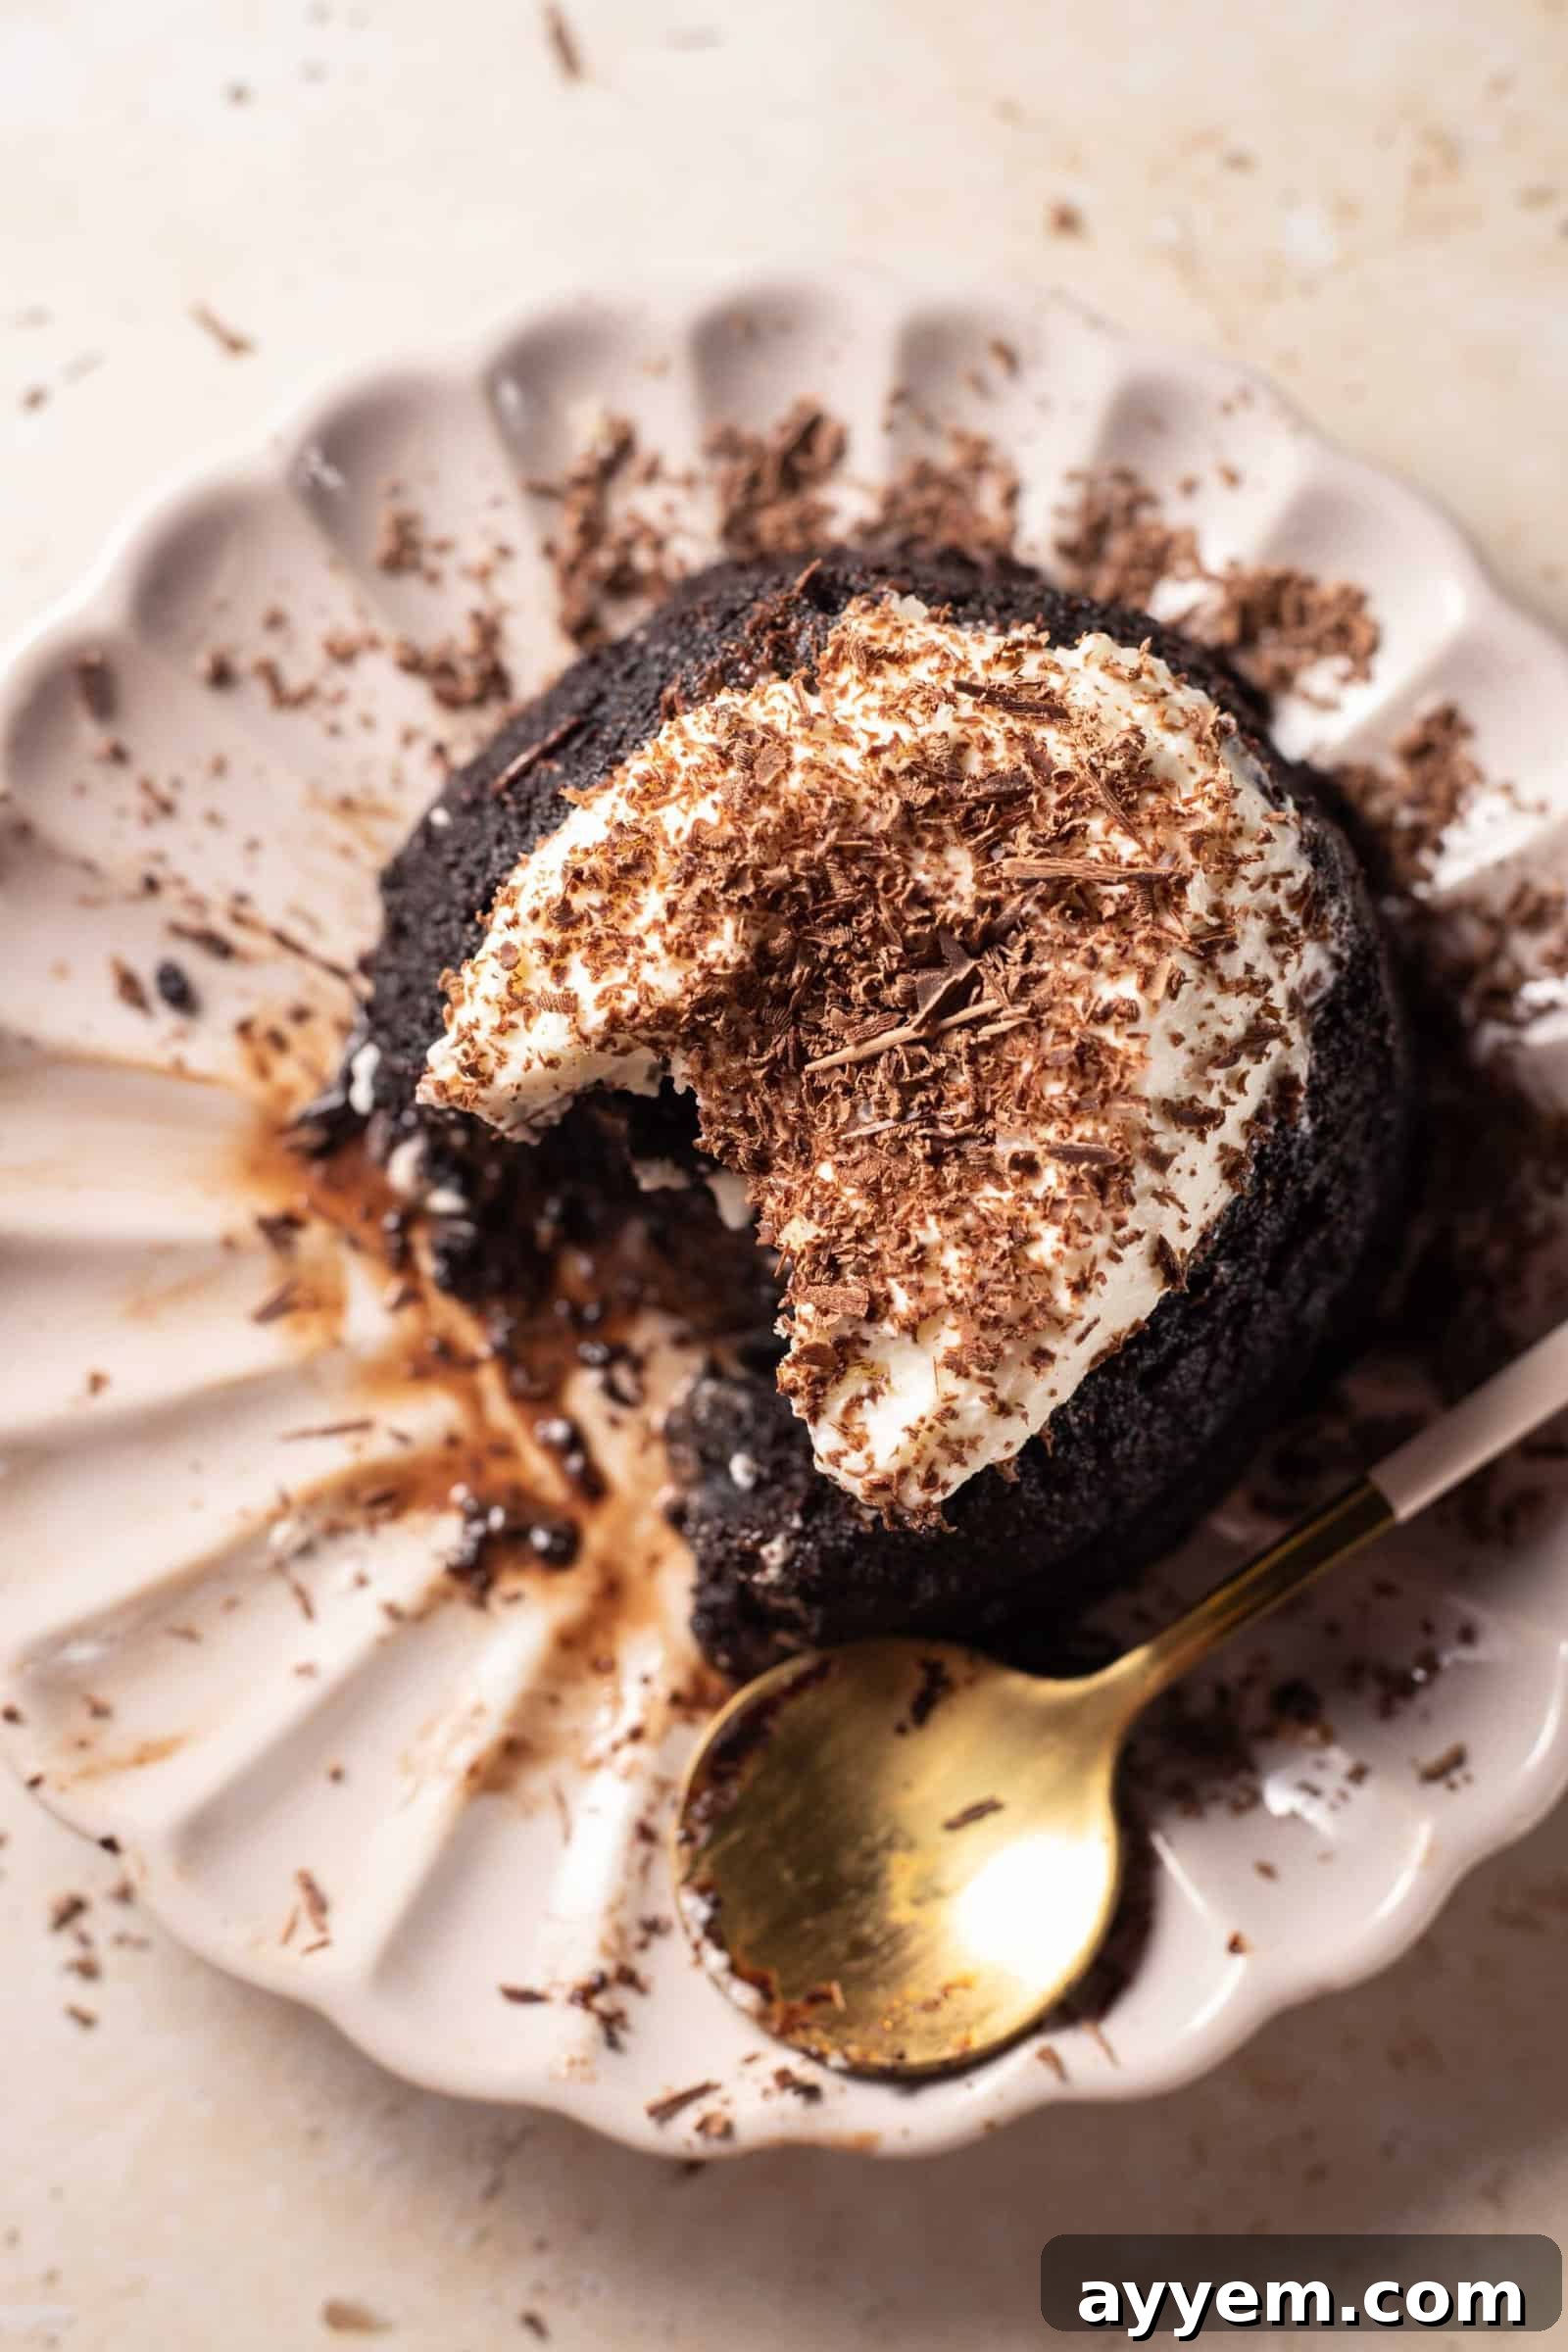
What Exactly is a Lava Cake? Unveiling the Molten Mystery
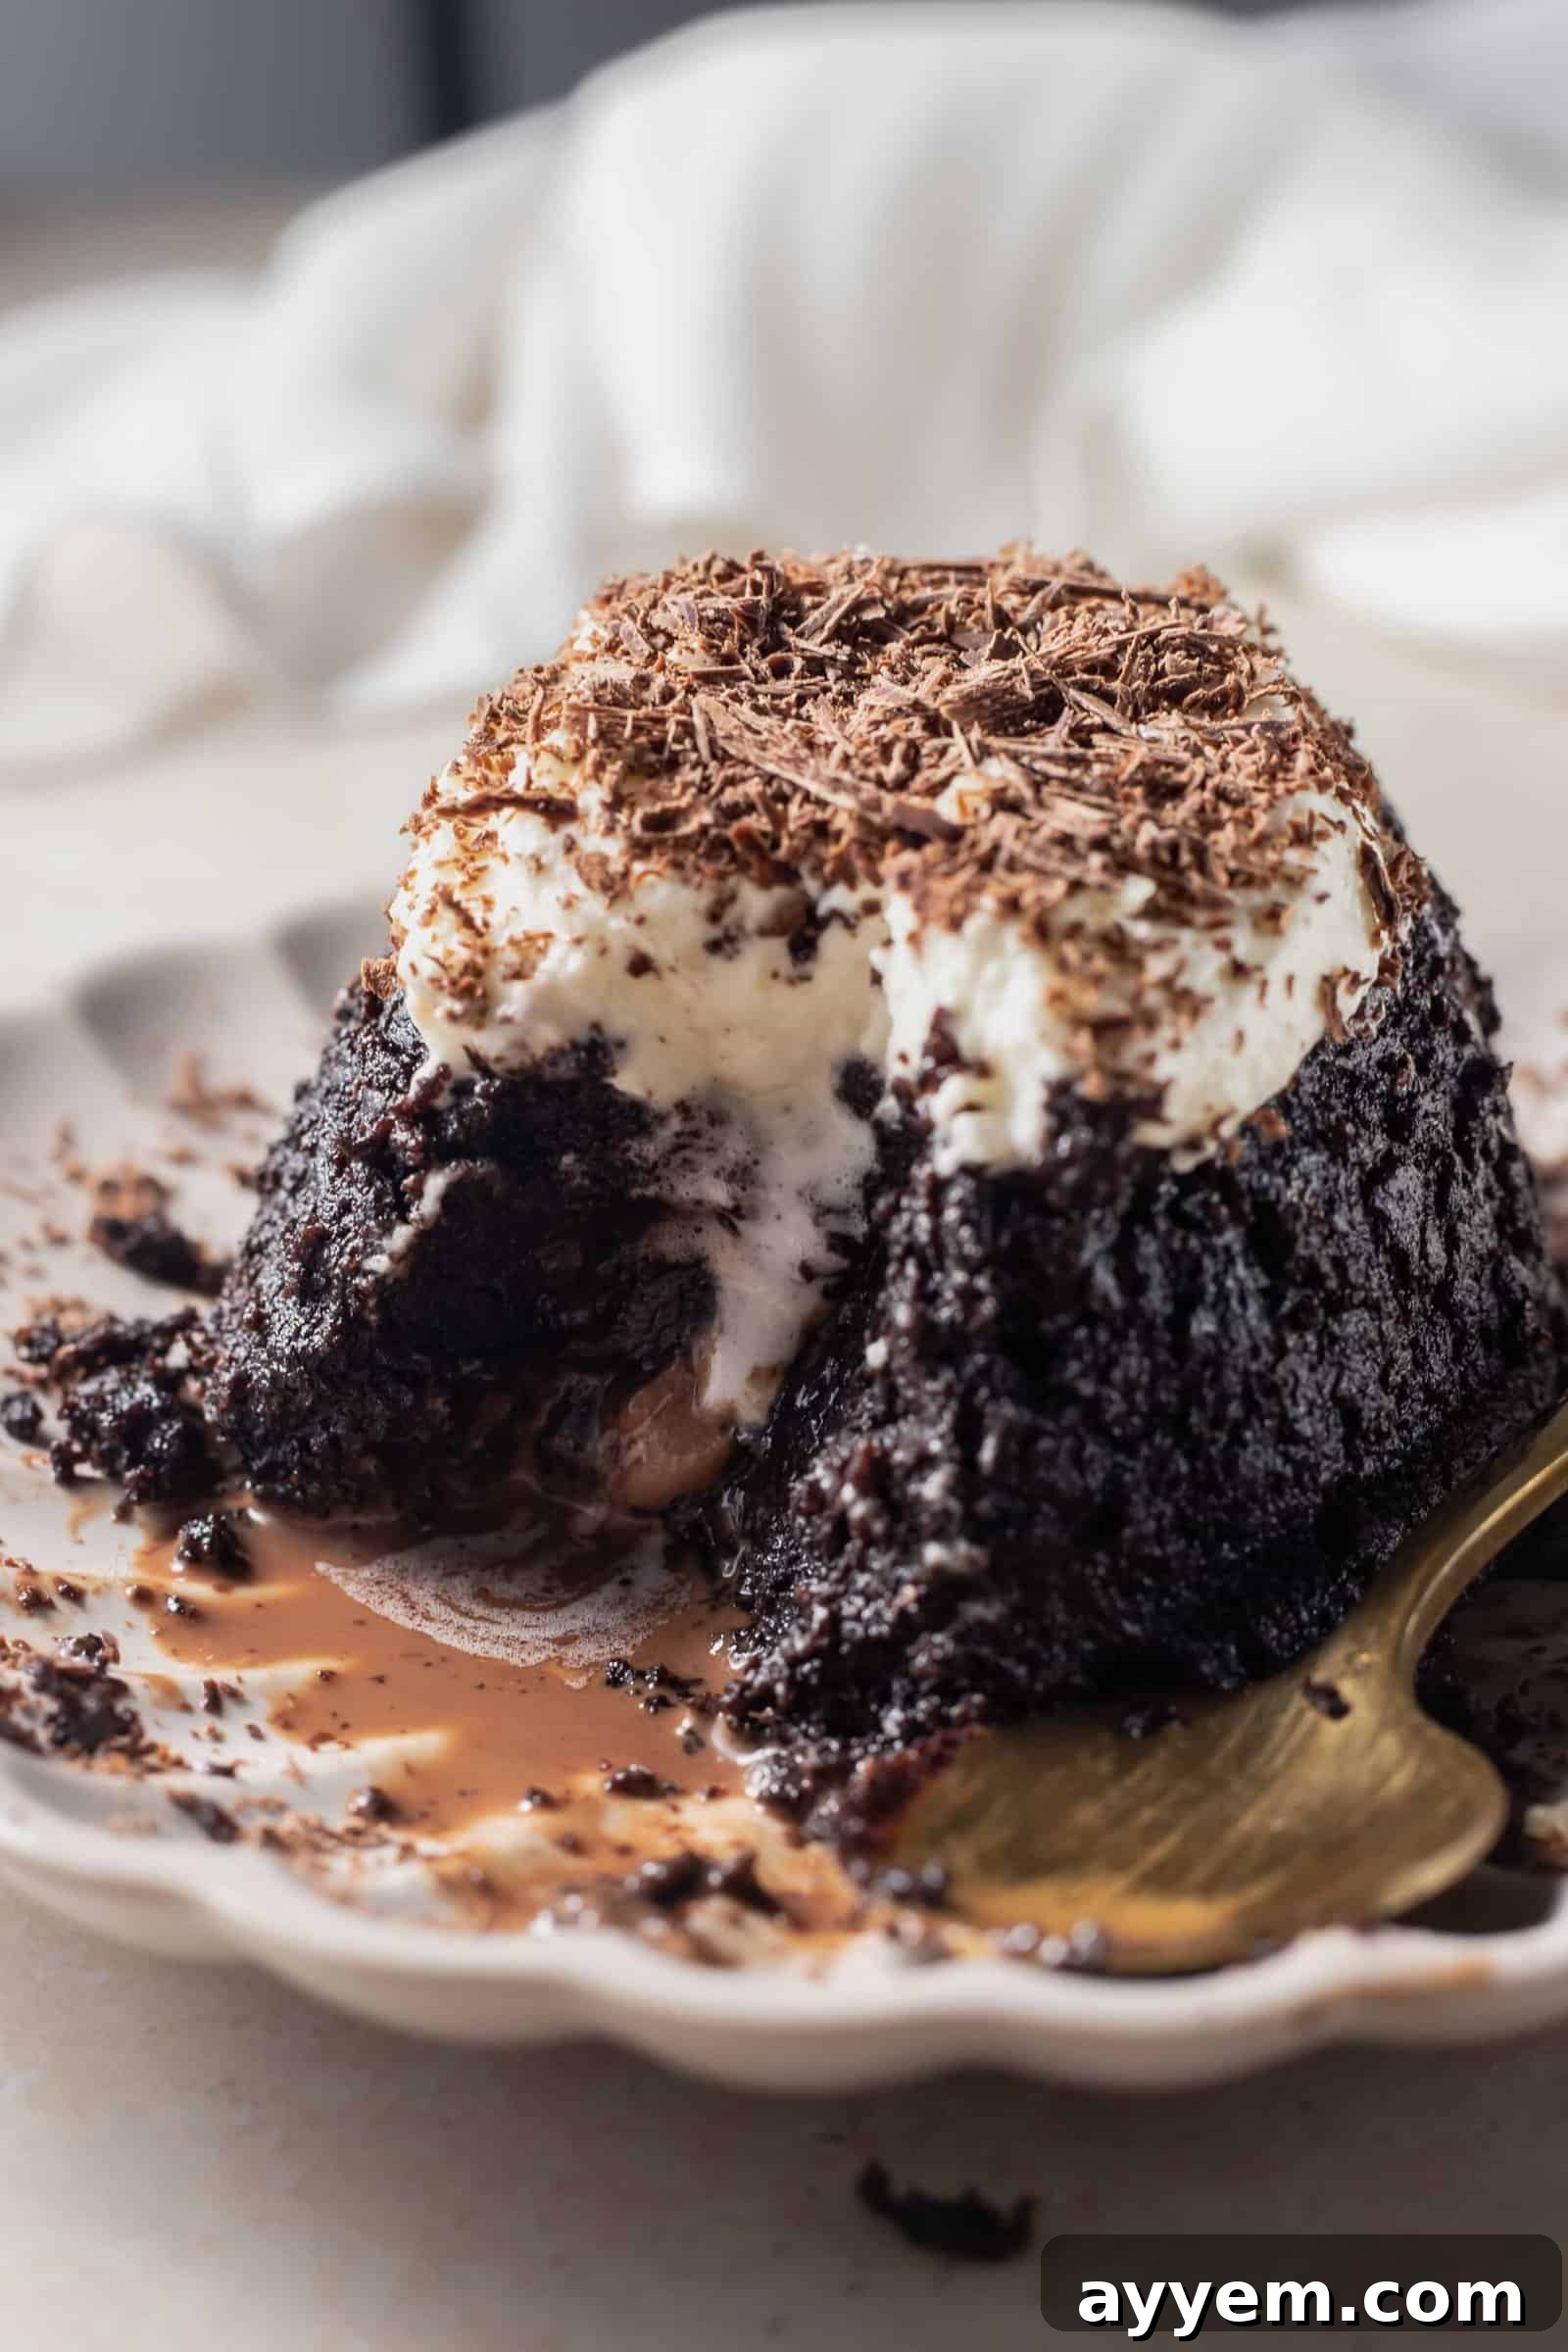
Often hailed as the pinnacle of chocolate desserts, a lava cake, also known as a molten chocolate cake, gets its iconic name from its spectacular center that mimics the fiery flow of a volcano’s molten lava. At its core, it is a small, individual-sized chocolate cake that is intentionally baked just enough for the exterior to set, while the inside remains luxuriously liquid and warm. This delightful contrast in textures—a tender, firm outer crust yielding to an irresistibly gooey, flowing chocolate core—is what makes it an enduring favorite among dessert aficionados. It strikes a perfect balance between a traditional chocolate cake and a delicate soufflé, offering the best of both worlds in a single, decadent serving. The magic lies in the precise baking technique, ensuring that the chocolate within is heated to a liquid state without fully cooking the batter, creating that signature ooey-gooey experience.
Lava Cake vs. Soufflé: A Culinary Distinction
While both lava cakes and soufflés are elegant, individual-sized desserts often associated with rich, airy textures, they are fundamentally distinct in their preparation and final structure. The primary difference lies in their cooking philosophy: a soufflé is always fully baked through, relying on whipped egg whites to create a light, airy, and uniformly fluffy dessert that is moist but completely solid. Its charm is in its delicate, risen structure that eventually collapses slightly upon cooling. In contrast, a lava cake is intentionally underbaked in the center. Its goal is a contrast between a firm outer cake and a liquid, molten chocolate interior. The “undercooked” aspect is key to its molten core, a characteristic not found in a true soufflé. While both are divine, understanding this distinction helps appreciate the unique artistry behind each dessert, particularly the controlled underbaking that gives the lava cake its signature flowing heart.
The Irresistible Allure of Hazelnut Chocolate
The marriage of hazelnut and chocolate is a classic for a reason, creating a symphony of flavors and textures that is truly irresistible. Hazelnuts bring a distinct nutty, earthy warmth that beautifully complements the deep, sometimes slightly bitter, notes of chocolate. This pairing is elevated in a lava cake, where the richness of the chocolate is perfectly balanced by the subtle, aromatic sweetness of hazelnut. Opting for a hazelnut truffle as the molten core not only infuses the cake with an incredible depth of flavor but also introduces an unexpected textural delight. When the warm cake is cut open, the melted truffle oozes out, mingling with the cake’s own molten chocolate center, creating an extra layer of gourmet indulgence. It transforms a classic dessert into something truly special, offering a sophisticated twist that elevates the entire experience from a simple treat to a memorable culinary event. This thoughtful addition makes the dessert not just a dessert, but a statement.
Simple Yet Decadent Ingredients You’ll Need for Your Lava Cake
One of the many charms of this hazelnut chocolate lava cake recipe is how it comes together with common pantry staples. You likely already have most of these on hand, making it an accessible treat whenever a craving strikes. Each ingredient plays a crucial role in achieving the perfect balance of flavor, texture, and that coveted molten center. Here’s a closer look at what you’ll need and why quality matters:
-
High-Quality Chocolate Chips: The star of any chocolate dessert! We recommend using semi-sweet chocolate chips for a balanced flavor that isn’t overly bitter or sweet. The quality of your chocolate will significantly impact the final taste and texture of your lava cake. For an even richer flavor, you could experiment with a blend of semi-sweet and dark chocolate. Opting for good quality chocolate that melts smoothly is paramount to achieving that luxurious molten center.
-
Unsalted Butter: Butter provides richness and helps carry the chocolate flavor. Using unsalted butter gives you complete control over the salt content in your recipe, allowing the other flavors to shine without being overshadowed. It contributes to the cake’s tender crumb and helps the chocolate melt into a smooth, emulsified base.
-
All-Purpose Flour: This forms the foundational structure of our cake batter. While we haven’t extensively tested it with alternatives, a 1:1 gluten-free flour blend should work well if you need a gluten-free option, though slight adjustments to liquid might be necessary to achieve the desired consistency. The flour content is minimal, which helps keep the cake light and the center molten.
-
Unsweetened Cocoa Powder: For an intense chocolate flavor, unsweetened cocoa powder is essential. It deepens the chocolate notes beyond what the chocolate chips alone provide. If you prefer a darker, more complex chocolate flavor, you might opt for Dutch-processed cocoa, which is less acidic and provides a smoother finish. For those who love a truly bitter or dark chocolate profile, swapping cocoa powder for raw cacao powder will deliver an even more profound, earthy chocolate essence.
-
Powdered Sugar: Also known as confectioners’ sugar, this ingredient serves two purposes. Firstly, it sweetens the cake batter, dissolving easily for a smooth texture. Secondly, a delicate dusting of powdered sugar on top of the finished cake adds a touch of classic elegance and visual appeal, making your dessert look professionally crafted.
-
Milk: Whole milk is recommended for the richest, most indulgent cake, contributing to its moistness and creamy texture. However, any type of milk (skim, almond, soy, oat) can be used successfully, though it might slightly alter the final richness. Its role is to help bind the ingredients and contribute to the batter’s liquid consistency.
-
Pinch of Sea Salt: A tiny bit of salt is a secret weapon in baking. It doesn’t make the cake taste salty but rather enhances and balances all the other flavors, especially the sweetness and deep chocolate notes. It truly makes the chocolate taste “more chocolatey.”
-
Pure Vanilla Extract: The difference between pure vanilla extract and imitation vanilla is noticeable. Pure vanilla adds a warm, aromatic depth that rounds out the chocolate flavor beautifully. If possible, always opt for 100% pure vanilla extract for the best possible taste; your palate will thank you.
-
The Secret Heart: Hazelnut Truffle: This is where the magic of the hazelnut twist comes in! Any quality hazelnut truffle candy will work wonders, but we highly recommend the rich and creamy hazelnut truffles from Lindt for an exceptional melt and flavor. This truffle acts as a surprise molten core, adding an extra layer of decadence and a distinct hazelnut note that makes this lava cake truly unique.
Crafting Your Hazelnut Chocolate Lava Cake: A Step-by-Step Guide
Despite their sophisticated appearance, lava cakes are remarkably simple and quick to prepare, often much faster than baking a traditional full-sized cake. The beauty of this recipe lies in its efficiency and straightforwardness, allowing you to achieve a truly impressive dessert with minimal effort. Follow these steps to create your perfect hazelnut chocolate lava cake:
-
Prepare Your Oven and Ramekin: Begin by preheating your oven to a precise 350 degrees Fahrenheit (175°C). Ensuring the oven is fully heated is crucial for the cake’s proper rise and the creation of that coveted molten center. While the oven preheats, take an 8-ounce ramekin and generously grease its interior with butter. For an extra layer of non-stick protection and to ensure an easy release, you can dust the buttered ramekin with a light coating of cocoa powder or flour, tapping out any excess. This step is vital to prevent the delicate cake from sticking when it’s time to unmold.
-
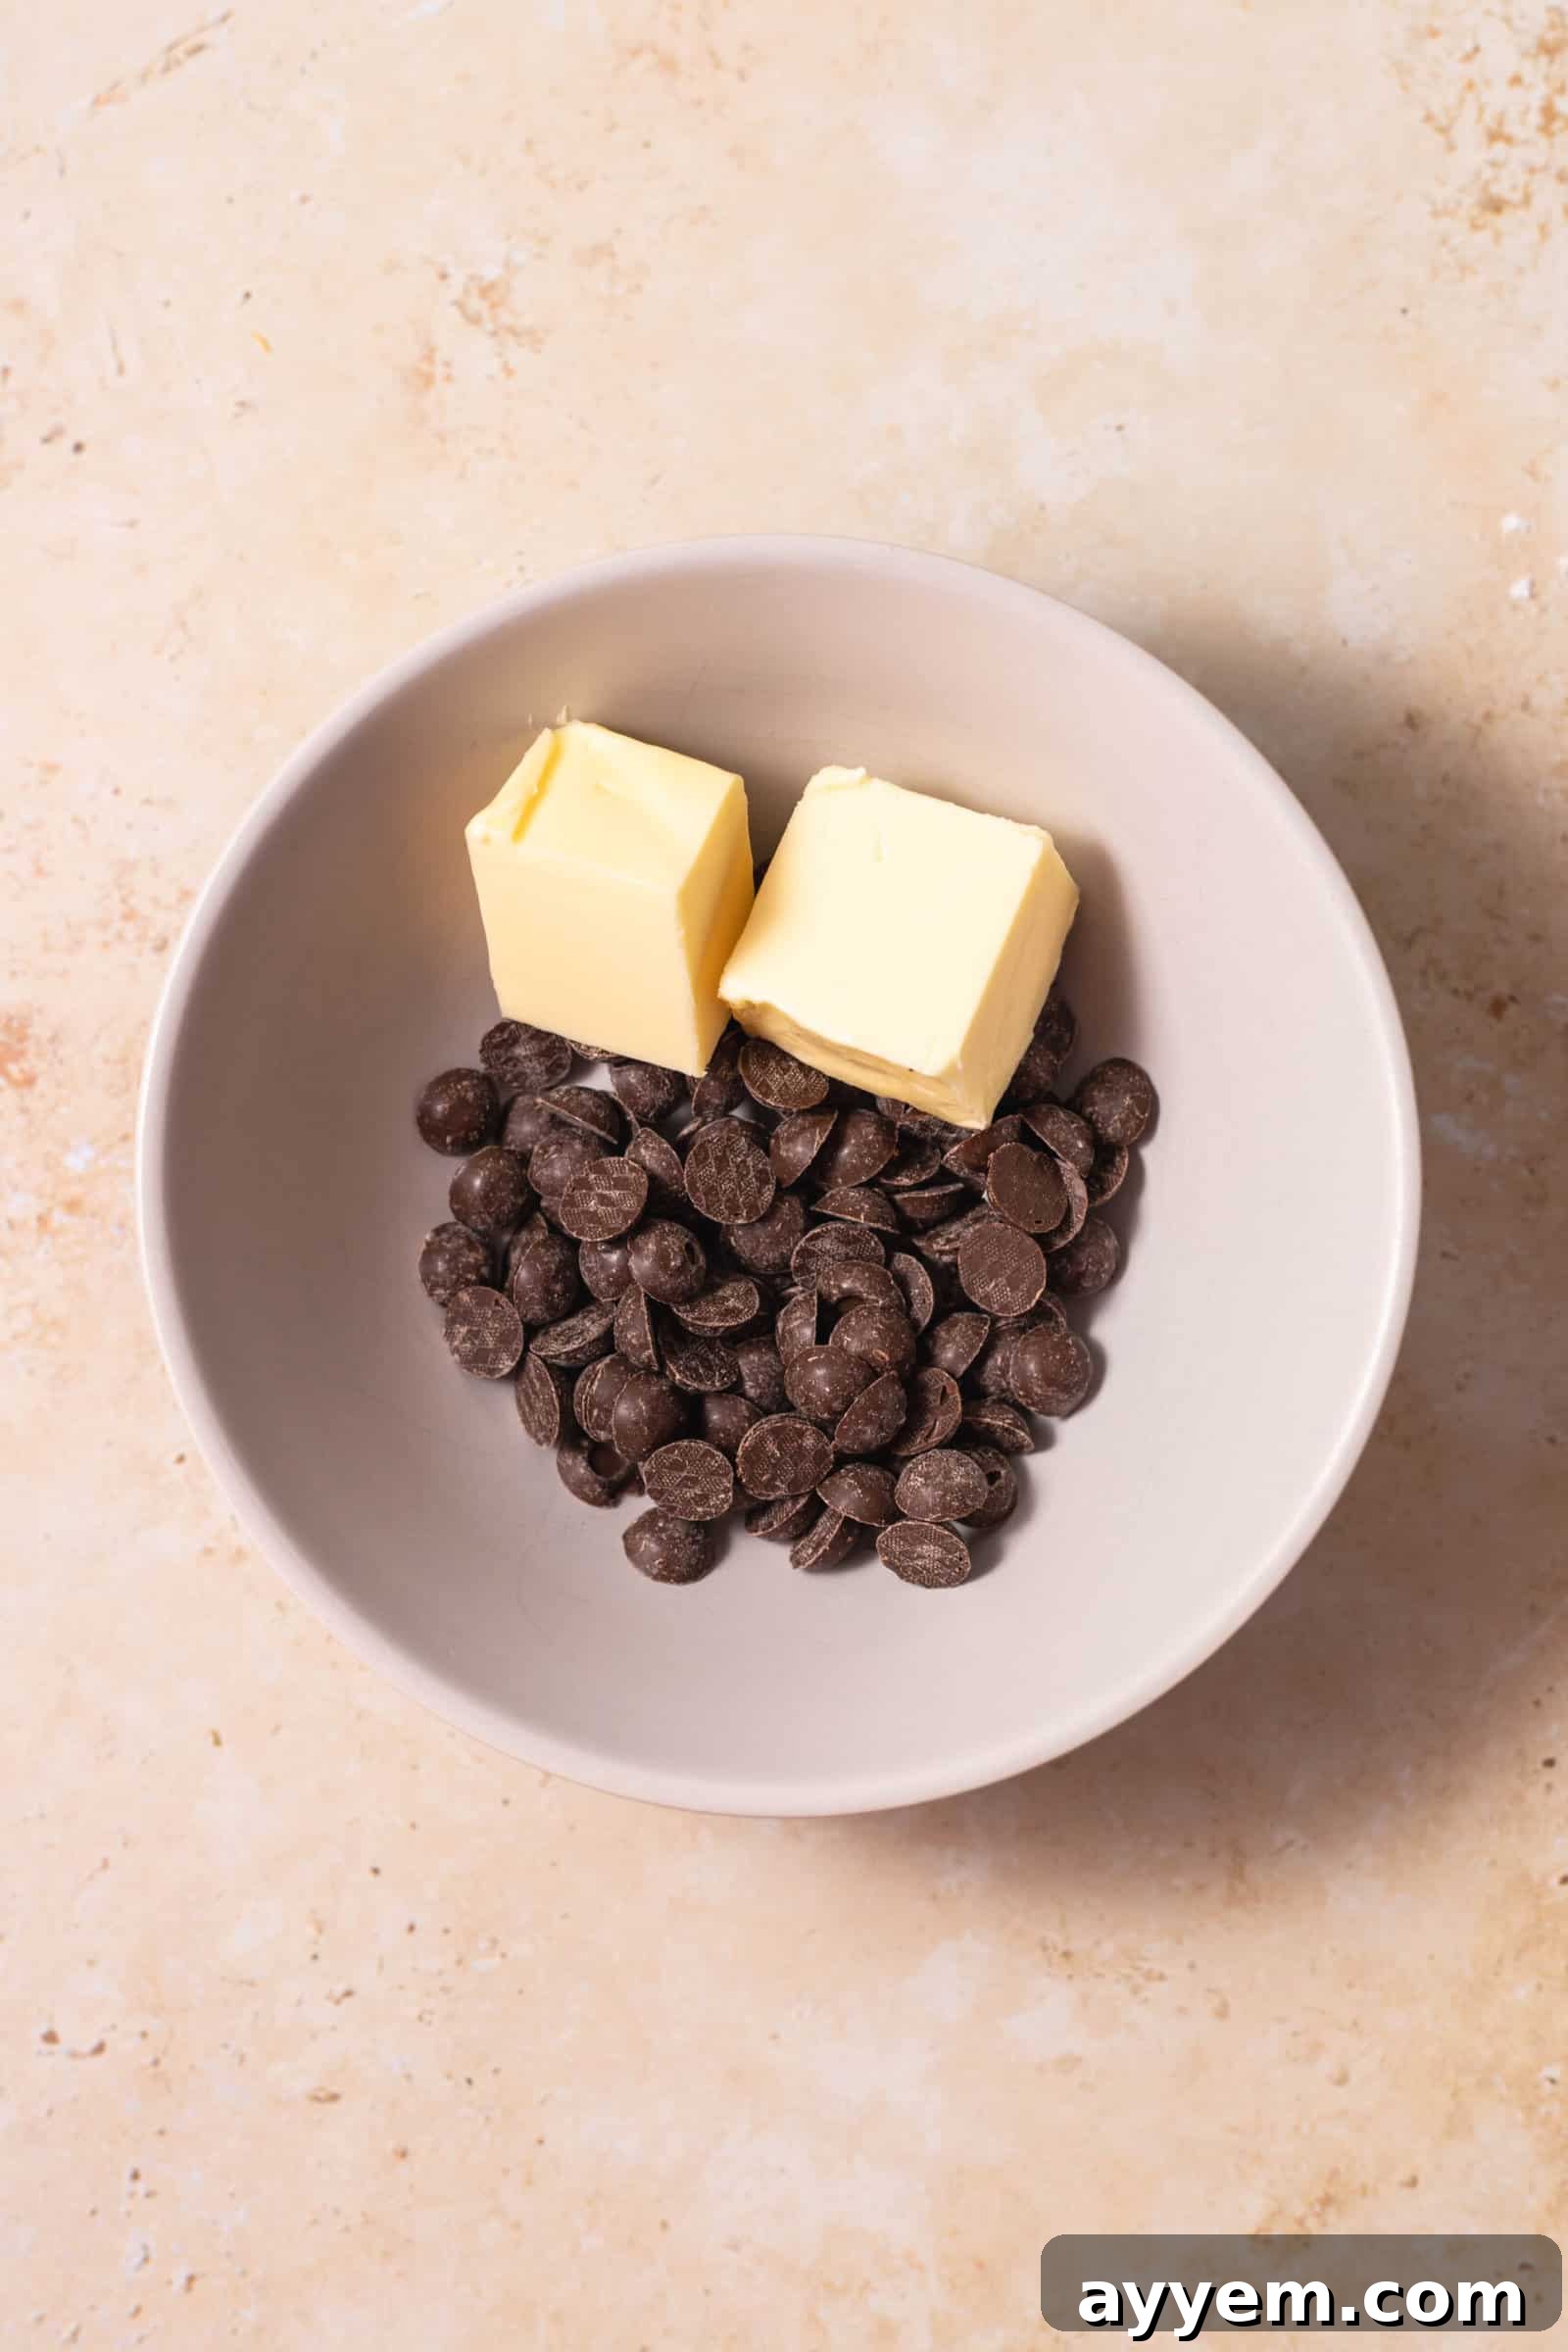
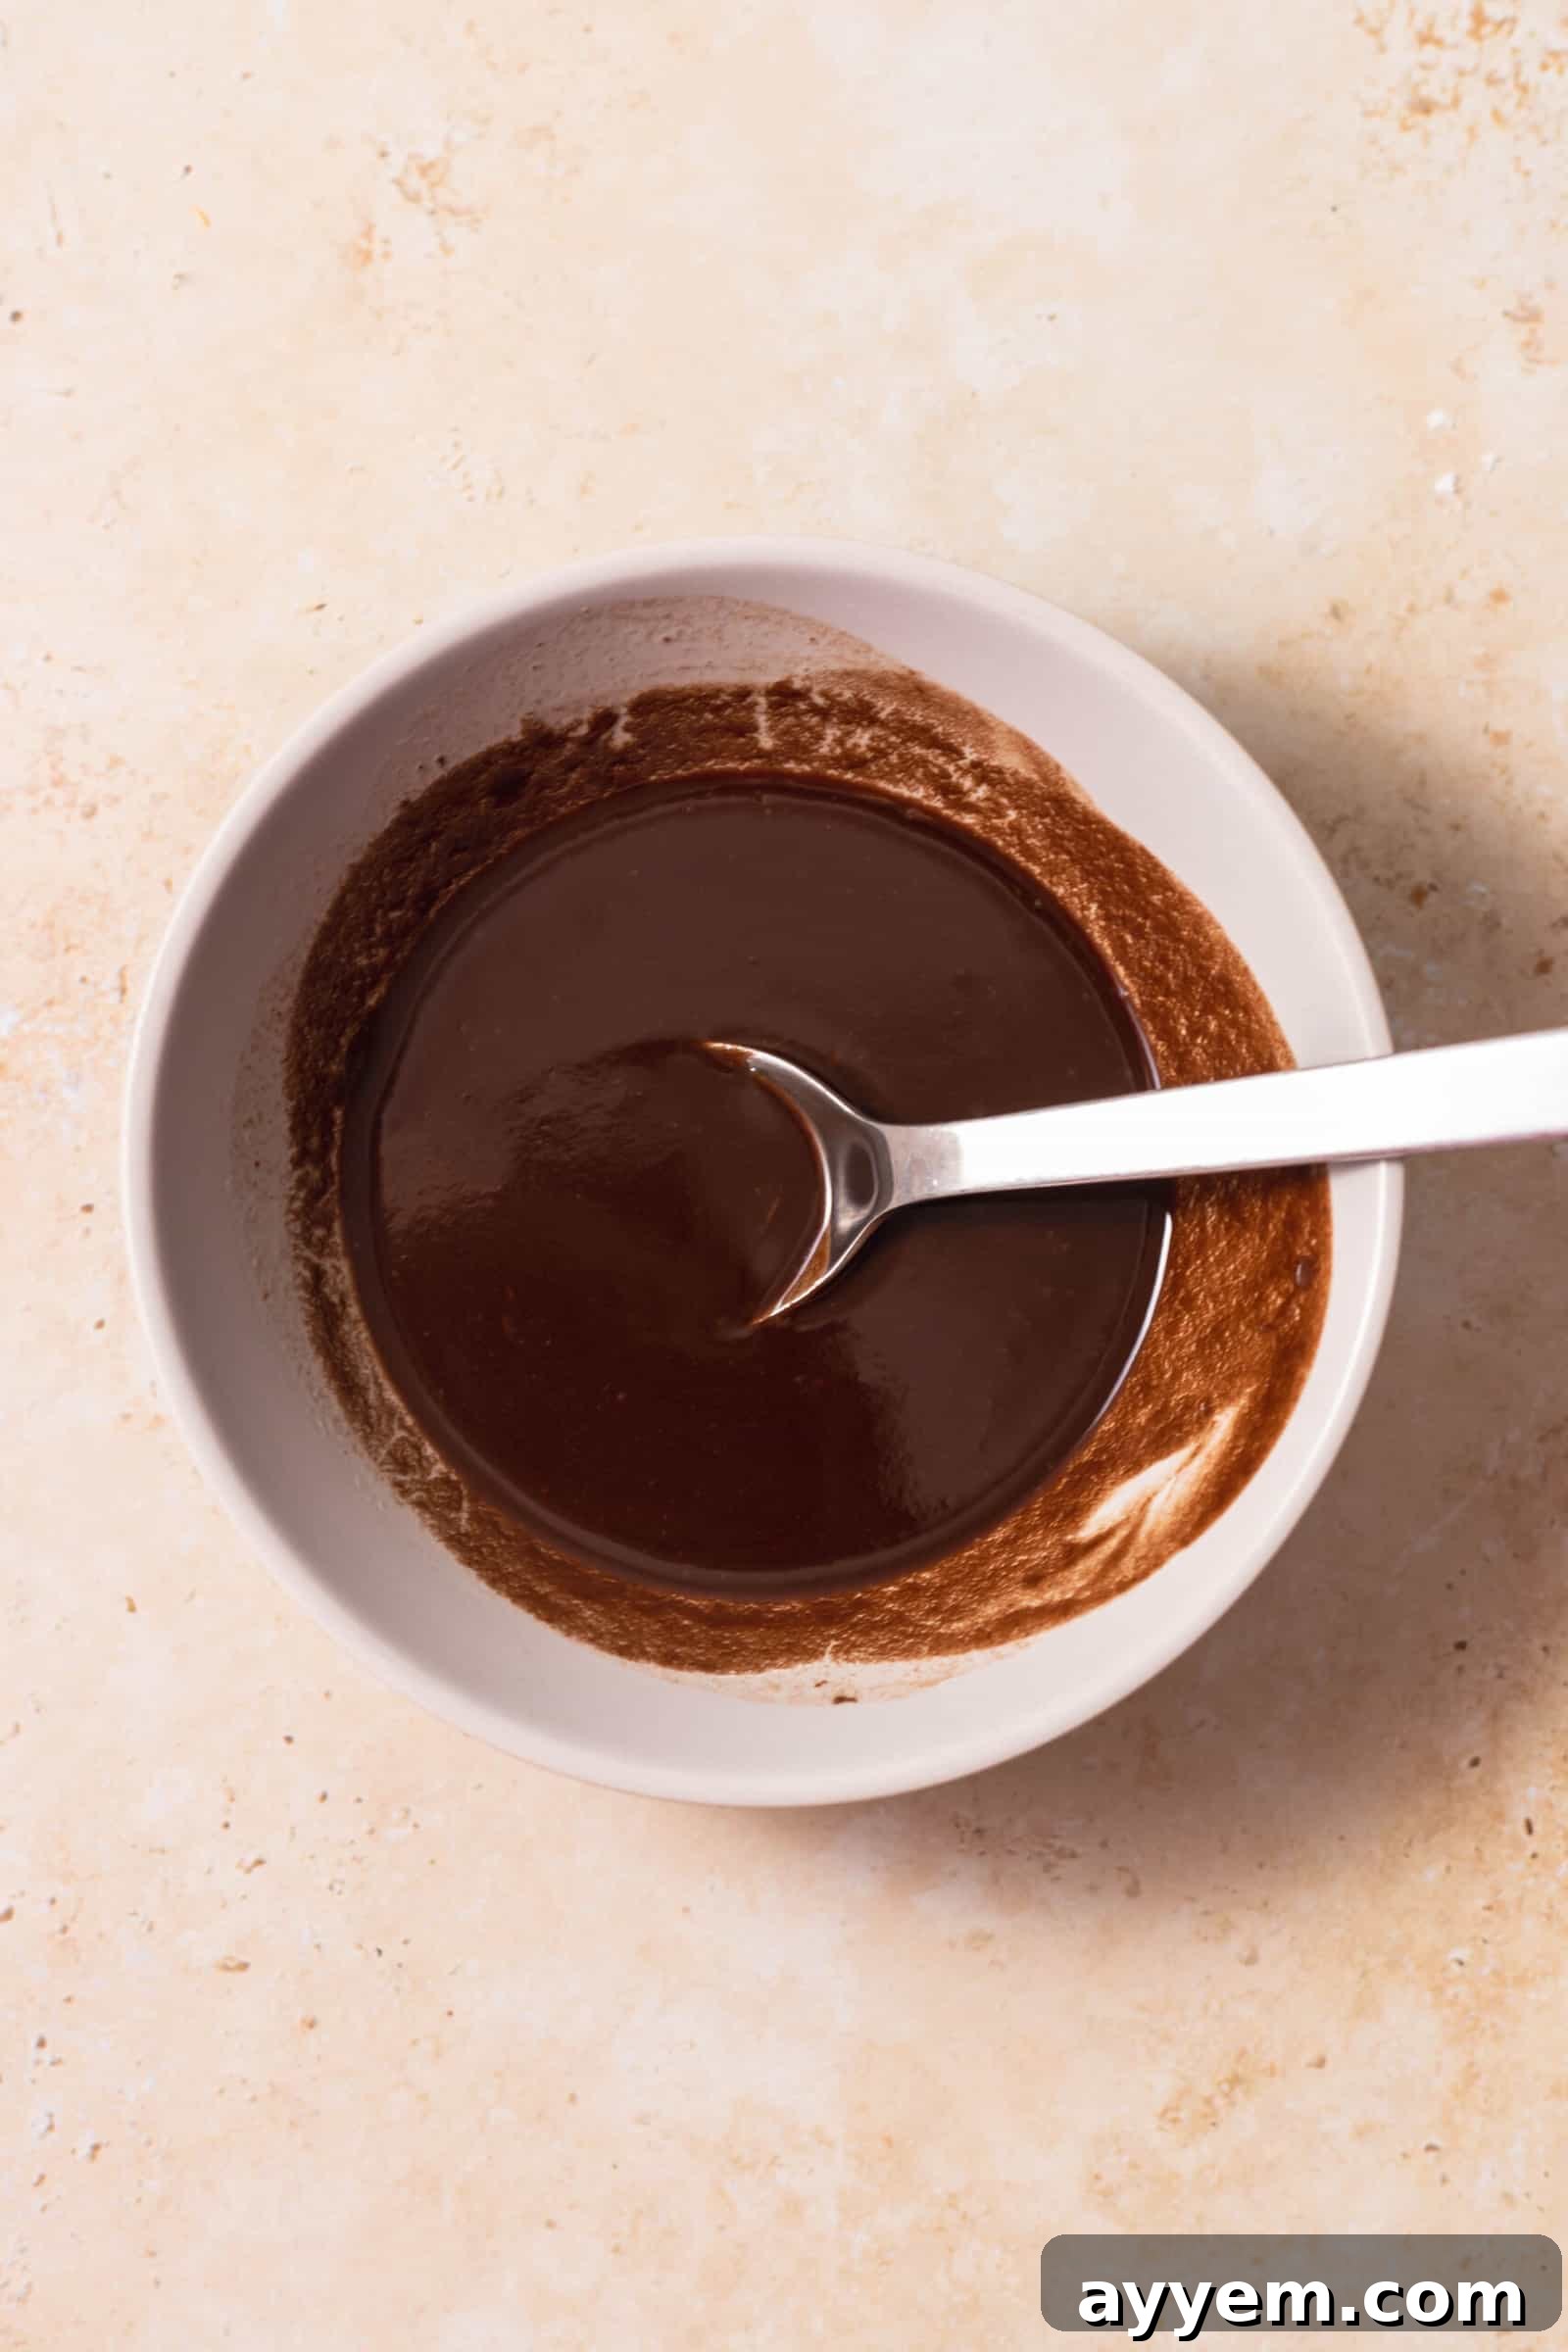
Melt the Chocolate and Butter: In a microwave-safe bowl, combine the semi-sweet chocolate chips and unsalted butter. Microwave the mixture for approximately 1 minute. After microwaving, stir vigorously until the chocolate is completely melted and smoothly combined with the butter, creating a glossy, uniform liquid. If any lumps remain, return the bowl to the microwave for additional 15-second intervals, stirring after each, until perfectly smooth. Alternatively, you can use a double boiler method for a more gentle melt.
-
Combine Wet and Dry Ingredients: Into the same bowl containing your melted chocolate and butter mixture, add the all-purpose flour, powdered sugar, unsweetened cocoa powder, milk, sea salt, and pure vanilla extract. These ingredients will transform your liquid chocolate base into a rich cake batter.
-
Form the Batter (Mix Gently!): Using a whisk or a spatula, gently mix all the ingredients in the bowl until they are just combined and no streaks of dry ingredients remain. The key here is to avoid overmixing. Overmixing can develop the gluten in the flour too much, leading to a tougher, less tender cake. A few small lumps are perfectly acceptable and will disappear during baking without affecting the final texture of your molten masterpiece.
-
The Truffle Surprise: Pour the prepared cake batter into your generously greased 8-ounce ramekin. Once the batter is in, gently place your hazelnut truffle directly into the center of the ramekin. Ensure that the truffle is completely submerged within the batter. This strategic placement guarantees that as the cake bakes, the truffle will melt into an extra layer of hazelnut-infused molten goodness, enhancing the lava effect.
-
Bake to Molten Perfection: Carefully place the ramekin into your preheated oven. Bake for approximately 20 minutes. The baking time is crucial for achieving that perfect molten center. You’ll know it’s ready when the edges of the cake are set and slightly firm to the touch, but the center still has a noticeable jiggle when the ramekin is gently shaken. This delicate balance ensures the exterior is cooked while the interior remains wonderfully liquid. Keep a close eye on it, as oven temperatures can vary.
-
Cool and Unmold with Care: Once baked, carefully remove the ramekin from the oven and place it on a wire rack to cool for 10 minutes. This cooling period is essential; it allows the cake to set slightly, making it much easier to unmold without breaking. Attempting to unmold too soon can result in a crumbled cake.
-
Final Touch: Garnish and Serve: After cooling, gently loosen the sides of the cake from the ramekin using a butter knife or a thin offset spatula. Then, carefully invert the cake onto a serving plate. For a classic, elegant finish, sprinkle a generous amount of extra powdered sugar on top, if desired. Serve your hazelnut chocolate lava cake immediately while it’s still warm and the center is perfectly molten. The magic of the flowing chocolate is best experienced right out of the oven!
Expert Tips for Lava Cake Success
Achieving the perfect molten center every time requires a little precision and attention to detail. These expert tips will help you master the art of baking the ultimate hazelnut chocolate lava cake:
-
The Golden Rule: Do Not Overbake: This is arguably the most critical tip for any lava cake. The entire allure of this dessert lies in its liquid center. Overbaking, even by a minute or two, can cause the center to set, turning your lava cake into a regular chocolate cake (still delicious, but not the same!). You want the edges to be firm, but the center should still be notably jiggly when you gently shake the ramekin. Err on the side of slightly underbaked for a more pronounced molten effect.
-
Preheat Your Oven Thoroughly: Unlike some recipes where you can get away with baking before your oven is fully hot, lava cakes demand a consistently high temperature from the start. Ensure your oven has been preheated for at least 15-20 minutes and is truly at the prescribed temperature (350°F or 175°C). The initial high heat helps to rapidly cook and set the exterior of the cake, creating a crust while keeping the interior gloriously liquid.
-
Generously Grease Your Ramekins: Don’t be shy with the butter when greasing your ramekins. This step is fundamental for the effortless removal of your delicate lava cake. A thin layer of butter is often not enough. Use a heavy hand to coat the entire interior surface. For extra assurance, after buttering, dust the ramekin with a light layer of cocoa powder (for chocolate cakes) or flour. This creates a non-stick barrier that ensures your beautiful creation slides out cleanly onto the plate.
-
Mind Your Ramekin Size: The recipe calls for an 8-ounce ramekin. If you use smaller or larger ramekins, or even a muffin tin, your baking time will need to be adjusted accordingly. Smaller vessels will cook faster, while larger ones will require more time. Always keep an eye on the visual cues of doneness – set edges and a jiggly center – rather than strictly adhering to the time if you’ve changed the dish size.
-
Ingredient Temperature Matters: While not as critical as in some other baking recipes, having your milk and even butter closer to room temperature can help them emulsify more smoothly with the chocolate mixture, leading to a more uniform batter and a better overall texture.
-
Invest in Quality Chocolate: Since chocolate is the primary flavor of this dessert, the quality of your chocolate chips or baking chocolate truly makes a difference. High-quality chocolate will melt more smoothly, have a richer flavor, and contribute to a superior molten core. You’ll taste the difference!
Serving Suggestions to Elevate Your Decadent Dessert
While this hazelnut chocolate lava cake is undeniably incredible on its own, its richness and depth of flavor make it a perfect canvas for creative toppings and accompaniments. Elevate your dessert experience with these delightful serving suggestions:
-
A Cloud of Powdered Sugar: A classic and effortless way to add a touch of simple elegance. A light dusting of powdered sugar creates a beautiful contrast against the dark chocolate cake.
-
Cooling Ice Cream: The ultimate pairing! A scoop of cold vanilla bean ice cream provides a delightful temperature and textural contrast to the warm, molten cake. Chocolate, coffee, or even a hazelnut-flavored ice cream would also be sublime.
-
Decadent Sauces: Drizzle your lava cake with a warm chocolate ganache, a rich caramel sauce, or even a vibrant raspberry coulis for a fruity tang. These sauces add another layer of flavor and moisture.
-
Whipped Cream Dream: A generous dollop of freshly whipped cream, perhaps lightly sweetened with a hint of vanilla, adds a light and airy counterpoint to the dense chocolate.
-
Fresh Berries: The tartness of fresh berries like raspberries, strawberries, or blueberries cuts through the richness of the chocolate beautifully, adding freshness and a pop of color.
-
Toasted Hazelnuts: For an extra layer of hazelnut flavor and satisfying crunch, sprinkle some lightly toasted, chopped hazelnuts over the top just before serving. This enhances the specific hazelnut element of this recipe.
Common Questions About This Chocolate Lava Cake Recipe
Here are some frequently asked questions to help you perfect your hazelnut chocolate lava cake and ensure a delightful baking experience:
- What is the filling made of in lava cake?
- Traditionally, the molten filling in lava cakes is a result of the cake being intentionally underbaked, allowing the chocolate-infused batter in the center to remain liquid. Some recipes enhance this by adding a rich chocolate ganache or a solid piece of chocolate (like a truffle or a square of high-quality baking chocolate) into the center of the batter before baking. In this specific hazelnut chocolate lava cake recipe, we use a hazelnut truffle, which melts into a delectable, hazelnut-flavored liquid core, simplifying the process and adding an extra layer of flavor complexity.
- Is chocolate lava cake not just undercooked chocolate cake?
- This is a common misconception! While lava cakes have a liquid center, they are not “raw” or unsafe to eat if prepared correctly. The batter around the molten core is cooked, and the internal temperature of the molten center typically reaches about 160 degrees Fahrenheit (71°C), which is considered safe for consumption. The magic is in the precise balance of ingredients and baking time that allows the exterior to set while the interior remains fluid, creating a cooked yet molten texture, distinct from raw batter.
- What can I use instead of ramekins for lava cake?
- If you don’t have traditional ramekins, don’t worry! You can absolutely still make this delicious recipe. Muffin pans are an excellent alternative; simply ensure each cavity is thoroughly greased. Keep in mind that muffin cavities are usually shallower than ramekins, so your lava cakes will likely require less baking time (typically 12-15 minutes). You can also use other small, oven-safe ceramic or glass dishes, like crème brûlée dishes or small baking cups. Always monitor them closely in the oven, as baking times will vary depending on the size and material of your chosen bakeware.
- Should lava cake be eaten hot or cold?
- For the true lava cake experience, this dessert is best enjoyed warm, directly out of the oven after a brief cooling period. The heat ensures the chocolate center remains liquid and dramatically oozes out when cut. As the cake cools, the molten chocolate will begin to solidify, losing its signature flowing characteristic. While still delicious when cool, it won’t live up to its “lava” name or deliver its classic dramatic presentation.
- Can I prepare lava cake batter ahead of time?
- Yes, you can! You can prepare the batter up to 24 hours in advance. Simply mix the batter according to the recipe, then cover the bowl tightly with plastic wrap and refrigerate. When you’re ready to bake, pour the batter into greased ramekins (adding the truffle) and bake as directed. You might need to add a couple of extra minutes to the baking time since the batter will be cold.
- How do I store leftover lava cake?
- If you happen to have leftovers (a rare occurrence!), you can store them in an airtight container in the refrigerator for up to 2-3 days. Keep in mind that the molten center will solidify upon cooling.
- What’s the best way to reheat a lava cake?
- To enjoy a stored lava cake again with its molten center, gently reheat it. The best method is to microwave it for 20-30 seconds, or until the center is warm and gooey again. You can also reheat it in a preheated oven at 300°F (150°C) for about 5-7 minutes, but watch it carefully to avoid overbaking.
Beyond Hazelnut: Exploring Delicious Lava Cake Variations
While the hazelnut chocolate lava cake is a triumph in itself, the beauty of this dessert lies in its versatility. Once you’ve mastered the basic technique, you can explore countless flavor variations to suit any craving or occasion. Consider swapping the hazelnut truffle for other delightful fillings:
-
Caramel Lava Cake: Place a soft caramel square or a dollop of thick caramel sauce in the center for a gooey, buttery surprise.
-
Espresso Lava Cake: Add a teaspoon of instant espresso powder to the chocolate batter to intensify the chocolate flavor, or even embed a chocolate-covered coffee bean for a coffee kick.
-
Raspberry Lava Cake: Place a few fresh raspberries or a spoonful of raspberry jam in the center to add a bright, fruity counterpoint to the rich chocolate.
-
Peanut Butter Lava Cake: For a delightful nutty twist, embed a mini peanut butter cup or a spoonful of creamy peanut butter into the center of the batter.
-
White Chocolate Lava Cake: Use white chocolate chips for the batter and a square of white chocolate or a white chocolate truffle for the center, optionally adding a hint of lemon zest or vanilla bean paste.
The possibilities are endless, allowing you to tailor this impressive dessert to your personal taste or seasonal ingredients.
Indulge in More Chocolate Delights You’ll Love
If you’re a true chocoholic like us, the craving for rich, cocoa-infused treats never truly fades. After enjoying this sensational hazelnut chocolate lava cake, you won’t want to miss out on these equally indulgent and delightful chocolate-based recipes that are sure to satisfy any sweet tooth:
- Slow Cooker Peanut Butter Lava Cake – Imagine a warm, gooey Reese’s peanut butter cup in cake form! This incredibly easy slow cooker recipe features three different kinds of chocolate loaded with creamy peanut butter for an ultimate comfort dessert.
- Double Chocolate Chunk Cookies – With their perfectly soft, chewy centers, crisp edges, and an abundance of rich chocolate chunks, these cookies are so utterly delicious, they might just become the only dessert you’ll ever need.
- Creamy Chocolate Mousse – Light, airy, and incredibly rich, this elegant chocolate mousse recipe is made with just five simple ingredients. It’s egg-free, remarkably quick to prepare, and unbelievably creamy—a sophisticated dessert that feels luxurious.
- Quick Chocolate Mug Cake – For those moments when a chocolate craving hits hard and fast, this simple yet profoundly delicious single-serving dessert is your answer. Ready in minutes, it’s the ultimate instant gratification for any chocolate lover.
Hazelnut Chocolate Lava Cake Recipe
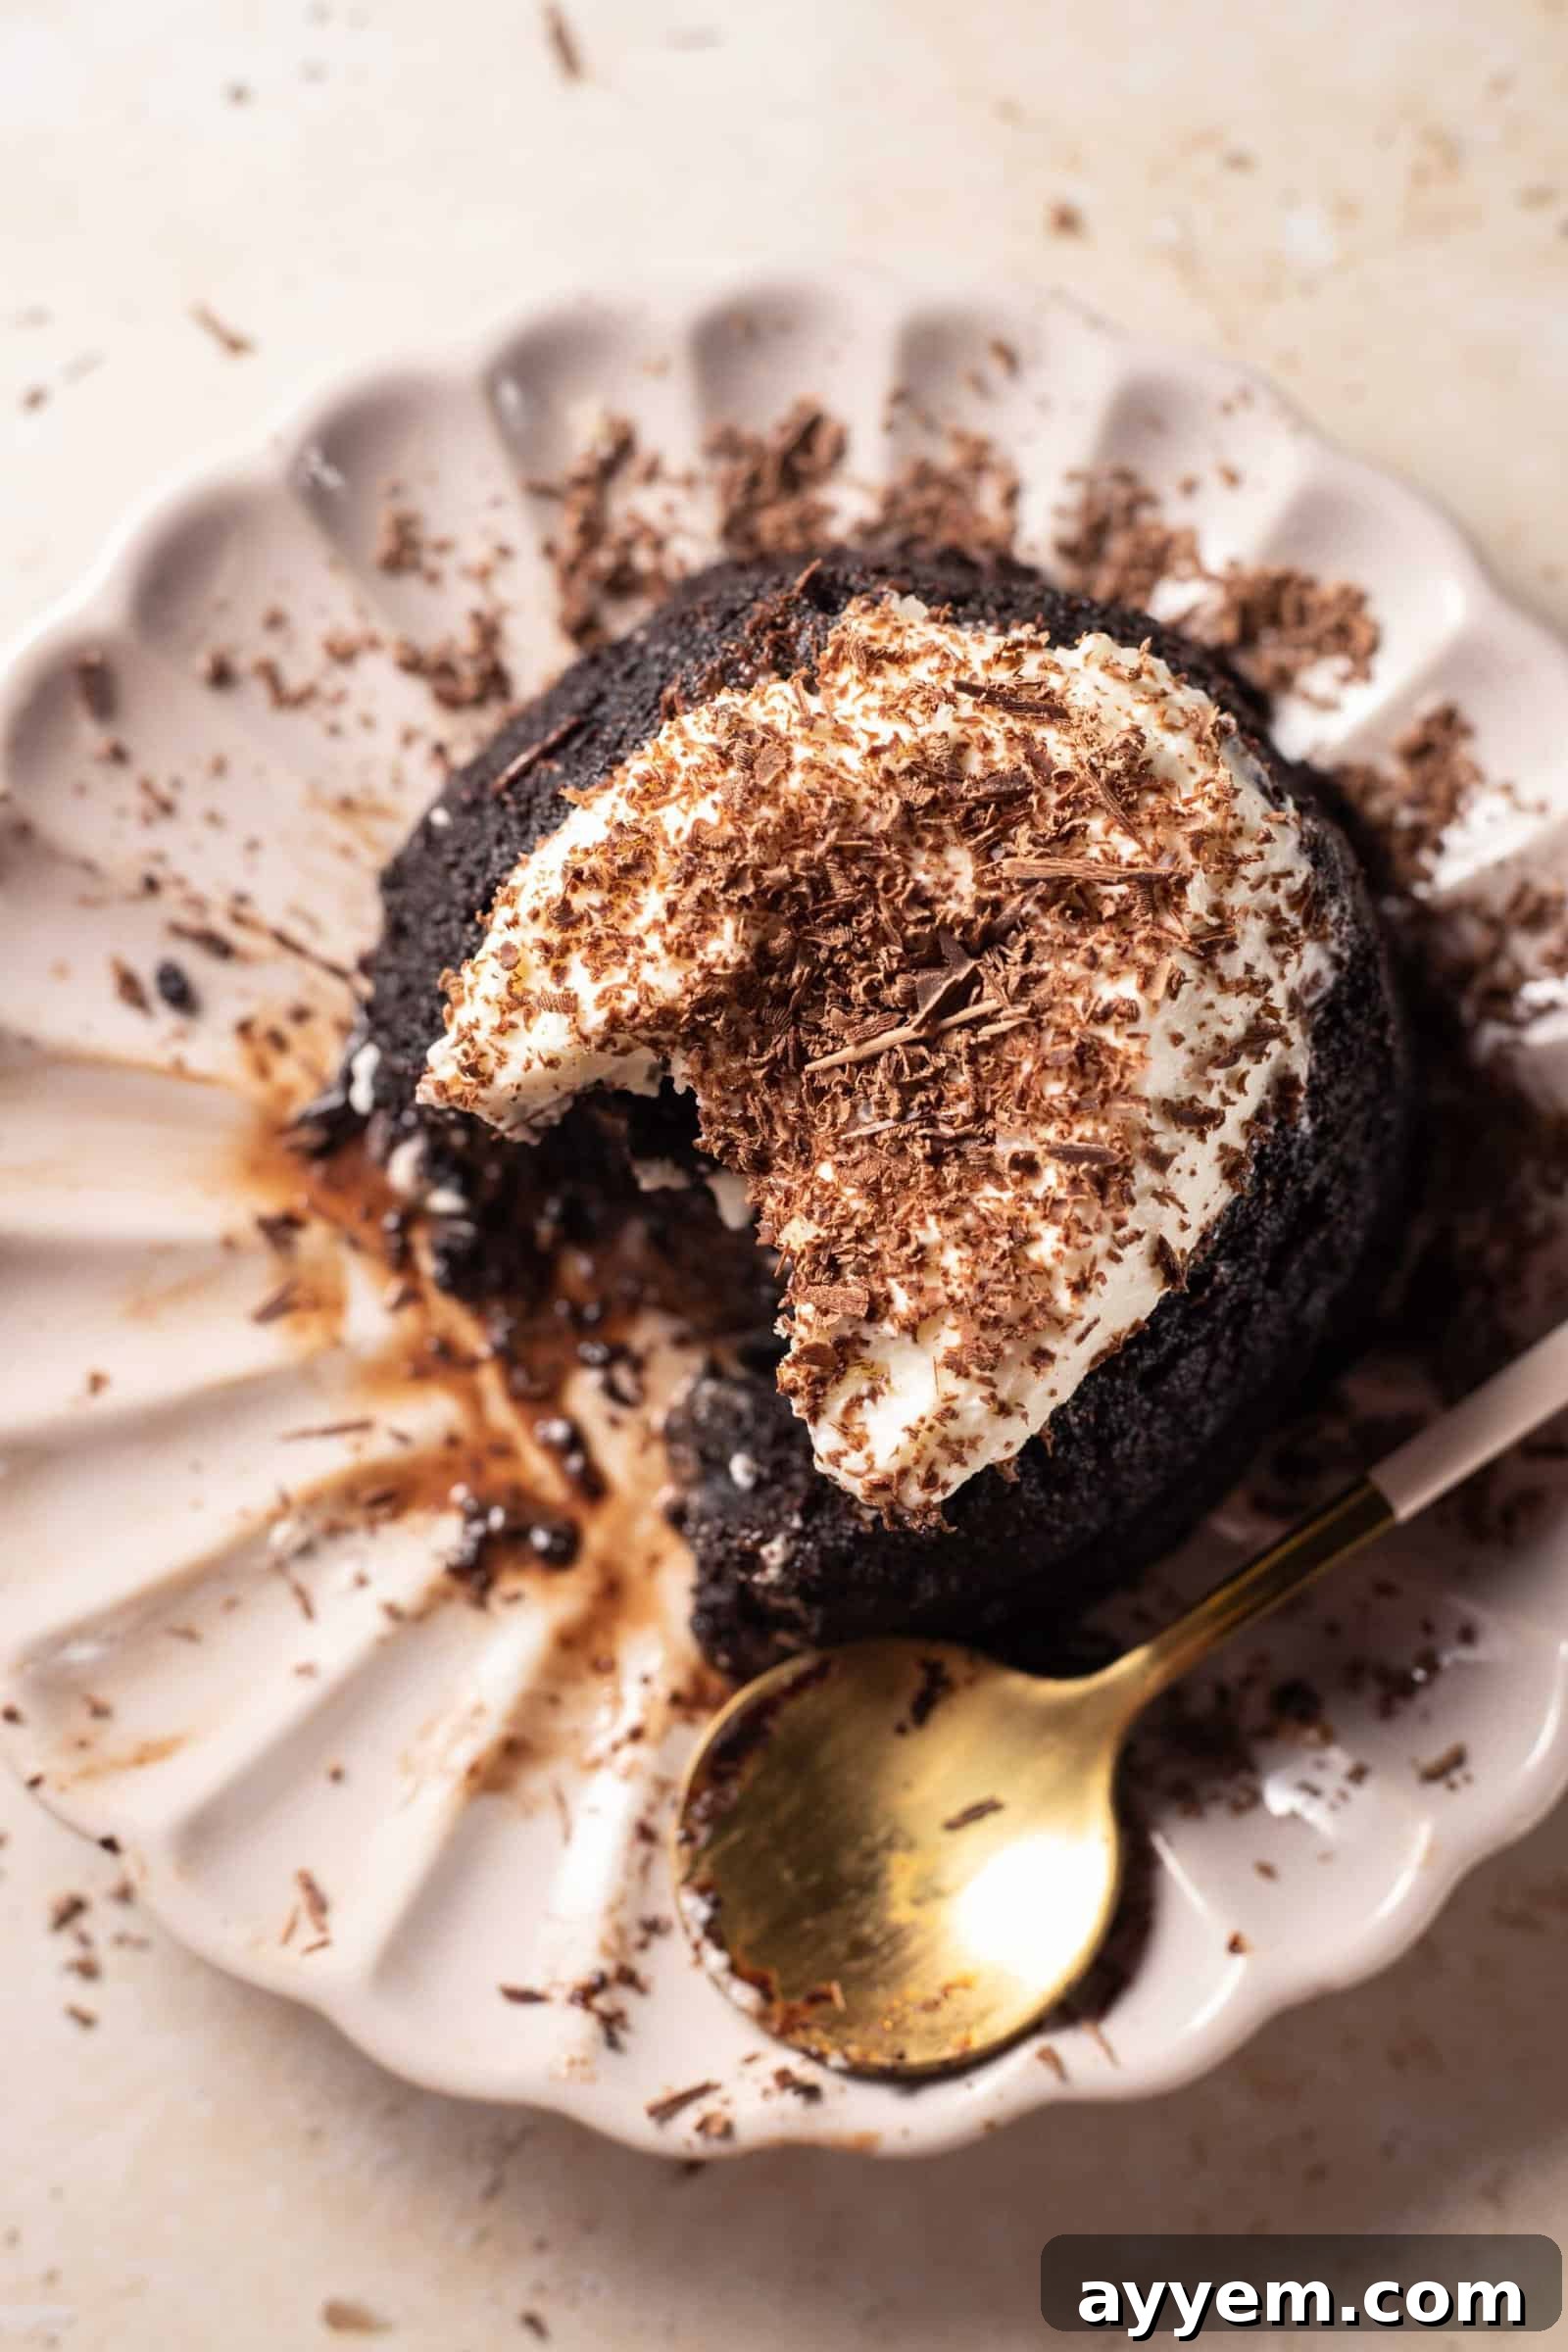
Description: Rich, gooey, and bursting with molten chocolate, this hazelnut chocolate lava cake is a showstopping dessert that couldn’t be easier to make! Featuring simple ingredients and a delicious hazelnut truffle center, it’s ready in just 30 minutes and guaranteed to impress.
Author: Food Dolls
Servings: 2 servings
Prep Time: 5 minutes
Cook Time: 20 minutes
Total Time: 25 minutes
Ingredients
- 1/2 cup semi-sweet chocolate chips
- 1/4 cup unsalted butter
- 1/4 cup all-purpose flour
- 1/4 cup powdered sugar (plus more for topping)
- 1/4 cup unsweetened cocoa powder
- 1/4 cup milk
- 1/4 teaspoon sea salt
- 1/2 teaspoon vanilla extract (recommended pure vanilla extract)
- 1 Hazelnut truffle
Instructions
- Preheat your oven to 350 degrees Fahrenheit (175°C). Ensure the oven is fully heated for best results.
- In a microwave-safe bowl, combine the semi-sweet chocolate chips and unsalted butter. Microwave for 1 minute, then stir until the chocolate is completely melted and smoothly combined with the butter. If needed, microwave in 15-second intervals, stirring in between, to achieve a uniform melted consistency.
- Into the same bowl with the melted chocolate mixture, add the all-purpose flour, powdered sugar, unsweetened cocoa powder, milk, sea salt, and pure vanilla extract.
- Gently mix all ingredients until just combined. Be careful not to overmix the batter; a few small lumps are acceptable and will not affect the final texture. Overmixing can lead to a tougher cake.
- Generously grease an 8-ounce ramekin. Pour the prepared batter into the greased ramekin. Gently place the hazelnut truffle in the very center of the batter, ensuring it is fully submerged.
- Bake in the preheated oven for 20 minutes. The edges of the cake should be set, but the center should still be slightly jiggly when lightly shaken. This indicates the molten core.
- Remove the ramekin from the oven and let it cool on a wire rack for about 10 minutes. This crucial cooling time allows the cake to set slightly, making it easier to unmold.
- Once cooled, gently loosen the sides of the cake from the ramekin with a butter knife. Carefully invert the cake onto a serving plate. For a beautiful finish, sprinkle extra powdered sugar on top, if desired. Serve immediately and enjoy the warm, gooey center!
Video Recipe
Watch the full recipe tutorial here: https://youtu.be/C7sSpDQZwiU
Nutrition Information
Nutrition information is an approximation and calculated automatically. For accurate dietary planning, consult a professional.
- Serving Size: 1 serving
- Calories: 443 kcal
- Carbohydrates: 60 g
- Protein: 8 g
- Fat: 21 g
- Saturated Fat: 12 g
- Polyunsaturated Fat: 1 g
- Monounsaturated Fat: 6 g
- Trans Fat: 0.04 g
- Cholesterol: 10 mg
- Sodium: 341 mg
- Potassium: 526 mg
- Fiber: 8 g
- Sugar: 35 g
- Vitamin A: 122 IU
- Calcium: 117 mg
- Iron: 5 mg
Like this recipe? We’d love to hear from you! Please leave a comment below and share your experience crafting this decadent dessert.