

Get ready to transform your holiday meals and weeknight dinners with the ultimate homemade Turkey Gravy. This essential recipe, crafted from the rich, savory drippings of your roasted turkey, delivers a smooth, velvety texture and an unbeatable depth of flavor. Forget store-bought alternatives; our easy-to-follow guide ensures you’ll create a luxurious gravy that perfectly complements your turkey, mashed potatoes, and stuffing. With just a few simple ingredients and a quick 15-minute preparation time, this recipe is a must-have for any home cook looking to elevate their culinary creations.

Understanding the Magic of Drippings
At the heart of any truly exceptional turkey gravy are the drippings. But what exactly are they? When you roast, fry, or sauté meat, the flavorful juices, fats, and rendered proteins that collect at the bottom of the pan are known as drippings. These precious liquids are a culinary goldmine, imbued with the concentrated essence of the meat, herbs, and spices used during cooking. For a holiday turkey, these drippings are especially rich, carrying the robust taste that will form the savory foundation of your gravy.
Harnessing the power of turkey drippings is key to achieving an unparalleled depth of flavor in your gravy. While it’s possible to make gravy without them, using drippings elevates the taste profile, infusing your gravy with an authentic, roasted turkey essence that simply can’t be replicated with plain broth. This natural byproduct of roasting is what makes homemade gravy so much more satisfying and complex than its store-bought counterparts.
Essential Ingredients for Your Perfect Gravy
Creating homemade gravy from scratch might sound intimidating, but it’s surprisingly straightforward and requires only a handful of staple ingredients you likely already have in your pantry. Each component plays a vital role in building that rich, smooth, and savory experience we all crave.
- Turkey Drippings: This is the star ingredient! After roasting your turkey, carefully collect the flavorful juices and rendered fat from the bottom of the pan. These drippings provide the unparalleled base for your roux, imbuing the gravy with deep, roasted turkey flavor. Don’t worry if there’s a lot of fat; we’ll skim off the excess, leaving only the best for our gravy.
- All-Purpose Flour: Flour is crucial for creating a roux, which acts as the thickening agent for your gravy. It helps create a smooth, consistent texture. For those with dietary restrictions, a 1:1 gluten-free all-purpose flour blend can be seamlessly substituted without compromising taste or consistency.
- Broth: To achieve the perfect gravy consistency and flavor, you’ll need additional liquid. Homemade or good quality store-bought chicken broth or vegetable broth works wonderfully. If you’re roasting a turkey, consider utilizing the neck and giblets (excluding the liver for a milder flavor, or including it for a richer, more robust taste) to make a homemade turkey broth. Opting for low-sodium broth gives you greater control over the final saltiness of your gravy. If you accidentally make your gravy too salty, a splash of unsalted stock, a squeeze of lemon juice, or a hint of vinegar can help balance the flavors.
- Salt and Black Pepper: These fundamental seasonings are added to taste. Remember that your drippings and broth will already contain some salt, so always taste and adjust gradually to achieve the perfect balance.
Creative Variations to Customize Your Gravy
While our classic turkey gravy recipe is phenomenal on its own, don’t hesitate to experiment with these variations to tailor it to your personal preferences or dietary needs. Gravy is incredibly versatile, allowing for endless customization to create a truly unique side dish.
- No Drippings? No Problem!: If you don’t have turkey drippings on hand, you can still make a delicious gravy. Start by melting 1/4 cup of butter (or a neutral oil for a dairy-free option) in a saucepan. Whisk in 1/4 cup of all-purpose flour to create a roux, cooking for 1-2 minutes until lightly browned. Then, gradually whisk in 2 cups of rich chicken or vegetable stock. You can enhance the flavor with finely minced garlic, shallots, or a pinch of dried herbs like sage or thyme, cooking them with the butter before adding the flour.
- Amplify the Seasoning: For an even more aromatic gravy, incorporate a blend of your favorite herbs and spices. Poultry seasoning is a classic choice, but individual herbs like dried sage, thyme, rosemary, or fresh parsley (added at the end) can add wonderful dimensions. A touch of garlic powder or onion powder can also deepen the savory profile.
- Make it Gluten-Free: Easily adapt this recipe for gluten-free diets. Instead of all-purpose flour, use a 1:1 gluten-free flour blend for the roux. Alternatively, thicken your gravy with a cornstarch slurry: whisk 1-2 tablespoons of cornstarch with an equal amount of cold water until smooth. Slowly whisk this slurry into the simmering gravy and continue to cook until thickened. Cornstarch gravies tend to be glossier and clearer than flour-based ones.
- Explore Different Roux Shades: The color of your roux impacts both the flavor and thickening power of your gravy. A white roux (cooked for just 1-2 minutes) provides maximum thickening and a neutral flavor. A blond roux (cooked slightly longer to a pale golden color) adds a subtle nutty note. A light brown roux (cooked until it resembles peanut butter) offers a richer, deeper, nutty flavor but has slightly less thickening ability. Choose the roux color that best suits your desired flavor profile.
- Herb Infusion: If your gravy tastes a bit flat, a generous addition of fresh or dried herbs can work wonders. Classic pairings with turkey include sage, thyme, and parsley. You can steep whole sprigs of fresh herbs in the simmering gravy and remove them before serving, or stir in finely chopped fresh herbs at the very end for vibrant flavor and color.
- Balance and Umami Boost: A little acidity can brighten and balance the richness of gravy. A splash of fresh lemon juice or dry white wine added towards the end can cut through the fat and lift the flavors. For an umami kick, stir in a dash of soy sauce or Worcestershire sauce. These ingredients add depth without overpowering the natural turkey flavor.
- Alternative Stocks: Don’t limit yourself to just turkey or chicken stock. Vegetable stock provides a lighter, sweeter note, while beef stock yields a darker, more robust gravy. You can also create a quick, flavorful stock by simmering the turkey neck and giblets (excluding the liver for a milder flavor) with water and aromatics like onion, carrot, and celery for about an hour.
How to Make Perfect Turkey Gravy from Drippings
Crafting a silky, savory gravy from your turkey drippings is a simple process that elevates any meal. Follow these steps for a flawless result:
- Prepare the Drippings: After removing your beautifully roasted turkey from the pan, carefully pour all the drippings and any reserved fat into a heatproof container. Allow it to sit for a few minutes so the fat separates and rises to the top. Then, using a fine-mesh strainer, strain the drippings into a clean bowl or measuring cup, ensuring a smooth, lump-free base for your gravy. You can use a fat separator to easily pour off the savory juices, leaving the excess fat behind. Reserve about 1/4 cup of the fat, discarding any excess, and keep the strained pan juices separate.
- Create the Roux: In a saucepan, heat the reserved turkey fat over medium-low heat. Once shimmering, add 1/4 cup of all-purpose flour. Whisk continuously for 1-2 minutes to combine the fat and flour, creating a smooth paste. This is your roux. Cook until it reaches a light golden (blond) color, which helps remove the raw flour taste and adds a subtle nutty flavor. Be careful not to burn it.
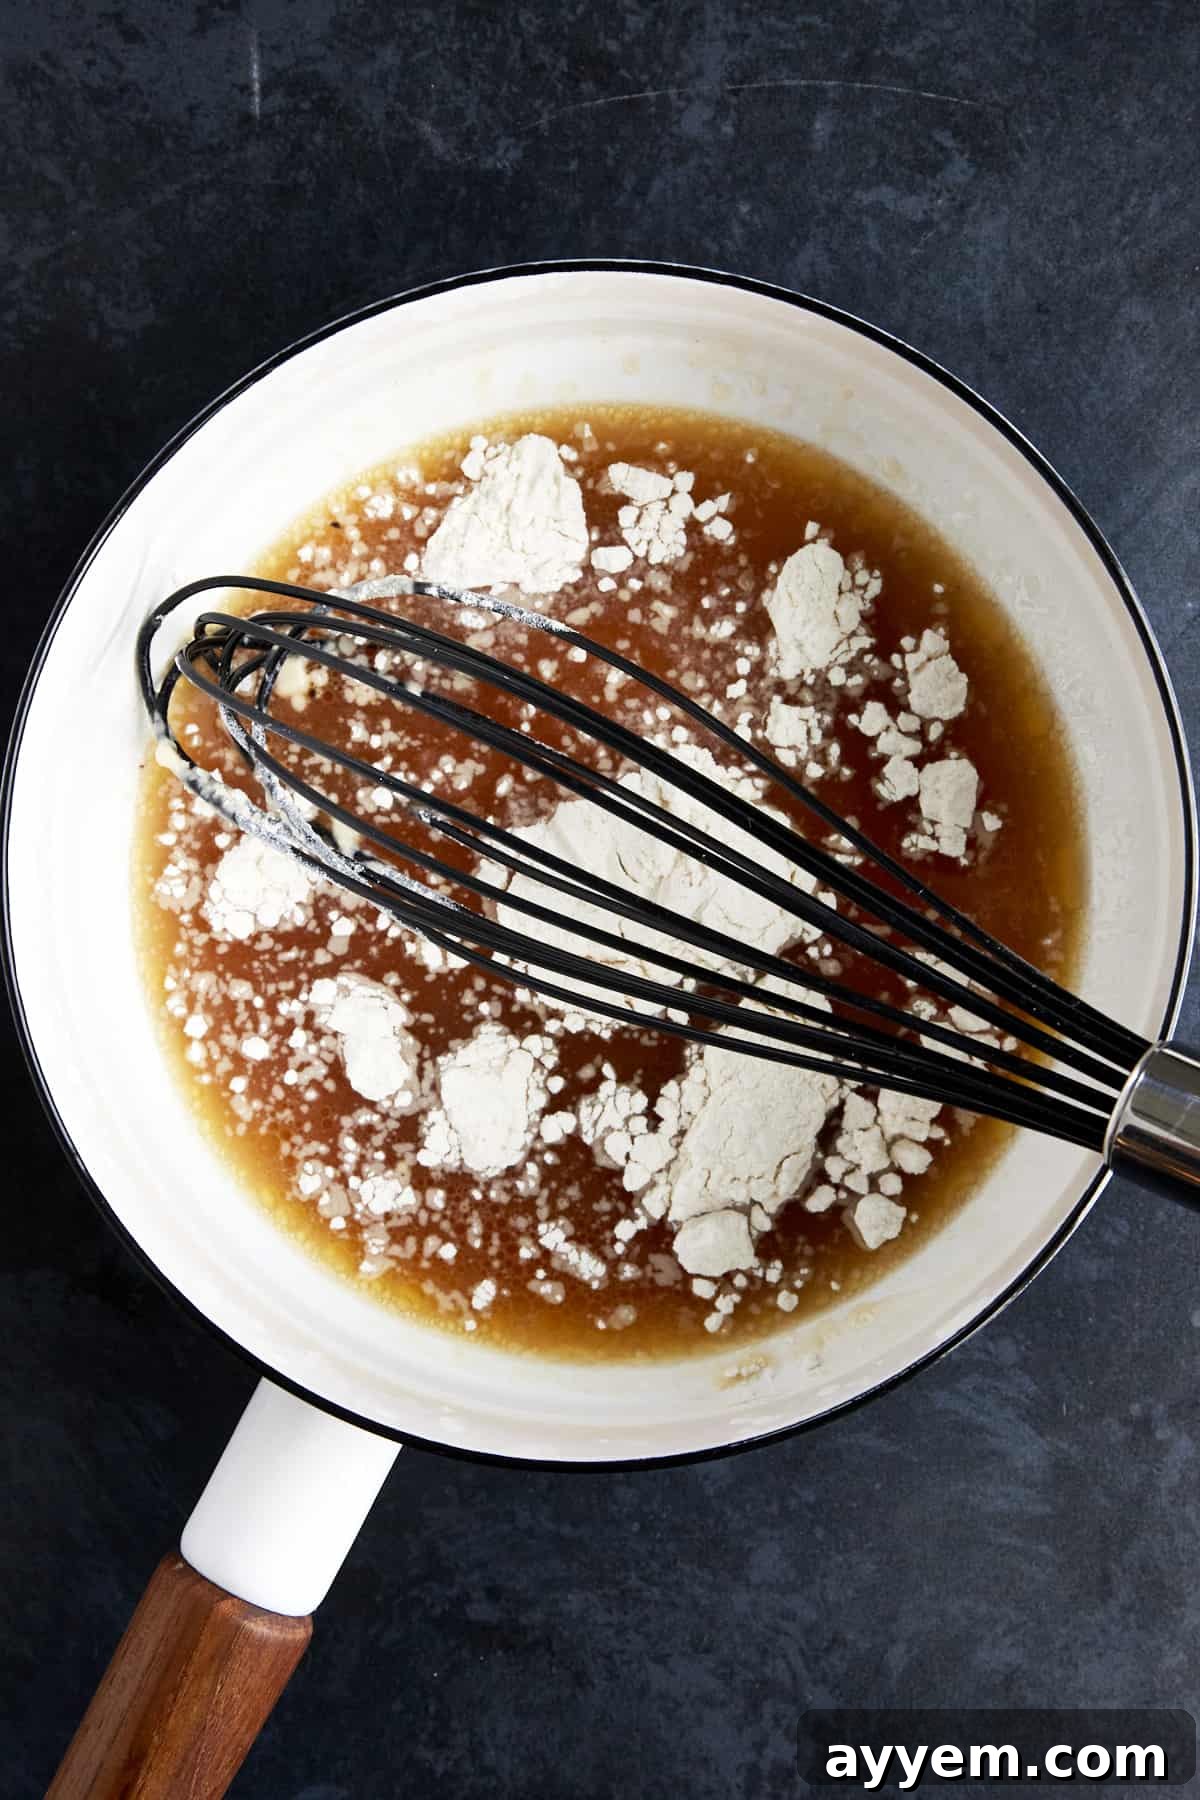
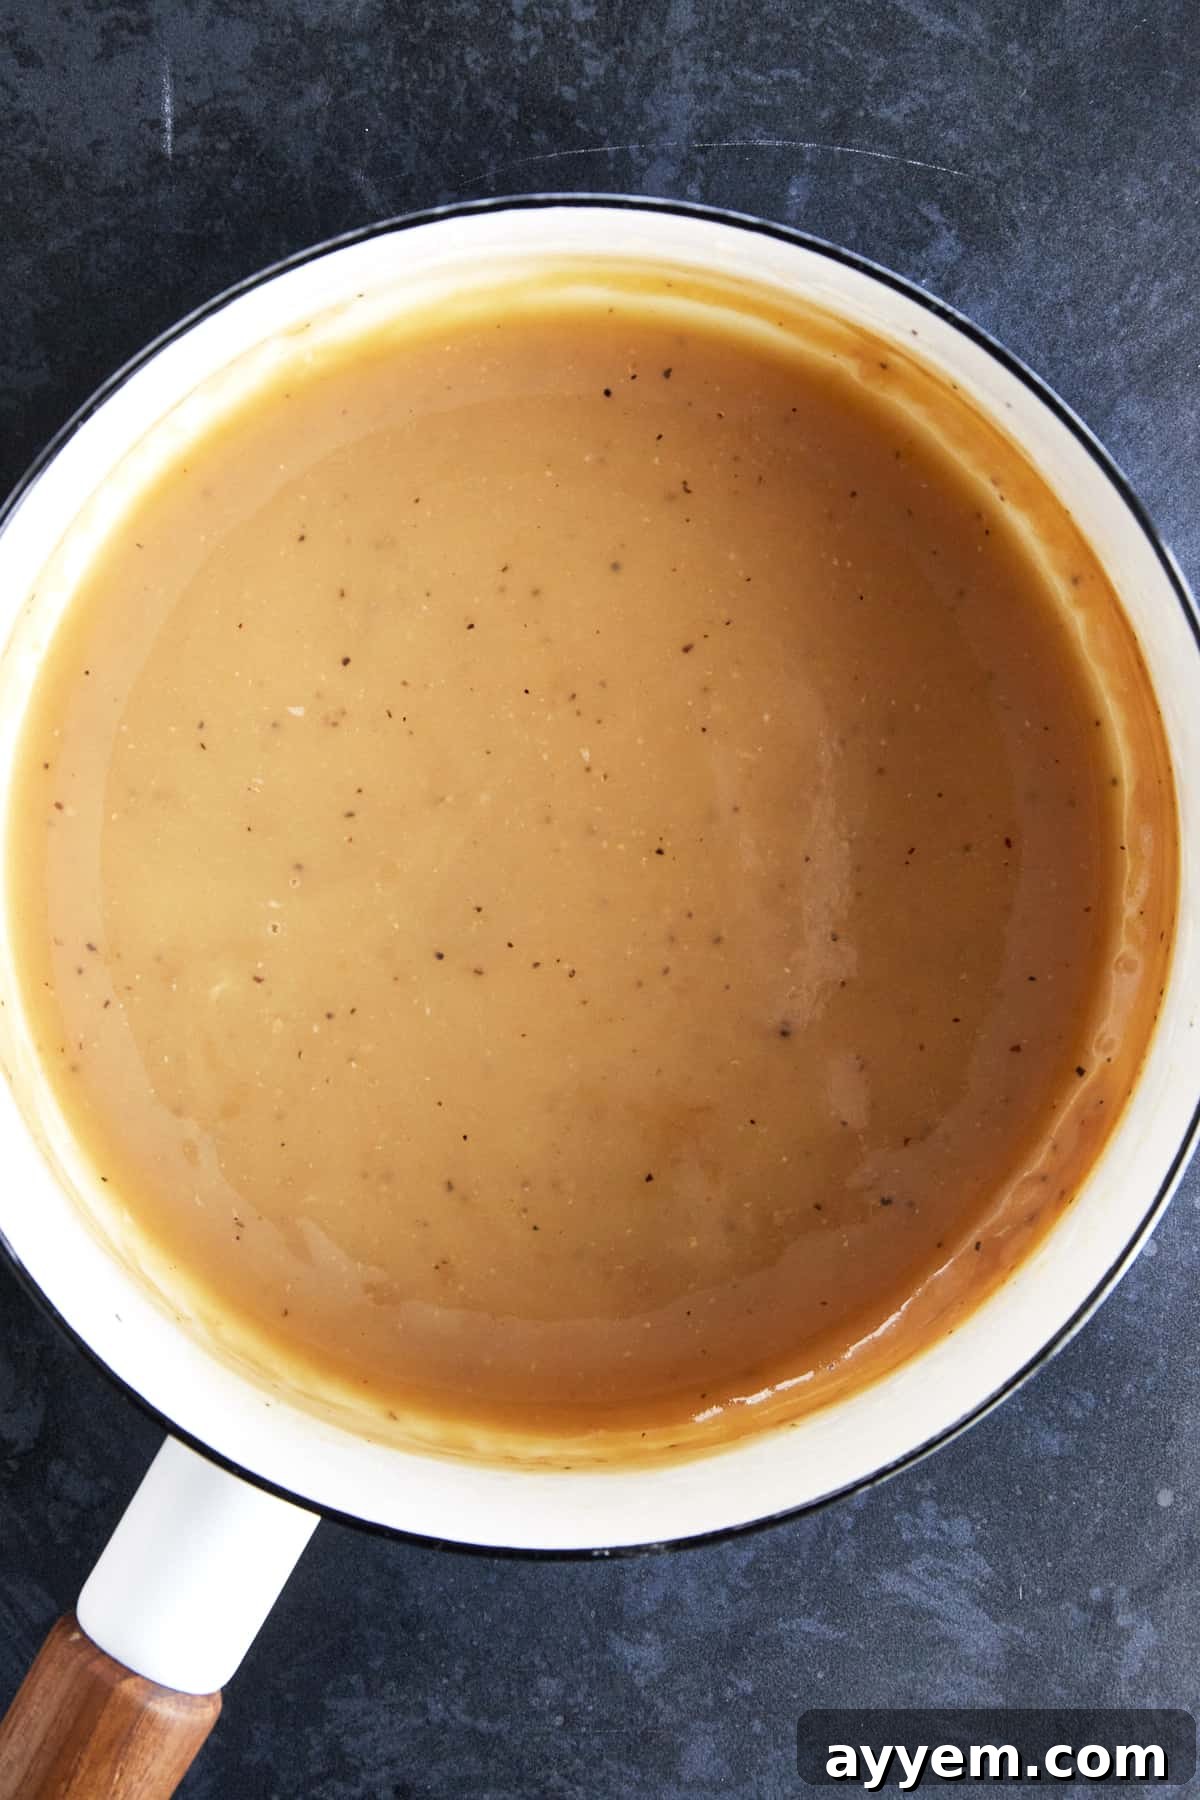
- Whisk in Liquids and Thicken: Slowly and gradually whisk in the strained turkey drippings and 2 cups of broth into the roux. It’s crucial to add the liquid slowly while continuously whisking to prevent lumps from forming. Increase the heat to medium and continue to whisk frequently until the mixture thickens to your desired consistency and begins to simmer gently. The gravy should be thick enough to coat the back of a spoon (this is known as ‘nappe’ consistency). This process typically takes 5-10 minutes. Taste the gravy and season with salt and black pepper as needed, adjusting to your preference.
Pro-tip: If your gravy turns out greasy, skim the excess fat from the surface with a spoon or ladle. If it’s too thick, whisk in a splash more broth until it reaches the desired consistency. If it’s too thin, create a small cornstarch slurry (1 tbsp cornstarch + 1 tbsp cold water) and whisk into the simmering gravy until thickened. If it tastes bland, consider adding more seasonings or a dash of umami-rich ingredients like Worcestershire sauce.
Make-Ahead and Storage Tips
Homemade turkey gravy is an excellent make-ahead component for any large meal, saving you precious time on the day of your event. Proper storage ensures you can enjoy its rich flavor for days or even months.
- Storage in the Refrigerator: Once your gravy has cooled completely to room temperature, transfer it to an airtight container. It can be safely stored in the refrigerator for up to three to four days. To prevent a skin from forming on top, you can press a piece of plastic wrap directly onto the surface of the gravy before sealing the container.
- Freezing for Longer Preservation: For longer storage, homemade gravy freezes beautifully. Pour the cooled gravy into freezer-safe containers, leaving a little headspace for expansion, or freeze it in an ice cube tray for convenient single-serving portions. Once frozen solid, transfer the gravy cubes to a freezer bag. Frozen gravy will maintain its quality for four to six months.
- Reheating Instructions: When you’re ready to enjoy your stored gravy, thaw any frozen portions overnight in the refrigerator. Reheat the gravy gently in a saucepan over medium-low heat, stirring frequently until it’s warmed through. If the gravy appears too thick after reheating, simply whisk in a splash of warm broth, water, or milk, a tablespoon at a time, until it returns to your desired pourable consistency. Avoid boiling the gravy vigorously, as this can affect its texture.
Delicious Ways to Enjoy Your Homemade Turkey Gravy
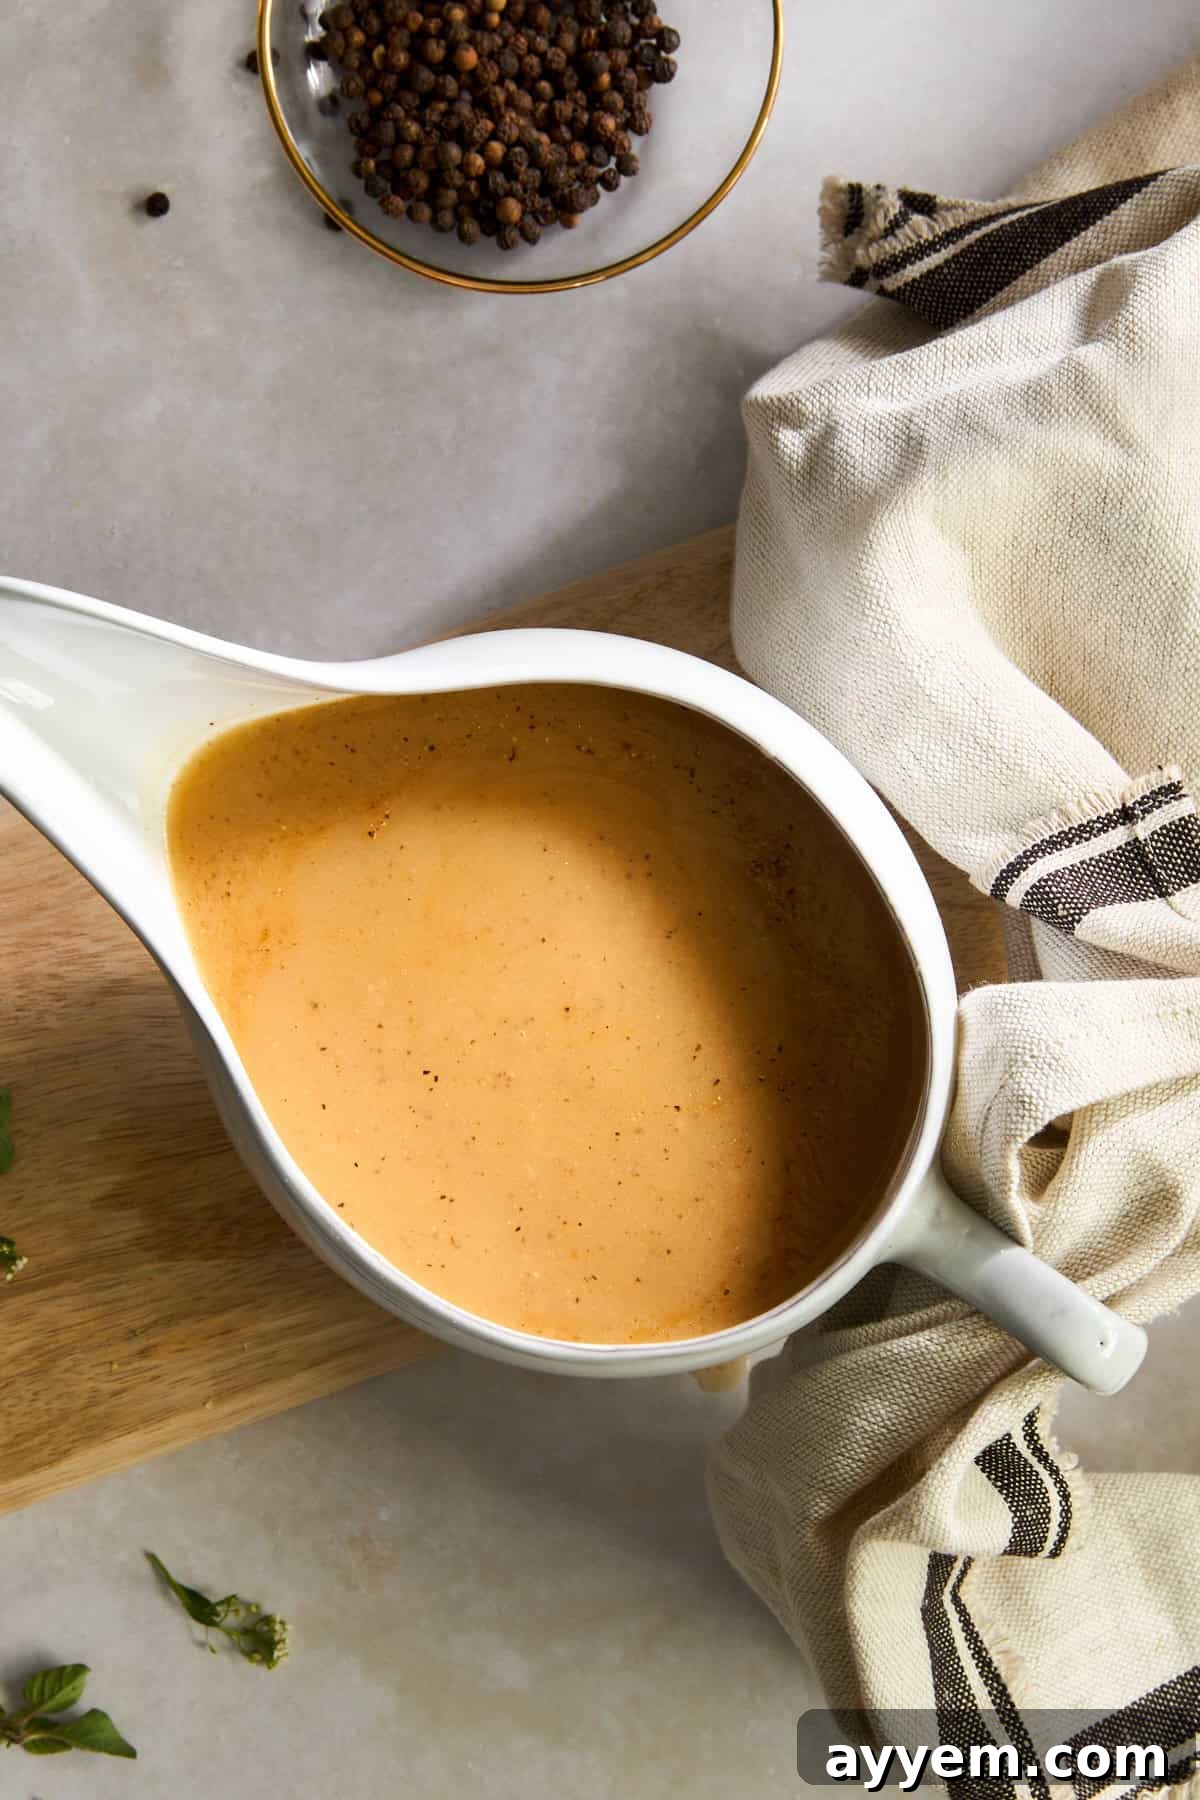
The beauty of homemade turkey gravy lies in its versatility. While it’s a quintessential accompaniment to your holiday turkey, its rich, savory flavor can enhance a multitude of dishes beyond the festive table. Here are some of our favorite pairings:
- Over Roasted Meats: Drizzle generously over slices of your herb butter turkey, roasted chicken, or even pork tenderloin for an instant boost of flavor and moisture.
- With Biscuits and Rolls: A comforting classic! Pour warm gravy over flaky buttermilk biscuits or dinner rolls for a hearty, satisfying snack or side.
- Thanksgiving Leftover Creations: Elevate your leftover Thanksgiving sandwiches. Layer turkey, stuffing, and a generous amount of gravy for an incredibly flavorful meal. It’s also perfect for hot open-faced turkey sandwiches.
- Alongside Stuffing/Dressing: Stuffing and gravy are a match made in heaven. The moisture and richness of the gravy soak into the bread, creating an incredibly tender and flavorful bite.
- Enhance Your Potatoes: Transform humble potatoes into a gourmet experience. Serve your gravy over cheesy mashed potatoes, Greek-inspired mashed potatoes, roasted potatoes, or even crispy french fries.
- Complementary Sides: Whether you’re serving gravy over protein or starches, remember that homemade cranberry sauce makes an amazing tart and slightly sweet counterpoint that always complements these savory dishes.
Common Questions About This Easy Turkey Gravy Recipe
Absolutely! You can make a wonderfully flavorful turkey gravy even without drippings. The secret lies in building a robust flavor base. Start by melting 1/4 cup of butter (or olive oil for a dairy-free version) in a saucepan. Sauté finely chopped aromatics like shallots, onions, or garlic until fragrant to add a layer of complexity. Then, whisk in 1/4 cup of all-purpose flour to create your roux, cooking it until it’s lightly golden. Gradually whisk in 2 cups of good quality turkey or chicken stock (low-sodium is best for controlling saltiness). You can further enhance the flavor with a dash of poultry seasoning, a sprig of fresh thyme or sage, or a bay leaf. Simmer until thickened, then strain for a super smooth texture if desired. A splash of cream or milk at the end can add richness and a silky finish. Season with salt and pepper to taste, and you’ll have a delicious, rich gravy that pairs perfectly with all your favorite dishes, no drippings required!
Both flour and cornstarch are excellent thickeners for turkey gravy, and your choice often depends on the desired texture and dietary needs. Flour, when used to create a roux, yields a traditional, hearty, and slightly opaque gravy with a deeper, more savory flavor profile. It cooks out the raw flour taste during the roux preparation, contributing to the gravy’s overall richness. Cornstarch, on the other hand, produces a glossy, smooth, and more translucent gravy that is naturally gluten-free. It thickens quickly and provides a lighter mouthfeel. If you prefer that classic, comforting, and robust consistency often found in traditional holiday gravies, flour is your best bet. If you’re looking for a lighter, shinier, gluten-free option, or need to quickly thicken a sauce, cornstarch is ideal. Regardless of your choice, remember the golden rule: always create a slurry (a 1:1 mixture of the thickener with cold water or broth) before adding it to hot liquid to prevent lumps.
Lumpy gravy is a common kitchen mishap, but it’s easily fixable! Don’t despair. If you notice lumps forming, the quickest solution is to vigorously whisk the gravy while it’s still warm and on low heat. Often, a few minutes of continuous, energetic whisking will smooth most lumps out. For more stubborn lumps, or if you want an absolutely silky-smooth consistency, you have a couple of options:
- Strain it: Pour the gravy through a fine-mesh strainer into a clean bowl or saucepan. Use the back of a spoon or a rubber spatula to push the smooth gravy through, leaving any lumps behind.
- Blend it: For a truly effortless fix, an immersion blender (stick blender) is your best friend. Submerge the blender directly into the gravy in the saucepan and blend until completely smooth. You can also carefully transfer the gravy to a regular blender (be cautious with hot liquids – fill the blender only halfway and vent the lid).
To prevent lumps in the future, always make sure to whisk constantly and thoroughly when adding liquid to your roux, and when adding any thickener slurry to hot liquid. Gradual addition helps tremendously.
Adjusting gravy consistency is a common kitchen skill, and it’s surprisingly easy!
If your gravy is too thin:
You need to add more thickening power. The best way is to create a slurry. Whisk together 1 tablespoon of all-purpose flour or cornstarch with 1 tablespoon of cold water (or broth) until completely smooth. Slowly drizzle this slurry into your simmering gravy while continuously whisking. Continue to cook and whisk on low heat for a few minutes until the gravy thickens to your desired consistency. If it’s still not thick enough, repeat with another small slurry. Always add gradually to avoid over-thickening.
If your gravy is too thick:
This is even simpler! Just whisk in a small amount of warm broth, water, or even milk or cream, a tablespoon at a time. Continue stirring until the gravy reaches that perfectly pourable, luscious consistency you’re aiming for. Warm liquid blends more smoothly into the gravy. Gravy is very forgiving, so don’t be afraid to make these adjustments until it’s just right!
More Holiday Recipes to Explore
The holidays are a time for sharing delicious food and creating lasting memories. If you’re looking to complete your festive spread or simply want to try some new comforting dishes, here are some of our other favorite recipes that are sure to delight:
- Easy Baked Carrots Recipe
- Sweet Potato Salad with Chickpeas
- The BEST Mashed Potatoes
- Easy Pecan Pie Bars Recipe
- Homemade Cranberry Sauce
How to Make Turkey Gravy from Drippings
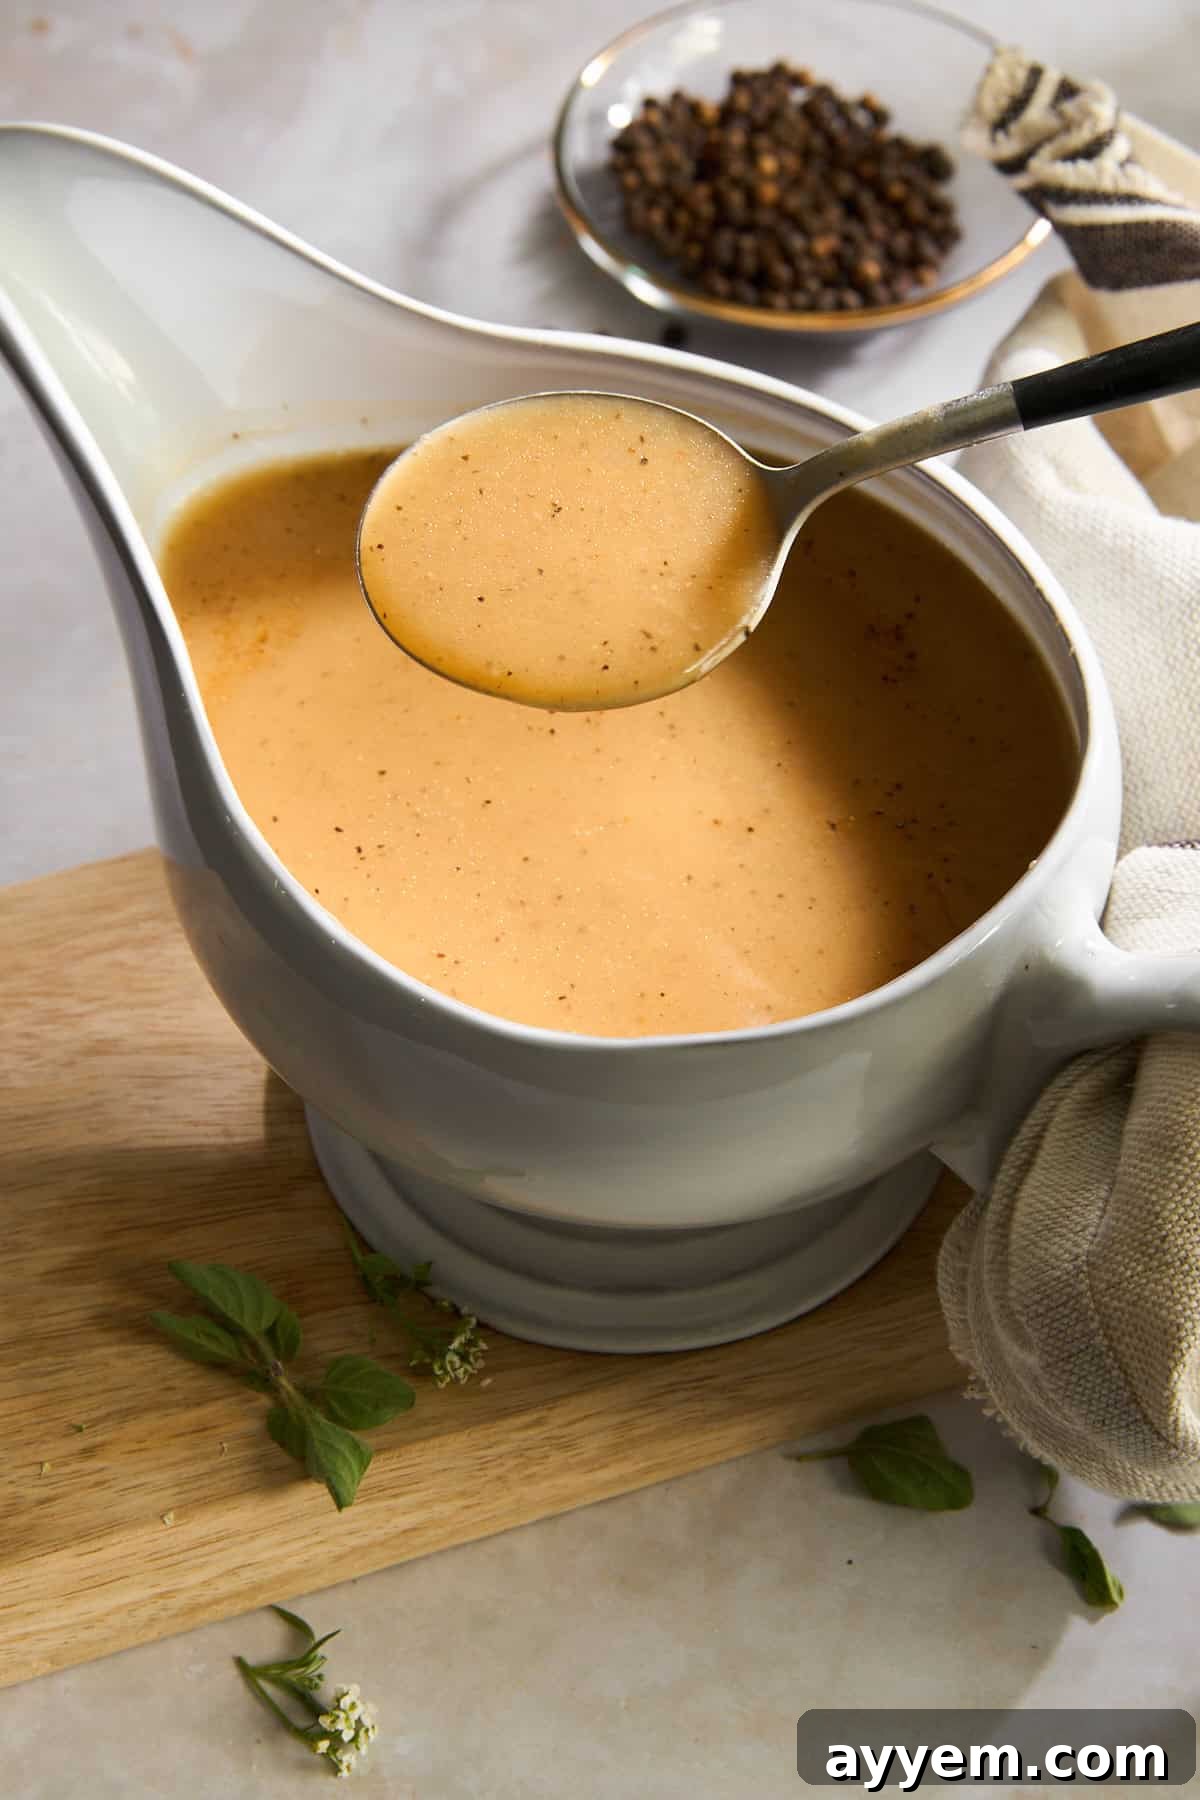
Learn how to make rich, smooth turkey gravy from scratch using flavorful drippings. This easy recipe uses just five ingredients and is perfect for holiday feasts and everyday meals.
Author: Food Dolls
Servings: 12 servings
Prep time: 5 mins
Cook time: 10 mins
Ingredients
- 1/4 cup turkey drippings and reserved fat from the roasted turkey
- 1/4 cup all-purpose flour
- 2 cups turkey or chicken broth (homemade or store-bought)
- Salt to taste
- Black pepper to taste
Instructions
- After roasting the turkey, remove it from the roasting pan. Carefully pour all the turkey drippings and any reserved fat through a fine-mesh strainer into a separate container or measuring cup. This step is crucial for achieving an ultra-smooth gravy texture by separating the fat from the flavorful pan juices and removing any solids.
- In a saucepan, heat the reserved turkey fat over medium-low heat. Add the all-purpose flour and whisk continuously for 1-2 minutes to combine the fat and flour, forming a roux. Cook until the roux is a light golden (blond) color, ensuring there’s no raw flour taste.
- Slowly and gradually whisk in the strained turkey drippings and the turkey or chicken broth into the roux. Continue to whisk continuously over medium heat until the mixture thickens to your desired consistency and begins to simmer gently. This process usually takes about 5-10 minutes. If you prefer a thinner gravy, you can add a little more broth.
- Season the gravy generously with salt and black pepper to taste. It’s important to taste and adjust the seasoning as you go, as the saltiness will depend on your drippings and broth.
- Once the gravy has reached the desired consistency and flavor, remove it from the heat. Pour it into a gravy boat or a serving dish, and it’s ready to be served hot alongside your roast turkey, mashed potatoes, stuffing, and other delicious holiday side dishes!
Equipment
- 1 Fine Mesh Strainer

- 1 Saucepan


Notes
Optional Enhancements: If you desire an extra layer of flavor, consider adding fresh herbs like thyme, sage, or rosemary sprigs to the gravy while it simmers, removing them before serving. For added richness, stir in a small pat of butter or a splash of heavy cream at the very end, just before serving.
Nutrition
Serving: 1 serving | Calories: 56kcal | Carbohydrates: 2g | Protein: 1g | Fat: 5g | Saturated Fat: 2g | Polyunsaturated Fat: 1g | Monounsaturated Fat: 2g | Cholesterol: 5mg | Sodium: 153mg | Potassium: 10mg | Fiber: 0.1g | Sugar: 0.2g | Vitamin A: 1IU | Calcium: 2mg | Iron: 0.1mg
Nutrition information is automatically calculated, so should only be used as an approximation.
We hope you love this easy turkey gravy recipe! Your feedback means a lot to us, so please leave a comment and let us know how it turned out.