
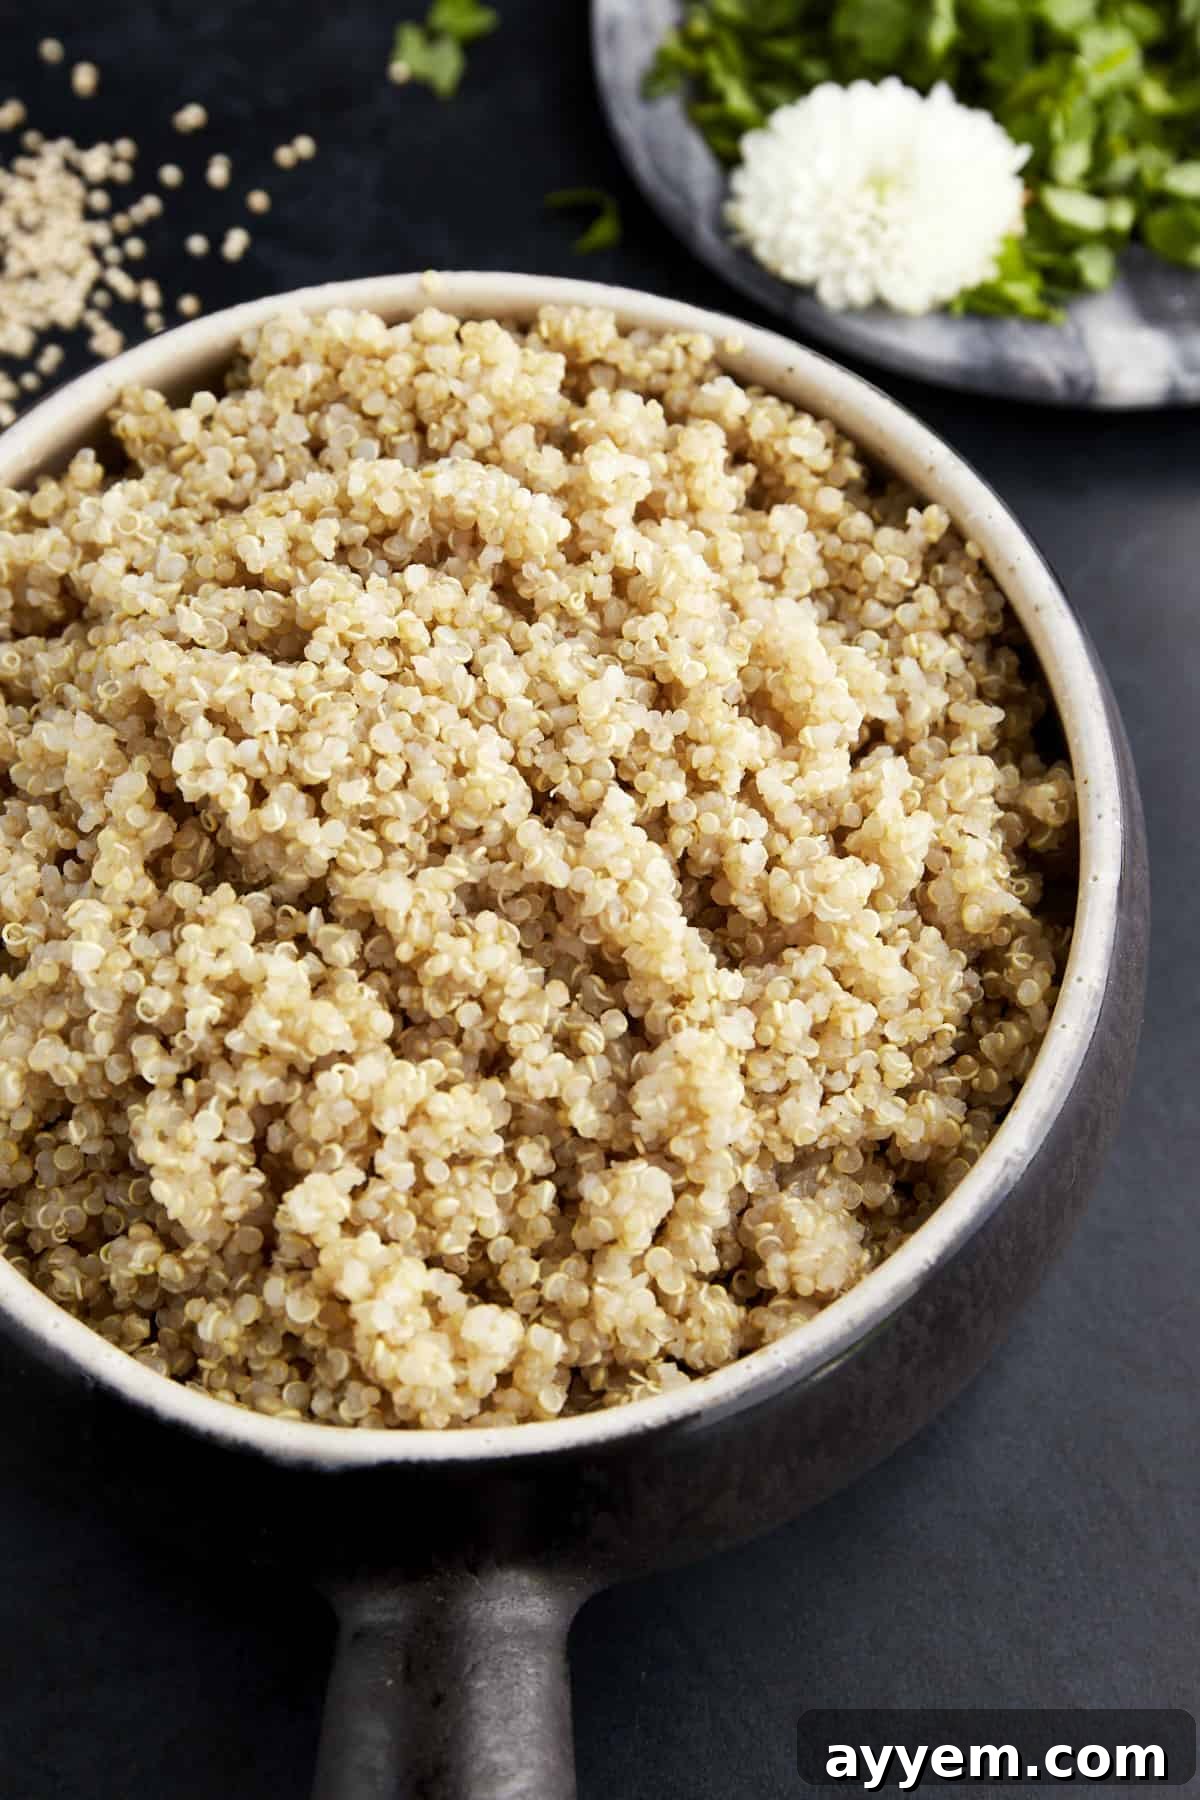
Unlock the secret to consistently light and fluffy quinoa with our comprehensive guide. Whether you’re a seasoned home cook or new to this nutritious pseudo-grain, we’ll equip you with the perfect methods and essential tips to master quinoa preparation. From understanding the best water ratios to exploring three distinct cooking techniques—on the stovetop, in a rice cooker, or with an Instant Pot—you’ll learn how to achieve ideal results every time. Plus, discover practical advice for storing cooked quinoa to ensure it stays fresh and ready to enhance your salads, grain bowls, wraps, and countless other dishes throughout the week.
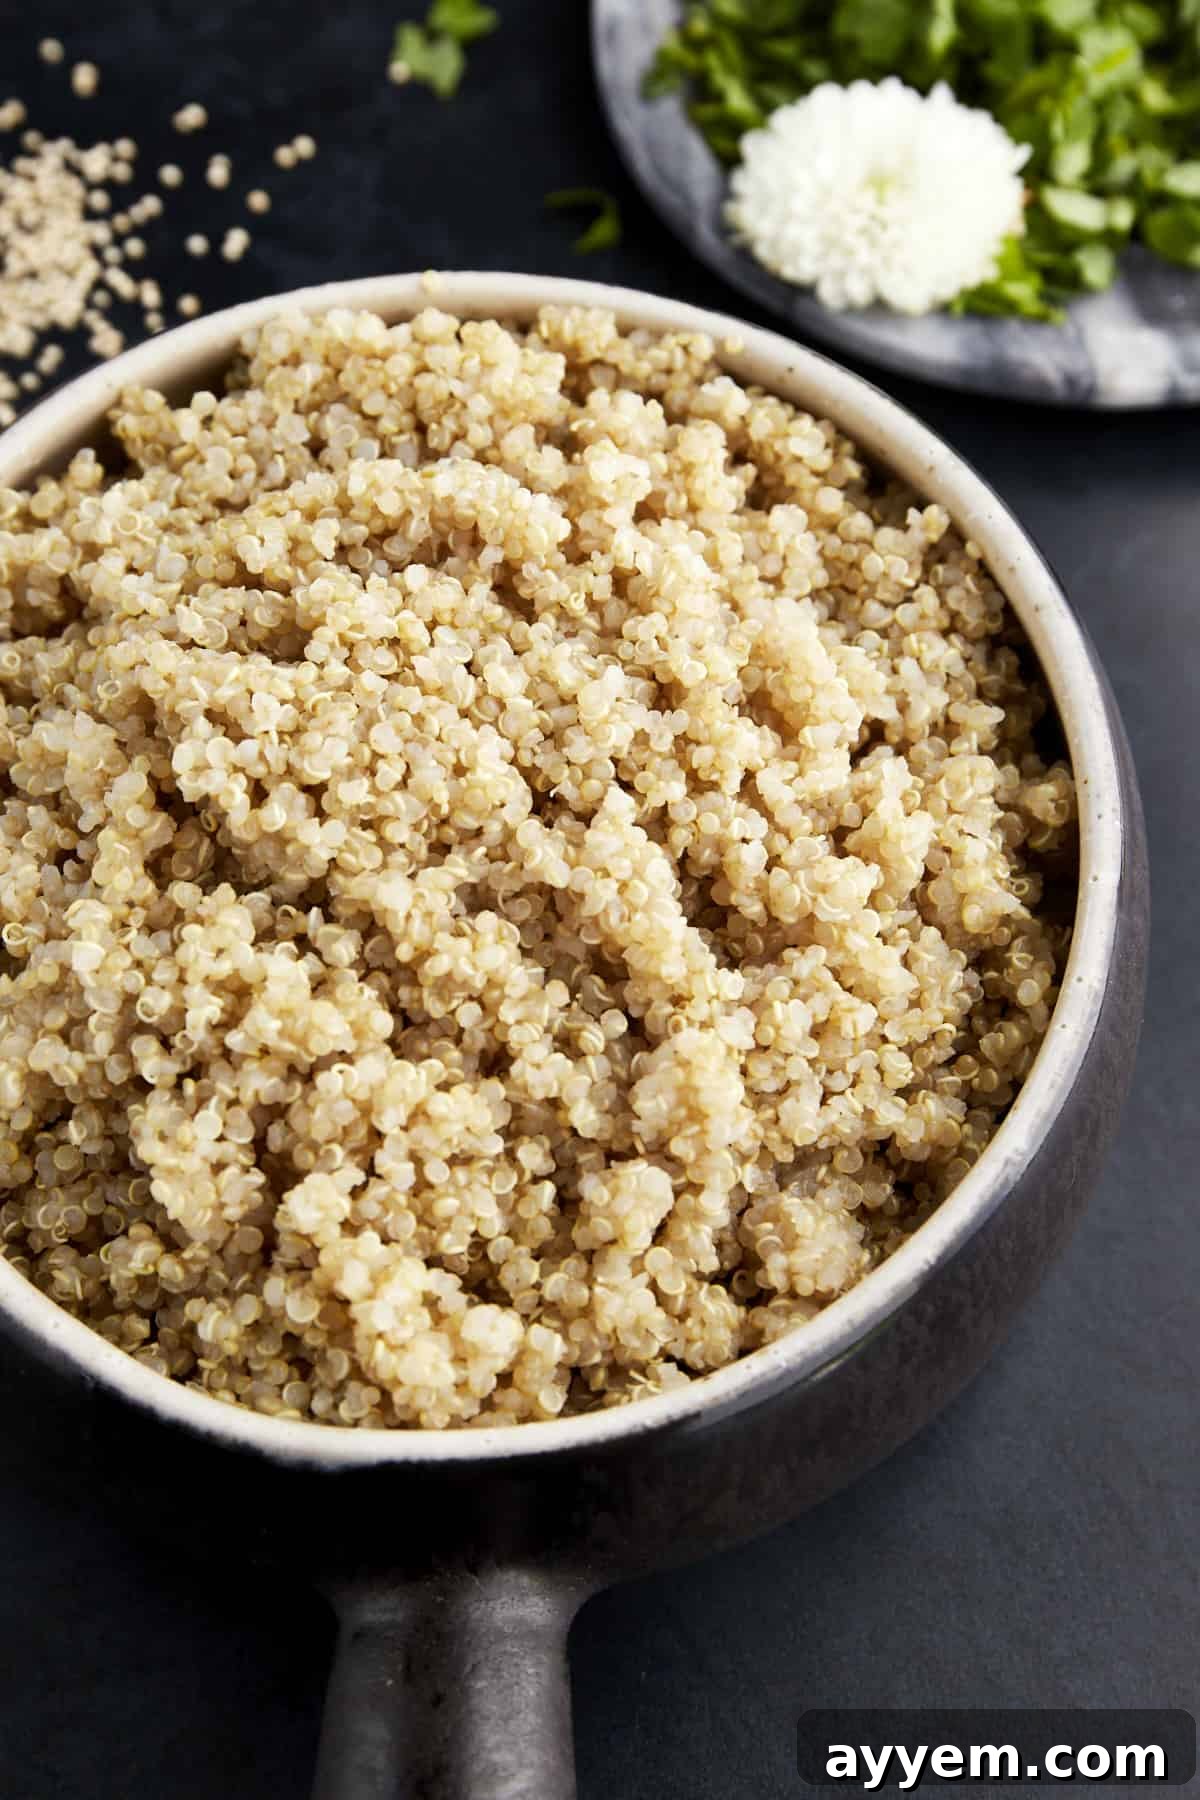
What Exactly Is Quinoa?
Quinoa, often pronounced “keen-wah,” is a highly nutritious, grain-like seed with a fascinating history. Originating from the Andean region of South America, where it has been cultivated and consumed for thousands of years, it holds significant cultural and dietary importance. Botanically speaking, quinoa belongs to the Amaranthaceae family, classifying it as a pseudocereal rather than a true grain. This distinction means it shares culinary characteristics with grains like rice and oats but boasts a different botanical makeup and often a superior nutritional profile. Its unique properties make it a staple for health-conscious individuals and those seeking gluten-free alternatives.
Exploring the Varieties of Quinoa
While many different varieties of quinoa exist globally, most grocery stores primarily stock three common types. Understanding the subtle differences between them can help you choose the perfect quinoa for your culinary creations.
- White Quinoa (Blanco Quinoa) – This is undoubtedly the most prevalent and widely recognized type. White quinoa is cherished for its delicate, mild flavor and an exceptionally light, fluffy texture when cooked. Its neutral taste makes it incredibly versatile, easily adapting to both savory and slightly sweet dishes. If you’re new to quinoa, this is an excellent starting point.
- Red Quinoa – Similar in texture to white quinoa but with a slightly chewier bite, red quinoa stands out with its rich, nutty, and earthy flavor profile. It tends to hold its shape better after cooking, making it an ideal choice for vibrant salads where individual grains are desired, or in heartier savory recipes where its robust flavor can truly shine. It’s generally not recommended for sweet preparations due to its strong taste.
- Black Quinoa – The least common of the three, black quinoa closely resembles red quinoa in its bold, nutty, and earthy flavor. It also boasts a slightly firmer texture and a striking appearance, adding visual appeal to dishes. Its intense flavor pairs wonderfully with robust ingredients and savory meals.
- Bonus: Tri-Color Quinoa – Often found on store shelves, tri-color quinoa isn’t a distinct variety but rather a thoughtful blend of white, red, and black quinoa. This mix offers the best of all worlds: the mildness and fluffiness of white, the chewiness and nuttiness of red, and the firm texture and earthy depth of black, creating a visually appealing and texturally interesting dish.
The Remarkable Health Benefits of Quinoa
Without a doubt, quinoa is celebrated as an exceptionally nutritious ingredient, often lauded as a “superfood.” Its impressive nutritional profile contributes significantly to its widespread popularity and health benefits.
One of its most notable attributes is that it’s a complete source of protein. This means quinoa contains all nine essential amino acids that our bodies cannot produce on their own. This makes it an invaluable dietary staple, especially for vegans, vegetarians, and anyone looking to incorporate high-quality plant-based protein into their diet. Unlike many plant proteins, quinoa eliminates the need for combining different protein sources to achieve a complete amino acid spectrum.
Furthermore, quinoa is a rich source of dietary fiber, which is crucial for digestive health, blood sugar regulation, and promoting a feeling of fullness. Beyond fiber and protein, it’s packed with an array of essential vitamins and minerals, including:
- Folate: Important for cell growth and function.
- Vitamin B6: Plays a vital role in metabolism and nerve function.
- Copper: Essential for iron absorption and energy production.
- Zinc: Supports immune function and wound healing.
- Manganese: An antioxidant that helps protect cells from damage.
- Magnesium: Crucial for muscle and nerve function, blood sugar control, and blood pressure regulation.
- Phosphorus: Key for strong bones and teeth, and energy storage.
Its nutrient density, coupled with being naturally gluten-free, makes quinoa an excellent choice for a wide range of dietary needs and preferences, offering a healthier alternative to many traditional grains.
Achieving Perfection: The Ideal Water-to-Quinoa Ratio
The secret to perfectly cooked, fluffy quinoa often lies in getting the water-to-quinoa ratio just right. This ratio can vary slightly depending on several factors, including the specific type of quinoa you’re using, your chosen cooking method, and your personal preference for consistency. While some recipes might suggest a ratio as high as two cups of liquid for every one cup of quinoa, others recommend as low as one and a half cups of liquid.
Generally, for consistently excellent results, we advocate for a standard ratio of double the amount of liquid (water or broth) to quinoa. For instance, if you’re cooking one cup of quinoa, you’ll use two cups of liquid. However, this is a guideline, not a strict rule. It’s always wise to consult the specific instructions on your quinoa packaging, as different brands may have slightly different recommendations due to variations in how their quinoa is processed. Feel free to adjust the liquid amount by a quarter cup up or down in subsequent cooks to achieve your desired texture – a little less liquid for firmer grains, a little more for softer ones.
How Long Does It Take to Cook Fluffy Quinoa?
The cooking time for quinoa can vary slightly depending on the method and the specific batch, but typically, you can expect it to be fully cooked and ready to enjoy within 15 to 20 minutes. This timeframe generally refers to the active cooking period, not including any essential resting time post-cooking. Always refer to your quinoa package instructions for the most accurate guidelines, and adjust as needed based on how the quinoa is absorbing the liquid and its appearance.
Mastering Quinoa: Three Easy Cooking Methods
Cooking quinoa is a straightforward process once you understand its unique characteristics. Unlike true grains like rice or pasta, quinoa is a seed, which influences its water absorption and cooking behavior. However, with these three simple methods, you’ll quickly become a quinoa cooking pro!
The Importance of Rinsing Quinoa
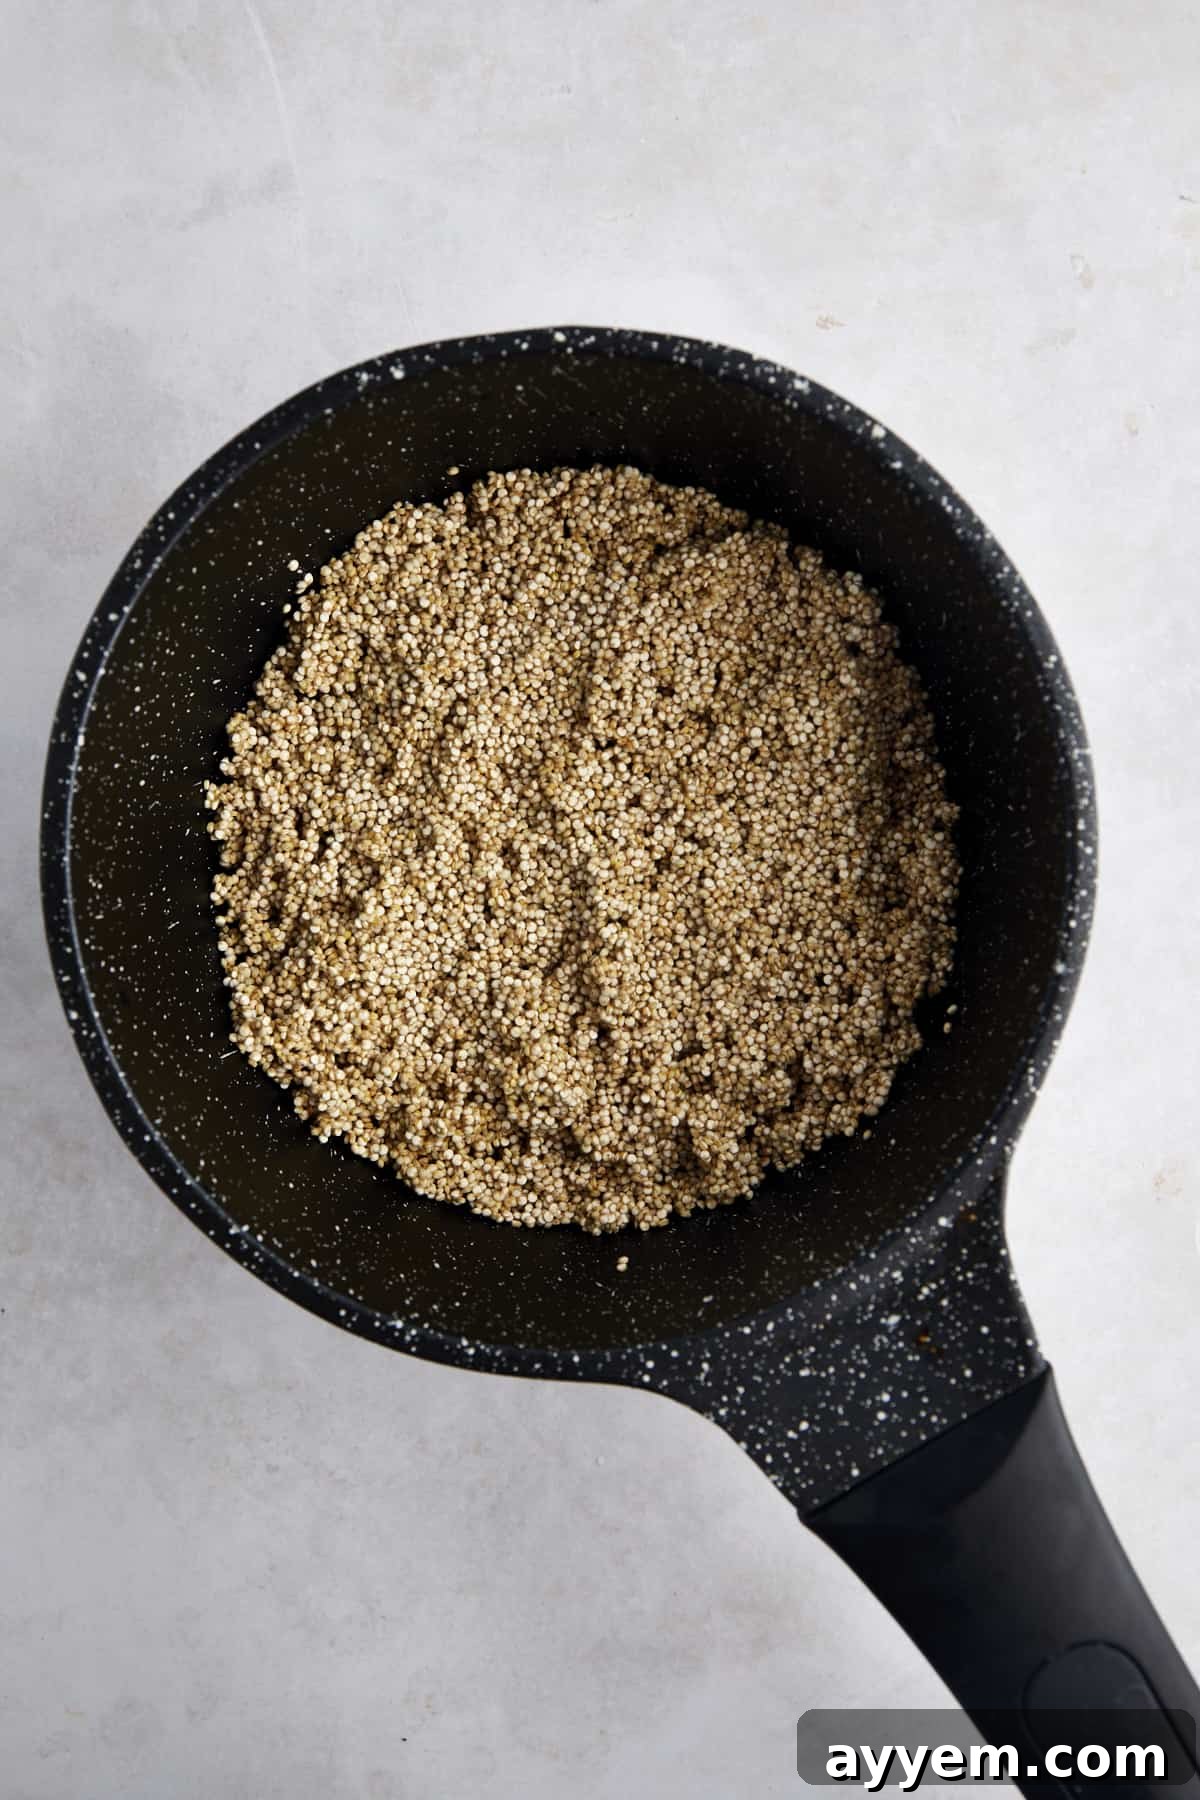
Before you begin cooking, regardless of the method you choose, there’s one crucial preparatory step: always rinse and drain your quinoa thoroughly in a fine-mesh sieve. Quinoa naturally has a bitter, soap-like coating called saponin. Rinsing removes this natural compound, significantly improving the flavor and ensuring your cooked quinoa is clean-tasting and delicious. Simply place the quinoa in a fine-mesh sieve and rinse under cold running water for about 30 seconds to a minute, using your fingers to gently agitate the grains. Continue rinsing until the water runs clear, then drain well.
Method 1: Rice Cooker Quinoa for Effortless Cooking
The rice cooker offers a hands-off approach to cooking quinoa, delivering consistent results with minimal effort. It’s perfect for busy individuals or anyone who prefers automated cooking.
*Water Ratio: Use two cups of water (or broth for added flavor) for every one cup of rinsed quinoa.
- Combine Ingredients: After thoroughly rinsing and draining your quinoa, add it to the rice cooker pot along with the measured water or broth. You can also add a pinch of salt for extra flavor at this stage.
- Initiate Cooking: Close the lid, select the appropriate setting (often a “white rice” or “quinoa” setting, if available), and start the rice cooker. Most rice cookers will complete the cooking cycle in about 30 minutes, or until all the liquid is absorbed.
- Rest and Fluff: Once the cooking cycle is complete, allow the quinoa to rest in the closed rice cooker for an additional 5-10 minutes. This resting period is crucial as it allows the grains to steam further and become truly fluffy, preventing mushiness. Finally, open the lid and gently fluff the quinoa with a fork before serving.
Method 2: Stovetop Quinoa for Classic Results
Cooking quinoa on the stovetop is the most traditional method, offering you control over the process. It’s straightforward and yields beautifully fluffy quinoa every time.
*Water Ratio: Use two cups of water (or broth) for every one cup of rinsed quinoa.
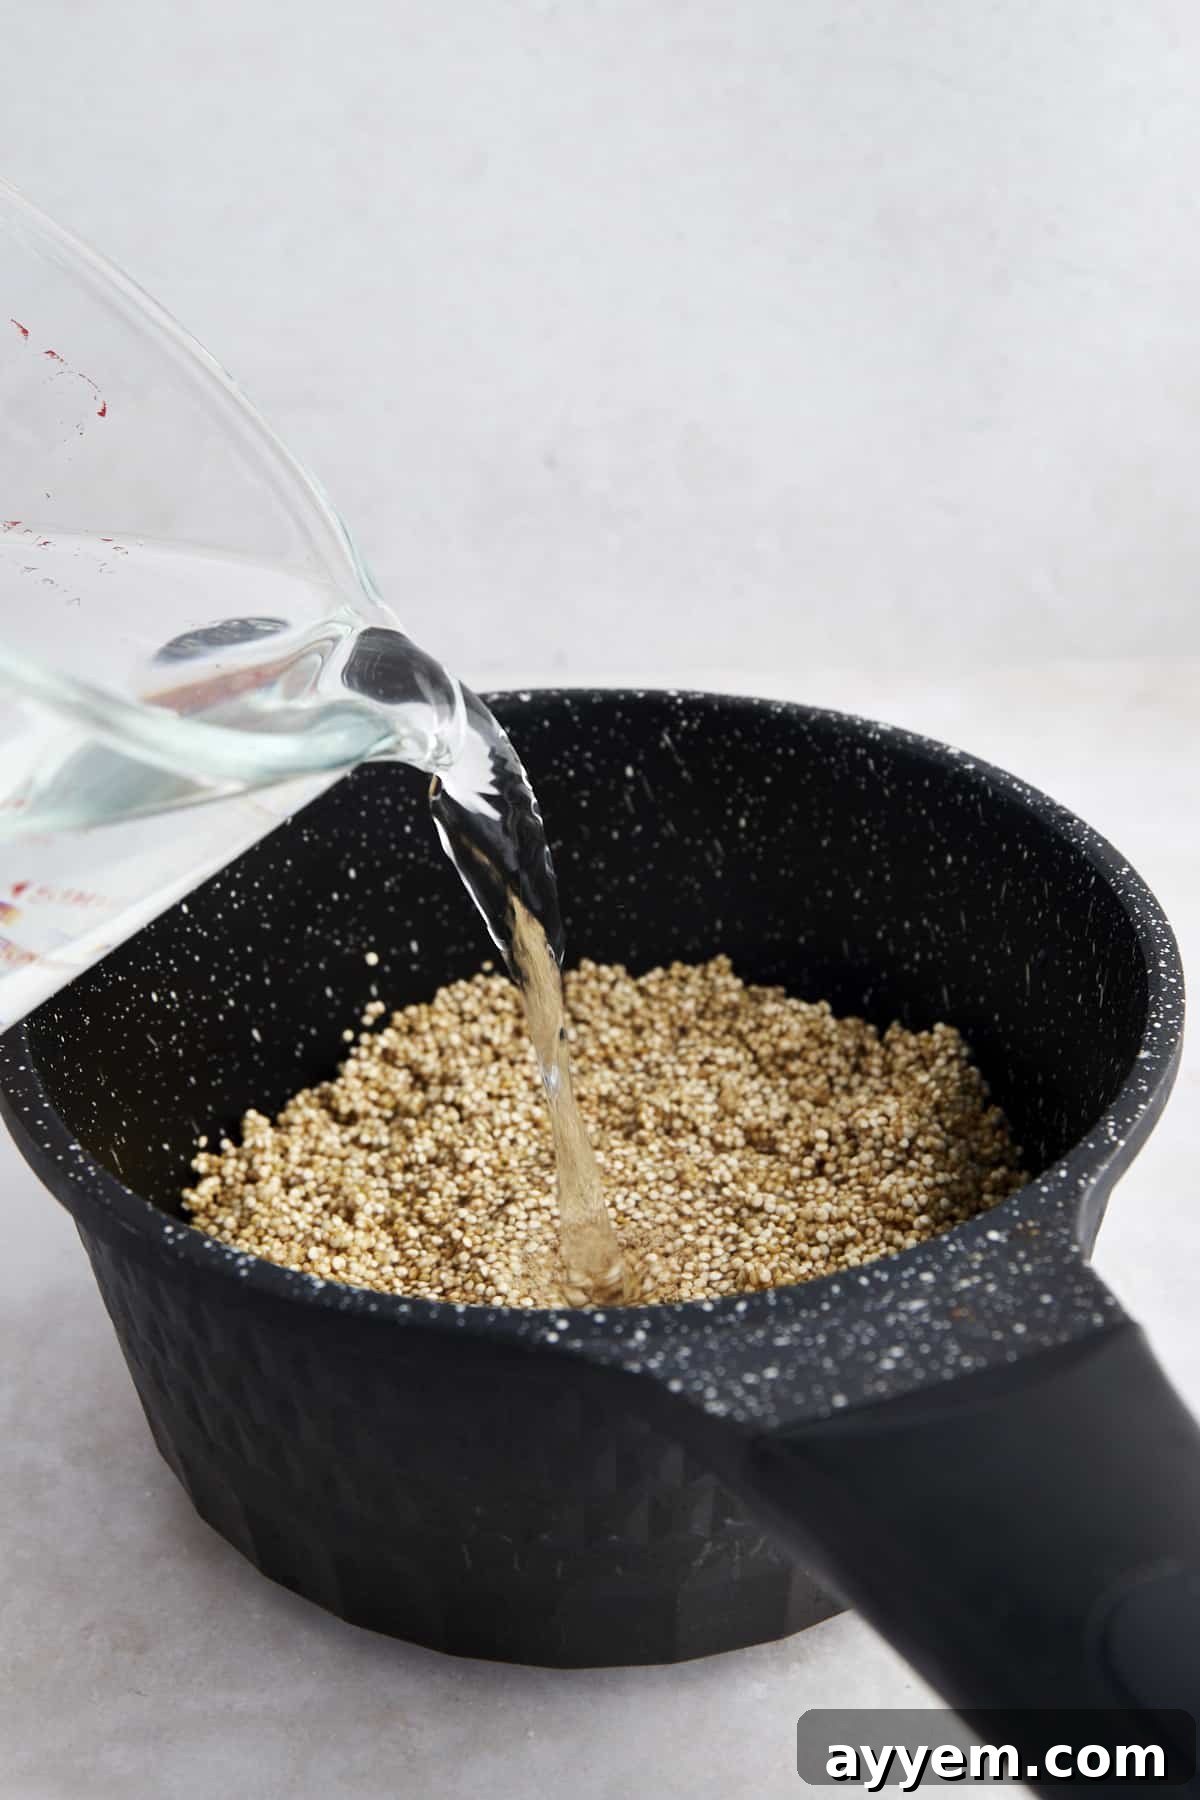
- Bring to a Boil: In a medium saucepan with a tight-fitting lid, combine your rinsed and drained quinoa with the measured water or broth. Add a small pinch of salt if desired. Bring the mixture to a rolling boil over high heat.
- Simmer and Absorb: Once boiling, immediately reduce the heat to low, cover the saucepan tightly with the lid, and let it simmer gently for 12 to 15 minutes. During this time, the quinoa will slowly absorb the liquid. Avoid lifting the lid during simmering to prevent steam from escaping, which is essential for proper cooking.
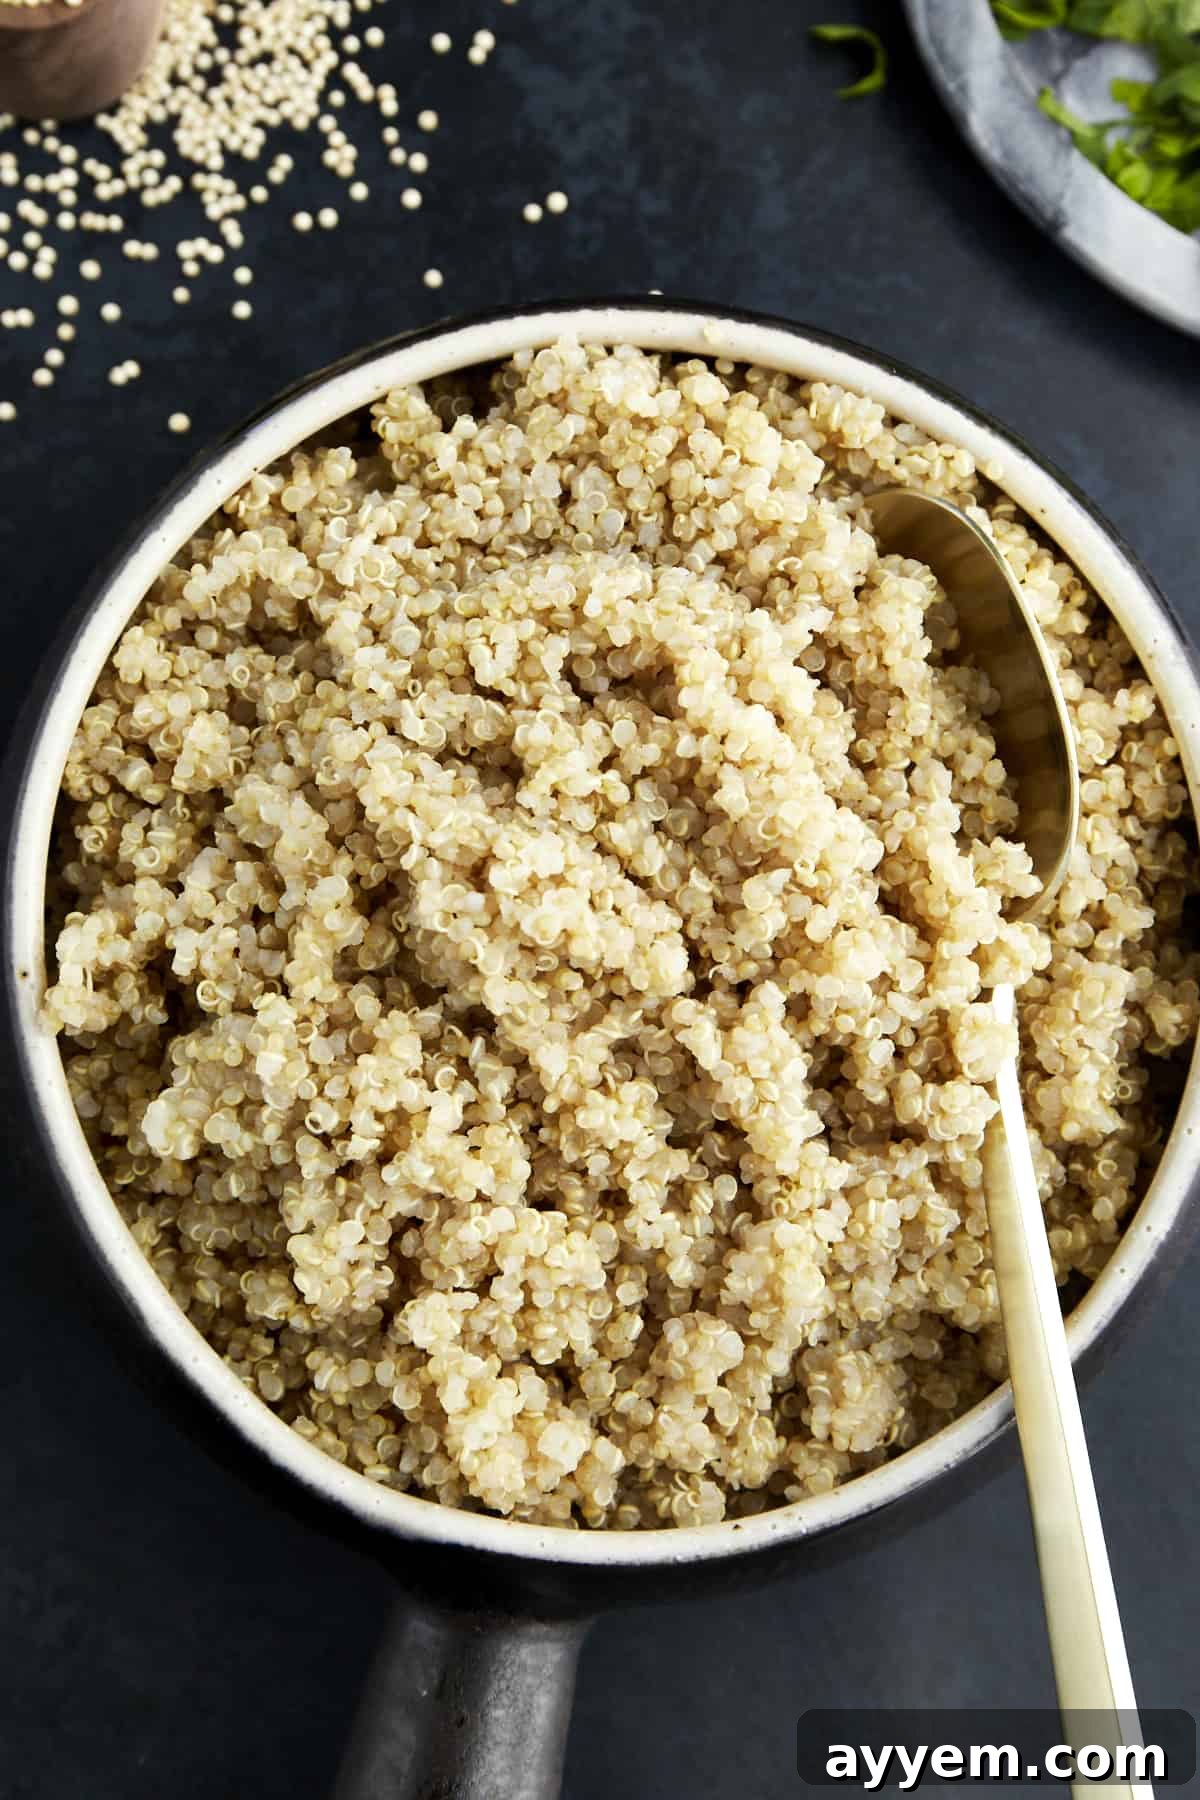
- Rest and Fluff: After 12-15 minutes, check if all the liquid has been absorbed. If so, remove the saucepan from the heat, keeping the lid on, and let the quinoa rest undisturbed for at least 5 minutes. This steaming period is key to achieving that desirable fluffy texture. Finally, uncover, fluff the quinoa with a fork, and incorporate it into all your favorite recipes.
Method 3: Instant Pot Quinoa for Speed and Efficiency
For those seeking speed and convenience, the Instant Pot (or any pressure cooker) is an excellent tool for cooking quinoa. It significantly reduces cooking time while still yielding perfectly fluffy results.
*Water Ratio: For pressure cooking, use a slightly lower ratio: one and a half cups of water (or broth) for every one cup of rinsed quinoa.
- Combine and Stir: Add the rinsed and drained quinoa and the measured water or broth to the inner pot of your Instant Pot. Stir gently to ensure the quinoa is evenly submerged.
- Pressure Cook: Secure the lid and make sure the sealing valve is in the “Sealing” position. Select the “Pressure Cook” or “Manual” setting and set the cooking time to 3 minutes on high pressure.
- Natural Release and Serve: Once the cooking cycle is complete, allow for a natural pressure release for 10 minutes. This means letting the Instant Pot sit undisturbed for 10 minutes before manually releasing any remaining pressure. Carefully remove the lid once the float valve drops and all steam has been fully released. Fluff the quinoa immediately with a fork or rice paddle before serving.
Pro Tip: If you notice any residual liquid at the bottom of the pot after fluffing, you can transfer the quinoa to a fine-mesh sieve or strainer to drain the excess before serving. This prevents the quinoa from becoming soggy or mushy.
Storing Cooked Quinoa for Lasting Freshness
Quinoa is an excellent grain to meal prep, as it stores beautifully and can be used in a variety of dishes throughout the week. Proper storage ensures it retains its texture and flavor.
Once your quinoa is cooked and has cooled completely to room temperature, transfer it to an airtight container. It can be stored in the fridge for up to five days. For longer preservation, cooked quinoa also freezes exceptionally well. Simply place it in a freezer-safe bag or container and freeze for up to two months. A helpful trick to keep frozen or refrigerated quinoa from drying out is to add a small drizzle of olive oil before sealing the container. This helps maintain its moisture and prevents clumping.
To thaw frozen quinoa, transfer it to the fridge overnight. When you’re ready to serve, simply warm it in the microwave with a splash of water or broth, or gently reheat it on the stovetop until heated through.
Versatile Ways to Enjoy Cooked Quinoa
The culinary possibilities with cooked quinoa are truly endless! Its mild flavor and delightful texture make it a fantastic base or addition to a vast array of dishes, from light meals to hearty main courses and even desserts. Here are some inspiring ideas to incorporate quinoa into your diet:
- Salads: A classic pairing, quinoa adds protein and substance to any salad, turning it into a complete meal. Try it in our Mediterranean Quinoa Salad or a Mediterranean Quinoa Salad Jar for convenient on-the-go lunches.
- Grain Bowls: Build nutritious and customizable grain bowls with quinoa as your base, topped with roasted vegetables, lean protein, and a flavorful dressing.
- Soups and Stews: Stir cooked quinoa into soups and stews during the last few minutes of cooking for added texture, thickness, and a boost of protein and fiber.
- Savory Dishes: Use it as a healthier substitute for rice in recipes like stuffed bell peppers, pilafs, or as a side dish to grilled meats and vegetables. Our One Pot Mexican Quinoa is a delicious example.
- Vegetarian Options: It’s a fantastic binder and nutrient booster for vegetarian burgers, meatballs, or even as a filling in quesadillas and wraps.
- Breakfast Bowls: Cooked quinoa can be transformed into a hearty breakfast porridge by simmering it with milk (dairy or non-dairy), fruits, nuts, and a touch of sweetener.
- Baking: Believe it or not, quinoa can even be incorporated into baked goods like muffins or energy bars for added nutrition and texture.
For more specific ideas, explore these delicious recipes:
- Vegan Roasted Eggplant Salad
- Southwest Salad with Creamy Chipotle Dressing
- Mexican Quinoa Salad
Common Questions About Cooking Quinoa
Yes, absolutely! Rinsing quinoa is a crucial step for achieving the best flavor. Quinoa has a natural, bitter outer coating called saponin. Rinsing it thoroughly under cold running water in a fine-mesh sieve helps wash away this coating, preventing any unpleasant, soapy taste and ensuring your cooked quinoa is delicious and palatable.
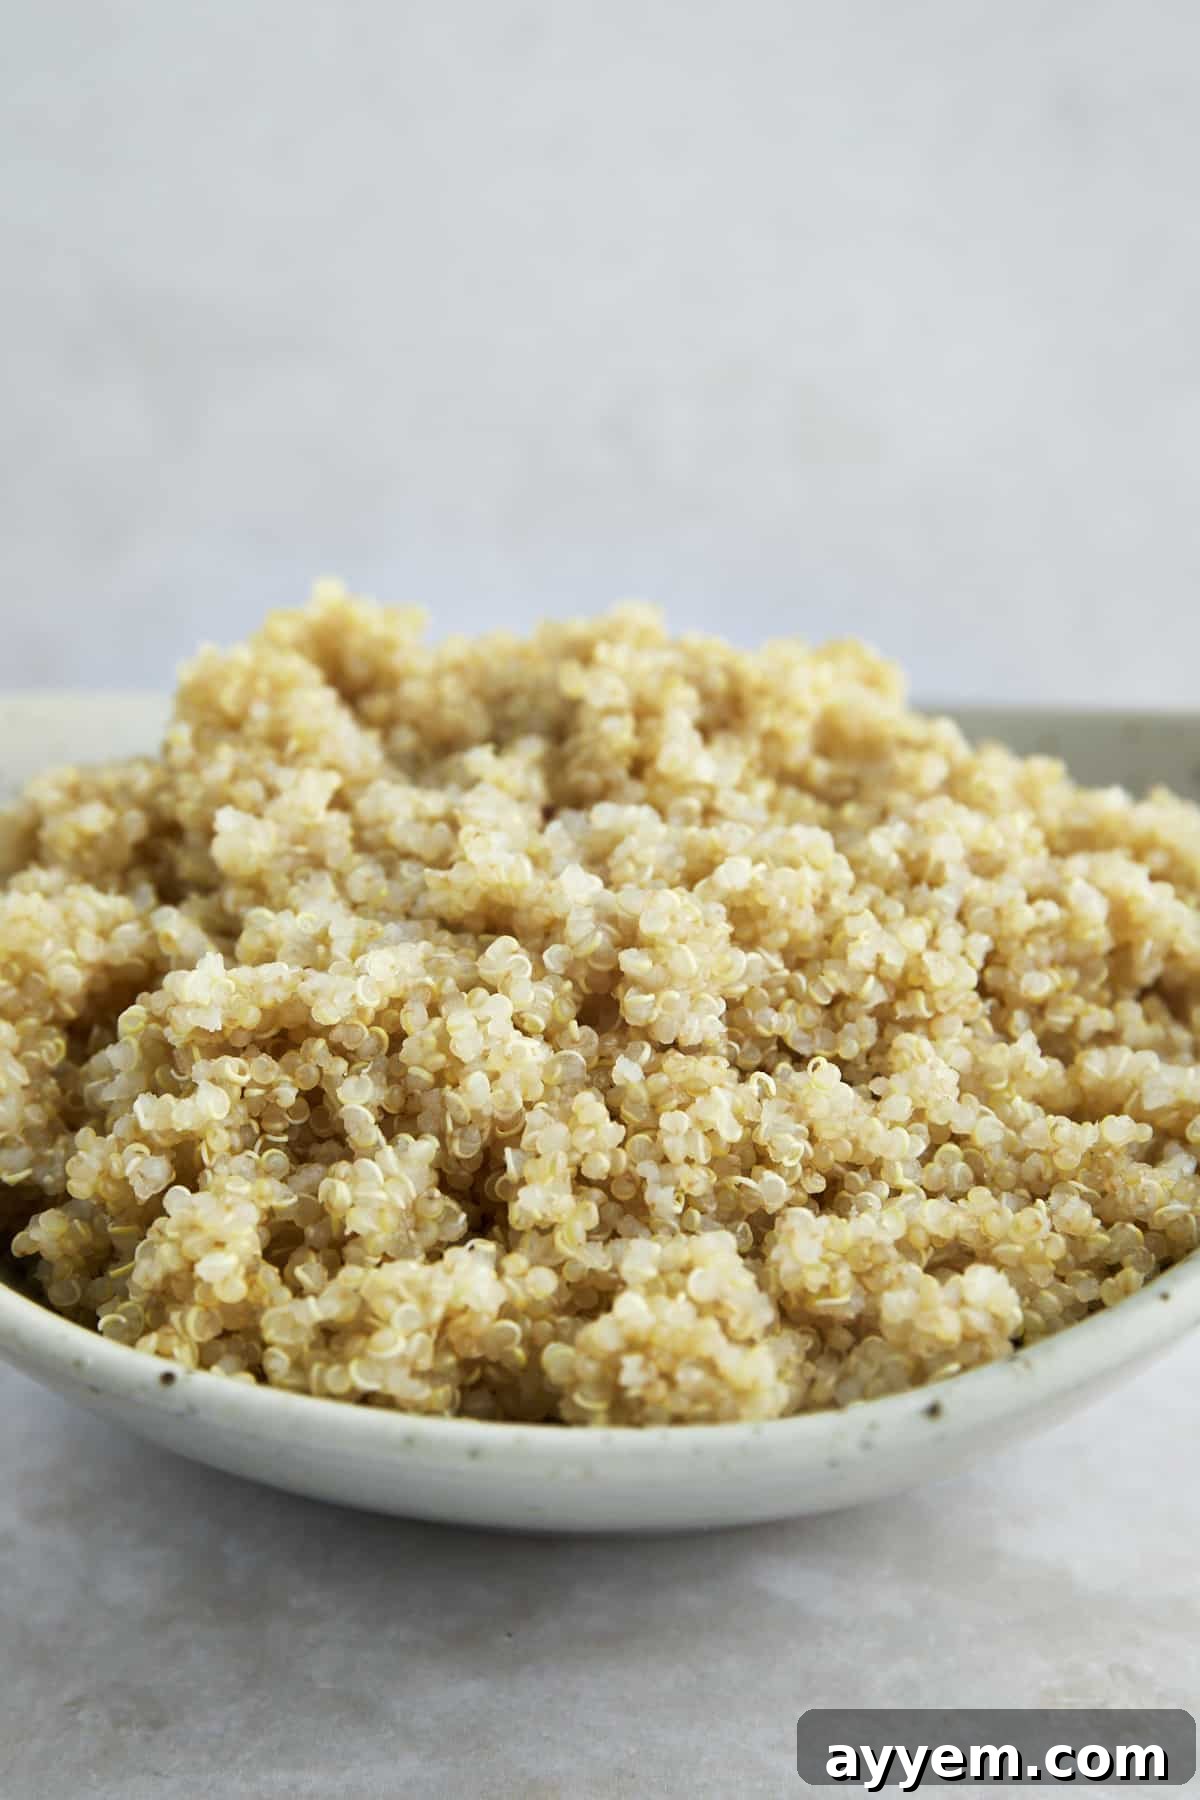
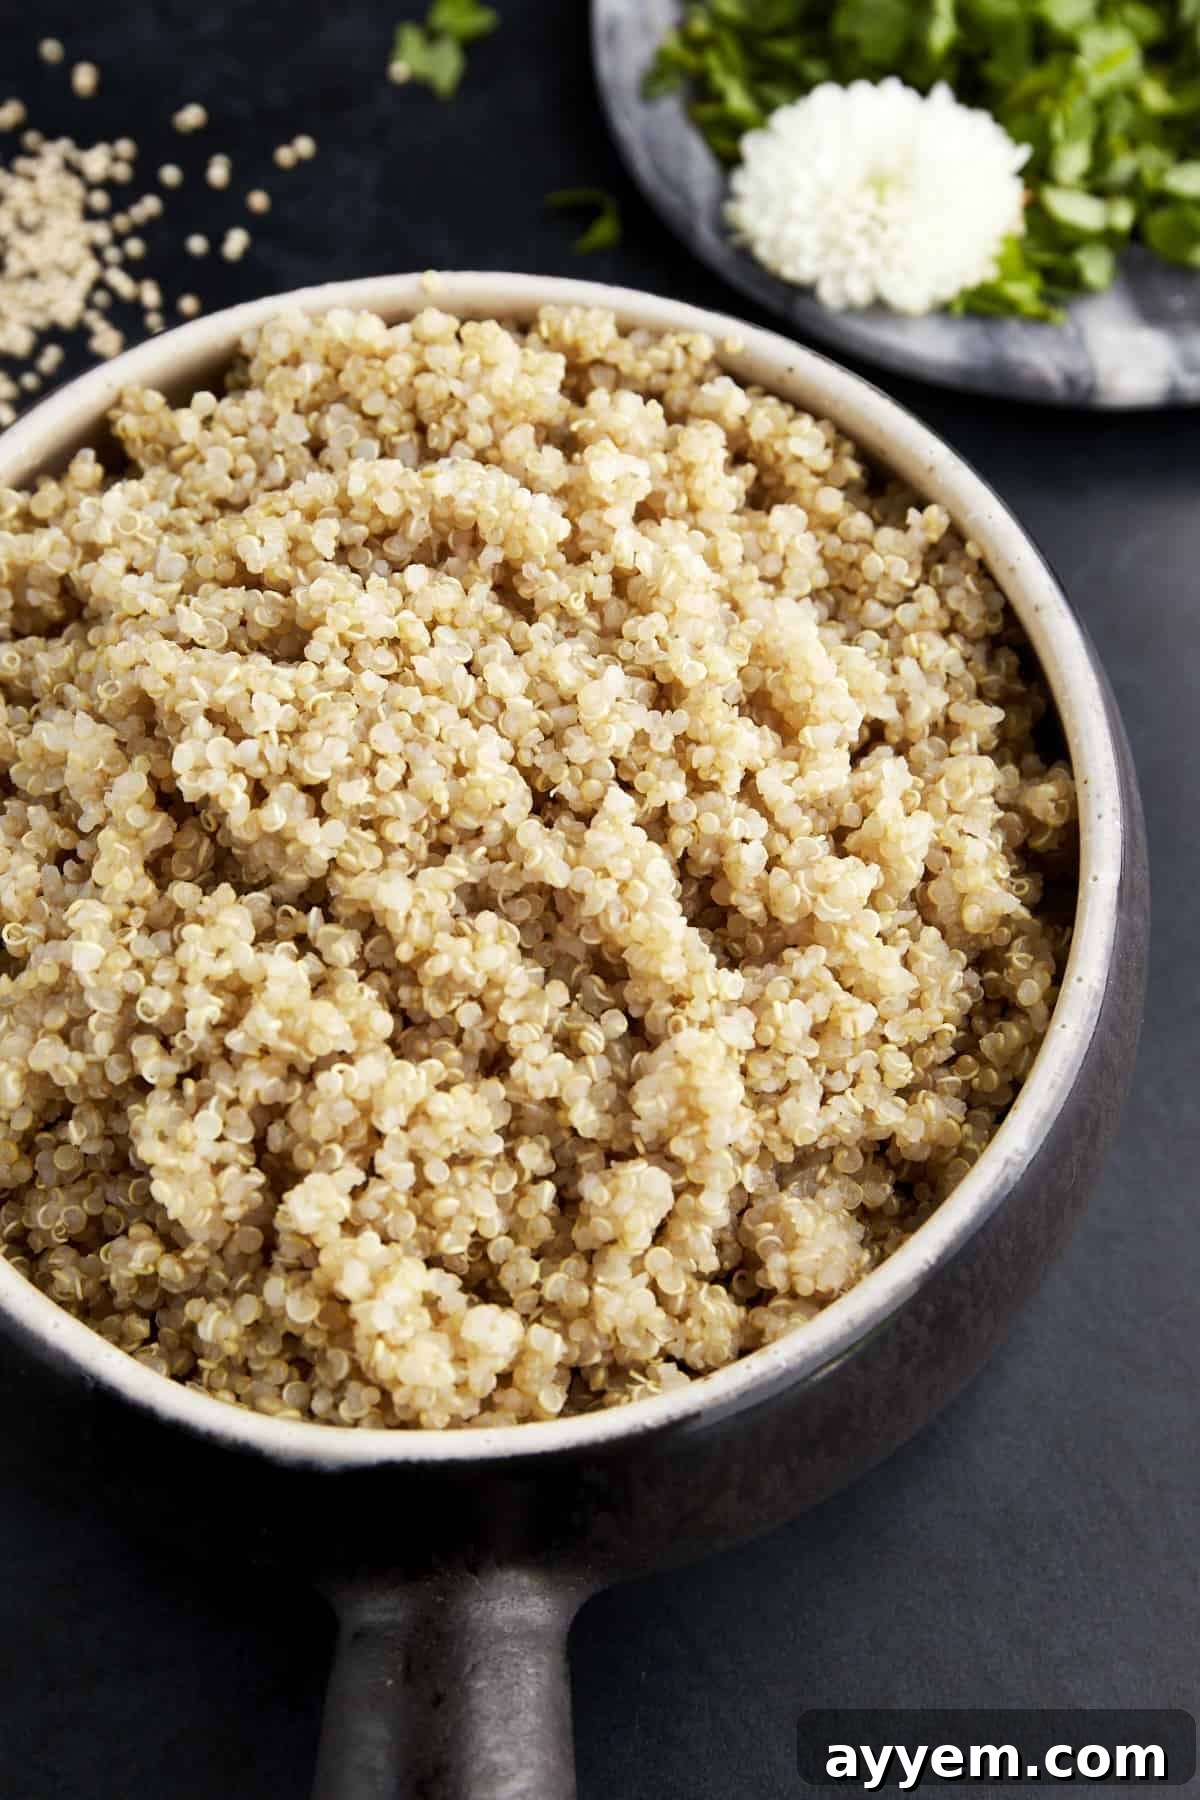
You’ll know your quinoa is perfectly cooked when all the cooking liquid has been absorbed. Visually, cooked quinoa will appear fairly translucent, and you’ll often see a tiny, delicate white “ring” (the germ) spiraling around the edge of each grain. Most importantly, it should have a light, fluffy, and tender texture, not hard or crunchy.
Yes, quinoa is naturally 100% gluten-free. This makes it an excellent and safe grain alternative for individuals with Celiac disease, gluten sensitivity, or those who are simply following a gluten-free diet for health or lifestyle reasons. Always ensure you purchase certified gluten-free quinoa if cross-contamination is a concern.
Preventing mushy quinoa involves a few key steps. First, ensure you’re using the correct water-to-quinoa ratio – typically 2 parts liquid to 1 part quinoa, or 1.5 parts liquid for pressure cooking. Second, avoid overcooking; once the liquid is absorbed, remove it from the heat. Third, and critically, allow the quinoa to rest for 5-10 minutes after cooking with the lid on, allowing it to steam and fluff up. Finally, always fluff with a fork instead of stirring, as stirring can break the grains and lead to a gummy texture, while a fork helps keep the grains separate and airy.
Adding a pinch of salt to the cooking water or broth is highly recommended as it significantly enhances the flavor of the quinoa. It helps bring out its natural nutty notes. As for oil, it’s generally not necessary during cooking, but a small drizzle of olive oil after cooking, especially before storing, can help keep the grains separate and moist, preventing them from clumping together.
Explore More Cooking Guides
Ready to further expand your culinary skills? We’ve got you covered with more helpful how-to articles designed to guide you through various kitchen techniques and food preparations:
- How to Store Parsley
- How to Make a Butter Board
- How to Cook a Whole Chicken
- How to Make Taco Seasoning
- How to Store Ginger
- How to Cut a Tomato (3 Ways)
How to Cook Quinoa (3 Ways)
Ingredients
- 1 cup quinoa rinsed and drained
- 1 ¾ to 2 cups water or broth
Instructions
Rice Cooker Option:
-
Add 1 cup of rinsed quinoa and 2 cups of water to the rice cooker pot.
-
Turn on the rice cooker to the appropriate setting (e.g., “white rice” or “quinoa”). Most will cook for about 30 minutes, or until the liquid is fully absorbed.
-
Allow the quinoa to rest in the closed rice cooker for 5-10 minutes after cooking.
-
Fluff with a fork and serve immediately.
Stovetop Option:
-
Combine 1 cup of rinsed quinoa and 2 cups of water in a medium saucepan. Bring to a boil over high heat.
-
Once boiling, reduce the heat to low, cover the saucepan tightly, and simmer for 12 to 15 minutes, or until all the liquid is absorbed. Avoid lifting the lid.
-
Remove the saucepan from the heat and let it rest, covered, for at least 5 minutes.
-
Fluff with a fork before serving.
Instant Pot Option:
-
Add 1 cup of rinsed quinoa and 1 ½ cups of water to the Instant Pot. Stir to combine.
-
Close the lid, set the valve to “Sealing”, and pressure cook on high for 3 minutes.
-
Allow a natural pressure release for 10 minutes, then manually release any remaining pressure.
-
Carefully remove the lid once the steam has been fully released.
-
Fluff with a fork and serve.
Equipment
Notes
Store leftover quinoa in an airtight container in the fridge for up to five days, or in the freezer for up to two months. A drizzle of olive oil can help keep it moist.
Nutrition
Nutrition information is automatically calculated, so should only be used as an approximation.