
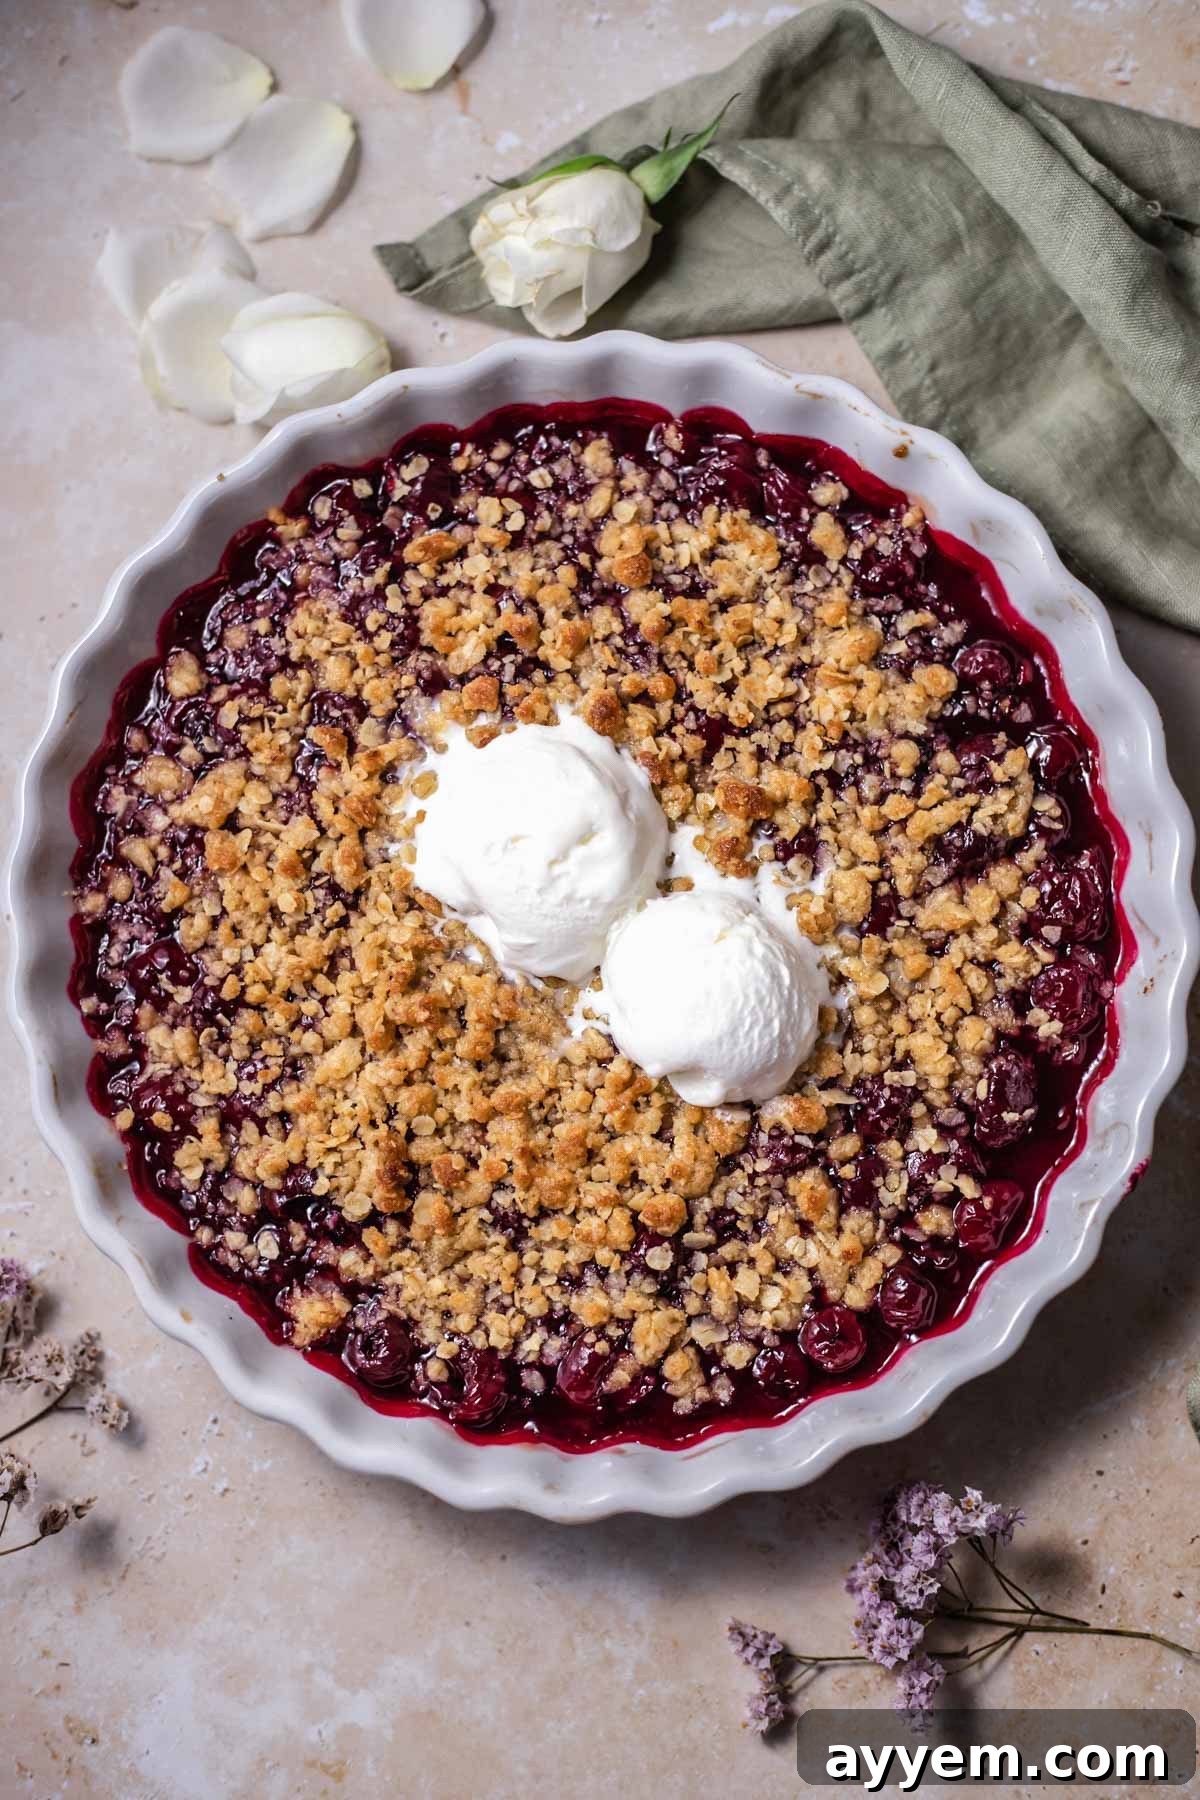
Welcome to the ultimate guide to crafting the most delightful and comforting dessert: a homemade Cherry Crisp! This recipe epitomizes simplicity, requiring just a handful of readily available ingredients to create a warm, inviting treat that’s perfect for any occasion. With its luscious, sweet cherry filling nestled beneath a golden, crunchy oat topping, every spoonful delivers a taste of pure bliss and nostalgic comfort.
Cherries, vibrant and bursting with flavor, might not always be in season, but that shouldn’t stop you from enjoying this beloved classic. Our recipe cleverly utilizes canned cherries in water, ensuring you can whip up this amazing crisp any time of the year. The key is to choose canned cherries without any added syrups or sweeteners, as the pie filling varieties can significantly alter the authentic taste and sweetness balance we’re aiming for. Opting for plain, pitted cherries allows the natural fruit flavor to shine through, complemented perfectly by our simple topping.
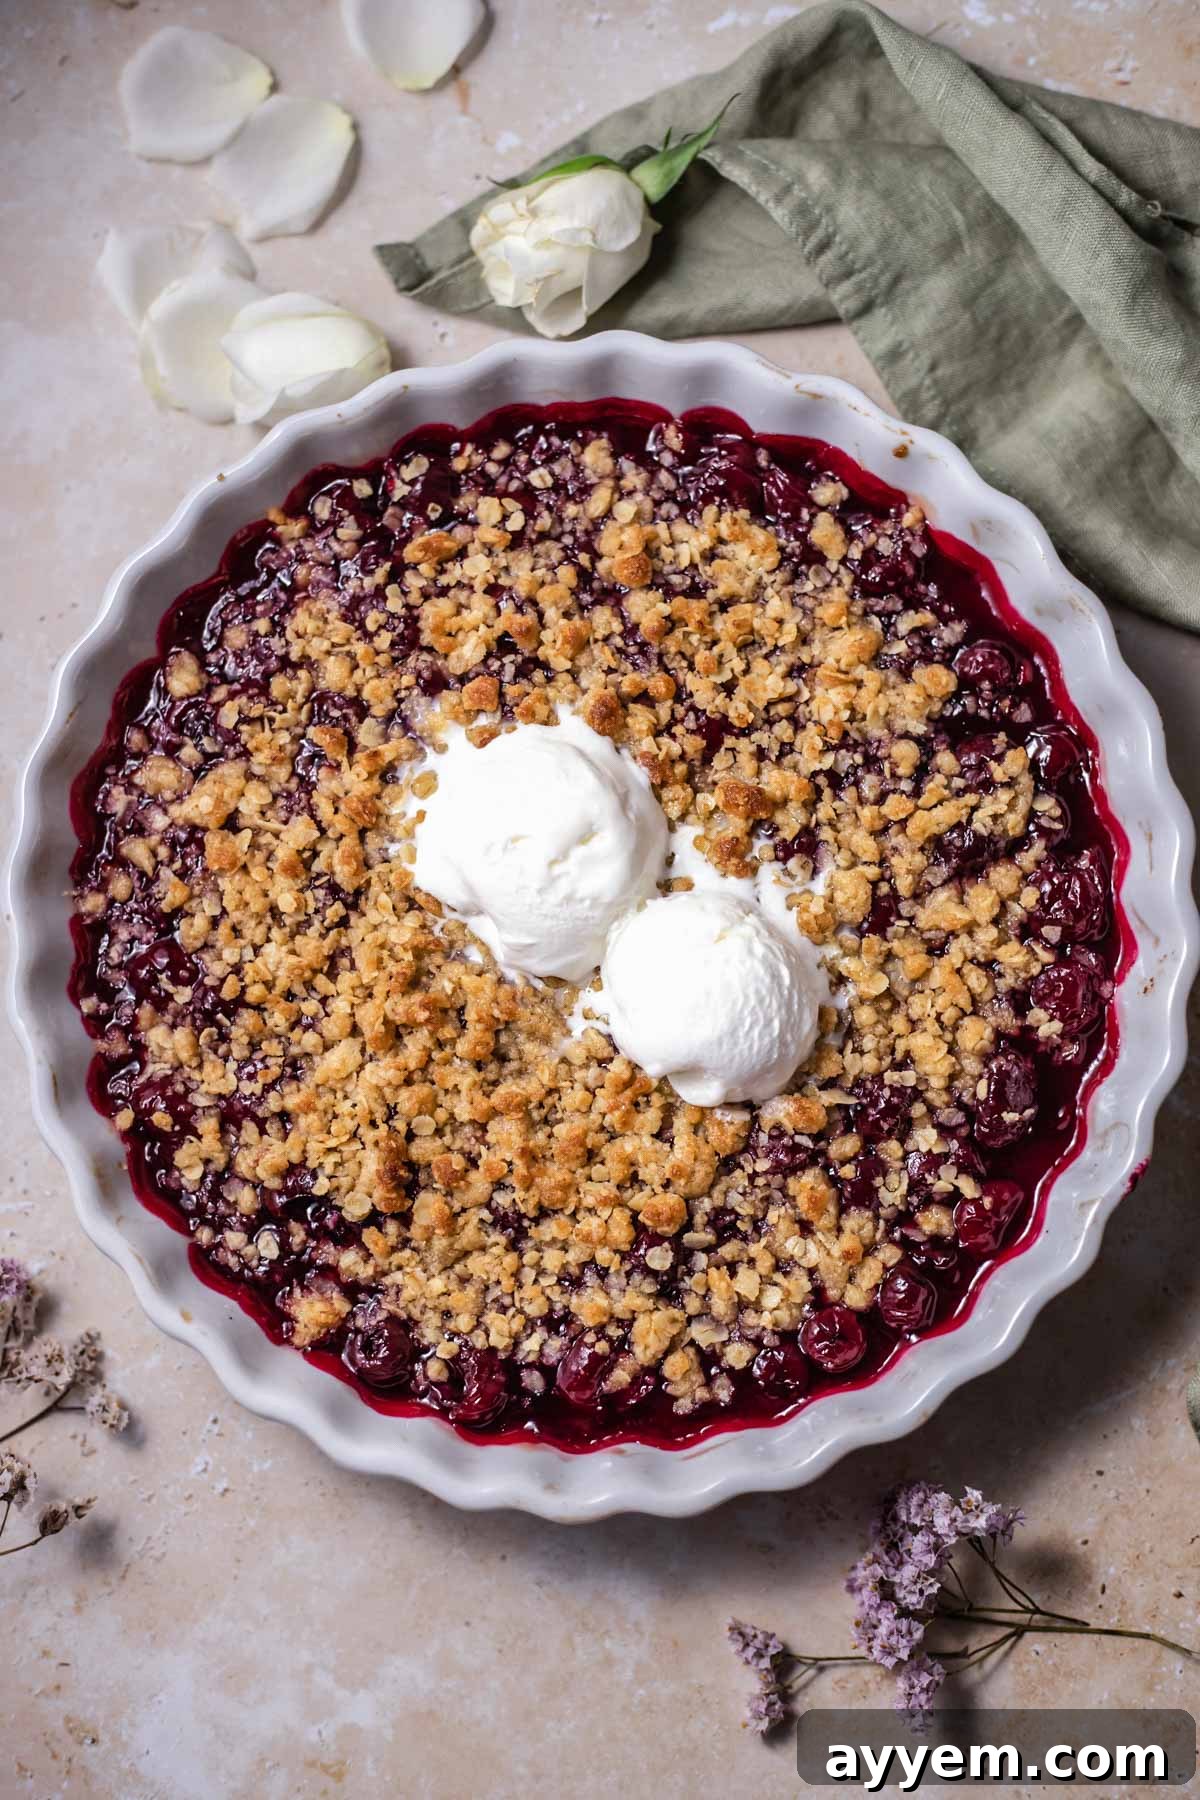
Delicious Homemade Cherry Crisp: An Easy, Comforting Dessert for Any Occasion
The cherry crisp stands as a quintessential American dessert, a true testament to simple ingredients coming together to create something extraordinary. It’s incredibly straightforward to prepare, making it accessible even for novice bakers, and it achieves peak deliciousness when served warm straight from the oven, ideally crowned with a melting scoop of vanilla ice cream. The sweet, slightly tart cherry filling gently bubbles and melds with the crispy, buttery oat topping, creating an irresistible symphony of flavors and textures in every single bite. This isn’t just a dessert; it’s an experience, a warm embrace in food form.
Our goal is to provide you with a straightforward recipe that won’t require a special trip to an artisanal grocery store or an exorbitant budget. The beauty of this cherry crisp lies in its approachable nature. While fresh cherries at the peak of their season – typically from mid-May through July – offer an unparalleled flavor, their seasonal availability shouldn’t limit your enjoyment. Thanks to high-quality canned and frozen options, you can savor this dessert year-round. We’re confident that once you try this recipe, it will become a cherished staple in your home, with friends and family eagerly requesting it again and again!
A Rich History of Fruit Crisps and Crumbles
The history of the fruit crisp is as comforting as the dessert itself, tracing its roots back to resourceful kitchens where simple ingredients were transformed into satisfying treats. References to dishes remarkably similar to what we now call a crisp or crumble began appearing in American and European cookbooks around the early 1900s. These early iterations were born out of necessity, particularly during times of economic hardship or rationing, such as the World Wars, when traditional pie crust ingredients like butter and flour were scarce or needed to be conserved. Cooks sought creative ways to extend fruit fillings with simpler, more readily available toppings.
While the exact origin remains somewhat shrouded in time, many food historians believe that fruit crumbles and crisps emerged as a more rustic, less labor-intensive alternative to pies. Instead of a delicate pastry crust, these desserts featured a streusel-like topping that was easy to mix and sprinkle over the fruit. The original crisp recipes often showcased baked apples, sometimes enriched with almonds for added flavor and texture. Over time, as fruits became more accessible and culinary traditions evolved, hundreds of variations were created and modified, incorporating a wide array of seasonal fruits and different topping ingredients. The cherry crisp, with its delightful balance of tart and sweet, quickly rose through the ranks to become a perennial favorite, a testament to its enduring appeal and delicious simplicity.
Crisp vs. Cobbler: Understanding the Delicious Differences
One common question that often arises when discussing baked fruit desserts is the distinction between a fruit crisp and a fruit cobbler. While both offer a warm, fruity, and comforting experience, their toppings are what truly set them apart. Understanding these differences will help you choose the perfect dessert to satisfy your craving.
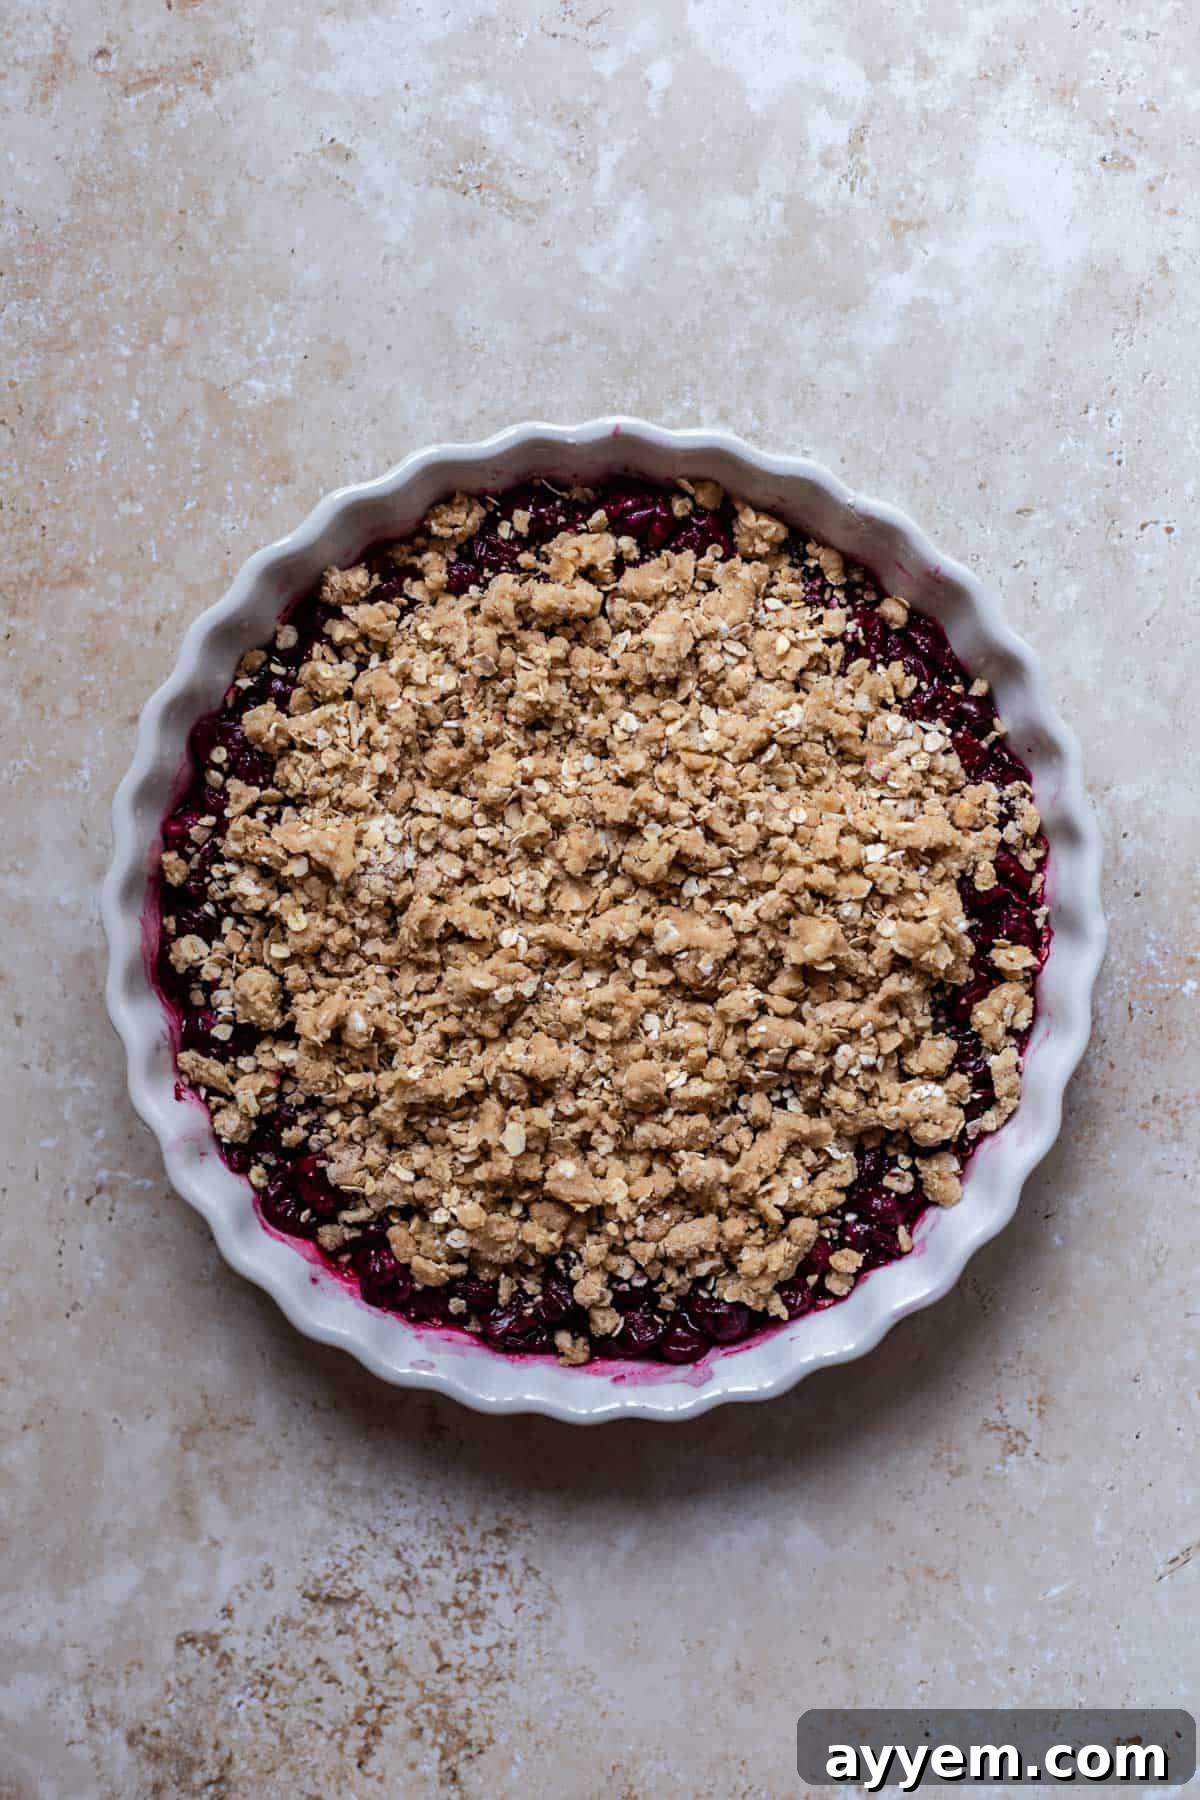
A **Cherry Crisp**, like the one we’re making today, is characterized by its distinctive streusel-like topping. This topping is typically a mixture of flour, sugar (often brown sugar for moisture and depth of flavor), butter, and often oats. When baked, the butter melts and binds the dry ingredients, creating a wonderfully crunchy, crumbly, and golden-brown layer over the fruit. This crisp texture is its defining feature, providing a delightful contrast to the soft, juicy fruit underneath. Crisps are generally baked in baking dishes or individual ramekins, allowing for a generous surface area of that irresistible streusel.
A **Cherry Cobbler**, on the other hand, features a topping made from a biscuit-like dough or batter. Instead of a crumbly streusel, spoonfuls or drops of this dough are dolloped over the fruit filling before baking. As the cobbler bakes, these dough pieces expand and puff up, forming a soft, cake-like, or biscuit-like crust on top, often with golden edges and a tender interior. This “cobbled” appearance, reminiscent of cobblestones, gives the dessert its name. Cobblers offer a softer, more substantial topping that soaks up some of the fruit juices, creating a comforting, almost dumpling-like texture. If you’re looking for a delightful cobbler experience, be sure to try our delicious Strawberry Peach Cobbler.
In essence, the choice between a crisp and a cobbler comes down to your preferred topping texture: crispy and crumbly with oats for a crisp, or soft and biscuit-like for a cobbler. Both are fantastic ways to enjoy baked fruit, but they deliver distinct culinary experiences.
What Makes Cherry Crisp So Irresistible? The Taste & Texture
Imagine the very best elements of a classic cherry pie, the rustic charm of an apple crisp, and the wholesome chewiness of an oatmeal cookie, all harmoniously combined into one sensational dessert. That’s precisely what a cherry crisp tastes like – and so much more!
Upon taking your first bite, you’ll immediately notice the delightful interplay of textures. The star, of course, is the signature crisp topping. Made with a blend of flour, brown sugar, butter, and hearty rolled oats, it bakes into a golden-brown, crunchy layer that provides a satisfying resistance. This topping isn’t just about crunch; it also contributes a rich, buttery, and slightly caramel-like sweetness from the brown sugar and oats, which perfectly complements the fruit.
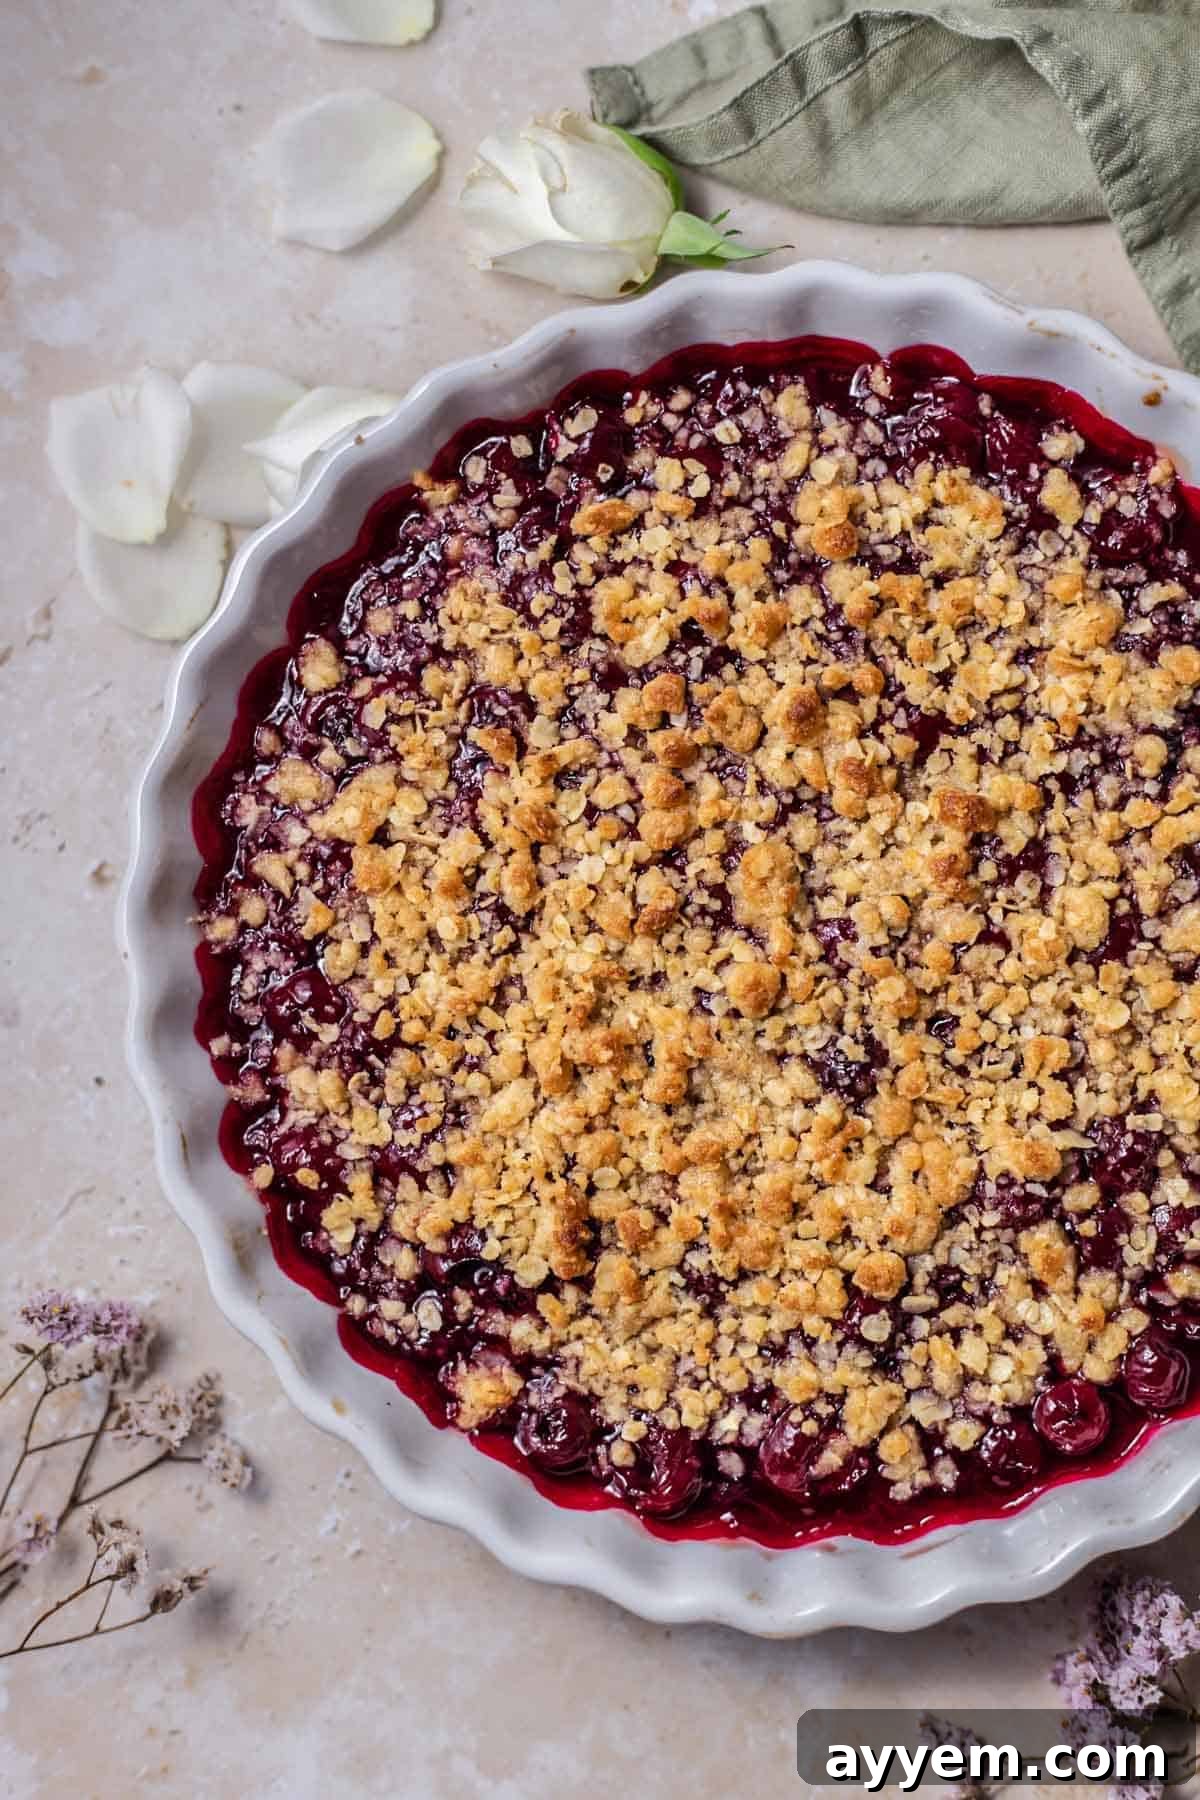
Beneath this glorious crunch lies the heart of the dessert: the warm, juicy, and beautifully bubbling cherry filling. When baked, the cherries soften and release their vibrant, tangy juices, which are slightly thickened by a touch of flour. This creates a luxurious, syrupy consistency that is both sweet and wonderfully tart, showcasing the natural brightness of the fruit. The contrast between the jammy, hot cherry filling and the cool, creamy additions like ice cream is a culinary delight that simply can’t be beaten. It’s a symphony of sweet, tart, rich, and textural sensations that makes cherry crisp an enduring favorite.
Perfect Pairings: What to Serve with Your Cherry Crisp
While a freshly baked cherry crisp is undeniably delicious on its own, pairing it with the right accompaniments can elevate it from a wonderful dessert to an unforgettable culinary experience. The key is to introduce contrasting textures and temperatures that enhance the crisp’s inherent qualities.
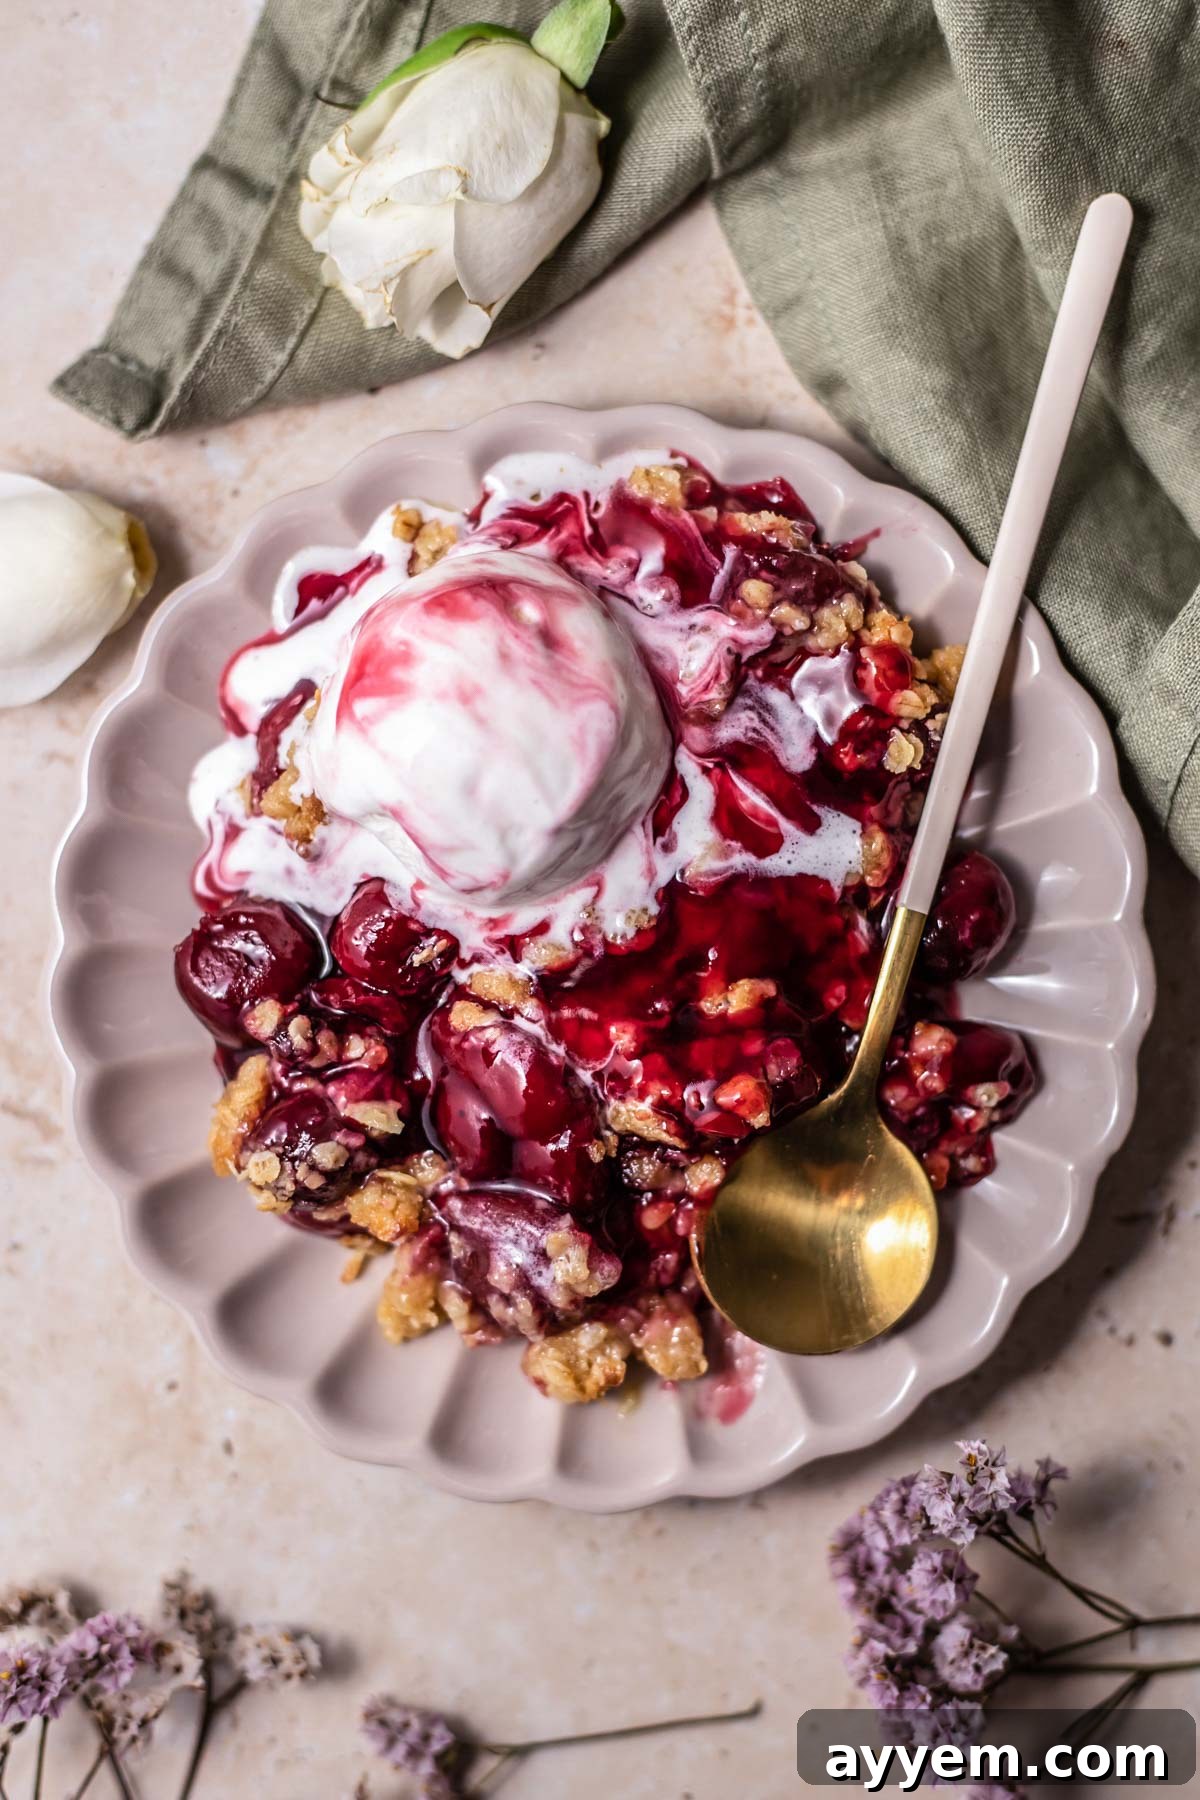
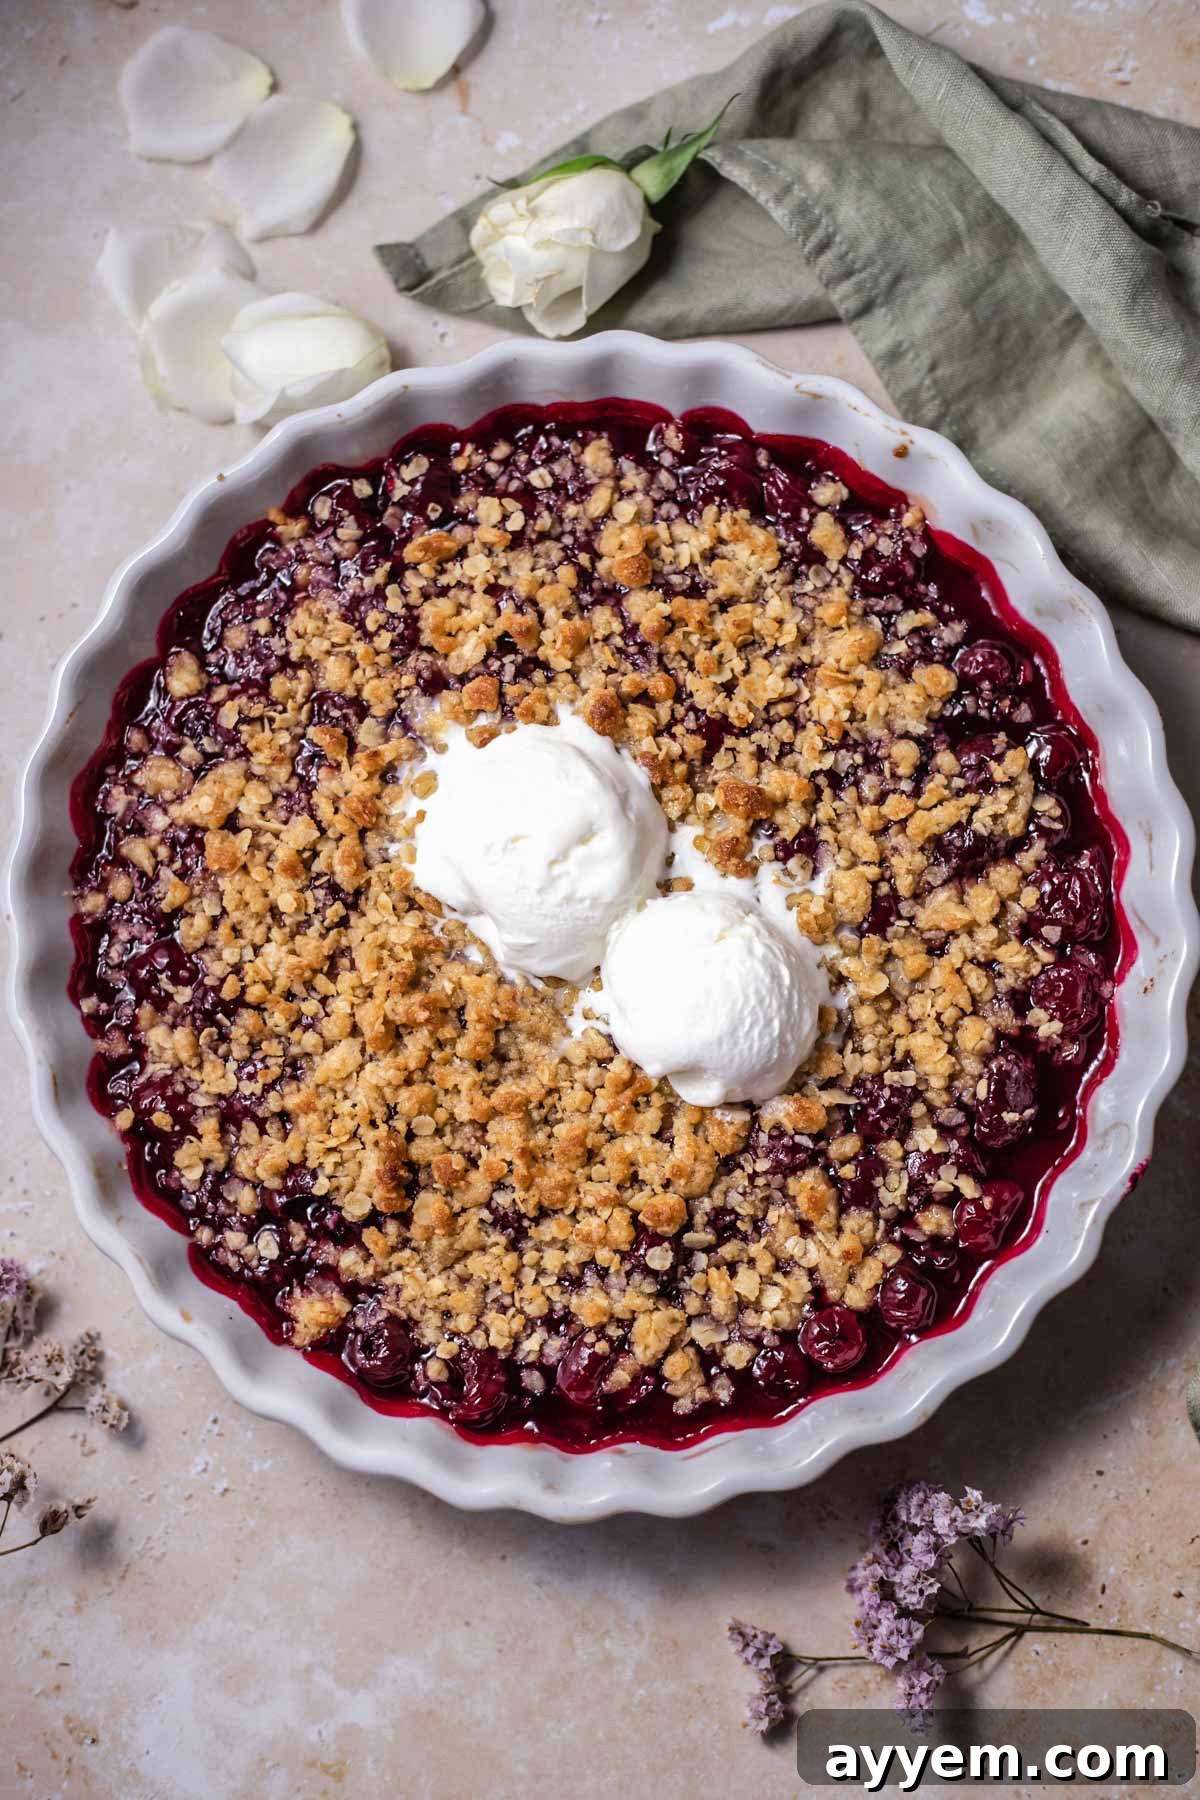
Our top recommendation, and an undeniable American classic, is a generous scoop of **vanilla ice cream**. The cool, creamy texture of the ice cream provides a heavenly contrast to the warm, bubbly fruit and crunchy topping. For an extra touch of sophistication, consider vanilla bean ice cream, where the flecks of vanilla add an aromatic depth. If you prefer something lighter but equally delightful, a dollop of freshly whipped cream is a fantastic choice, offering a delicate sweetness and airy texture that melts beautifully into the warm crisp.
For those who love to experiment, consider adding a sprinkle of toasted pecans or walnuts underneath the crumble topping before baking. This introduces another layer of nutty flavor and satisfying crunch. Beyond these classics, a drizzle of warm caramel sauce or rich chocolate sauce can add an extra layer of decadence. If you’re looking for a tangier, healthier option, a spoonful of vanilla Greek yogurt offers a creamy, cool counterpoint without being overly sweet. And for a refreshing beverage pairing, a glass of cold almond milk or a hot cup of black tea can wonderfully complement the flavors of the cherry crisp.
Frequently Asked Questions About Cherry Crisp
Here are answers to some common questions about making and enjoying cherry crisp, ensuring your baking experience is smooth and successful.
- Can I use frozen cherries for cherry crisp?
- Absolutely! Frozen cherries are an excellent substitute when fresh ones aren’t available. Just be sure to thaw them completely and drain any excess liquid before mixing them with the sugar and flour. This step is crucial to prevent your crisp from becoming watery. They will deliver that summery cherry flavor any time of the year, making this a truly versatile recipe.
- How do you keep cherry crisp topping crispy?
- To achieve and maintain that irresistible crunch, there are a few key tips:
- Bake until golden: Ensure you bake the crisp until the topping is deeply golden brown and the fruit filling is visibly bubbling. This indicates that the topping has had enough time to crisp up thoroughly.
- Cool uncovered: Once out of the oven, avoid covering the hot crisp immediately. Steam trapped underneath a cover can condense and make the topping soggy. Let it cool slightly uncovered.
- Serve fresh: Cherry crisp is always best served fresh from the oven, when the topping is at its crispiest.
- Reheating: If you have leftovers, reheat them in a toaster oven or conventional oven at around 300-325°F (150-160°C) for 10-15 minutes to revive the crispness.
- Can I make cherry crisp ahead of time?
- While you can prep certain components, assembling and baking the crisp fresh is highly recommended for the best texture. If you need to prepare ahead, you can mix the cherry filling and the crisp topping separately and store them in the refrigerator for up to 24 hours. Assemble and bake just before serving to ensure the topping remains perfectly crisp.
- Can I use other fruits in a cherry crisp?
- Absolutely! This recipe is incredibly adaptable. Feel free to mix in other fruits with your cherries, or swap them out entirely. Popular choices include berries (strawberries, blueberries, raspberries), peaches, apples, or even a combination of these. Adjust sugar levels slightly based on the sweetness of your chosen fruits. A mixed berry and cherry crisp is particularly delightful!
- What kind of baking dish is best for cherry crisp?
- A standard 8×8 inch (20×20 cm) or 9×9 inch (23×23 cm) square baking dish works well. For a slightly thinner fruit layer and a more prominent topping, an 11×7 inch (28×18 cm) oval or rectangular dish, as used in our recipe, is an excellent choice. The key is to ensure the fruit layer isn’t too thick, allowing it to bubble and thicken evenly, and providing ample space for that wonderful crisp topping.
The Ultimate Easy Cherry Crisp Recipe: Your Guide to Sweet Perfection
Cherry Crisp
An incredibly easy 5-ingredient cherry crisp recipe featuring a sweet, juicy cherry filling and a perfectly crunchy oat topping. A comforting classic for any time of year!
Author: Food Dolls
Servings: 6 servings
Prep Time: 10 mins
Cook Time: 30 mins
Total Time: 40 mins
Ingredients
For the Cherry Filling
- 2 (15 ounce) cans pitted cherries, thoroughly drained (ensure they are NOT pie filling!)
- 1/4 cup granulated sugar
- 1 Tablespoon all-purpose flour
For the Crisp Topping
- 1 cup all-purpose flour
- 1 cup rolled oats (old-fashioned oats work best for texture)
- 1/2 cup packed light brown sugar
- 1/2 teaspoon kosher salt
- 10 Tablespoons cold unsalted butter, cut into 1-tablespoon slices
Instructions
- Prepare the Oven: Preheat your oven to 350 degrees Fahrenheit (175°C).
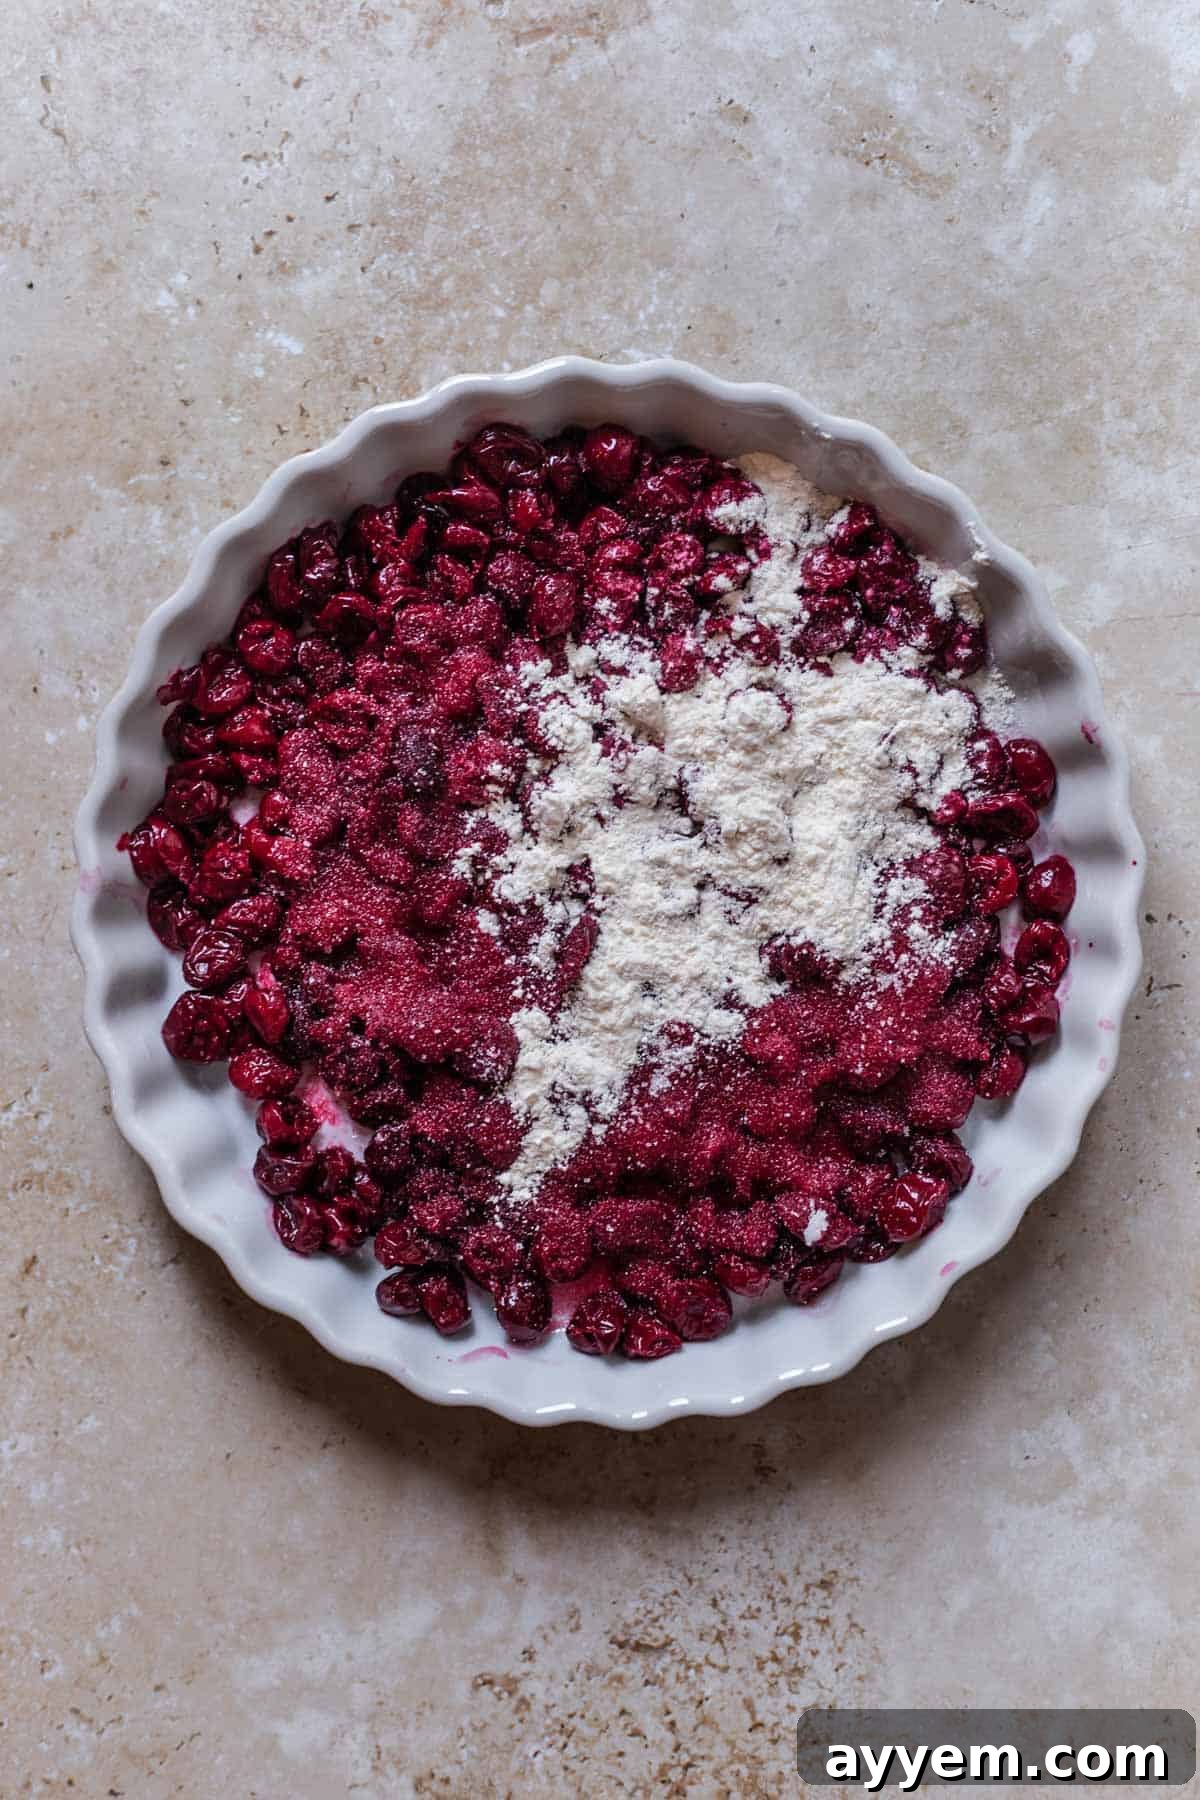
- Combine Cherry Filling: In an 11×7 inch baking dish (or a similar sized oven-safe dish), add the thoroughly drained pitted cherries, granulated sugar, and 1 tablespoon of all-purpose flour. Toss gently but thoroughly until the cherries are evenly coated with the sugar and flour mixture. This helps thicken the juices during baking.
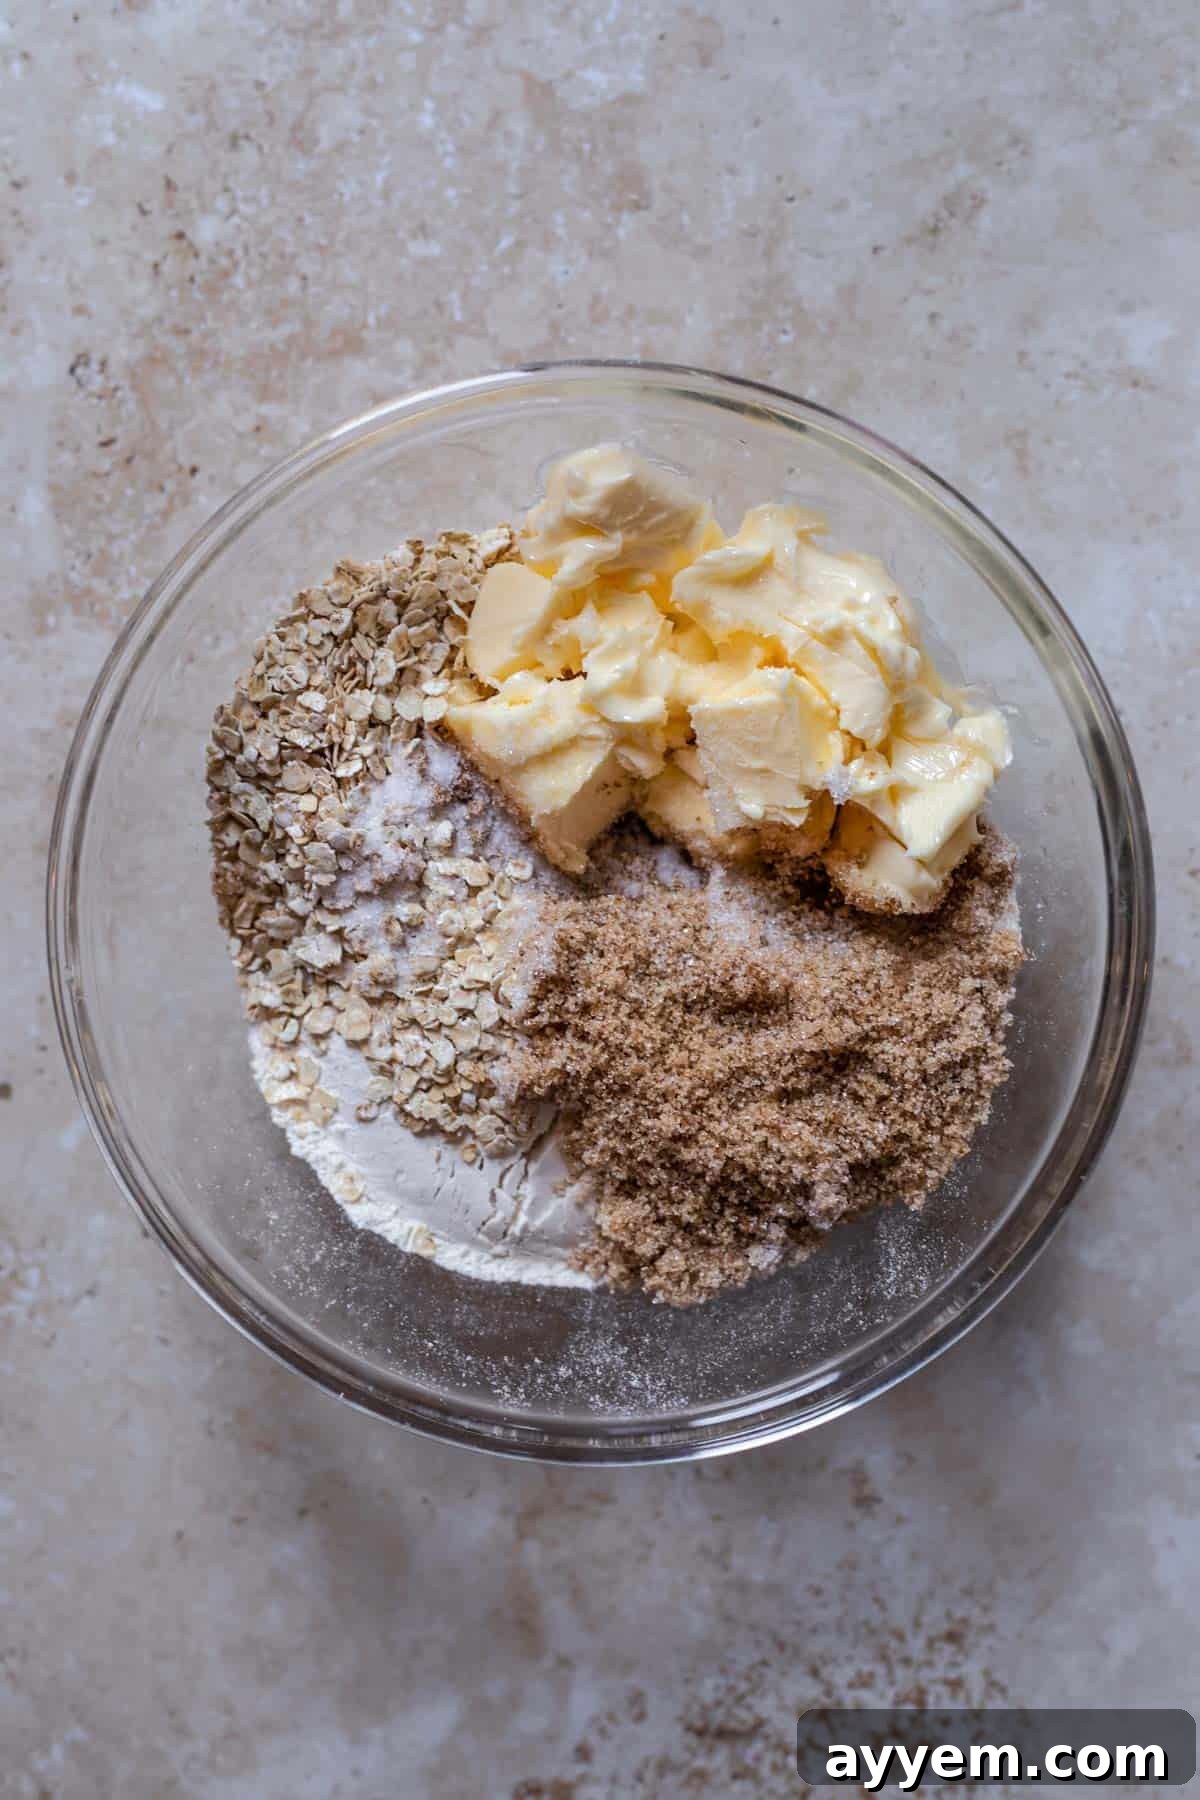
- Make the Crisp Topping: In a separate medium-sized bowl, combine 1 cup all-purpose flour, rolled oats, packed light brown sugar, and kosher salt. Add the cold unsalted butter slices. Using a pastry cutter, two knives, or your fingertips, cut the butter into the dry ingredients until the mixture resembles coarse crumbs. Some larger pea-sized pieces of butter are desirable as they will create pockets of crispness. Avoid overworking the dough. (You can also use a hand mixer on low speed for this if preferred.)
- Assemble the Crisp: Evenly sprinkle the prepared crisp topping over the cherry mixture in the baking dish, ensuring it covers the fruit from edge to edge.
- Bake to Perfection: Place the baking dish in the preheated oven and bake for 30-35 minutes, or until the topping is beautifully golden brown and the cherry filling is visibly bubbly around the edges. The aroma filling your kitchen will be incredible!
- Serve: Let the cherry crisp cool for a few minutes before serving warm. It’s absolutely divine on its own or with your favorite toppings.
Video Tutorial
For a visual guide to making this simple and delicious cherry crisp, you can find a step-by-step video tutorial on our website, demonstrating each stage of the process from preparing the cherries to achieving that perfect golden topping.
Nutrition Information (Approximate Per Serving)
Nutrition information is automatically calculated and should be used as an approximation. Individual results may vary based on specific ingredients and preparation methods.
- Serving Size: 1 serving
- Calories: 490 kcal
- Carbohydrates: 75g
- Protein: 6g
- Fat: 20g
- Saturated Fat: 12g
- Polyunsaturated Fat: 1g
- Monounsaturated Fat: 5g
- Trans Fat: 1g
- Cholesterol: 50mg
- Sodium: 203mg
- Potassium: 417mg
- Fiber: 5g
- Sugar: 44g
- Vitamin A: 674 IU
- Vitamin C: 10mg
- Calcium: 50mg
- Iron: 2mg
Like this recipe? Please leave a comment and let us know what you think!
We absolutely adore fruit crisps, especially those featuring a hearty oat topping. While some crisp recipes omit the oats, we firmly believe they are essential, contributing an unparalleled extra layer of crispy texture and a wholesome, nutty flavor that makes all the difference. Plus, with oats being a healthy whole grain, it’s a delicious win-win!
While an 11×7 inch oval baking dish is used in this recipe, it’s not strictly necessary. We particularly like a larger baking dish because it allows for a thinner layer of fruit filling, ensuring it cooks evenly and creates more surface area for that coveted, thick, and crunchy topping. The more topping, the better, right? However, feel free to use an 8×8 or 9×9 inch square dish; just be aware the fruit layer might be slightly thicker, and the baking time might need a small adjustment.
Enjoy Your Homemade Cherry Crisp!
We genuinely hope you give this straightforward and incredibly delicious cherry crisp recipe a try. If this is your first time venturing into the world of fruit crisps, don’t be intimidated! The directions are designed to be simple and easy for anyone to follow, so feel confident in getting into the kitchen and baking up this delightful treat.
There’s a special satisfaction that comes with creating a warm, homemade dessert, and this cherry crisp is sure to bring smiles to everyone who tastes it. We love hearing from our readers, so please don’t hesitate to leave any questions or comments you might have about this cherry crisp recipe, or any other baking adventures, down below. Happy baking!