
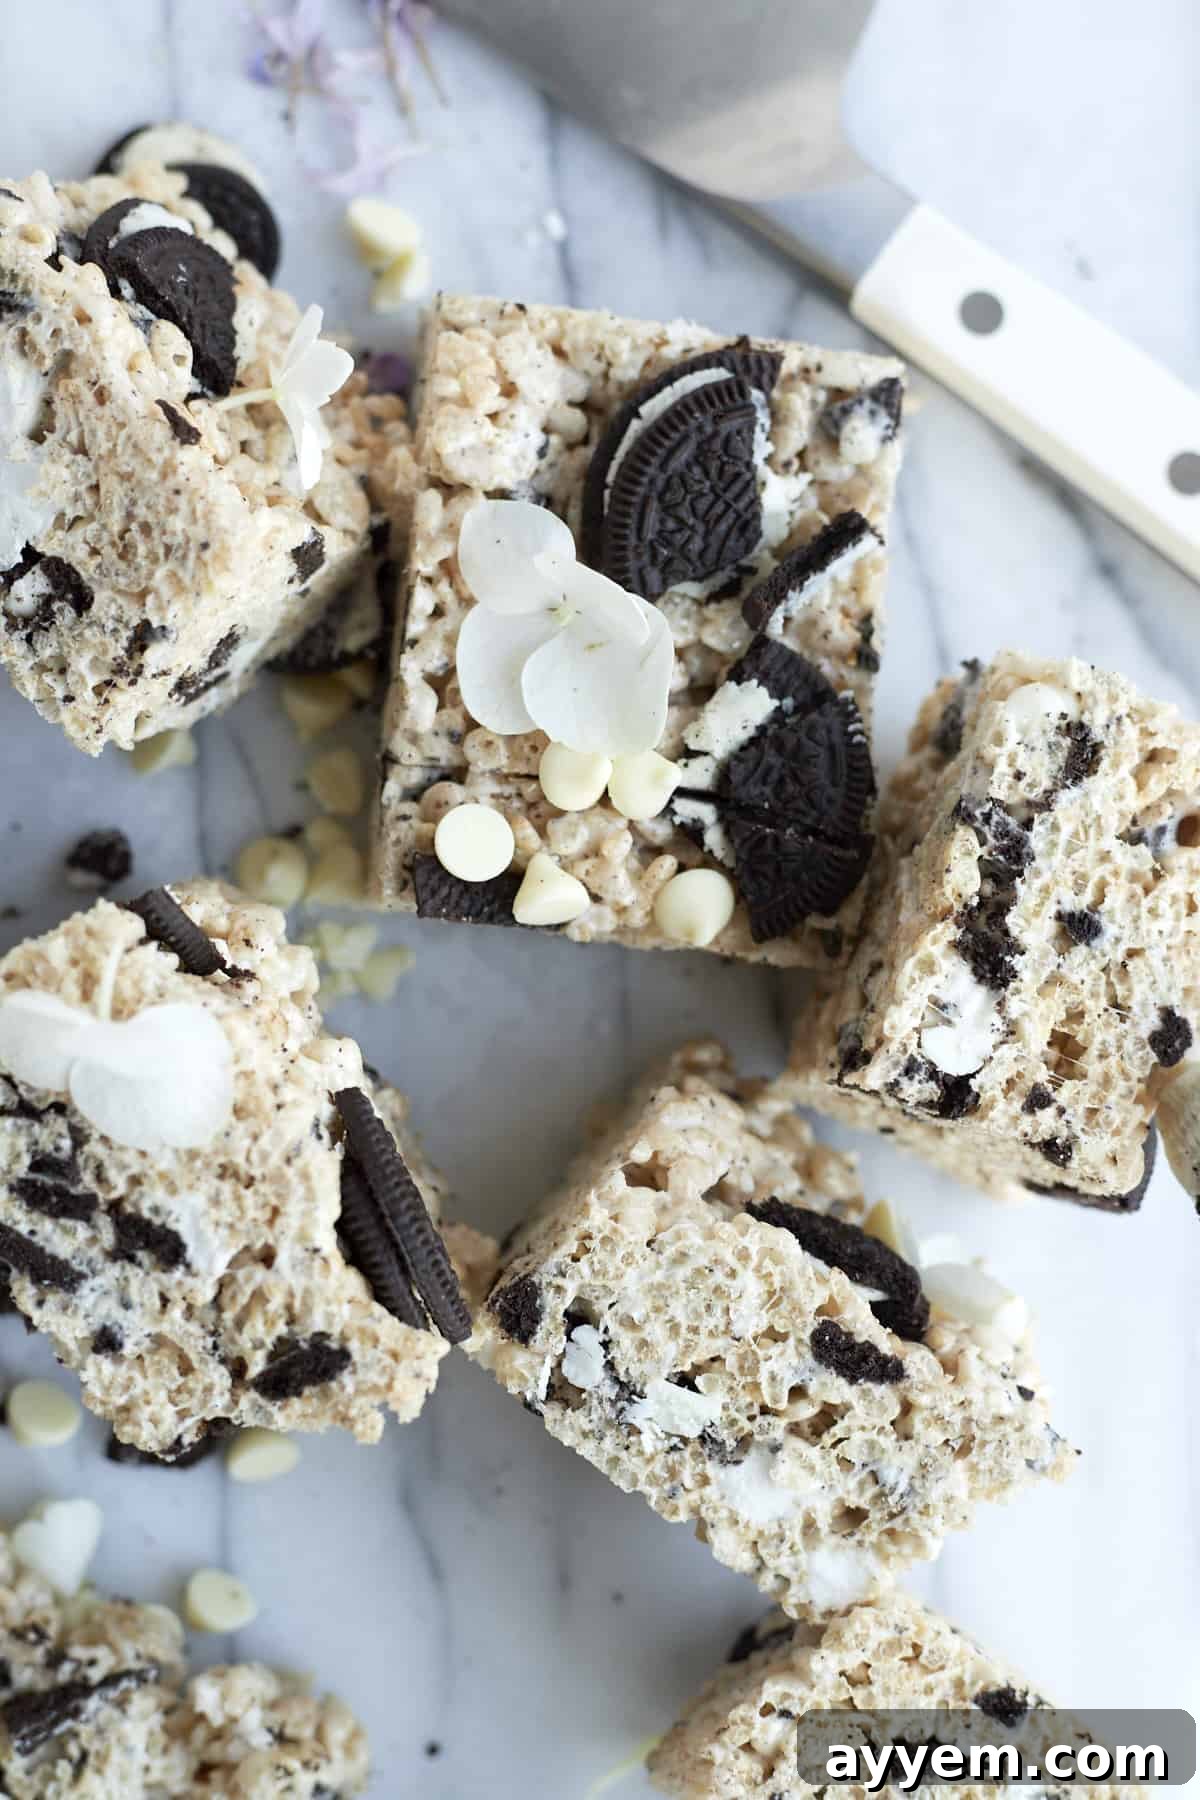
Prepare for an explosion of flavor and texture with these truly irresistible Oreo Rice Krispie Treats. Imagine the chewy, gooey delight of classic Rice Krispie treats, but elevated to an extraordinary level with a generous infusion of crunchy Oreo cookies and rich chocolate. This isn’t just a dessert; it’s a celebration in every bite – featuring sticky, melted marshmallows, a smooth layer of marshmallow fluff, the unmistakable crunch of crushed Oreos, and creamy chocolate pieces, all harmoniously blended into one perfectly handheld, no-bake square.
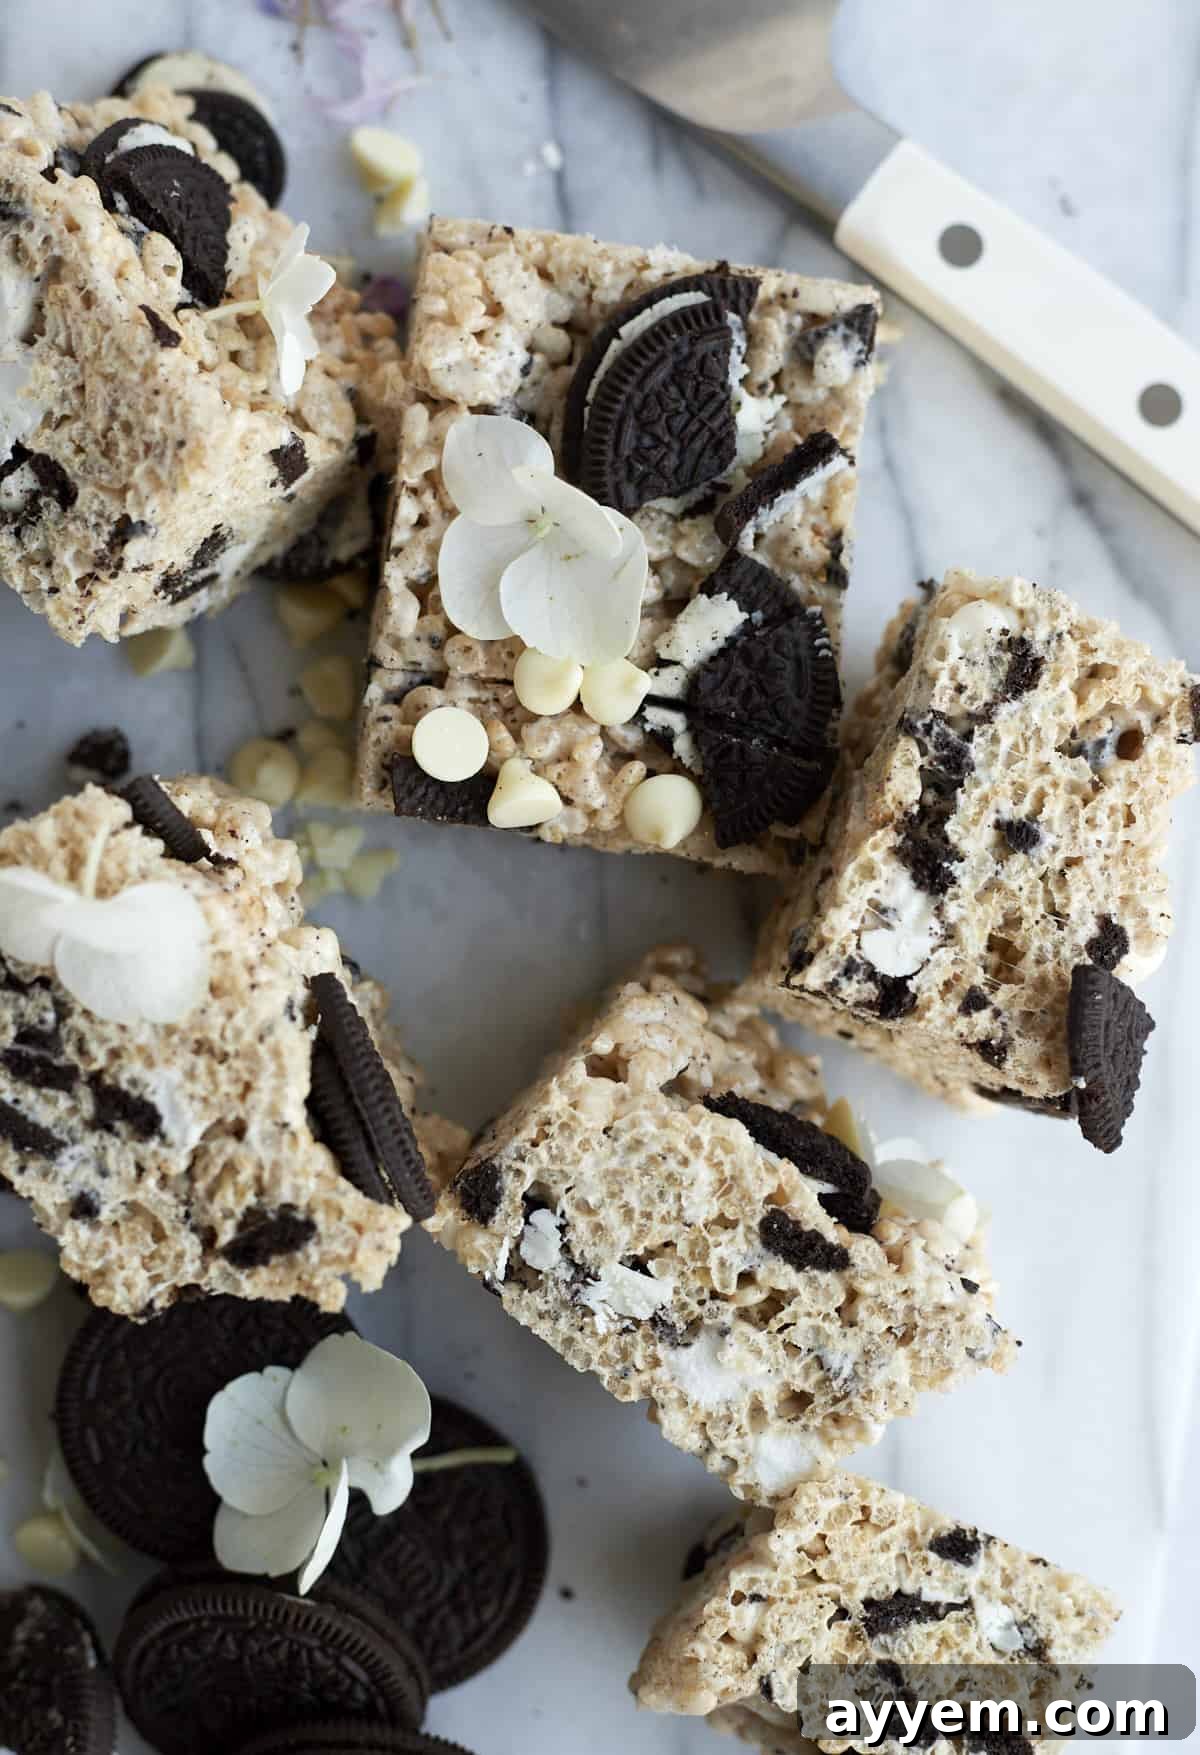
Why These Oreo Rice Krispie Treats Are a Must-Try
While we undeniably adore anything sweet, especially chocolate, there’s a unique charm about homemade Rice Krispie treats that transcends ordinary cravings. This beloved childhood classic holds a special place in our hearts, evoking fond memories with every bite. But what if we told you it could get even better? We’ve taken that beloved nostalgia and given it a decadent upgrade, resulting in the most incredible Oreo Rice Krispie Treats you’ll ever taste. This isn’t just an improvement; it’s a revelation! Here’s why you’ll want to dive into this recipe immediately:
- Rich & Indulgent Flavor: Each square is absolutely bursting with the iconic taste of chocolate chunks and real Oreo cookie pieces, delivering a delightful cookies and cream experience in every single mouthful.
- Lightning-Fast Preparation: Forget complicated baking projects. These treats are incredibly quick to prepare, coming together in a matter of minutes for a practically instant gratification dessert.
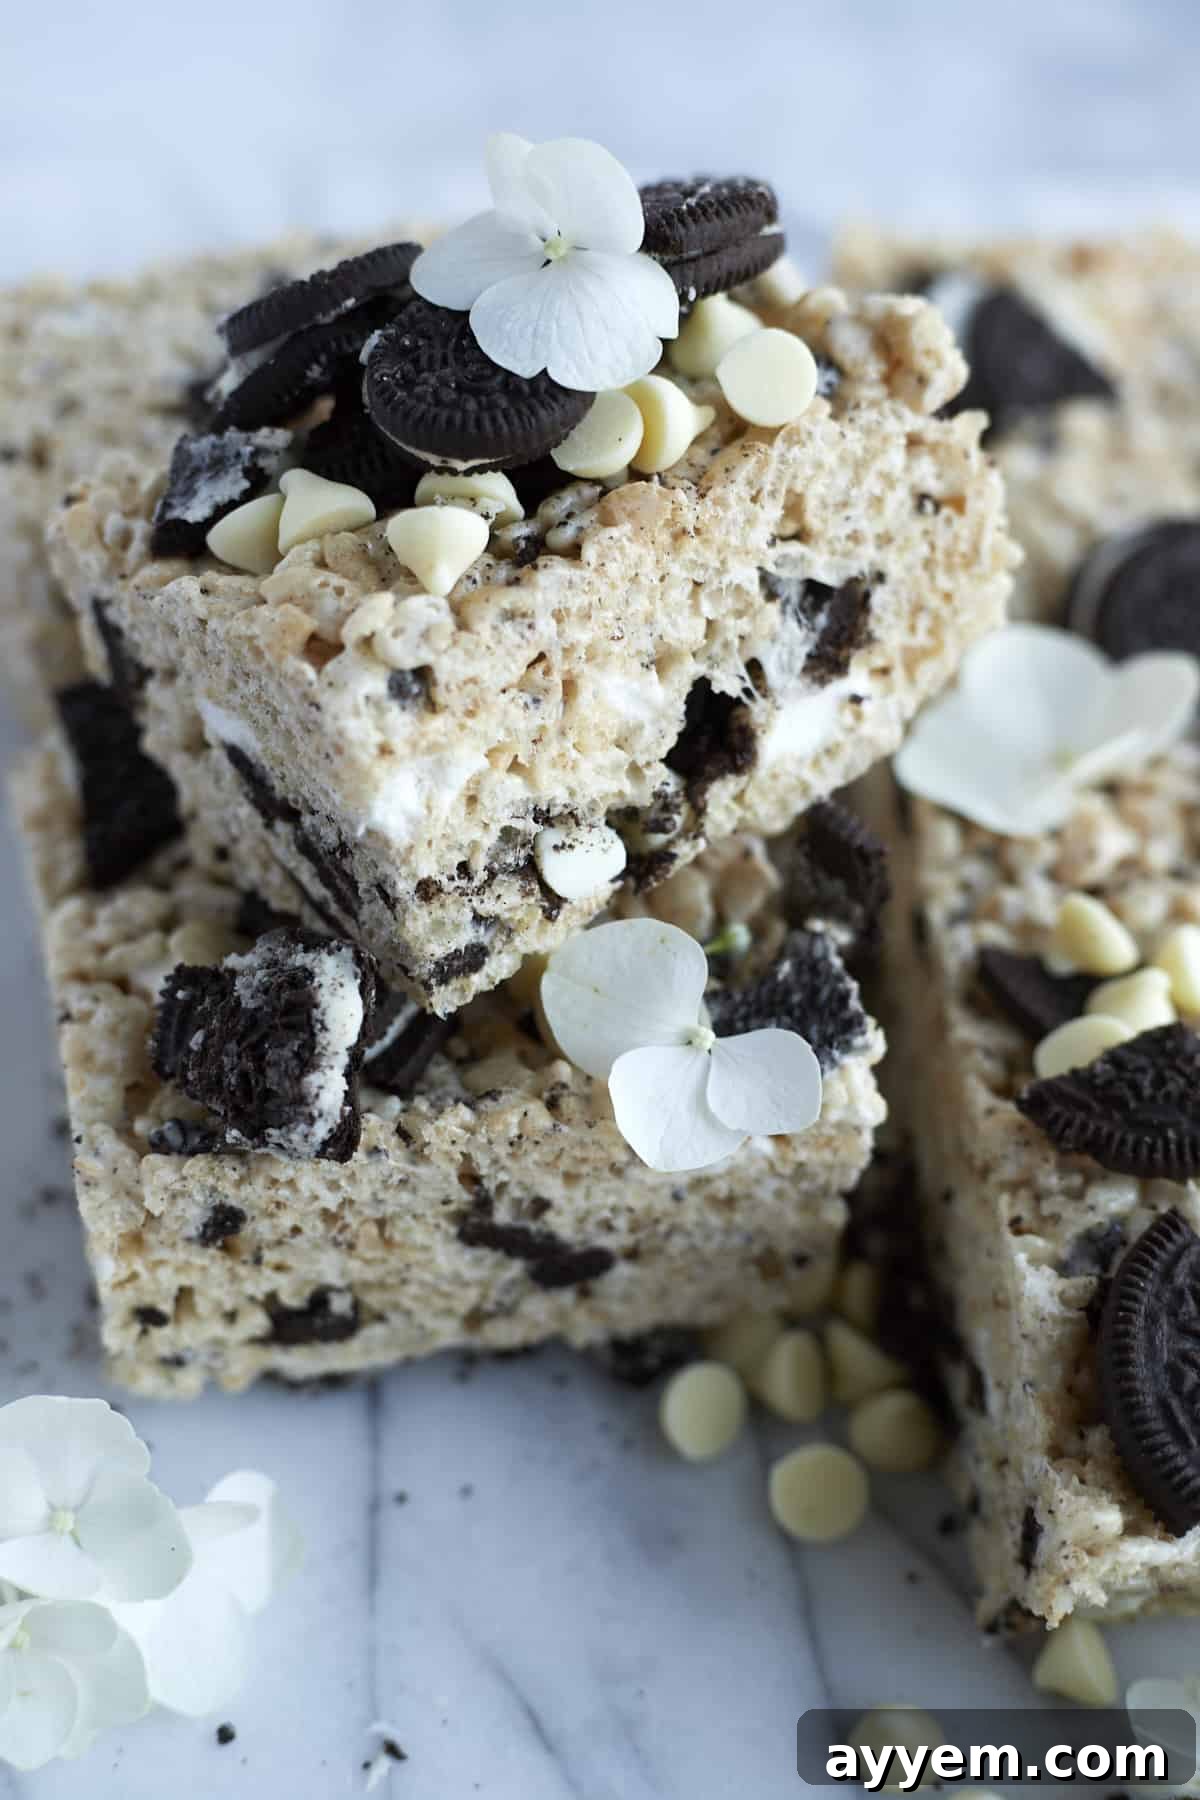
- Perfectly Balanced Texture: Experience the satisfying combination of crispy rice cereal, crunchy Oreo bits, and irresistibly gooey marshmallow, creating a textural symphony that’s simply unmatched.
- Versatile Treat for All Occasions: Whether you need a delightful after-school snack, a fun addition to packed lunches, a crowd-pleasing party dessert, or just a little something sweet for yourself, these treats fit the bill perfectly.
Honestly, these are so good, you might just find yourself making a double batch – one to share (if you must!) and one secret stash just for you. They’re a guaranteed hit with kids and adults alike, promising pure joy with minimal effort.
(If you’re a fan of our creative Rice Krispie recipes, don’t miss our indulgent Peanut Butter Balls with Rice Krispies and our heavenly Chocolate Peanut Butter Rice Krispies Treats, too!)
Essential Ingredients for Your Cookies & Cream Creation
Crafting the ultimate Oreo Rice Krispie Treats starts with selecting the right components. We begin with the familiar base ingredients for classic Rice Krispie treats and then layer in extraordinary flavors and textures to create something truly special. Gather these sweet essentials to bring your masterpiece to life:
- Rice Cereal: The foundational crunch! We typically opt for Kellogg’s Rice Krispies cereal for its classic crispness, but any puffed rice cereal with a similar light and airy texture will work beautifully. Ensure it’s fresh for maximum crunch.
- Butter: The secret to that rich, golden hue and delicious buttery flavor. Both salted and unsalted butter can be used; if you choose salted, you might want to slightly reduce any additional salt in the recipe, though a pinch often enhances the sweetness. Quality butter makes a noticeable difference.
- Mini Marshmallows: These are the magical “glue” that binds everything together, creating that signature gooey and chewy texture. Melting mini marshmallows is much quicker and smoother than larger ones. Fresh marshmallows are key for the best melt and stretch.
- Marshmallow Fluff: This luxurious addition sets our Oreo Rice Krispie Treats apart. Spread on top, it adds an extra layer of creamy, dreamy sweetness that beautifully complements the crispy cereal and crunchy Oreos, elevating the texture profile significantly.
- Hershey’s Cookies & Cream Chocolate Bar: This ingredient is a game-changer, intensifying the “cookies and cream” theme and adding an extra layer of creamy chocolate goodness. Chop it into small chunks to ensure an even distribution of rich, melty chocolate throughout the treats.
- Oreo Cookies: The star of the show! We love using classic Oreo cookies for their iconic flavor and satisfying crunch. Don’t be shy about experimenting with different varieties like Double Stuffed, Thins, or even flavored Oreos such as mint or peanut butter for a unique twist. Crushing them to different sizes – some fine crumbs, some larger chunks – will add varied texture.
- Optional: A Pinch of Salt: While not explicitly listed in the original, a tiny pinch of salt (especially if using unsalted butter) can remarkably balance the sweetness and enhance all the flavors, making the chocolate and marshmallow taste even richer.
Kitchen Tools You’ll Need
Making these no-bake treats requires minimal specialized equipment, which is part of their charm. Here’s a list of the basic kitchen tools that will make your preparation smooth and easy:
- Large Saucepan or Pot: Essential for melting the butter and marshmallows, ensuring enough space to mix in the cereal and cookies without spillage.
- Heat-Resistant Spatula or Wooden Spoon: For stirring the melting marshmallows and thoroughly combining the ingredients. A sturdy one will make mixing easier.
- 9×9 Inch Baking Dish (or 13×9 inch for thinner treats): The perfect size for shaping and setting your treats. A square dish works best for traditional bar shapes.
- Parchment Paper or Aluminum Foil: To line your baking dish, making it incredibly easy to lift out the finished treats and simplifying cleanup.
- Non-Stick Cooking Spray or Butter: For greasing the baking dish and your hands, preventing the sticky marshmallow mixture from adhering to everything.
- Measuring Cups and Spoons: For accurately measuring your cereal, butter, and marshmallows.
- Cutting Board and Sharp Knife: For slicing the set treats into neat squares.
How to Craft the Perfect Oreo Rice Krispie Treats: Step-by-Step
Transforming simple ingredients into these layered, sweet, and crunchy delights is a straightforward process. Follow these detailed steps to create your elevated Rice Krispie masterpiece:
- Prepare Your Pan: First, line a 9×9 inch baking dish with parchment paper or aluminum foil, leaving an overhang on the sides to easily lift the treats out later. Lightly grease the parchment/foil and also your spatula with non-stick cooking spray or a thin layer of butter. This is crucial for preventing stickiness.
- Melt Butter and Marshmallows: In a large, heavy-bottomed saucepan, melt the butter over medium-low heat. Keep the heat gentle to avoid burning the butter. Once the butter is mostly melted, add all of the mini marshmallows. Stir continuously until the marshmallows are completely melted and form a smooth, gooey mixture. Immediately remove the pan from the heat as soon as they are smooth. Overcooking marshmallows can lead to hard treats.
- Combine Cereal and Cookies: Working quickly while the marshmallow mixture is still warm and pliable, stir in the rice cereal and about half of your crushed Oreo cookies. Fold and mix diligently with your greased spatula until all of the cereal and cookie pieces are thoroughly coated with the melted marshmallow. Ensure an even distribution for consistent flavor and texture.
- Layer the First Half: Press half of the marshmallow-cereal-Oreo mixture evenly into the bottom of your prepared baking dish. Use your greased spatula or your greased hands to gently but firmly press it down. Avoid over-compressing, as this can make the treats too dense.
- Add the Creamy & Chocolatey Layer: Generously spread the marshmallow fluff over the first layer. Then, scatter the remaining crushed Oreo pieces and the chopped chunks of the Hershey’s Cookies & Cream chocolate bar evenly over the fluff. This creates a delightful middle layer of extra flavor and texture.
- Top with Remaining Mixture: Carefully spread the remaining half of the cereal mixture over the marshmallow fluff and chocolate/Oreo layer. Gently press it down to adhere to the layer beneath. Again, avoid pressing too hard.
- Garnish and Set: For a beautiful finish and an extra crunch, gently press additional larger Oreo chunks or crumbled pieces onto the very top surface of the treats. Allow the treats to cool completely at room temperature for at least 1-2 hours until they are fully solidified. Do not refrigerate immediately, as this can make them too hard.
- Slice and Serve: Once completely cool and firm, use the parchment paper overhang to lift the entire block of treats from the pan. Place it on a cutting board and use a sharp, greased knife to slice into squares. Serve immediately and enjoy!
Pro Tips for Irresistible Results
Achieving the perfect balance of chewy, crispy, and gooey with your Oreo Rice Krispie Treats is simple with a few expert tips:
- Fresh Marshmallows are Key: Always use fresh, soft marshmallows. Older, harder marshmallows won’t melt as smoothly and can result in dry, stiff treats.
- Low and Slow for Melting: Melt your butter and marshmallows over medium-low heat. High heat can burn the butter and make the marshmallows seize, leading to crumbly rather than gooey treats.
- Work Quickly: Once the marshmallows are melted, you need to incorporate the cereal and cookies swiftly. The mixture sets quickly as it cools, so fast mixing ensures everything is evenly coated.
- Don’t Over-Compress: When pressing the mixture into the pan, be gentle. Pressing too hard will compact the cereal too much, resulting in dense, hard treats instead of light and airy ones. Just enough pressure to form an even layer is perfect.
- Grease Everything: Use non-stick cooking spray or butter on your spatula and hands when mixing and pressing the treats. This prevents frustrating stickiness and makes the process much more manageable.
- Clean Cuts: For neat squares, use a sharp knife and clean it periodically with a warm, damp cloth while cutting. This prevents sticking and ensures crisp edges.
- Room Temperature Setting: Allow the treats to set at room temperature. While refrigerating might seem faster, it can make them overly hard and less enjoyable to chew. Patience results in perfectly soft and chewy squares.
Customizing Your Oreo Rice Krispie Treats
The beauty of these Oreo Rice Krispie Treats lies in their versatility. While they are phenomenal as is, you can easily customize them to suit your taste preferences or the occasion. Here are some ideas to inspire your creativity:
- Chocolate Drizzles: After the treats have set, melt some white chocolate, dark chocolate, or milk chocolate and drizzle it decoratively over the top for an extra layer of flavor and visual appeal.
- Candy Mix-Ins: Fold in other candies during the mixing stage. Think M&M’s, chocolate chips, peanut butter chips, or even chopped candy bars for a truly loaded treat.
- Seasonal Sprinkles: Add festive sprinkles to the top while the treats are still soft and sticky, perfect for holidays or themed parties.
- Flavored Oreos: As mentioned, experiment with different Oreo flavors like mint, peanut butter, golden, or birthday cake for a unique twist on the classic cookies and cream profile.
- Nutty Boost: For those who love nuts, consider adding a handful of chopped pecans or walnuts to the mix for an added layer of crunch and earthy flavor.
- Extract Variations: A tiny splash of vanilla extract (added with the marshmallows) enhances the overall sweetness, but you could also try almond extract for a subtle marzipan note or peppermint extract for a festive winter treat.
Storing Your Delicious Treats
These Oreo Rice Krispie Treats are so incredibly delicious, we trust they won’t last long! However, if by some miracle you find yourself with leftovers, proper storage is key to maintaining their optimal freshness and texture:
Once your treats have completely cooled and solidified, the best way to store them is in an airtight container at room temperature for up to 3 days. You can layer them between sheets of parchment paper to prevent sticking. Avoid refrigerating them, as the cold can cause the treats to harden and lose their signature chewy texture. If you must store them for longer, they can be individually wrapped in plastic wrap and then placed in an airtight container for up to 5 days, though they are always best enjoyed fresh.
Frequently Asked Questions (FAQs)
Here are some common questions we get about making the best Oreo Rice Krispie Treats:
Q: Can I add more crushed cookies to the recipe?
A: Absolutely! If you’re a true cookies-and-cream fanatic, feel free to increase the amount of crushed Oreos. Just be mindful not to overload the mixture too much, as an excessive amount of dry ingredients can make the treats a little crumbly or less cohesive. A generous extra handful usually works perfectly without compromising the texture.
Q: How can I make these treats extra creamy and decadent?
A: For an even more luxurious and creamy treat, you have a couple of options. You could stir in a scoop of white chocolate chips or vanilla baking chips directly into the warm marshmallow mixture just before adding the cereal. The residual heat will melt them slightly, adding a wonderful richness without compromising that perfect crispy, chewy texture. Alternatively, consider a light drizzle of melted white chocolate over the finished treats once they’ve set.
Q: Can I use different types or flavors of Oreos for this recipe?
A: Definitely! While classic Oreos deliver that signature cookies-and-cream flavor, don’t hesitate to get creative. Flavored Oreos like Mint Oreos, Peanut Butter Oreos, or even Golden Oreos (for a vanilla-based treat) can introduce exciting new flavor profiles. Just remember to crush them into small, manageable pieces so they distribute evenly throughout the treats.
Q: How do I prevent my Rice Krispie Treats from becoming too hard or too soft?
A: The key is in the marshmallows! To prevent them from becoming too hard, avoid overcooking the marshmallows. Once they are smooth and fully melted, remove them from the heat immediately. Overcooking toughens the sugar. For treats that are too soft, ensure you’re using the correct ratio of marshmallows to cereal. If your marshmallows are very fresh, they might be extra soft, so you could slightly reduce the butter or add a tiny bit more cereal, but generally sticking to the recipe ratio works well. Also, ensure they set at room temperature, not in the fridge.
Q: Are these Oreo Rice Krispie Treats suitable for parties or bake sales?
A: Absolutely! These treats are incredibly popular and make an excellent addition to any party platter, potluck, or bake sale. They are a no-bake option, easy to transport, and universally loved. Just make sure to cut them into uniform squares or rectangles for easy serving and presentation. Their delightful appearance and delicious taste are always a hit!
More Amazing Oreo-Inspired Recipes
Oreos aren’t just “milk’s favorite cookie”; they’re a culinary inspiration perfect for elevating a wide range of desserts. If you’re an Oreo enthusiast like us, you absolutely won’t want to miss out on these fantastic recipes that showcase the iconic cookie:
- Oreo Tiramisu: Rich, creamy, and wonderfully decadent, this Oreo Tiramisu is a modern twist on a classic dessert. Layers of coffee-soaked Oreos and a luscious mascarpone cream create a treat that truly tastes like the dessert of our dreams.
- No-Bake Oreo Pie: For the ultimate fuss-free dessert, our No-Bake Oreo Pie Recipe is simply the best you’ll ever taste. With just a few simple layers, you can create a creamy, chocolatey pie that requires no oven time and is ready to chill and enjoy!
- Oreo Brookie Bars: Can’t decide between a brownie and a cookie? Why choose when you can have both? These incredible Oreo Brookie Bars combine the best of both worlds, loaded with chunks of Oreos, and guaranteed to satisfy every single one of your sweet cravings.
- Cookies and Cream Mug Cake: When you need a quick, single-serving treat, this Cookies and Cream Mug Cake is your go-to. Made in minutes in the microwave, it’s the perfect solution for a sudden dessert craving.
Recipe Card: Oreo Rice Krispie Treats
Oreo Rice Krispie Treats
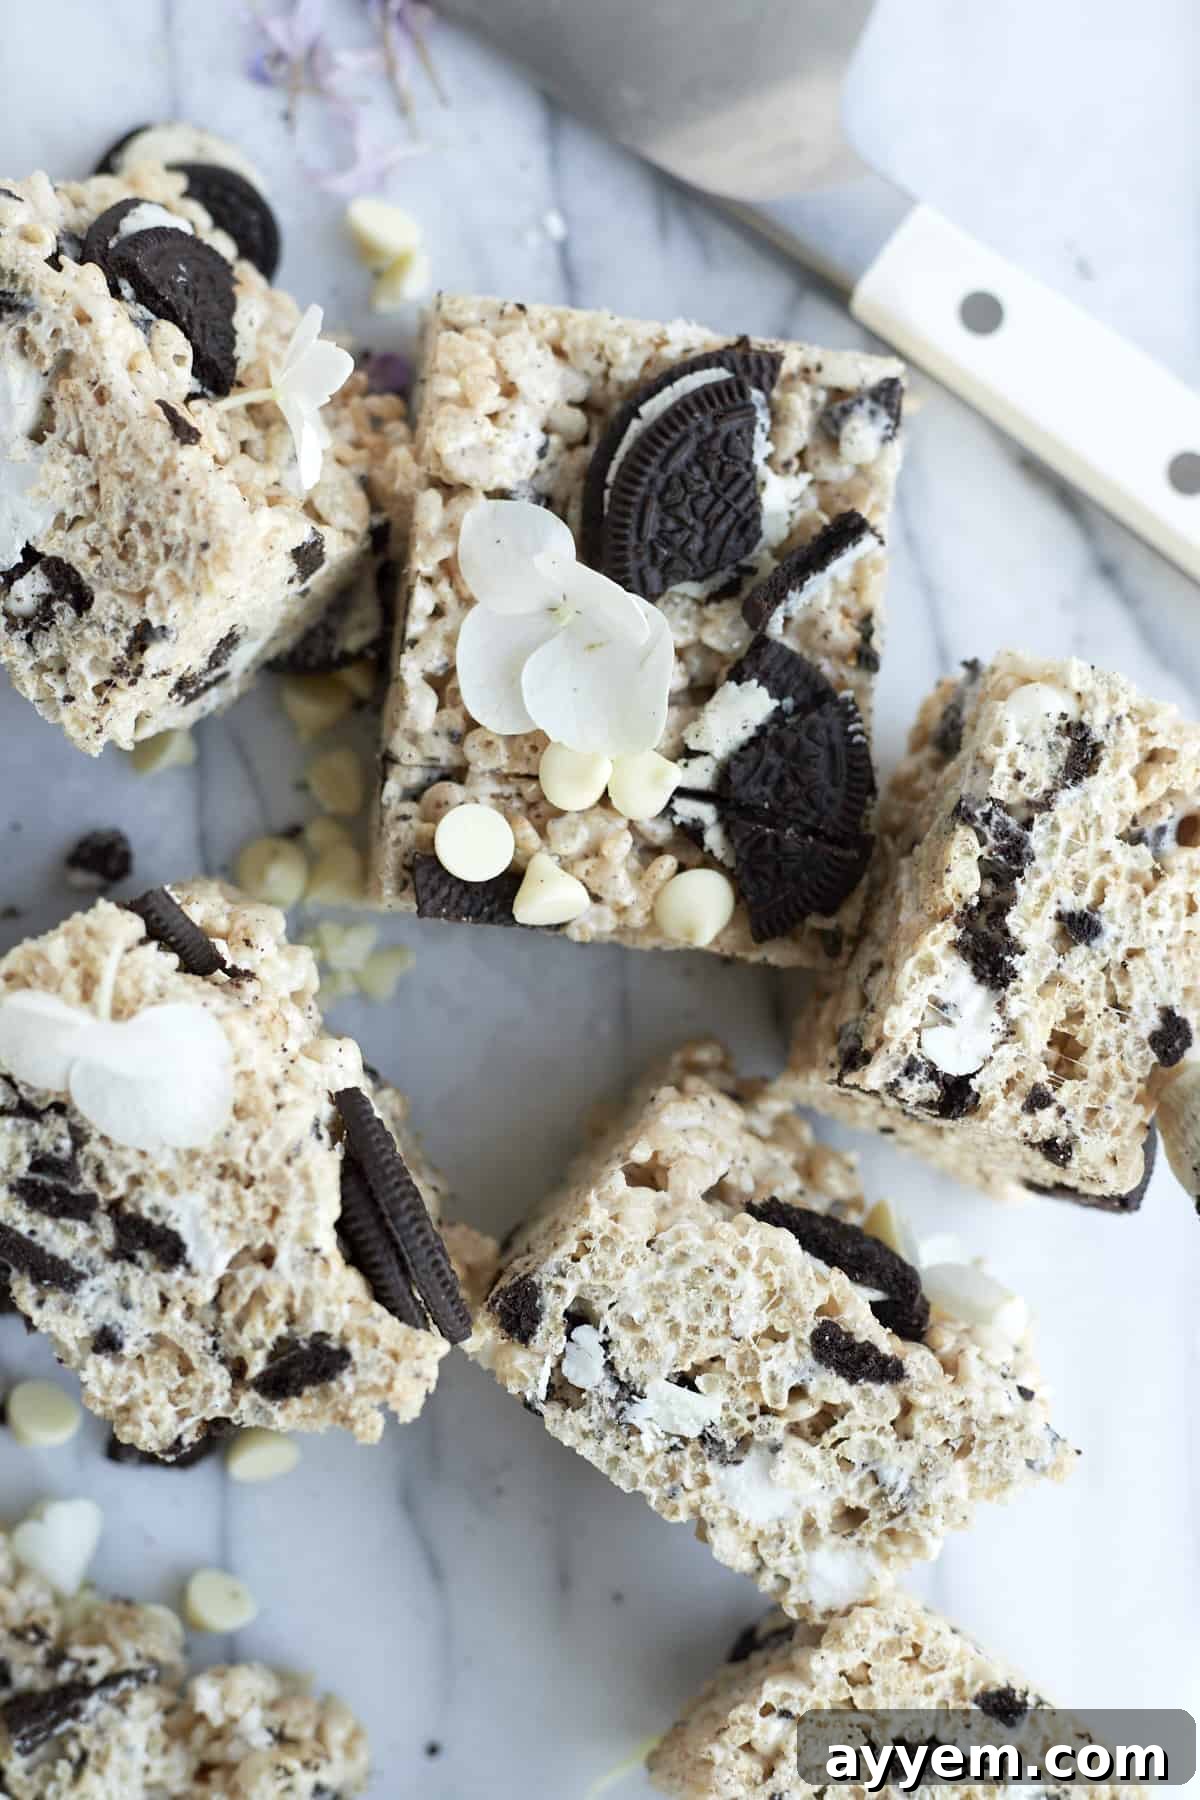
Even better than classic Rice Krispie treats, these Oreo Rice Krispie Treats are packed full of sticky marshmallows, marshmallow fluff, Oreo cookies, and cookies and cream chocolate. Thick and crispy, they transport your tastebuds to heaven with every bite.
Ingredients
- 4 Tablespoons butter
- 10 ounces mini marshmallows
- 6 cups rice cereal
- 10 crushed Oreo cookies (divided)
- 6 ounces marshmallow fluff
- 1 Hershey’s Cookies and Cream chocolate bar (chopped)
- Oreo cookies for garnish
Instructions
- In a large saucepan, melt butter over medium-low heat. Stir in mini marshmallows, and continue to cook until completely melted and smooth. Remove from heat.
- Working quickly, add in half of the crushed Oreo cookies and the rice cereal. Stir until all ingredients are well coated with the marshmallow mixture.
- Press half of the cereal mixture evenly into a greased 9×9 baking dish.
- Spread the marshmallow fluff, and scatter pieces of the chopped Hershey’s chocolate bar, and the remaining crushed Oreo cookies on top.
- Layer the rest of the cereal mixture on top of the ingredients, spreading out until smooth. Gently press extra Oreo chunks into the top of the treats for garnish.
- Let the treats cool at room temperature to solidify (about 1-2 hours). Then, slice into bars and serve!
Nutrition
Serving: 1 bar | Calories: 223kcal | Carbohydrates: 51g | Protein: 2g | Fat: 3g | Saturated Fat: 1g | Polyunsaturated Fat: 0.5g | Monounsaturated Fat: 1g | Trans Fat: 0.01g | Cholesterol: 1mg | Sodium: 137mg | Potassium: 50mg | Fiber: 0.4g | Sugar: 28g | Vitamin A: 940IU | Vitamin C: 9mg | Calcium: 10mg | Iron: 6mg
Nutrition information is automatically calculated, so should only be used as an approximation.
Like this recipe? Please leave a comment!