
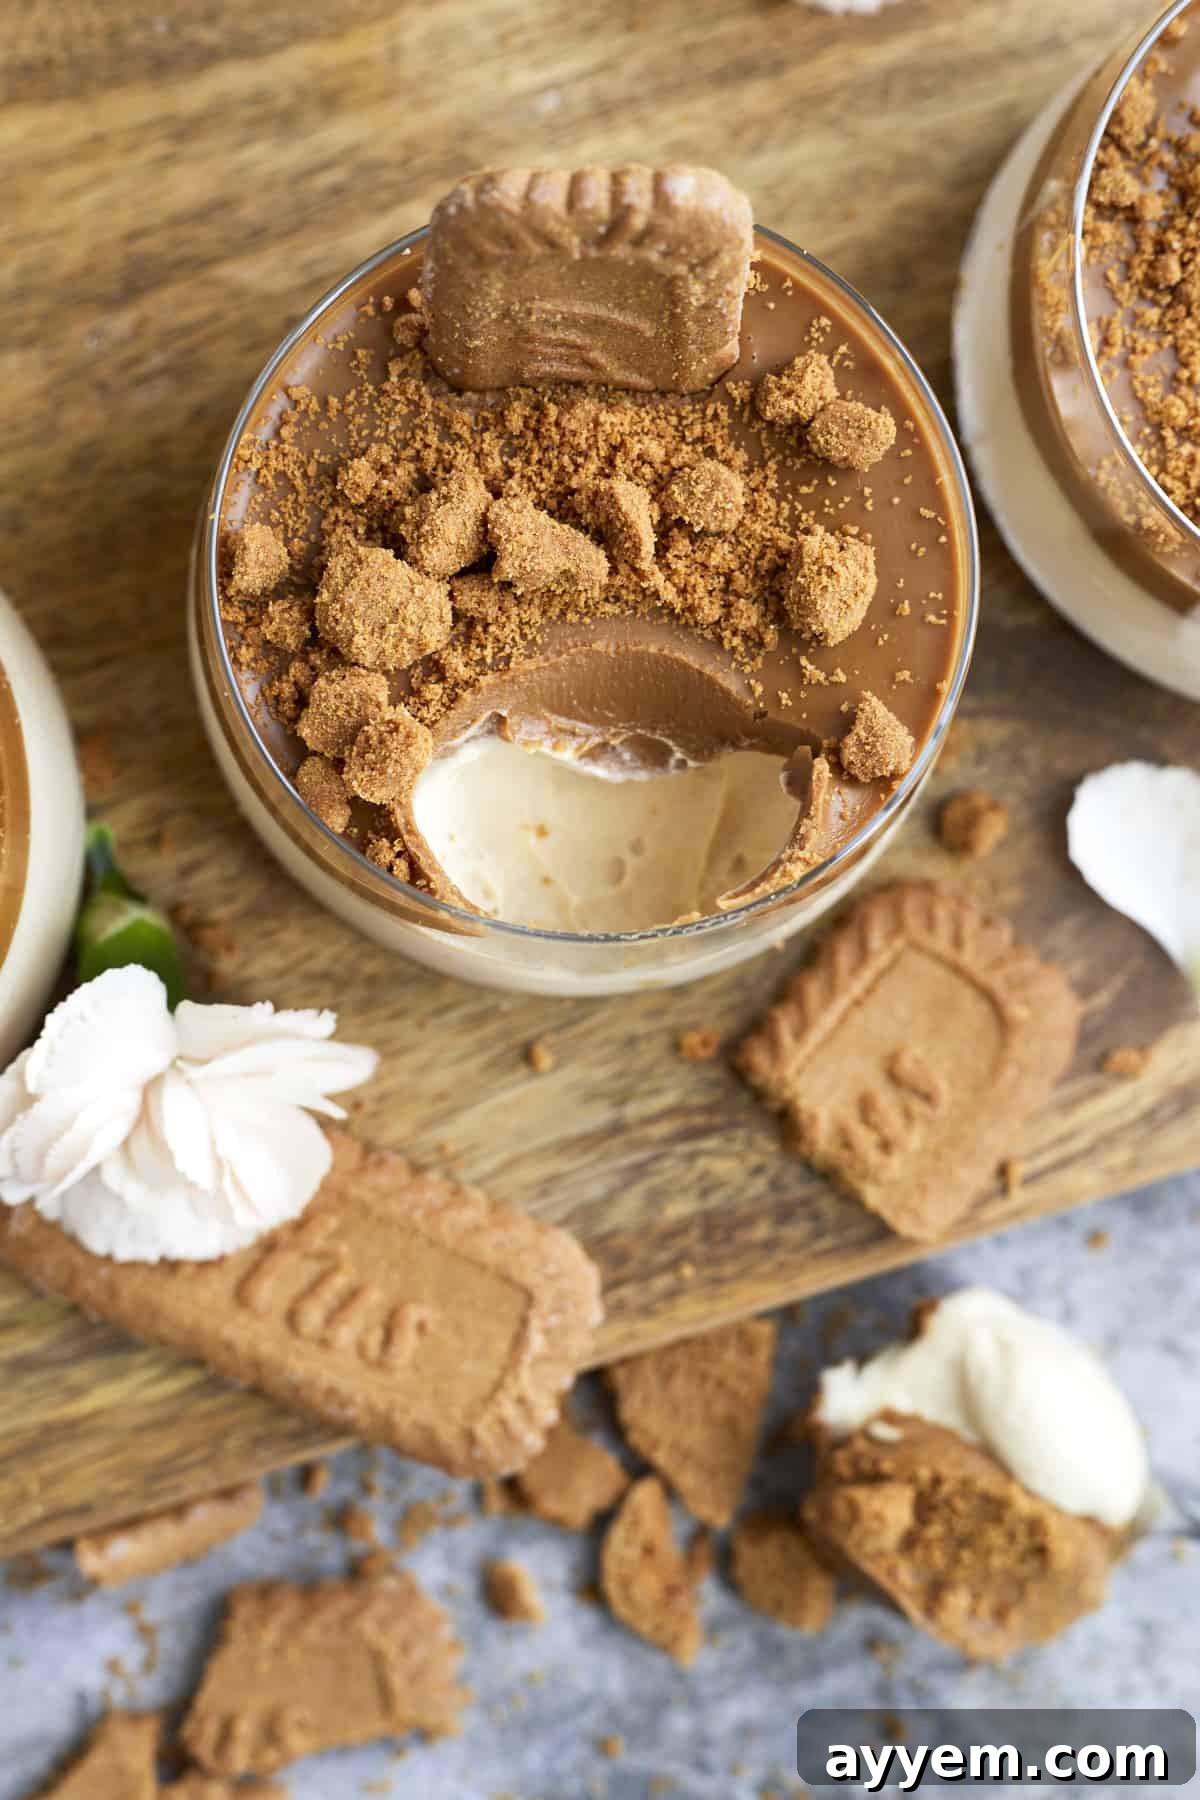
Prepare your taste buds for an extraordinary dessert experience that defies its incredible simplicity! Our 2-ingredient Biscoff mousse recipe is the epitome of creamy decadence, marrying luxurious richness with the unique, spiced caramel flavor of Biscoff cookies. This no-bake masterpiece is so easy to create that no one will believe it came together in minutes, yet it tastes like it required hours of culinary expertise. Get ready to impress your family and friends with a dessert that’s both elegant and effortlessly delicious, perfect for any occasion from casual gatherings to sophisticated dinner parties. Its smooth texture and delightful Biscoff notes make it an instant favorite, offering a sophisticated treat without the fuss.
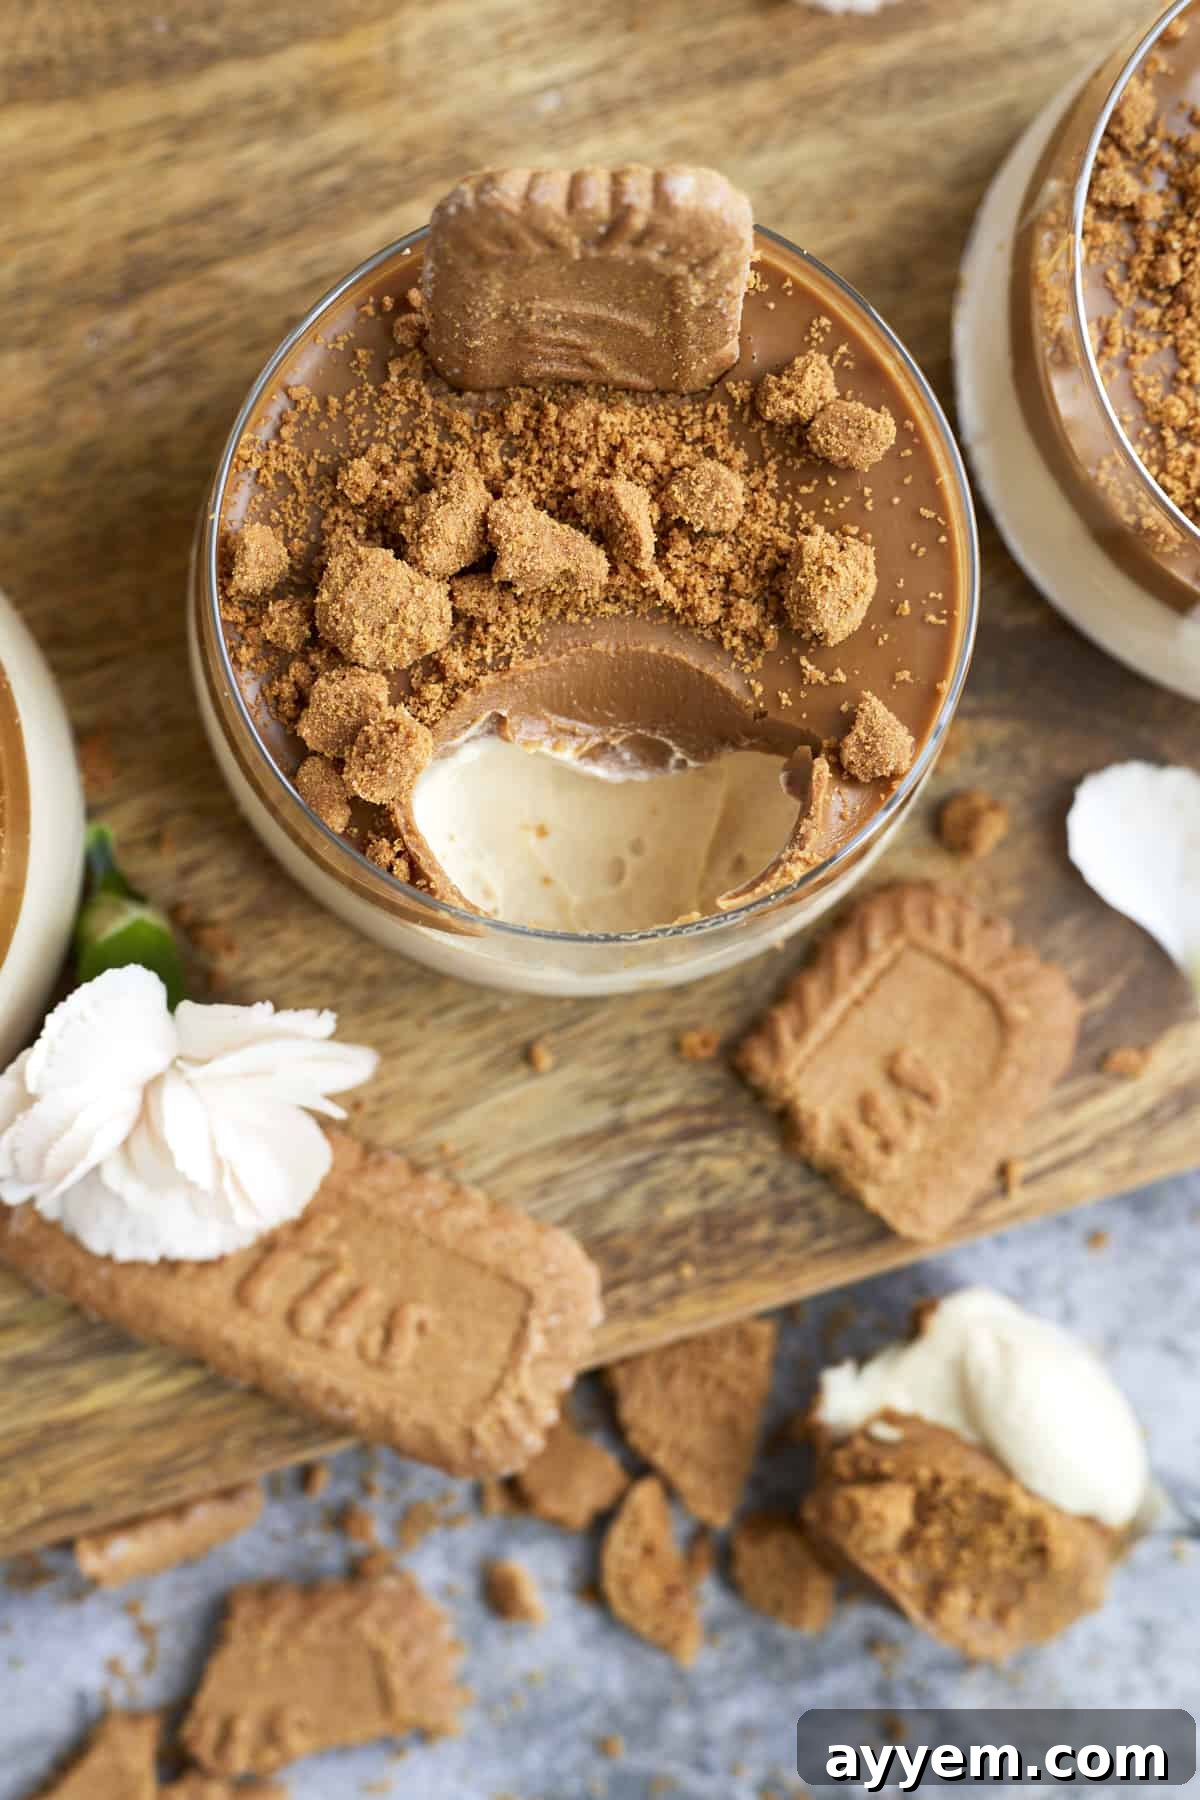
What Is Mousse?
Rooted in classic French cuisine, mousse is a delightful culinary creation characterized by its exceptionally light and airy texture. The term “mousse” itself translates to “foam” in French, perfectly describing the signature quality of these dishes. Mousse can be prepared in both savory and sweet variations, serving as a versatile canvas for a myriad of flavors.
Traditionally, mousses achieve their characteristic lightness through the careful incorporation of air, often by whipping ingredients such as egg whites or heavy cream until they are light and fluffy. This aeration process is what distinguishes mousse from other desserts like puddings or custards, which typically have a denser, more uniform consistency. The texture of mousse can vary significantly based on the ingredients and preparation method; some mousses are incredibly delicate and cloud-like, almost melting in your mouth, while others are richer, creamier, and possess a more substantial body.
Regardless of its specific density, a well-made mousse is always smooth and exhibits a refined quality. In sweet applications, recipes frequently call for the mixture to be beaten until it forms soft, medium, or stiff peaks, indicating the optimal level of aeration and stability. Sweet mousses are almost universally served chilled, enhancing their refreshing qualities, and many varieties are also enjoyed frozen, transforming into a delightful icy treat. Their elegant presentation and luxurious mouthfeel make them a popular choice for special occasions, yet as you’ll discover with our Biscoff recipe, they can be surprisingly simple to prepare at home.
What Is Biscoff?
Biscoff refers to a highly beloved sweet and crumbly cookie, officially known as Lotus Biscoff, and the accompanying spread made from these very cookies. These iconic treats originated in a modest bakery in Lembeke, Belgium, in 1932. The name “Biscoff” itself is a portmanteau, combining “biscuits” and “coffee,” a testament to their traditional pairing with a hot cup of coffee or tea.
In recent years, Biscoff has soared in international popularity, transcending its European origins to become a global sensation. This surge in demand is well-deserved; Biscoff cookies boast a distinct flavor profile that is utterly irresistible. They are renowned for their caramelized taste, subtly spiced with notes of cinnamon, ginger, cloves, and nutmeg, creating a warm and comforting aroma. Moreover, Biscoff products are made with natural ingredients, contributing to their widespread appeal.
Beyond the classic biscuit, Biscoff has ingeniously expanded its product line, most notably with the creation of a smooth, peanut butter-like spread. This Biscoff spread captures all the delightful flavors and textures of the original cookies in a versatile, creamy form, making it perfect for spreading on toast, baking, or, as we’ll explore, creating incredibly decadent desserts like mousse. We are undeniably enormous fans of Biscoff and enthusiastically seek opportunities to incorporate these uniquely flavorful cookies and spread into a multitude of recipes, bringing their distinct magic to every dish.
The Simplicity Behind Our Biscoff Mousse Recipe
The beauty of this Biscoff mousse recipe lies in its astonishing simplicity. You might find it hard to believe, but creating this rich, velvety dessert requires only two primary ingredients: heavy cream and Biscoff spread. Yes, that’s truly all you need to form the luxurious base of this delightful treat!
The magic happens when these two components are combined and whipped. The heavy cream provides the essential fat content and structure that allows the mousse to become light, airy, and stable when whipped. Meanwhile, the Biscoff spread infuses the entire mixture with its signature caramelized spice flavor and smooth texture, eliminating the need for additional sweeteners, flavorings, or complex thickening agents. This ingenious combination ensures maximum flavor with minimal effort.
While the core recipe is just two ingredients, we highly recommend adding a touch of flair with optional garnishes. Crumbled Biscoff cookies sprinkled on top add a wonderful textural contrast and an extra burst of that beloved cookie flavor. A drizzle of additional Biscoff spread can create an attractive marbled effect and intensify the taste. Other delightful additions might include a dusting of cinnamon, a dollop of whipped cream (if you want more creaminess), or even a sprinkle of chocolate shavings for an extra layer of indulgence. These garnishes elevate the presentation and enhance the overall experience, transforming a simple dessert into a truly gourmet delight. Prepare to be amazed by how easy it is to create such an impressive and delicious dessert!
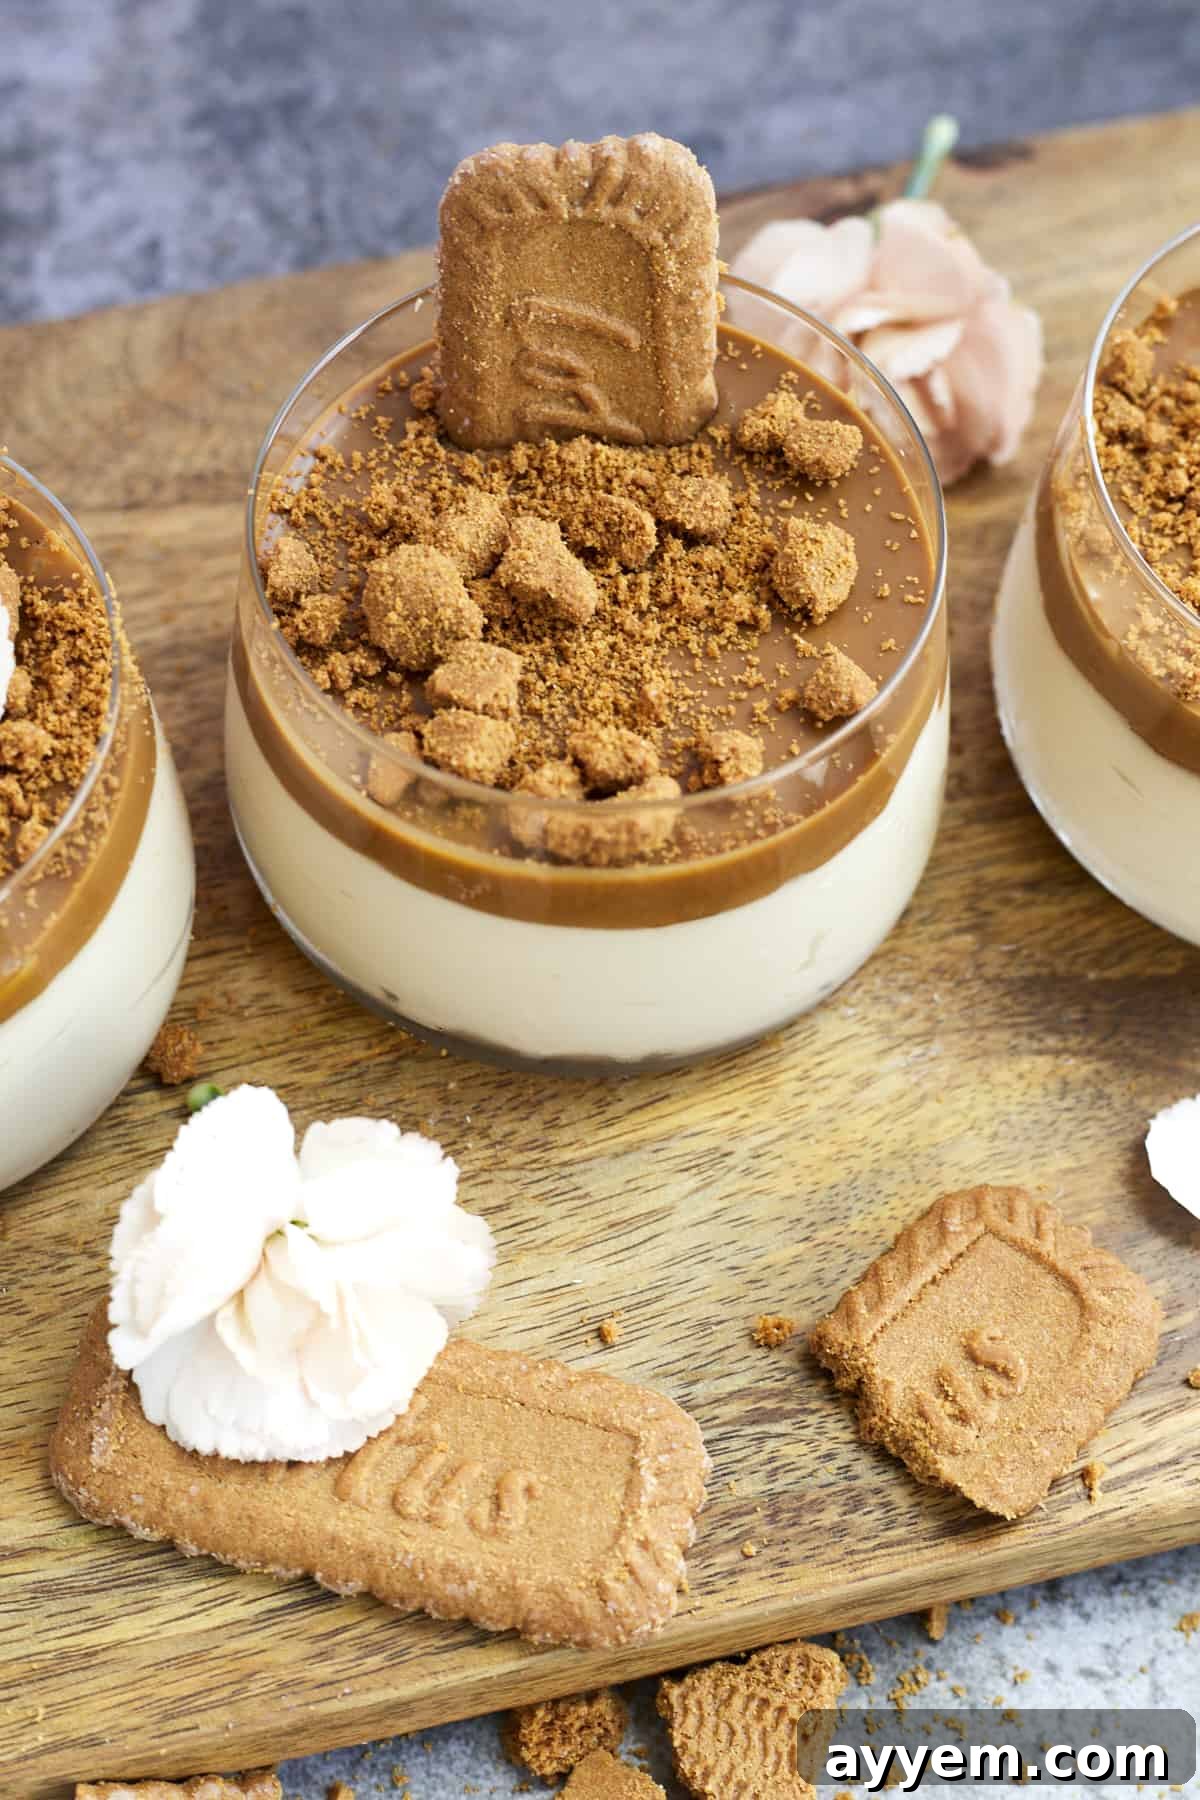
How to Create Your Perfect Biscoff Mousse
Despite its elegant appearance and sophisticated French name, creating a flawless mousse can often seem daunting. However, we’re here to share a culinary secret: this Biscoff mousse recipe is incredibly straightforward, demystifying the process and making it accessible for even the most novice home cooks. Follow these simple steps to achieve a perfectly creamy, airy, and utterly delicious Biscoff mousse every time.
- Prepare Your Ingredients and Equipment: Before you begin, ensure both your heavy cream and Biscoff spread are at a cool temperature. For best results, consider chilling your mixing bowl and whisk attachments (from your hand mixer or stand mixer) in the freezer for about 10-15 minutes. Cold equipment helps the heavy cream whip more efficiently and maintain its volume, preventing potential issues like curdling.
- Combine and Whip the Ingredients: Carefully measure out your heavy cream and Biscoff spread, then add them together into your large, chilled mixing bowl. Using either a powerful hand mixer or a robust electric stand mixer fitted with the whisk attachment, begin to beat the ingredients on a low speed, gradually increasing to medium-high. Continue whipping until the mixture becomes smooth, thick, and medium peaks begin to form. Medium peaks are characterized by their ability to hold shape when the whisk is lifted, with the tip gently curling over. This stage indicates that the mousse has achieved the perfect balance of airiness and stability. *Important: Be vigilant and avoid over-beating. Over-whipping can cause the mixture to separate, resulting in a grainy or curdled texture rather than the desired smooth mousse. Stop as soon as medium peaks are reached.
- Portion and Garnish: Once your mousse has reached the ideal consistency, gently transfer it into individual serving bowls, elegant glasses, or small glass jars. For an extra touch of decadence and visual appeal, use a spoon or a small spatula to swirl a little extra Biscoff spread on top of each portion. This not only enhances the flavor but also creates a beautiful marbled effect.
- Chill to Perfection: Place your prepared mousse portions into the refrigerator to chill for a minimum of 30 minutes, or longer if you prefer a firmer texture. Chilling is a crucial step as it allows the mousse to properly set and develop its full flavor and luxurious mouthfeel. The cool temperature helps stabilize the whipped cream, ensuring the mousse holds its shape beautifully.
- Final Touches and Enjoy: Just before serving, take your chilled Biscoff mousse out of the fridge. This is the perfect moment to add any optional garnishes. Generously sprinkle extra crumbled Biscoff cookies on top for a delightful textural crunch and an intensified Biscoff flavor. You can also add a fresh mint sprig or a light dusting of cocoa powder. Serve immediately and savor every spoonful of this incredibly easy, yet utterly delicious, Biscoff mousse!
Expert Tips to Achieve a Flawless Mousse and Prevent Curdling
Achieving that perfectly smooth, airy, and stable mousse texture is key to a truly decadent dessert. While our Biscoff mousse recipe is straightforward, understanding these tips can help you prevent common pitfalls like curdling and ensure a consistently delightful result:
- Always Use Well-Chilled Heavy Cream: This is arguably the most critical factor. Heavy cream that is thoroughly cold (straight from the refrigerator) whips up significantly better and faster than cream at room temperature. Cold cream allows the fat globules to remain firm, trapping air more effectively and creating a stable foam. Warm cream, conversely, has softened fat that can struggle to emulsify and is more prone to separating or curdling.
- Ensure All Your Equipment is Cold: Extend the chilling principle to your mixing tools. Place your mixing bowl (preferably metal or glass) and your whisk attachments (for hand or stand mixer) in the freezer for 10-15 minutes before you begin whipping. The cold surfaces help to keep the cream cold throughout the whipping process, delaying the warming effect caused by friction during beating and thus further reducing the risk of curdling.
- Master the Art of Whipping – Avoid Overwhipping: Over-whipping heavy cream is a common mistake that leads directly to curdling. As you whip, the cream progresses from soft peaks to medium peaks, then to stiff peaks. Beyond stiff peaks, the fat and liquid begin to separate, and you end up with butter and buttermilk, not mousse. For this recipe, we aim for medium peaks, where the mousse holds its shape but the tip of the peak gently curls over. After refrigeration, it will firm up further. Stop your mixer as soon as you see these medium peaks forming; it’s always better to under-whip slightly than to over-whip.
- Practice Patience, Especially if Hand Whipping: Whipping cream takes time, and attempting to rush the process can lead to frustration and suboptimal results. If you’re whipping by hand, it will require sustained effort. With an electric mixer, start on a lower speed to gently incorporate air, then gradually increase the speed as the cream begins to thicken. Resist the urge to go straight to high speed, as this can sometimes introduce too much air too quickly or warm the cream prematurely. Consistent, steady whipping is key.
- Be Mindful of Your Environment’s Temperature: High ambient temperatures can be detrimental to whipping cream successfully. On a warm day or in a hot kitchen, the cream will warm up much faster, increasing the likelihood of it not whipping properly or curdling. If possible, try to work in a cool environment. If your kitchen is warm, consider placing the mixing bowl over a larger bowl filled with ice water (creating an ice bath) while you whip the cream. This external chilling can make a significant difference in maintaining the cream’s ideal temperature.
Troubleshooting: What if My Mousse is Runny?
If you’ve followed the steps and your Biscoff mousse still has a consistency that’s more liquid than luscious, don’t despair! This is a common issue, and usually, it can be remedied. The primary reason for runny mousse is often insufficient whipping – the heavy cream hasn’t incorporated enough air to achieve that desired thick, fluffy, and stable texture. Here’s what you can do:
First and foremost, revisit the whipping process. Ensure you are taking enough time to beat the ingredients thoroughly. You want to see distinct medium peaks forming when you lift the whisk. If the peaks are soft and collapse immediately, continue whipping on medium-high speed for another minute or two, keeping a close eye to avoid over-beating. Sometimes, just a little more time is all it takes for the cream to properly aerate and stabilize.
However, if you’ve already whipped the mixture for an extended period and it still remains stubbornly runny, or if you’re concerned about over-whipping further, a simple thickening agent can come to the rescue. Try incorporating about 1 tablespoon of cornstarch into the mixture. Sprinkle it evenly over the surface, then resume whipping on a medium speed for another 1-2 minutes until the mousse begins to thicken and appears smooth. Cornstarch acts as a gentle stabilizer, helping the mousse achieve and maintain its desired consistency without significantly altering the flavor. Alternatively, you can try chilling the mixture for an extended period (up to several hours) after adding the cornstarch; sometimes the cold helps it set even more. In the rare case of extreme runniness, a tiny amount of unflavored gelatin, dissolved and cooled, could be gently folded in, but this moves beyond the “2-ingredient” simplicity.
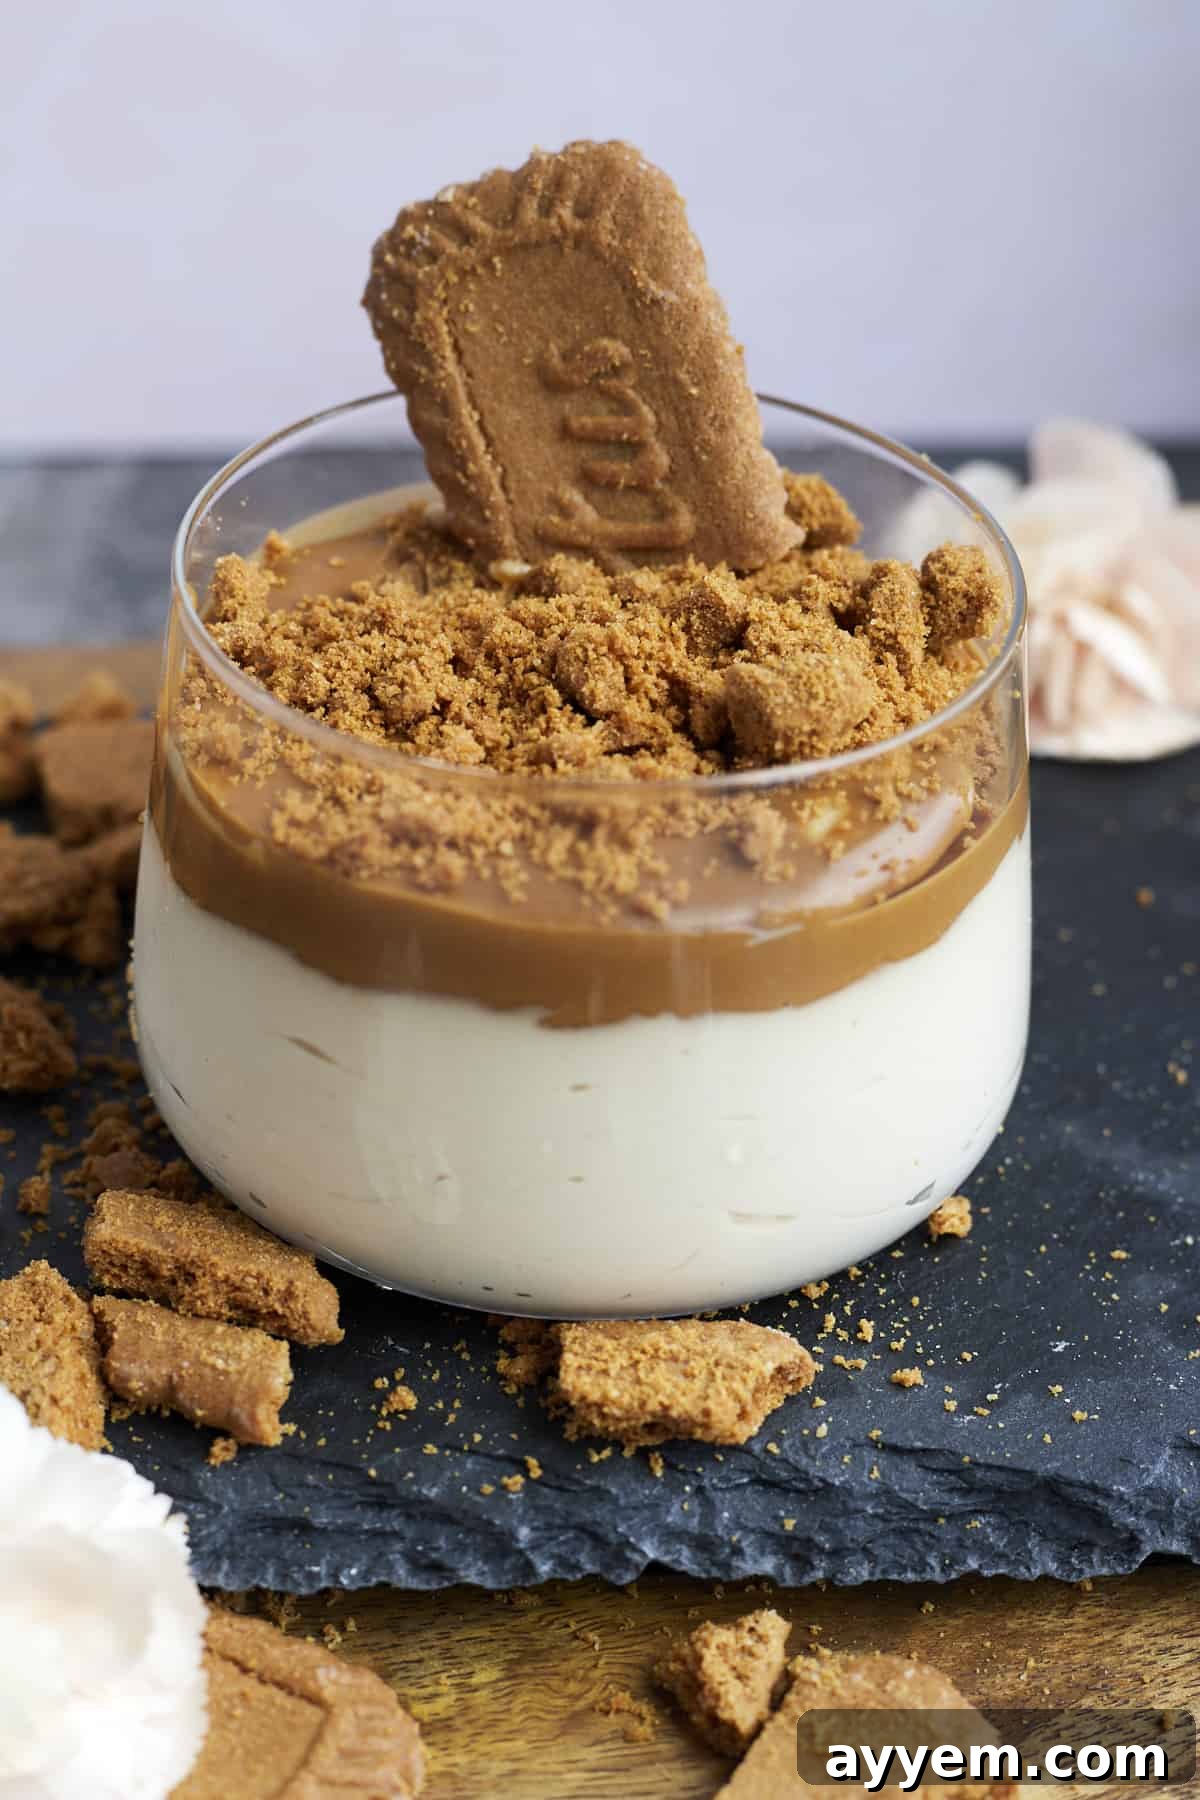
Can I Make This Biscoff Mousse Recipe Ahead of Time?
Absolutely, this Biscoff mousse recipe is an ideal make-ahead dessert, making it perfect for entertaining or simply for having a delightful treat ready when a craving strikes. Preparing it in advance not only saves you time on the day of serving but also allows the flavors to meld and deepen, resulting in an even more delicious and satisfying dessert.
Once your mousse is prepared and transferred into individual serving containers or a larger bowl, it can be stored covered in the refrigerator. For optimal freshness and texture, we recommend keeping it chilled for 3 to 4 days. To store effectively, ensure the mousse is covered tightly with plastic wrap, pressing the wrap directly onto the surface of the mousse if possible. This prevents a skin from forming and protects it from absorbing any unwanted odors from other foods in your fridge.
A crucial tip for make-ahead success, especially if you plan to garnish with crumbled Biscoff cookies, is to delay adding the cookie pieces until just before you’re ready to serve. Biscoff cookies, being delightfully crisp and crumbly, can become soft and soggy if they sit on top of the mousse for too long in the refrigerator. By adding them at the last minute, you preserve their wonderful crunchy texture, providing a perfect contrast to the smooth, creamy mousse. This small step ensures your dessert looks and tastes its absolute best, offering that delightful textural contrast with every spoonful.
Common Questions about 2-Ingredient Biscoff Mousse
Preparation is incredibly quick and a true breeze! The active time for whipping the heavy cream and mixing in the Biscoff spread typically takes only about 10 to 15 minutes. After the whipping stage, the mousse requires at least half an hour in the refrigerator to properly set and firm up before it’s ready to be served. So, from start to finish, you can have a decadent dessert ready to enjoy in under an hour, with most of that being passive chilling time!
Absolutely! While the pure Biscoff flavor is divine on its own, this mousse serves as an excellent base for customization. You can easily fold in a teaspoon of vanilla extract for a classic touch, a pinch of extra cinnamon or pumpkin spice for enhanced warmth, or even some melted and cooled white or dark chocolate for an extra layer of richness. Consider a swirl of caramel sauce or a dash of coffee extract to complement the caramelized notes of Biscoff. Feel free to experiment and tailor the flavor to your personal preference!
Yes, this Biscoff mousse recipe is perfectly suitable for vegetarians. It is made primarily with dairy products (heavy cream) and does not contain any meat products or by-products. Biscoff spread and cookies are also generally vegetarian-friendly. However, for those with specific dietary requirements or allergies, we always recommend carefully checking the labels of all your ingredients to ensure they align with your dietary restrictions, as formulations can occasionally vary by brand or region.
Yes, you certainly can! For a delicious non-dairy alternative, coconut cream is an excellent substitute for heavy cream. To use coconut cream effectively, make sure to chill a can of full-fat coconut milk in the refrigerator overnight. The thick cream will separate and rise to the top; scoop out only this thick cream, leaving the watery liquid behind. Whip the cold coconut cream just as you would heavy cream until it forms peaks, then proceed with the recipe. Other plant-based whipping creams specifically designed for desserts might also work well, just ensure they are very cold before whipping.
Biscoff mousse is incredibly versatile in its presentation! It’s delightful served in individual glass jars, elegant parfait glasses, or small dessert bowls, allowing guests to appreciate its layers and garnishes. For a more casual setting, a large serving bowl works just as well. Always remember to add any crunchy toppings, like crumbled Biscoff cookies, just before serving to maintain their texture. A small spoon or a dollop of extra whipped cream can complete the presentation.
Absolutely! This recipe is easily scalable. Simply double or triple the quantities of heavy cream and Biscoff spread according to how many servings you need. Ensure you use a large enough mixing bowl to accommodate the increased volume and allow ample space for whipping. The whipping time might be slightly longer for a larger batch, but the process remains the same. Make sure to chill the larger batch for a longer period to ensure it sets properly.
More Biscoff-Infused Recipes You’ll Love
Can’t get enough of that unique, caramelized Biscoff flavor? We completely understand! Once you fall for Biscoff, it’s hard not to want to incorporate it into everything. If you’re looking for more ways to enjoy this delicious cookie and spread, we have you covered with these fantastic Biscoff-infused recipes that are sure to become new favorites:
- Quick to make and universally family-friendly, this Easy No-Churn Biscoff Ice Cream is a revelation. Made with just five simple ingredients, it delivers all the creamy, spiced goodness of homemade ice cream without the need for an ice cream maker. It’s perfect for a hot day or a comforting treat any time of year.
- Indulge in layers of pure delight with this incredible Biscoff Cake. Featuring a rich, moist cake base infused with Biscoff, and perhaps even a decadent Biscoff crust, all wedged between a creamy, dreamy filling, this cake is an absolute showstopper for any celebration or special occasion.
- Start your day on a sweet and satisfying note with these wholesome yet irresistible Biscoff Blender Muffins. They offer a delightful balance – a little healthier than traditional cupcakes but just as utterly addictive. The blender makes preparation a breeze, ensuring you get that Biscoff kick with minimal effort.
- Experience the best of both worlds with these extraordinary Biscoff Cinnamon Rolls. These rolls combine the beloved warmth and comfort of classic cinnamon rolls with the unique spiced caramel notes of Biscoff. They’re an absolutely divine sweet breakfast or brunch treat that everyone will adore, guaranteed to become a household favorite.
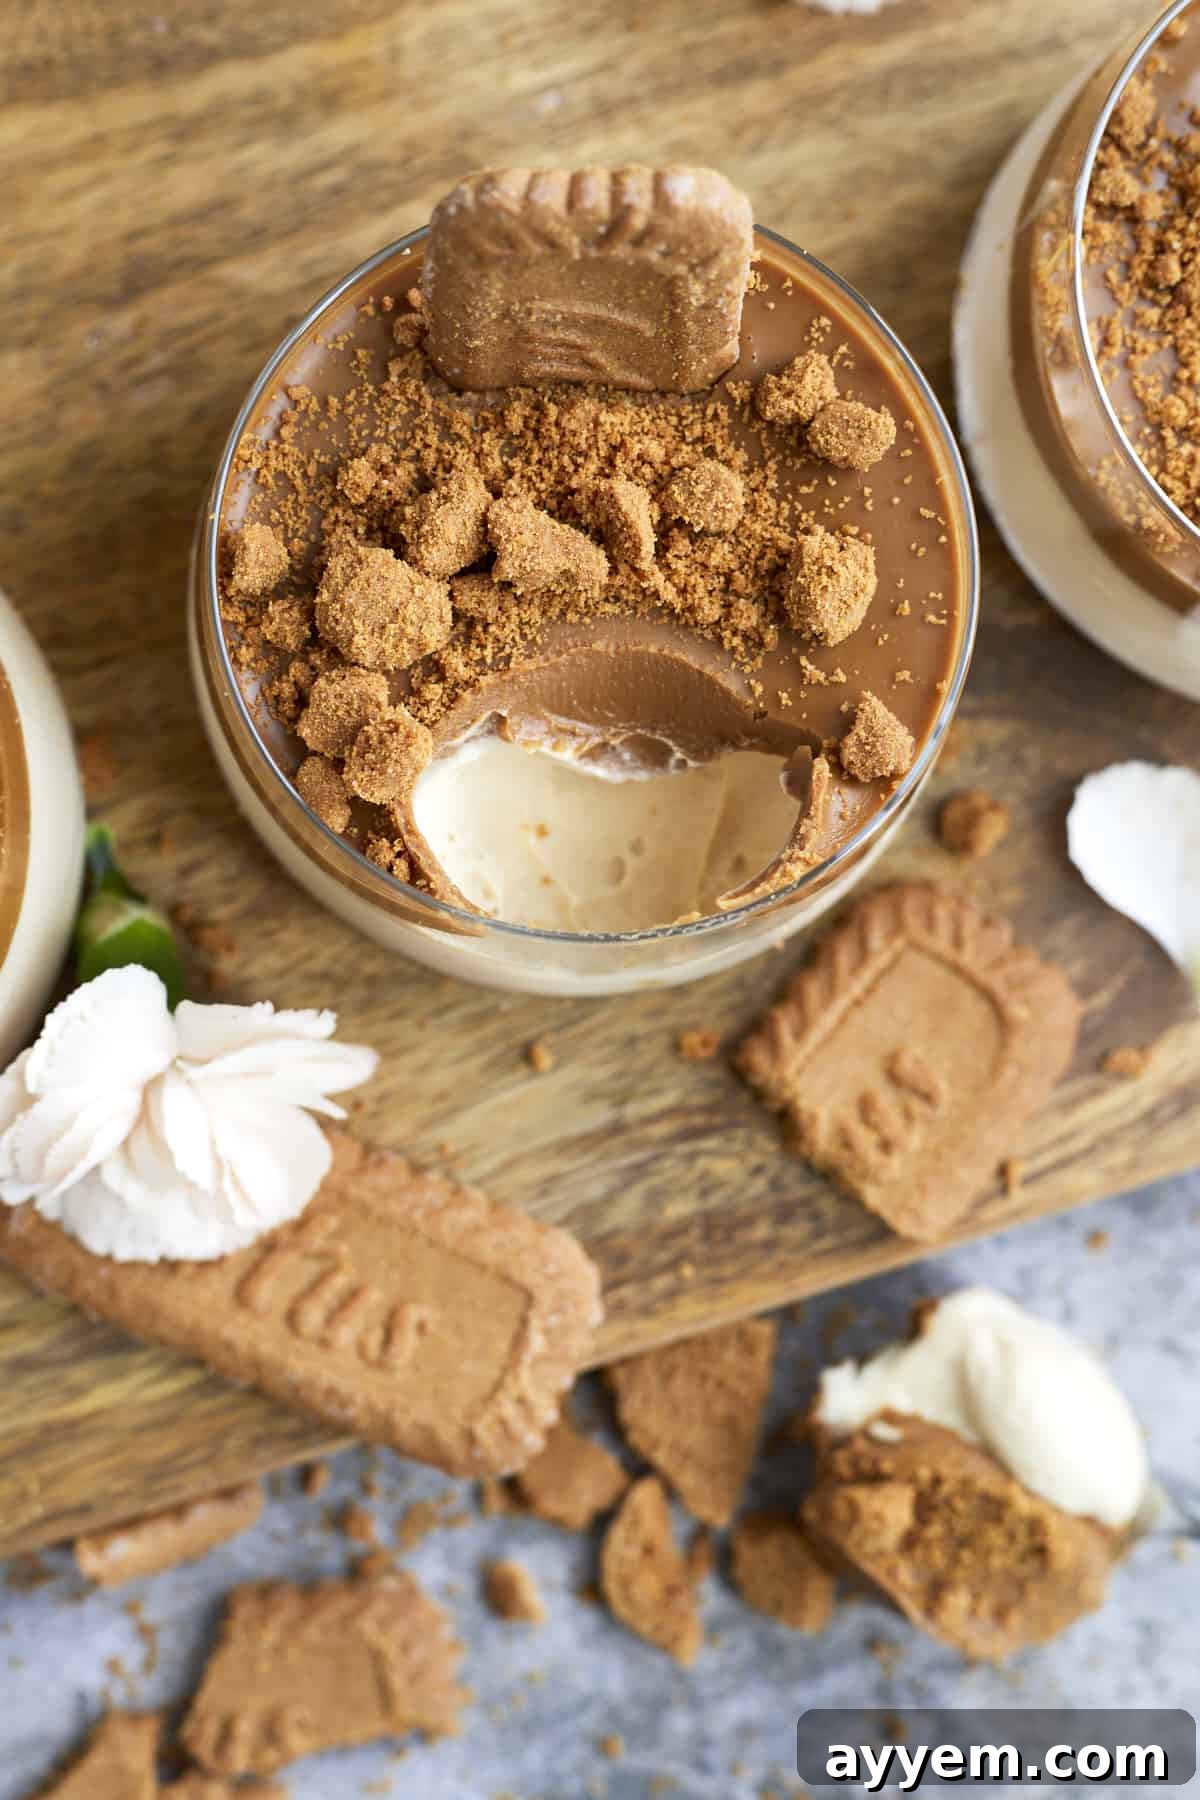
2-Ingredient Biscoff Mousse Recipe
Pin
Would you like to save this? 🔖
We’ll email this post to you, so you can come back to it later!
Ingredients
- 2 cups heavy cream
- 1 cup Biscoff spread + more for topping
- Optional: Biscoff cookies for garnish
Instructions
-
In a large, chilled bowl, whip the heavy cream and Biscoff spread together with a hand mixer or stand mixer until the mixture is smooth and medium peaks begin to form. *Ensure you do not over-beat, as this can cause the mixture to separate and lose its smooth texture.2 cups heavy cream, 1 cup Biscoff spread + more for topping
-
Gently transfer the prepared mousse to a large serving bowl or individual containers like small glass jars or dessert glasses.
-
Place the mousse in the refrigerator and chill for at least 30 minutes, or until it is cool and set to your desired consistency.
-
Before serving, garnish the mousse with an extra swirl of Biscoff spread and a generous sprinkle of crumbled Biscoff cookies, if desired. This adds a delightful crunch and enhances the visual appeal.Optional: Biscoff cookies for garnish
-
Serve immediately and enjoy this wonderfully easy and indulgent Biscoff mousse!
Nutrition
Nutrition information is automatically calculated, so should only be used as an approximation.