
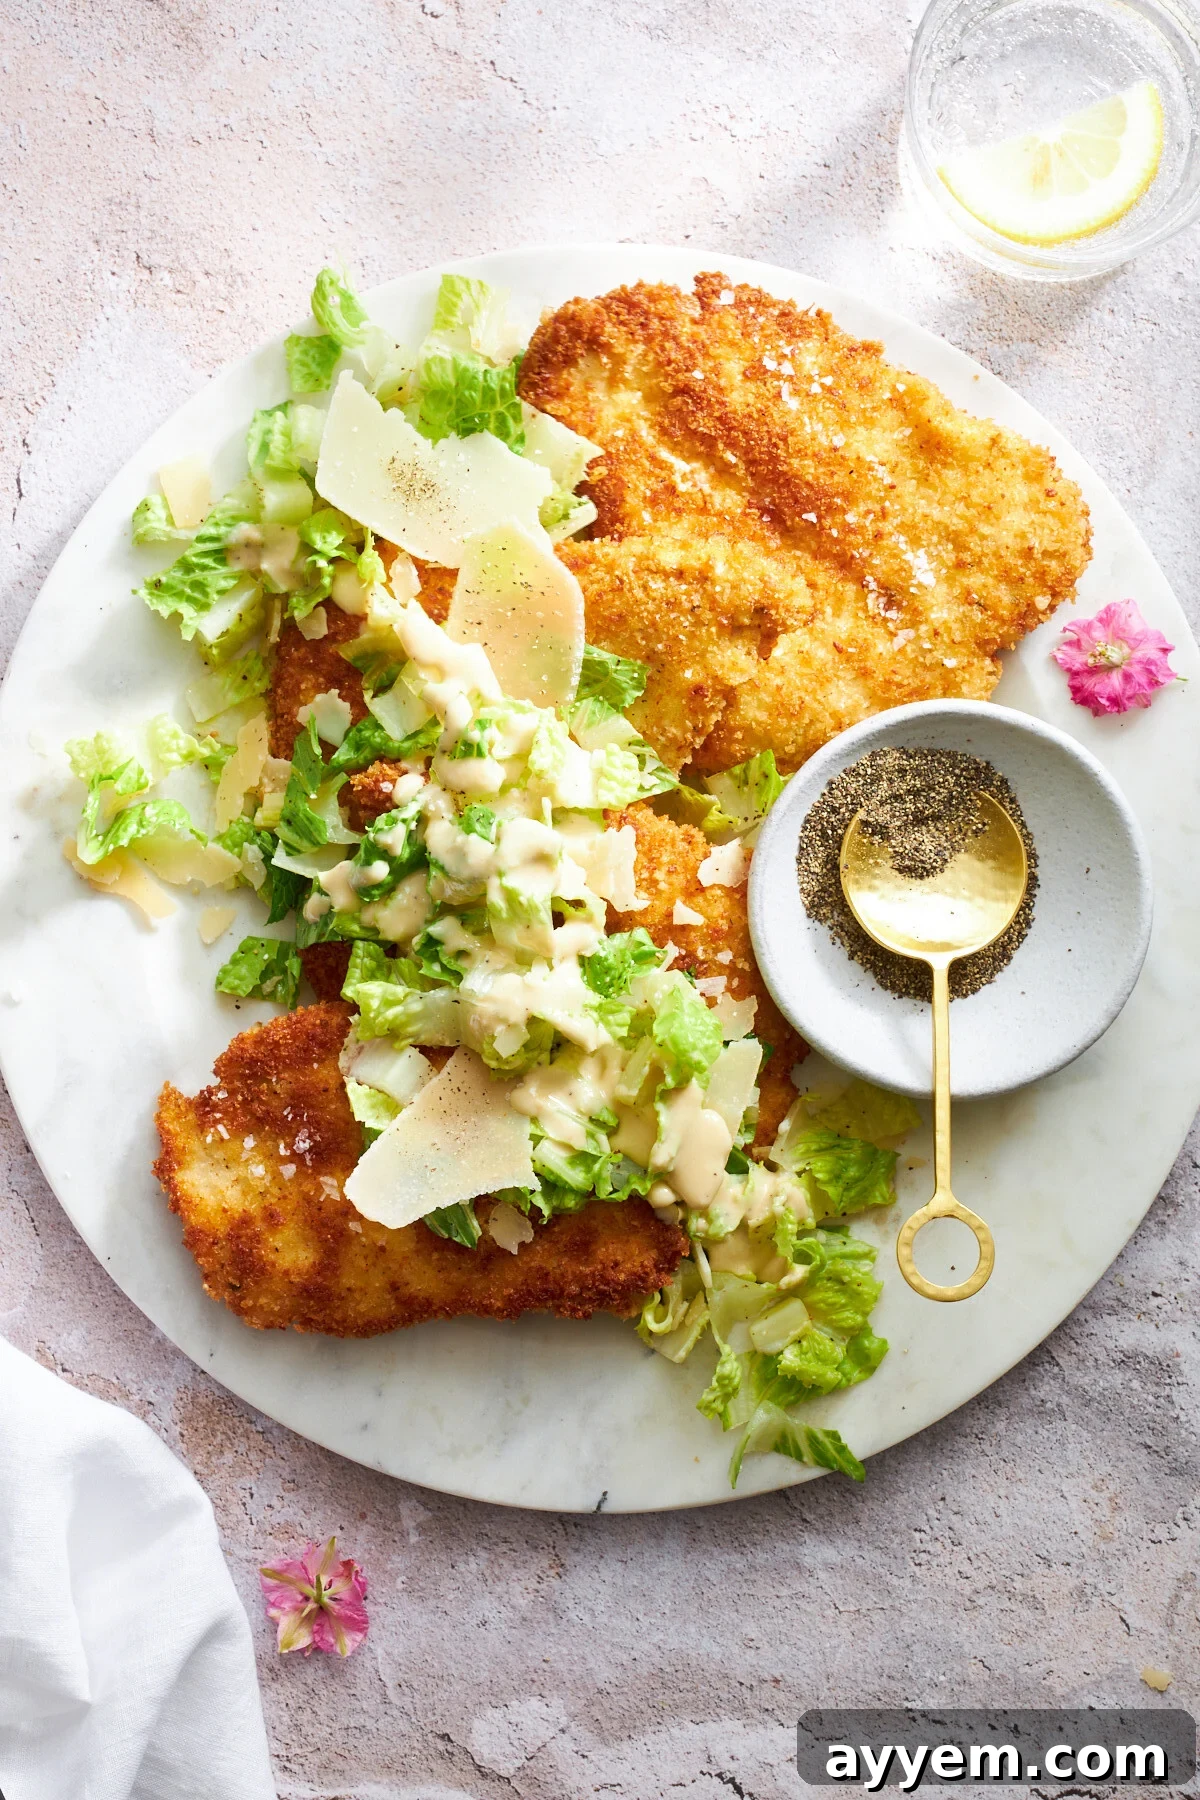
Whether you’re a connoisseur of classic Italian flavors or simply seeking a wonderfully satisfying meal, prepare to be captivated by our exquisite Chicken Milanese Recipe with Caesar Salad. This beloved Italian staple is celebrated for its irresistible textural contrast: impeccably crisp, golden-brown breaded chicken cutlets that yield to incredibly juicy, tender meat within. Paired perfectly with a vibrant, refreshing Caesar salad, this dish offers a delightful balance of richness and zest, making it an ideal choice for a hearty lunch or an elegant dinner. Get ready to create a memorable culinary experience right in your own kitchen!

What is Chicken Milanese? Unveiling an Italian Classic
The name “Milanese” immediately tells a story, tracing this dish’s prestigious origins back to Milan, Italy. Historically, “Cotoletta alla Milanese” referred to a similar preparation, traditionally featuring delicate veal cutlets, coated in breadcrumbs and pan-fried to golden perfection. As its popularity soared across regions and continents, culinary traditions evolved, and the recipe was ingeniously adapted to incorporate various proteins. Chicken quickly emerged as a favorite alternative, thanks to its wonderfully mild flavor profile and inherent versatility. This adaptation gave birth to the popular Chicken Milanese we know and love today.
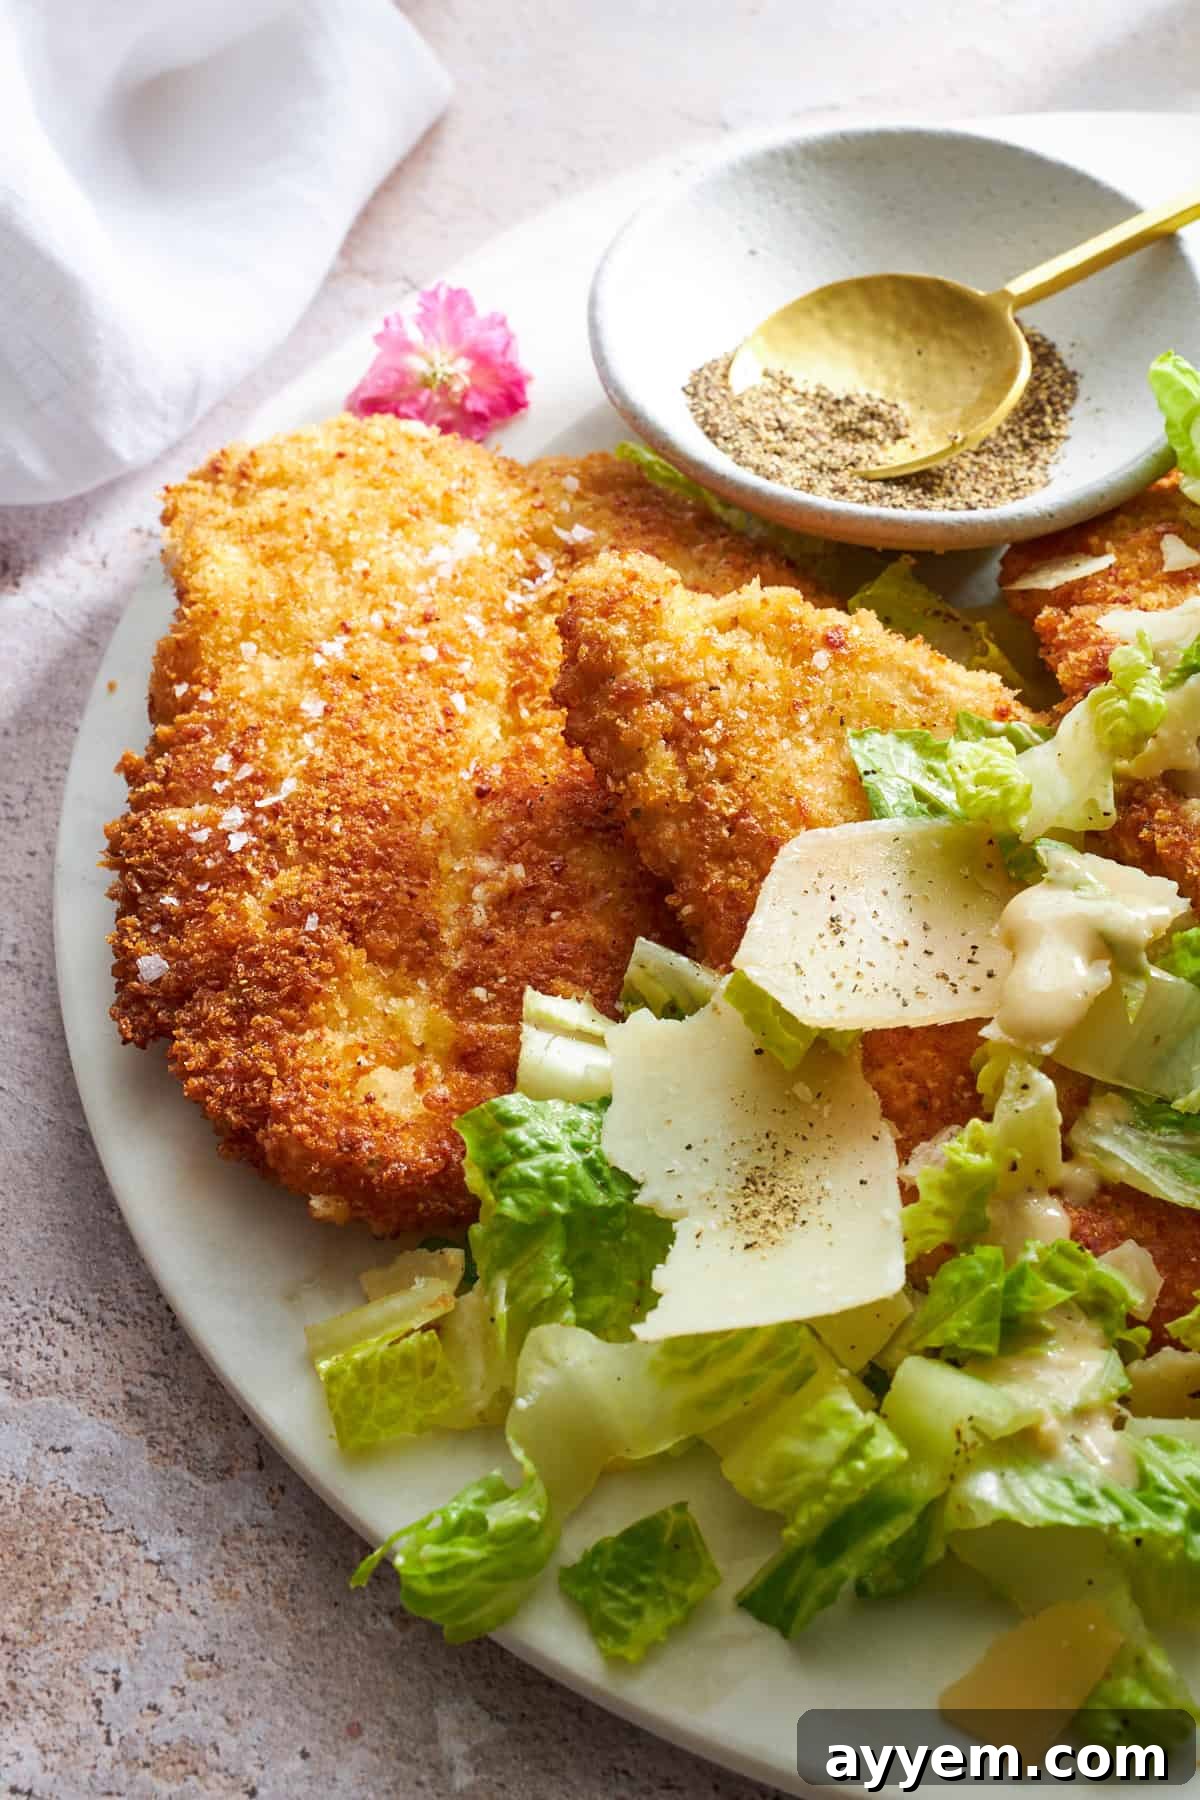
Chicken Milanese is a culinary marvel, instantly recognizable by its signature golden-brown, crispy exterior. The preparation involves carefully transforming tender chicken breasts into thin, uniform cutlets, which are then meticulously breaded in a three-step process using flour, eggs, and a generous coating of breadcrumbs. This careful dredging ensures a uniform, robust crust. Once coated, the chicken is pan-fried until it achieves that coveted crunch, delivering a satisfying audible crispness with every bite, perfectly complementing the moist, flavorful chicken underneath. Traditionally, it’s served with a bright squeeze of lemon to cut through the richness or, as in our delightful rendition, topped with a fresh, zesty Caesar salad. This not only adds a burst of refreshing flavor but also introduces a wonderful textural interplay. Beyond a simple plate, the versatility of Milanese chicken extends to creating other delectable meals, such as crispy chicken Caesar wraps.

Essential Ingredients for Perfect Chicken Milanese and Caesar Salad
Crafting the perfect Chicken Milanese with Caesar Salad relies on a selection of high-quality ingredients, each playing a crucial role in delivering the dish’s signature flavors and textures. Here’s a detailed look at what you’ll need:
- Large Chicken Breasts, Halved And Flattened: The foundation of our Milanese. Flattening the chicken breasts ensures even cooking and a tender, consistent thickness, creating the ideal canvas for a gloriously crispy coating.
- Eggs: These are the critical binding agent. Whisked eggs create the essential layer that allows the flour and, more importantly, the breadcrumbs to adhere firmly to the chicken, guaranteeing an even and delightfully crunchy crust.
- All-Purpose Flour: The first step in our three-stage breading process. Flour helps create a dry surface on the chicken, which in turn allows the egg wash to stick better, laying the groundwork for a robust and golden crust.
- Panko Bread Crumbs: The secret to that unmistakable, light, and airy crunch. Panko breadcrumbs are coarser than traditional breadcrumbs, absorbing less oil and delivering an exceptionally crisp texture that defines a truly great Chicken Milanese.
- Grated Parmesan Cheese: Infuses the breading with a rich, savory, and slightly nutty depth of flavor. Parmesan elevates the taste profile, making each bite more complex and utterly addictive.
- Salt: A fundamental seasoning that enhances all the natural flavors of the chicken and the breading mixture. Proper salting is key to a well-balanced and delicious dish.
- Pepper: Adds a subtle hint of warmth and pungency, perfectly balancing the other flavors. Freshly ground pepper is recommended for the best aroma and taste.
- Oregano: This classic Mediterranean herb brings an aromatic, earthy, and slightly peppery note to the breading, contributing to the dish’s Italian essence.
- Garlic Powder: Provides a consistent, savory garlic flavor throughout the breadcrumb mixture, without the risk of burning that fresh garlic might pose during frying. It’s an easy way to ensure even distribution of a beloved flavor.
- Smoked Paprika: Offers a wonderful smoky depth and a beautiful reddish hue to the breading. It adds a layer of complexity that distinguishes our Milanese, giving it a unique and inviting aroma.
- Cooking Spray: A practical choice for achieving a beautifully browned and crispy crust with minimal added grease, helping to keep the dish lighter while maintaining its characteristic crunch. Alternatively, a high-smoke-point oil can be used for pan-frying.
- Caesar Salad: The perfect accompaniment, providing a fresh, creamy, and tangy contrast to the rich, crispy chicken. Our easy Caesar salad recipe complements the Milanese without overwhelming it.
Crafting the Perfect Milanese Chicken: A Step-by-Step Guide
Making delicious Chicken Milanese is simpler than you might think! Follow these steps for crispy, flavorful results every time:
- Prepare the Chicken Cutlets. Begin by placing each large chicken breast on a cutting board. Carefully slice each breast horizontally through the middle to create two thinner cutlets. Then, place each cutlet between two sheets of plastic wrap or parchment paper. Using a meat mallet or a rolling pin, gently pound the chicken until it reaches an even thickness, about 1/4 to 1/2 inch. This ensures uniform cooking and maximizes tenderness. Season both sides of the flattened chicken liberally with salt and freshly ground pepper.
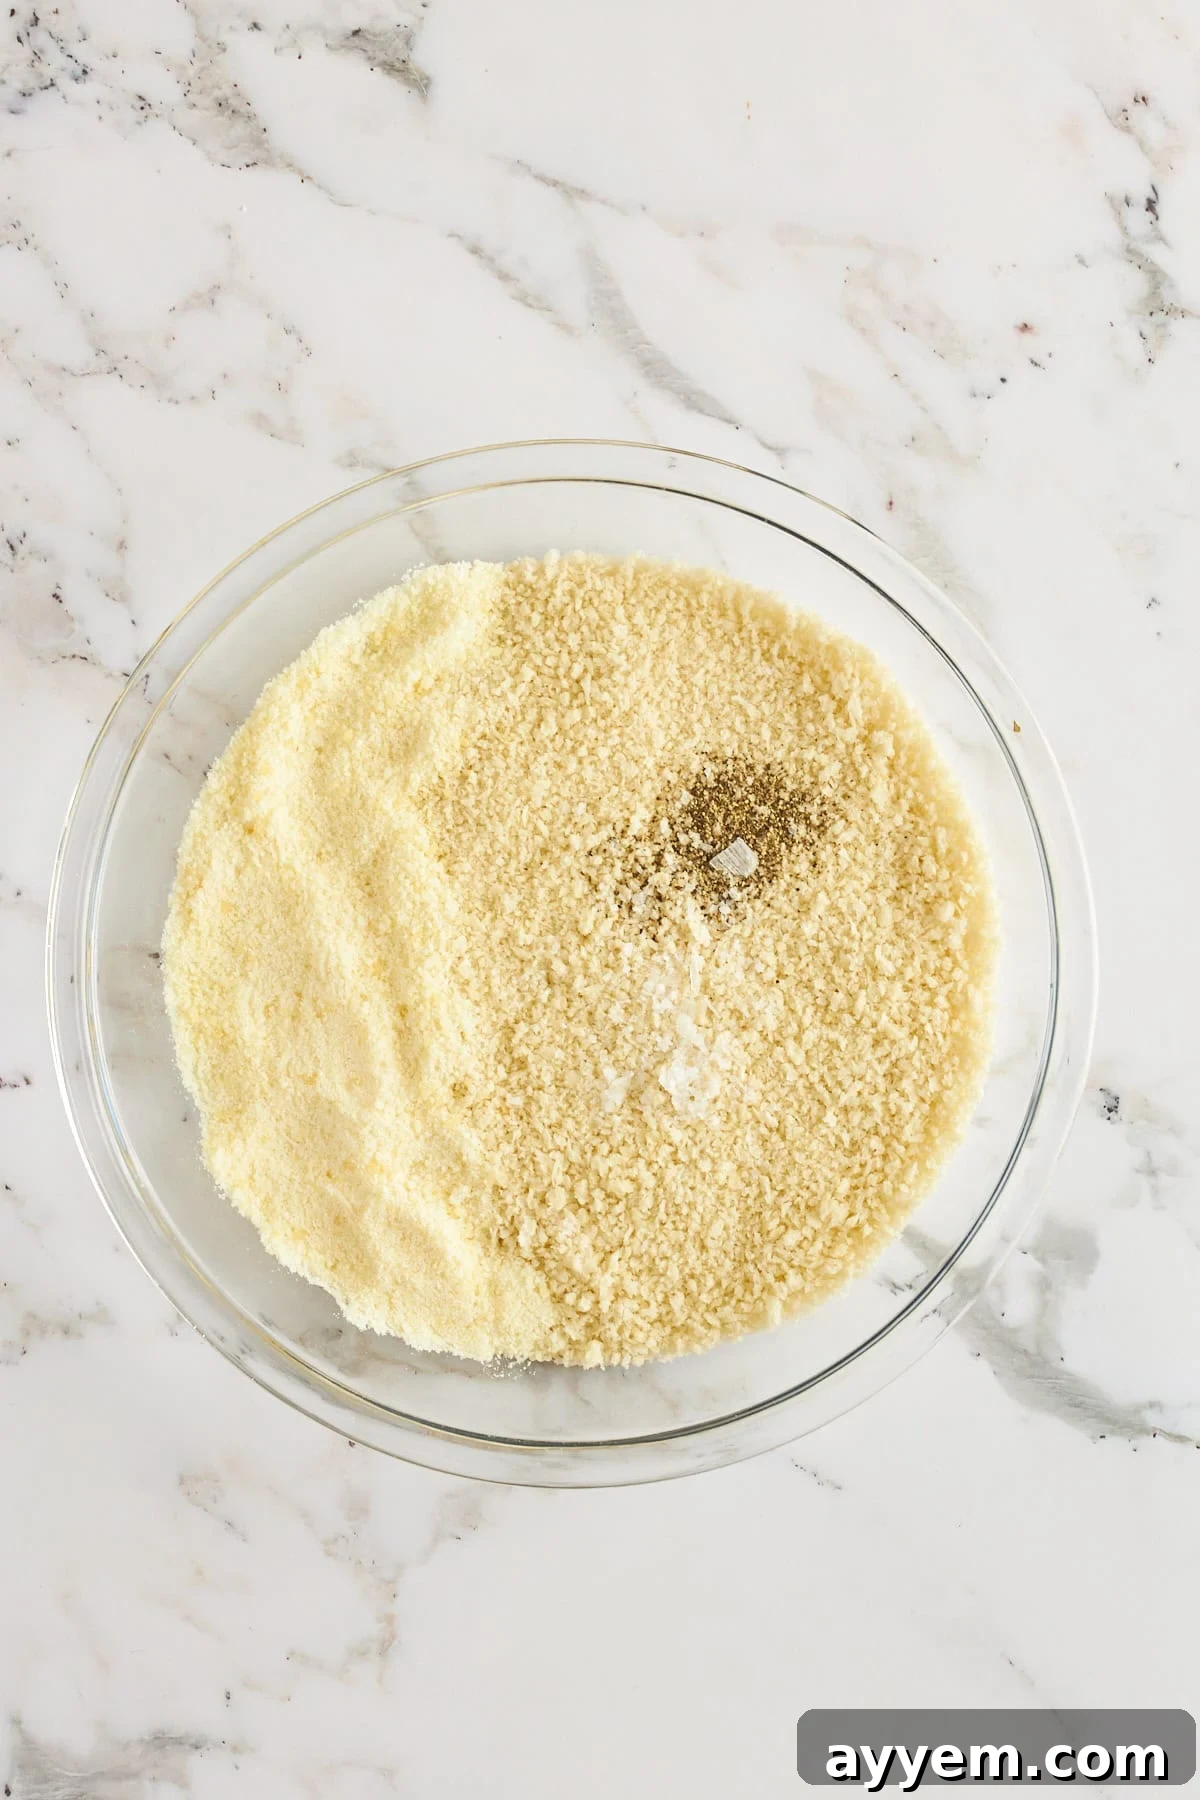
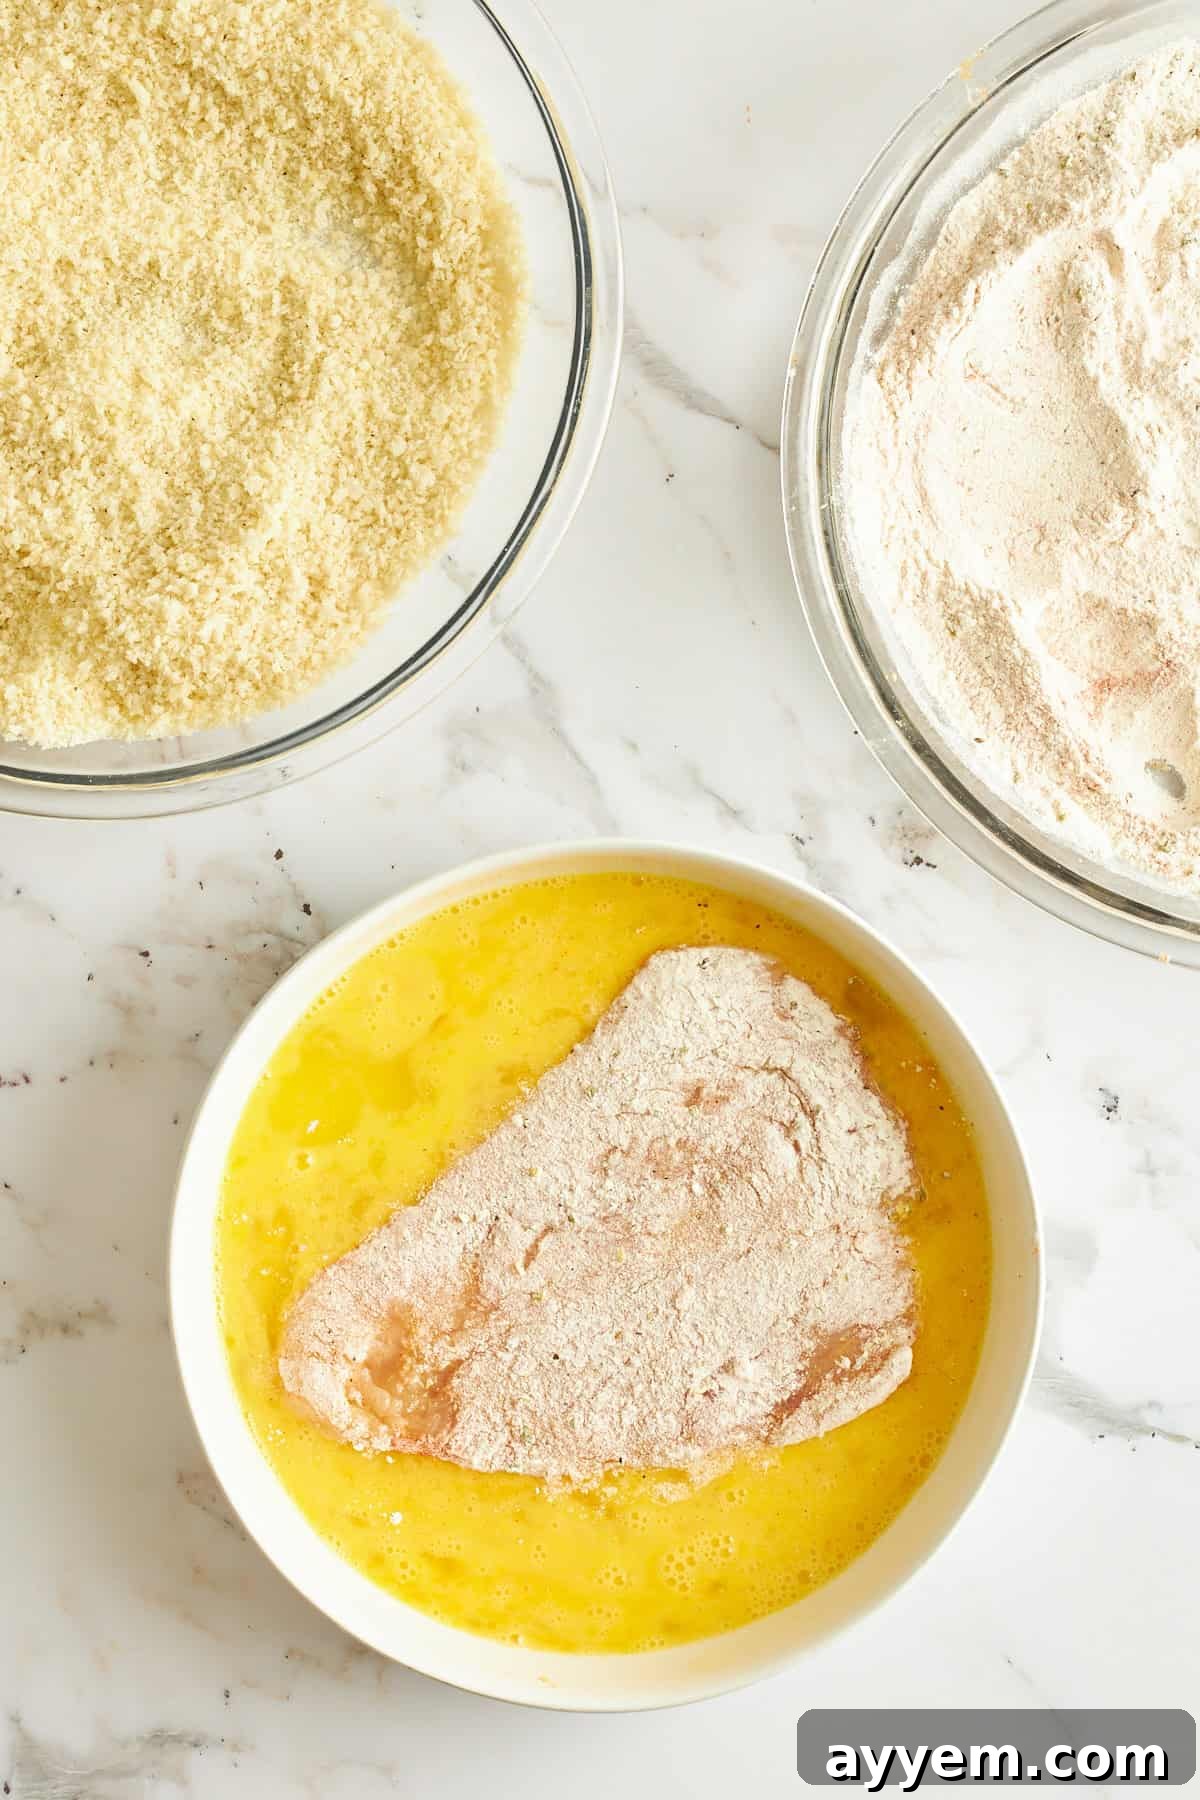
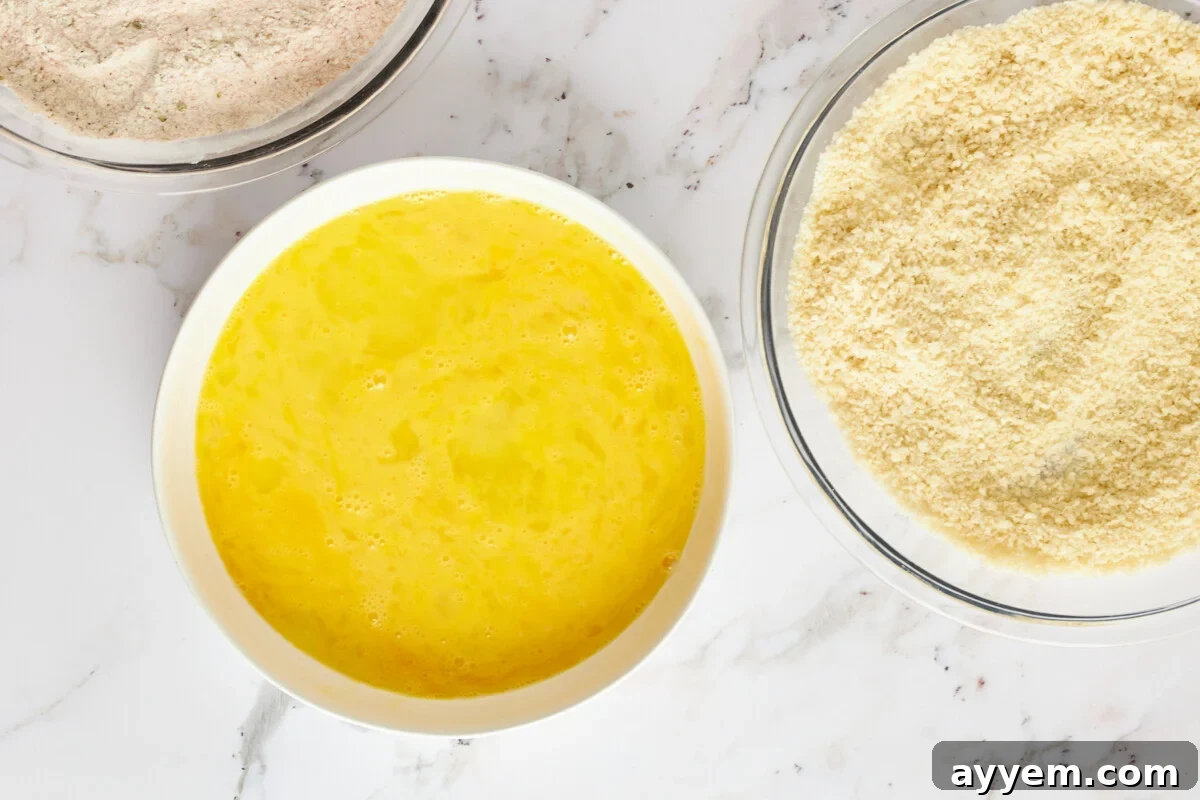
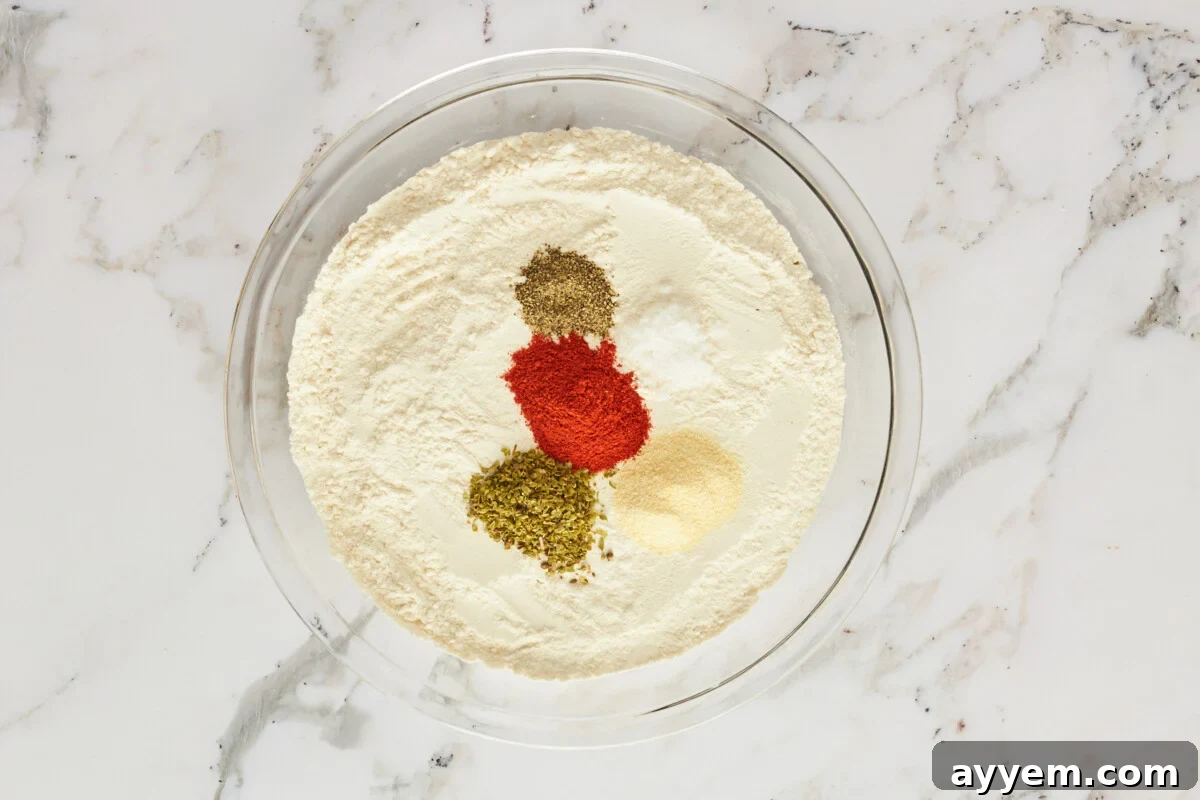
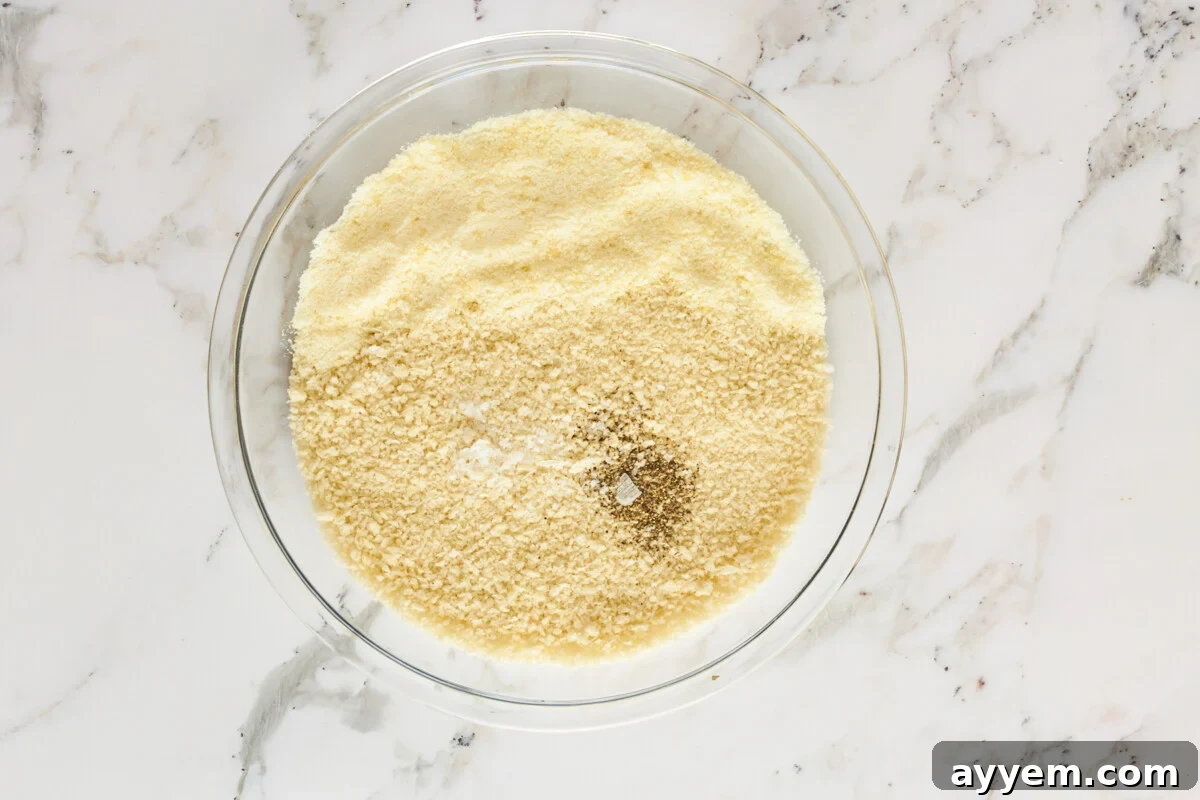
- Set Up Your Breading Stations. In the first shallow bowl, whisk the large eggs until they are well combined and slightly frothy. In a second shallow bowl, combine the all-purpose flour with 1/4 teaspoon of salt and 1/4 teaspoon of pepper, mixing thoroughly. In a third, wider shallow bowl, create your seasoned breadcrumb mixture by combining the panko bread crumbs, grated Parmesan cheese, the remaining 1/4 teaspoon of salt and pepper, oregano, garlic powder, and smoked paprika. Stir everything together until evenly distributed.
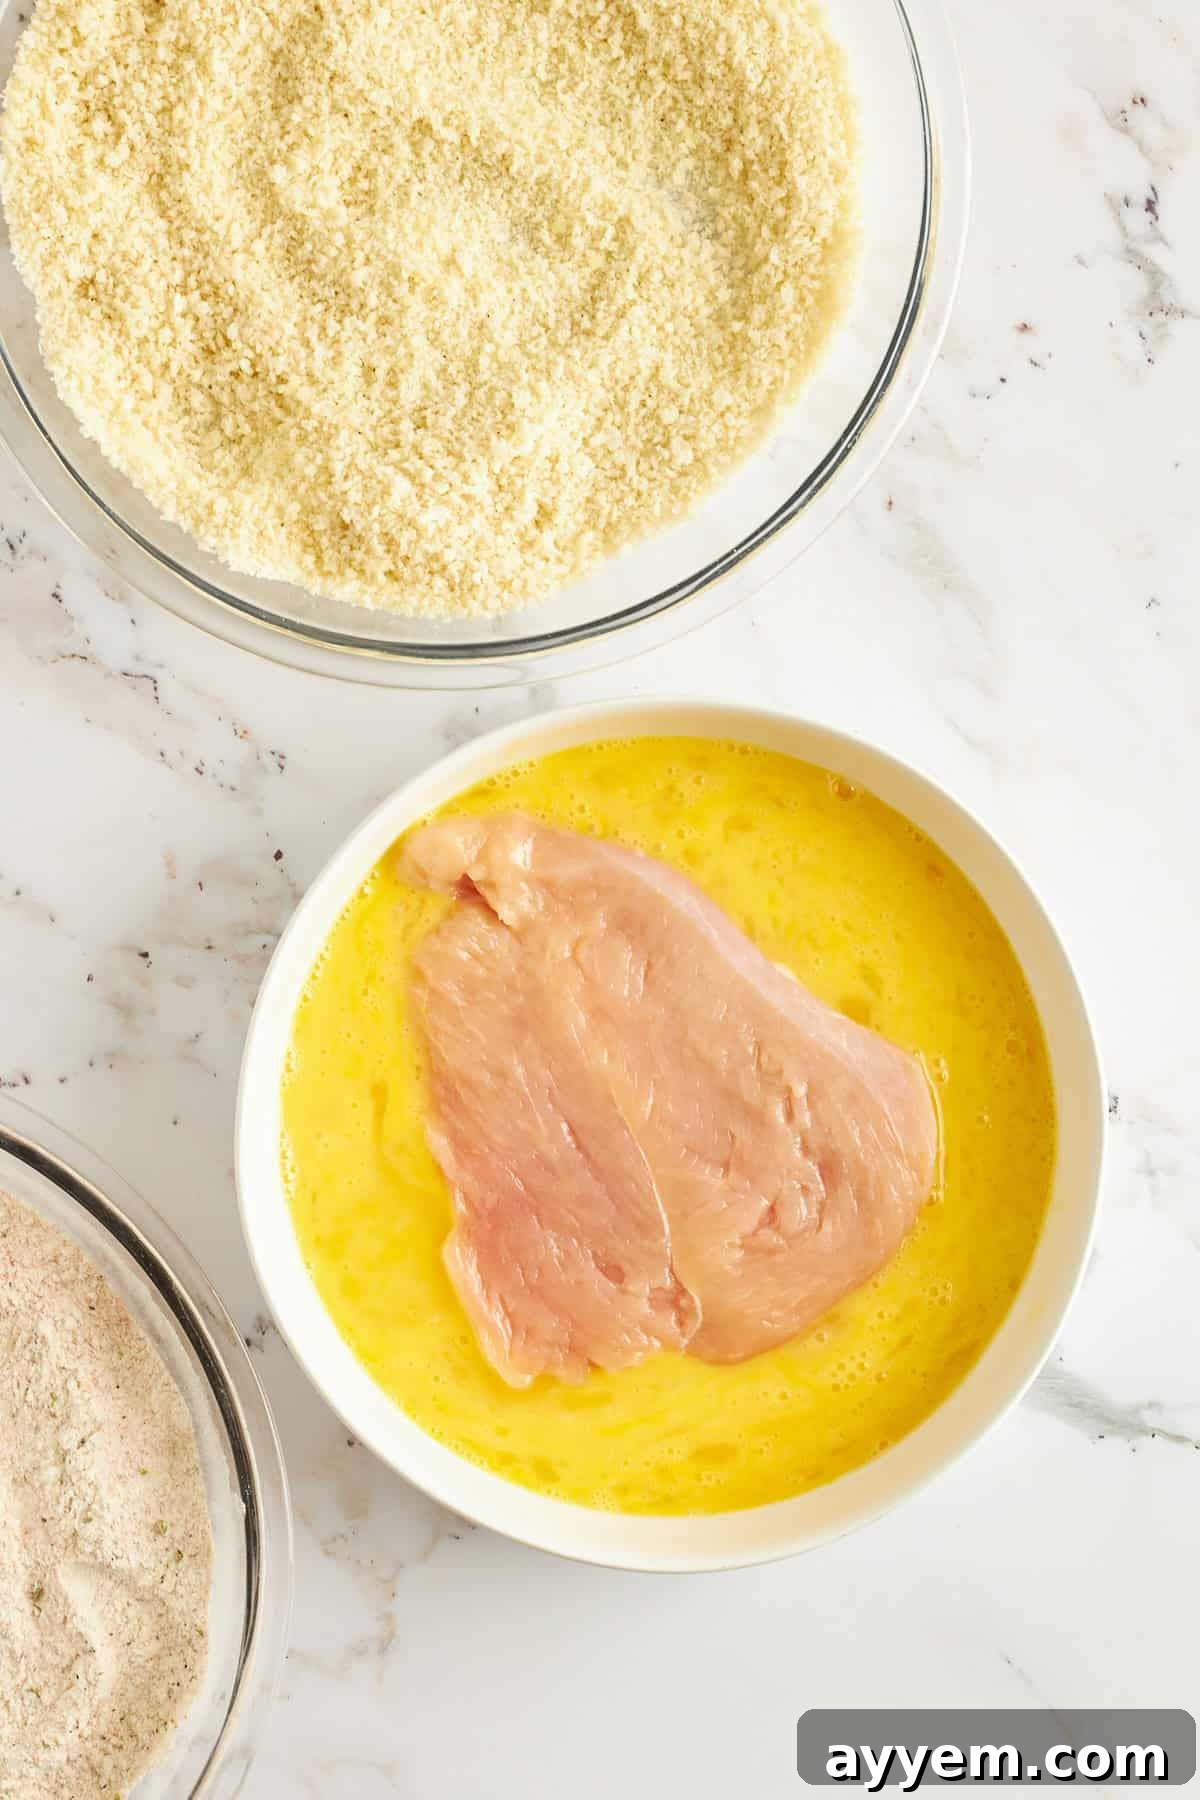
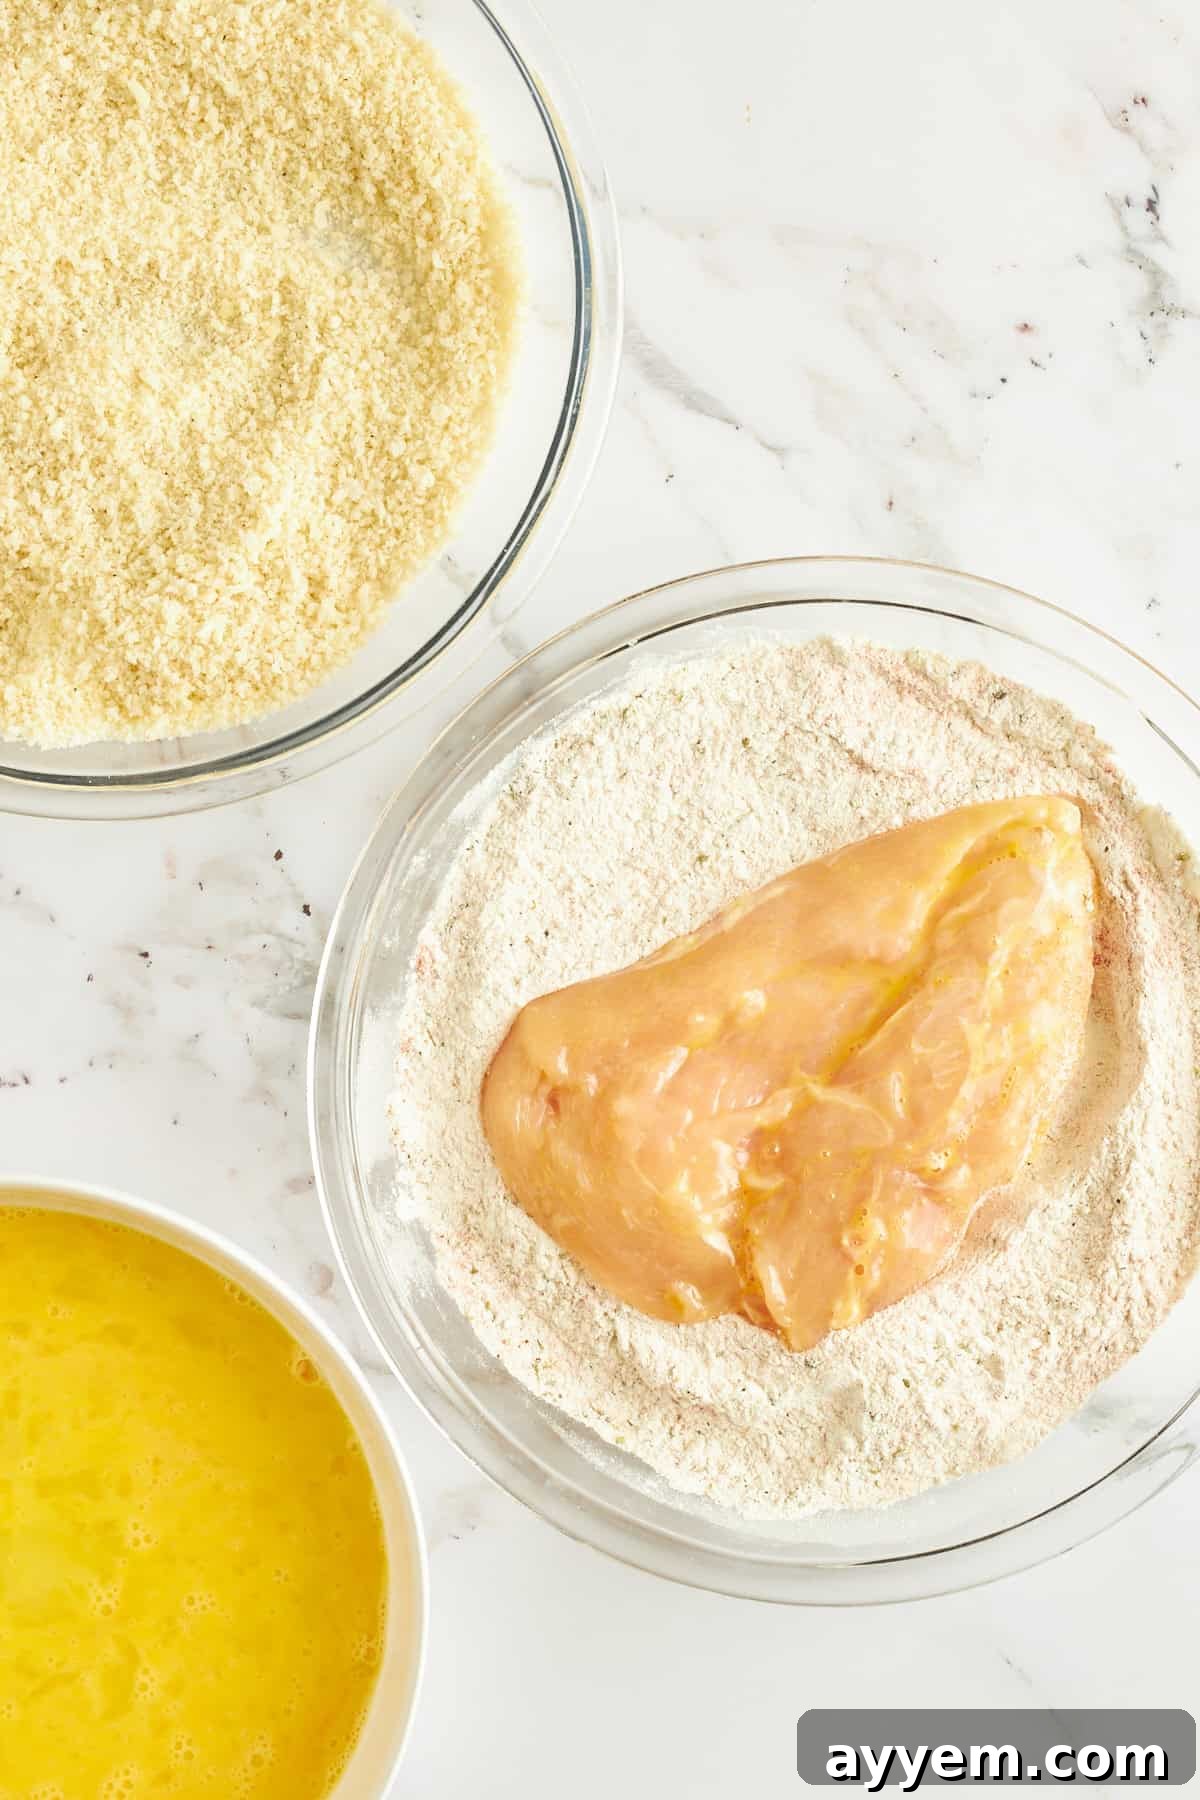
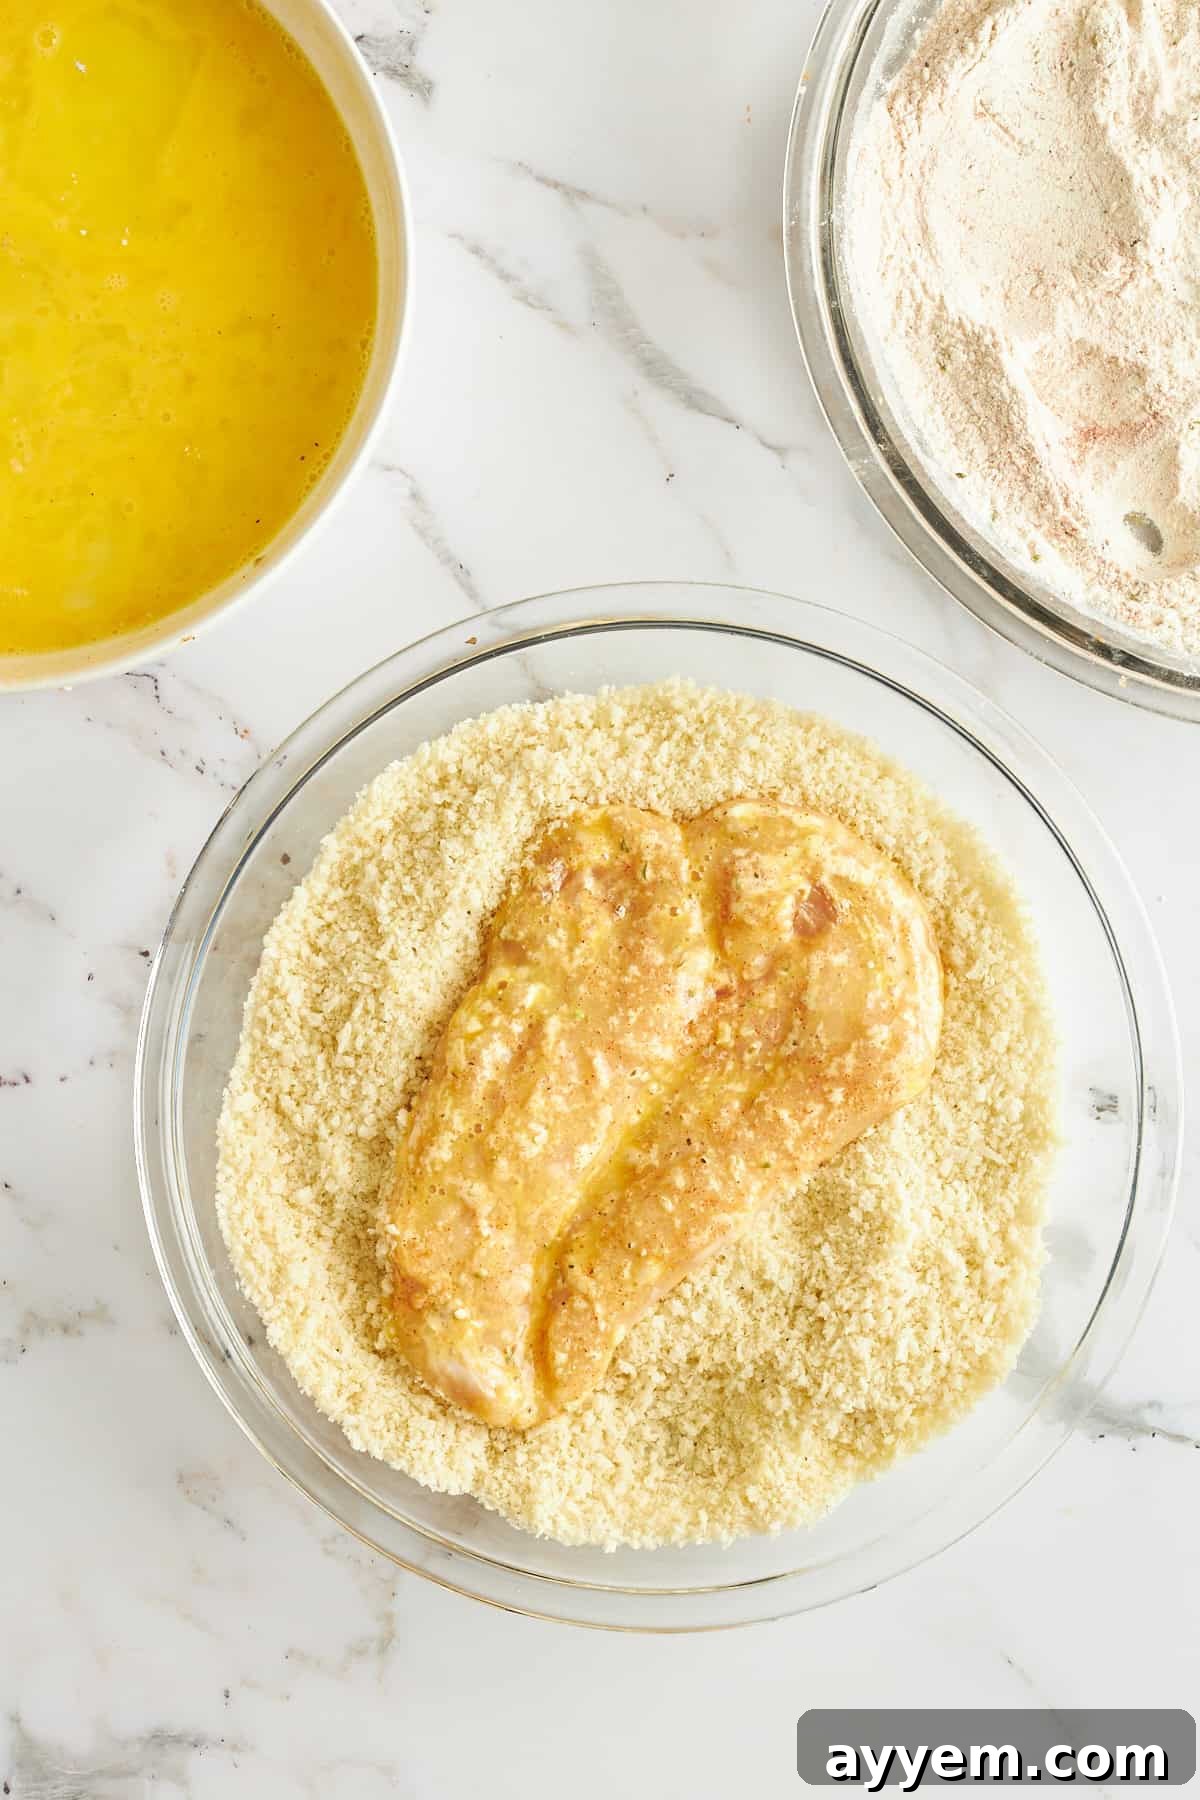
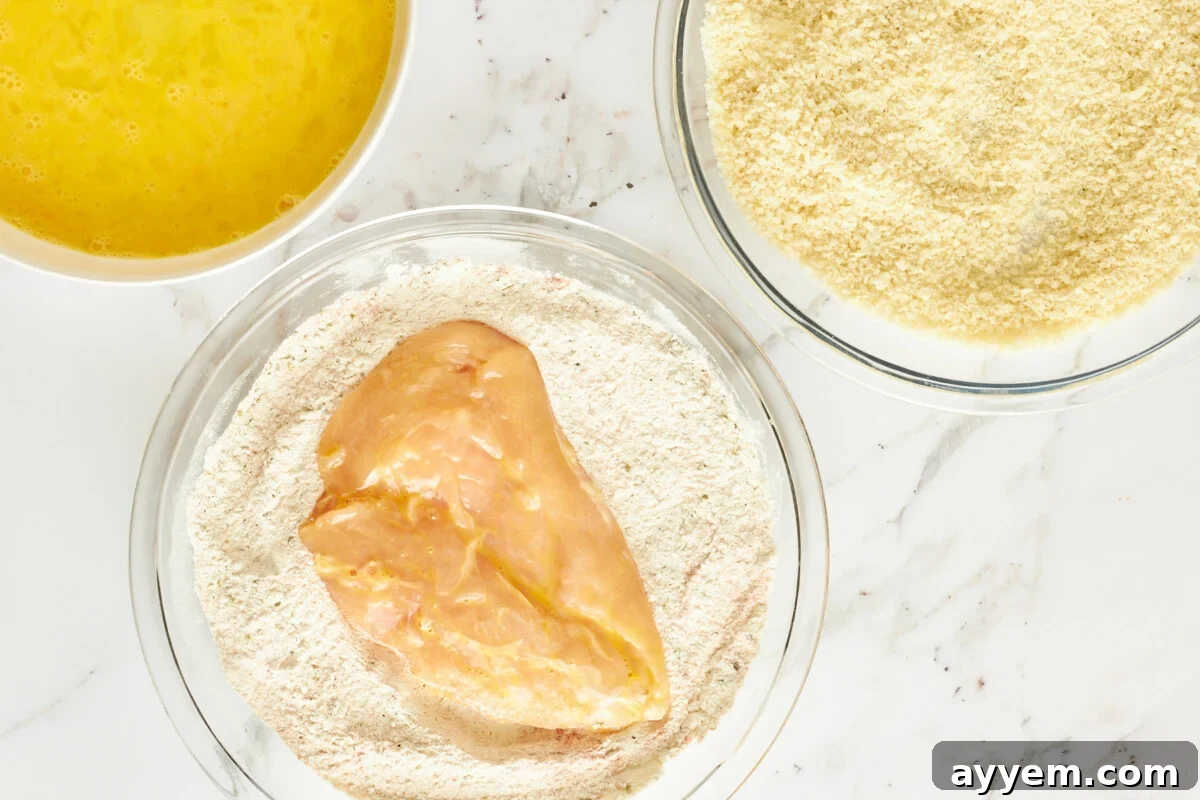
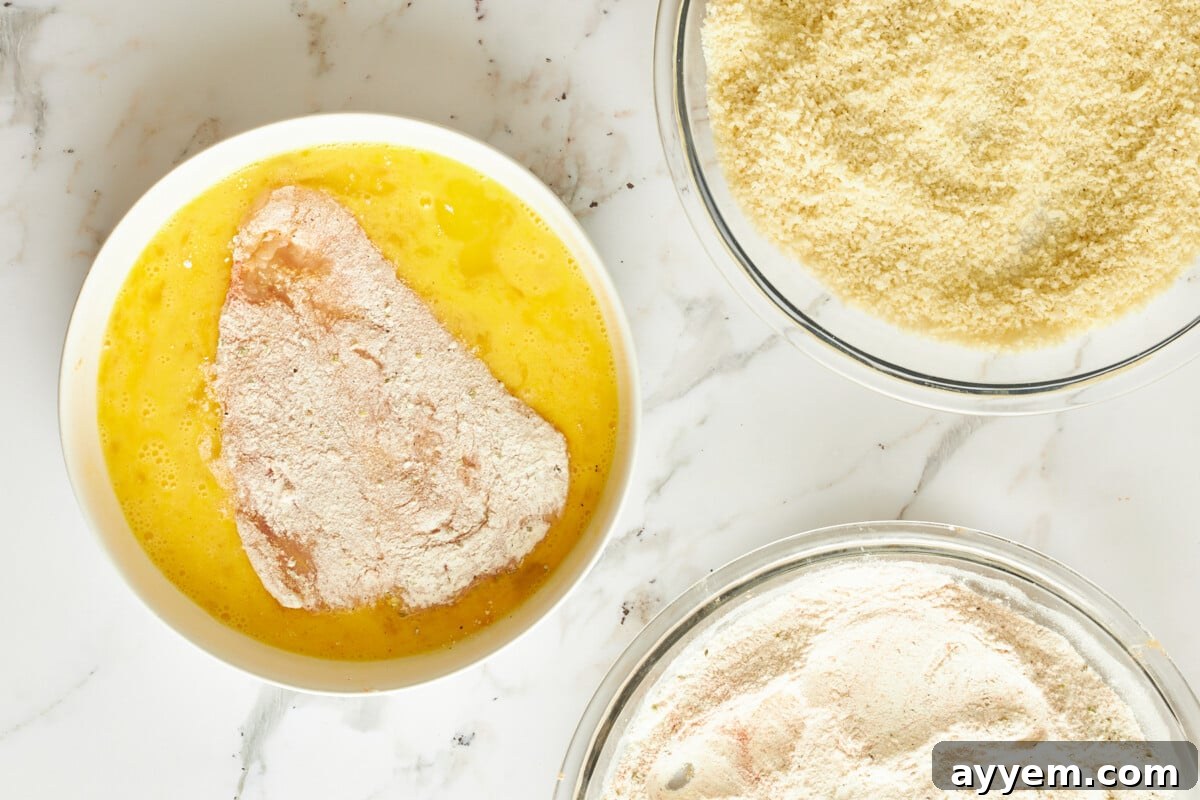
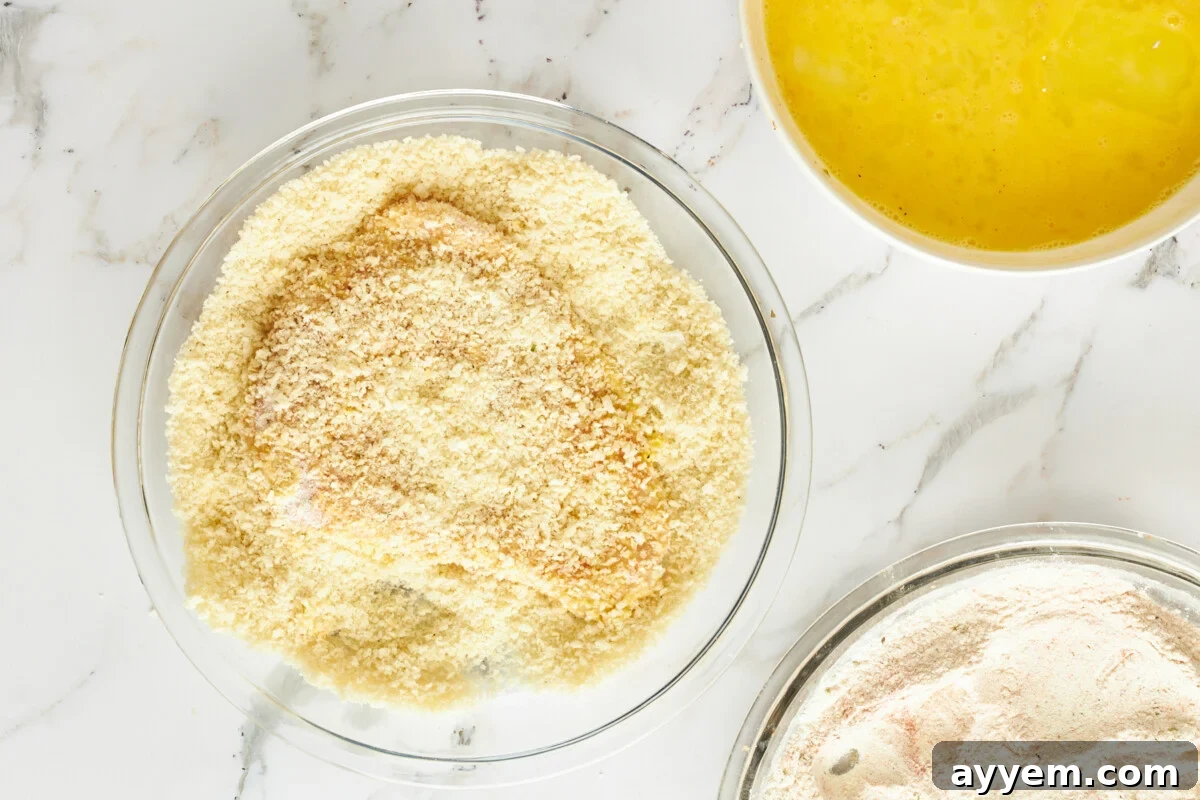
- Dredge the Chicken for Optimal Crispness. This three-step process is crucial for a perfectly adhering, crispy crust. First, take a flattened chicken cutlet and dredge it thoroughly in the seasoned flour, ensuring both sides are coated. Gently shake off any excess flour. Next, dip the floured chicken into the whisked eggs, allowing any extra egg to drip off. Finally, carefully transfer the chicken to the breadcrumb mixture. Press the breadcrumbs firmly onto both sides of the chicken, ensuring a complete and even coating. This firm press helps the crumbs stick during cooking. Set the breaded cutlet aside on a clean plate and repeat with the remaining chicken. Allowing the breaded chicken to rest for about 10 minutes before cooking can also help the coating adhere better.
- Pan-Fry to Golden Perfection. Heat a large, sturdy skillet over medium-high heat. Once hot, generously spray the skillet with cooking spray to prevent sticking and achieve a golden crust with less oil. Alternatively, you can add a tablespoon or two of olive oil or another high-smoke-point oil for a richer flavor. Carefully place the breaded chicken breasts into the preheated skillet, ensuring not to overcrowd the pan (cook in batches if necessary). Pan-fry for 4-5 minutes on each side, or until the chicken is beautifully golden brown, wonderfully crispy, and cooked through. To ensure safety and tenderness, use a meat thermometer to check that the internal temperature of the thickest part of the chicken reaches 165°F (74°C).
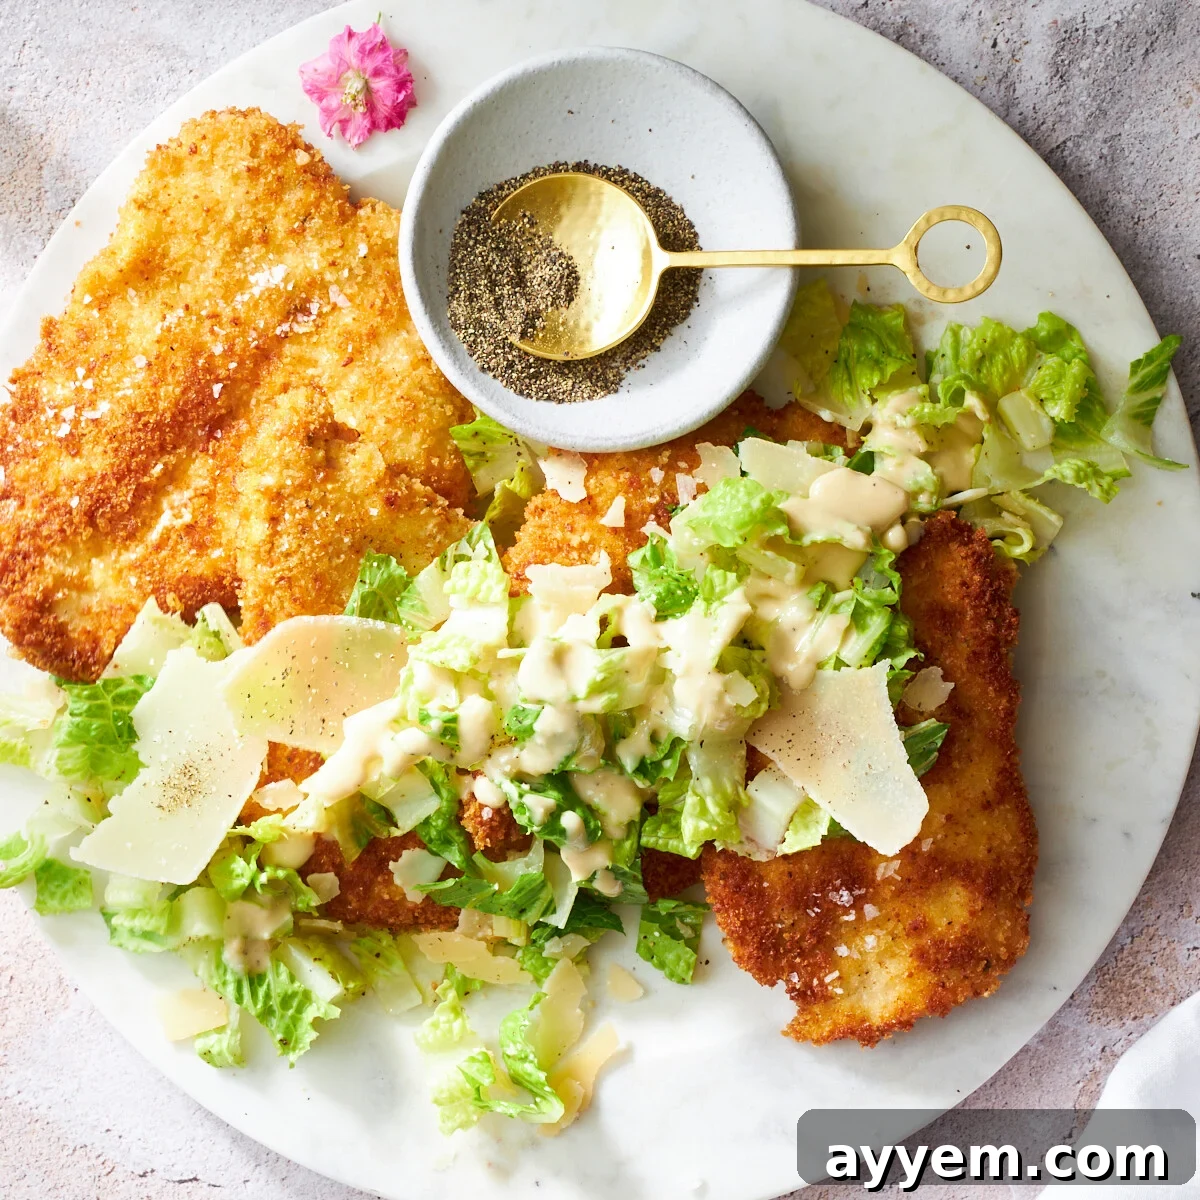
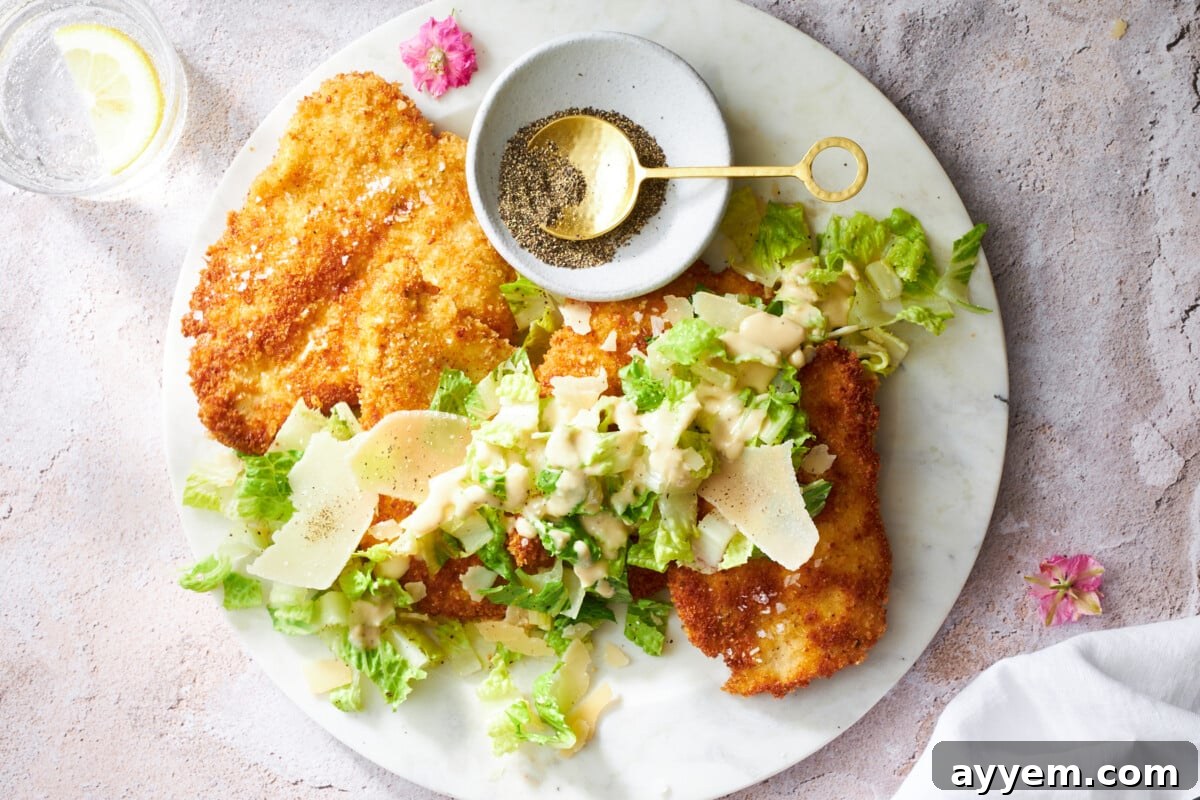
- Serve Immediately with Caesar Salad. Once cooked, transfer the crispy chicken Milanese to a plate lined with paper towels to absorb any excess oil, preserving its crisp texture. After a brief rest, transfer it to a serving plate. Top each succulent chicken cutlet generously with a fresh, vibrant Caesar salad. Serve warm and enjoy the delightful combination of textures and flavors!

Delicious Variations to Elevate Your Chicken Milanese
While the classic Chicken Milanese is a masterpiece on its own, its versatility allows for exciting variations that can cater to different tastes and occasions. Experiment with these flavorful twists to make the dish truly your own:
- Lemon Basil Milanese: Infuse your Milanese with bright, fresh flavors. Add the zest of one fresh lemon directly into your breadcrumb mixture for a tangy aroma. Finely chop fresh basil leaves and mix them in with the breadcrumbs and Parmesan for an aromatic, herbal twist that pairs beautifully with the lemon.
- Crispy Almond-Crusted Chicken: For a unique nutty flavor and an even more pronounced crunch, substitute half or all of the panko breadcrumbs with finely chopped or ground almonds. This creates a sophisticated, gluten-friendly option with a rich, buttery undertone.
- Spicy Chicken Milanese: If you enjoy a bit of heat, introduce red pepper flakes into the breadcrumb mixture. Start with a quarter teaspoon and adjust to your preferred spice level. A pinch of cayenne pepper can also add a delightful kick that enlivens the dish.
- Easy Oven-Baked “Fried” Chicken Milanese: For a healthier, less oily version, or to utilize leftover oven-fried chicken, prepare your Milanese as usual but bake it instead of pan-frying. Place breaded chicken on a wire rack over a baking sheet, spritz lightly with cooking oil, and bake at 400°F (200°C) until golden and cooked through.
- Parmesan Herb Milanese: Deepen the aromatic profile by mixing additional dried herbs such as thyme, rosemary, or a classic Italian seasoning blend into the Parmesan cheese and breadcrumbs. These herbs will infuse the chicken with complex and fragrant flavors as it cooks.
- Garlic Parmesan Powerhouse: For those who adore garlic, significantly increase the amount of garlic powder in the breadcrumb mixture. You can even add a touch of granulated garlic or finely minced fresh garlic (if pan-frying carefully to prevent burning) for a bolder, intensely savory crust.
- Balsamic Reduction Drizzle: After pan-frying, elevate your cooked chicken Milanese with a sophisticated balsamic reduction. Drizzle a rich, sweet, and tangy balsamic glaze over the top just before serving. This adds a gourmet touch and complements the crispy crust beautifully.
Storing and Reheating Leftover Chicken Milanese
Chicken Milanese is delightful when freshly made, but you can certainly enjoy leftovers with a few smart storage and reheating techniques. The key consideration when storing this dish is maintaining its coveted crispiness, which can diminish in the refrigerator. To best preserve the texture, ensure the chicken has cooled completely before storing.
For refrigeration, place the cooked chicken Milanese in an airtight container. This will keep it fresh and safe to eat for approximately 3-4 days. When it comes to reheating, avoid the microwave if a crispy crust is your goal, as it tends to make breaded items soggy. Instead, for best results, reheat your Milanese in an oven preheated to 350°F (175°C) for about 10-15 minutes, or until thoroughly heated and re-crisped. An air fryer is another excellent option; simply heat at 350°F (175°C) for 5-8 minutes, flipping halfway, until it’s wonderfully crispy again.
If you wish to extend the shelf life, chicken Milanese can be frozen. Wrap individual cooked and cooled cutlets tightly in plastic wrap, then place them in a freezer-safe bag or container. It will remain fresh for up to 3 months. Be aware that while the flavor will hold well, the consistency of the breading may soften slightly after thawing and reheating, even with oven or air fryer methods. Thaw frozen chicken Milanese in the refrigerator overnight before reheating using the oven or air fryer instructions above.
Common Questions About Chicken Milanese with Caesar Salad
Absolutely! While traditional pan-frying delivers that incredibly rich, golden crust, baking is a fantastic option for a lighter version of Chicken Milanese. To achieve a satisfying crispness in the oven, place your breaded chicken cutlets on a wire rack set over a baking sheet. Give them a light spritz of cooking oil on both sides before baking at around 400°F (200°C) for 15-20 minutes, flipping halfway, until they are golden and the internal temperature reaches 165°F (74°C). This method helps air circulate, ensuring a crispier finish.
The secret to a perfectly adherent breading lies in proper technique and a brief resting period. Ensure you follow the three-step dredging process meticulously: first, coat the chicken evenly in flour (this helps the egg stick); second, dip it fully in the egg wash; and third, press the breadcrumbs firmly onto all surfaces of the chicken. After breading, it’s highly recommended to let the coated chicken rest for at least 10-15 minutes in the refrigerator before cooking. This allows the breading to “set” and adhere more securely, preventing it from flaking off during frying.
Yes, partial preparation or full cooking ahead of time is definitely possible. You can bread the chicken cutlets several hours in advance and store them uncovered on a plate in the refrigerator until you’re ready to cook. This resting period can even improve the breading’s adherence. If you want to fully cook the Milanese ahead of time, allow it to cool completely, then store it properly (as mentioned in the leftovers section). When ready to serve, simply reheat in the oven or air fryer to bring back its crisp texture and ensure it’s piping hot.
While we often recommend cooking spray for a lighter touch and easy browning, several oils work wonderfully for pan-frying Milanese. Olive oil is a popular choice for its flavor, though use it carefully over medium heat to prevent smoking. Other excellent options include avocado oil, grapeseed oil, or vegetable oil, all of which have high smoke points suitable for medium-high frying. Remember, a little oil goes a long way; you’re not deep-frying, but rather pan-frying to create that golden, crispy crust.
More Delicious Chicken-Based Recipes to Explore
We absolutely adore chicken for its incredible versatility and its ability to effortlessly pack protein and flavor into any meal. If you share our passion for poultry, you’ll love these additional chicken-centric recipes from our collection, each bursting with unique and satisfying flavors:
Greek Chicken Souvlaki
Whole Roasted Chicken Tikka
One Pot Greek Chicken and Rice
Air Fryer Chicken Burrito Bowl
Baked Chicken Parmesan
Crispy Chicken Milanese with Fresh Caesar Salad
★
★
★
★
Food Dolls
2
servings
15
10
25
📍Pin
Would you like to save this recipe? 🔖
Enter your email below, and we’ll send this delicious recipe straight to your inbox so you can easily find it later!
Ingredients
-
2 large chicken breasts halved and flattened -
3 large eggs -
1/2 cup all-purpose flour -
1 cup panko bread crumbs -
1/3 cup grated Parmesan cheese -
1/2 teaspoon salt for seasoning chicken -
1/4 teaspoon pepper for seasoning chicken -
1/4 teaspoon salt for seasoning flour -
1/4 teaspoon pepper for seasoning flour -
1/4 teaspoon salt for seasoning breadcrumbs -
1/4 teaspoon pepper for seasoning breadcrumbs -
1 teaspoon oregano -
1/2 teaspoon garlic powder -
1/2 teaspoon smoked paprika -
Cooking spray -
Caesar salad for topping
Instructions
Prepare the Chicken:
-
Slice each of the chicken breasts in half horizontally and use a meat mallet or rolling pin to flatten them to an even 1/4 to 1/2 inch thickness. Season both sides generously with salt and pepper.2 large chicken breasts,
1/2 teaspoon salt,
1/4 teaspoon pepper
Set Up Your Coating Stations:
-
In the first shallow bowl, beat the eggs until smooth and thoroughly combined.3 large eggs

-
In a second shallow bowl, combine the all-purpose flour with 1/4 teaspoon salt and 1/4 teaspoon pepper. Stir well to ensure seasonings are evenly distributed.1/2 cup all-purpose flour,
1/4 teaspoon salt,
1/4 teaspoon pepper
-
In a third shallow bowl, mix together the panko bread crumbs, grated Parmesan cheese, the remaining 1/4 teaspoon salt, 1/4 teaspoon pepper, oregano, garlic powder, and smoked paprika. Stir until all ingredients are well combined.1 cup panko bread crumbs,
1/3 cup grated Parmesan cheese,
1/4 teaspoon salt,
1 teaspoon oregano,
1/2 teaspoon garlic powder,
1/2 teaspoon smoked paprika,
1/4 teaspoon pepper
Coat the Chicken:
-
Take one chicken cutlet and first dredge it thoroughly in the seasoned flour, ensuring it’s completely coated. Gently shake off any excess flour.
-
Next, dip the floured chicken into the beaten eggs, making sure it is fully coated on all sides. Allow any excess egg to drip back into the bowl.
-
Finally, transfer the chicken to the breadcrumb mixture. Press the breadcrumbs firmly onto the chicken, ensuring an even and generous coating on all surfaces. Place the breaded cutlet on a separate plate and repeat for remaining chicken.
Pan-Fry the Chicken:
-
Heat a large skillet over medium-high heat. Spray generously with cooking spray to prevent sticking and promote a crispy crust. As an alternative, you can use 1-2 tablespoons of olive oil or another high-smoke-point oil for a richer flavor.Cooking spray
-
Once the skillet is hot, carefully add the coated chicken breasts. Cook for 4-5 minutes on each side until they are beautifully golden brown, wonderfully crispy, and fully cooked through. Use a meat thermometer to ensure the internal temperature of the chicken reaches 165°F (74°C) for food safety.

Serve:
-
Remove the cooked chicken from the skillet and place it on a plate lined with paper towels to absorb any excess oil, helping to maintain its crispiness. Transfer to a serving plate and generously top each cutlet with your fresh Caesar Salad. Serve immediately and enjoy!
Equipment
Nutrition
Serving:
1
serving
|
Calories:
663
kcal
|
Carbohydrates:
50
g
|
Protein:
69
g
|
Fat:
19
g
|
Saturated Fat:
6
g
|
Polyunsaturated Fat:
3
g
|
Monounsaturated Fat:
6
g
|
Trans Fat:
0.1
g
|
Cholesterol:
405
mg
|
Sodium:
2032
mg
|
Potassium:
1093
mg
|
Fiber:
3
g
|
Sugar:
2
g
|
Vitamin A:
836
IU
|
Vitamin C:
3
mg
|
Calcium:
277
mg
|
Iron:
6
mg
Nutrition information is automatically calculated and should only be used as an approximation.
Enjoyed this recipe?
We’d love to hear your thoughts! Please leave a comment and share your experience below!