
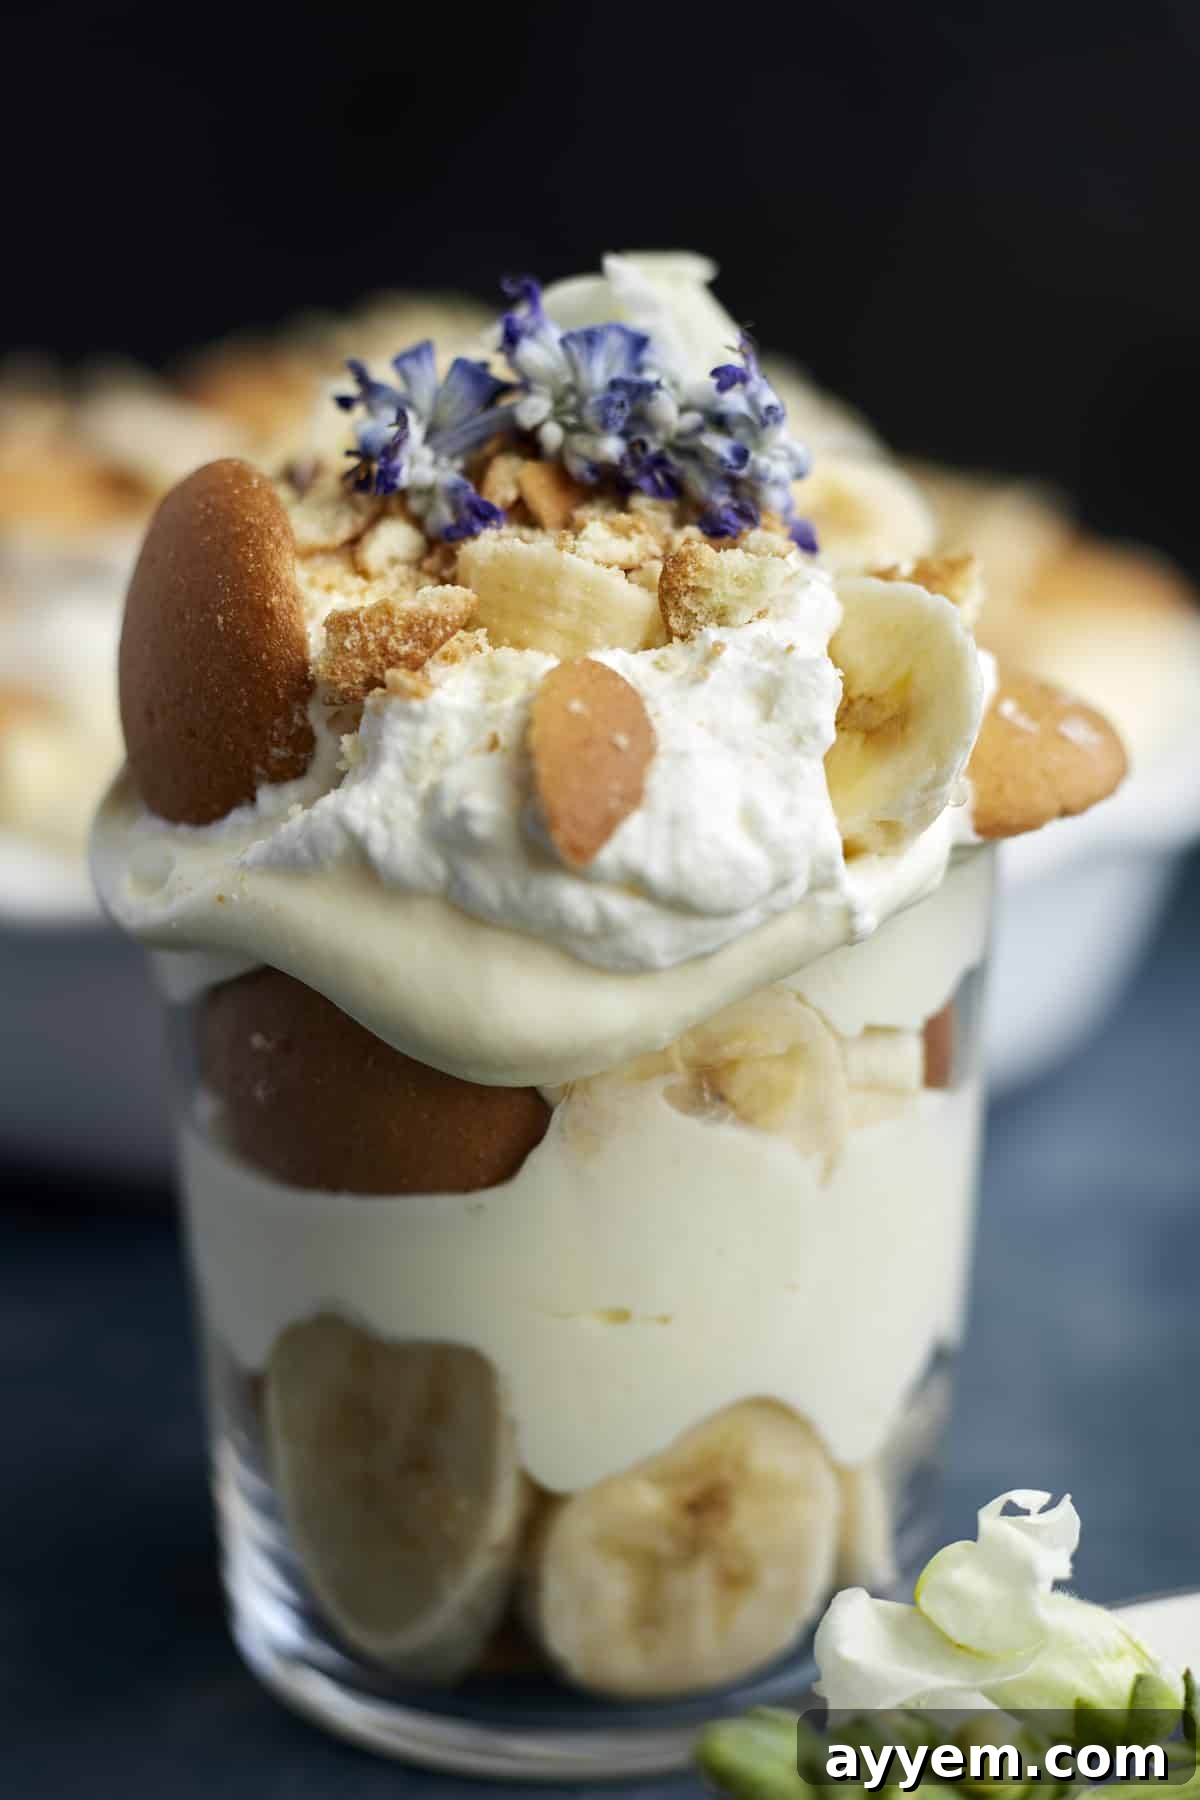
Craving the legendary taste of New York City’s famous Magnolia Bakery without the need for a plane ticket? You’ve come to the right place! This comprehensive guide provides you with the authentic Magnolia Bakery Banana Pudding recipe, allowing you to recreate the magic right in your own kitchen. Prepare yourself for layers of velvety vanilla pudding, perfectly ripe bananas, and classic Nilla wafers, all coming together in a dessert that’s guaranteed to become a cherished family favorite. Forget the lines and the travel; your homemade slice of Big Apple bliss is just a few simple steps away.
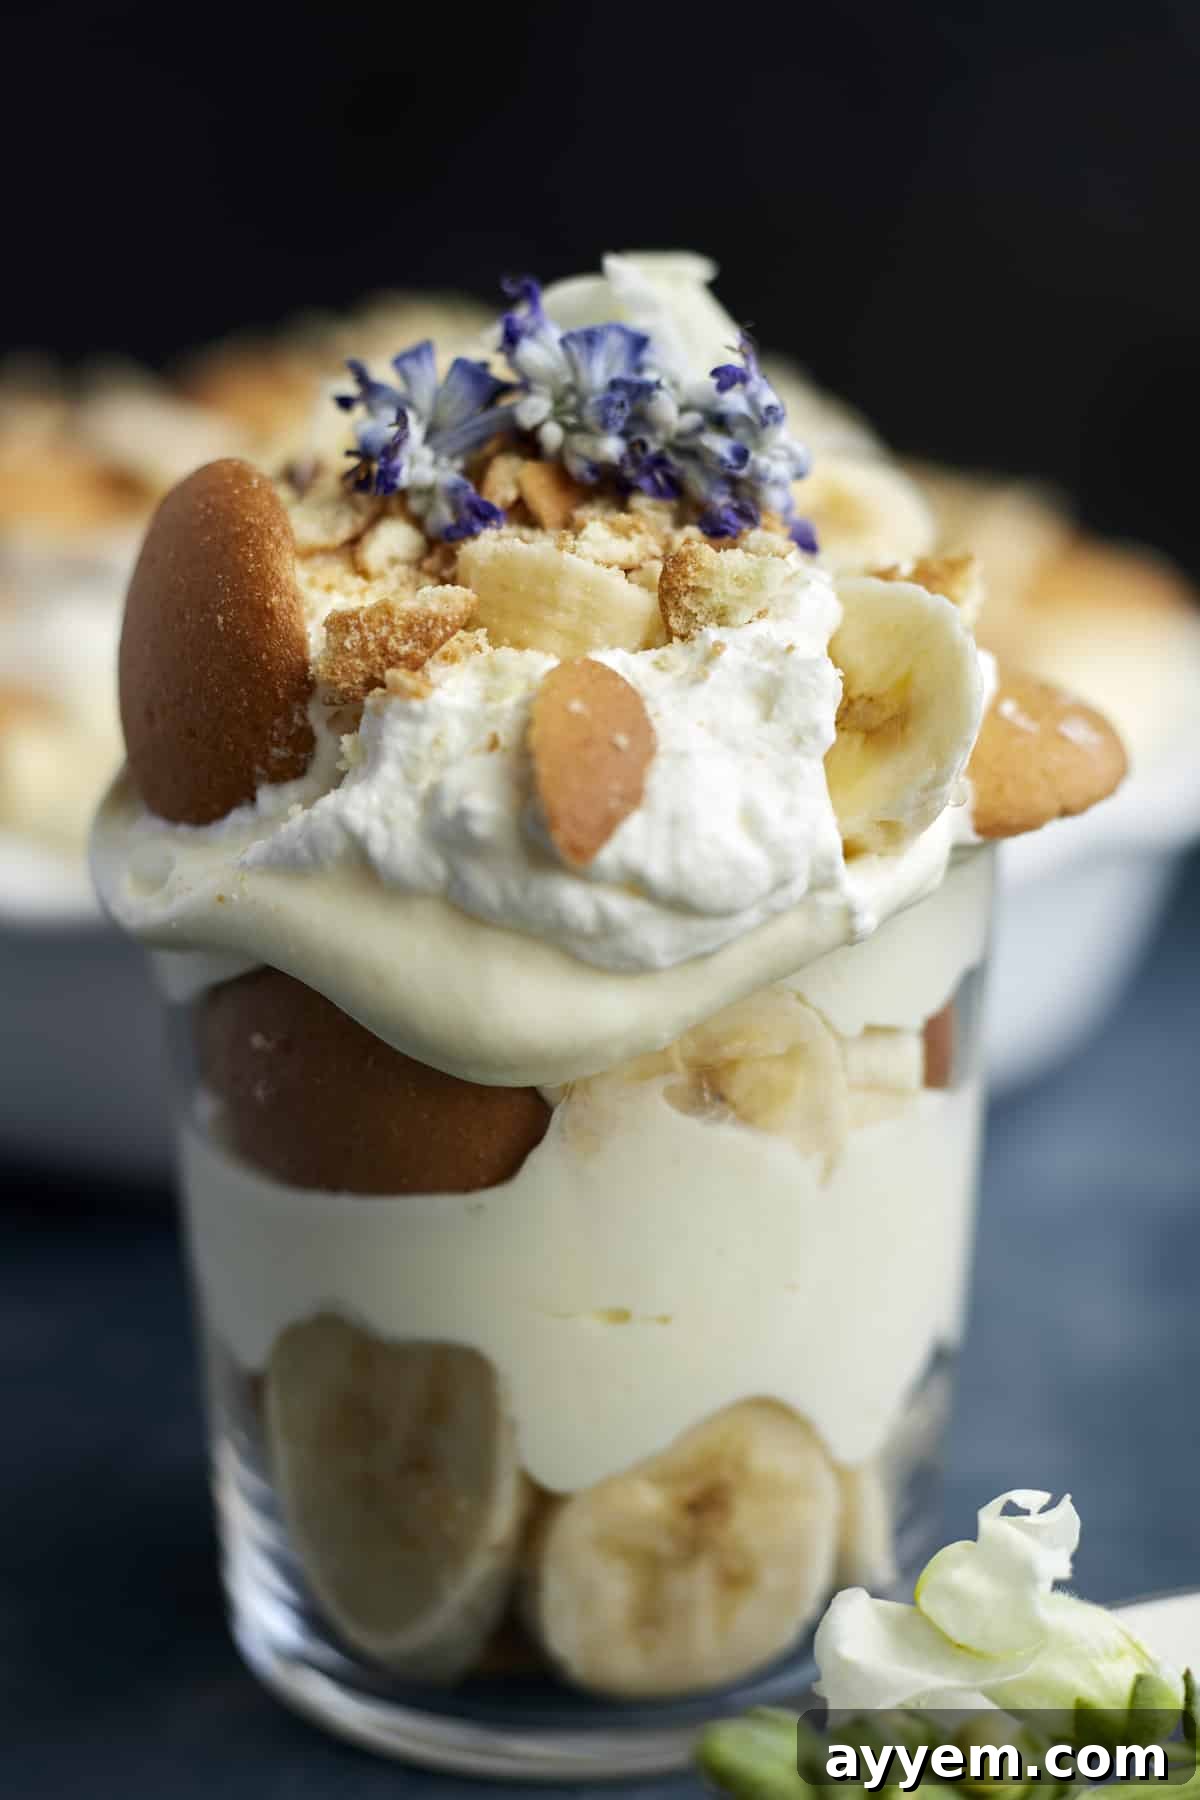
Magnolia Bakery Banana Pudding: The Ultimate Homemade Copycat Recipe
What Makes Magnolia Bakery Banana Pudding So Irresistible?
The Magnolia Bakery Banana Pudding isn’t just a dessert; it’s an experience. Originating from the iconic Magnolia Bakery in the heart of New York City, this delightful creation has captivated taste buds worldwide. At its core, it’s a wonderfully simple yet profoundly satisfying dessert, featuring harmonious layers of luscious, creamy vanilla pudding, generously sliced fresh bananas, and tender vanilla wafer cookies. Each spoonful offers a blend of textures – the smooth pudding, the soft fruit, and the delightful chewiness of the wafers that soften as they meld with the pudding. It’s a comforting, indulgent treat, renowned for its rich flavors and nostalgic charm, often served in charming cups or containers that perfectly encapsulate its appeal. This classic American dessert has transcended its humble ingredients to become a cultural phenomenon, a true testament to the power of simple perfection.
The Sweet Story Behind Magnolia Bakery’s Rise to Fame
Even if you’re not a dessert connoisseur, the name Magnolia Bakery likely rings a bell, especially if you have a soft spot for classic American baked goods like cupcakes. While beloved by New Yorkers for years, this charming bakery, first established in the West Village in 1996, truly exploded onto the national and international scene thanks to an unexpected cameo. A brief but memorable appearance in the hugely popular TV show Sex and the City transformed it from a local gem into a global phenomenon. Suddenly, eager fans and dessert enthusiasts lined blocks, waiting patiently for a taste of its sweet offerings. Among these, their banana pudding quickly became the undeniable superstar, cementing its place as an iconic New York City treat. Today, Magnolia Bakery has expanded significantly, boasting over 30 shops across the globe, with six still proudly serving their irresistible creations in New York City itself. The rest, as they say, is history, perpetually linked to the creamy, dreamy layers of their famous banana pudding, a dessert that continues to draw crowds and inspire home bakers worldwide.
Why Make This Copycat Recipe at Home?
While a visit to Magnolia Bakery is a treat in itself, mastering their banana pudding recipe at home offers a multitude of benefits that extend beyond mere indulgence. Firstly, it’s incredibly cost-effective compared to purchasing individual servings, making it perfect for feeding a crowd or simply enjoying multiple portions without breaking the bank. Secondly, it provides the sheer convenience of enjoying this decadent dessert whenever the craving strikes, eliminating the need for travel or waiting in long, winding lines. Furthermore, making it yourself gives you complete control over the freshness of ingredients and allows for subtle customizations to suit your personal preferences or dietary needs. You can choose organic bananas, adjust the sweetness level, or experiment with different types of wafers. Whether you’re entertaining guests, celebrating a special occasion, or simply indulging in a sweet moment of self-care, a homemade batch of Magnolia Bakery-style banana pudding brings joy, a sense of accomplishment, and a touch of New York charm directly to your dining table. It’s a comforting classic that transcends seasons and celebrations, always bringing smiles.
Unveiling the Simple Ingredients for an Authentic Taste
Despite its luxurious layers and profound depth of flavor, you might be pleasantly surprised to learn that this beloved dessert requires only a handful of readily available ingredients. We’ve meticulously recreated the famous Magnolia Bakery banana pudding recipe using these essentials, ensuring an authentic taste and texture that rivals the original:
- Sweetened Condensed Milk: This ingredient is absolutely crucial for both sweetness and the characteristic thick, rich consistency of the pudding base. It’s important not to confuse it with evaporated milk, as the two are very different in sugar content and texture. Sweetened condensed milk is key to achieving that signature creamy mouthfeel and deep flavor, acting as a binding agent and a primary source of the dessert’s sweetness.
- Cold Milk: When combined with the sweetened condensed milk and pudding mix, cold milk helps create that wonderfully thick and creamy pudding layer. For the most indulgent taste and luxurious texture, we strongly recommend using whole milk. The higher fat content contributes significantly to the richness of the final product, resulting in a more decadent and satisfying pudding.
- Heavy Cream: This is the secret weapon for creating the light, airy, and fluffy consistency that distinguishes Magnolia Bakery’s pudding from denser versions. Whipping heavy cream until stiff peaks form and then folding it into the pudding mixture transforms the dessert into a cloud-like dream. Its richness balances the sweetness and adds an incredible lightness that is truly characteristic of the original recipe.
- Instant Vanilla Pudding Mix: A non-negotiable component for an authentic banana pudding experience. It’s vital to use an instant vanilla pudding mix – steer clear of homemade puddings or the “cook-and-serve” varieties, as they will not yield the same rapid thickening and classic flavor profile. The instant mix creates a stable, quick-setting base that is essential for the layering process. French vanilla pudding mix also works beautifully if you prefer a slightly more pronounced vanilla note.
- Bananas: The star of the show! For the best flavor and texture, select ripe bananas that are still firm. They should be bright yellow with perhaps a few tiny brown spots, indicating sweetness without being overly soft or mushy. Firm slices hold their shape better within the pudding and offer a pleasant textural contrast, while their natural sweetness infuses throughout the dessert.
- Nilla Wafers: These iconic vanilla wafers are traditional for a reason. They provide a delicate crunch initially and then soften beautifully as they absorb the creamy pudding, creating a delightful melt-in-your-mouth experience that is unique to banana pudding. While regular Nilla wafers are perfectly fine, we find that mini wafers ensure a sweet, crunchy, and textural element in every single delectable bite, making each spoonful consistently satisfying.
A Visual Guide to Layering Perfection
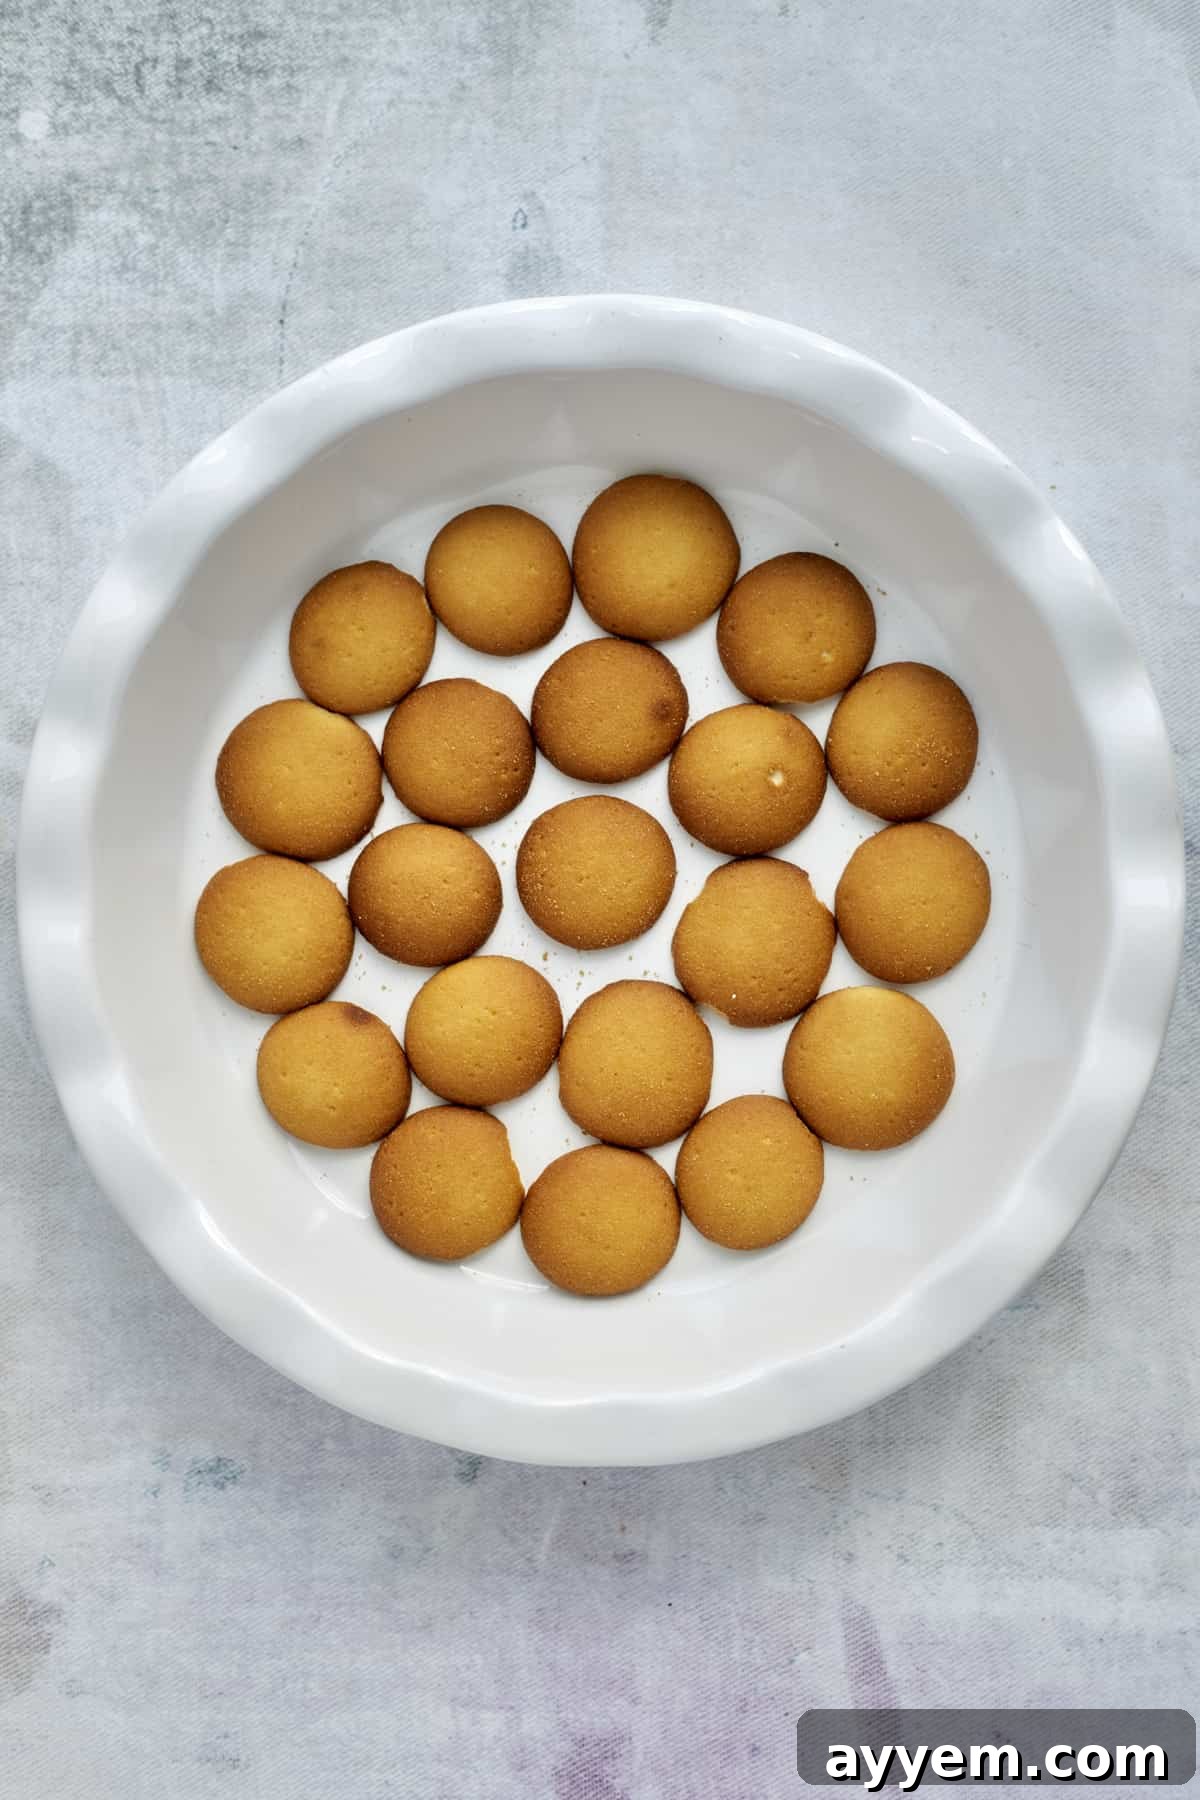
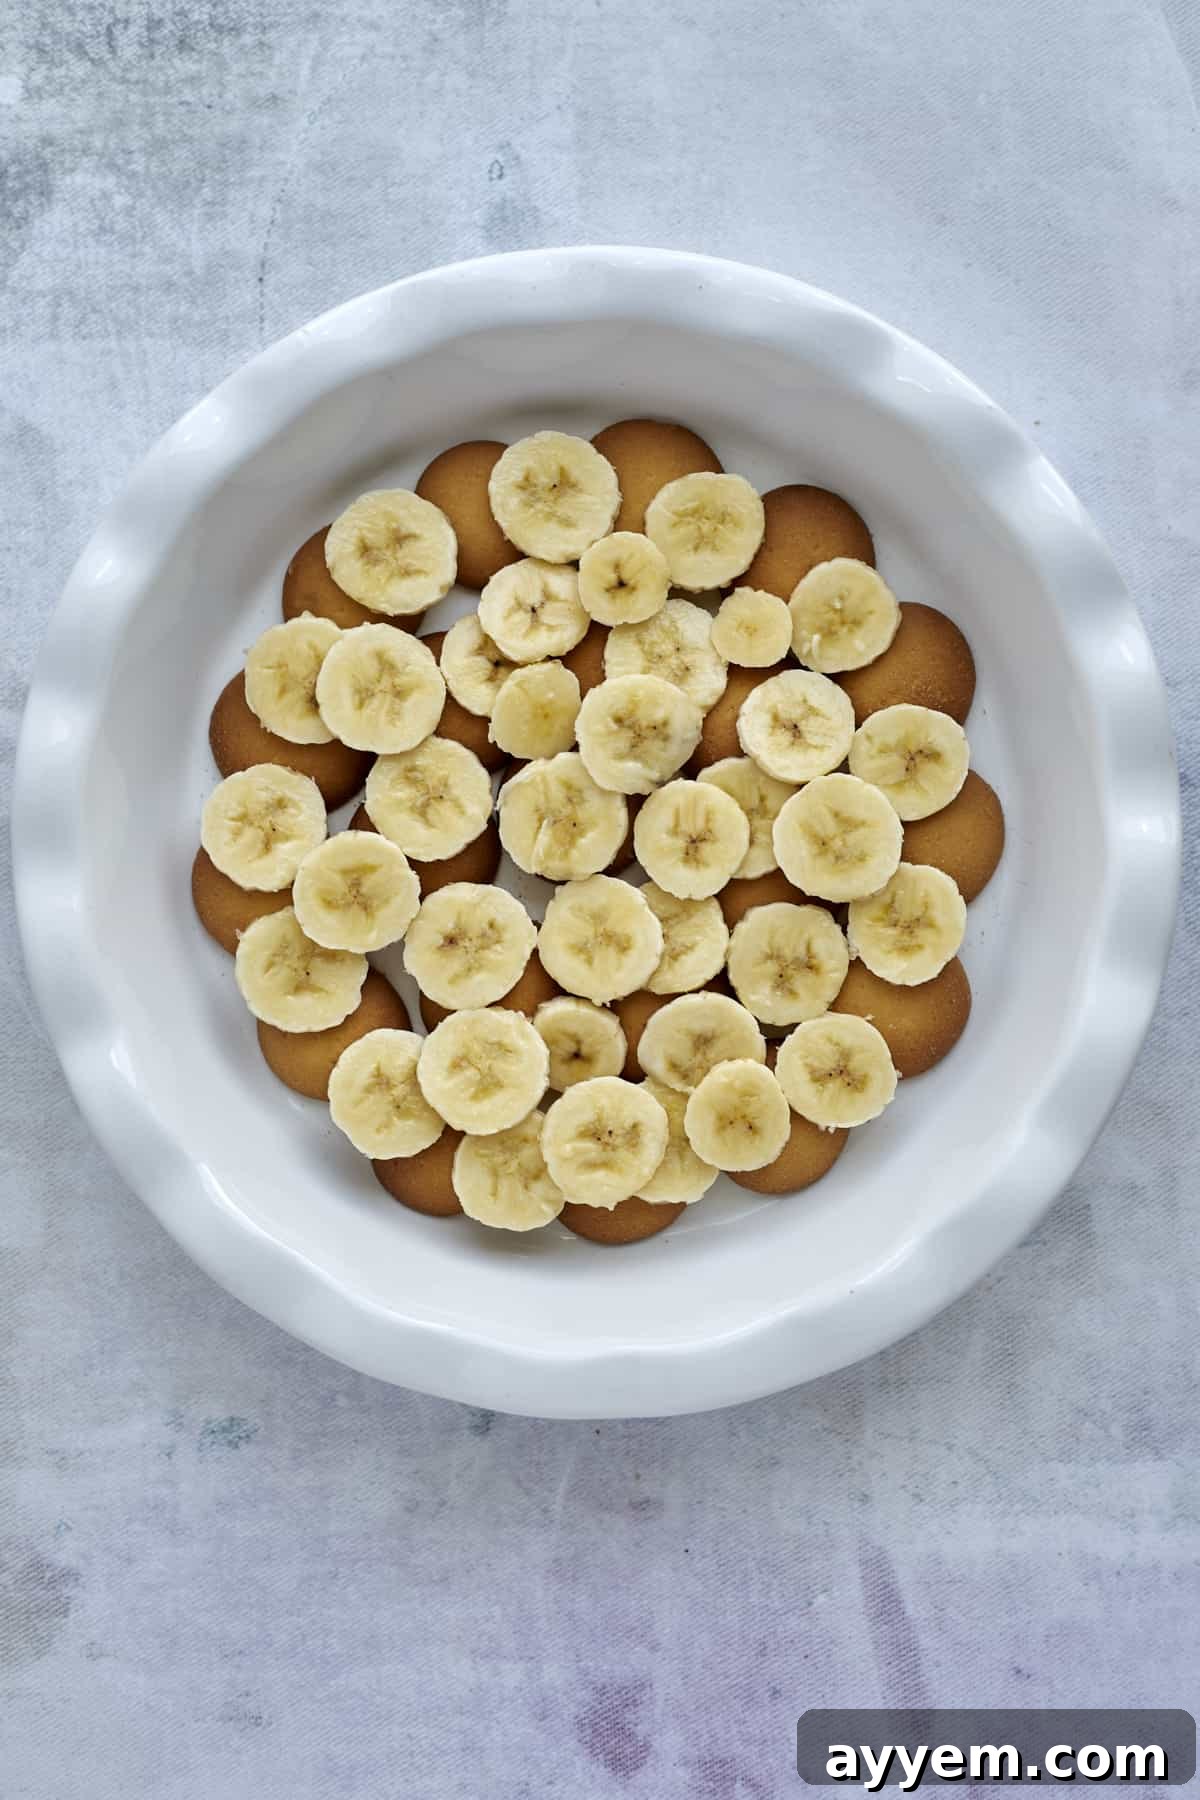
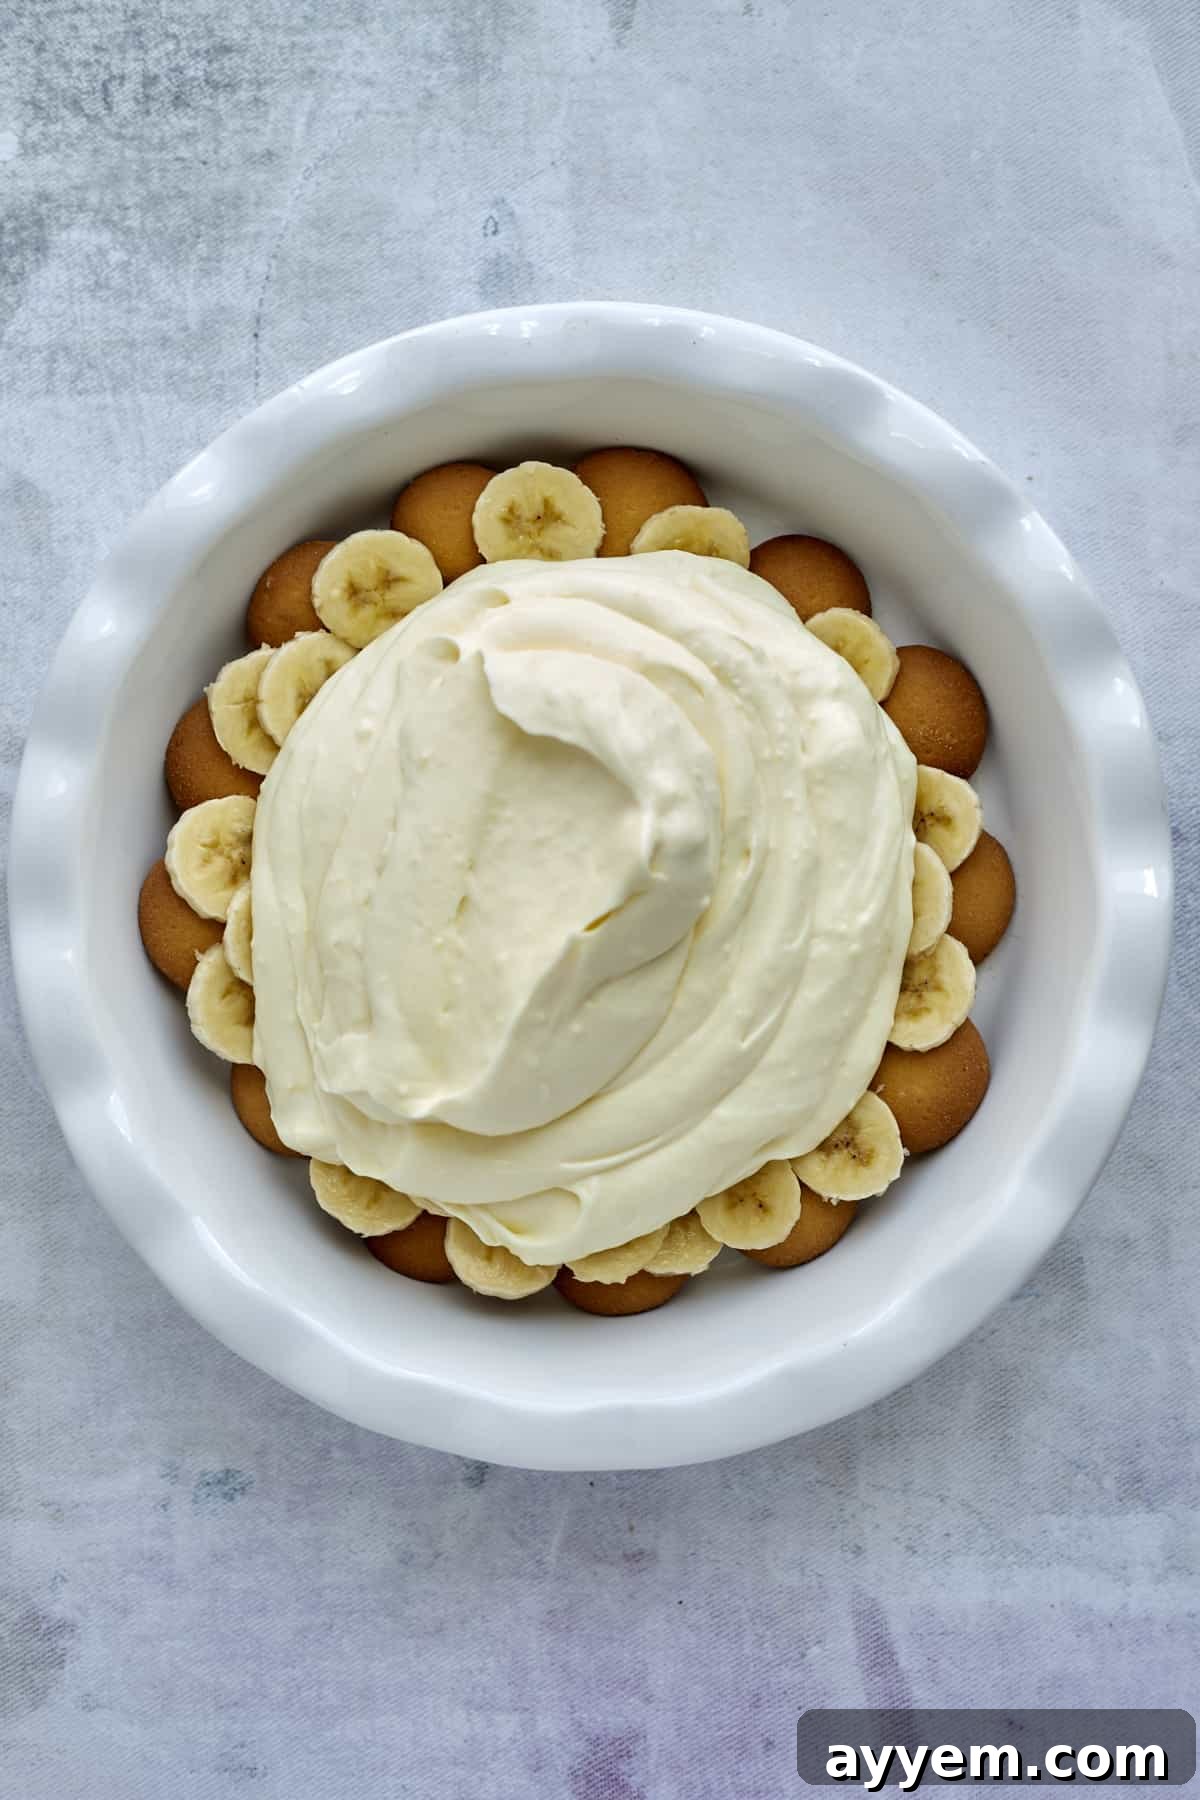
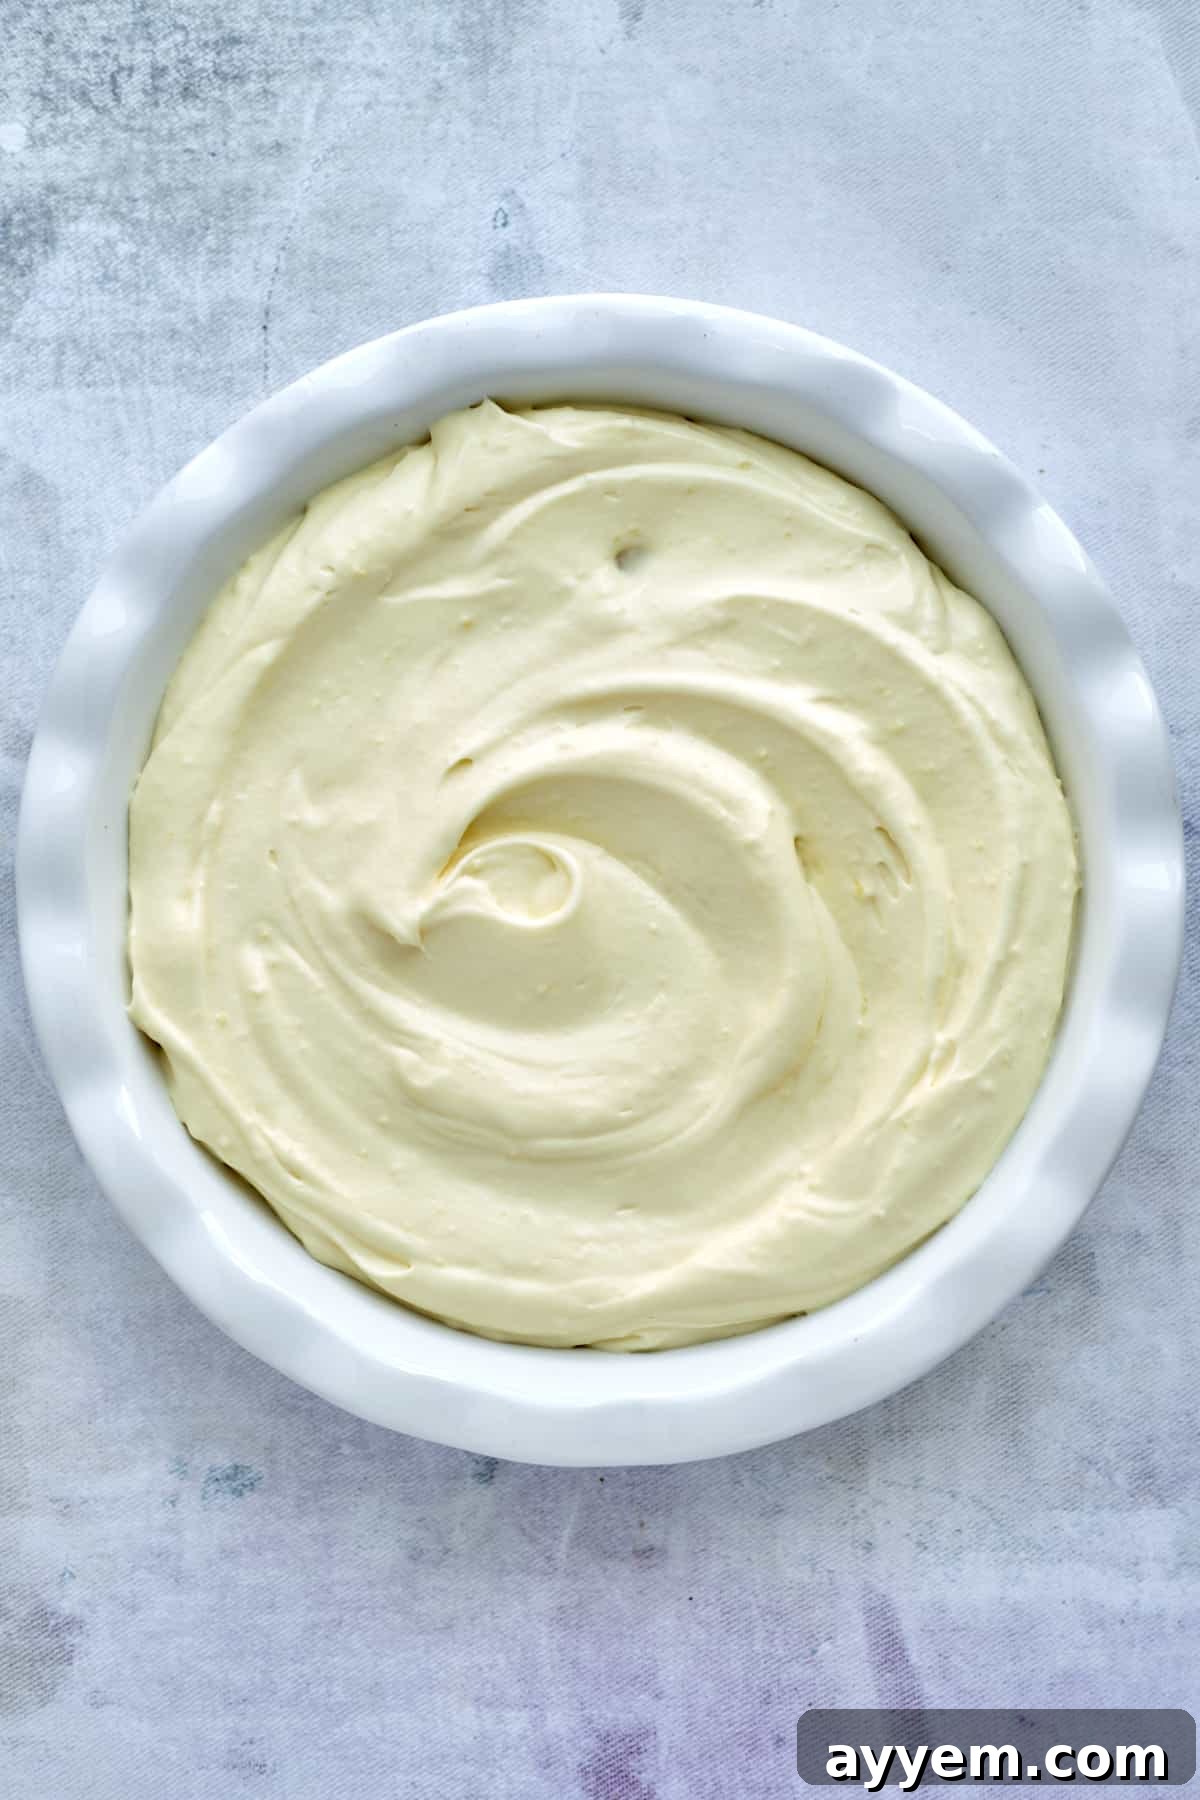
Witnessing the assembly of this delightful dessert is almost as satisfying as tasting it. These images demonstrate the simple yet effective layering technique that brings the Magnolia Bakery Banana Pudding to life, ensuring each component plays its part in creating a harmonious whole.
Crafting Your Own Iconic Banana Pudding: Step-by-Step Instructions
You might imagine that a dessert as famous as Magnolia Bakery’s banana pudding would be intricate to prepare, but the reality is quite the opposite! It’s a surprisingly quick, easy, and incredibly fun process when you follow these clear, concise instructions. Prepare to impress yourself and your loved ones with this no-bake masterpiece!
- Prepare the Velvety Pudding Base: In a large mixing bowl, combine the entire can of sweetened condensed milk with the cold milk. Using either a powerful hand mixer or a stand mixer fitted with a whisk attachment, beat these two ingredients together on medium speed until they are thoroughly combined and take on a smooth, creamy consistency, usually about 1-2 minutes. Next, add the instant vanilla pudding mix to the bowl. Continue to beat the mixture for another 2-3 minutes until all the powder is fully incorporated and absolutely no lumps remain. The mixture should appear smooth and slightly thickened.
- Chill for Solidification: Once your pudding base is mixed, cover the bowl tightly with plastic wrap, ensuring the wrap directly touches the surface of the pudding to prevent a skin from forming. Transfer the bowl to the refrigerator and allow it to chill for a minimum of 4 hours, or ideally, overnight. This extended chilling time is absolutely essential, as it allows the pudding to set properly, thicken to the perfect consistency, and develop its rich, full flavor and texture, preparing it perfectly for the next stage of assembly.
- Whip the Cloud-Like Cream Topping: In a separate, very large, chilled mixing bowl, pour in the heavy cream. Using your hand mixer or stand mixer, beat the heavy cream on high speed until stiff peaks begin to form. This means that when you lift the beaters, the cream should hold its shape firmly without collapsing. Be careful not to overbeat, as it can turn into butter. Once achieved, gently fold in the chilled, set pudding mixture from the refrigerator. Beat again on medium-low speed until the entire concoction is wonderfully fluffy, airy, and uniformly combined, creating a light, decadent, and irresistible filling.
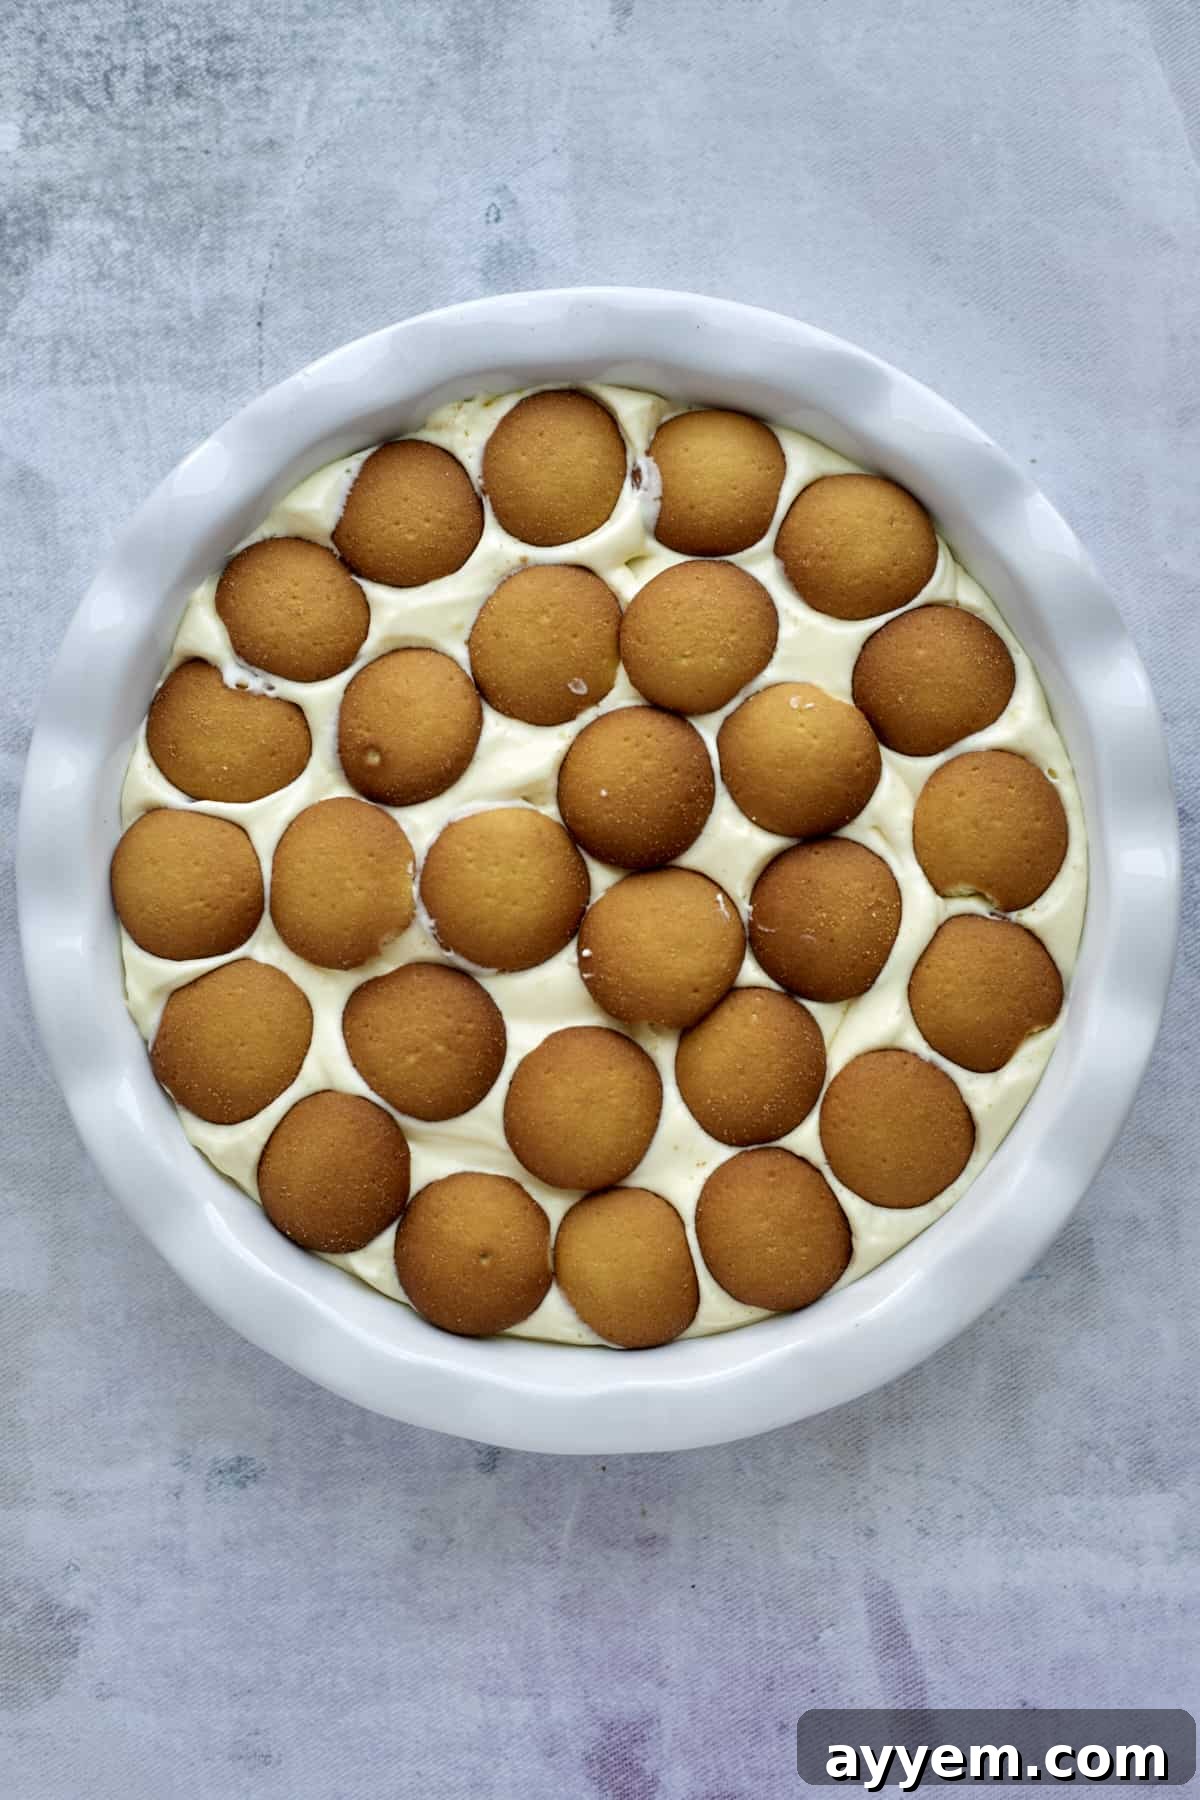
- Assemble Layers of Delight: Now for the artistic part of layering your masterpiece! Begin by arranging a single layer of Nilla wafers neatly at the bottom of your chosen serving vessel – whether it’s a deep pie dish, a beautiful trifle bowl, or individual serving glasses. The goal is to cover the bottom entirely. On top of the wafer layer, arrange a generous, even layer of freshly sliced ripe bananas. Then, carefully spoon about one-third of your fluffy pudding mixture over the bananas and wafers, spreading it gently to cover them completely. Repeat this layering process: wafers, then bananas, then pudding. Continue until all your ingredients have been used, ensuring the final layer is a luscious, thick coating of the pudding mixture.
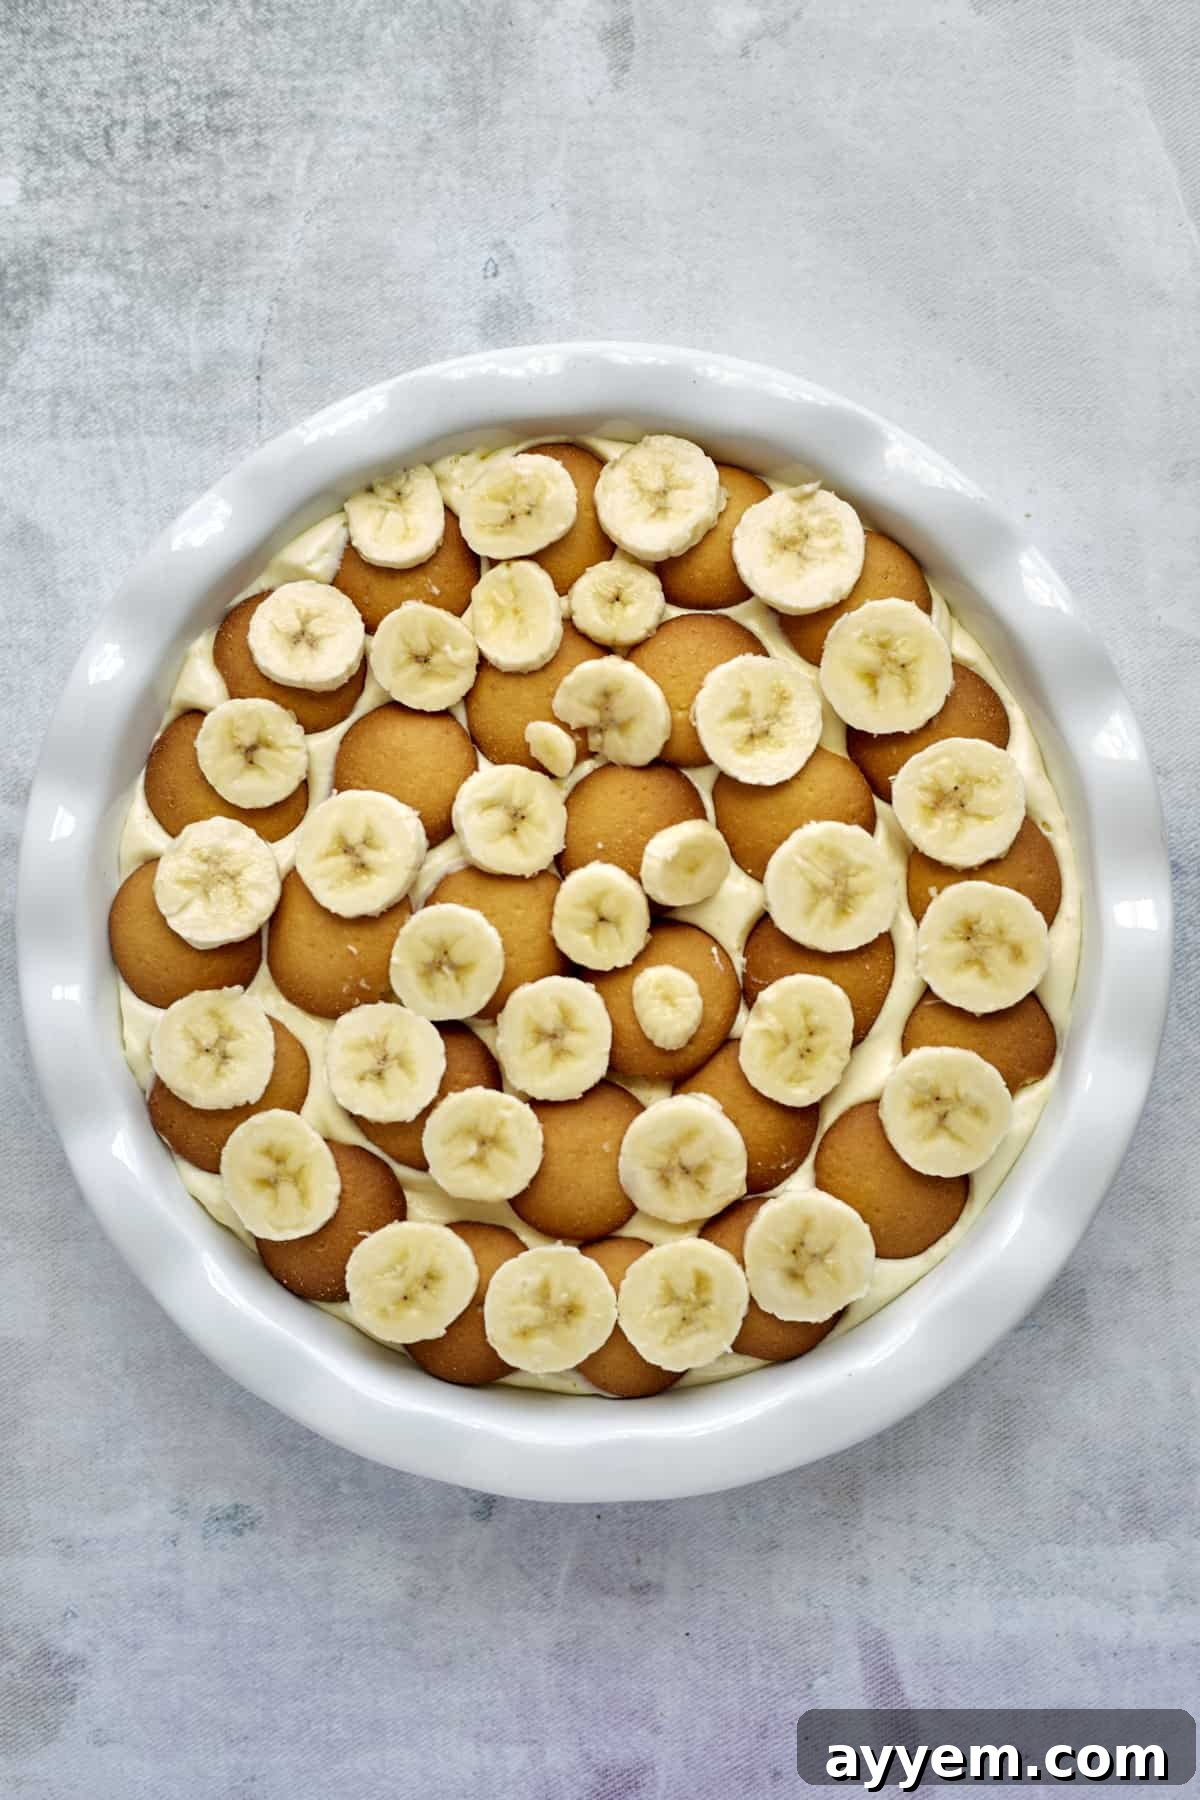
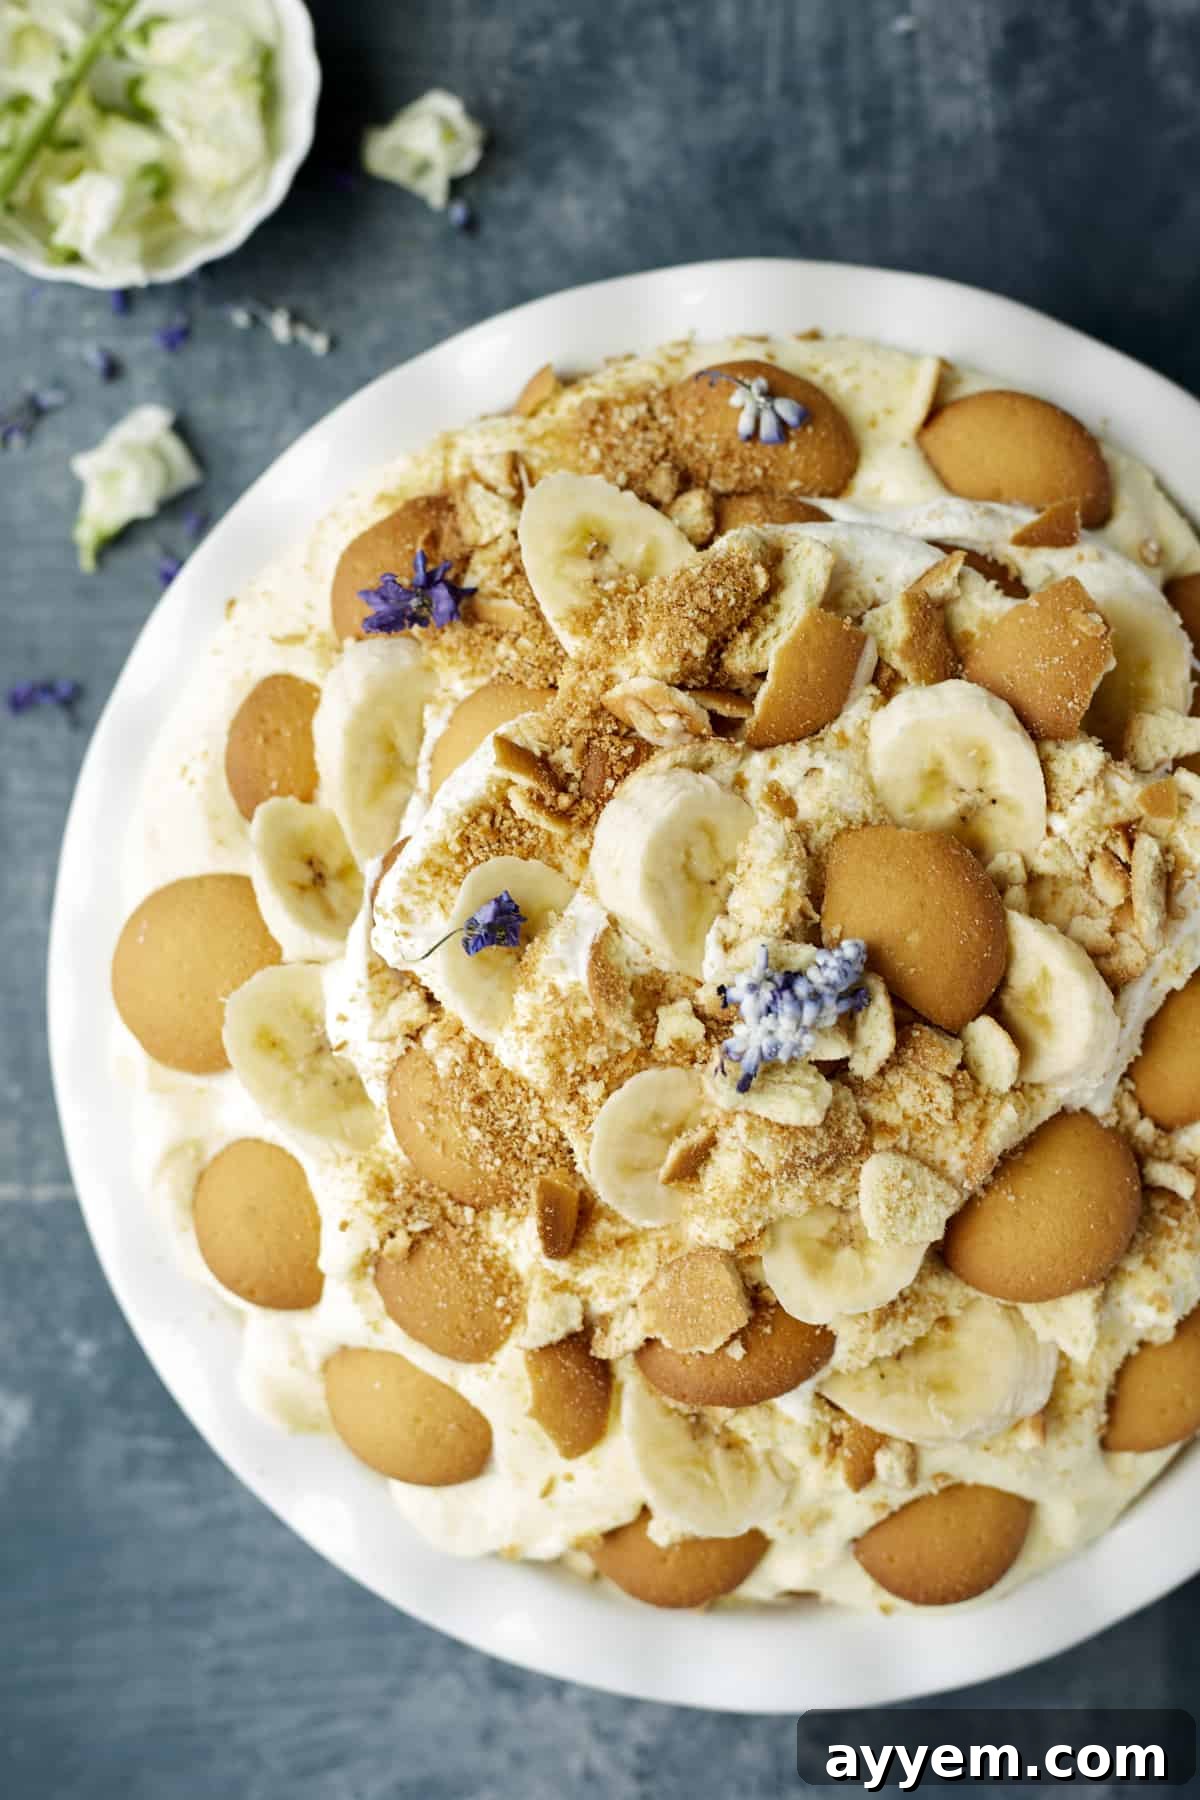
- Top with Finesse: For that iconic Magnolia Bakery look and an extra touch of texture, artfully arrange a beautiful mound of extra Nilla wafers and a few fresh banana slices on top of the final pudding layer. You can use whole wafers for a classic presentation, or gently crush some for a textural contrast and a more rustic appeal.
- The Essential Final Chill: To allow all the incredible flavors to meld perfectly and the wafers to soften to their ideal, melt-in-your-mouth consistency, carefully cover your assembled banana pudding with plastic wrap. Again, ensure the plastic wrap touches the pudding surface to prevent air exposure. Transfer it back to the refrigerator to chill for at least 6 hours, or preferably, overnight. This final resting period is what truly transforms individual components into a cohesive, irresistibly smooth, and utterly delicious dessert. Enjoy immediately after this final chill!
Picture Your Pudding Coming to Life
These step-by-step images visually demonstrate the layering process, ensuring your homemade Magnolia Bakery Banana Pudding turns out as beautiful as it is delicious. Follow along to see how each component builds upon the last to create a stunning, multi-layered dessert that’s ready to impress.
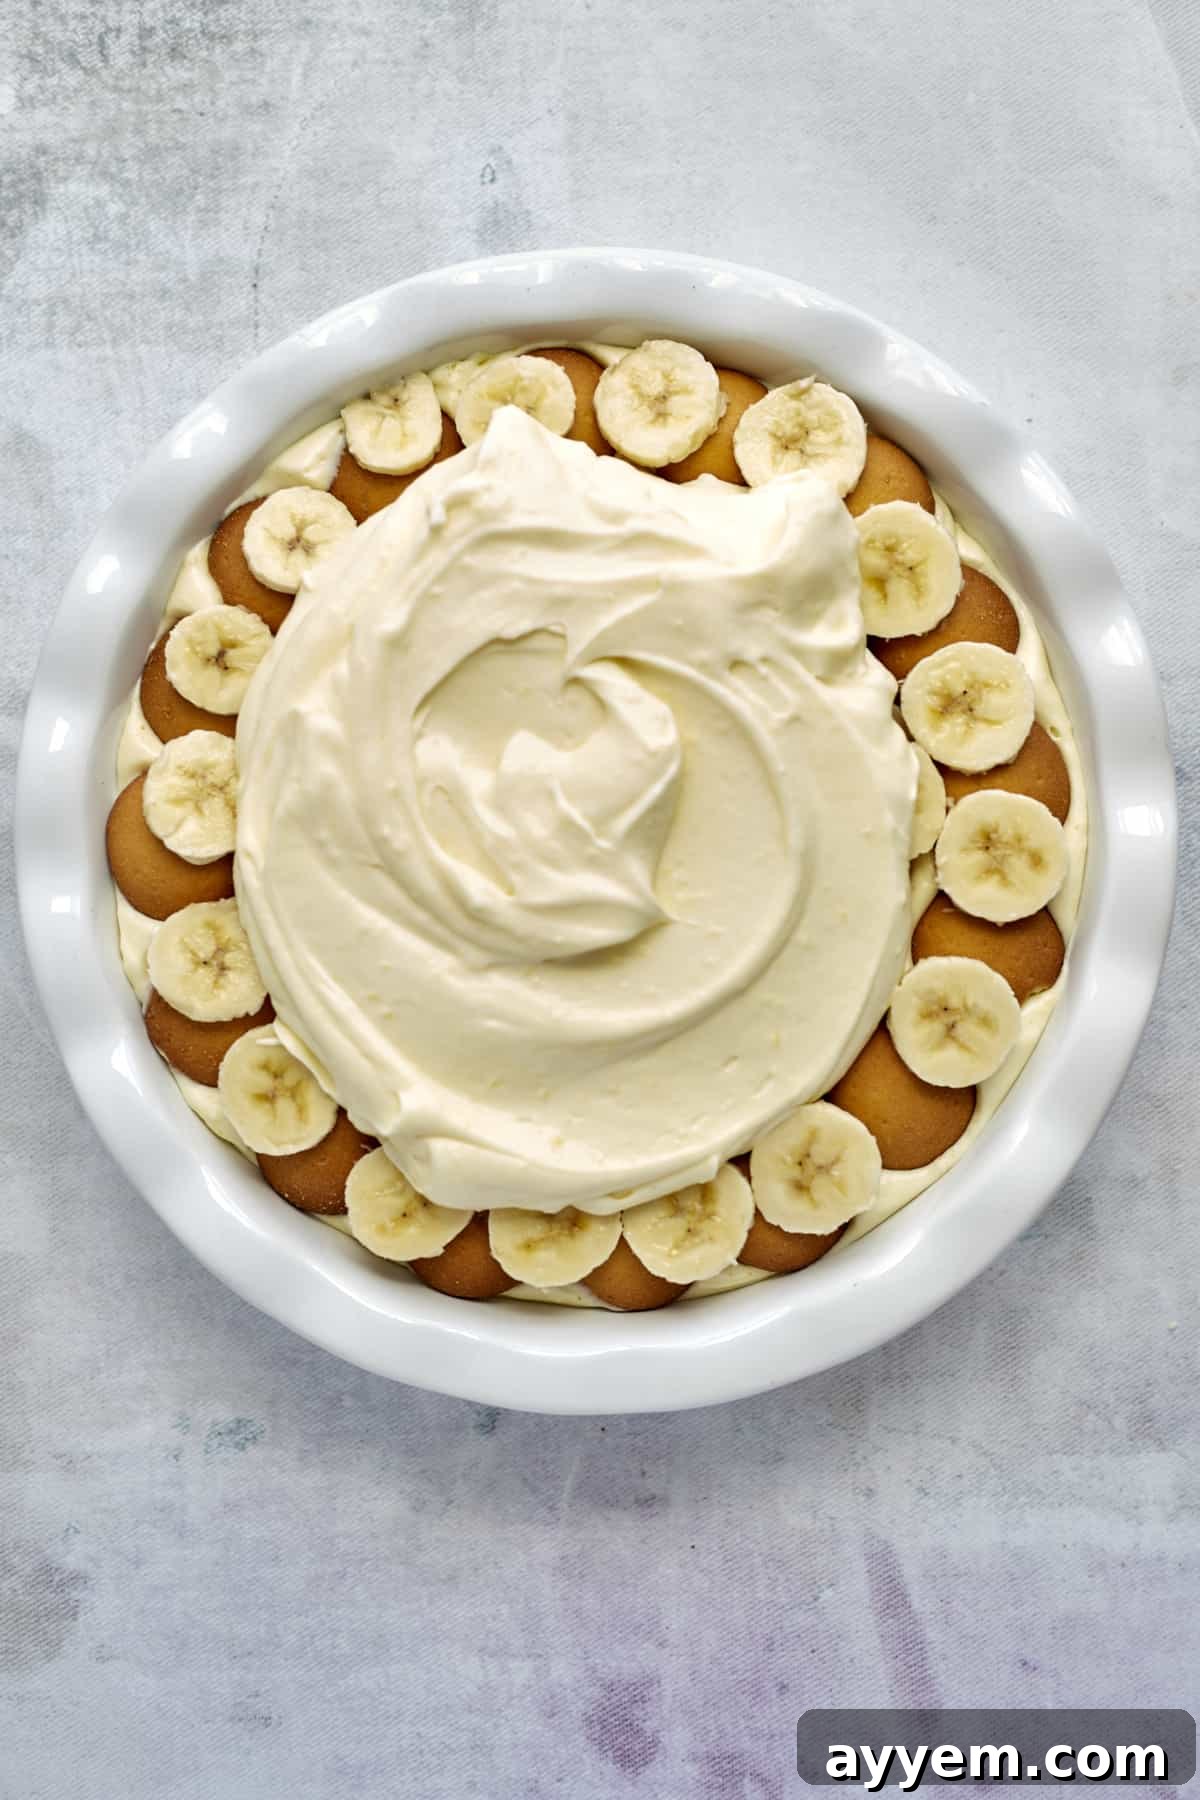
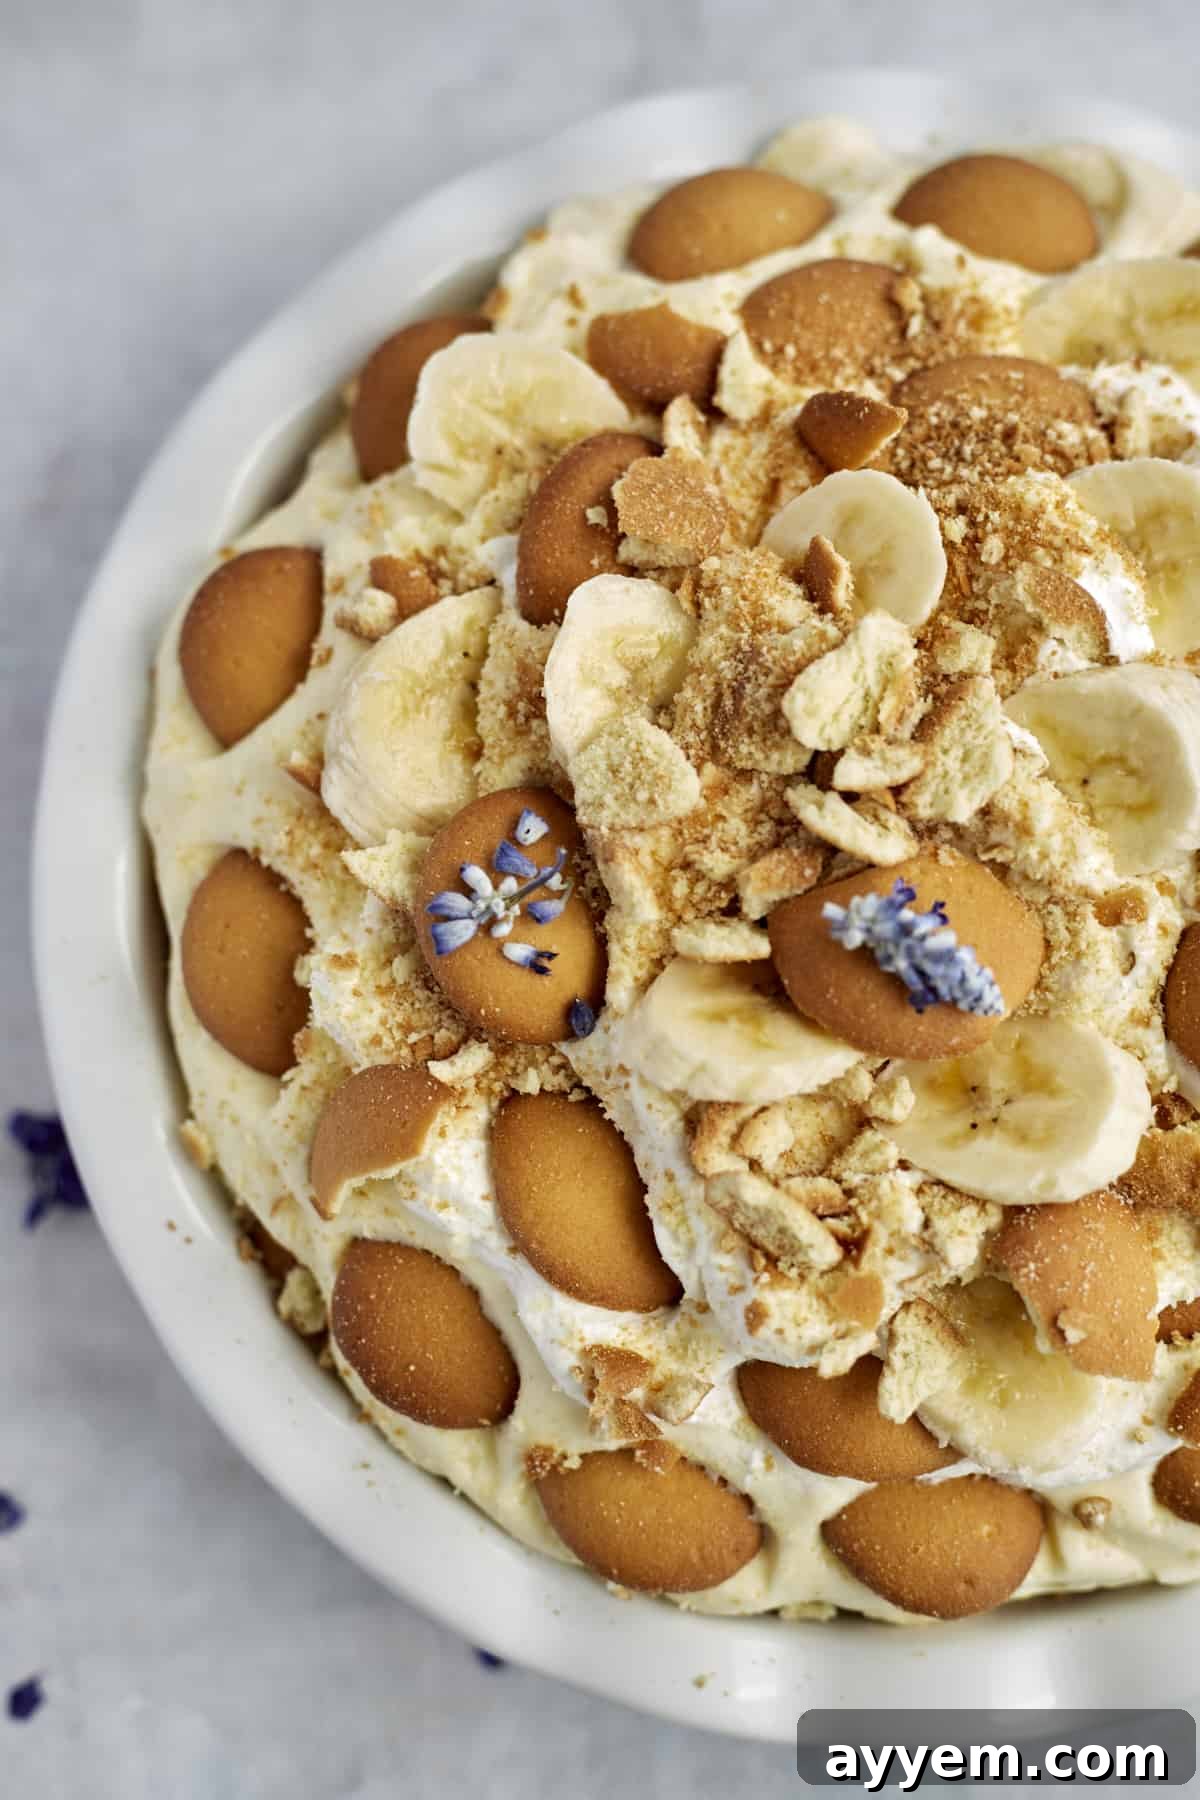
Expert Tips for Banana Pudding Perfection
Achieving that picture-perfect, delectable banana pudding involves a few clever tricks and creative considerations. Here’s how to elevate your homemade treat and ensure every bite is as good as, if not better than, the original, alongside ideas for making it truly your own.
Preventing Bananas From Browning
One of the common challenges with banana pudding is preventing the freshly sliced bananas from oxidizing and turning an unappealing brown, which can detract from the dessert’s visual appeal. While it’s recommended to enjoy this homemade Magnolia Bakery banana pudding relatively soon after it’s made, there are several effective strategies you can employ to slow down this natural process and keep your bananas looking fresh and vibrant:
- Use Barely Ripe Bananas: The level of ripeness significantly impacts how quickly bananas brown. Opt for bananas that are bright yellow with just a hint of green at the stem. These are sweet enough for flavor but contain fewer enzymes that contribute to rapid browning, allowing them to maintain their fresh appearance for a longer period compared to fully ripe or overripe varieties. They also offer a slightly firmer texture which is desirable in the pudding.
- Add Acidity: A thin brush of acidic fruit juice over your banana slices can work wonders in combating oxidation. Lemon juice, orange juice, apple juice, or even pineapple juice contain natural acids that help neutralize the pH on the banana’s surface, effectively preventing or significantly slowing down the browning reaction. Don’t overdo it, as a strong acidic taste can alter the pudding’s flavor; a very light, quick coating is sufficient to do the trick without noticeable taste impact.
- Utilize Club Soda: For a more neutral approach that won’t impact the flavor whatsoever, non-tonic club soda is an excellent alternative to fruit juice. Gently dip or brush your banana slices with club soda before layering them. The carbonation and slight acidity help to create a protective barrier, slowing the enzymatic browning process without imparting any noticeable taste to the fruit itself.
- Keep Them Airtight: Exposure to air is the primary culprit behind banana browning. Do your absolute best to limit the banana slices’ contact with oxygen. Ensure that each layer of bananas is fully submerged and coated by the creamy pudding mixture. When the entire dish is assembled, cover it as tightly as possible with plastic wrap, pressing the wrap directly onto the surface of the pudding. This minimizes air exposure, trapping oxygen away from the bananas and keeping them looking fresh for longer.
Exciting Flavor Variations to Try
While the classic Magnolia Bakery recipe is a perfection in its own right, there’s always room for a touch of personal flair and culinary creativity. This recipe serves as a fantastic foundation for experimentation, allowing you to tailor the dessert to your unique tastes:
- Wafers: The traditional choice is Nilla wafers, and they’re undeniably delicious and iconic for this recipe. However, feel free to experiment with other vanilla wafer cookies for subtle differences in flavor or texture. For a delightful, more complex twist, consider swapping them out for graham crackers (plain or honey-flavored), shortbread cookies, or even gingersnaps for a spiced kick, though these will alter the classic profile significantly. Chocolate wafers could also make a decadent variation.
- Pudding Base: The authentic Magnolia recipe uses plain vanilla instant pudding, which provides a lovely, mild backdrop that allows the banana flavor to shine. If you’re a true banana aficionado and want to amplify the fruit’s presence, try using banana-flavored instant pudding mix instead. For an even richer or more adventurous dessert, a chocolate, butterscotch, or even coconut instant pudding could offer an intriguing and delicious contrast to the bananas.
- Creative Mix-Ins: Elevate your banana pudding with additional textures and flavors! Fold in miniature chocolate chips or shaved dark chocolate for a hint of decadence and a rich counterpoint. Toasted coconut flakes add a tropical note and delightful chewy texture, while chopped pecans, walnuts, or candied peanuts introduce a satisfying crunch and nutty depth. A generous drizzle of warm caramel or rich dulce de leche between layers can also add an extra layer of sweetness, sophistication, and complexity, making it an even more indulgent treat.
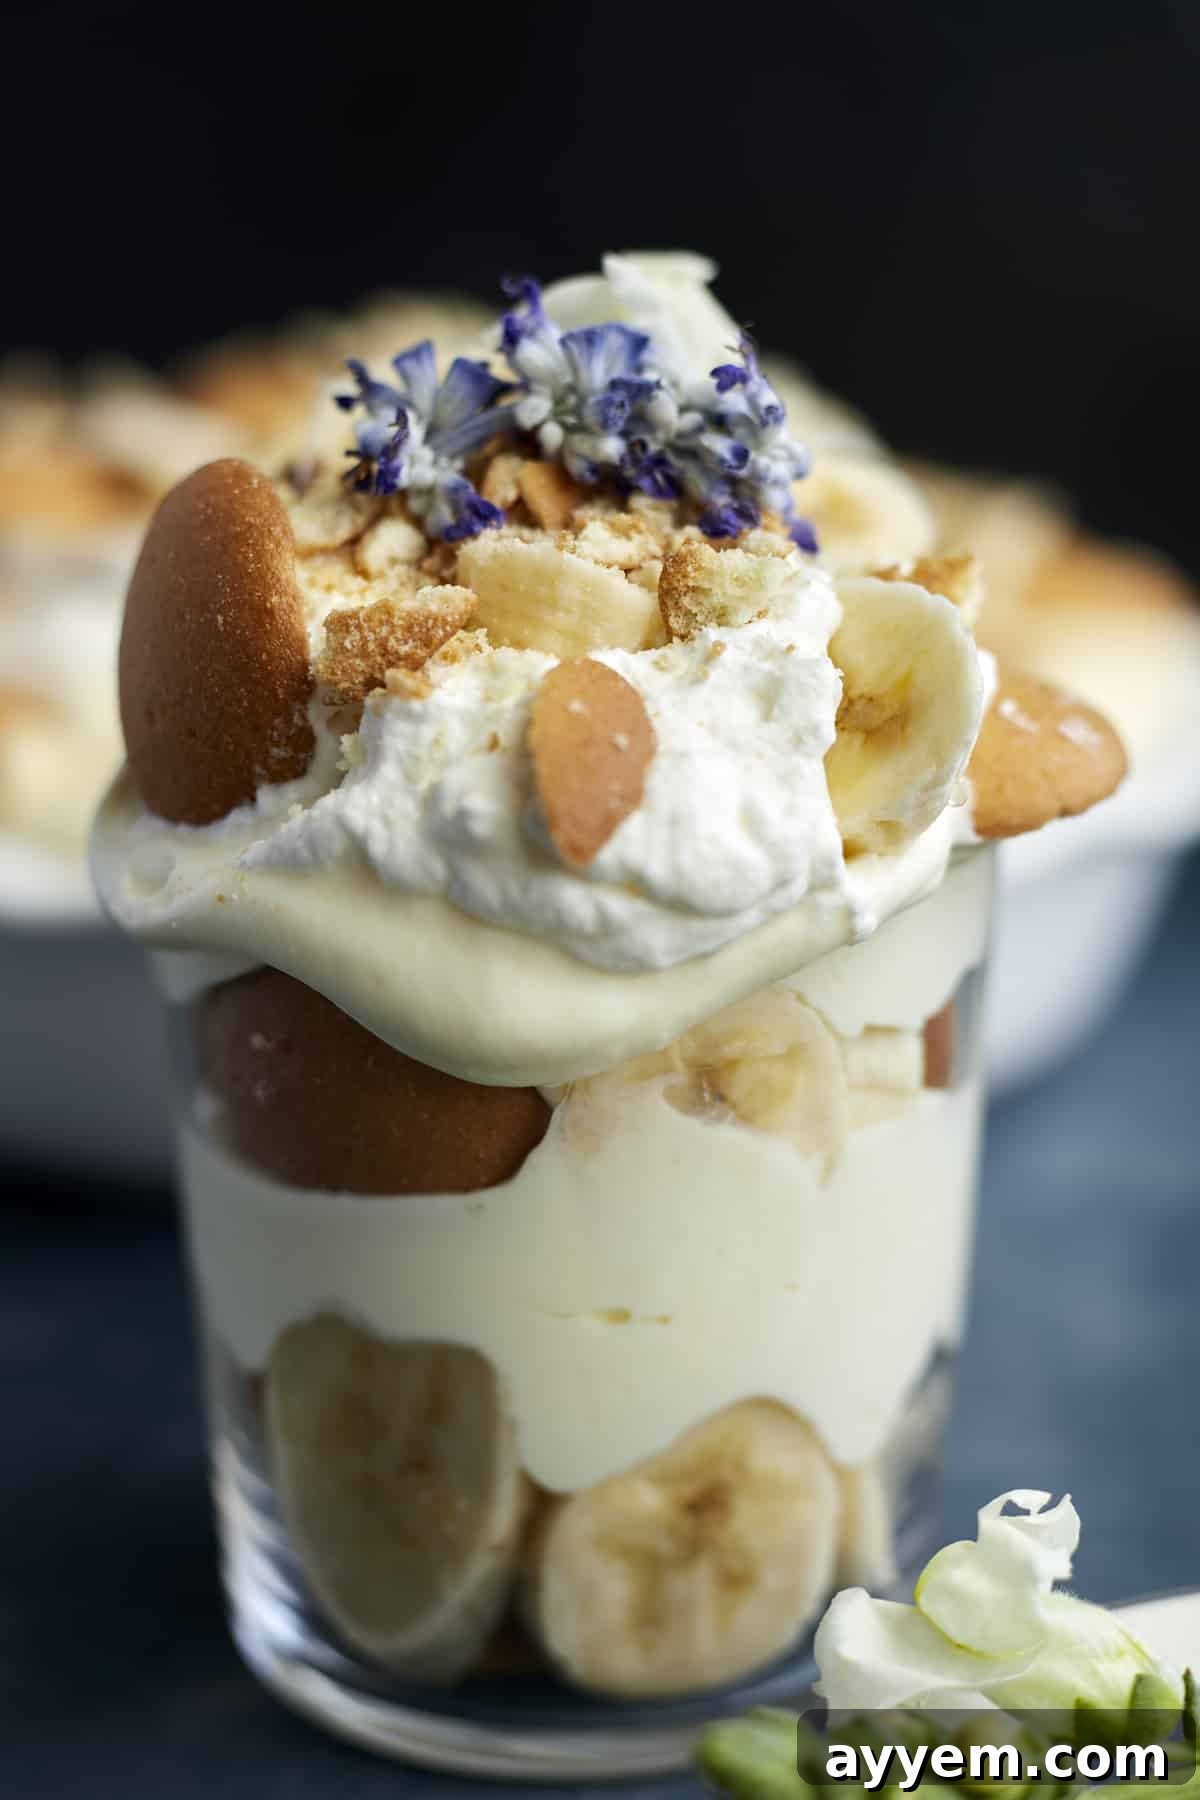
- Serving Styles: While a large trifle bowl or a deep baking dish is traditional and perfect for a crowd, consider assembling individual servings in charming mason jars, small glass tumblers, or even clear dessert cups. This makes for an elegant presentation, effortless portion control, and easy serving at gatherings or for grab-and-go treats.
Serving and Storing Your Homemade Treat
Once your magnificent banana pudding is complete and perfectly chilled, knowing how to serve and store it properly ensures you enjoy every last creamy, dreamy bite, preserving its delightful texture and flavor for as long as possible.
Optimal Enjoyment Time
This dessert is truly at its peak when served fresh, ideally on the same day it’s prepared and after its essential chilling period. At this point, the bananas are at their brightest in flavor and appearance, and the Nilla wafers have absorbed just the right amount of moisture from the pudding to be wonderfully tender yet still retain a slight structural integrity, offering that signature soft bite. As time passes, the bananas will inevitably begin to oxidize and brown, and the wafers will continue to absorb moisture, becoming softer. Magnolia Bakery itself suggests enjoying their banana pudding within 8 to 12 hours of preparation for the ultimate experience, a recommendation worth following for your homemade version too, to savor it at its absolute best.
How to Store Leftovers
Should you miraculously have any leftovers of this irresistible dessert (a rare occurrence for many!), rest assured, they can be stored and enjoyed later. The key is to minimize air exposure to preserve freshness and slow down browning. Carefully cover the dish tightly with plastic wrap, pressing the wrap directly onto the surface of the pudding to create an airtight seal and prevent air from reaching the bananas. Alternatively, if you have individual portions, transfer them into airtight containers with well-fitting lids. Stored properly in the refrigerator, this Magnolia-style banana pudding recipe can be kept for one to two days. Be mindful that while still incredibly delicious, the bananas will likely soften further and may show some browning, and the Nilla wafers will become quite tender, fully integrated into the creamy texture. These changes are primarily cosmetic and textural; the overall flavor remains wonderfully sweet and comforting, making leftovers a delightful treat nonetheless.
Frequently Asked Questions About Magnolia Bakery Banana Pudding
- What are the core ingredients of Magnolia Bakery banana pudding?
- The essence of Magnolia Bakery’s banana pudding lies in its simple yet perfect combination: layers of crisp Nilla wafers, rich instant vanilla pudding, freshly sliced ripe bananas, and a generous whipped cream topping made from heavy cream and sweetened condensed milk. It’s a harmonious blend of sweet, creamy, and tender textures.
- Why is Magnolia Bakery banana pudding so incredibly popular?
- Its immense popularity stems from a unique confluence of factors: its irresistibly sweet and creamy flavors, the comforting, nostalgic appeal of a classic Southern-style dessert, and its iconic association with a famous New York City bakery that gained widespread recognition through pop culture. It truly hits a sweet spot for many, evoking childhood memories and offering pure indulgence.
- Can I substitute frozen bananas in this banana pudding recipe?
- We highly advise against using frozen bananas. When thawed, frozen bananas tend to become overly mushy and watery, releasing excess liquid that can significantly alter the desired smooth texture of the pudding and make it runny. For the best results, always stick with perfectly ripe, fresh bananas that are still firm.
- What’s the best way to present and serve banana pudding?
- You have a couple of excellent options for serving! A traditional large pie plate, a rectangular baking dish, or a beautiful trifle bowl makes for a stunning centerpiece, allowing guests to admire the layers. However, for elegant individual portions, serving the pudding in clear glass cups, mason jars, or small tumblers is a fantastic choice, as it beautifully showcases all the delightful layers and makes for easy serving at any gathering.
- How long can homemade banana pudding be stored in the refrigerator?
- For optimal taste and appearance, it’s best to consume the banana pudding within 8-12 hours of preparation, as the bananas are freshest and wafers perfectly soft. If you have leftovers, cover them tightly and refrigerate for up to 1-2 days. Be aware that bananas will brown slightly and wafers will soften further over time, but the flavor will remain delicious.
- Can I prepare this banana pudding recipe ahead of time for an event?
- Absolutely! This dessert is ideal for making ahead. The extensive chilling time (minimum 6 hours, preferably overnight) is crucial for the pudding to set properly, for the flavors to fully meld, and for the wafers to soften to that delightful consistency. This means you can easily assemble it the day before your event, allowing you to focus on other preparations on the day of and reduce stress.
Discover More Delicious Banana Recipes
Got extra bananas that are just begging to be used? Don’t let them go to waste! Explore these other fantastic recipes that celebrate the versatile and delicious banana in various delightful forms:
- Peanut Butter Banana Frozen Yogurt Bites: A refreshing and healthy treat perfect for hot days, combining creamy peanut butter and sweet bananas in a cool bite.
- Easy Chocolate Chip Banana Bread Muffins: Fluffy, moist muffins packed with comforting banana flavor and delightful bursts of sweet chocolate chips – perfect for breakfast or a snack.
- Chocolate Chip Peanut Butter Banana Bread: A delightful twist on classic banana bread, combining the rich notes of chocolate and the creamy goodness of peanut butter for an irresistible loaf.
- Bananas Foster French Toast: Elevate your breakfast or brunch with this decadent, caramelized banana-topped French toast, a truly indulgent start to your day.
- Easy Banana Pudding Recipe: Another simple yet satisfying banana pudding option, perfect for when you need a quick, comforting dessert without a long list of ingredients.
Magnolia Bakery Banana Pudding Recipe
Recreate the famous Magnolia Bakery banana pudding at home with this simple no-bake recipe. Layers of creamy vanilla pudding, ripe bananas, and tender Nilla wafers come together for an easy, irresistible dessert that tastes just like the real deal!
Recipe Details
- Author: Food Dolls
- Servings: 12 servings
- Prep time: 20 mins
- Chill time: 10 hrs
- Total time: 10 hrs 20 mins
Ingredients
- 14 ounces sweetened condensed milk
- 1 1/2 cups cold milk (whole milk recommended)
- 3 1/2 cups heavy cream
- 1 (5 ounce) package instant vanilla pudding mix
- 5 ripe bananas, sliced
- 18 ounces (~1.5 boxes) mini Nilla Wafers
Instructions
- In a large bowl, add the condensed milk and cold milk. Beat with a hand mixer or stand mixer until well combined and creamy.
- Add the instant vanilla pudding mix to the same bowl, and beat again until all lumps are gone and the mixture is smooth. Cover and refrigerate for a minimum of 4 hours or up to overnight to allow it to set.
- When you are ready to assemble the pudding, in a separate large bowl, beat the heavy cream until stiff peaks form.
- Gently fold the chilled pudding mixture into the whipped heavy cream, then beat again until the mixture is fluffy and fully blended.
- To assemble, arrange a layer of Nilla wafers in the bottom of a deep pie dish or trifle bowl. Top with a layer of sliced bananas, then pour about 1/3 of the pudding mixture over them. Repeat these layers until all ingredients are used, ensuring the final layer is pudding.
- Mound the top with additional mini Nilla wafers (whole or crushed) and fresh banana slices for decoration.
- Cover the assembled banana pudding carefully and refrigerate for at least 6 hours or overnight for the best flavor and texture. Enjoy immediately after chilling!
Video
Watch how to make this delightful Magnolia Bakery Banana Pudding:
Equipment
- Hand Mixer
- Deep Pie Dish (or Trifle Bowl)
Nutrition
Nutrition information is an estimate based on 12 servings:
- Serving: 1 serving
- Calories: 628 kcal
- Carbohydrates: 78g
- Protein: 8g
- Fat: 33g
- Saturated Fat: 19g
- Polyunsaturated Fat: 4g
- Monounsaturated Fat: 8g
- Trans Fat: 0.1g
- Cholesterol: 83mg
- Sodium: 343mg
- Potassium: 440mg
- Fiber: 2g
- Sugar: 53g
- Vitamin A: 1044 IU
- Vitamin C: 5mg
- Calcium: 174mg
- Iron: 0.3mg
Nutrition information is automatically calculated and should only be used as an approximation.
Love this delightful homemade recipe? Please share your thoughts and leave a comment below! We love hearing from you and seeing your delicious creations.