
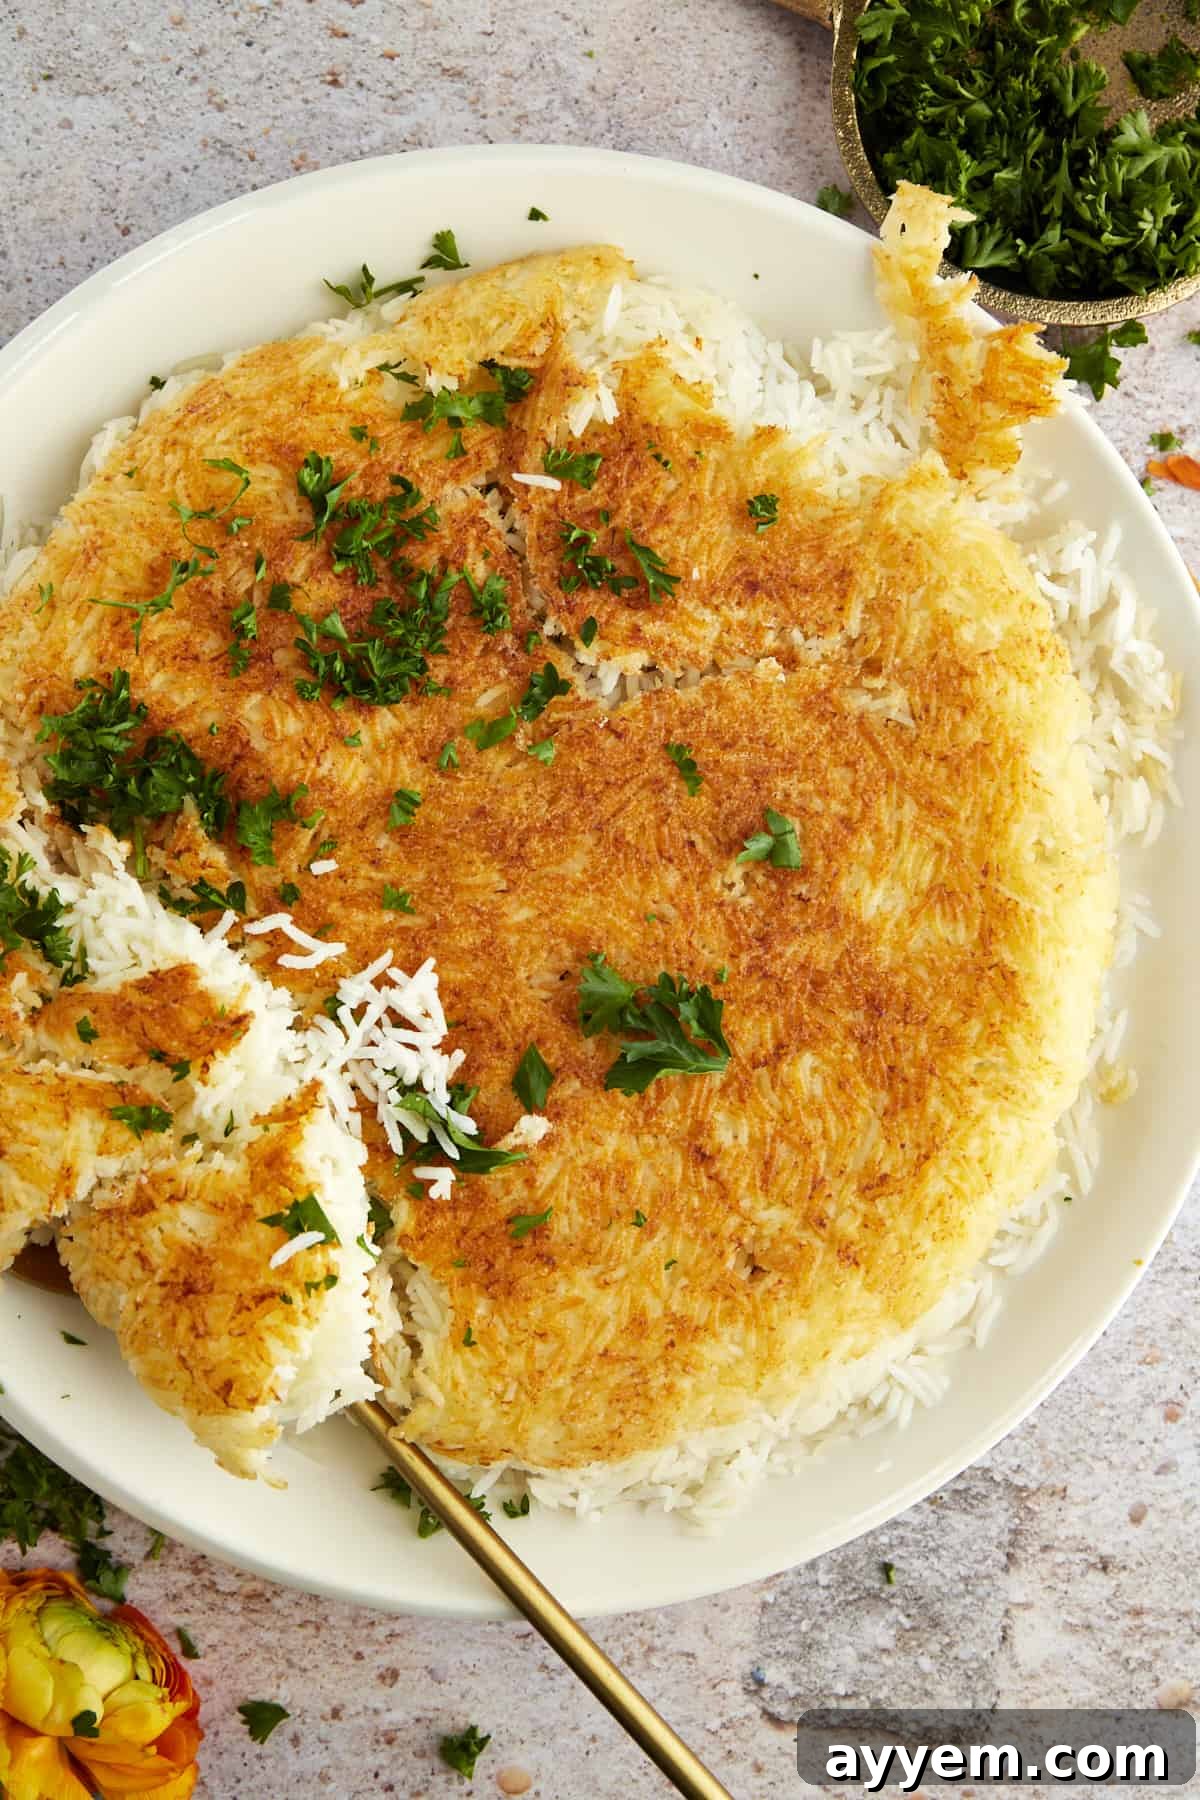
Prepare to embark on a culinary journey to the heart of Persia with this exquisite Persian Rice recipe, affectionately known as Tahdig. More than just a side dish, Tahdig is a beloved staple of Iranian cuisine, renowned for its irresistible texture and depth of flavor. This recipe guides you to create the quintessential Tahdig – a masterpiece of contrasting textures featuring a deeply golden, incredibly crispy crust that gives way to a perfectly moist, fluffy, and tender interior. It’s a dish that promises to impress, delight, and leave a lasting impression on your palate.
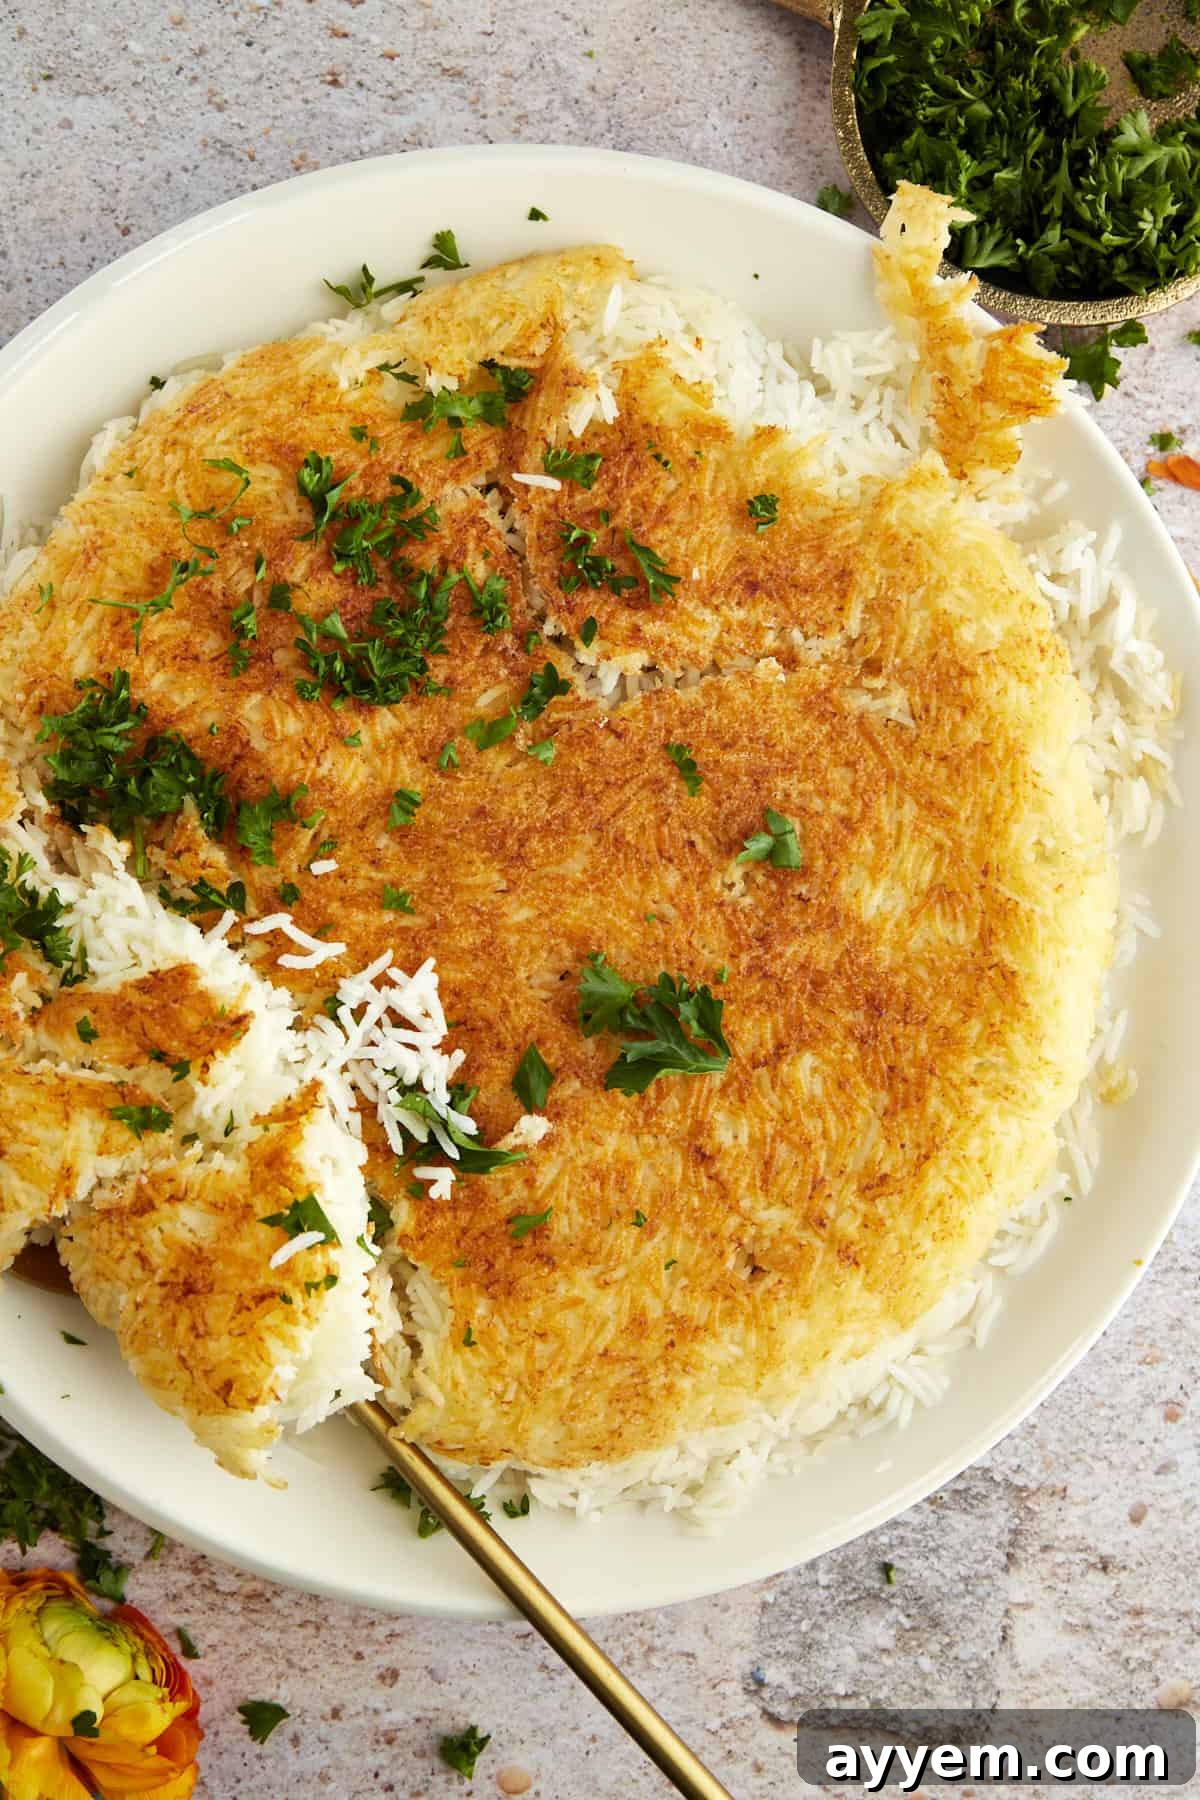
Why This Persian Rice Recipe Will Become Your Favorite
Once you experience the unique charm of Tahdig, it’s guaranteed to earn a permanent spot in your culinary repertoire. Here are compelling reasons why this particular Persian rice recipe stands out:
- Minimal Ingredients, Maximum Impact: Achieving this complex flavor and texture requires only 4 readily available, budget-friendly ingredients. It’s a testament to how simple components can create something truly extraordinary.
- Effortlessly Feeds a Crowd: Despite its gourmet appearance, this recipe is surprisingly straightforward to scale, making it ideal for family dinners, festive gatherings, or any occasion where you need to feed many appreciative guests.
- Leftovers That Delight: Unlike many rice dishes that lose their appeal as leftovers, Tahdig retains much of its unique character. Stored properly, its flavors deepen, and the remaining crispy bits can be revived, making it a highly anticipated next-day meal.
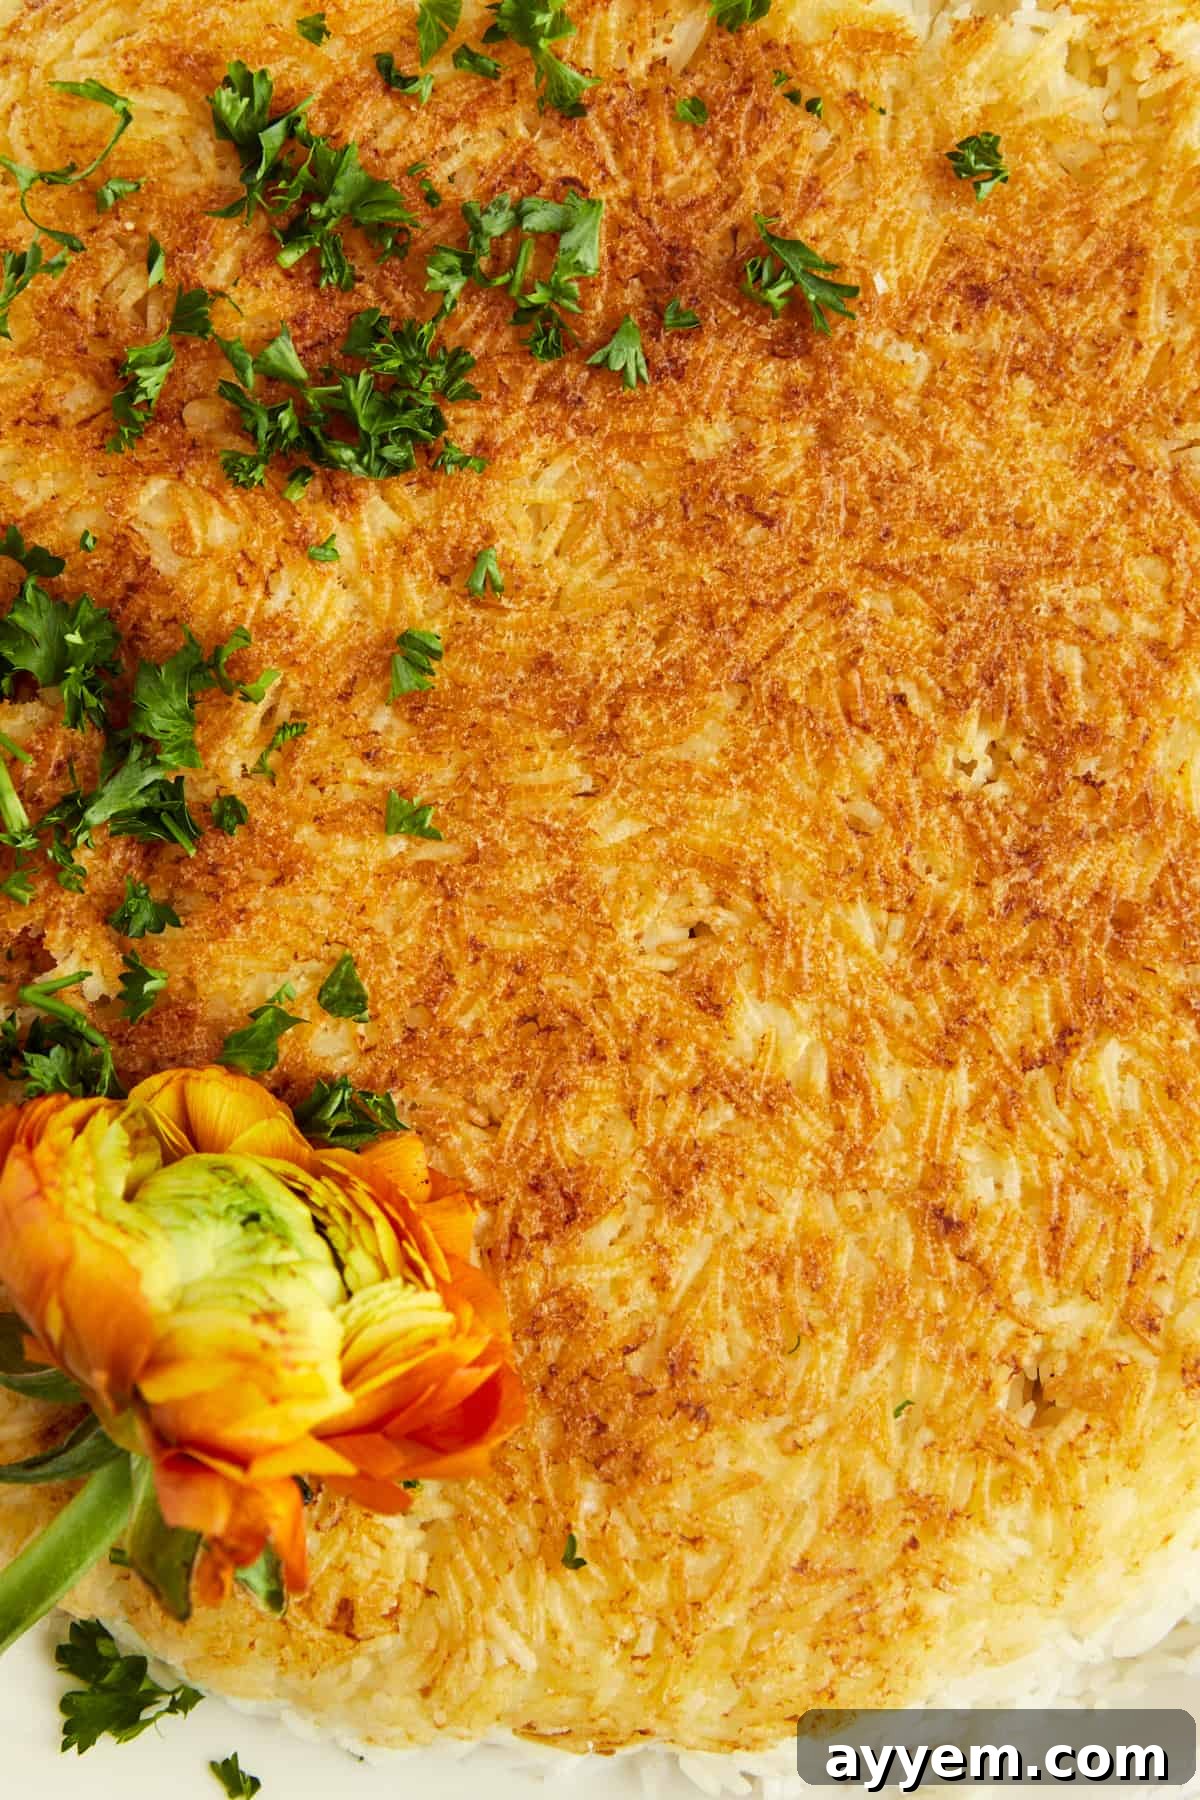
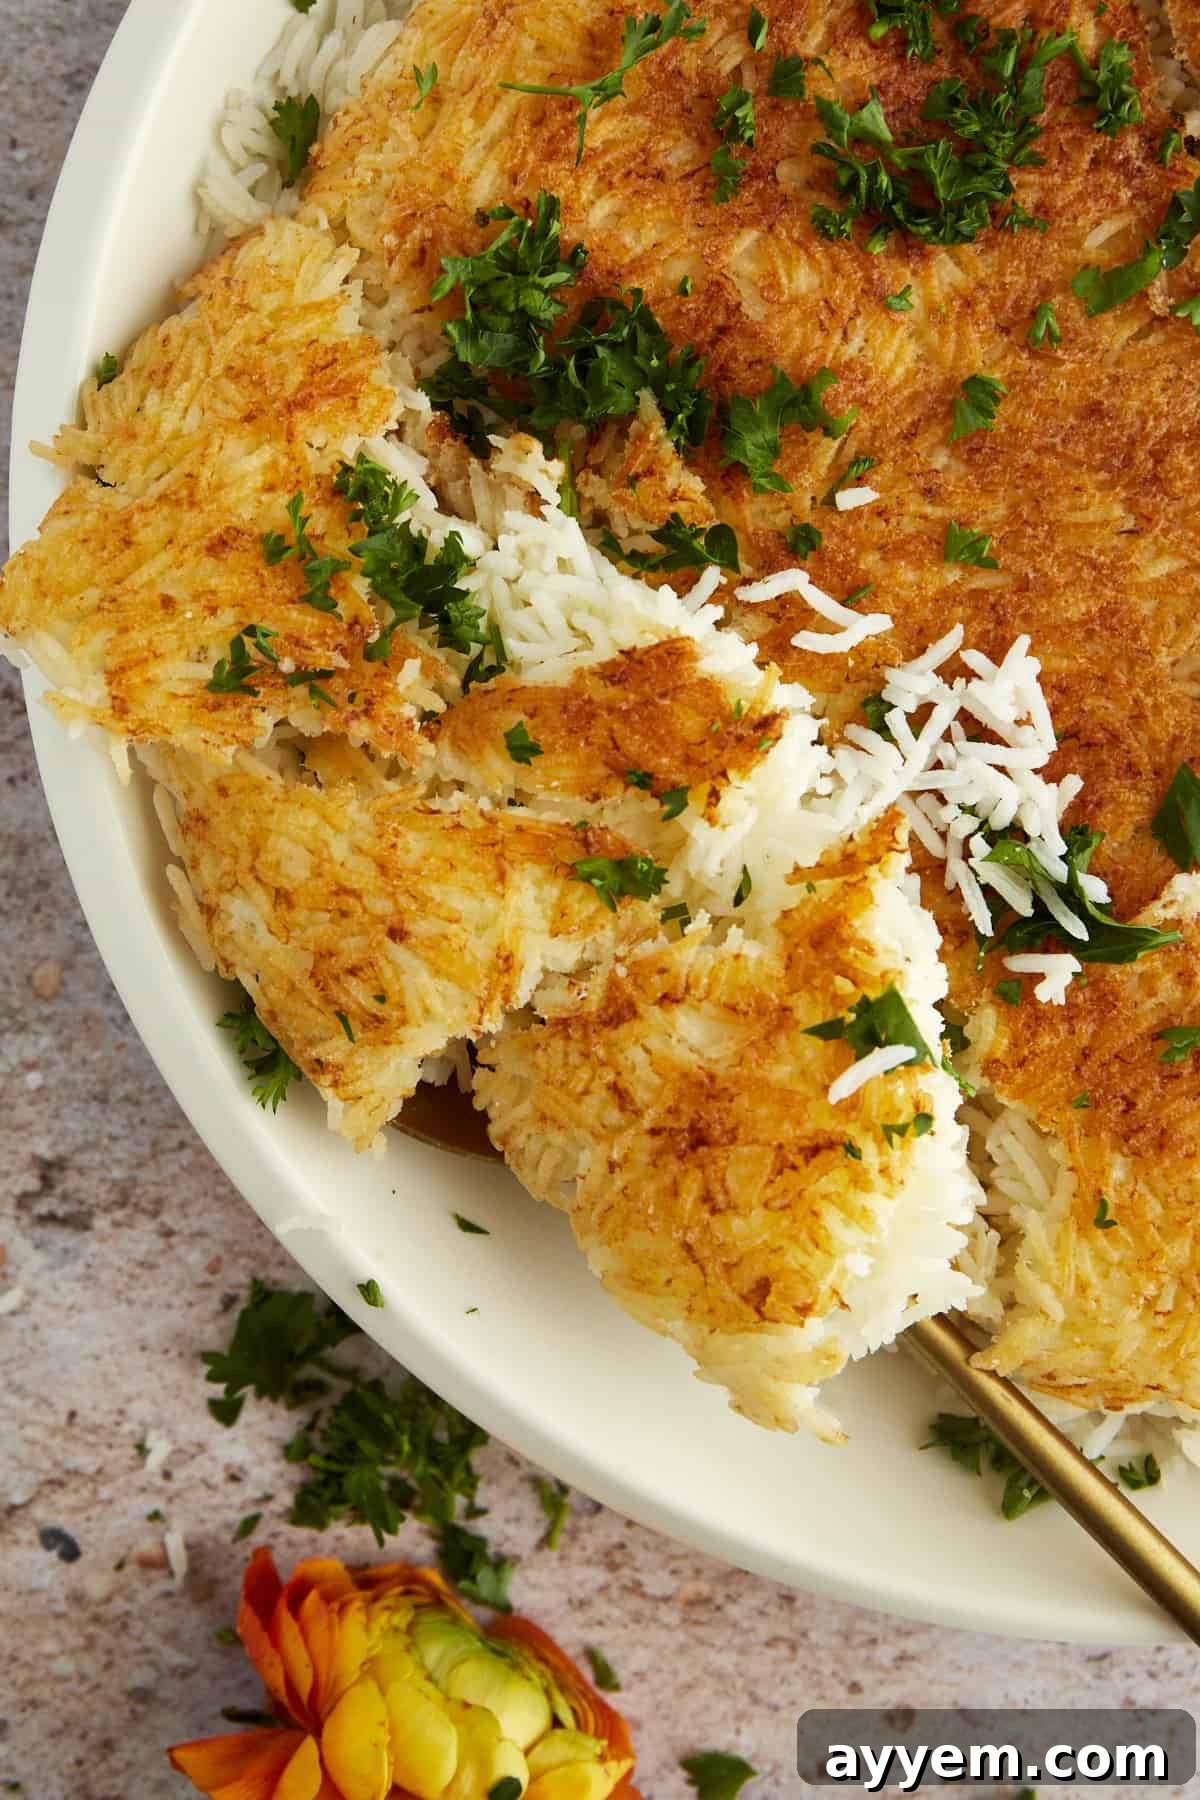
- Unforgettable Texture and Flavor: The magic of Tahdig lies in its harmonious blend of textures – the signature crunchy, golden crust contrasting with the soft, aromatic grains above. Each bite offers a rich, buttery flavor with a subtle tang that is truly addictive.
Understanding Persian Rice: The Art of Tahdig
The term “Tahdig” (pronounced tah-deeg) is Persian for “bottom of the pot,” and it precisely describes the star of this dish: the glorious, crispy layer of rice (or sometimes potato or bread) that forms at the base of the cooking vessel. This coveted crust is not merely a byproduct but the intentional result of a careful cooking process that has been perfected over centuries in Iranian kitchens.
Tahdig is more than just food; it’s a cultural symbol, often served as the crown jewel of Persian meals, especially during celebrations and holidays. The act of flipping the pot to reveal a perfectly intact, golden Tahdig is a moment of triumph and a source of pride for the cook. While the most common form is plain rice, variations exist where thin slices of potato, bread (like lavash), or even yogurt-marinated rice form the crust, each offering a distinct flavor and texture profile.
This recipe focuses on the classic rice Tahdig, achieving that desirable golden-brown crispiness while ensuring the rice above remains fluffy and distinct. The tangy hint from sour cream and the rich aroma of ghee elevate this humble side dish into a luxurious culinary experience that truly demands to be savored.
The Essential Ingredients for Authentic Tahdig
Despite its exquisite taste and intricate texture, Tahdig relies on a surprisingly simple list of ingredients. The quality of each component, however, plays a crucial role in the final outcome. Here’s what you’ll need and why each ingredient is essential:
- Basmati Rice: The foundation of our Tahdig. Uncooked long-grain Basmati rice is the preferred choice for Persian cooking due to its delicate aroma, elongated grains, and ability to cook up light and fluffy without clumping. Its distinct grains are essential for both the fluffy interior and the formation of a crisp, separate crust. Avoid short-grain or sticky rice varieties, as they will not yield the desired texture.
- Kosher Salt: More than just a seasoning, salt is vital for flavoring the rice grains during the parboiling stage. It might seem like a generous amount, but much of it will be rinsed away, leaving behind perfectly seasoned rice. This initial salting is key to ensuring every grain of your Tahdig is flavorful, not just the crispy crust.
- Sour Cream: This is a secret weapon for achieving both moisture and that coveted golden crust. When mixed with a small portion of the parboiled rice and spread at the bottom of the pan, sour cream (or plain yogurt) creates a creamy, slightly tangy layer that browns beautifully and adds a subtle richness. It also helps in preventing the crust from sticking excessively to the pan.
- Ghee (Clarified Butter): Ghee is essential for its high smoke point and rich, nutty flavor, which butter often lacks when cooked at higher temperatures. It’s what gives the Tahdig its characteristic buttery depth and contributes significantly to the gorgeous golden color and supreme crispiness of the crust. If ghee is unavailable, a combination of butter and a neutral oil (like vegetable or canola) can be used, though ghee is highly recommended for authentic flavor.
Mastering the Art of Persian Rice: A Step-by-Step Guide
Creating the perfect Persian Rice (Tahdig) involves a few deliberate steps beyond typical rice preparation, but the process is straightforward and incredibly rewarding. Follow these detailed instructions to achieve that flawless crispy crust and fluffy interior:
- Preparation is Key: Rinsing the Rice. Begin by filling a large stockpot with 4 quarts of water and bringing it to a rolling boil over high heat. While the water heats, thoroughly rinse your Basmati rice in a colander under cold running water. Use your hands to gently agitate the rice, mixing it vigorously. Continue rinsing until the water that drains from the colander runs completely clear. This crucial step removes excess starch, which is vital for preventing the rice from becoming sticky and allows for the distinct separation of grains needed for fluffy rice and a crisp Tahdig. Drain the rinsed rice well.
- Parboiling the Rice to Al Dente. Once the water in the stockpot is boiling rapidly, add 3 tablespoons of kosher salt. Don’t be shy with the salt here; a good amount is needed to season the rice, and much of it will be drained away later. Add the thoroughly rinsed rice to the boiling salted water and stir gently to combine. Cook the rice for 6-8 minutes, or until it reaches an al dente stage – meaning it’s tender but still has a slight bite to it. Stir occasionally to prevent sticking.
- Stopping the Cook. Immediately drain the parboiled rice into a fine-mesh sieve or colander set in the sink. Without delay, rinse the rice again with a generous amount of cold water. This rapid cooling halts the cooking process, ensuring the grains remain separate and don’t become mushy. Drain the rice completely, allowing any excess water to drip away.
- Preparing the Tahdig Base. In a medium-sized bowl, combine the sour cream (or Greek yogurt) with 1 cup of the parboiled rice. Mix gently until the rice is evenly coated. This mixture will form the delicious, tangy, and crispy bottom layer of your Tahdig.
- Layering for the Crust. In a large, heavy-bottomed non-stick frying pan (this is essential for easy release and crust formation), melt the ghee over medium heat. Ensure the bottom of the pan is generously coated. Carefully add the sour cream and rice mixture to the pan, spreading it out into a thin, even layer across the entire bottom. Then, gently pile the remaining parboiled rice on top of this base layer, mounding it softly towards the center to create a slight dome. Avoid pressing it down, as air circulation is key for fluffy rice.
- Ventilation for Steam. Using the handle of a wooden spoon or a similar utensil, gently poke 5 or 6 holes through the mounded rice, reaching all the way to the bottom of the pot. These vents allow steam to escape from the base of the pan, which is crucial for achieving an even, crispy crust without making the top layers soggy.
- The Art of Slow Cooking. Place the pan back over medium heat. Cook for approximately 15-20 minutes, rotating the pan a quarter turn every 3-4 minutes. This even rotation helps ensure uniform browning across the entire bottom surface. You should hear a gentle sizzling sound, indicating the crust is forming. After this initial period, the bottom should begin to turn golden brown.
- Finishing the Cook. Reduce the heat to low. Continue cooking for another 15-20 minutes, or until the rice is fully cooked through and the Tahdig crust has achieved a deep, rich golden-brown color. The low and slow cooking at this stage allows the rice to steam and become perfectly fluffy, while the crust continues to crisp without burning.
- The Grand Reveal: Serving Tahdig. Once cooked, remove the pan from the heat. To ensure the Tahdig doesn’t stick, gently run a spatula around the edges of the pan. Place a large serving platter or cutting board upside down over the pan. With a confident and swift motion, carefully invert the pan onto the platter. The Tahdig should release in one beautiful, cake-like piece, showcasing its magnificent golden crust. Serve warm immediately and enjoy the cheers from your delighted diners!
Pro-Tips for Perfect Persian Rice Every Time
While the steps are clear, mastering Tahdig involves a few insider tips and tricks that guarantee a perfect outcome. Follow these expert recommendations to achieve that highly sought-after crispy, golden crust and fluffy interior consistently:
- Rinse Rice Until Clear: This cannot be stressed enough. Vigorously rinsing the Basmati rice under cold water until the runoff is perfectly clear is crucial. This process effectively removes excess starch, which if left on the grains, would lead to sticky, clumpy rice rather than the desired separated, fluffy texture and crisp Tahdig.
- Invest in a Quality Non-Stick Pan: The success of your Tahdig largely depends on the pan you use. A heavy-bottomed, high-quality non-stick frying pan is indispensable. It ensures that the golden crust forms beautifully without burning and, most importantly, allows the entire Tahdig to release cleanly from the pan in one glorious piece when inverted.
- Resist the Urge to Stir: Once the rice is layered in the pan for the final cooking stage, do not stir it. Unlike many other rice dishes, Tahdig requires the layers to remain undisturbed to allow the crust to form at the bottom and the grains above to steam properly into their fluffy state. Stirring will disrupt the crust formation and create a mushy texture.
- Patience is a Virtue (and the Secret to Crispiness): The key to achieving a truly crispy, golden Tahdig while maintaining a moist, tender center is to cook it low and slow. Resist the temptation to crank up the heat to speed up the process. High heat will burn the crust before the interior cooks and steams properly. Maintain medium to low heat as instructed, allowing the magic to happen gradually.
- Listen and Observe: Pay attention to the subtle cues. You should hear a gentle, consistent sizzle once the crust starts forming. Visually, the rice should be mounded gently, and the steam should escape through the poked holes. A perfect Tahdig will also have a characteristic aroma as it cooks.
Creative Variations: Substitutions and Additions
While this Persian Rice recipe is delicious in its classic form, it’s also incredibly versatile. Feel free to experiment with these substitutions and additions to personalize your Tahdig, catering to your taste preferences or what you have on hand:
- Alternative Rice Varieties: If Basmati rice isn’t available, other long-grain white rice varieties, such as Jasmine rice, can be used as a substitute. While the aroma might differ slightly, these alternatives will still cook up fluffy and allow for crust formation. Just ensure they are thoroughly rinsed to remove excess starch.
- Infuse with Saffron: For a truly authentic and aromatic touch, incorporate a pinch of saffron. Bloom about a quarter teaspoon of saffron threads in 2-3 tablespoons of hot water (not boiling) for 10-15 minutes. Drizzle this vibrant saffron liquid over the top of the rice before the final steaming stage, or mix a portion into the sour cream base for a golden hue in the crust. Saffron imparts a distinct earthy, floral, and slightly sweet flavor, along with a beautiful golden color.
- Add Protein for a Complete Meal: Transform this side dish into a hearty main course by adding cooked meat. Layer cooked ground lamb, beef kofta meatballs, or shredded chicken shawarma over the sour cream rice base before adding the remaining plain rice. This creates a flavorful, all-in-one dish that’s rich and satisfying.
- Greek Yogurt for a Tangy Twist: If you don’t have sour cream, plain full-fat Greek yogurt is an excellent substitute. It provides a similar creamy texture and tangy flavor, aiding in the crust formation while also offering an extra boost of protein. Ensure it’s plain and not sweetened.
- Potatoes or Bread for Tahdig: While this recipe focuses on rice Tahdig, you can create other popular Tahdig variations. Thinly sliced potatoes or pieces of lavash bread can be placed at the bottom of the pan instead of the sour cream rice mixture to create a different kind of crispy crust. Simply layer them with a brush of ghee before adding the parboiled rice.
Storing and Reheating Your Tahdig
Tahdig is undoubtedly best enjoyed fresh and warm, right after it’s flipped from the pot. However, if you find yourself with leftovers, they can be stored and reheated to retain much of their deliciousness:
- Refrigeration: Transfer any leftover Persian rice to an airtight container. We recommend storing it with the crispy Tahdig crust facing upwards to help maintain its texture. It will keep well in the refrigerator for up to 4 days.
- Reheating for Crispiness: To enjoy your Tahdig leftovers, gently flip the portion with the crust side down into a non-stick frying pan. Add a little extra ghee or a neutral oil to the pan. Warm it over medium-low heat, allowing the crust to crisp back up. This usually takes about 5-10 minutes, depending on the thickness of your Tahdig. The gentle heat helps to warm the fluffy rice while revitalizing the crispy bottom.
Can I Freeze This Persian Rice Recipe?
Freezing Tahdig is generally not recommended if you prioritize the crispy texture. The moisture content can cause the crispy crust to become soggy once thawed. However, if you must freeze it, store it in an airtight, freezer-safe container for up to 1 month. When ready to enjoy, thaw it overnight in the refrigerator. Reheat gently in a non-stick skillet, crust-side down, adding extra oil or ghee to help regain some crispiness. While it might not be as perfect as fresh, it will still offer a comforting taste of Persian cuisine.
Delectable Serving Suggestions
Persian Rice (Tahdig) is a versatile side dish that pairs wonderfully with a wide array of main courses. Its rich flavor and delightful texture make it a perfect accompaniment to both everyday meals and special occasions. Here are some of our favorite pairings:
- Hearty Grilled Meats: The crispness of Tahdig beautifully complements succulent grilled kebabs, whether it’s chicken kofta, lamb kofta, or beef kebabs. The rice absorbs the flavorful juices, enhancing the overall dining experience.
- Flavorful Stews (Khoresh): Traditionally, Tahdig is served alongside various Persian stews, known as khoresh. Dishes like Ghormeh Sabzi (herb stew) or Fesenjan (walnut and pomegranate stew) are perfect, as the crispy rice provides a delightful contrast to the rich, saucy stews.
- Roasted Chicken or Lamb: A perfectly roasted whole chicken or a slow-cooked lamb shoulder finds an ideal partner in Tahdig. The simple elegance of the rice allows the main protein to shine while adding a satisfying depth.
- Mediterranean and Middle Eastern Cuisine: Beyond Persian dishes, Tahdig can elevate any Mediterranean or Middle Eastern spread. Consider serving it with Greek meatballs, chicken shawarma, or alongside a vibrant plate of hummus, baba ghanoush, and fresh salads for a truly authentic feast.
Common Questions About Persian Rice (Tahdig)
Tahdig is traditionally served with a grand presentation. Once cooked, the pot is carefully inverted onto a large serving platter, proudly showcasing the perfectly golden and crispy crust on top. This dramatic reveal makes the crispy layer the undeniable star of the dish, inviting everyone to enjoy its unique texture and flavor.
Long-grain Basmati rice is the gold standard for Tahdig. Its distinct, slender grains cook up fluffy and separate easily, which is crucial for both the light interior and the formation of that desirable crispy layer. Always remember to rinse and soak Basmati rice thoroughly before cooking to remove excess starch, ensuring optimal results.
You’ll know your Tahdig is nearing perfection when you hear a consistent, gentle sizzling sound coming from the bottom of the pot, indicating the crust is actively forming. After about 30-45 minutes of cooking on low heat, you can carefully check by gently lifting the edge of the rice with a thin spatula to peek at its color. Once it’s a beautiful, deep golden-brown hue, it’s ready to be served!
Not at all! While the concept of achieving a perfect crispy layer might seem intimidating, with a bit of patience and by following the detailed steps and tips, even novice cooks can successfully create impressive Tahdig. The primary key is mastering heat control and allowing enough time for the crust to form without burning, a skill that is quickly acquired with practice.
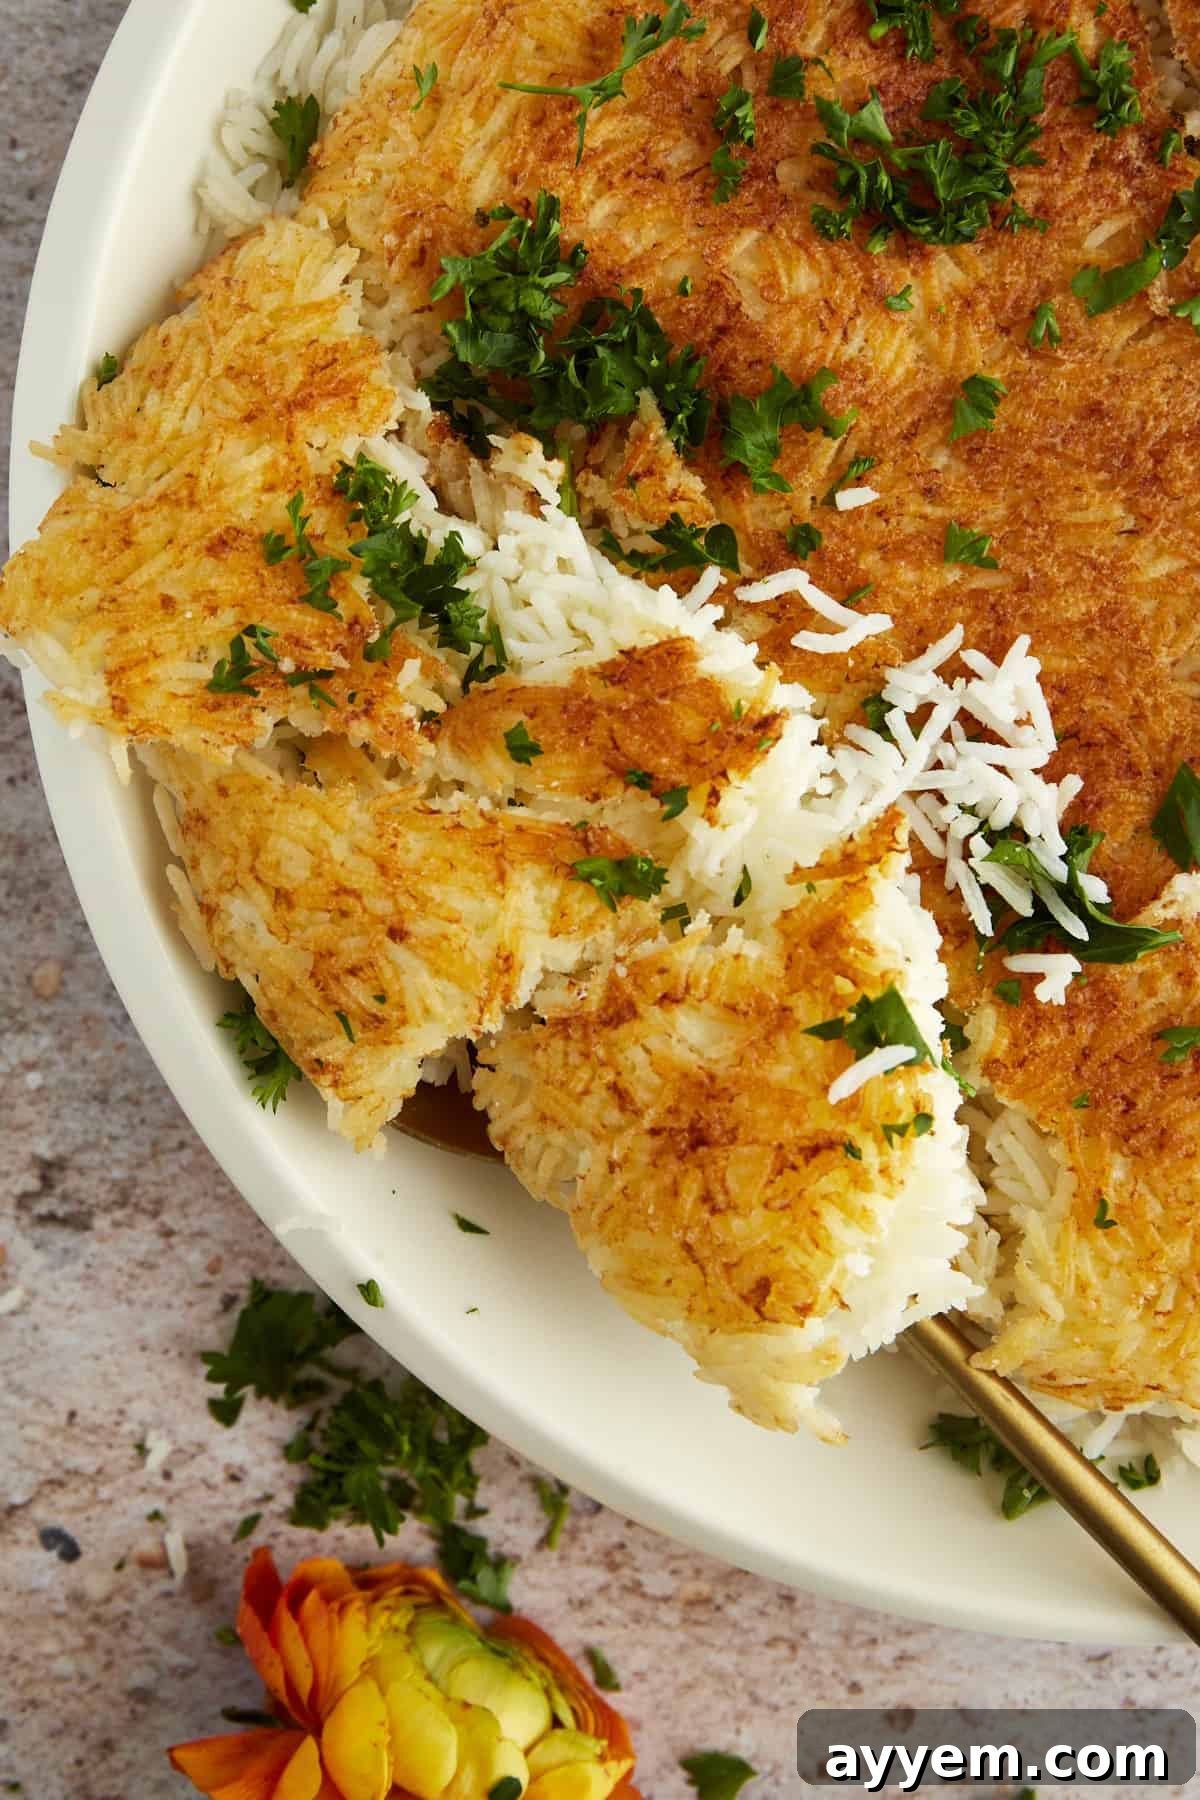
Persian Rice Recipe (Tahdig)
Baked to crispy perfection, this Persian rice recipe is rich in flavor, crispy on the outside, moist in the center, and unbelievably delicious!
Pin Recipe
Print Recipe
Email Recipe
Ingredients
- 2 cups basmati rice, uncooked
- Kosher salt to taste
- 3 Tablespoons sour cream
- 6 Tablespoons ghee
Instructions
-
Fill a large stockpot with 4 quarts of water, and bring it to a boil over high heat.
-
In the meantime, rinse the rice in a colander with cold water, mixing vigorously until the water starts to run clear. Drain the rice.
-
Once the water comes to a boil, add 3 tablespoons kosher salt to the pot. (It may seem like a lot of salt, but it’s the only way to add flavor to each grain of rice!) Add the rinsed rice, and stir to combine.
-
Set a fine-mesh sieve or colander in the sink. Cook the rice 6-8 minutes or until al dente, stirring occasionally. Drain into the sieve, and immediately begin rinsing with cold water to stop the rice from cooking further. Drain immediately.
-
In a bowl, add the sour cream and 1 cup of the parboiled rice, stirring to combine.
-
Melt the ghee in a non-stick frying pan over medium heat. Add the sour cream and rice mixture, spreading it out in an even layer. Pile the remaining rice into the pan, mounding it gently toward the center.
-
Using the handle of a wooden spoon, gently dig 5 or 6 holes into the rice down to the bottom of the pot to allow steam to escape.
-
Continue to cook the rice over medium heat for 15-20 minutes, turning the pan a quarter turn every 3-4 minutes to ensure even browning until a golden crust begins to form on the bottom of the rice.
-
Reduce the heat to low, and continue to cook 15-20 minutes or until the rice is fully cooked and golden brown on the bottom.
-
Carefully run a spatula along the edges of the bottom of the rice to ensure it does not stick to the pan. Flip it over onto a platter or cutting board. (It should look like a cake of fluffy rice with a golden crust.) Serve warm!
-
Store in an airtight container in the fridge for up to 4 days.
Nutrition
Nutrition information is automatically calculated, so should only be used as an approximation.
Explore More Delicious Rice Recipes
If you’ve enjoyed mastering the art of Tahdig, you might be interested in exploring other delightful ways to incorporate rice into your meals. Rice is a staple across many cultures, offering incredible versatility and comfort. Here are some of our favorite rice-based recipes that you’ll surely love:
- Flavorful Veggie Rice: A wholesome and colorful dish packed with vegetables, perfect for a light meal or a vibrant side.
- Easy Spanish Style Rice: Aromatic and rich with classic Spanish flavors, this rice is a fantastic accompaniment to grilled meats or seafood.
- Comforting Greek Rice Bake: A hearty and comforting casserole-style rice dish, often featuring savory ingredients and herbs, ideal for family dinners.
- Delicious Stuffed Pepper Rice Bake: All the flavors of classic stuffed peppers, simplified into a delicious and easy-to-make rice bake.
Each of these recipes offers a unique culinary experience, proving the endless possibilities of humble rice. We encourage you to try them and expand your repertoire of delectable rice dishes!