

Discover the ultimate guide on how to clean kitchen cabinets, ensuring your culinary space always looks its best! We’ll walk you through expert tips, the best products, essential tools, and effective techniques to effortlessly clean any cabinet surface or material, bringing a new shine to your kitchen.
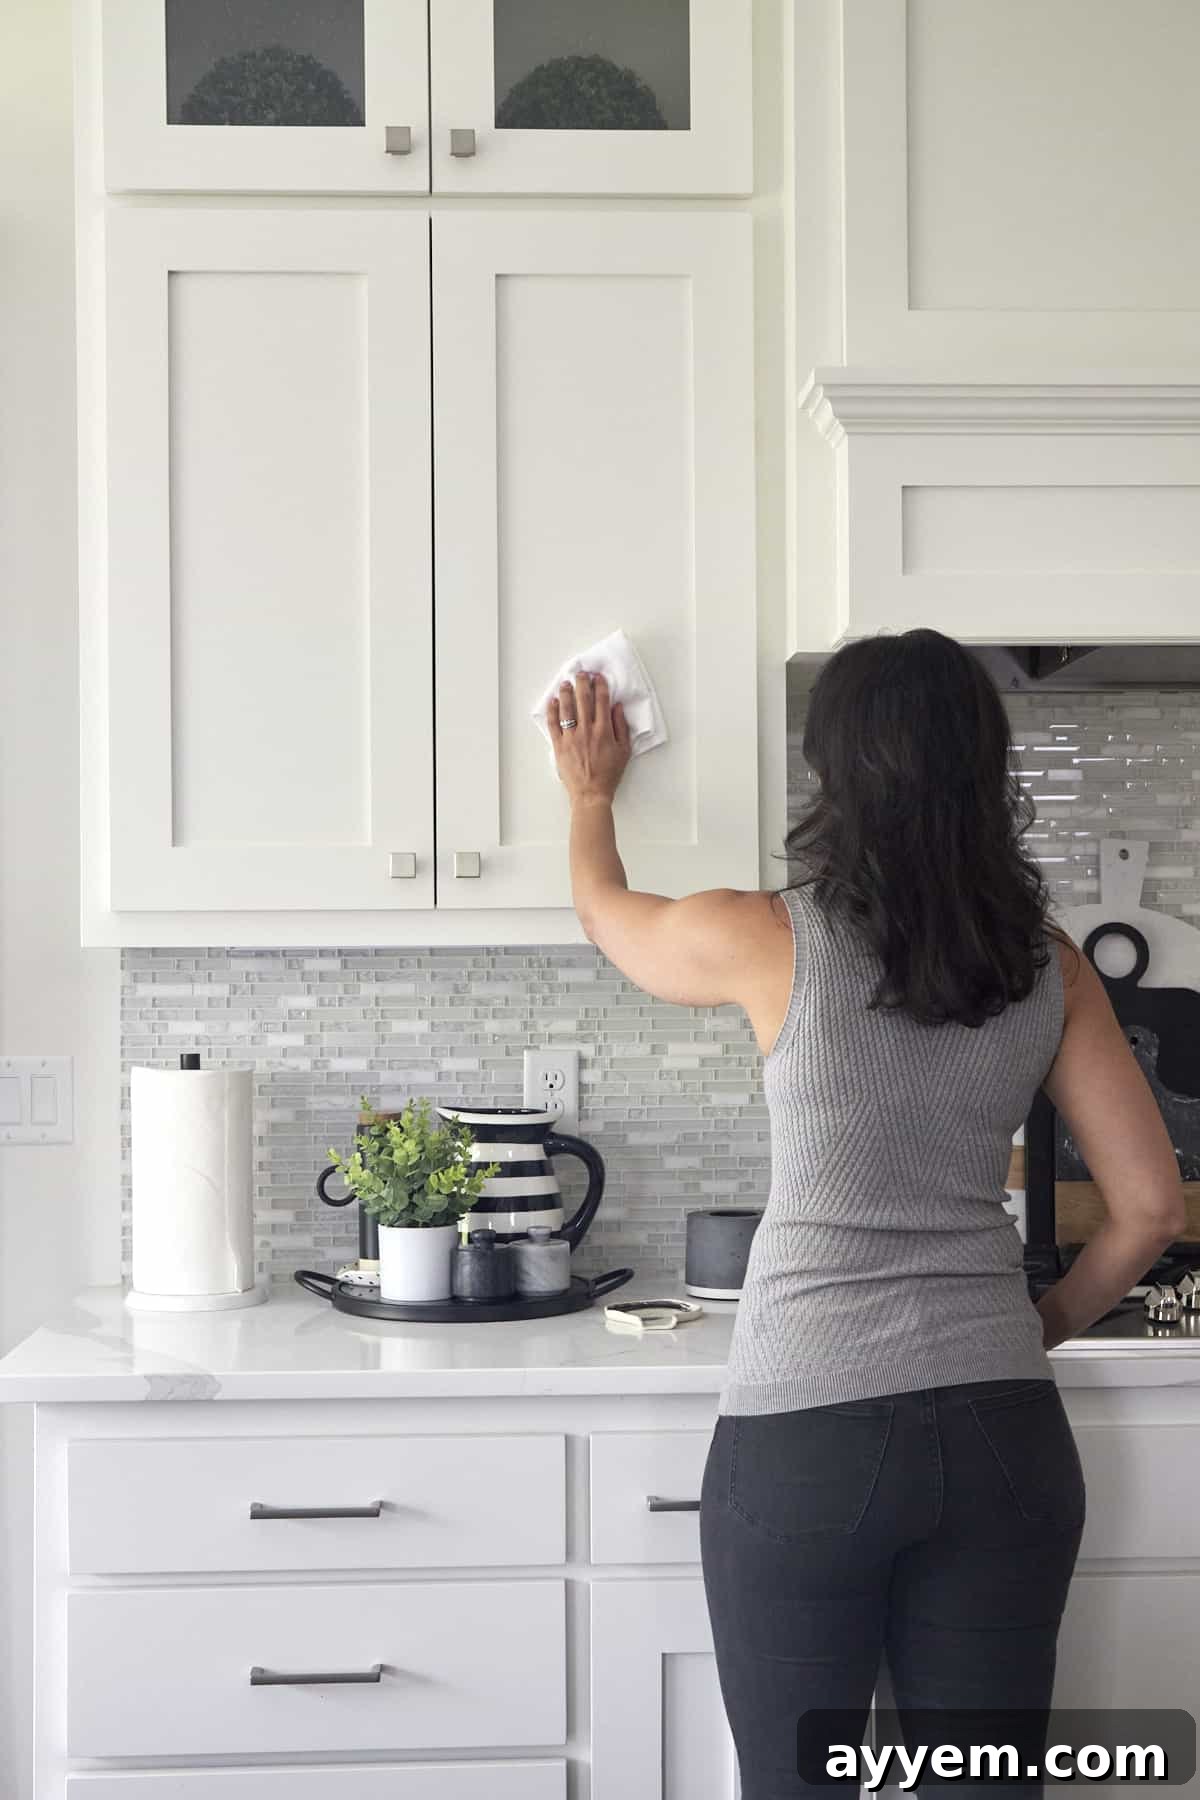
How to Clean Kitchen Cabinets: Your Ultimate Guide to a Spotless Kitchen
Kitchen cabinets are often the unsung heroes of your culinary space, holding everything from spices to dinnerware. Yet, they can quickly accumulate dust, grime, and stubborn grease, making your entire kitchen appear less inviting. While frequently overlooked during routine kitchen cleanups, sparkling cabinets play a crucial role in the overall cleanliness and aesthetic appeal of your home.
If your cabinets are looking tired, dusty, or covered in sticky residue, it’s time to give them the attention they deserve. This comprehensive guide will equip you with the knowledge and techniques to bring them back to life, making your kitchen shine brighter than ever before!
Step 1: Understand Your Cabinet Material and Finish
Before you dive into cleaning, it’s absolutely essential to identify the material and finish of your kitchen cabinets. Different surfaces have unique cleaning requirements, and using the wrong product or method can lead to irreversible damage, discoloration, or dullness. What works wonders for a painted cabinet might be detrimental to a delicate wood veneer. Don’t worry, we’ll break down the common types and their specific care instructions below, ensuring you choose the safest and most effective approach.
Different Cabinet Finishes and Their Cleaning Needs
Wood Cabinets
Wood cabinets, whether solid wood, vinyl-coated, or veneer over wood, are timeless and elegant but require careful handling. They often have various seals, stains, or topcoats that demand specific cleaning techniques. General-purpose oil-soap wood cleaners are typically a safe and effective choice for most types of sealed wood cabinets. These cleaners are designed to gently lift dirt without stripping the finish or drying out the wood.
When cleaning wood, the golden rule is to avoid excessive moisture. Wood can easily swell, warp, or become damaged if exposed to too much water. Apply your chosen cleaner sparingly onto a soft cloth, rather than directly onto the cabinet surface. Wipe the cabinet in the direction of the wood grain, and immediately follow with a clean, dry microfiber cloth to absorb any remaining moisture. This quick drying prevents water spots and protects the wood from water damage.
Painted Cabinets
Painted cabinets, often finished with multiple coats of oil-based paints or lacquers, tend to be quite durable and offer a modern aesthetic. Their robust sealant generally allows for a bit more “elbow grease” compared to natural wood, but caution is still advised.
The best and safest cleaner for most painted cabinets is a simple solution of warm water mixed with a mild, diluted dish soap or an all-purpose cleaner formulated for painted surfaces. Alternatively, a highly diluted white vinegar solution can be effective, though always test it in an inconspicuous spot first. While painted finishes are sturdy, avoid abrasive scrubbing tools like steel wool or harsh scouring pads, which can scratch the paint. Instead, use a soft cloth or a non-abrasive sponge. If your cabinets are particularly grimy, you can gently scrub, but always remember not to saturate them with water. Wipe down the cleaned surfaces with a damp, clean cloth to remove any soap residue, and then immediately dry with a separate, clean cloth to prevent streaks and moisture damage.
Laminate Cabinets
Laminate cabinets offer a durable, cost-effective, and often low-maintenance alternative to wood or painted finishes. Their non-porous surface makes them relatively easy to clean. Similar to painted cabinets, a diluted solution of water and mild dish soap or a gentle all-purpose cleaner works well. Apply the solution with a soft cloth or sponge, wipe down the surfaces to remove dirt and grime, and then rinse thoroughly with a clean, damp cloth. Finish by drying immediately with a microfiber towel to prevent water spots and maintain their sheen.
While laminate is resilient, avoid abrasive cleaners or harsh chemicals like acetone, which can damage the finish. Also, be careful around seams and edges, as excessive moisture can seep in and cause the laminate to peel over time.
Interior Cabinets and Shelving
Don’t neglect the inside of your cabinets! Food crumbs, spills, and dust can accumulate quickly. For the interior surfaces, a diluted all-purpose cleaner or a simple mixture of white vinegar and water (one part vinegar to two parts water) is usually ideal. Always use a soft cloth for wiping. Keep a small, soft cloth handy to quickly wipe up any new spills or stains as they occur, preventing them from setting in. For tricky corners, tight spots, or along the sides and edges of shelves, an old toothbrush can be incredibly useful for precise and gentle scrubbing.
When to Consider Cabinet Refacing or Professional Repair
Unfortunately, some cabinet damage goes beyond what a good cleaning can fix. If you notice significant scratches, deep gouges, chips, or areas where the finish has completely worn down to the bare wood, your cabinets might be candidates for professional intervention. In such cases, cabinet refacing – essentially replacing the cabinet doors, drawer fronts, and applying new veneer to the existing frames – can be a transformative solution. This process is significantly more cost-effective than a complete cabinet replacement and can dramatically update the look of your kitchen, giving it a fresh, modern appeal without the major renovation cost. Identifying these signs early can save you from further deterioration and help maintain your kitchen’s value.
Step 2: Empty Out All Your Cabinets
Once you’ve determined the best cleaning approach for your specific cabinet type, it’s time to prepare for a thorough deep clean. The first crucial step is to completely empty every single item from your cabinets. This allows you unrestricted access to all surfaces, ensuring no spot is missed.
As you remove items, consider taking photos of your current cabinet layout. This can be a handy reference if you like your current organization scheme and want to restore it efficiently. Alternatively, you can lay out your items in an organized manner on a temporary surface (like your dining table or kitchen island) so you know exactly where everything belongs when it’s time to restock.
Use this as a golden opportunity to declutter and reorganize. Check the expiry dates on all food products and spices – discard anything past its use-by date. Wash any dirty crockery, glassware, or food containers before they go back into your clean cabinets. Anything you no longer use, want, or consume can be thrown out or donated to a local food bank, freeing up valuable cabinet space and making your kitchen more efficient.
Step 3: Vacuum Away Loose Debris
After emptying your cabinets, you’ll likely discover an accumulation of crumbs, dust bunnies, stray food particles, and other loose debris. Before applying any cleaning solutions, it’s vital to vacuum these up. This pre-cleaning step prevents you from simply pushing wet grime around, making the subsequent cleaning process much easier and more effective. Use a vacuum cleaner with a brush attachment or a crevice tool to reach into corners and along edges, ensuring all loose particles are removed. For areas with heavy dust, a quick wipe with a dry cloth before vacuuming can also be beneficial.
Step 4: Gather Your Cleaning Agents and Essential Tools
Having the right cleaning agents and tools on hand is key to a successful cabinet cleaning project. Below, we’ve outlined various options, from commercial products to eco-friendly homemade solutions, along with the best tools for the job. Remember a crucial tip for all cleaning solutions: avoid spraying or applying the cleaner directly onto your cabinet surfaces. This can lead to streaks, drips, and potential discoloration, especially on delicate finishes. Instead, always apply the product onto your cleaning tool of choice (sponge, cloth) first, and then wipe the surface. If direct application is unavoidable for a specific product, use it sparingly and ensure you wipe it up carefully and thoroughly immediately afterward.
Effective Chemical Cleaners
Powerful Degreasers
For kitchen cabinets that are particularly exposed to cooking fumes, grease splatters, and heavy grime (especially those near the stove or exhaust fan), a dedicated degreaser is your best option. These powerful formulas are designed to cut through tough, sticky grease that ordinary cleaners can’t touch. Degreasers are excellent for cabinets above the stove, or shelves where cooking oils and frying pans are stored.
While highly effective at dissolving grease, degreasers may not be the most effective solution for general dirt or stains. It’s often best to use a degreaser for targeted grease removal, followed by a general all-purpose cleaner for overall cleanliness. Always read the product label carefully, ensuring it’s safe for your cabinet material, and remember to wear cleaning gloves to protect your skin from harsh chemicals. A patch test in an inconspicuous area is always recommended.
Commercial Specialized Cabinet Cleaners
If you prefer the convenience and targeted effectiveness of store-bought products, many brands offer cleaners specifically formulated for kitchen cabinets. These specialized cleaners often contain ingredients that are gentle on various finishes while being tough on common kitchen messes like fingerprints, food splatters, and light grease. They are an excellent option if you’re unsure about mixing your own solutions or simply want a reliable, ready-to-use product. Many are multi-purpose, offering good value and simplifying your cleaning arsenal. Always choose a cleaner that explicitly states it’s safe for your specific cabinet material (e.g., “for wood cabinets,” “for painted surfaces”).
Eco-Friendly & Homemade Cleaning Solutions
For those who prefer natural, cost-effective, and less chemically intensive cleaning methods, homemade solutions are a fantastic choice. They are often just as effective as commercial products for many common kitchen messes.
Vinegar + Water Solution
A mixture of white vinegar and warm water is an incredibly versatile and inexpensive all-purpose cleaner. Combine one part white vinegar with two parts warm water in a spray bottle. This solution harnesses the natural acidity of vinegar to cut through dirt, mild grease, and acts as a natural antibacterial agent. It’s excellent for everyday cleaning and leaving surfaces streak-free. While generally safe, avoid using vinegar on natural stone countertops or unsealed wood, as its acidity can etch or damage these surfaces over time. The vinegar smell will dissipate quickly as it dries.
Vinegar + Hydrogen Peroxide (Sequential Application)
While you should never mix vinegar and hydrogen peroxide together in a single container (as it creates peracetic acid, a corrosive chemical), using them in succession offers powerful disinfecting properties. This combination is highly effective against bacteria and viruses, commonly used in food and medical industries for sterilization.
To use safely: First, lightly spray a surface with white vinegar and let it sit for about five minutes. Then, wipe it clean. Next, lightly spritz the same surface with hydrogen peroxide and let it sit for another five minutes before carefully wiping it away with a clean cloth. The chemical reaction that creates harmful substances only occurs when these two are mixed in a closed container or left to react directly on a surface for an extended period. Applying them separately and wiping in between is safe and effective. For best results, clean the surface with a general cleaning solution first to remove visible grime before disinfecting with this powerful duo.
Baking Soda + Water Paste
Baking soda is a miraculous natural cleaner and deodorizer. When mixed with a small amount of water to form a paste, it becomes a gentle abrasive that can effectively dissolve grease, grime, and many stains without scratching delicate surfaces. Beyond its cleaning power, baking soda is odorless and brilliant at neutralizing any lingering food smells that might have permeated your cabinets. Apply the paste, let it sit for a few minutes, then gently scrub with a soft sponge or cloth.
Baking Soda + Castile/Dish Soap Paste
For exceptionally greasy or stubborn grime, a powerful paste combining baking soda with a squirt of mild Castile soap or dish detergent is incredibly effective. This duo works synergistically: the baking soda lifts and absorbs grease, while the soap helps break it down and carry it away, leaving a shiny, clean, and fresh-smelling surface. This method is particularly useful for areas with heavy build-up.
To prepare, mix about half a cup of baking soda with just enough liquid dish soap or Castile soap to form a thick, spreadable paste. Apply the paste directly to the greasy areas and let it rest for about 10-15 minutes to allow it to penetrate the grime. Then, using a non-abrasive sponge or soft cloth, gently scrub in circular motions. Rinse thoroughly with a damp cloth and dry immediately.
Essential Tools for Cleaning Kitchen Cabinets
Having the right tools can make all the difference in efficiency and effectiveness when cleaning your cabinets. Here’s what you’ll need:
Cleaning Gloves
Wearing cleaning gloves is crucial, especially when dealing with grimy surfaces or using cleaning solutions that contain chemicals or even acidic ingredients like vinegar. Gloves protect your hands from dirt, grease, and potential skin irritation, and they also prevent your hands from absorbing lingering odors. Choose reusable rubber gloves for durability and better grip, or disposable nitrile gloves for quick changes.
Soft Sponges
Sponges are versatile and excellent for applying cleaning solutions and gentle scrubbing. Opt for non-abrasive cellulose or synthetic sponges that won’t scratch your cabinet finishes. They absorb liquids well and help disperse cleaners evenly across surfaces. Remember to regularly clean and sanitize your sponges, or replace them often to prevent the spread of bacteria.
Gentle Scrapers and Scrubbers
For very stubborn, dried-on grime or sticky residue, a gentle scraping tool can be incredibly effective. Avoid metal scrapers, which can easily damage cabinet finishes. Instead, use an old credit card, a plastic putty knife, or a dedicated plastic scraper designed for non-scratch cleaning. For tougher scrubbing on durable surfaces, a non-scratch scrub brush (like one designed for dishes) can be useful, but always test it in an inconspicuous area first.
High-Quality Microfiber Towels
Microfiber towels are true powerhouses in the cleaning world. Their unique weave makes them highly absorbent, lint-free, and exceptionally effective at trapping dirt, dust, and grime. They are perfect for wiping up spills, applying cleaners, and buffing surfaces to a streak-free shine. Invest in several good quality microfiber towels; consider using different colors for different tasks (e.g., one for cleaning, one for drying) to prevent cross-contamination.
Old Toothbrush
An old toothbrush is an invaluable tool for reaching those tight, intricate spots that larger cloths or sponges can’t access. It’s perfect for gently scrubbing grime out of cabinet crevices, decorative moldings, along hinges, and in the corners of shelves. Its fine bristles allow for precise cleaning without being overly abrasive.
Other Useful Tools:
- Buckets: For mixing cleaning solutions and holding clean water for rinsing.
- Spray Bottles: Ideal for applying homemade solutions like vinegar and water evenly.
- Step Stool or Ladder: Essential for safely reaching and thoroughly cleaning the tops of upper cabinets and high areas.
Step 5: Clean the Tops of the Cabinets
While often out of sight, the tops of your kitchen cabinets are notorious dust and grease traps. Warm air rises in the kitchen, carrying grease particles and dust, which then settle on these flat, neglected surfaces. Cleaning this area is crucial for a truly spotless kitchen and for preventing accumulated grime from falling onto your food or counters. This is often one of the dirtiest places in the kitchen, so don’t skip it!
Initial Dusting, Scrubbing, or Scraping
Begin by dusting or vacuuming the loose debris from the cabinet tops. If there’s a thick layer of sticky, hardened residue (a common occurrence due to grease accumulation), you might need to gently scrape it off first. An old credit card or a plastic scraper works well for this, carefully loosening the hardened grime without damaging the surface. For less severe build-up, a damp sponge can effectively dislodge the dirt.
Apply Your Chosen Cleaner
Next, apply your chosen all-purpose cleaner or degreaser (if needed) to a clean cloth or sponge. Remember, never spray directly onto the cabinet tops, as excess liquid can drip down the sides of your cabinets. Wipe down the entire surface, ensuring even coverage and thorough cleaning.
Rinse and Dry Thoroughly
Finally, take a clean, damp cloth to wipe away any cleaning solution residue. Then, immediately follow with a dry microfiber cloth to thoroughly dry the surfaces. This prevents water spots and ensures no moisture is left behind to attract new dust or damage the cabinet material. Make this a part of your deep cleaning routine every few months.
Step 6: Clean the Inside of the Cabinets from Top to Bottom
Now that your cabinets are empty and the tops are clean, it’s time to focus on the interiors. Work systematically from the top shelves down to the bottom. Choose the cleaning solution and tool that are best suited for your specific cabinet material and the level of dirt inside. For most interior surfaces, a diluted all-purpose cleaner or a vinegar-and-water solution is effective and safe.
Using a soft cloth or sponge, wipe down all interior surfaces, including the backs, sides, and bottoms of each shelf. Pay special attention to corners and any areas where food spills might have occurred. If you have a Lazy Susan, rotate it and carefully clean all segments, including the dividers and the base. An old toothbrush can be incredibly helpful for reaching into tight crevices and corners on these rotating shelves. After cleaning, ensure all surfaces are thoroughly rinsed with a clean, damp cloth and then dried completely with a separate, dry cloth before restocking. Leaving any moisture behind can lead to mold or mildew.
Step 7: Target Stubborn Greases and Stains
While general cleaning takes care of most grime, some stubborn marks require specific treatment. Here’s how to tackle common cabinet stains effectively:
Fingerprints and Smudges
Fingerprints, especially on dark or glossy cabinets, can be unsightly. White vinegar is a fantastic natural cleaner for lifting these oily smudges. Dampen a soft cloth with a 50/50 solution of white vinegar and water. Gently wipe the affected areas to remove the prints. To ensure a streak-free finish, follow up by buffing the surface with a clean, dry microfiber or polishing cloth. This method works well on most finishes but always test first.
Heavy Grease Build-up
For persistent grease near cooking areas, either a commercial degreaser or a baking soda-based paste is highly effective. If using a degreaser, apply it to a cloth and wipe the greasy area. If using the baking soda and dish soap paste (as described in Step 4), apply a generous layer over the greasy spots. Allow the solution or paste to sit for about three to five minutes to penetrate the grease. Then, using a non-abrasive sponge or a soft scrub brush, gently scrub away the grease. Rinse thoroughly with a damp cloth and dry immediately to reveal a clean, shiny surface.
Dried Food Splatters
Food splatters, especially acidic ones, can dry and harden, becoming difficult to remove. A paste made from baking soda and water (or baking soda and dish soap for tougher splatters) works wonders here. Apply the paste directly to the splatter and let it sit for a few minutes to soften. Then, use an old toothbrush for precise, gentle scrubbing. The mild abrasive action of the baking soda combined with the small bristles will lift the dried food effectively. Once loosened, simply wipe away the residue with a damp cloth and dry.
Water Stains and Rings
For unsightly water stains or rings, particularly on wood cabinets, a vinegar and water solution can often help. Dampen a non-abrasive sponge with a solution of one part white vinegar to one part water. Gently wipe the affected area, allowing the vinegar to break down the mineral deposits left by the water. For stubborn stains, you might need to let the solution sit for a minute or two before wiping. Always dry the area immediately with a clean cloth to prevent new water marks.
Scuff Marks
Minor scuff marks can sometimes be removed with a mild soap solution. Dilute a small amount of mild dish soap in warm water. Dip a soft cloth into the solution and gently rub the scuff mark. The gentle lubrication from the soap can often help lift the rubber or shoe marks. Once the scuff is gone, wipe the area with a second clean, damp cloth to remove any soap residue, and then dry thoroughly with a dry cloth.
Step 8: Detail the Trims and Moldings
Decorative trims and moldings on your cabinets can collect a surprising amount of dust, grease, and grime in their intricate details. These often-overlooked areas contribute significantly to the overall clean appearance of your kitchen. An old toothbrush is your best friend here. Dip the toothbrush into your chosen cleaning solution (a diluted all-purpose cleaner or vinegar solution is usually perfect for most finishes) and gently scrub along the grooves and raised patterns of the trim. The fine bristles can reach into all the nooks and crannies that a larger cloth can’t. Follow up by wiping with a clean, damp cloth to remove any loosened dirt and residue, and then immediately dry with a fresh cloth.
Step 9: Clean and Polish Hinges and Hardware
Cabinet hinges, knobs, and pulls are high-touch areas and can accumulate grease, grime, and fingerprints very quickly, detracting from the overall cleanliness. Don’t forget these small but significant details.
Start by giving the hinges a good scrub with a brush or an old toothbrush to dislodge any accumulated dirt. Then, apply a vinegar and water solution (or a specialized hardware cleaner if your hardware is a specific material like brass or stainless steel) to a cloth and wipe down all hinges and hardware thoroughly. If hardware is exceptionally dirty, consider temporarily removing it for a more thorough soak and scrub in warm, soapy water. After cleaning, rinse the hardware with a clean, damp cloth and dry them completely to prevent water spots or rust. To finish, use a soft, dry cloth to buff and polish your hinges, knobs, and pulls. This extra step will make them shine and dramatically enhance the polished look of your freshly cleaned cabinets.
Step 10: Clean Cabinet Exteriors and Polish Glass Inserts
With the interiors, tops, and hardware sparkling, it’s time to finish the job by cleaning the exterior surfaces of your cabinets. Give the outside of all your cabinets a general wipe-down with a soft cloth dampened with a gentle all-purpose cleaner suitable for your cabinet material. Pay attention to high-touch areas like around handles and the edges of doors. For cabinets with glass inserts, use a dedicated glass cleaner. Spray the cleaner onto a microfiber cloth or directly onto the glass (if safe for the surrounding frame), then wipe clean. For a truly streak-free sparkle, use crumpled newspaper or a dedicated glass polishing cloth to buff the glass until it shines.
Step 11: Clean the Contents Before Restocking
To maintain the cleanliness of your freshly sparkling cabinets, it’s important not to put dirty items back inside. Before you restock, quickly wipe down any food packages, containers, small appliances, or dishes that might have accumulated dust or grime while they were out. This simple step prevents you from re-introducing dirt and ensures your efforts in cleaning the cabinets are not immediately undone. Check for sticky residue on bottles of oil or condiments and wipe them clean.
Step 12: Organize and Restock Your Cabinets
Finally, the satisfying moment arrives! Now that everything is clean, it’s time to place your items back into the cabinets. You can simply put everything back where it was, or seize this opportunity to give your cabinets a fresh, more efficient arrangement. Consider grouping similar items, using drawer organizers or shelf liners for added protection and easier future cleaning, or creating zones for different types of kitchenware. Once everything is neatly in its place, step back and admire your hard work. Your kitchen will feel refreshed, organized, and truly spotless!
The Bottom Line: Enjoy Your Spotless Kitchen
Learning how to clean kitchen cabinets properly is a transformative process that extends beyond mere aesthetics. A thorough cabinet cleaning not only makes your kitchen look fresh, new, and inviting, but it also promotes better hygiene, prevents clutter from piling up, and extends the lifespan of your cabinetry. While this comprehensive deep clean might seem a little time-consuming initially, it’s a straightforward process that is easily accomplished, and the satisfying end result of a sparkling clean kitchen is undoubtedly worth the effort.
Remember to always pay close attention to the specific material and finish of your kitchen cabinets, as this dictates the safest and most effective cleaning solution for the job. Exercise caution and a gentle touch, being careful not to be too heavy-handed with your scrubbing, scraping, or cleaning agents. Work methodically, tackling one section at a time. Before you know it, you’ll be proud to showcase a spotless, hygienic, and sparkling kitchen that reflects true cleanliness and organization.
Common Questions About Cleaning Kitchen Cabinets
Yes, absolutely! A diluted solution of white vinegar and warm water (typically one part vinegar to two parts water) works wonders for everyday cleaning, cutting through mild grease and leaving surfaces streak-free. However, it’s crucial to avoid using vinegar on certain materials, especially natural stone countertops (like marble or granite) nearby, as its acidity can etch and damage the surface. Always test on an inconspicuous area first, particularly on delicate wood finishes.
The fastest way to maintain clean cabinets on a daily or weekly basis is to quickly wipe them down with a damp microfiber cloth and a mild, diluted dish soap solution. Focus on high-touch spots like around the handles, pulls, and the edges of doors, as these areas accumulate the most grime and fingerprints. Regular quick wipes prevent heavy build-up, making deeper cleans less frequent and less intensive.
For general cleanliness and to prevent grime build-up, a light wipe-down of exterior cabinet surfaces once a week is highly recommended. This keeps them looking fresh and tackles minor splatters promptly. A deeper, more thorough clean – including emptying the cabinets, cleaning interiors, and tackling stubborn grease – should be performed every two to three months, or more frequently if you cook often or have a busy household.
It’s generally better to avoid using furniture polish on kitchen cabinets, especially on surfaces other than natural, unsealed wood. Furniture polishes often contain silicone or waxes that can leave behind a sticky residue over time. This residue not only attracts dust and makes surfaces feel greasy but can also be difficult to remove and may interfere with future painting or refinishing. Instead, opt for a cabinet-specific cleaner that is formulated to clean, protect, and condition your cabinet’s finish without leaving undesirable build-up.
More Lifestyle Hacks for a Beautiful Home
Whether you’re looking for more expert cleaning tips, smart organization strategies, or easy ways to spruce up your living spaces, we’ve got you covered with our comprehensive lifestyle topics below! Explore our other guides to enhance your home life.
- How to Organize Spices for an Efficient Kitchen
- How to Make a Wood Accent Wall: A Quick Transformation
- The Best Food Storage Containers for Optimal Freshness
- Drawer Organizers: Maximizing Space and Minimizing Clutter
We would absolutely love to see pictures of your freshly cleaned and sparkling cabinets! Please leave us a comment below sharing your cleaning success stories, or tag us @fooddolls on Instagram to show off your beautiful, revitalized kitchen!