
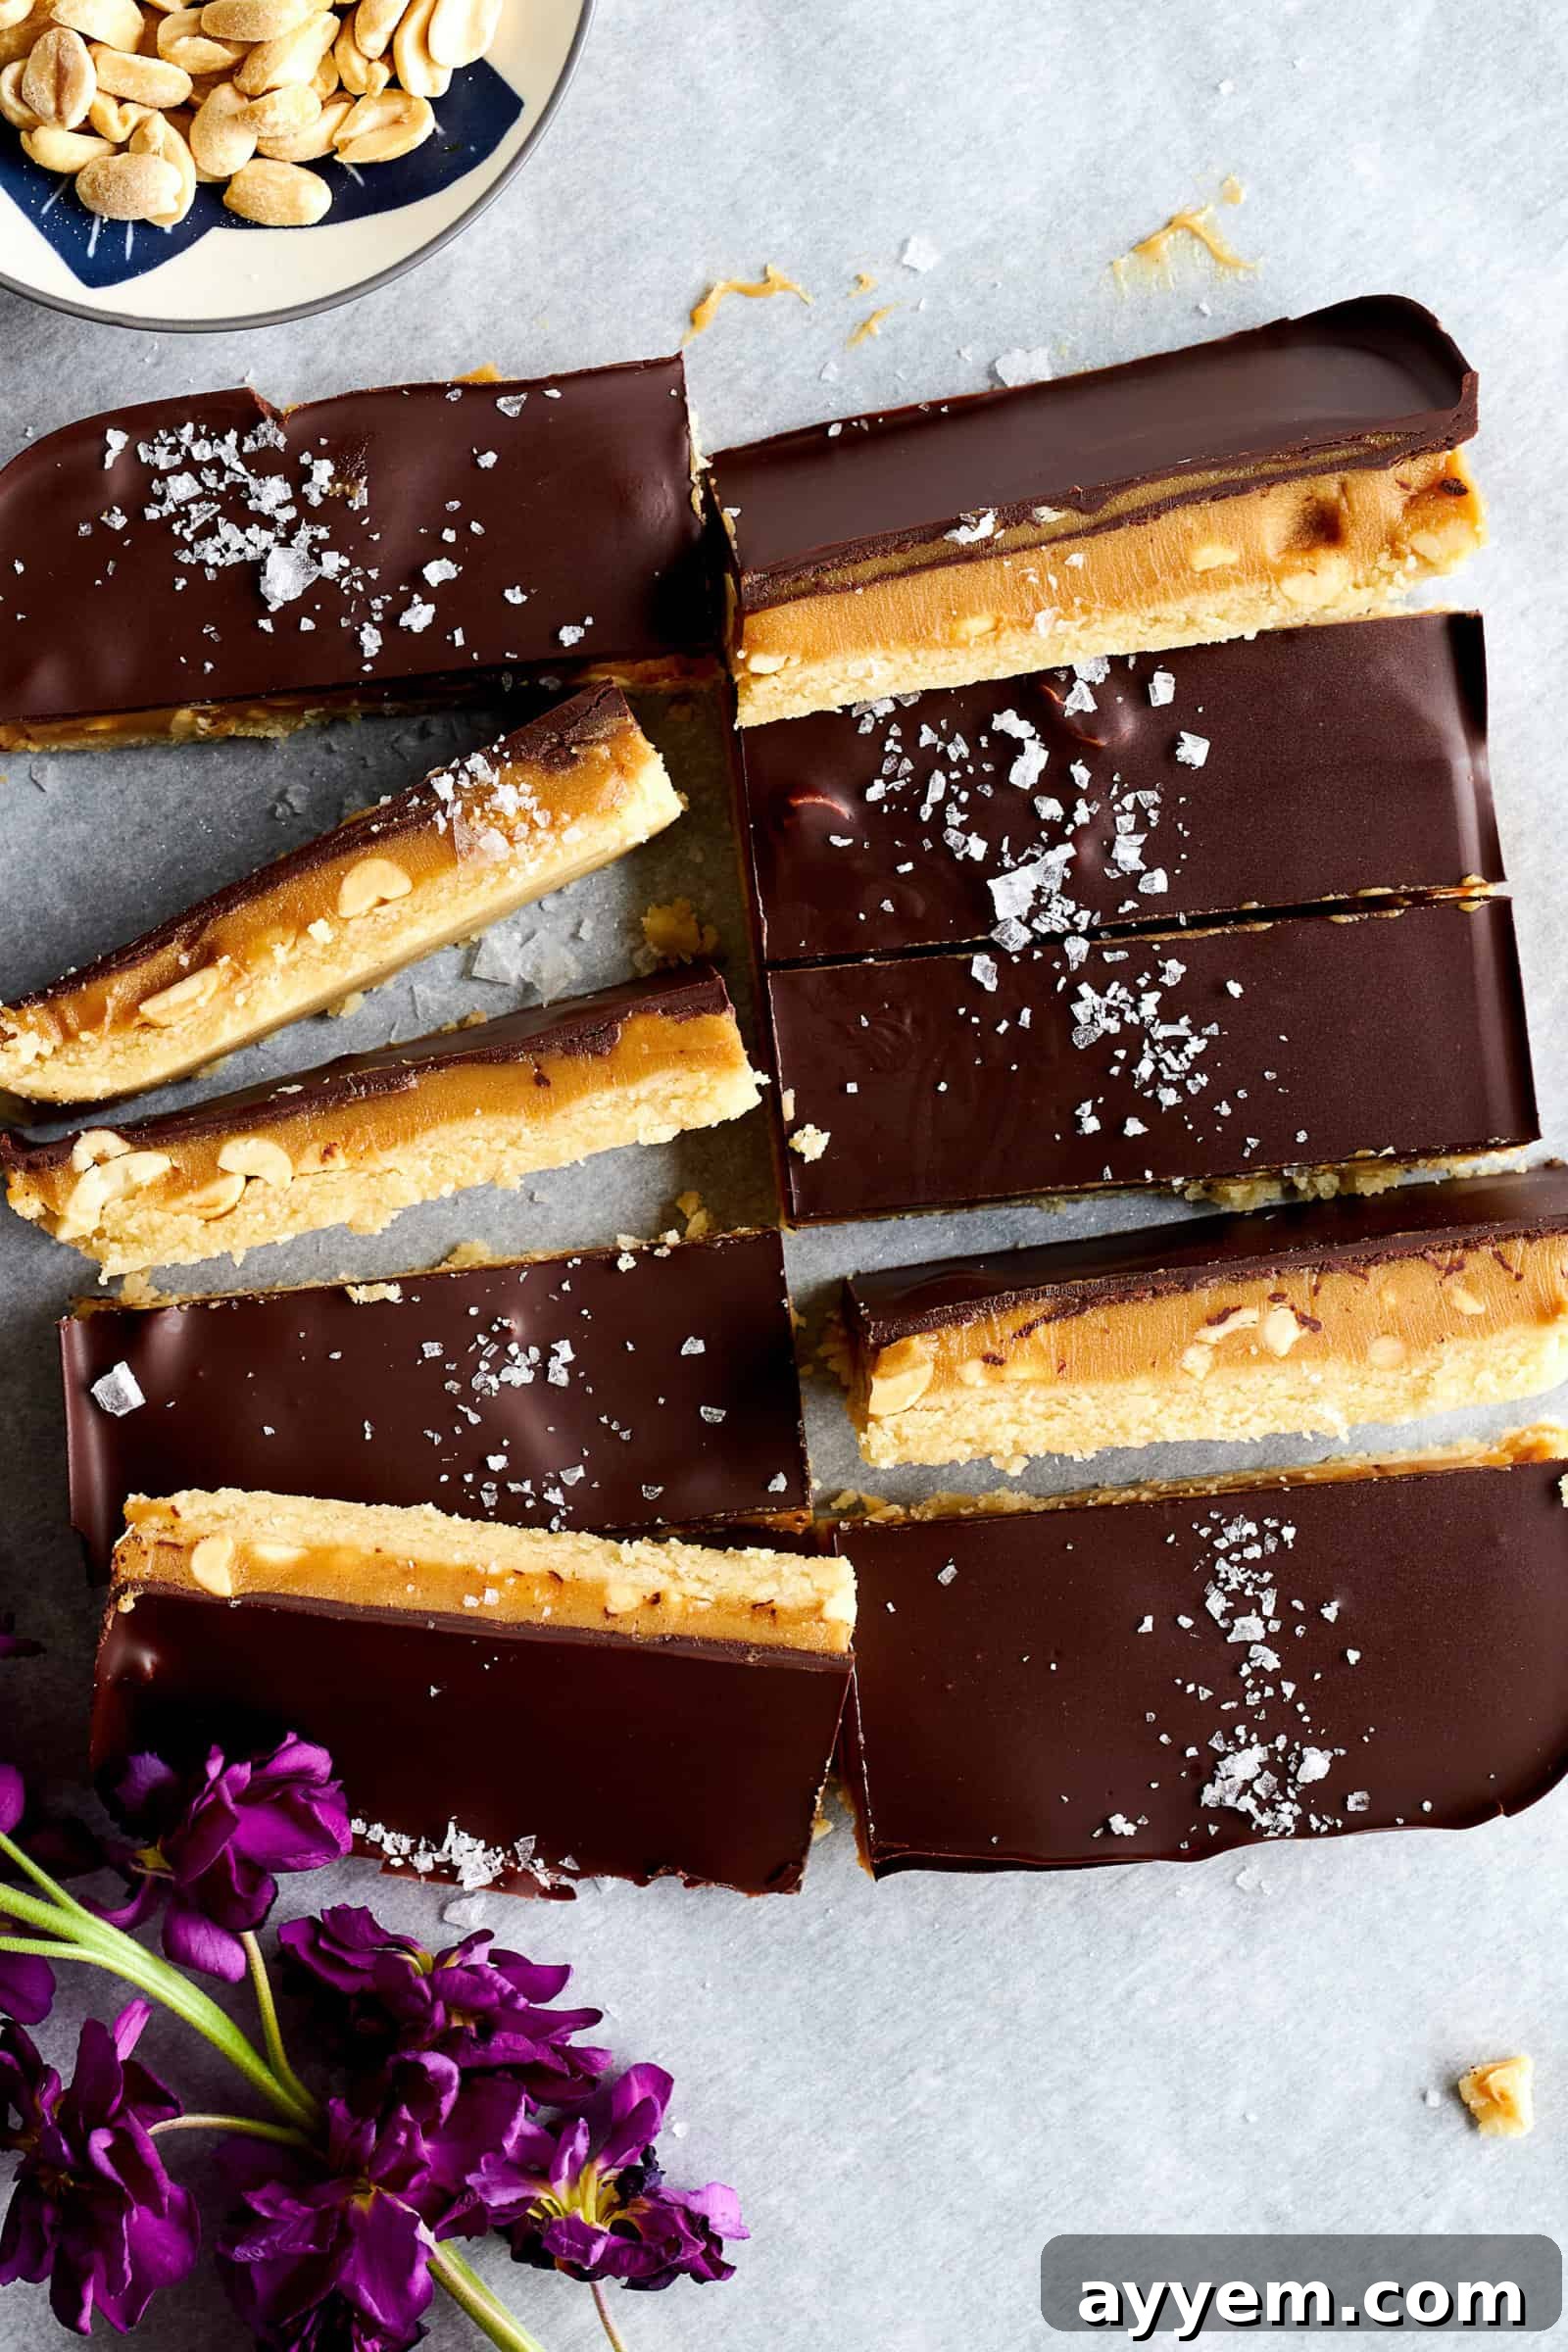
Indulge in the ultimate homemade treat that captures the essence of your favorite candy bar, but with a wholesome twist! These absolutely irresistible Chocolate Peanut Butter Bars begin with a delicate, subtly sweet shortbread layer, providing the perfect foundation. This is followed by a rich, creamy, and wonderfully nutty peanut butter filling, generously topped with crunchy chopped peanuts for added texture. Finally, each bar is crowned with a luscious, decadent chocolate topping that melts in your mouth. The harmonious blend of sweet, salty, and nutty flavors creates a truly unforgettable experience – a gourmet, healthier take on a classic Snickers bar that will have you saying goodbye to store-bought versions forever.
Beyond their incredible taste, these bars offer a significant advantage over their commercial counterparts: they’re crafted with simple, wholesome ingredients you can trust. This means less refined sugar, fewer artificial additives, and more natural goodness, making them a smarter choice for satisfying your sweet cravings. They are naturally gluten-free and can easily be made dairy-free or vegan, catering to various dietary needs without compromising on flavor. Prepare to make these delicious chocolate peanut butter bars a new, cherished favorite in your household – they’re perfect for everyday enjoyment, special occasions, or simply when you need a moment of pure bliss.
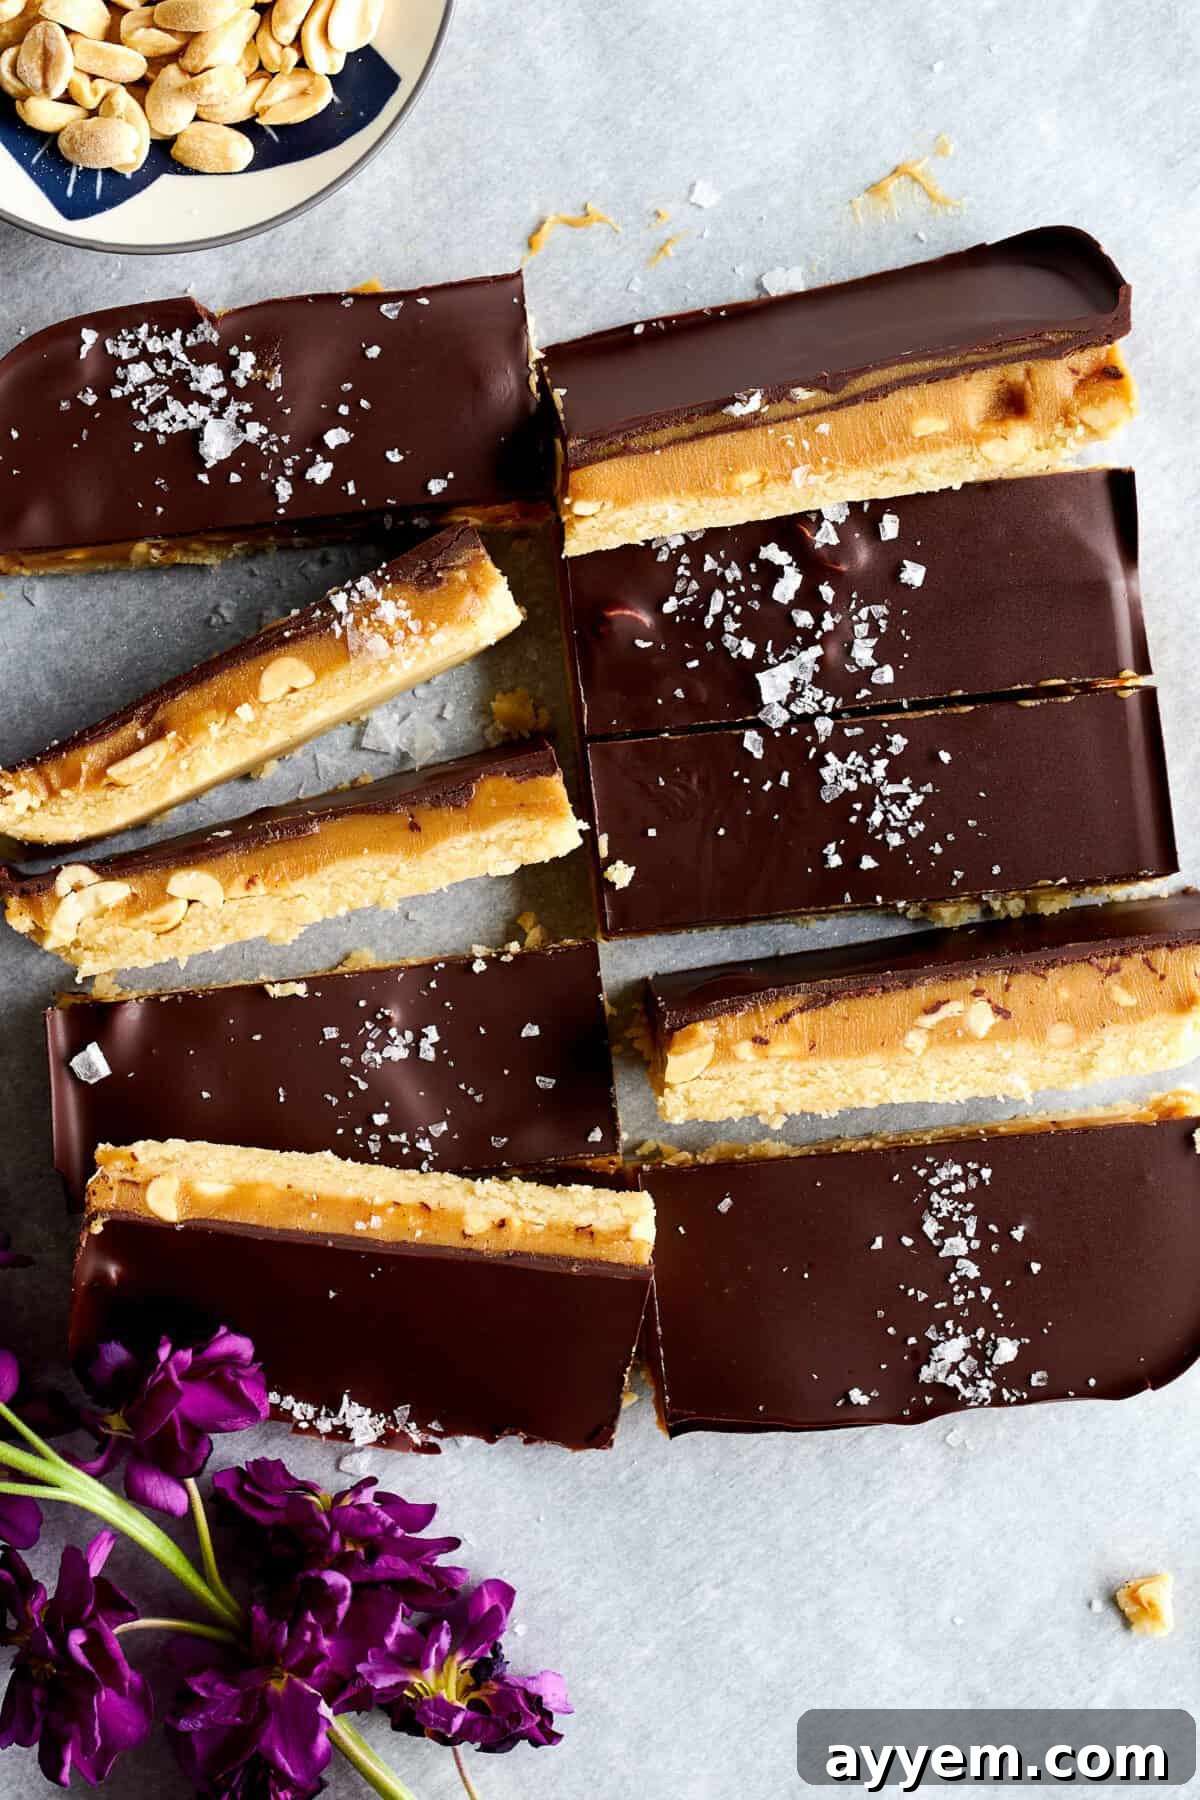
Elevate Your Favorite Candy Bar Experience with a Healthier Twist!
Who doesn’t adore a classic Snickers bar? That iconic combination of chocolate, peanuts, caramel, and nougat has captivated taste buds for generations, making it one of the most beloved candy bars of all time. We certainly understand the allure; it’s hard to resist! However, the truth is that indulging in store-bought candy bars too frequently isn’t ideal for our health goals or our waistline. Packed with artificial ingredients, high fructose corn syrup, and unhealthy fats, they often leave us feeling sluggish and craving more.
That’s precisely why we embarked on a mission to recreate this beloved treat at home, transforming it into something both incredibly delicious and genuinely good for you. Our homemade Chocolate Peanut Butter Bars are designed to taste remarkably similar to a Snickers, but with a significant health upgrade. We’ve made them naturally gluten-free by using almond flour, refined sugar-free through the power of maple syrup, and easily dairy-free, ensuring that almost everyone can enjoy these delightful confections. Now, you truly can have your dessert and eat it too, savoring every bite without guilt!
Crafting Your Homemade Snickers Bar: Key Ingredients Explained
The magic behind these amazing chocolate peanut butter bars lies in a carefully selected list of wholesome ingredients. Each component plays a crucial role in building the irresistible layers of flavor and texture, ensuring a truly authentic and satisfying “Snickers-like” experience. Here’s what you’ll need to create this culinary masterpiece:
- Almond Flour: This forms the delicious, subtly sweet shortbread base of our bars. Unlike traditional flour, almond flour is naturally gluten-free, low in carbohydrates, and rich in fiber and healthy fats, adding a nutritious boost. It creates a tender, cookie-like crust that holds up beautifully. While you can make your own almond flour by grinding blanched almonds, using a high-quality store-bought variety like Bob’s Red Mill saves time and ensures a consistent texture.
- Coconut Oil: A versatile and essential ingredient, coconut oil is used in every layer of these bars. It acts as a binder, helping to combine ingredients into smooth, cohesive layers. Its subtle tropical flavor complements the other ingredients without overpowering them, and it solidifies when chilled, contributing to the bars’ firm yet yielding texture. Make sure to melt and cool it as specified for the shortbread base.
- Maple Syrup: Our natural sweetener of choice, pure maple syrup eliminates the need for refined sugars. It imparts a rich, complex sweetness with hints of caramel, enhancing the overall flavor profile. Its liquid form also helps achieve the perfect consistency for both the shortbread and the peanut butter filling. If you don’t have maple syrup, honey can be used as a suitable alternative, though it will impart a slightly different flavor.
- Vanilla Extract: Never underestimate the power of high-quality pure vanilla extract! It’s not just a flavoring; it enhances and rounds out the sweet and nutty notes in every layer. A good vanilla extract truly makes a noticeable difference, elevating the bars from good to absolutely incredible.
- Salt: A tiny pinch of salt works wonders in balancing the sweetness and intensifying the other flavors. In the chocolate and peanut butter layers, it creates that classic sweet-and-salty dynamic that makes these bars so addictive, mimicking the experience of a real Snickers.
- Peanut Butter: The heart of the peanut butter layer! For the best results, use a creamy, well-stirred peanut butter. It’s crucial to avoid natural varieties that tend to separate and can make your filling oily or inconsistent. Brands like Jif or Skippy, which have a more stable emulsion, work perfectly to create that smooth, rich, and firm peanut butter caramel layer.
- Peanuts: You can’t have a homemade Snickers without the crunch of real peanuts! Roasted, salted varieties are highly recommended as they bring an extra layer of savory depth and texture that contrasts beautifully with the soft filling and crisp shortbread. Roughly chop them to ensure a good distribution throughout the bars.
- Chocolate Chips: The final, glorious topping! Semi-sweet chocolate chips are generally recommended for a classic Snickers flavor profile, offering a balance of sweetness and chocolate intensity. However, if you prefer a richer, less sweet bar, dark chocolate chips work wonderfully. For those needing a dairy-free or vegan option, ensure you select certified dairy-free or vegan chocolate chips.
Peanut-Free? No Problem! Delicious Substitutions for Your Bars
While the classic Snickers flavor is undeniably built around peanut butter, we understand that not everyone can or wants to enjoy peanuts. The good news is that you can absolutely adapt this recipe to be peanut-free! While the flavor and texture will naturally shift away from an “exact healthy Snickers bar dupe,” the resulting treat will still be incredibly delicious and satisfying.
Feel free to experiment and swap out the peanut butter with any other creamy nut or seed butter you prefer. Here are some fantastic alternatives that will work wonderfully:
- Almond Butter: This is a very popular choice and perhaps the closest in texture and richness to peanut butter. It will yield a slightly milder, more sophisticated nutty flavor that complements the chocolate beautifully.
- Cashew Butter: Known for its exceptionally creamy and buttery texture, cashew butter will create an even smoother, richer filling. It has a delicate, sweet flavor that pairs exquisitely with chocolate.
- Sunflower Seed Butter (SunButter): For those with nut allergies, sunflower seed butter is an excellent and safe alternative. It has a distinct, earthy, and slightly roasted flavor that can be surprisingly delightful in these bars. Be sure to use a creamy, unsweetened variety if possible, and adjust sweetness to your liking.
- Tahini: For a more adventurous and grown-up flavor profile, tahini (sesame paste) can be used. It will introduce a unique savory, slightly bitter note that pairs wonderfully with chocolate and salt, creating a more sophisticated dessert. Start with a smaller amount and taste as you go, as tahini’s flavor can be quite potent.
Regardless of your choice, ensure the alternative butter is creamy and well-stirred, avoiding overly oily or separated natural varieties, just as you would with peanut butter. The key is to maintain a consistent texture for the filling. Enjoy customizing your bars to your heart’s content!
Mastering Homemade Chocolate Peanut Butter Bars: A Step-by-Step Guide
Creating these sensational chocolate peanut butter bars is a straightforward and rewarding process. With just a few simple steps and a little patience for chilling, you’ll be enjoying a homemade treat that far surpasses anything from a package. Follow these instructions carefully to ensure perfect layers and an unforgettable flavor experience:
- Preparation is Key: Begin by preheating your oven to 350 degrees Fahrenheit (175°C). This ensures your shortbread base bakes evenly. Next, take an 8×8 inch square baking dish – this specific size is crucial for achieving the ideal thickness and layer proportions in your bars. Line the dish with parchment paper, leaving an overhang on the sides. This “sling” will make it incredibly easy to lift the entire slab of bars out of the pan once chilled, allowing for clean slicing.
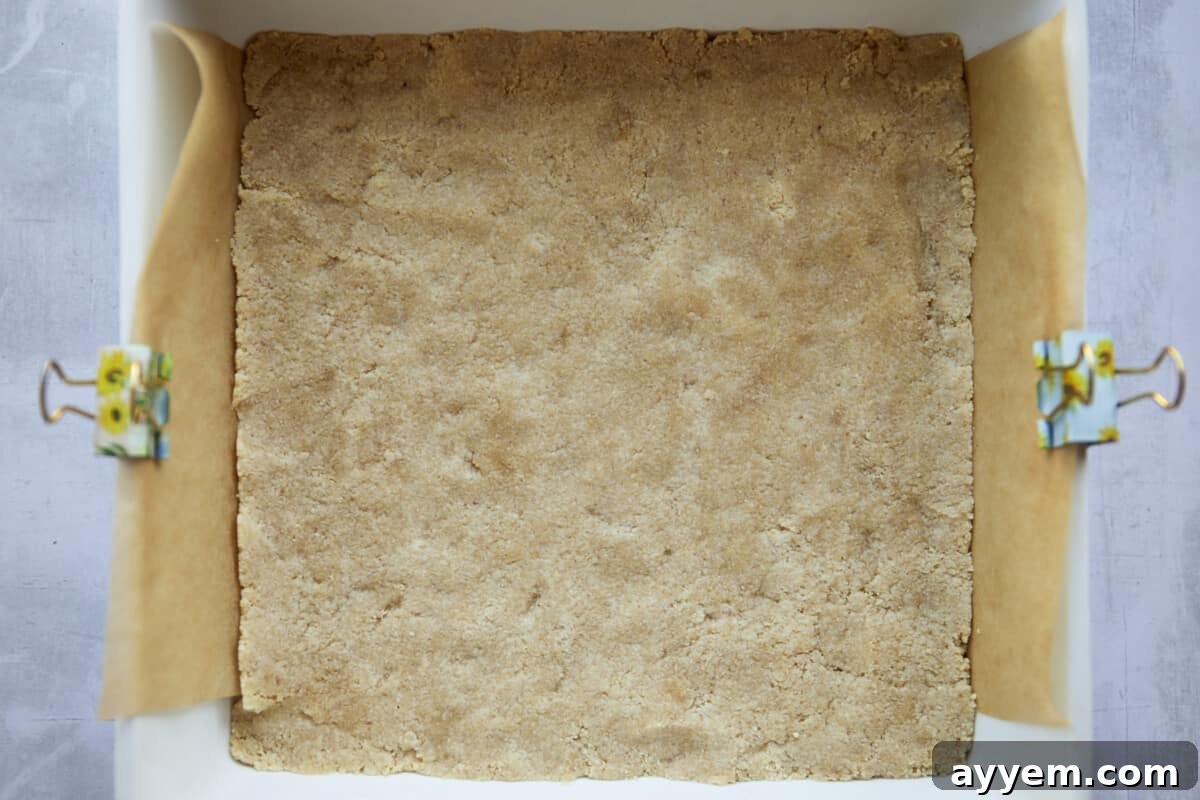
- Craft the Wholesome Shortbread Base: In a medium-sized mixing bowl, combine all the ingredients designated for the shortbread layer: the finely ground blanched almond flour, melted and cooled coconut oil, pure maple syrup, vanilla extract, and a pinch of salt. Mix these ingredients thoroughly using a spoon or your hands until a well-combined, thick, and crumbly mixture forms. It should stick together when pressed.
- Bake the Perfect Crust: Transfer the prepared shortbread mixture into your parchment-lined baking pan. Use your fingertips or the back of a spoon to press the mixture down very firmly and evenly across the bottom of the pan. This compaction is essential for a sturdy base that won’t crumble. Bake in the preheated oven for approximately 8-10 minutes, or just until the edges are lightly golden and the base is set. Once baked, remove the pan from the oven and set it aside to cool completely while you prepare the next layers.
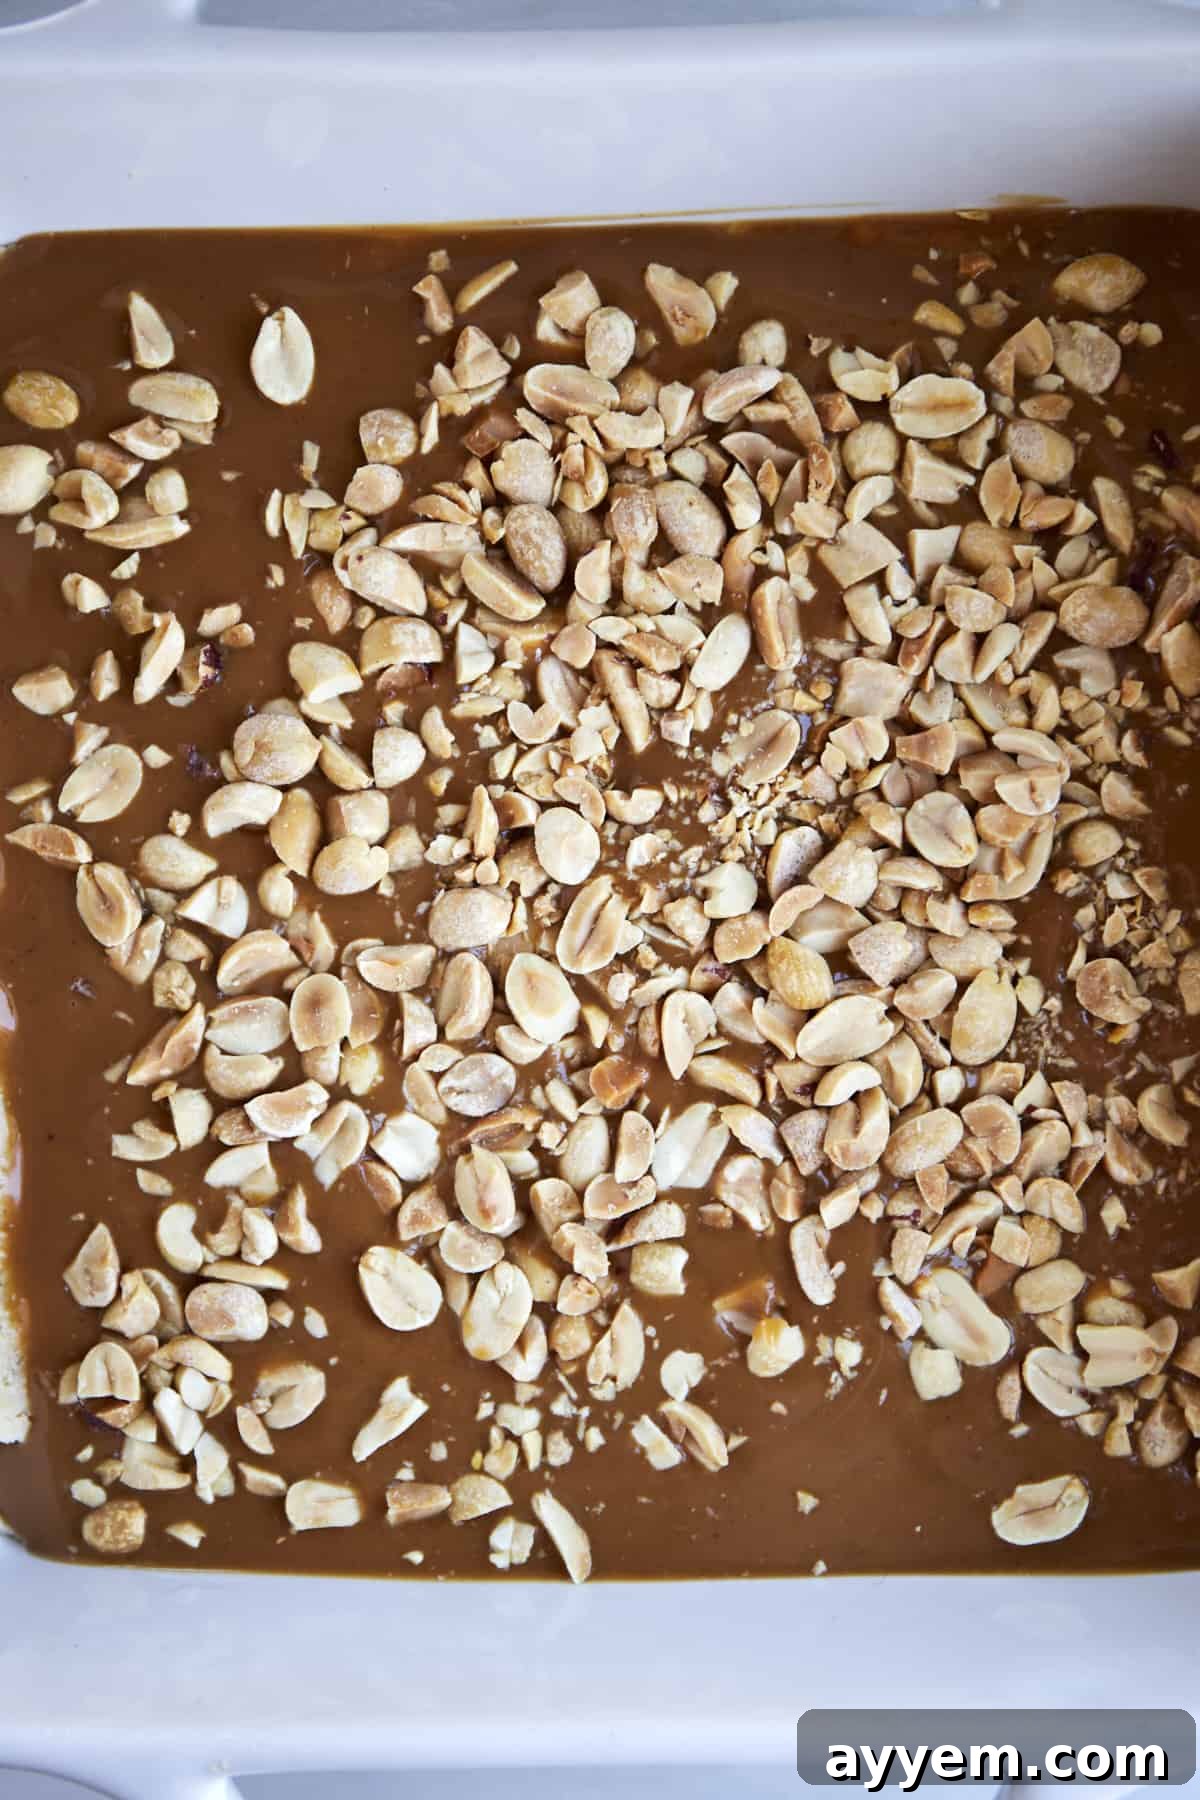
- Layer on the Crunchy Peanuts: Once the shortbread base has cooled to room temperature, evenly sprinkle the roughly chopped roasted salted peanuts over the crust. Distribute them generously to ensure every bite of your bar gets that satisfying crunch. This layer is crucial for the authentic “Snickers” texture.
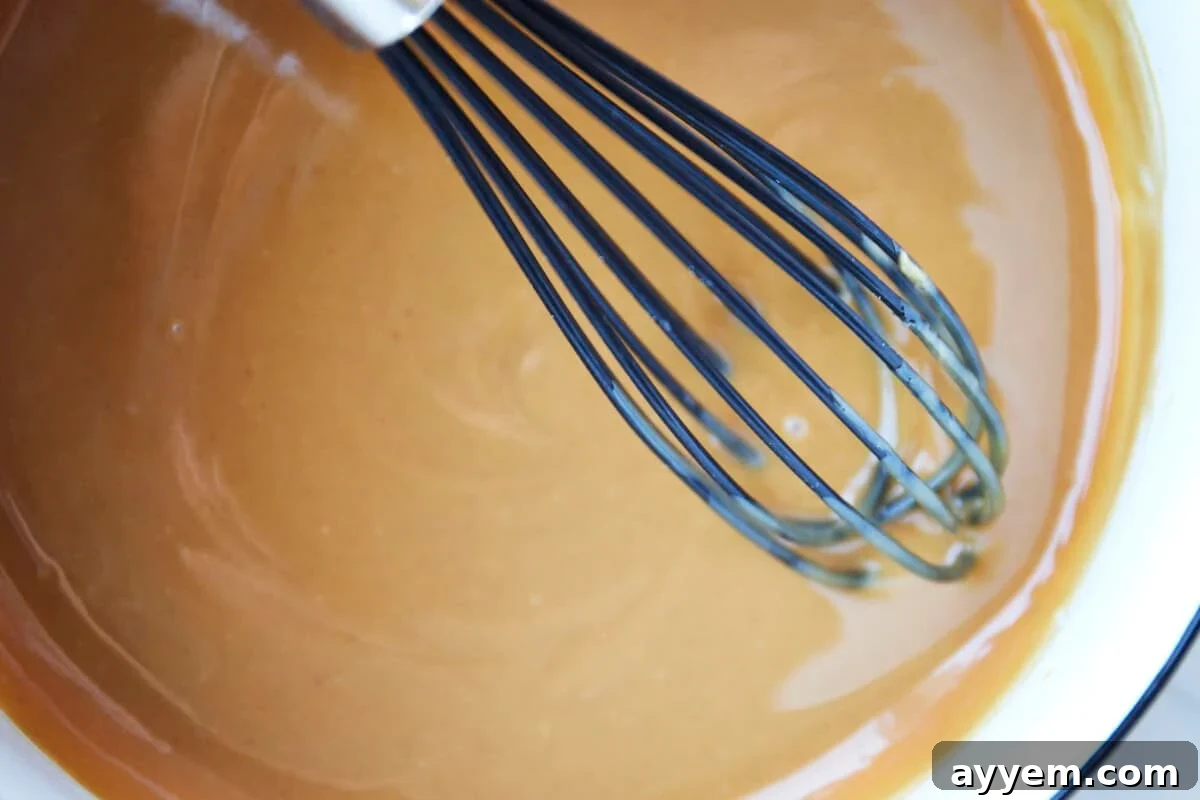
- Prepare the Irresistible Peanut Butter Filling: Now for the star layer! In a medium saucepan, combine the creamy peanut butter, pure maple syrup, coconut oil, vanilla extract, and a dash of sea salt. Place the saucepan over medium-low heat. Warm the mixture gently for about 2 minutes, stirring frequently with a whisk or spatula. You’ll know it’s ready when it just begins to bubble gently around the edges and is perfectly smooth and combined. Immediately remove it from the heat and pour this luscious peanut butter caramel evenly over the layer of chopped peanuts and the cooled shortbread base.
- Chill to Perfection: To allow the peanut butter layer to set and firm up properly, place the entire pan in the refrigerator for at least 30-60 minutes. If you’re eager to speed up the process, you can transfer it to the freezer for 15-20 minutes instead. Ensure the peanut butter layer is firm to the touch before moving to the next step.
- Melt the Decadent Chocolate Topping: While the bars are chilling, prepare your final layer. In a microwave-safe bowl, combine the chocolate chips and the remaining coconut oil. Microwave in 30-second intervals, stirring thoroughly after each interval, until the chocolate is completely melted and smooth. Alternatively, you can melt the chocolate and coconut oil in a small saucepan over very low heat, stirring constantly to prevent burning.
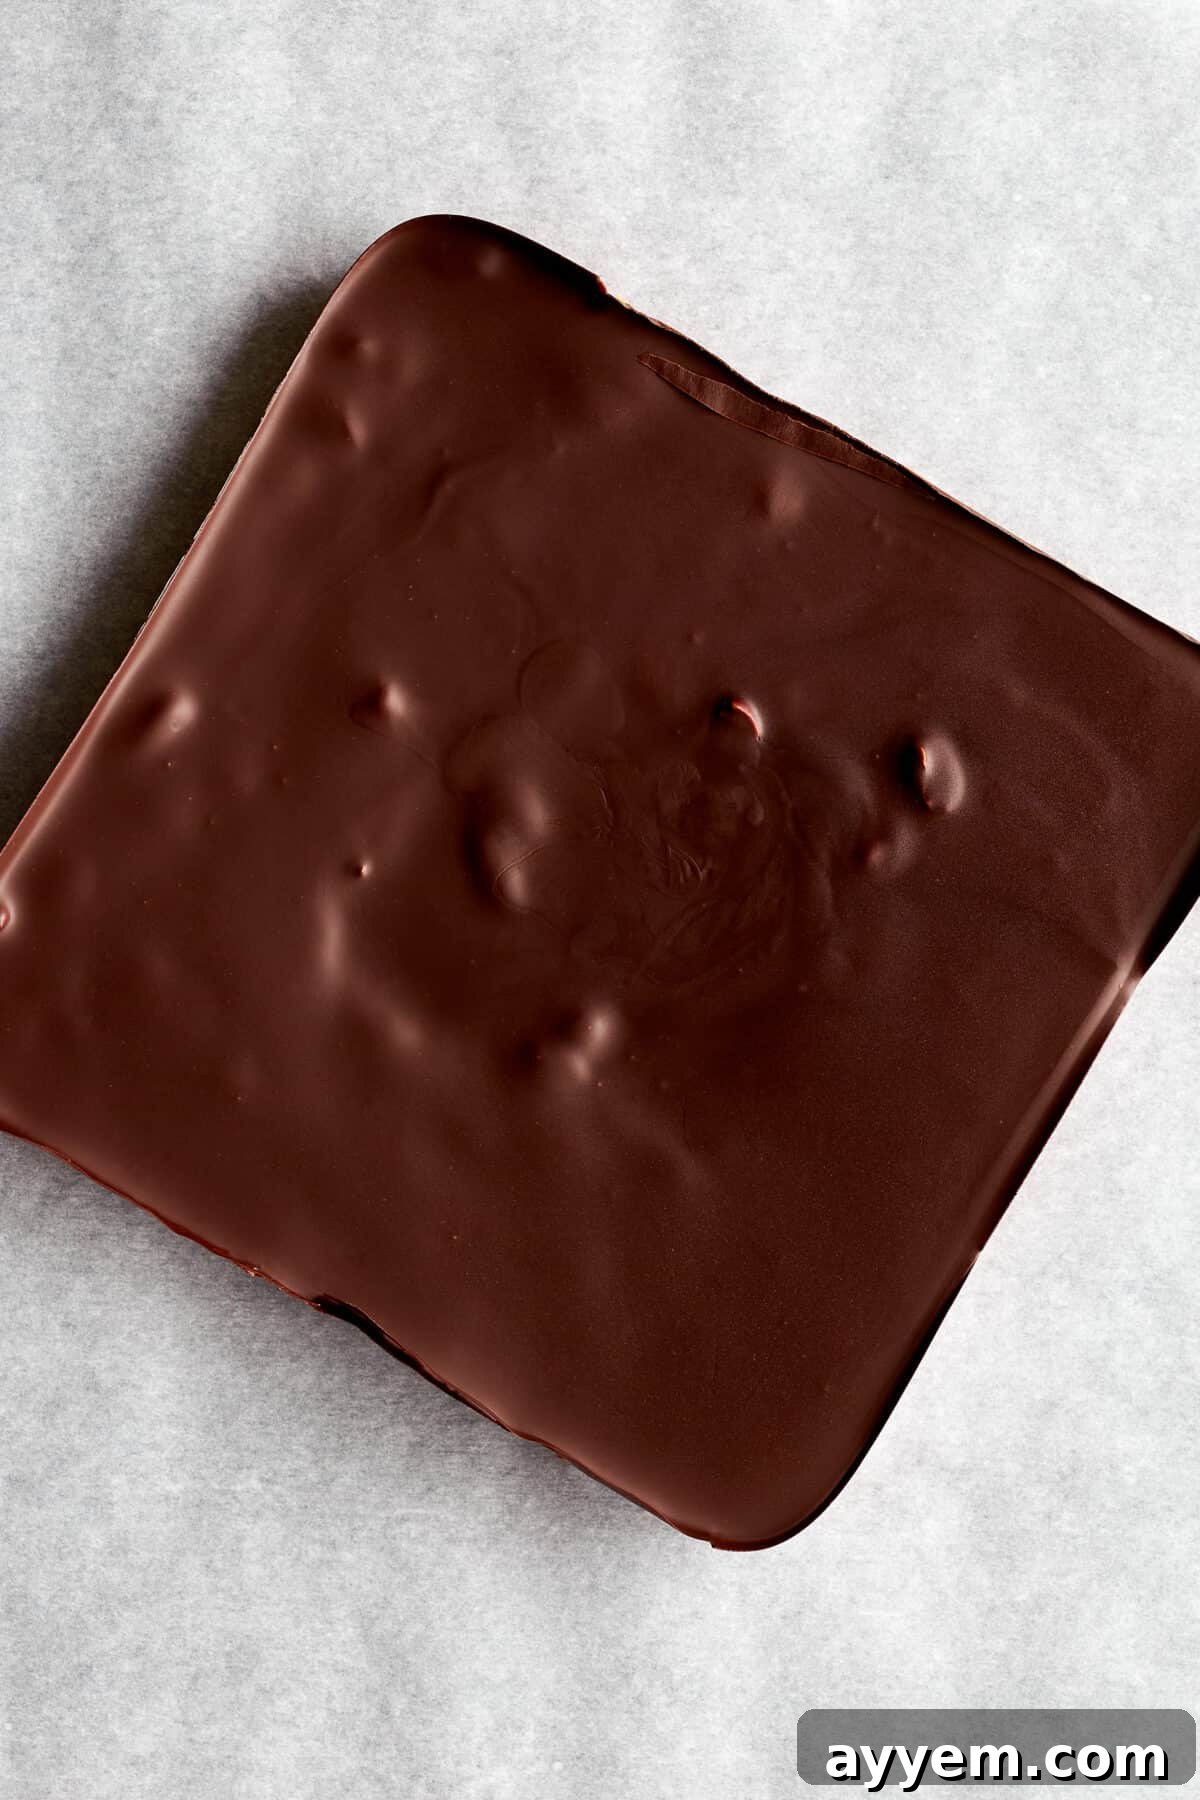
- Top with Chocolatey Goodness: Once the chocolate is perfectly melted and smooth, pour it evenly over the chilled peanut butter layer. Gently tilt the pan from side to side to ensure the chocolate spreads out and coats the bars uniformly, creating a beautiful, glossy finish. For an extra touch, you can sprinkle a little flaky sea salt on top at this stage if desired.
- Final Set for Structure: Return the pan to the refrigerator for at least 1 hour, or until the chocolate topping is completely solidified and the bars are fully set. This final chilling period is crucial for firm bars that slice cleanly and hold their shape. Patience here will be rewarded!
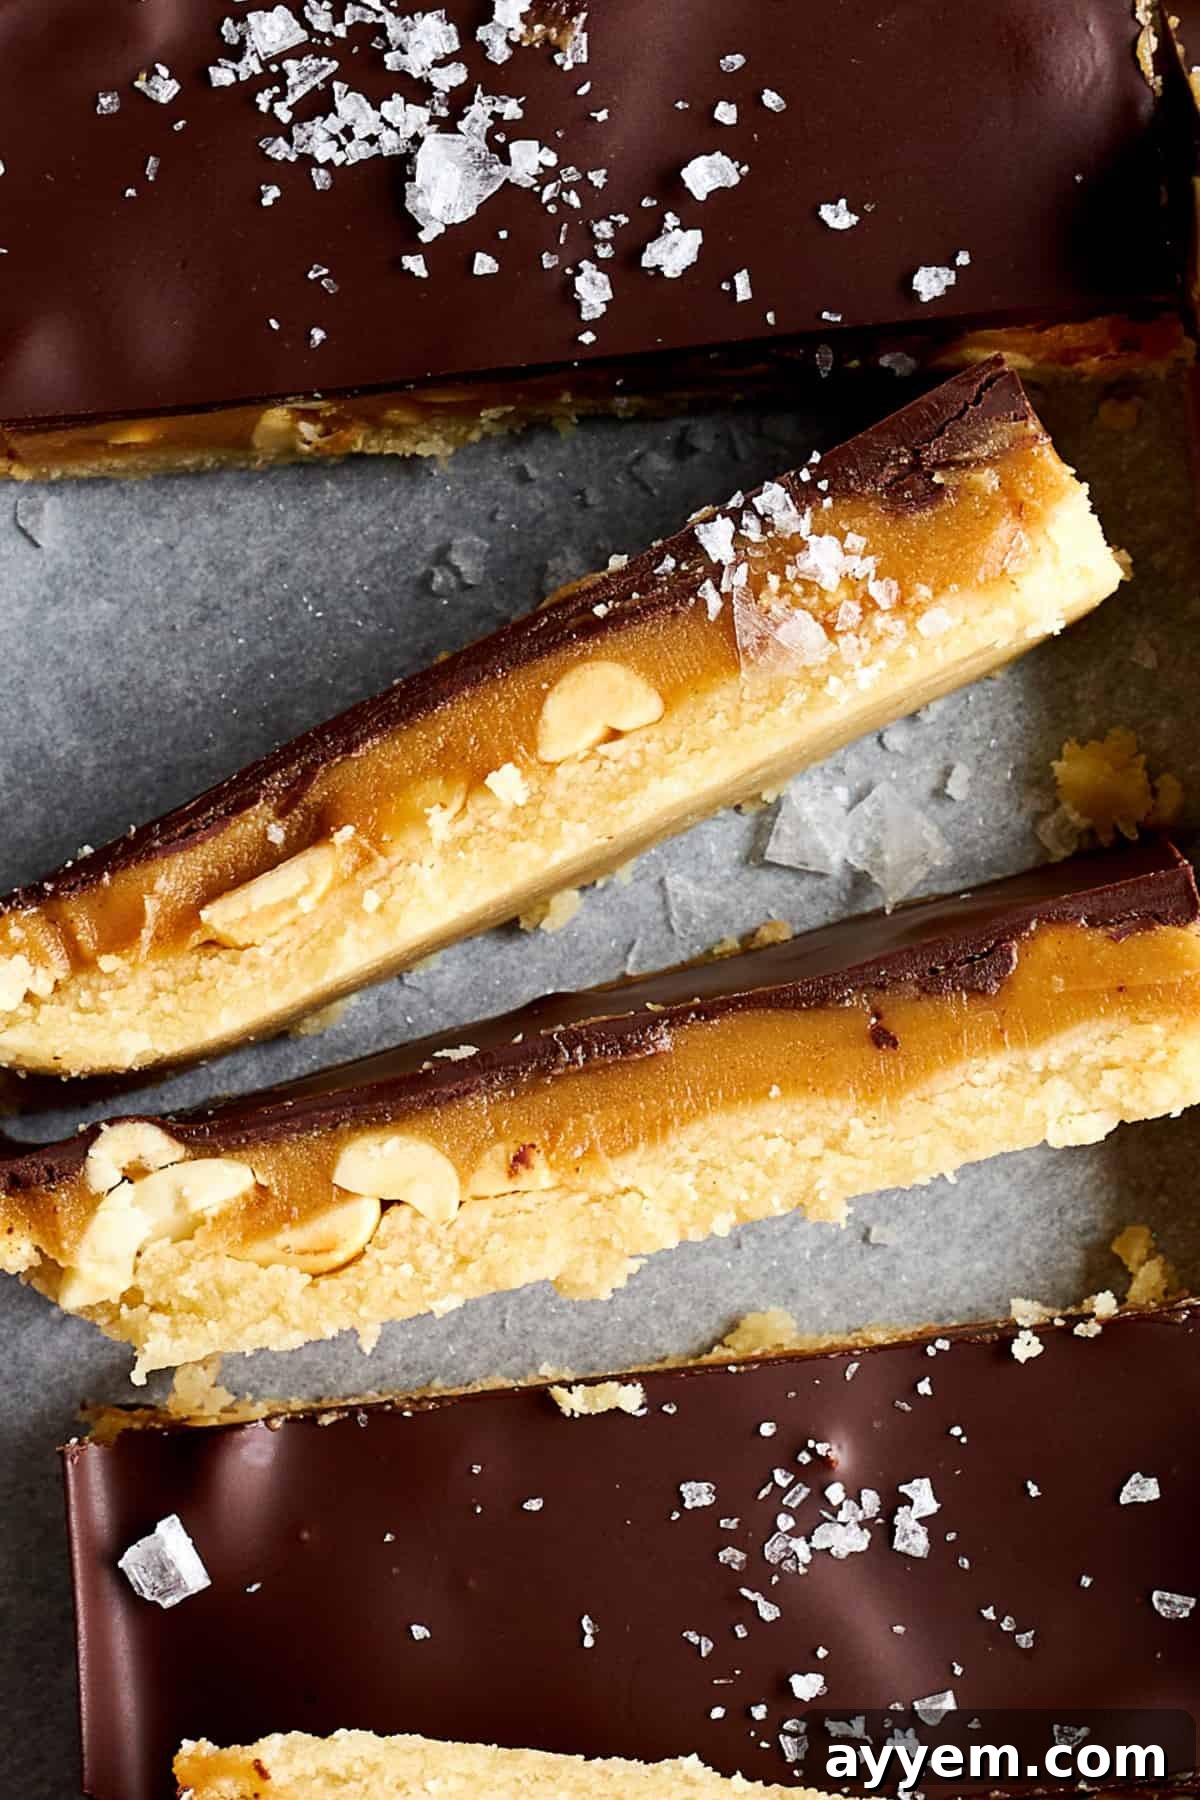
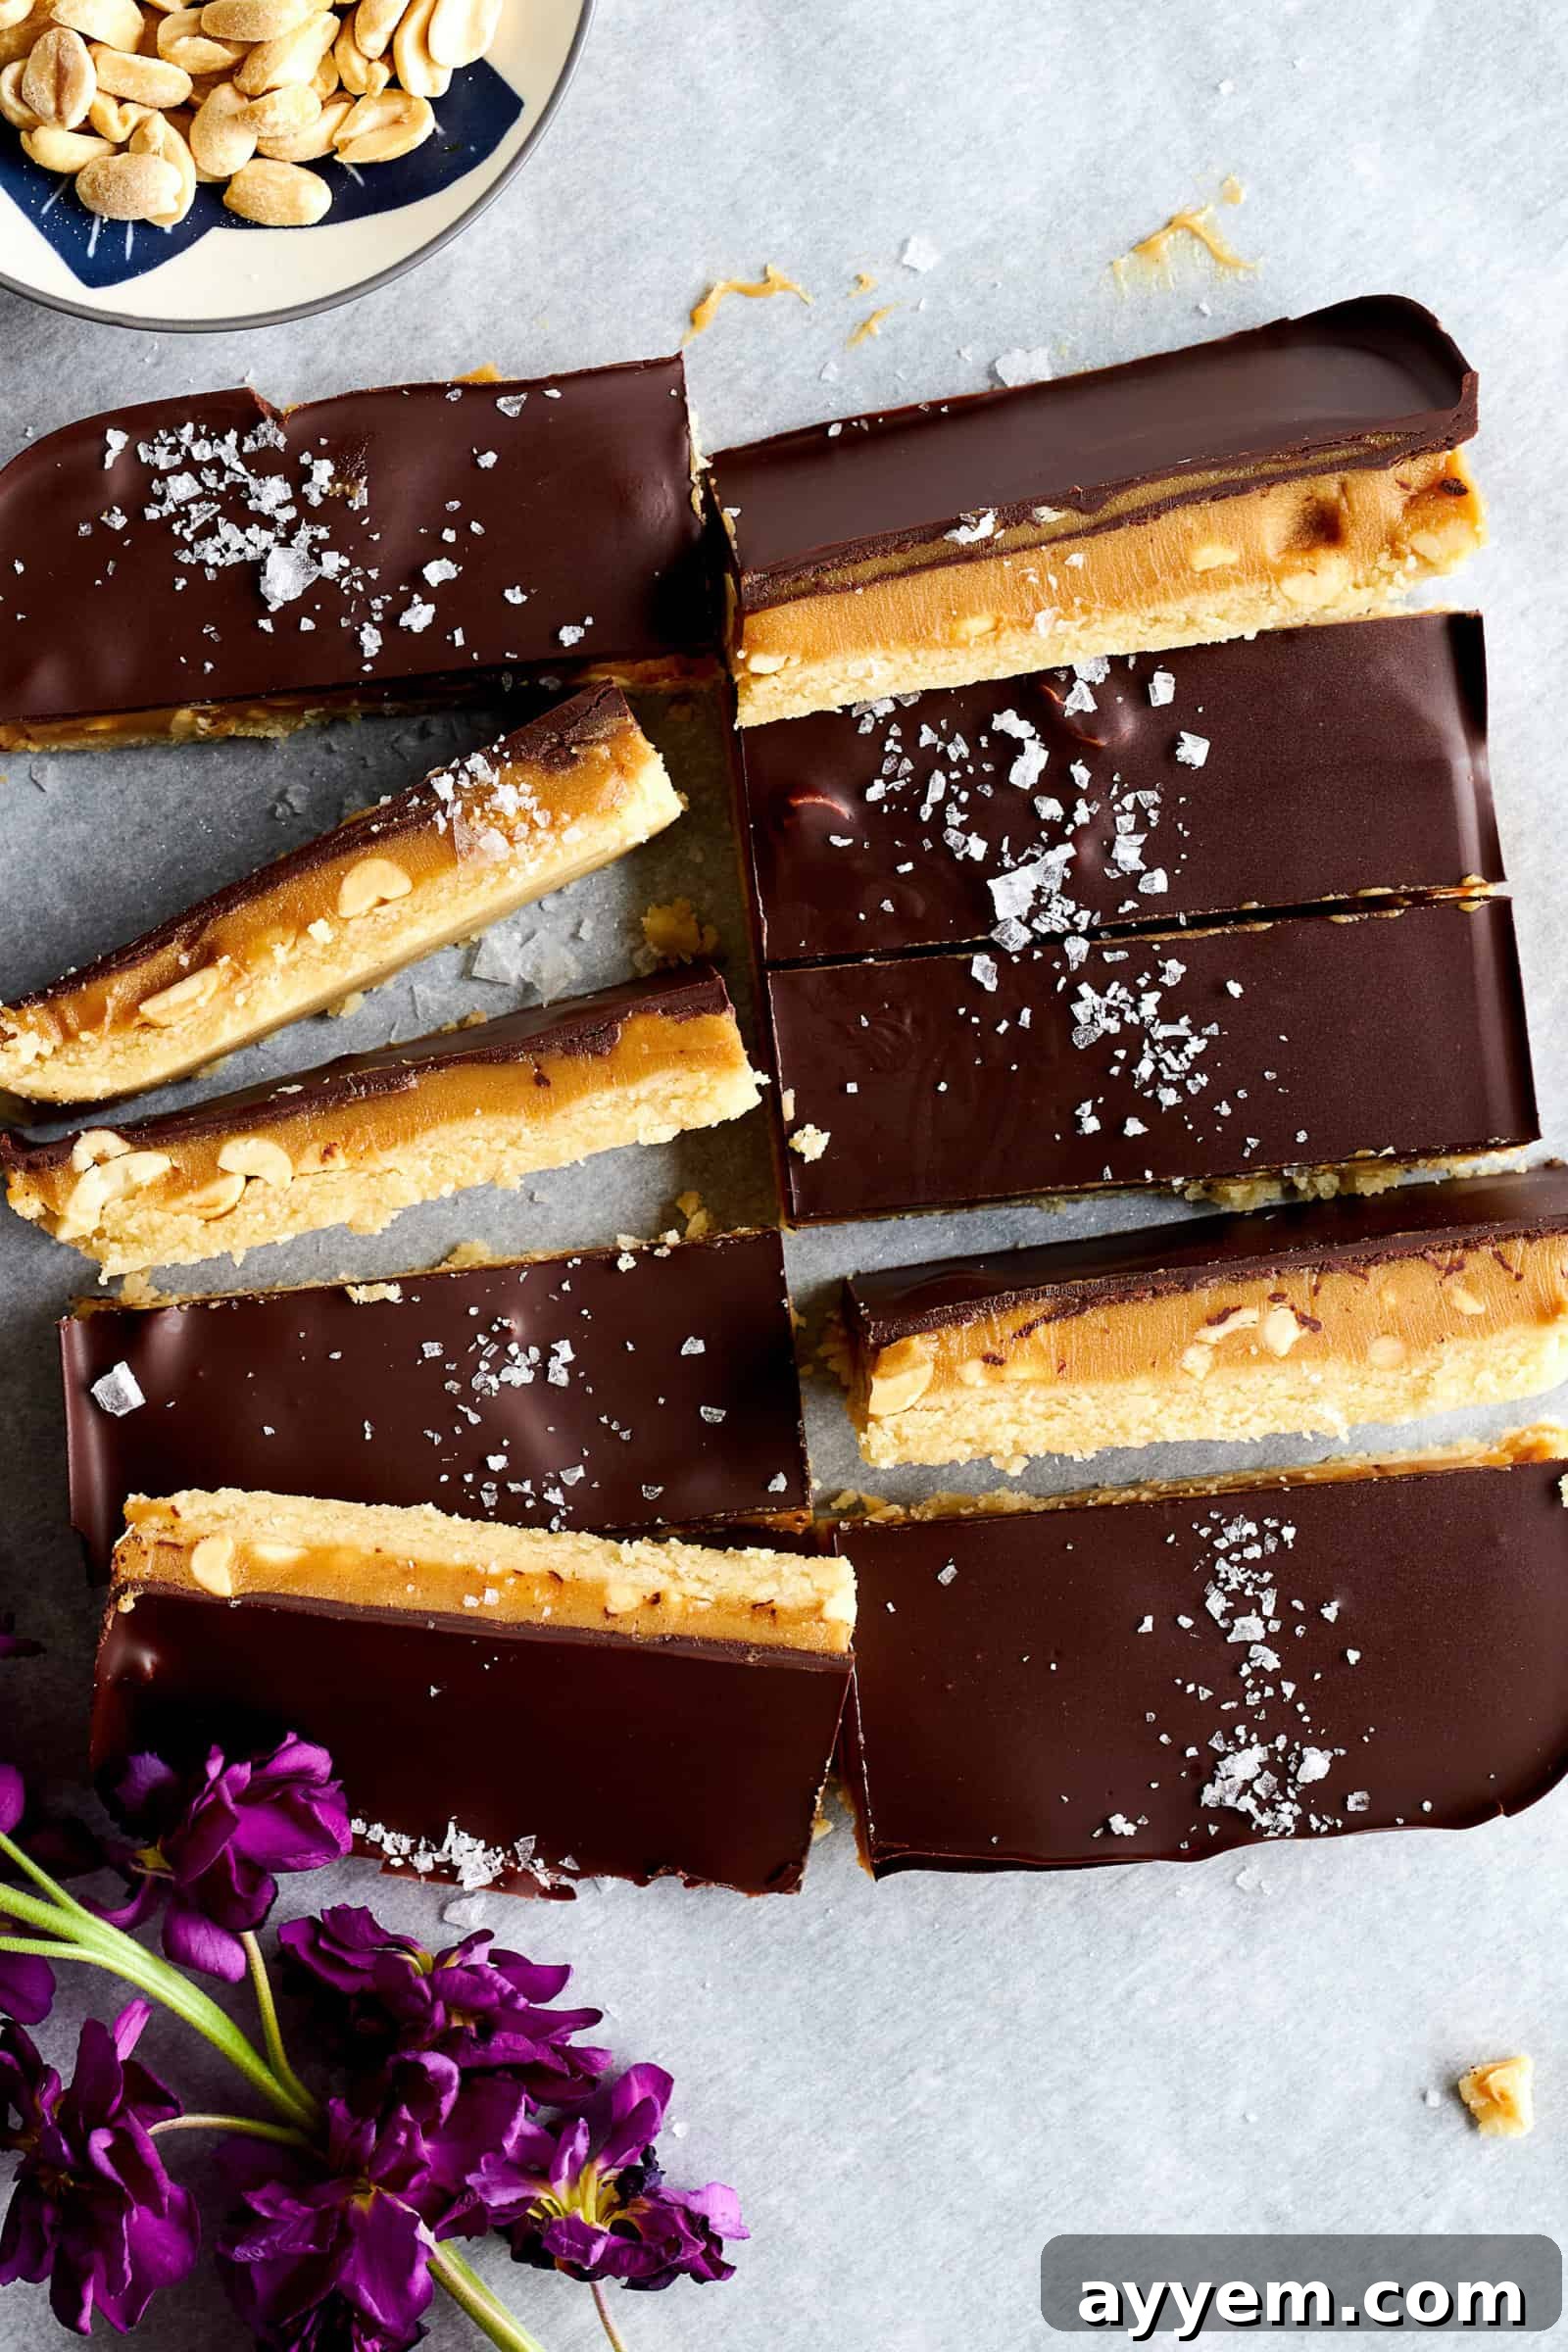
- Slice and Savor: Once the bars are completely chilled and firm, use the parchment paper overhang to carefully lift the entire slab out of the baking pan and place it on a cutting board. Using a sharp knife, slice the large slab into sixteen individual bars. For neat and clean cuts, wipe the knife blade clean with a warm, damp cloth between each slice. Start by cutting the slab in half, then cut each half into 8 bars, aiming for approximately 1-inch width to yield 16 perfectly portioned, delicious homemade Snickers bars.
Pro Tips for Perfect Chocolate Peanut Butter Bars Every Time
Achieving bakery-quality chocolate peanut butter bars at home is easier than you think, especially with these expert tips and tricks. Following these guidelines will ensure your bars are not only delicious but also beautifully structured and a joy to eat:
- Select the Right Pan Size: An 8×8 inch square baking pan is absolutely critical for this recipe. Using a pan that is too large will result in thin, crumbly layers that don’t hold together well, while a pan that is too small might make the layers overly thick and difficult to cut. The 8×8 size provides the perfect depth for distinct, flavorful layers that maintain their integrity.
- Build a Strong Foundation (The Base is Key!): The shortbread base is the bedrock of your bars. Ensure you blend the almond flour, coconut oil, maple syrup, vanilla, and salt thoroughly until there are no dry lumps and the mixture is consistently crumbly yet cohesive. Then, press it down *very* firmly into the prepared pan. Use the back of a flat glass or a spatula if your fingers aren’t quite getting it flat enough. A weak or loosely packed base is prone to crumbling, and your entire bar structure might fall apart when you try to slice it.
- Strategic Planning for Chilling Times: While this recipe is incredibly easy to make, it does require a bit of foresight due to the necessary chilling periods between layers. Do not rush these steps! Allowing each layer ample time to chill and set completely is paramount. It ensures that the flavors meld beautifully, the textures become firm, and the layers remain distinct when cut. If you’re short on time, the freezer can significantly expedite the setting process, cutting down fridge time by more than half for each layer.
- Master the Art of Clean Slicing: When it’s time to cut your finished slab into individual bars, a sharp, clean knife is your best friend. For the cleanest cuts, especially through the chocolate topping, run your knife under hot water, wipe it dry, and then make a single, decisive slice. Repeat this process – heat, wipe, slice – between each cut. This technique prevents the chocolate from cracking or dragging, ensuring beautifully neat and professional-looking bars.
- Ingredient Temperature Matters: Pay attention to the temperature of your coconut oil. For the shortbread base, it should be melted but cooled so it doesn’t cook the almond flour. For the peanut butter filling, warming it gently helps create a smooth, pourable consistency. For the chocolate topping, ensure the melted chocolate is not too hot, as excessive heat can cause it to separate or create a greasy appearance.
- Storage for Longevity: These bars are best stored in an airtight container in the refrigerator. This keeps the layers firm and the chocolate from melting, maintaining their ideal texture and freshness for up to a week. They also freeze exceptionally well for longer storage – simply thaw slightly before serving.
Common Questions About This Homemade Chocolate Peanut Butter Bars Recipe
For that quintessential Snickers flavor, semi-sweet or dark chocolate chips are ideal as they offer a balanced sweetness. However, if you have a sweeter tooth and prefer a more classic candy bar profile, milk chocolate chips are definitely a delicious option!
Absolutely! The base ingredients are already naturally dairy-free. To make the entire recipe dairy-free and vegan, simply ensure you use dairy-free or vegan chocolate chips for the topping. Always double-check ingredient labels for any hidden animal products if you’re adhering to a strict vegan diet.
Each layer requires adequate chilling time to set properly. The shortbread crust needs to cool completely after baking (about 10 minutes). The peanut butter layer needs at least 30-60 minutes in the fridge, or 15-20 minutes in the freezer. The final chocolate-topped bars should chill for a minimum of 1 hour in the refrigerator to become firm enough for clean slicing. Patience is key for perfectly structured bars!
Without a doubt! These homemade chocolate peanut butter bars are fantastic for gifting and entertaining. They hold their shape beautifully, travel well, and are always a crowd-pleaser, disappearing quickly from any platter. For gifting, cut them into elegant bite-sized squares and arrange them in a decorative box, or wrap them individually for charming homemade presents.
To maintain their best texture and freshness, store any leftover bars in an airtight container in the refrigerator. They will keep well for up to one week. If you want to store them longer, they can also be frozen for up to a month. Just allow them to thaw slightly at room temperature before enjoying.
Certainly! Feel free to get creative with your mix-ins. You could add shredded coconut to the shortbread base, a sprinkle of pretzels for extra saltiness and crunch, or even mini marshmallows to the peanut butter layer for a gooey twist. Just be mindful of how additional ingredients might affect the setting time and overall texture.
Discover More Irresistible Homemade Treat Recipes
If you, like us, possess an undeniable sweet tooth but prefer the wholesome goodness and satisfaction of homemade treats over store-bought options, then you’re in the right place! We believe that indulging should be a delightful experience without compromise. These easy and delicious recipes are exactly what you need to expand your repertoire of delightful desserts:
- Hazelnut Chocolate Crock Pot Candy: An incredibly simple yet rich candy that melts in your mouth, perfect for holidays or a quick sweet fix.
- Slow Cooker Candy: Effortless and customizable, this recipe allows you to create large batches of delicious candy with minimal hands-on time.
- Chocolate Peanut Butter Rice Krispie Treats: A classic childhood favorite elevated with the unbeatable combination of chocolate and peanut butter, offering a delightful chewy crunch.
- Slow Cooker Chocolate Covered Pretzels: The perfect balance of salty and sweet, these pretzels are surprisingly easy to make in a slow cooker and are highly addictive.
- Chocolate Chip Caramel Bars (Carmelitas): A gooey, chewy, and utterly satisfying bar dessert featuring rich caramel and chocolate chips.
Chocolate Peanut Butter Bars (Homemade Snickers) – Recipe Card
Author: Food Dolls
Servings: 16 servings
Prep Time: 10 mins
Chill Time: 1 hr 40 mins
Total Time: 2 hrs
Skip store-bought options, make chocolate peanut butter bars instead for healthy homemade Snickers bars that taste like the real deal!
Ingredients
For the Shortbread Base:
- 1 1/2 cups of finely ground blanched almond flour (We prefer Bob’s Red Mill)
- 3 Tablespoons melted and cooled coconut oil
- 3 Tablespoons pure maple syrup
- 1 teaspoon vanilla extract
- A pinch of salt
For the Peanut Butter Layer:
- 3/4 cup roasted salted peanuts, roughly chopped
- 3/4 cup creamy peanut butter
- 1/3 cup pure maple syrup
- 1/4 cup coconut oil
- 1 teaspoon vanilla extract
- A dash of sea salt
For the Chocolate Layer:
- 3/4 cup dairy-free/vegan chocolate chips
- 1 Tablespoon coconut oil
Instructions
- Begin by preheating the oven to 350 degrees Fahrenheit. Line an 8×8 inch square baking pan with parchment paper, leaving an overhang on the sides for easy removal. Make sure to use this specific pan size for best results.
- In a medium-sized bowl, combine the almond flour, cooled coconut oil, maple syrup, vanilla extract, and a touch of salt. Stir the ingredients together until they form a satisfyingly thick, crumbly texture that holds together when pressed.
- Transfer this mixture into the prepared pan, then use your fingertips or the back of a spoon to evenly press it down firmly, forming a solid base. Place it in the oven, and bake for 8-10 minutes, just until the base is lightly golden. Allow the crust to cool completely for about 10 minutes before moving on to the next step.
- As the crust is cooling, evenly sprinkle the chopped roasted salted peanuts over it, distributing them well across the surface.
- While the crust is cooling, let’s create the delectable peanut butter caramel layer. In a medium saucepan over medium-low heat, combine the peanut butter, maple syrup, coconut oil, vanilla extract, and a touch of sea salt. Heat the mixture for approximately 2 minutes, just until it begins to gently bubble and is smooth, stirring frequently. Remove it from the heat, and pour it evenly over the layer of peanuts and the slightly cooled crust.
- Place the pan in the refrigerator for 30-60 minutes to allow the peanut butter layer to firm up. Or, expedite the process by popping it into the freezer for 15-20 minutes. Ensure it is firm before proceeding.
- After the chilling period, it’s time to craft the luxurious chocolate layer. In a microwave-safe bowl, combine the chocolate chips and coconut oil. Microwave in 30-second increments, stirring well in between each heating interval until the chocolate is completely melted and smooth. Alternatively, use a small saucepan over low heat to melt the chocolate and coconut oil, stirring constantly.
- Pour the luscious melted chocolate evenly over the chilled peanut butter caramel layer. Gently tilt the pan from side to side to ensure the chocolate spreads out evenly and coats the bars.
- Return the pan to the refrigerator for at least 1 hour to allow the chocolate to solidify and the bars to cool completely and set.
- Once everything is set, use the parchment paper overhang to remove the bars from the pan, and place them on a cutting board. Use a sharp knife, wiping it clean between each cut, to slice the slab into 16 bars. To do this, slice the entire bar slab in half, then cut each half into 8 bars measuring about 1 inch in width (aiming for bars, not squares!). This will yield a total of 16 perfectly portioned bars.
- Enjoy these delightful homemade bars! Keep them covered in an airtight container in the refrigerator until ready to savor them.
Equipment
- 1 8×8 Square Baking Dish
- 1 Medium Bowl
- 1 Saucepan
- 1 Microwave-Safe Bowl
Notes
*This recipe was inspired by and adapted from Ambitious Kitchen’s Vegan Chocolate Peanut Butter Caramel Bars.
Nutrition
Serving: 1 serving | Calories: 301 kcal | Carbohydrates: 18g | Protein: 7g | Fat: 24g | Saturated Fat: 10g | Polyunsaturated Fat: 3g | Monounsaturated Fat: 5g | Sodium: 83mg | Potassium: 146mg | Fiber: 3g | Sugar: 12g | Calcium: 57mg | Iron: 1mg
Nutrition information is automatically calculated, so should only be used as an approximation.
Liked this recipe? Please leave a comment!
We hope you love these homemade Chocolate Peanut Butter Bars as much as we do. They truly represent the best of both worlds: a delightful indulgence that’s kinder to your body, made with love right in your own kitchen. Whether you’re making them for a quick snack, a special dessert, or to share with friends and family, their incredible flavor and wholesome ingredients are sure to impress. Enjoy the process of creating these irresistible treats, and get ready for a healthier, happier way to satisfy your sweet cravings!