
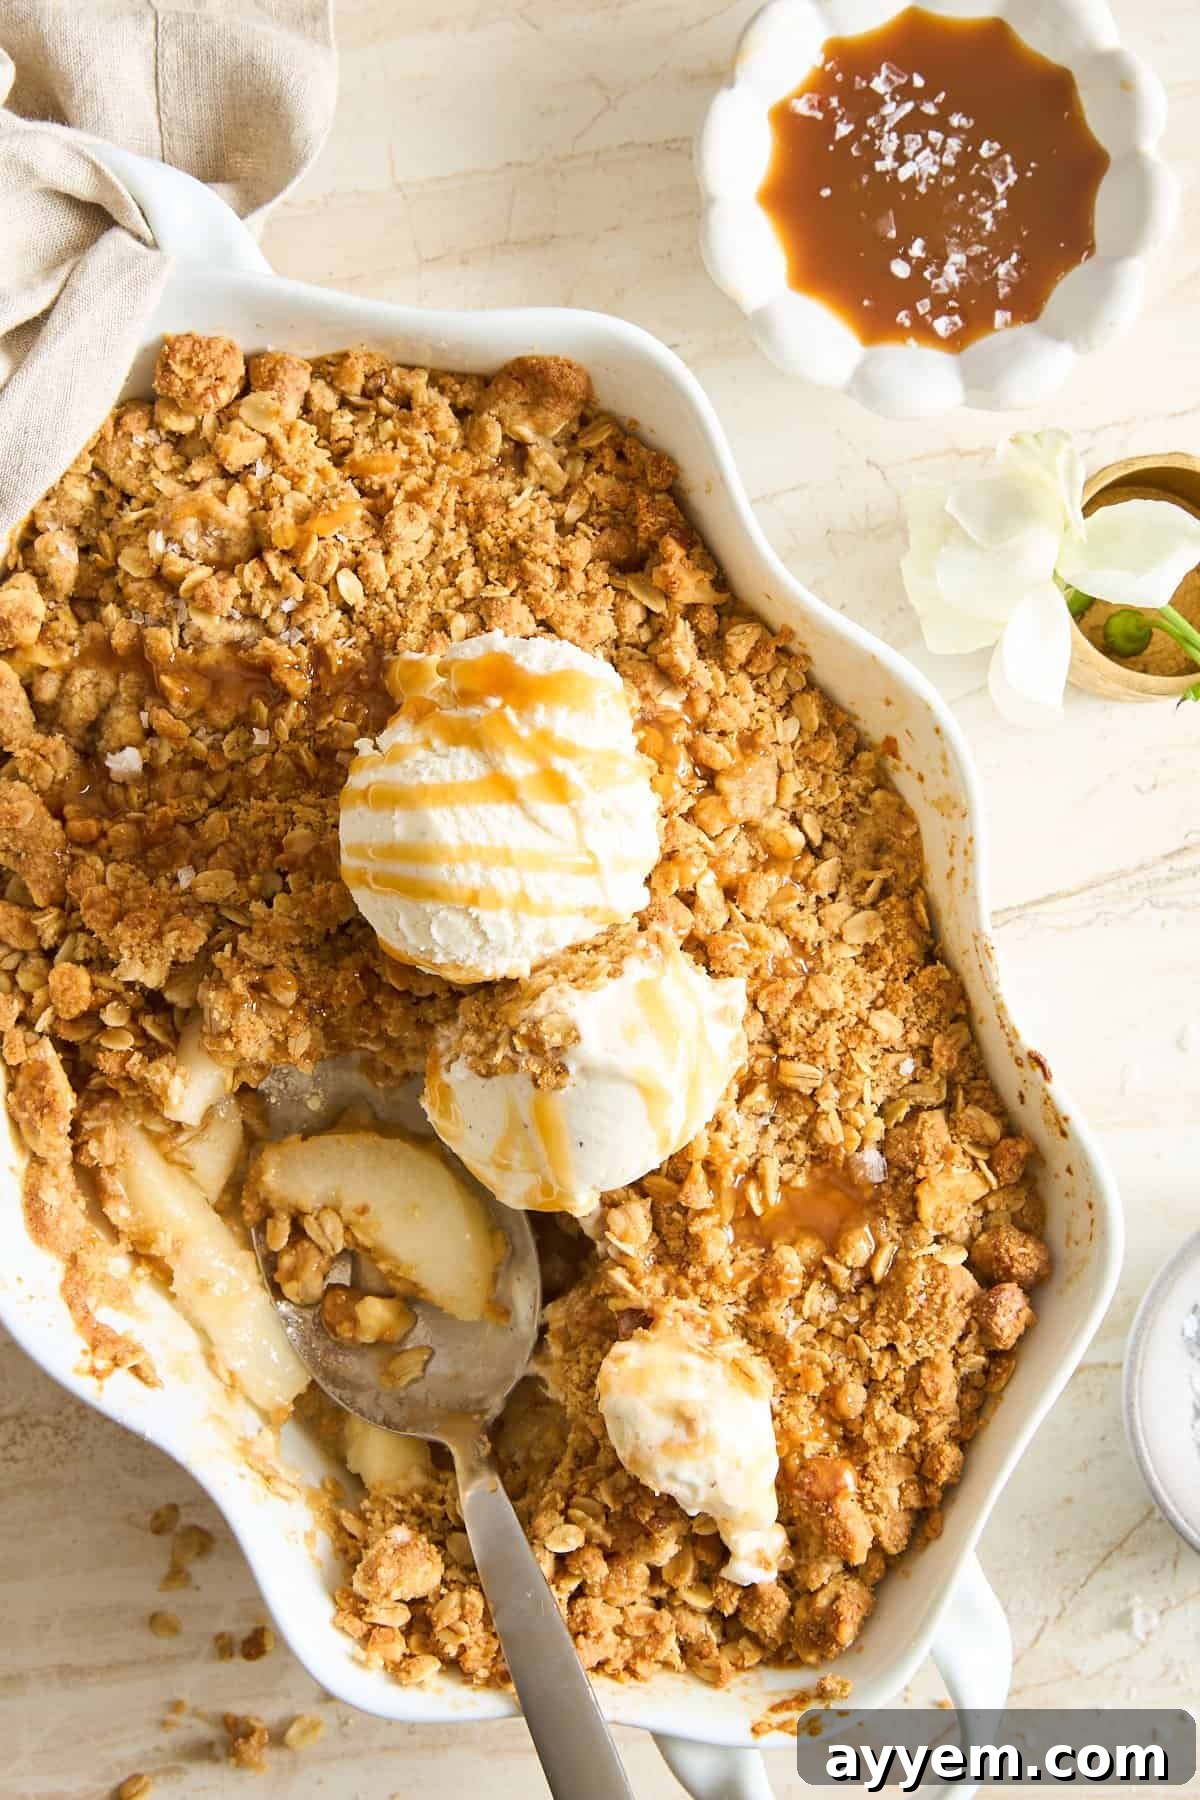
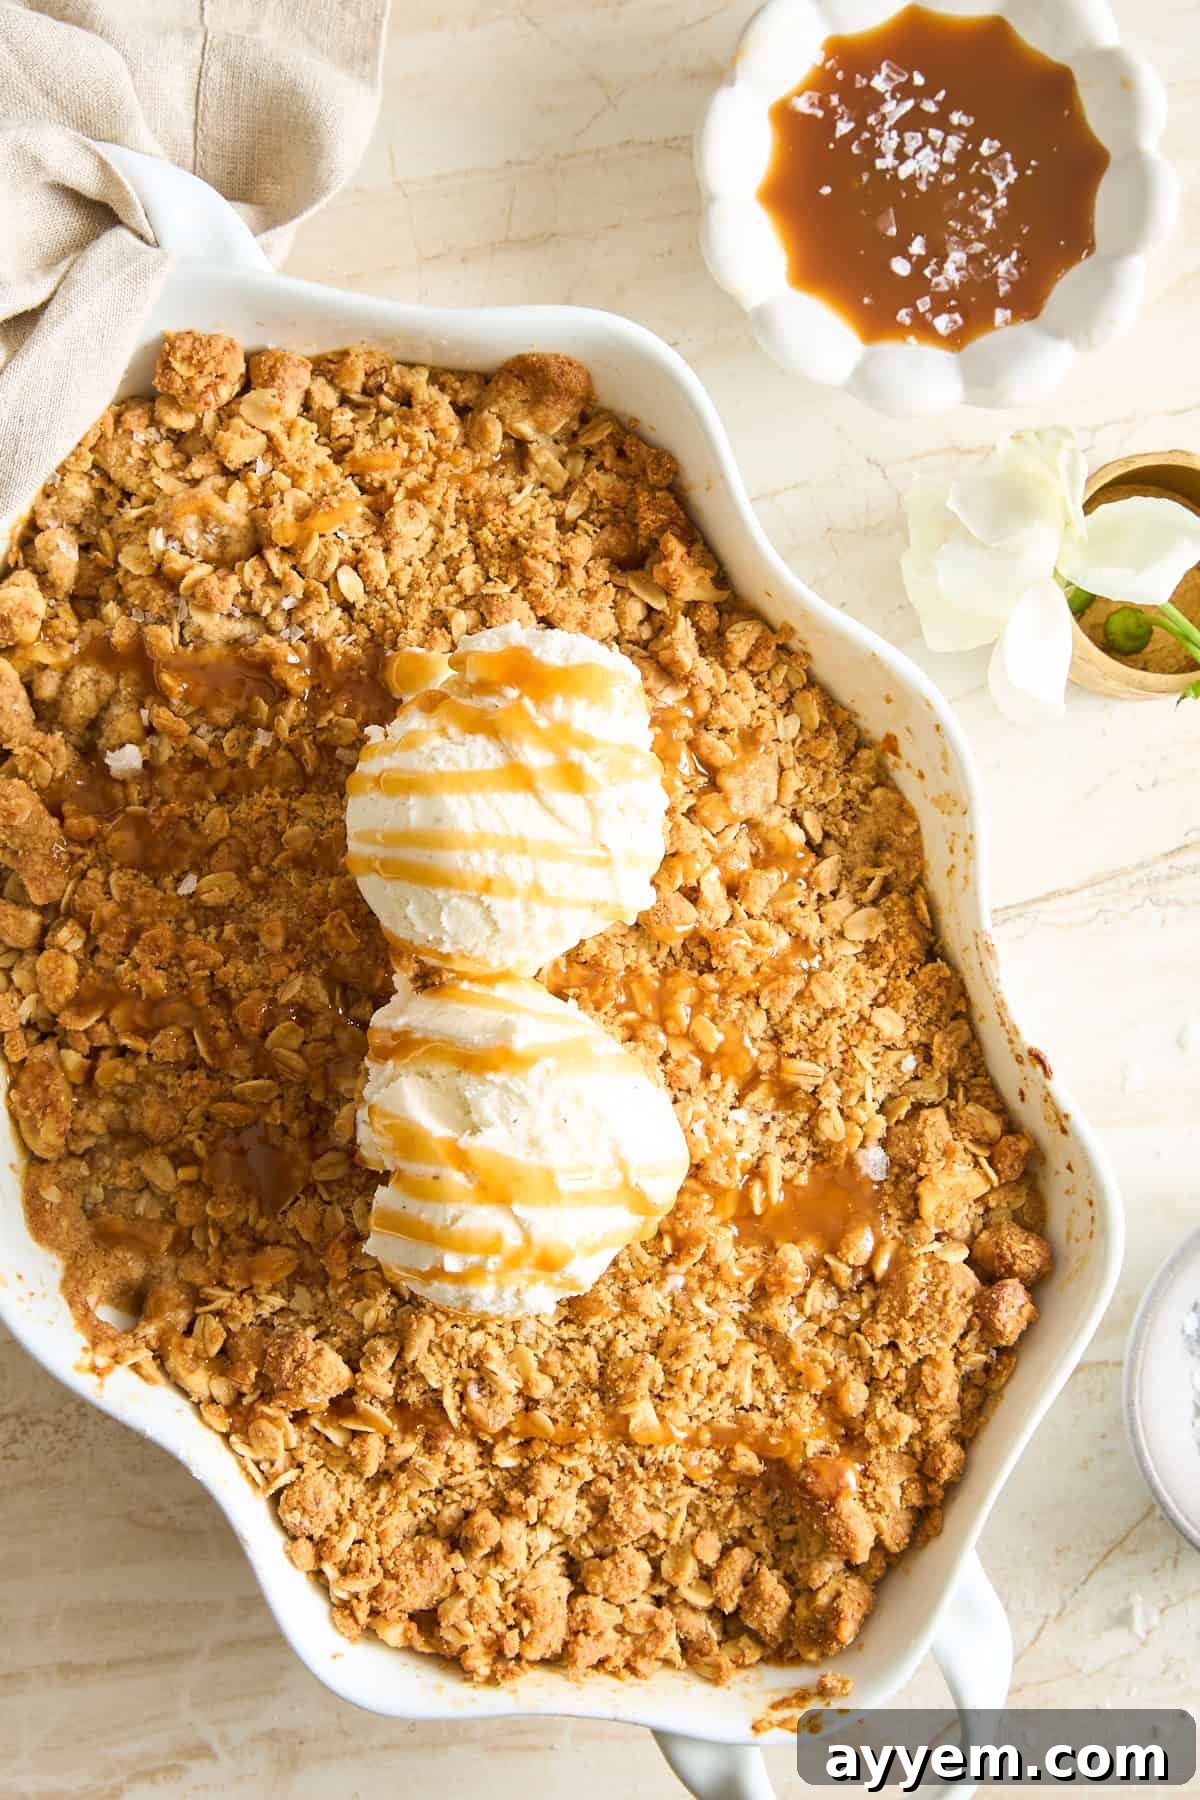
There’s nothing quite like the comforting aroma of a freshly baked dessert filling your kitchen, especially when it features the sweet, delicate flavors of ripe pears. This Pear Crisp recipe is a true embodiment of rustic elegance and seasonal joy, transforming simple ingredients into an extraordinary treat. Imagine soft, tender pears nestled beneath a golden, crunchy oat-streusel topping, each bite a symphony of textures and flavors. It’s an easy, no-fuss dessert that promises pure comfort and is guaranteed to have everyone reaching for a second serving, particularly when served warm with a scoop of melting vanilla ice cream.
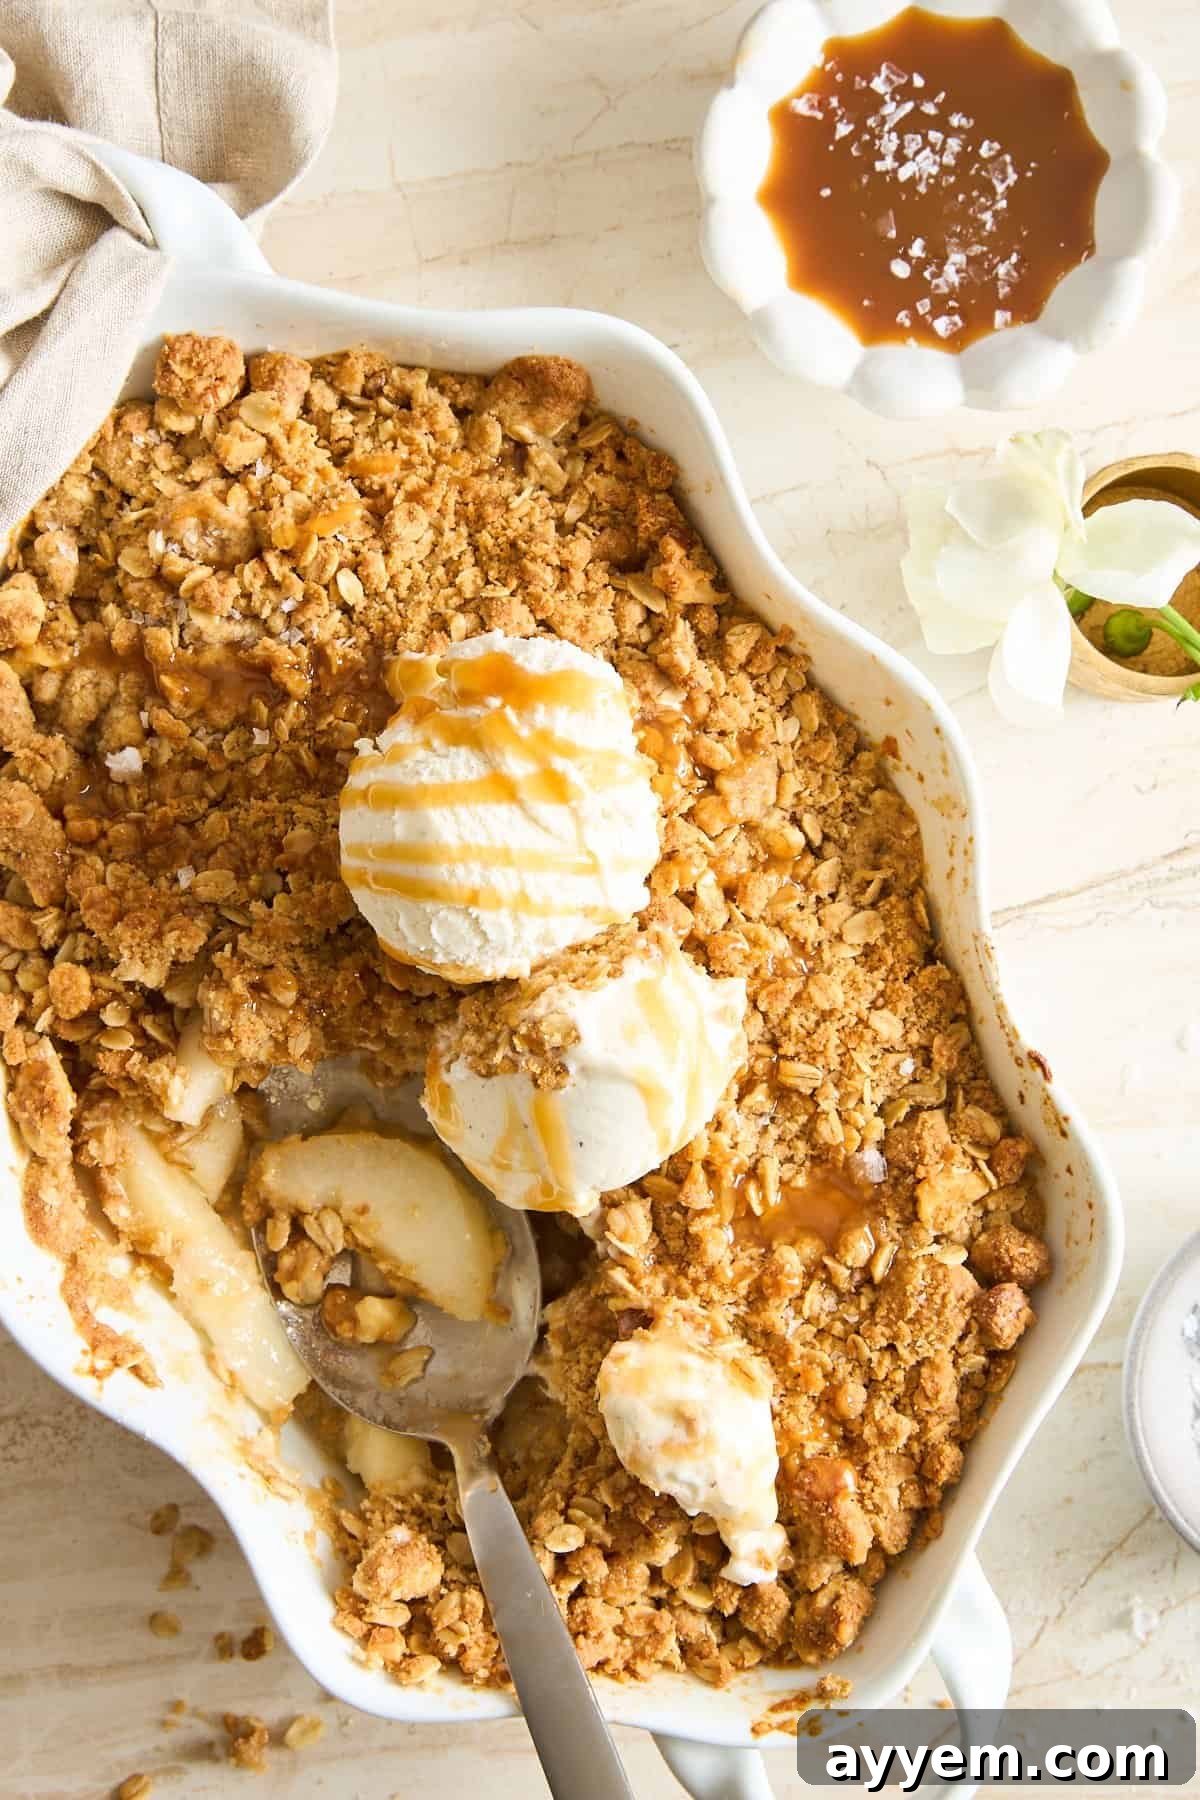
Discovering the Delight of Pear Crisp
A pear crisp is a quintessential baked fruit dessert, celebrated for its heartwarming qualities and delightful textural contrasts. At its core, it features succulent slices of fresh pears, gently cooked until they become tender, syrupy, and fragrant. These luscious pears are then crowned with an irresistible crumble topping, a buttery, oat-studded streusel that bakes to a beautiful golden brown and offers a satisfying crunch. The magic of a crisp lies in this interplay: the soft, warm fruit filling bubbling beneath a crisp, textured layer, creating a harmony that is both rustic and incredibly satisfying.
Often compared to other fruit desserts like cobblers or crumbles, a crisp distinguishes itself with its unique topping. Unlike a cobbler, which typically uses a drop biscuit-style dough, a crisp features a streusel made primarily from oats, flour, sugar, and cold butter. This oat-infused topping ensures a distinctively crisp texture once baked, allowing the natural sweetness and flavor of the fruit to remain the star of the show. It’s an ideal way to highlight the seasonal bounty of pears, and it feels especially cozy and indulgent when served warm, perhaps alongside a generous scoop of vanilla bean ice cream that slowly melts into the warm fruit.
This dessert isn’t just easy to make; it’s a versatile treat that fits perfectly into any occasion, from casual weeknight dinners to festive holiday gatherings. Its inviting aroma and comforting taste evoke feelings of autumn and coziness, making it a beloved classic that stands the test of time. Whether you’re an experienced baker or just starting, a pear crisp offers a rewarding and delicious baking experience with minimal fuss.
Essential Ingredients for Your Perfect Pear Crisp
Crafting the ultimate pear crisp begins with selecting the right ingredients. Each component plays a vital role in achieving that perfect balance of sweet, tender fruit and crunchy, golden topping. Here’s a detailed look at what you’ll need, along with tips for best results:
- Firm Pears: The absolute star of our crisp! We recommend using varieties like Bosc or Bartlett, or a delightful combination of both. Their firm texture ensures they hold their shape beautifully during baking, preventing them from becoming overly mushy. They also offer a balanced sweetness and a lovely aromatic quality that defines this dessert. Aim for about 5-6 medium pears to get roughly 4 cups once peeled and sliced. Look for pears that are ripe but still firm to the touch for the best outcome.
- Granulated Sugar: This fine sugar sweetens the pear filling just enough, enhancing the fruit’s natural flavors. It also helps to draw out some of the pears’ juices, creating a wonderfully syrupy base as it bakes. The precise amount ensures the pears are sweet but not overly so, letting their natural taste shine.
- Corn Starch: A crucial thickening agent for the fruit filling. Corn starch works wonders to prevent the crisp from becoming watery, ensuring the pear juices transform into a rich, luscious syrup that clings beautifully to each slice. It’s the key to a perfectly saucy, not soupy, filling.
- Ground Cinnamon: This classic warm spice is indispensable for a fall-inspired dessert. Cinnamon infuses the pears with a comforting, aromatic warmth that perfectly complements their sweetness, creating that nostalgic, cozy flavor profile.
- Ground Nutmeg: Adding a touch of nutmeg alongside cinnamon deepens the spice profile, contributing an earthy, slightly sweet warmth that truly elevates the pear flavor. Freshly grated nutmeg, if available, offers an even more pronounced aroma.
- All-Purpose Flour: Essential for the crisp topping, flour binds the ingredients together, helping to form those delightful, crisp, golden clusters that are characteristic of a perfect streusel. It provides the structure for the crunchy texture.
- Old-Fashioned Rolled Oats: These provide the hearty, chewy texture that defines a classic crisp topping. Rolled oats toast beautifully in the oven, adding a nutty flavor and a satisfying chewiness that sets a crisp apart from a crumble.
- Baking Powder: Just a pinch of baking powder in the topping helps to create a subtle lift, ensuring the streusel remains light and airy rather than dense and heavy. This small addition contributes to a more delicate crunch.
- Light Brown Sugar: This sugar adds a rich, molasses-like sweetness and a hint of caramel flavor to the topping. Its moisture content also helps the streusel to clump together and brown beautifully, creating golden-brown clusters.
- Unsalted Butter (Cold and Cubed): The secret to an exceptionally crisp and buttery topping. Using very cold butter and cutting it into the dry ingredients creates pockets that expand in the oven, resulting in a flaky, tender, and incredibly crunchy streusel. Cold butter is non-negotiable for a truly crisp texture.
- Raw Walnuts (Roughly Chopped): Walnuts introduce a delightful earthy crunch and nutty flavor that toasts wonderfully during baking, adding another layer of texture and depth to the topping. You can also experiment with pecans for a slightly different richness or skip nuts entirely if preferred.
- Sea Salt (Fine): A small amount of fine sea salt in both the filling and the topping balances the sweetness of the dessert and enhances all the other flavors, making them pop. It’s the hidden ingredient that makes everything taste better.
- Flaky Sea Salt (Optional, for Serving): A final sprinkle of flaky sea salt just before serving adds a gourmet touch, providing a delicate textural crunch and a sophisticated sweet-and-salty contrast that truly elevates the dessert experience.
- Vanilla Ice Cream (Optional, for Serving): The ultimate accompaniment! The cool, creamy richness of vanilla ice cream offers a heavenly contrast to the warm, baked fruit and crisp topping. The way it melts into the warm pears is pure bliss.
Crafting Your Homemade Pear Crisp: A Step-by-Step Guide
Making this pear crisp is surprisingly simple, even for novice bakers. Follow these easy steps to create a dessert that tastes like it came straight from a gourmet bakery, impressing your guests and delighting your family:
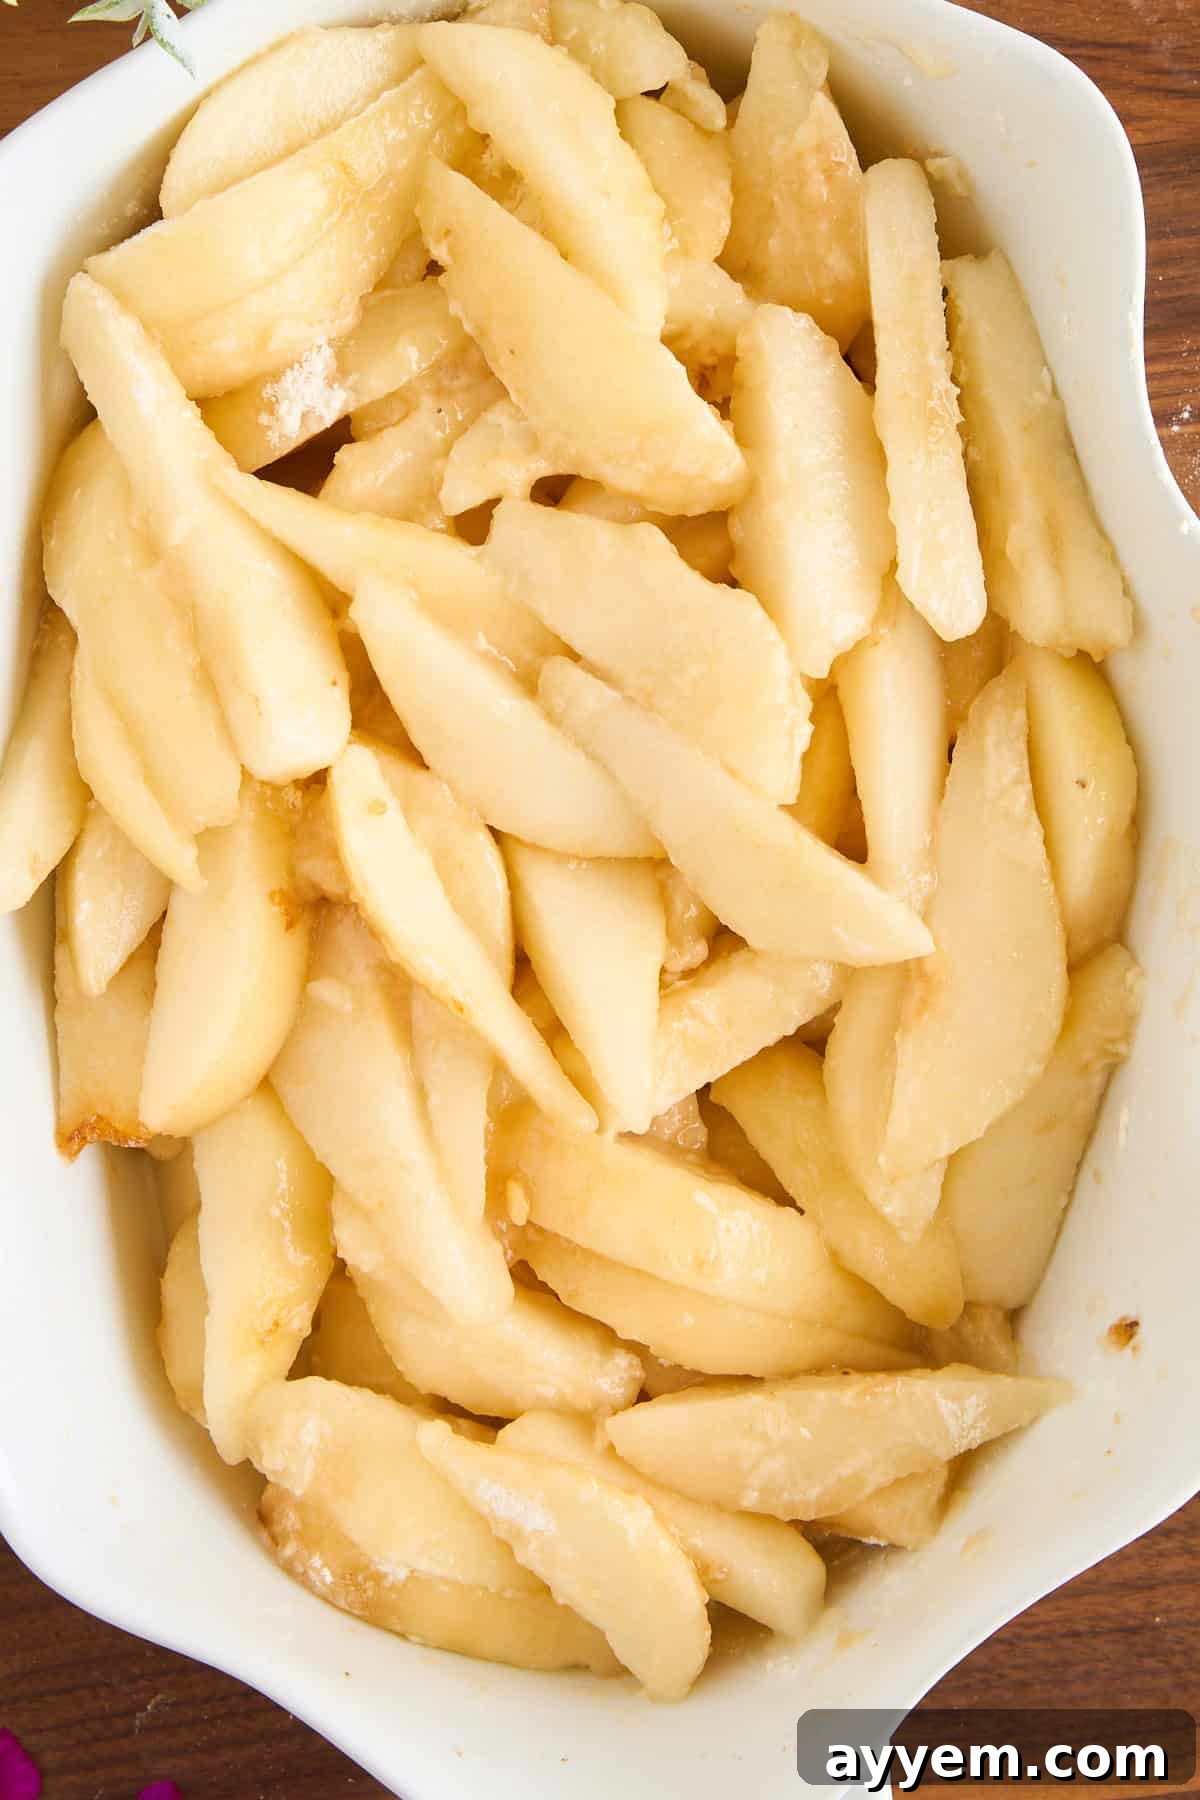
- Preheat and Prep the Pears: Begin by preheating your oven to 350°F (175°C) to ensure it’s ready when your crisp is assembled. Next, meticulously peel your firm pears using a vegetable peeler. Once peeled, core them carefully and slice them into uniform pieces, aiming for about ¼ to ½ inch thick. Consistent slices are key for even cooking. Generously arrange the sliced pears in an even layer at the bottom of a 12×8-inch baking dish.
- Coat the Filling: In a small bowl, combine the granulated sugar, corn starch, ground cinnamon, and ground nutmeg. Whisk these dry ingredients together thoroughly to ensure they are well combined. Sprinkle this fragrant spice and sugar mixture evenly over the sliced pears in the baking dish. Gently toss the pears with the mixture using your hands or a spatula, ensuring every pear slice is beautifully coated. This critical step creates a wonderfully spiced, syrupy filling as the pears bake.
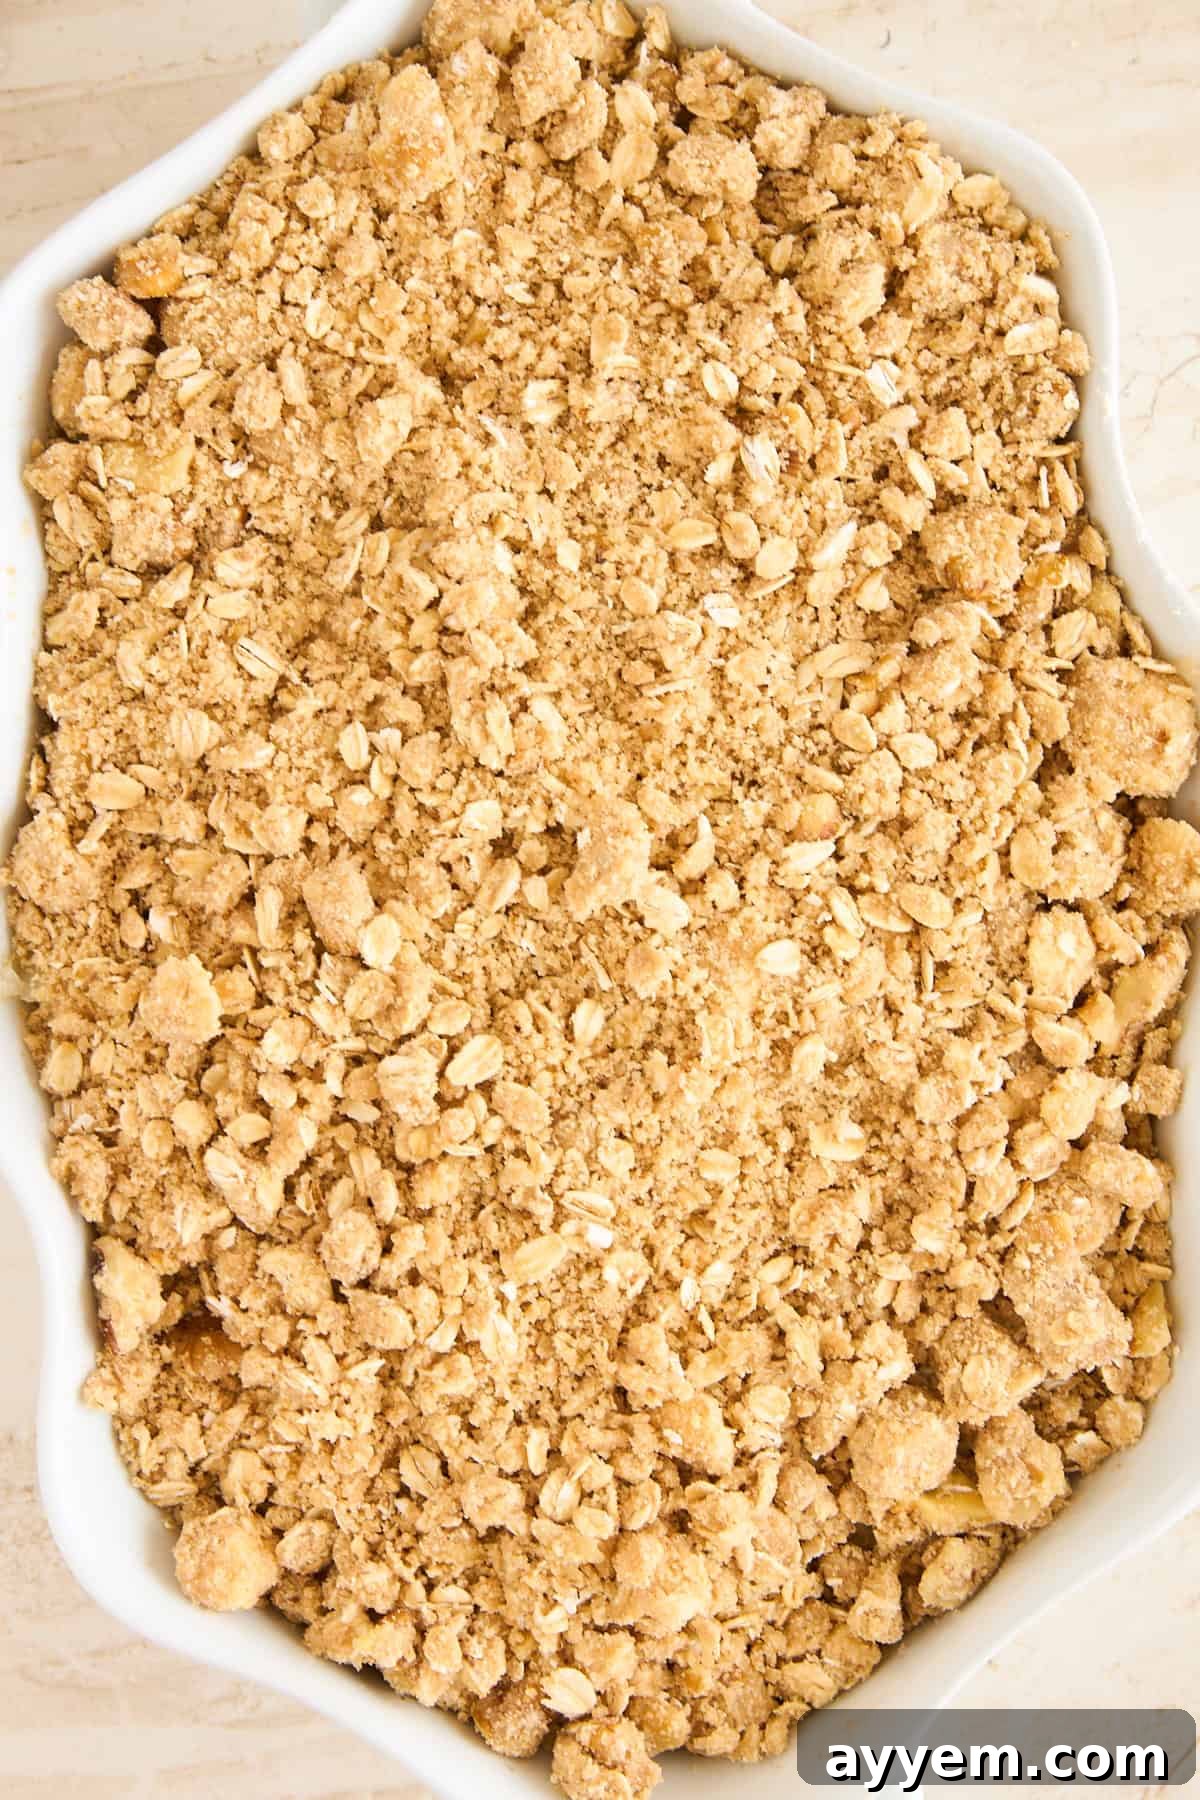
- Assemble the Topping: In a separate medium-sized mixing bowl, combine the all-purpose flour, old-fashioned rolled oats, light brown sugar, baking powder, and fine sea salt. Stir these dry ingredients together until uniformly mixed. Now, add the very cold, cubed unsalted butter to the dry mixture. Using a pastry cutter, a fork, or even your fingertips (working quickly to keep the butter cold), work the butter into the dry ingredients until the mixture resembles coarse crumbs. You’re looking for a pebbly texture, with some pieces being pea-sized and others a bit smaller. Avoid overmixing, as this can lead to a less crisp topping. Finally, fold in the roughly chopped raw walnuts, distributing them evenly throughout the crumble for added crunch and flavor.
- Add the Crumble Layer: Once your streusel topping is perfectly prepared, generously scatter it over the prepared pear filling in the baking dish. It’s crucial not to press the topping down. Leave it loose and airy. This allows the hot air to circulate freely around the streusel, which is essential for achieving that wonderfully crisp and crunchy texture we’re aiming for.
- Bake to Perfection: Carefully transfer your baking dish to the preheated oven. Bake for approximately 30-35 minutes. Keep a close eye on it: you’ll know it’s ready when the streusel topping turns a beautiful, inviting golden brown, and the pear filling underneath is visibly bubbling around the edges. This bubbling indicates that the fruit is tender, and the juices have thickened to a perfect consistency.
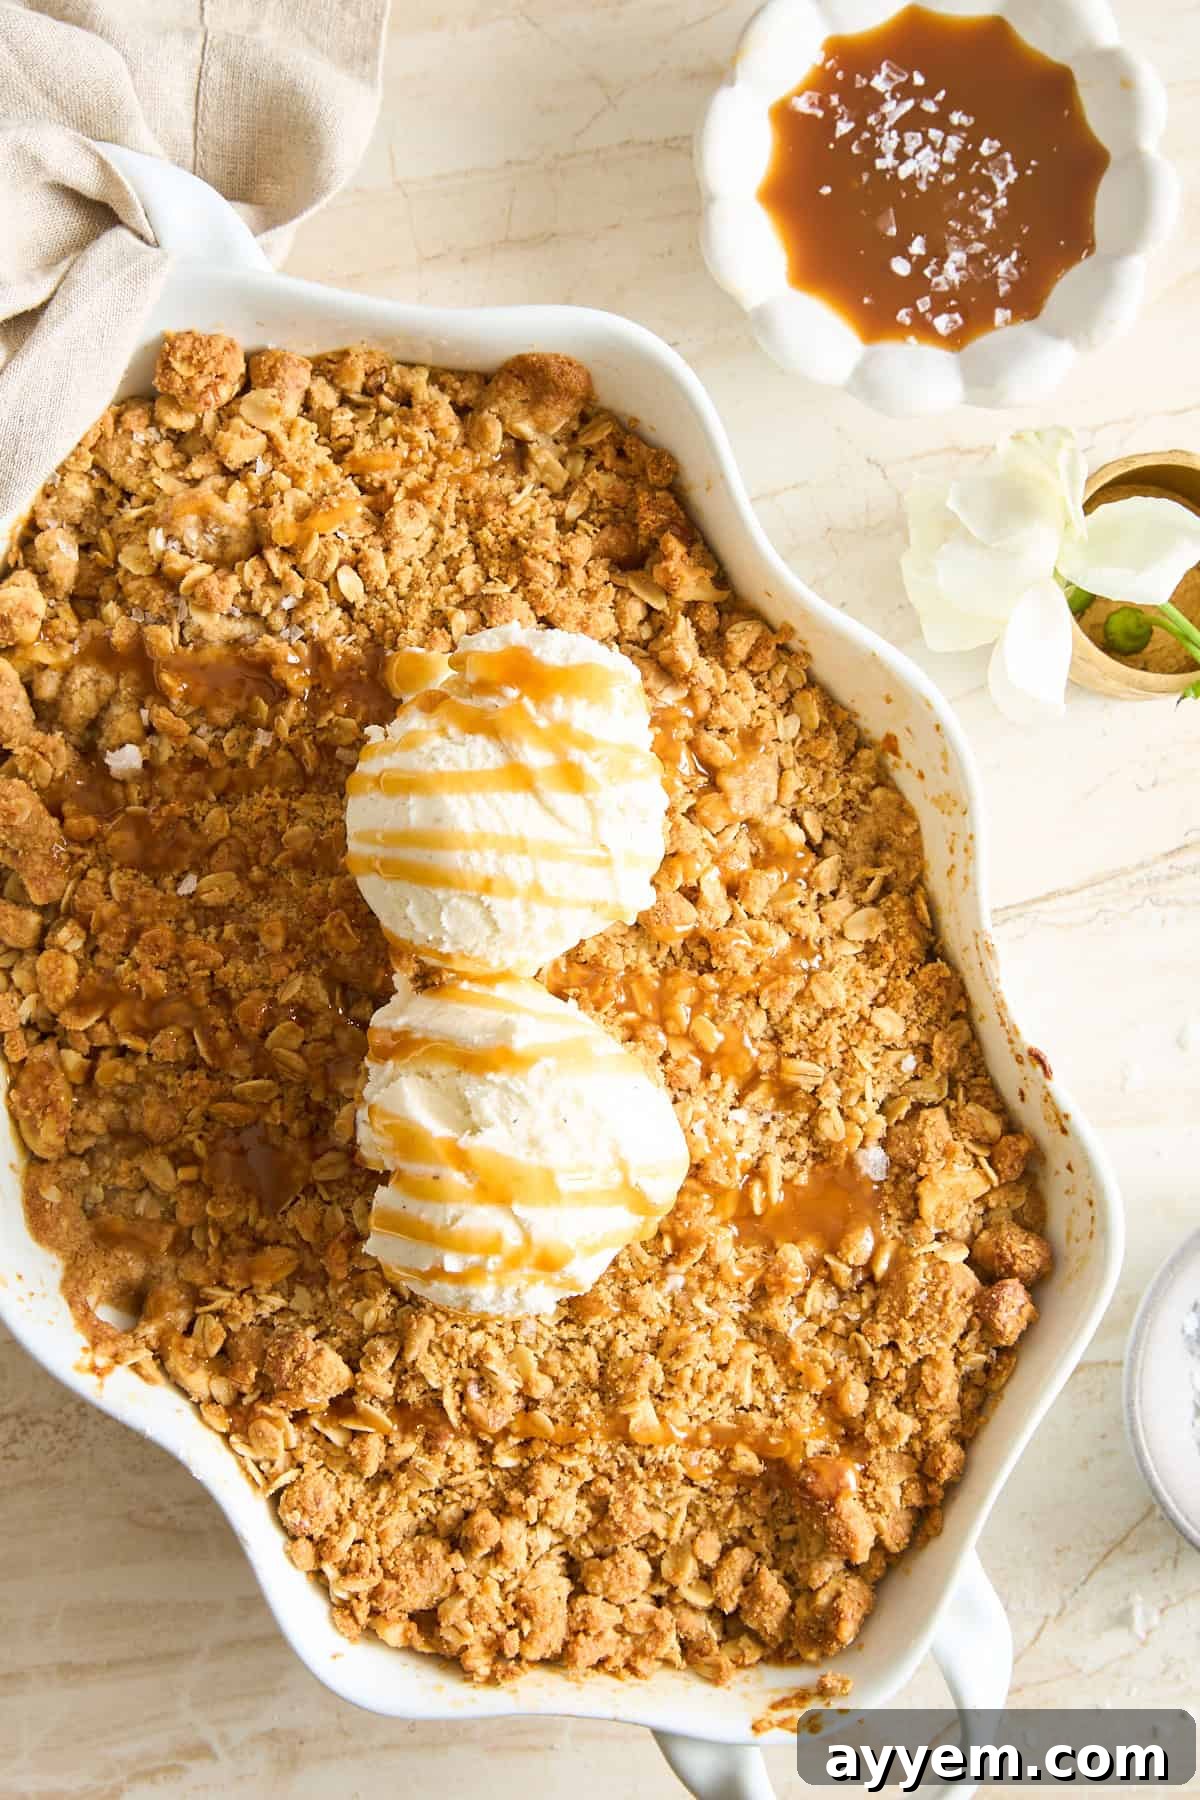
- Rest and Serve: Once baked, remove the pear crisp from the oven and place it on a wire rack to rest for a few minutes. This brief resting period allows the filling to settle, the juices to further thicken, and the flavors to meld together beautifully. Serve the crisp warm, preferably with a generous scoop of cold vanilla ice cream. For an extra touch of indulgence, a drizzle of warm caramel sauce and a sprinkle of flaky sea salt can elevate the experience to another level, providing that irresistible sweet-and-salty finish. Enjoy the delicious fruits of your labor!
Delicious Variations to Customize Your Pear Crisp
While the classic pear crisp is undeniably delicious, it’s also a wonderfully adaptable dessert. Don’t hesitate to experiment with different additions to tailor it to your taste or the ingredients you have on hand. Customizing your crisp allows for endless creativity and makes it a versatile treat for any season. Here are some fantastic variations to inspire you:
- Alternative Nuts: While walnuts offer a delightful earthy crunch, you can easily swap them out for other nuts. Try pecans for a buttery richness and a slightly softer crunch, or toasted almonds for a delicate, sweet flavor. Hazelnuts would also offer unique flavor profiles and textures, adding another dimension to your crisp. Lightly toasting nuts before adding them to the streusel can further enhance their flavor.
- Citrus Zest: Introduce a bright, fresh counterpoint to the sweetness of the pears by adding the zest of a lemon or an orange to the fruit filling. Citrus zest not only enhances the fruit’s natural brightness but also balances the overall sweetness, creating a more complex and vibrant flavor profile. A teaspoon of zest typically suffices for a subtle lift.
- Fresh Ginger: For those who love a bit of warmth and spice, finely grated fresh ginger can be a game-changer. Add about 1-2 teaspoons of fresh ginger to the pear filling along with the cinnamon and nutmeg. It provides a fragrant kick and a lovely spicy warmth that pairs beautifully with pears, especially in cooler months, offering an exotic twist.
- Almond Extract: A splash of almond extract (about ½ teaspoon) in the pear filling introduces a delicate floral and nutty note that complements the natural flavor of pears exquisitely. It adds a subtle sophistication to the dessert, enhancing the overall aromatic experience. Be mindful not to add too much, as its flavor is quite potent.
- Dried Cranberries: For a burst of tartness and a pop of color, fold about half a cup of dried cranberries into the pear filling. Their bright, tangy flavor provides a delightful contrast to the soft, sweet fruit, and they plump up beautifully during baking, adding a chewy texture. Other dried fruits like cherries or apricots could also work well.
- Mixed Fruit Crisp: Why stop at just pears? Combine pears with other seasonal fruits for a multi-layered flavor experience. Apples and pears are a classic pairing, but you could also add a handful of berries for a juicy burst, or a touch of rhubarb for tartness. Remember to adjust sugar and corn starch as needed based on the inherent sweetness and juiciness of the added fruits.
- Caramel Swirl: For an extra layer of indulgence, gently swirl a few tablespoons of homemade or store-bought caramel sauce into the pear filling before adding the topping. This creates pockets of rich, buttery caramel that beautifully complement the pears and spices.
Storage and Make-Ahead Tips for Your Pear Crisp
One of the many charms of pear crisp is its versatility, extending beyond just immediate enjoyment. It’s a great dessert for making ahead and handling leftovers, though its texture does evolve slightly with time. Knowing how to properly store and reheat your crisp will ensure you can savor its deliciousness for longer.
Storing Leftovers: Any leftover pear crisp, while still delicious, will naturally soften a bit as the topping absorbs some of the moisture from the fruit filling. To maintain its delightful crispness, it’s best to reheat it before serving. Once the crisp has cooled completely to room temperature, cover the baking dish tightly with plastic wrap or aluminum foil. It can then be refrigerated for up to 5 days. For longer storage, the crisp can be frozen. Wrap it securely in multiple layers of plastic wrap and then aluminum foil to prevent freezer burn, and freeze for up to 3 months. Thaw frozen crisp overnight in the refrigerator before reheating.
Reheating: To bring back that satisfying crisp texture, preheat your oven to 350°F (175°C). Place the chilled or thawed crisp (uncovered) directly into the preheated oven and bake for about 15-20 minutes, or until the topping is re-crisped and the fruit filling is thoroughly warm and bubbling. If you are reheating from a frozen state, it may take a bit longer, typically around 30-45 minutes, ensure it’s fully thawed for best results. While you can warm individual servings in the microwave, be aware that this method will soften the topping rather than re-crisping it.
Making Ahead: This pear crisp is an excellent candidate for advance preparation, making it perfect for entertaining or busy days. You can prepare both the pear filling and the streusel topping separately a day in advance. Store the sliced pears (tossed with sugar and spices) covered tightly in the refrigerator. Keep the streusel topping in a separate airtight container in the refrigerator as well. When you’re ready to bake, simply assemble the crisp by scattering the topping over the pears in your baking dish and bake as directed. This approach saves significant last-minute time and makes serving a fresh, warm dessert incredibly convenient.
Common Questions About Pear Crisp
Here are answers to some frequently asked questions about making the perfect pear crisp, addressing common concerns and offering helpful solutions for a successful bake:
Why is my pear crisp watery?
A watery crisp is often a sign of pears releasing too much juice during baking, or insufficient thickening agent. To avoid this, ensure you’re using firm pears, as softer varieties tend to release more liquid. Also, verify that you are using the recommended amount of corn starch – it’s crucial for absorbing excess moisture and creating that luscious, syrupy consistency in the filling. If your pears are exceptionally juicy, you might even add an extra half-tablespoon of corn starch.
Can I use canned pears for this recipe?
While fresh pears offer the best texture and the most vibrant flavor, you can use canned pears in a pinch. If you opt for canned, it’s essential to drain them extremely well to remove any excess syrup or water, which can make your crisp watery. You might also want to reduce the amount of added granulated sugar in the filling, as canned pears are often packed in a sugary syrup. Be aware that the texture of canned pears will be significantly softer than fresh pears, but the flavor can still be delightful.
What types of pears work best for a crisp?
For an ideal pear crisp, we highly recommend using firm varieties that hold their shape well during baking and offer balanced sweetness. Bosc pears are an excellent choice due to their firm, crisp flesh and slightly spicy-sweet flavor. Bartlett pears are another great option, known for their classic pear flavor and tender, juicy texture when cooked. A delightful strategy is to use a mix of both Bosc and Bartlett to achieve a complex flavor profile and varied texture, combining firmness with succulence.
Can I make this pear crisp ahead of time?
Absolutely! Pear crisp is a fantastic make-ahead dessert, perfect for entertaining or when you want to minimize last-minute kitchen work. You can prepare both the pear filling (tossed with sugar and spices) and the streusel topping separately. Store the prepared pears covered in the refrigerator, and keep the streusel topping in a separate airtight container in the refrigerator as well. When you’re ready to bake, simply assemble the crisp in your baking dish and bake as directed. This allows you to enjoy a fresh, warm dessert with maximum convenience.
How can I ensure my topping stays crisp?
To achieve a truly crisp and golden streusel topping, follow these crucial tips: 1) Always use very cold butter, as this creates pockets of steam that result in flakiness. 2) Do not overmix the streusel; a coarse, pebbly texture with distinct butter pieces is desired. 3) When adding the topping to the pears, sprinkle it loosely and evenly over the fruit instead of pressing it down. This allows air to circulate and promotes crisping. 4) Bake the crisp uncovered, allowing the topping to brown and dry out properly. Following these steps will help you achieve that perfect golden, crunchy streusel every time.
More Comforting Crisp Recipes to Explore
If you’ve fallen in love with the ease and deliciousness of this pear crisp, you’ll be delighted to know that the world of fruit crisps is vast and varied. Fruit desserts are always a hit in our homes, and crisps are undoubtedly one of the easiest and most satisfying ways to enjoy them. Each offers a unique flavor profile while retaining that beloved combination of tender fruit and crunchy topping. We encourage you to explore more of our popular crisp recipes and discover your next favorite comforting dessert:
- Mixed Berry Crisp: A vibrant, tangy, and sweet medley of seasonal berries, perfect for any time of year and bursting with fresh flavors.
- Apple Crisp: The quintessential classic fall dessert, featuring tender, spiced apples under a hearty oat topping – warm, fragrant, and wonderfully nostalgic.
- Blueberry Crisp: A burst of sweet and juicy blueberry flavor, ideal for summer gatherings or whenever you crave the taste of fresh blueberries.
- Peach Crisp: Sun-ripened peaches bubbling beneath a golden crumble, offering pure summertime bliss in every spoonful.
Pear Crisp
Servings: 6
Cook: 30 mins |
Total: 40 mins
This easy pear crisp comes together quickly and satisfies any sweet tooth with its comforting fall flavors and delightful texture contrast.
Ingredients
- 4 cups peeled & sliced firm pears (roughly 5-6 medium pears, such as Bosc, or a mix of Bosc and Bartlett)
- ⅓ cup granulated sugar
- 2 tbsp corn starch
- 1 tsp cinnamon
- ½ tsp ground nutmeg
- 1 cup all-purpose flour (for the topping)
- 1 cup old-fashioned rolled oats
- ¼ tsp baking powder
- ¾ cup firmly-packed light brown sugar
- 10 tbsp unsalted butter (cold and cubed)
- ¾ cup raw walnuts (roughly chopped)
- ½ tsp sea salt
- Flaky sea salt + vanilla ice cream (optional, for serving)
Instructions
- Preheat your oven to 350 °F (about 175 °C).
- Place the peeled, diced pears in a 12×8-inch baking dish.
- In a small bowl, toss together the ⅓ cup granulated sugar, cornstarch, 1 tsp cinnamon, and ½ tsp nutmeg. Sprinkle that mixture over the pears and stir gently until coated evenly.
- In a medium mixing bowl, combine the 1 cup flour, 1 cup oats, ¾ cup brown sugar, ¼ tsp baking powder, and ½ tsp sea salt. Add the cold cubed butter and use a fork or pastry cutter to work it in until the mixture forms pea-sized crumbs and looks pebbly. Add the walnuts and mix again.
- Evenly sprinkle the streusel topping over the pear mixture, leaving it loose and airy (do not press it down).
- Bake in the preheated oven for 30-35 minutes, or until the topping is golden-brown and the pear filling is bubbling.
- Remove from the oven and let it settle for a few minutes.
- Serve warm with a scoop of vanilla ice cream, a drizzle of caramel (if desired), and a pinch of flaky sea salt for that perfect sweet-and-salty finish.
Recipe Notes
- For extra depth of flavor, try using a mix of 1/2 sweet pears (like Bosc) and 1/2 more tart pears (like Bartlett) to give a wonderful contrast.
- To ensure your topping stays crisp: always use very cold butter, sprinkle the topping loosely (do not pack it tight), and bake without covering the dish.
- Leftovers? Cover and refrigerate for up to 5 days, or freeze for up to 3 months. To reheat, bake at 350 °F (175 °C) for approximately 15-20 minutes (if thawed) to bring back that delightful crisp texture.
Nutrition
Nutrition information is automatically calculated and should only be used as an approximation. Per serving:
- Calories: 549 kcal
- Carbohydrates: 68 g
- Protein: 6 g
- Fat: 30 g
- Saturated Fat: 13 g
- Polyunsaturated Fat: 8 g
- Monounsaturated Fat: 7 g
- Trans Fat: 1 g
- Cholesterol: 50 mg
- Sodium: 224 mg
- Potassium: 180 mg
- Fiber: 3 g
- Sugar: 38 g
- Vitamin A: 587 IU
- Vitamin C: 0.2 mg
- Calcium: 67 mg
- Iron: 2 mg
Please leave a comment or share it with a friend!