
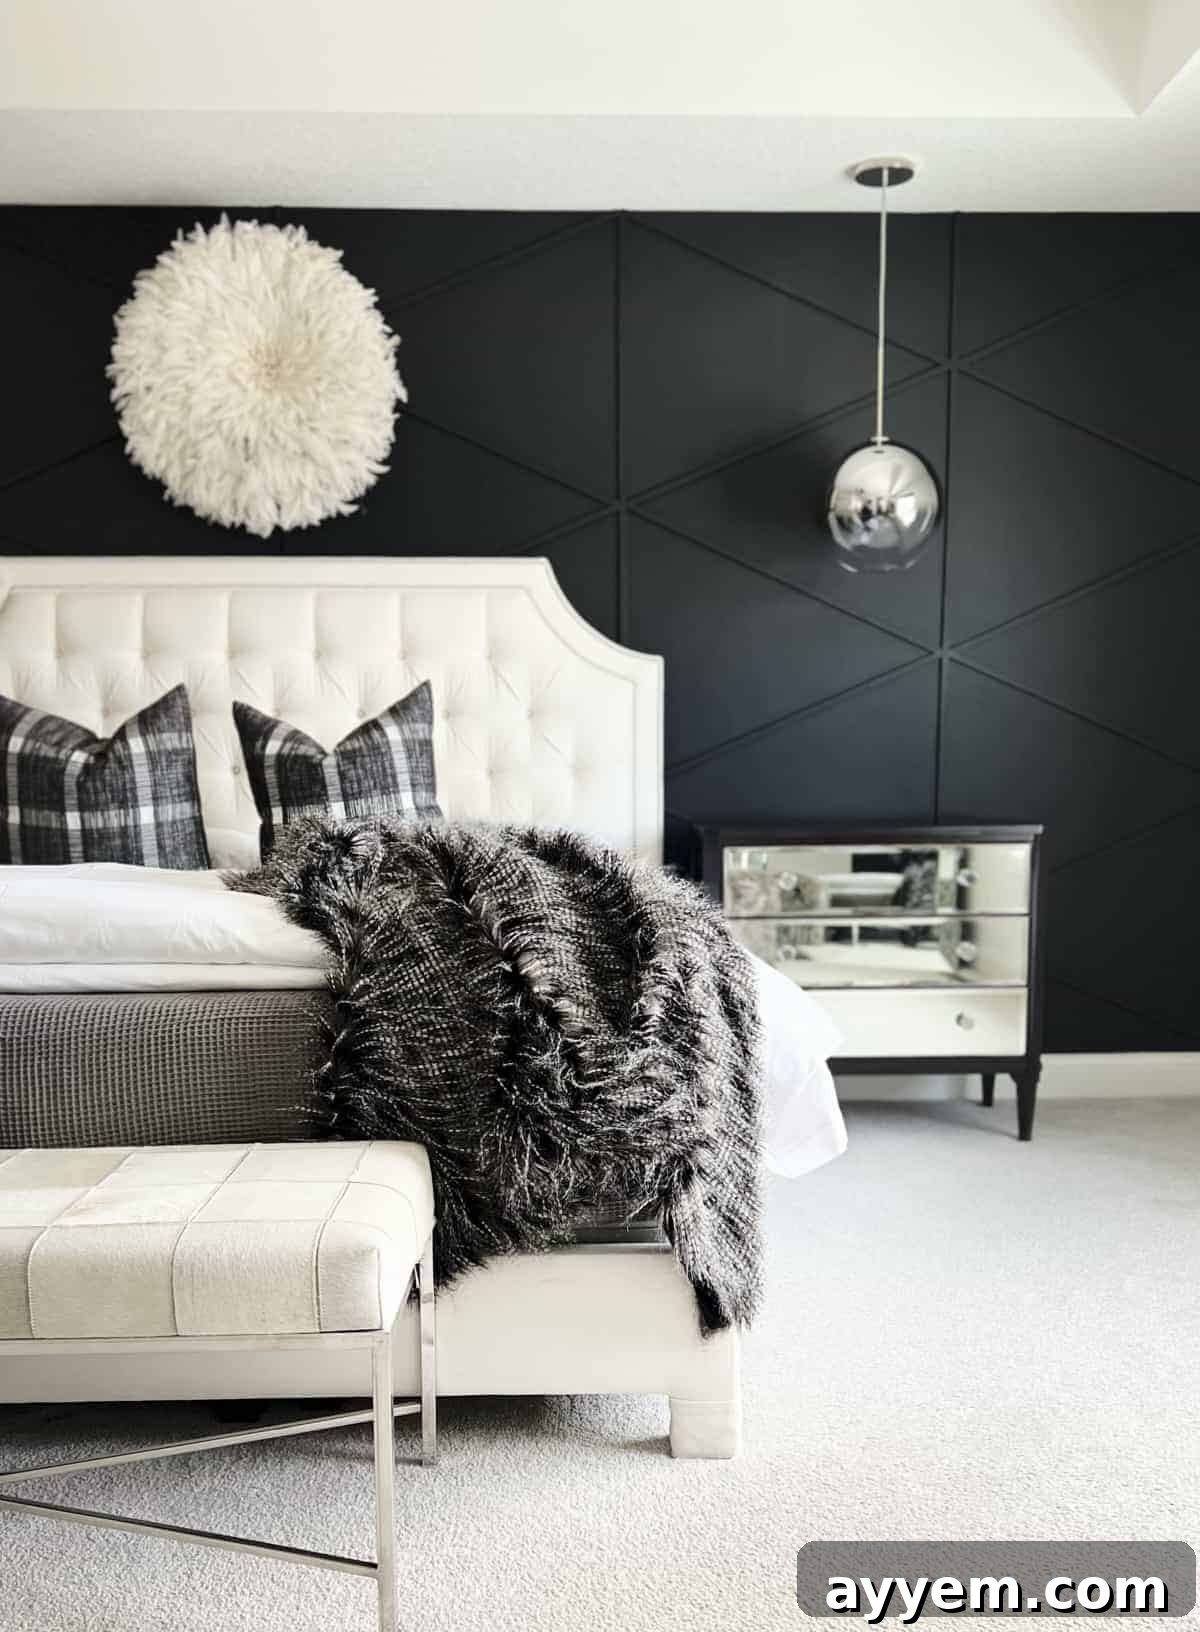
Transforming your living space can be an exhilarating journey, and few design elements offer as much dramatic impact as a well-executed accent wall. Currently trending in interior design, sleek black accent walls are capturing the imagination of homeowners everywhere – and for good reason! They infuse a room with sophistication, depth, and a touch of modern luxury. Inspired by countless stunning examples, we recently embarked on a mission to give our own bedroom a chic, contemporary makeover. What we discovered is that creating a breathtaking black accent wall isn’t nearly as complex as it might seem. In this comprehensive guide, we’ll walk you through every step of the process, sharing our insights and tips to help you achieve a professional-looking finish with ease and affordability.
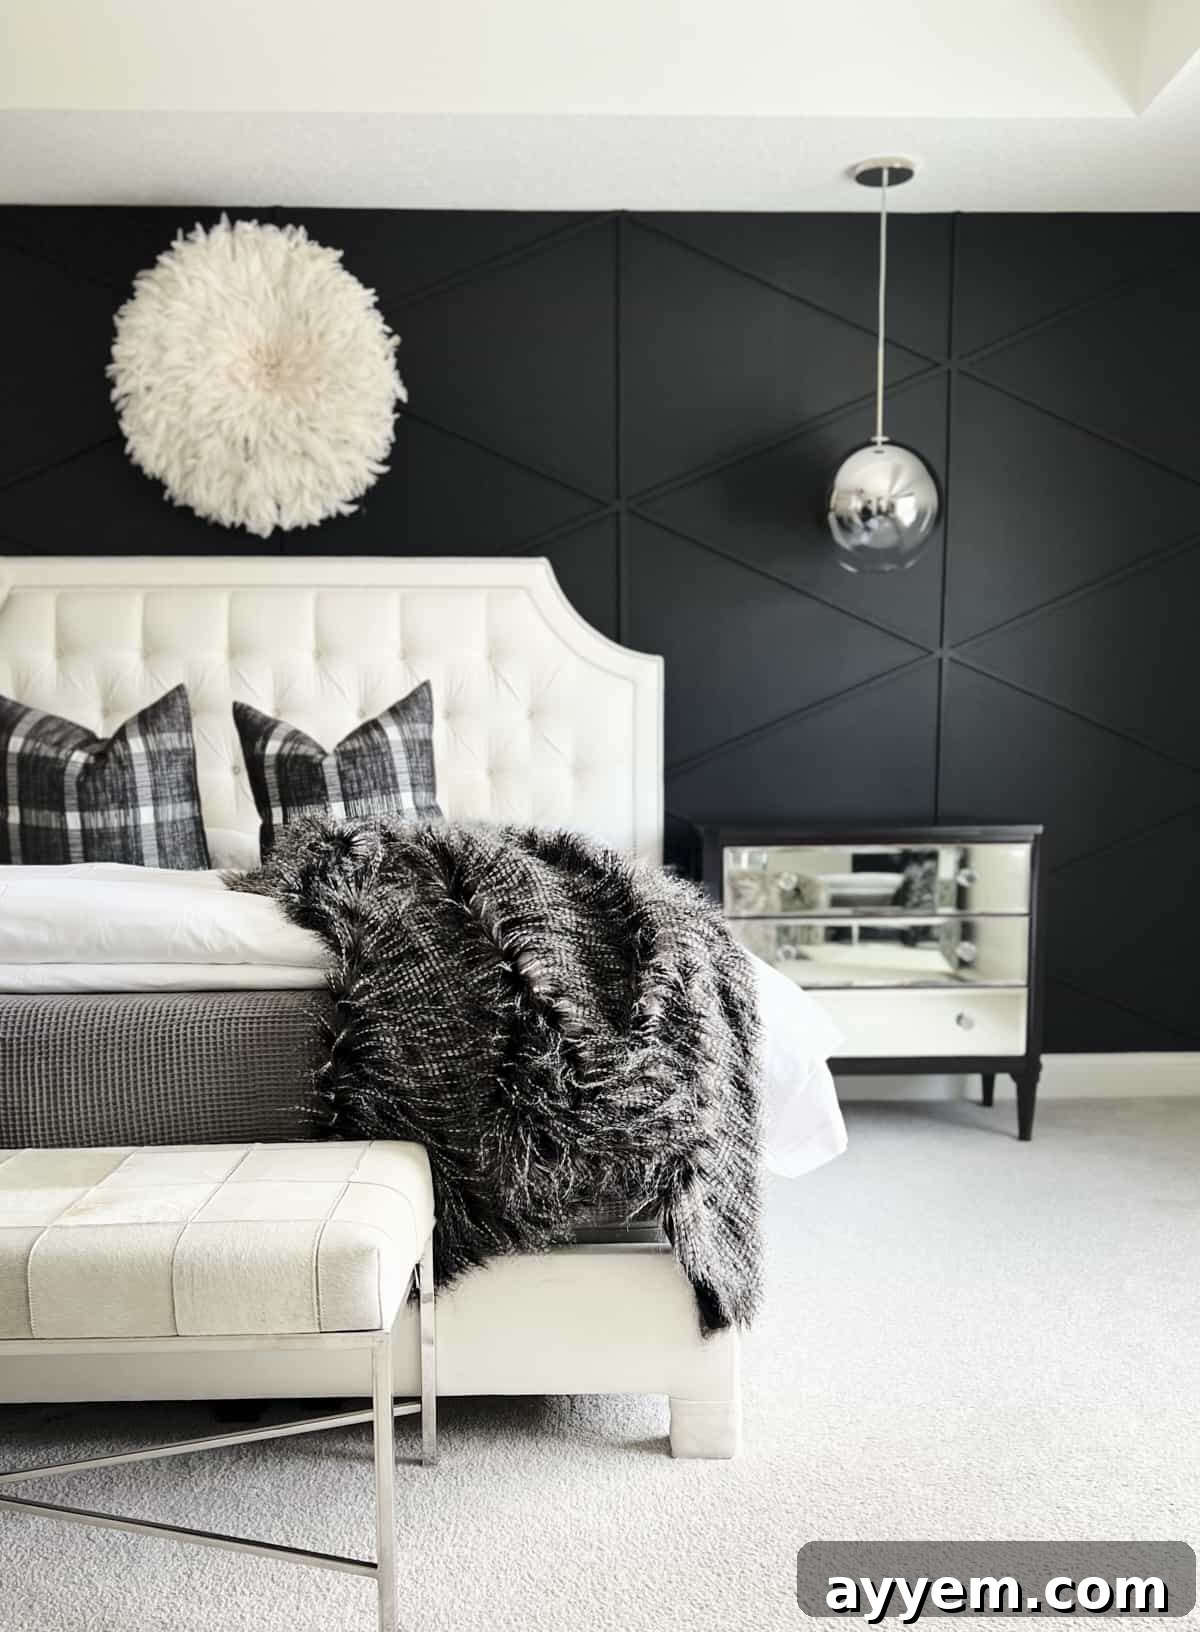
Our passion for DIY projects runs deep, and the desire to personalize our home with unique touches led us to tackle a significant bedroom renovation. Naturally, the first stop for inspiration was the endless wellspring of ideas that is Pinterest! As we scrolled, striking images of black accent walls repeatedly caught our attention. These designs weren’t just walls; they were statements – elegant, dynamic, and incredibly effective at breaking up monotonous spaces. The allure was undeniable, but the estimated cost of hiring a professional to replicate these intricate designs was less so. This realization ignited our DIY spirit, prompting us to take on the challenge ourselves. The result? A stunning transformation that not only saved us a significant amount of money but also provided immense satisfaction. We’re incredibly proud of what we accomplished and are eager to share our journey, hoping to inspire you to undertake this rewarding project in your own home.
Why Embrace a Black Accent Wall?
Beyond its undeniable aesthetic appeal, a black accent wall offers a myriad of benefits that can dramatically enhance your interior design:
- Unparalleled Depth and Dimension: Black has a unique ability to recede, making a large, otherwise blank wall feel more profound and less imposing. It creates an optical illusion, adding significant depth and visual interest to your room, preventing it from feeling flat or sterile.
- Striking Visual Contrast: When paired with lighter walls, furniture, or decor, black provides a powerful contrast that makes other elements in the room pop. This dynamic interplay of light and dark creates a sophisticated and curated look, drawing the eye to intentional focal points.
- Experiment with Boldness Without Commitment: Many homeowners shy away from using bold colors across an entire room, fearing it might overwhelm the space. An accent wall allows you to experiment with a dramatic shade like black, introducing a vibrant personality without committing to painting all four walls. It’s the perfect way to infuse courage into your decor palette.
- A Versatile Canvas for Design: Far from being limiting, a black accent wall acts as a dramatic backdrop that can elevate almost any design style. It’s a fantastic foundation for showcasing art, mirrors, metallic accents, or even contrasting shelving. This versatility allows you to mix and match various designs and decorations, transforming your bedroom into a truly magazine-worthy retreat.
- Enhanced Sense of Coziness and Luxury: Despite common misconceptions, black can actually make a room feel cozier and more intimate, especially in a bedroom setting. Its rich tone absorbs light, creating a serene and luxurious ambiance that promotes relaxation.
Choosing the Perfect Spot for Your Black Accent Wall
Given black’s powerful presence as a statement color, strategic placement is key to achieving a harmonious and inviting space. The goal isn’t to make a room feel smaller or darker, but rather to enhance its existing features and create a compelling focal point. Consider these guidelines when selecting your wall:
- Avoid Overwhelm: A common misconception is that a dark color will shrink a room. While painting all four walls black in a smaller space might indeed make it feel cramped, a single accent wall, especially in a well-lit room, typically adds depth and character. The trick is balance.
- Highlight a Focal Point: The ideal black accent wall should naturally draw the eye to a significant feature in the room. In a bedroom, this is almost always the wall behind your headboard, creating a dramatic frame for your bed. In a dining room, it could be the wall showcasing a prominent piece of art or serving as a backdrop for your dining table.
- Consider Room Size and Natural Light: Black accent walls truly shine in rooms with ample natural light, as this prevents the space from feeling dim. They are particularly well-suited for medium to large bedrooms, spacious living rooms, and elegant dining areas, where there’s enough open space to embrace the bold color without feeling overwhelmed.
- Balance with Existing Decor: Ensure the chosen room has other visual elements like lighter colored furniture, contrasting textiles, metallic accents, or interesting architectural features. These elements will prevent the black wall from dominating the space, instead allowing it to complement and elevate the overall design, adding depth and intrigue.
Crafting Your Own Geometric Black Accent Wall
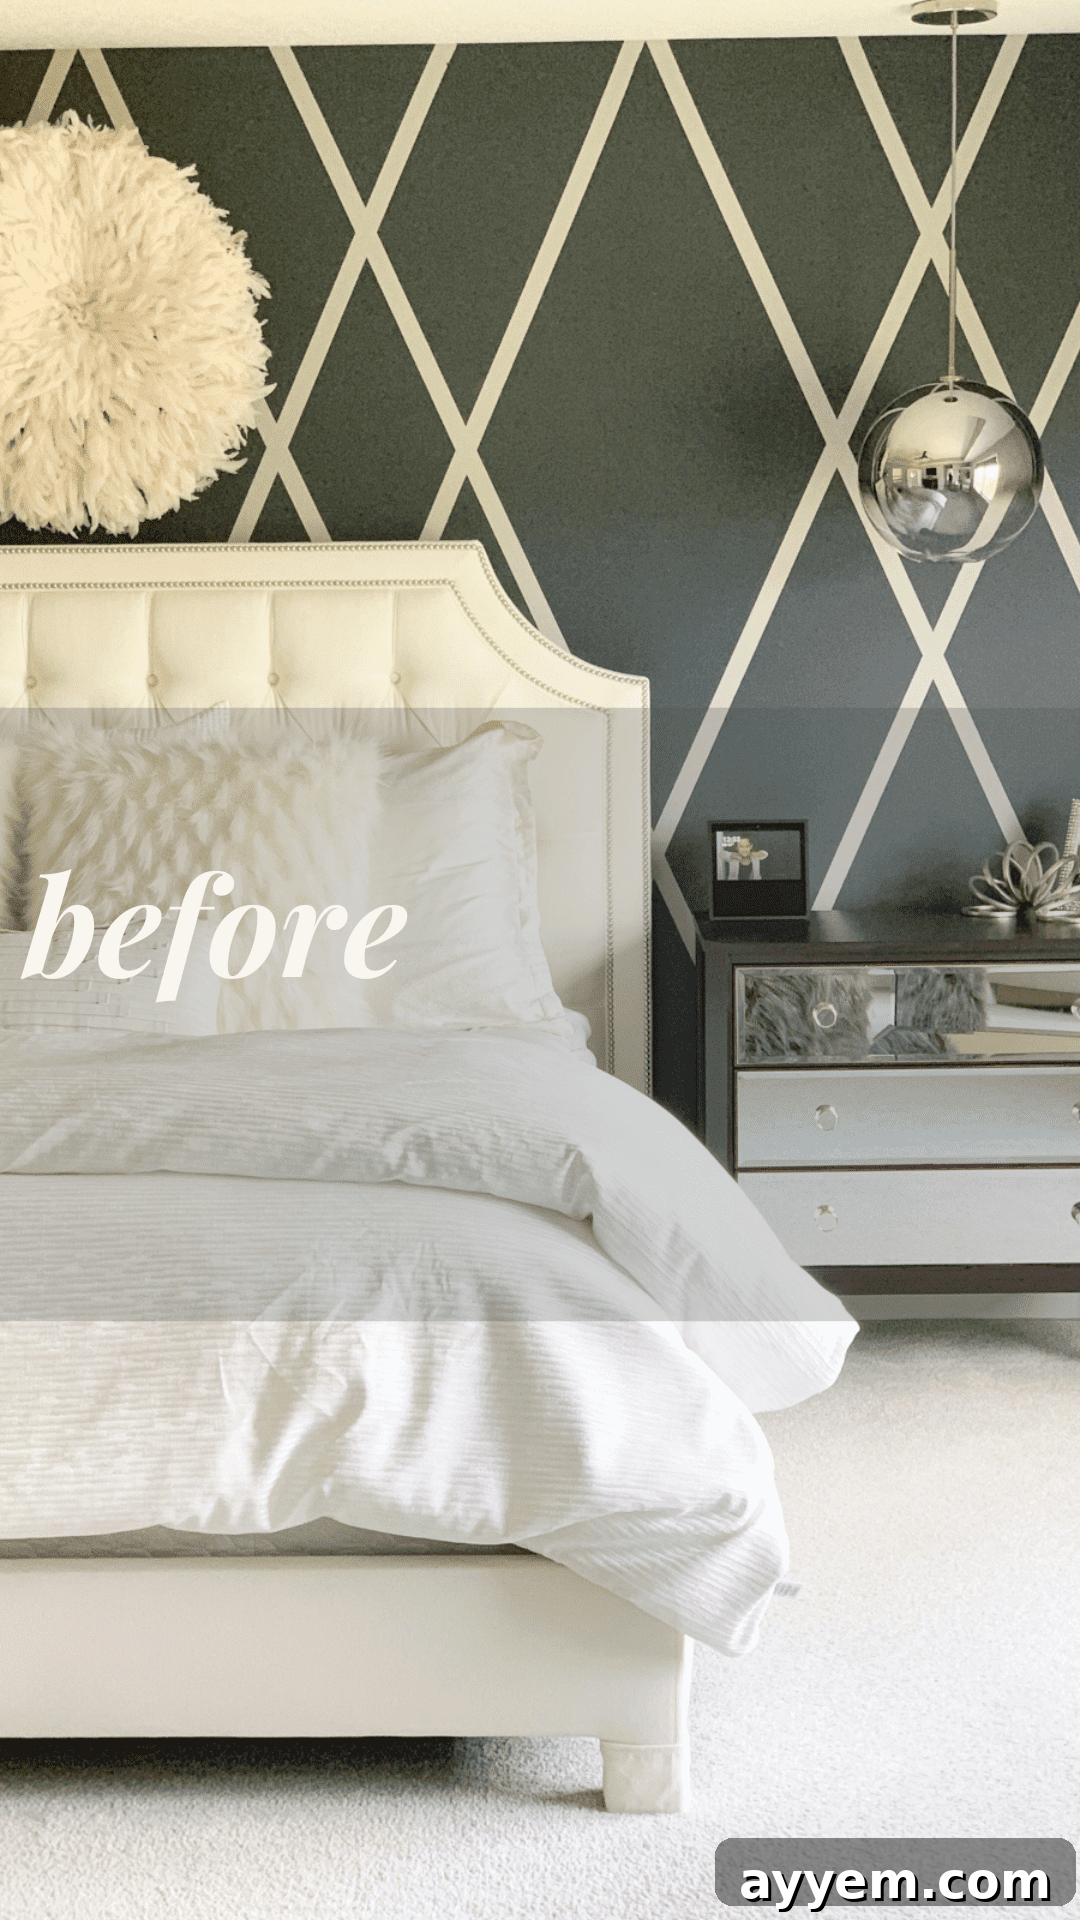
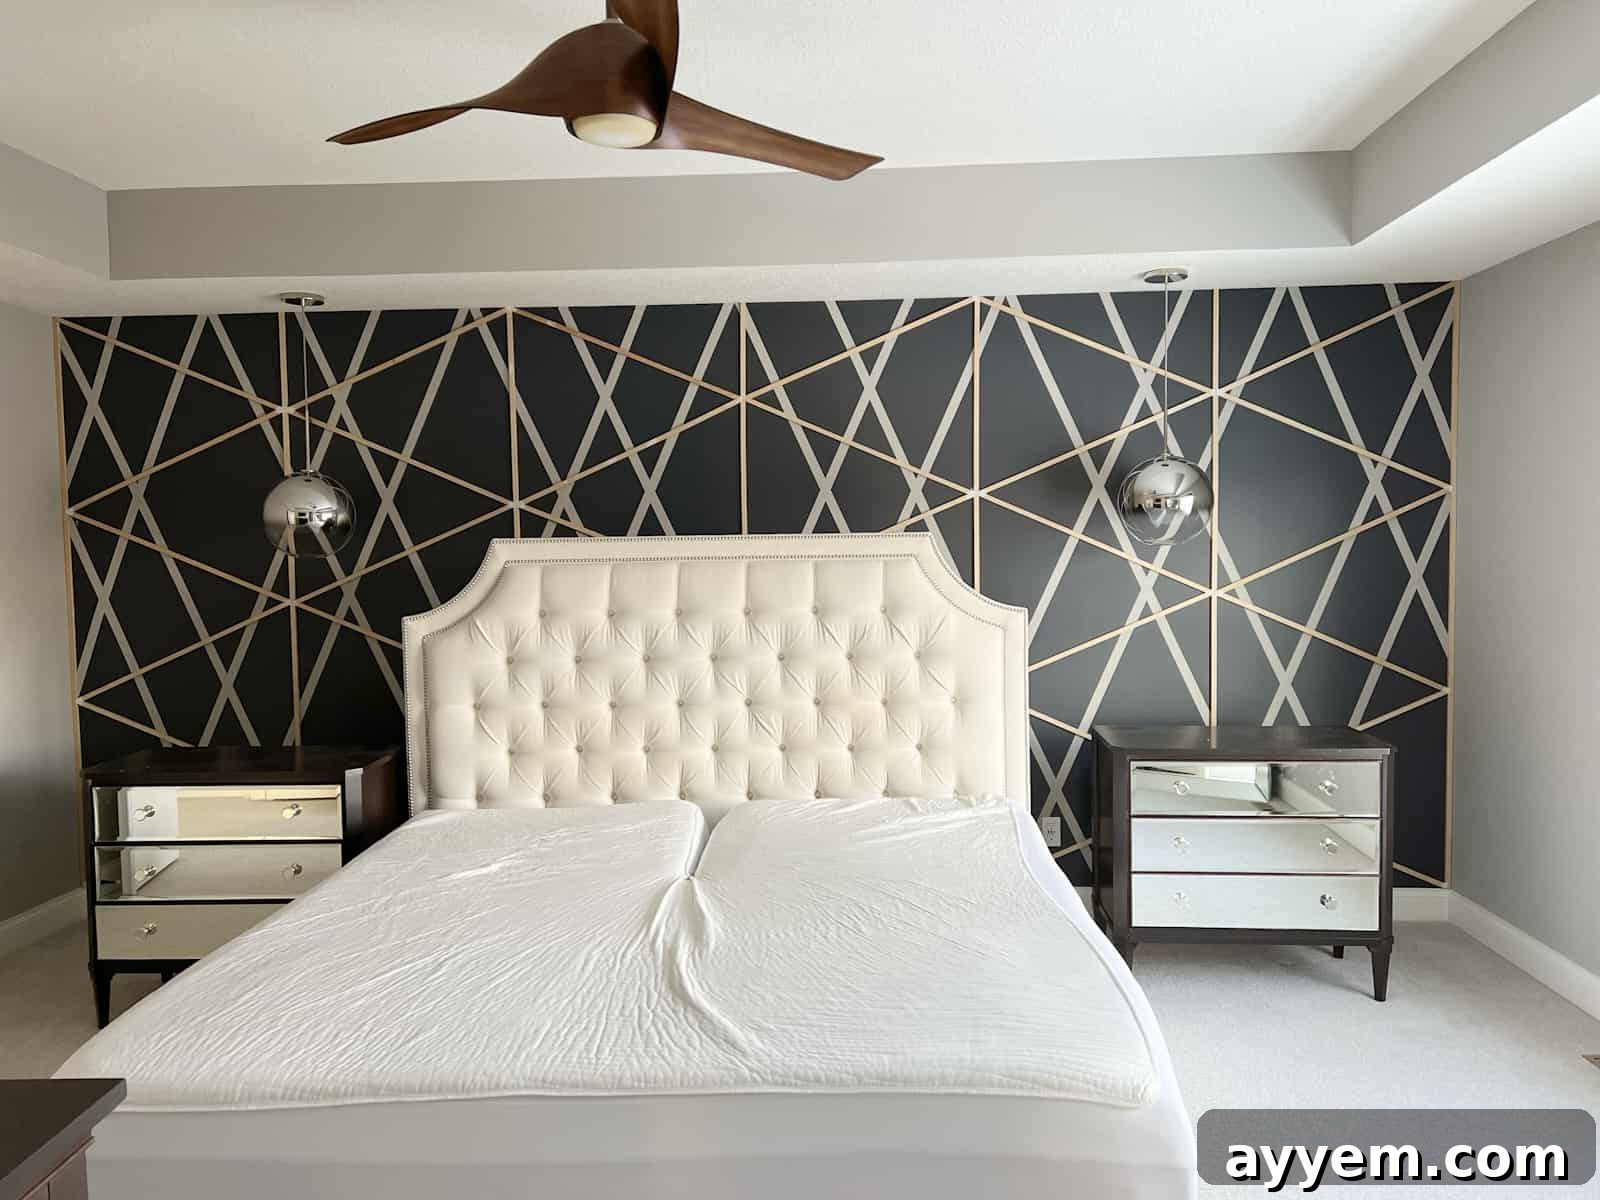
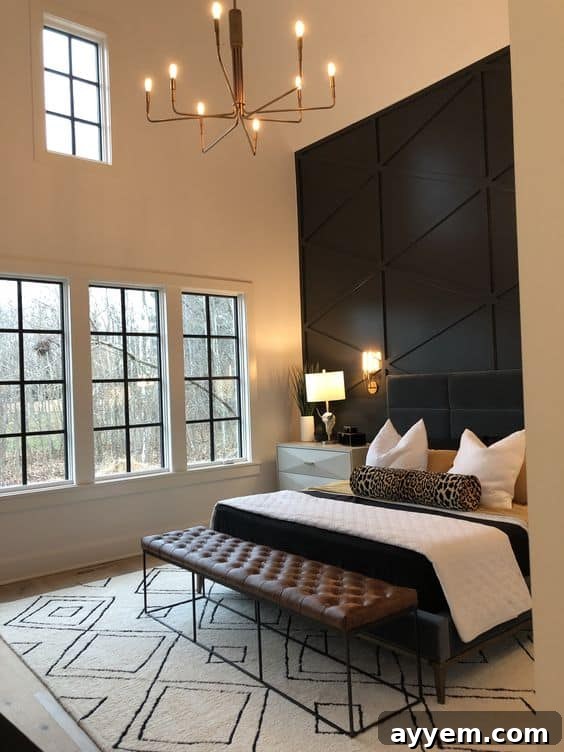
Before we embarked on this geometric wood accent wall project, our bedroom wall featured a painted criss-cross pattern, which served its purpose but no longer sparked joy. We believe in the power of transforming ordinary spaces into something truly remarkable and found ourselves yearning for a fresh, sophisticated update. Our journey began with a trip to Home Depot, where the initial hurdle was meticulously calculating the precise amount of wood needed and taking accurate measurements. This phase can be daunting, but with the aid of online calculators and a bit of patience, we navigated it smoothly. The satisfaction of seeing our vision come to life, piece by piece, was immeasurable. Here’s how you can replicate this stunning geometric design.
Essential Materials and Tools
Gathering all your supplies before starting will ensure a smooth and efficient project. Here’s what you’ll need:
- Tape Measure: For precise length and width measurements.
- Pencil: For marking cutting lines and placement points.
- Level: Crucial for ensuring all your vertical and diagonal lines are perfectly straight.
- Stud Finder: To locate wall studs for secure attachment of wood planks.
- Miter Saw: Essential for making accurate 45-degree angle cuts for your diamond pattern.
- 1×2 Strips of Wood: The main material for your geometric pattern. The exact quantity will depend on your wall size and desired pattern density.
- Nail Gun (with appropriate nails): For securely attaching the wood planks to the wall. Consider using construction adhesive in addition to nails for extra durability.
- Caulking Gun and Paintable Caulk: To fill gaps, seams, and nail holes for a seamless, finished look.
- Black Interior Paint (low-VOC recommended): Choose a high-quality paint in your preferred finish (e.g., matte, eggshell, satin). You’ll likely need 2-3 coats.
- Paint Brushes and Rollers: For even paint application.
- Painter’s Tape: To protect adjacent walls, ceiling, and baseboards.
- Drop Cloths or Plastic Sheeting: To protect your furniture and flooring from paint splatters.
- Safety Glasses and Gloves: Always prioritize safety when working with tools and paint.
Step-By-Step Guide to Your Black Accent Wall
- Thorough Measurement and Planning: Begin by precisely measuring the entire height and width of your wall. This accuracy is paramount. Based on your wall dimensions, decide how many vertical lines you want to create to form your diamond pattern. We opted for 7 vertical planks to achieve our desired aesthetic. Purchase enough 1×2 wood planks to cover all your vertical and diagonal lines, accounting for potential mistakes and waste. Lay out your design on paper or use a digital tool to visualize the pattern and calculate exact cut lengths.
- Secure the Vertical Slats: Using a stud finder, locate and mark the studs on your wall. While a nail gun can directly attach planks to drywall, securing them into studs provides maximum stability. Position your first vertical slat on the wall, ensuring it’s perfectly level using your spirit level. Using a nail gun, carefully attach the slat to the wall. Repeat this process for all your vertical planks, ensuring consistent spacing and perfect vertical alignment across the entire wall.
- Crafting Your Diamond Pattern: With your vertical framework in place, it’s time to bring the diamond shapes to life. First, determine how many full diamond shapes you wish to create vertically within each section between your vertical planks. We decided on seven and a half diamonds for a balanced look. Divide the total height of your vertical wood piece by this number to find the vertical spacing for your diamond points. Mark these points along each vertical board with your pencil.
Now, starting from the marked spot on your first vertical slat, measure diagonally to the corresponding marked spot on the adjacent vertical slat. Cut a 1×2 slat to fit this precise diagonal length. To create clean, professional joints, you’ll need to miter the ends of the wood pieces where they meet, typically at a 45-degree angle. This ensures the diagonal pieces align seamlessly with the vertical ones. Attach this diagonal piece using your nail gun. Continue this process, moving upwards along the wall and across each section, to progressively form your stunning diamond shapes. Consistency in measurement and angle cuts is crucial for a symmetrical pattern.
- The Art of Caulking: Once all your wood planks are securely in place, the next step is crucial for achieving a professional, built-in look. Use your caulking gun to carefully fill any gaps or seams where the wood meets the wall, as well as any nail holes. Smooth the caulk with a wet finger or a caulking tool immediately after application. This step eliminates imperfections, creates a seamless finish, and makes the planks appear as if they are an integral part of the wall. Allow the caulk to dry completely according to the manufacturer’s instructions, typically a few hours.
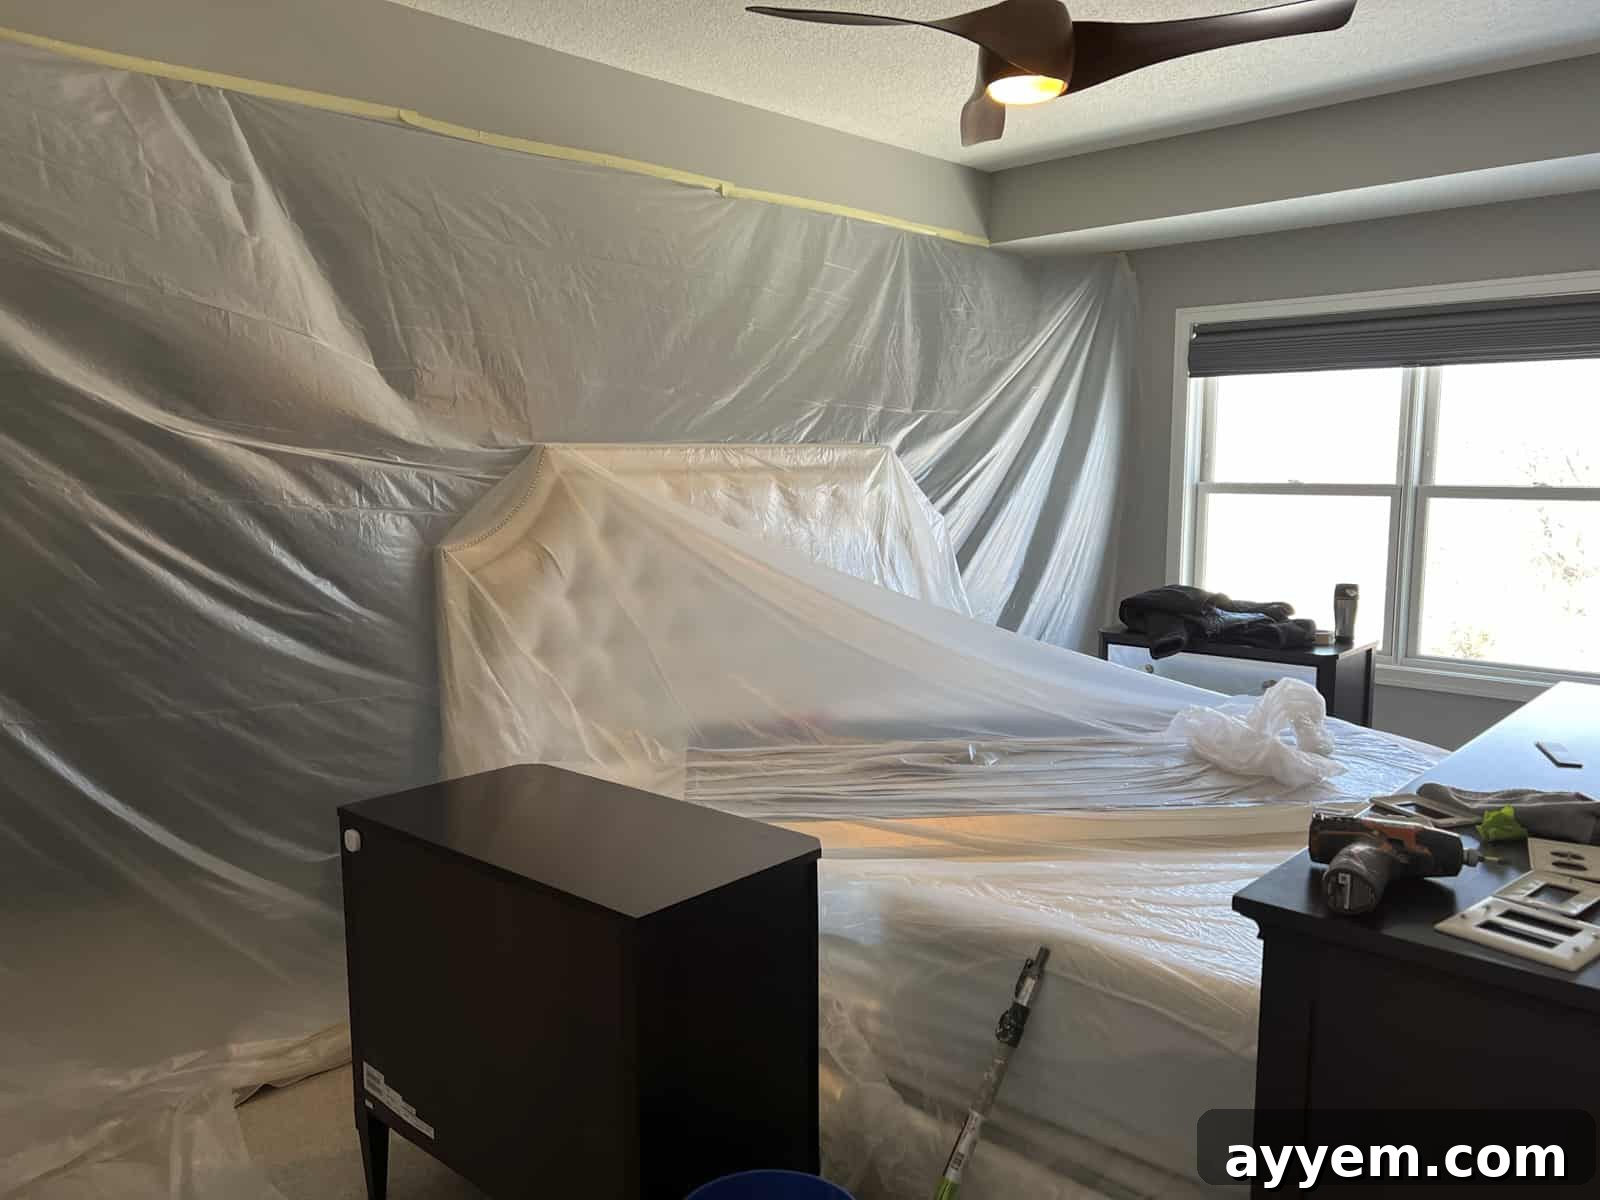
- Painting Your Masterpiece: Before you even open your paint can, ensure your workspace is fully protected. Lay down drop cloths generously and use painter’s tape to mask off any areas you don’t want painted, such as adjacent walls, the ceiling line, and baseboards. Once the caulk is dry, it’s time for the transformation! Apply 2-3 thin, even coats of your chosen black paint. Make sure to cover every nook, cranny, and edge of the wood planks and the wall section within the accent area. Allowing adequate drying time between coats is essential for a smooth, streak-free finish. Once the final coat is dry, carefully remove the painter’s tape. Step back and admire your beautifully crafted, bold black accent wall!
Pro Tip: Always cover all surrounding furniture, flooring, and adjacent walls thoroughly with drop cloths or plastic sheeting before you begin painting. This simple precaution will save you considerable time and effort in cleaning up any inevitable paint splatters.
Common Questions About Black Accent Walls
Not at all! When thoughtfully paired with lighter walls, complementary furniture, or vibrant decor, a black accent wall can add incredible depth, sophistication, and intimacy without making a space feel gloomy. The key is finding the right balance and incorporating strategic lighting to brighten the area.
Bedrooms, living rooms, and dining areas are exceptionally popular choices, as they often have a clear focal point or enough space to handle a bold statement. However, a black accent wall can also create a dramatic impact in entryways, home offices, or even powder rooms. Any space where you desire a striking focal point and a touch of modern elegance is fair game.
If used in a tiny, poorly lit room without contrasting elements, it certainly can. However, in a well-proportioned space with adequate lighting and contrasting decor, a black accent wall actually adds a perception of depth and coziness. It creates a visual anchor that can make the room feel more expansive and intentional rather than confined. Strategic use of mirrors can also enhance light and space.
Absolutely! Black is surprisingly versatile and pairs beautifully across a spectrum of interior design styles – from modern minimalist and industrial chic to traditional elegance and even rustic farmhouse. The magic lies in combining various textures, metallic finishes (like gold or copper), and complementary colors (such as crisp whites, warm woods, or jewel tones) to maintain a dynamic and inviting atmosphere.
Styling Your New Black Accent Wall
Once your black accent wall is complete, the fun continues with styling! Think about how you can highlight its dramatic presence:
- Layered Lighting: Implement various light sources, such as wall sconces, pendant lights, or strategically placed floor lamps, to create ambiance and showcase the wall’s texture and depth.
- Metallic Accents: Gold, brass, copper, or silver decor items, mirrors, and picture frames will pop against the black, adding a touch of glamour and sophistication.
- Natural Elements: Introduce elements like wooden furniture, indoor plants, or woven textiles to soften the boldness of the black and bring in warmth and organic texture.
- Art and Photography: A black wall makes an incredible gallery backdrop. Choose artwork with bright colors or white mats to create stunning visual impact.
- Contrasting Textiles: Use bedding, throw pillows, or curtains in lighter colors (whites, grays, creams) or bold patterns to create a luxurious and inviting feel.
More Inspiring Home DIY Projects
If you’re now feeling invigorated by the power of DIY and looking for more budget-friendly ways to elevate your home, we’ve got you covered! Explore some of our other favorite projects and smart storage tips below:
- Mastering Spice Organization
- Clever Drawer Organizer Solutions
- Discovering the Best Food Storage Containers
- Smart Ways to Store Garlic for Freshness
Embarking on a DIY home decor project like this black accent wall is incredibly rewarding. Not only do you save money, but you also infuse your personal style and energy into your living space. We hope this guide has empowered and inspired you to pick up your tools and create something beautiful in your home. Happy decorating!
DIY Geometric Black Accent Wall for Your Bedroom
Learn how to create a stunning, Pinterest-worthy black accent wall with a striking geometric design, using budget-friendly materials and easy-to-follow steps. This project will transform your bedroom into a modern sanctuary!
Author: Food Dolls
Total Project Time: Approximately 3 hours (excluding drying time for paint and caulk)
Materials Needed
- Tape Measure
- Pencil
- Level
- Stud Finder
- Miter Saw
- 1×2 Wood Strips (quantity depends on wall size and design)
- Nail Gun (with appropriate nails)
- Caulking Gun and Paintable Caulk
- Black Interior Paint
- Paint Brushes and Rollers
- Painter’s Tape
- Drop Cloths or Plastic Sheeting
- Safety Glasses and Gloves
Step-by-Step Instructions
- Measure the length and width of your wall. Plan your geometric design, determining the number of vertical planks and the spacing for your diamond pattern. Purchase the necessary 1×2 wood strips.
- Locate wall studs and securely attach your vertical 1×2 wood slats to the wall using a nail gun, ensuring they are perfectly level and evenly spaced.
- Mark the points for your diamond shapes along the vertical planks. Measure and cut diagonal 1×2 wood pieces to connect these points, making sure to miter the ends for clean, flush joints. Attach these diagonal pieces with the nail gun, forming your desired geometric pattern.
- Carefully caulk all seams where the wood meets the wall and fill any nail holes. Smooth the caulk and allow it to dry completely.
- Prepare your room by covering furniture and flooring with drop cloths and masking off adjacent areas with painter’s tape. Apply 2-3 coats of black paint to the wood planks and the wall area within your design, allowing ample drying time between coats.
- Once the paint is thoroughly dry, carefully remove the painter’s tape to reveal your stunning new accent wall.
Important Notes
*Always cover all your furniture, carpet, and adjacent walls before painting to protect them from any potential splatters or drips. Safety first!