
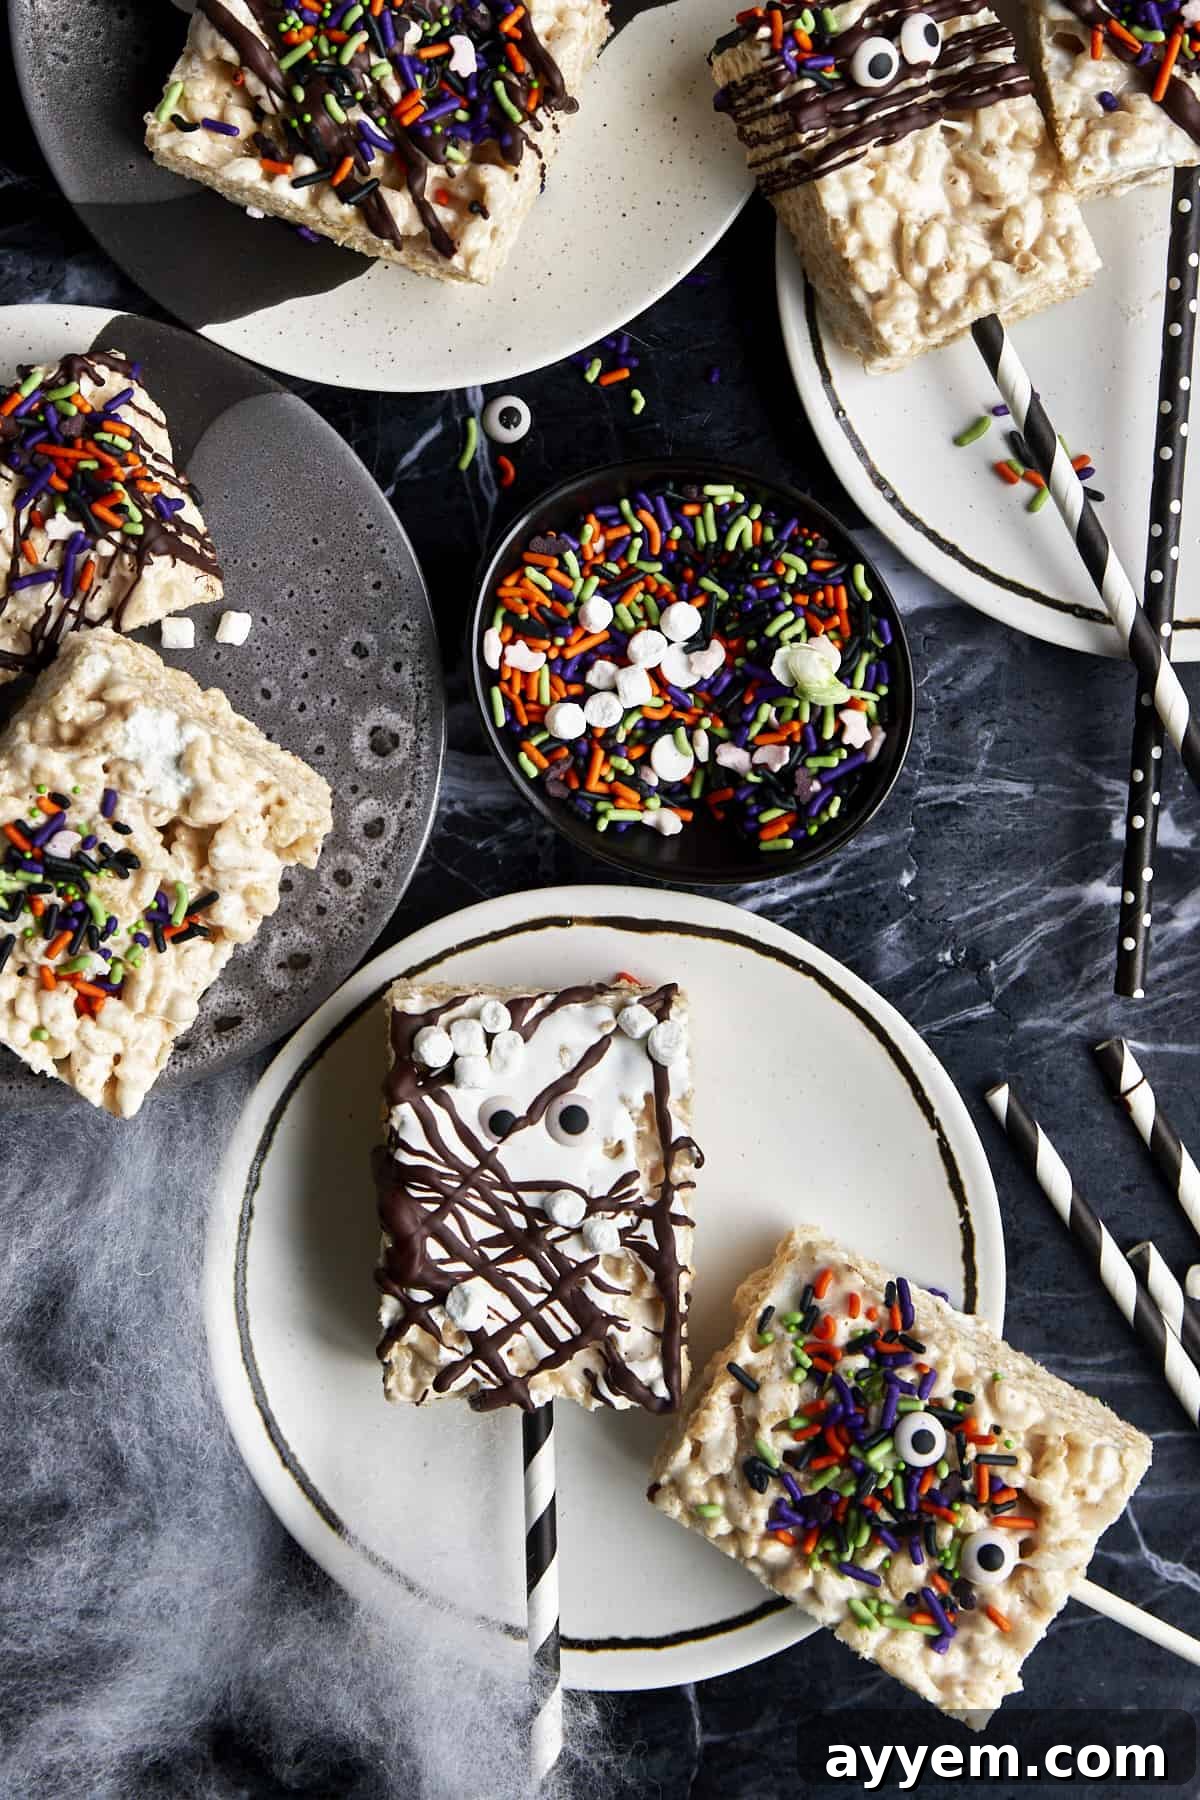
Get ready to summon some serious Halloween spirit with these utterly irresistible Halloween Rice Krispie Treats! Forget bland, basic squares—we’re talking about a ghoulishly good twist on a timeless classic. Crafted with just a handful of straightforward ingredients and a sprinkle of creative magic, these treats are not only incredibly simple to prepare but also a joy to personalize and decorate for the spooky season.
If you’re searching for the ultimate kid-friendly sweet treat to enchant your celebrations during autumn’s most mysterious holiday, look no further. These delightful crispy, chewy, and gloriously gooey marshmallow bars are guaranteed to be a monstrous hit at any Halloween party, school event, or even just a cozy night in for some trick-or-treating fun.
Creepy-Cute Halloween Rice Krispie Treats: A Scarily Delicious Recipe
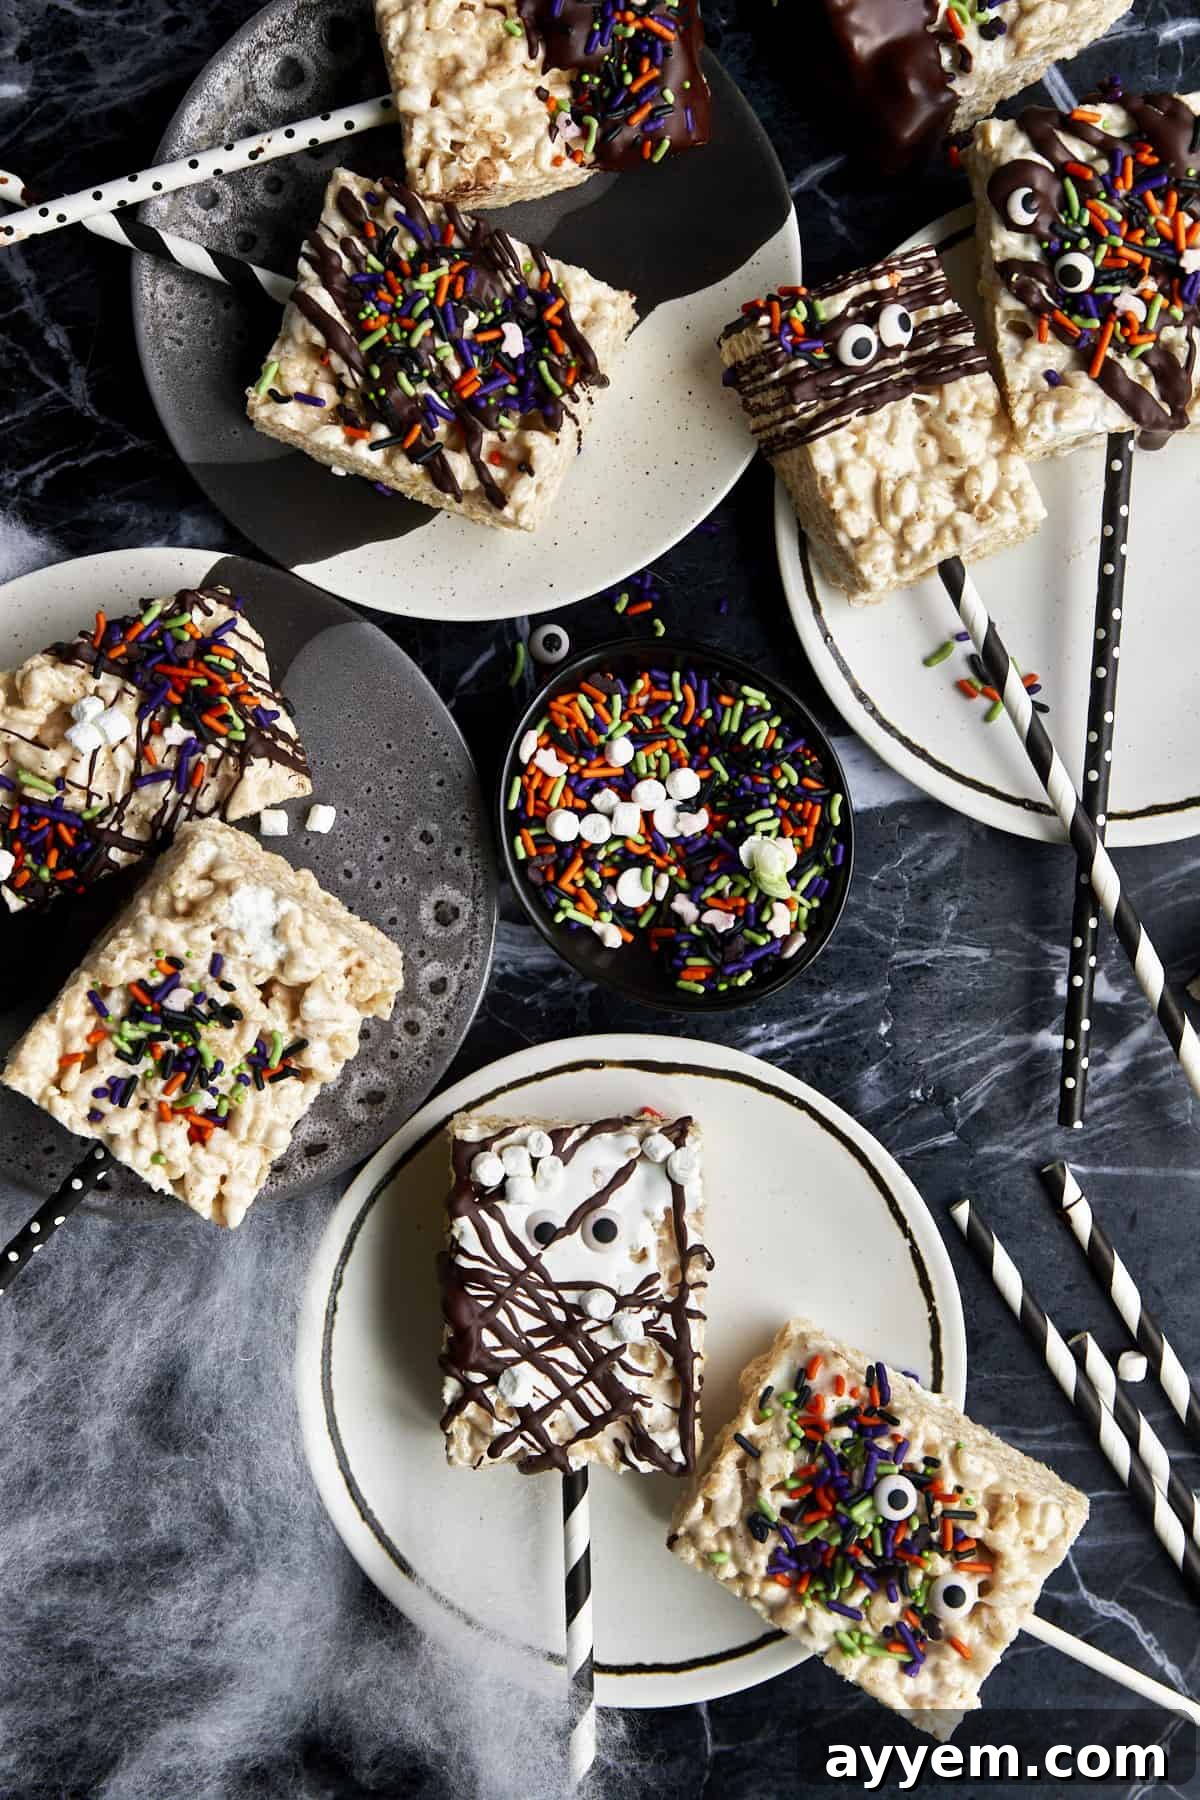
As the leaves begin to turn vibrant shades of orange and crimson, and the playful anticipation of jack-o’-lanterns flickering in the night fills the air, it’s the perfect time to gather your little goblins and ghouls in the kitchen for a culinary adventure. Our Halloween Rice Krispie Treats recipe transforms a beloved childhood favorite into a festive masterpiece that’s bursting with flavor and spooky charm.
We’ve taken the classic Rice Krispie treat and elevated it to new heights, infusing it with the rich, nutty depth of brown butter and an generous amount of extra marshmallows for an undeniably soft and chewy texture. Then, we crowned them with a medley of festive Halloween toppings that make them not only more delicious but also visually spectacular. So effortless that even young children can lend a helping hand, these treats are the quintessential addition to all your holiday gatherings and sweet cravings throughout the Halloween season.
Looking to explore more delightful crispy cereal creations? Be sure to check out our other popular recipes like Peanut Butter Rice Krispie Treats and Cookies and Creme Rice Krispie Treats for year-round enjoyment!
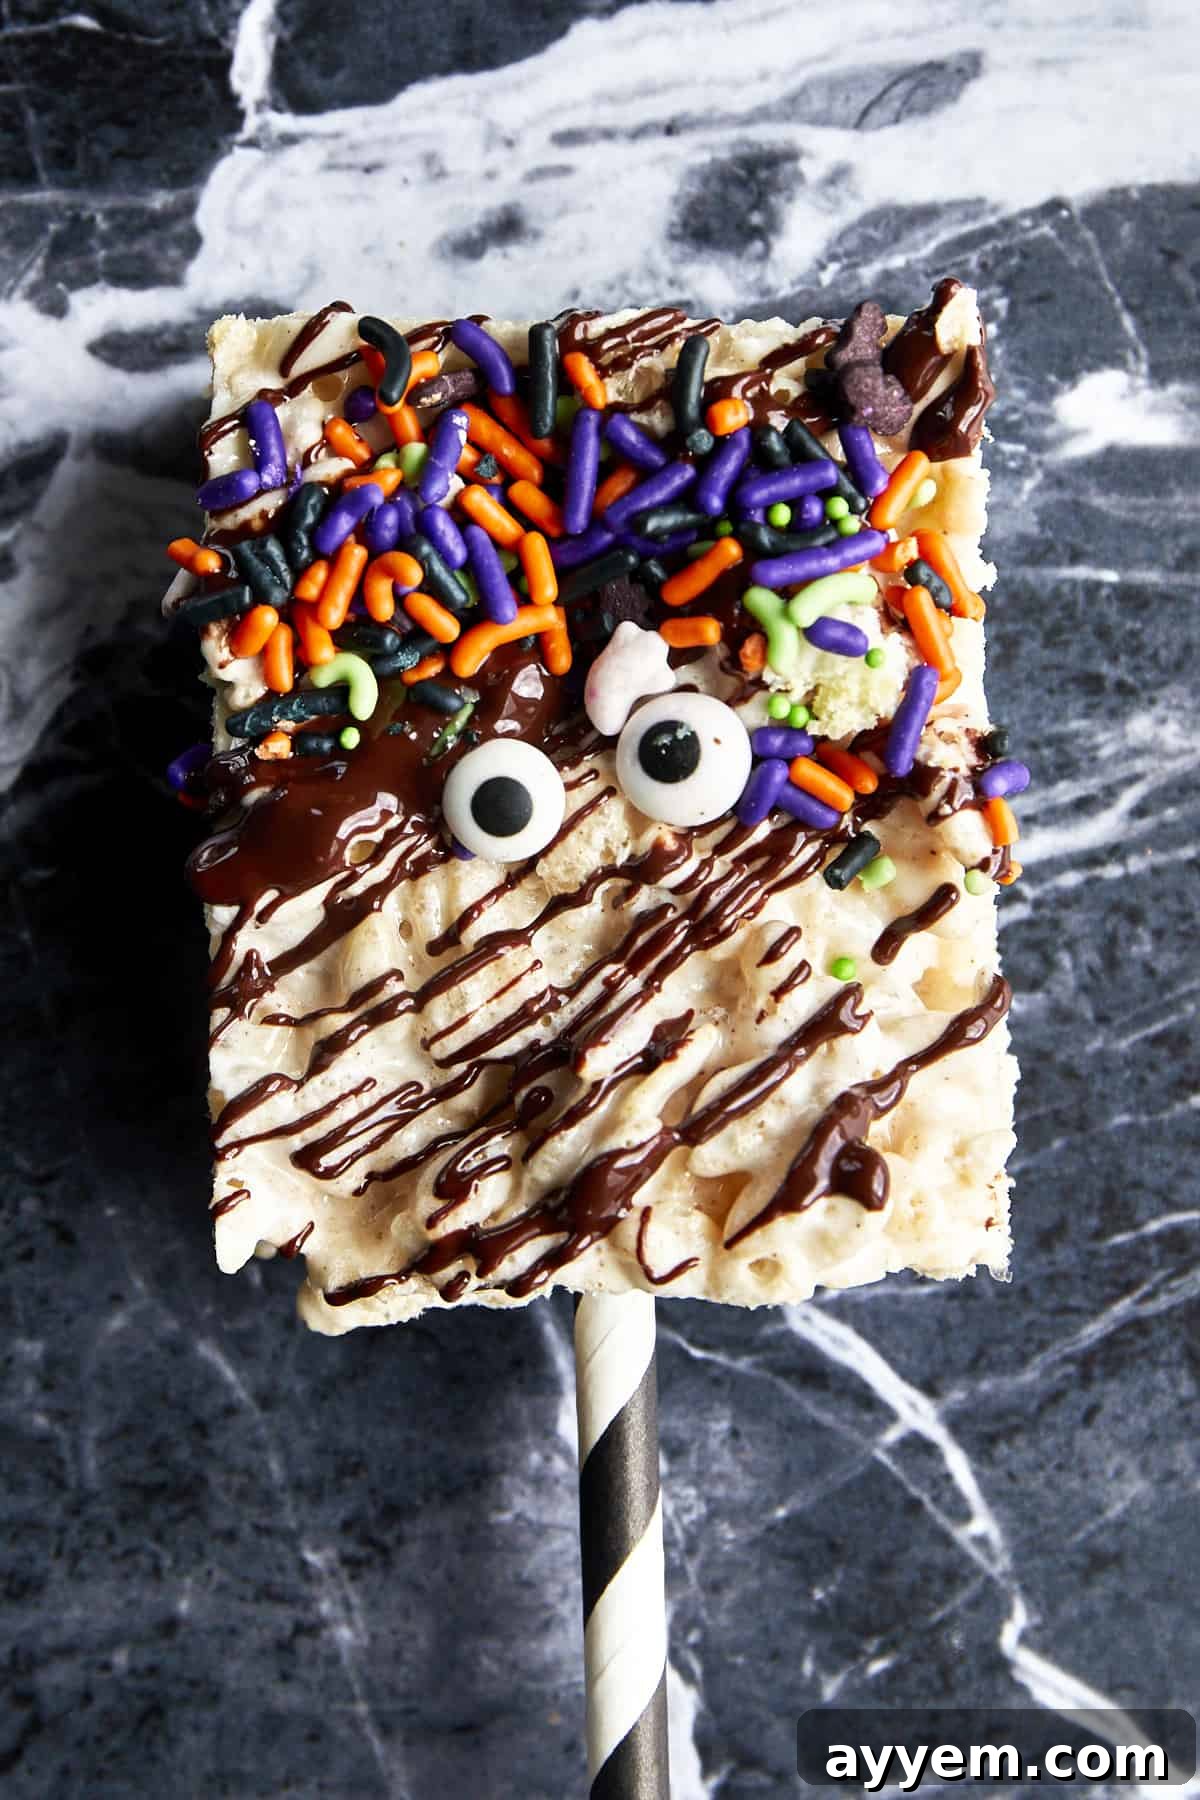
The Magic Behind Irresistible Halloween Rice Krispie Treats!
You’ll be amazed at how quickly you can create gourmet-looking and incredibly delicious treats with fewer than ten basic ingredients. These homemade Halloween Rice Krispie Treats are not just fun to assemble; they consistently outshine any store-bought equivalent in both taste and texture. Each ingredient plays a crucial role in achieving that perfect balance of crispy, chewy, and sweet goodness.
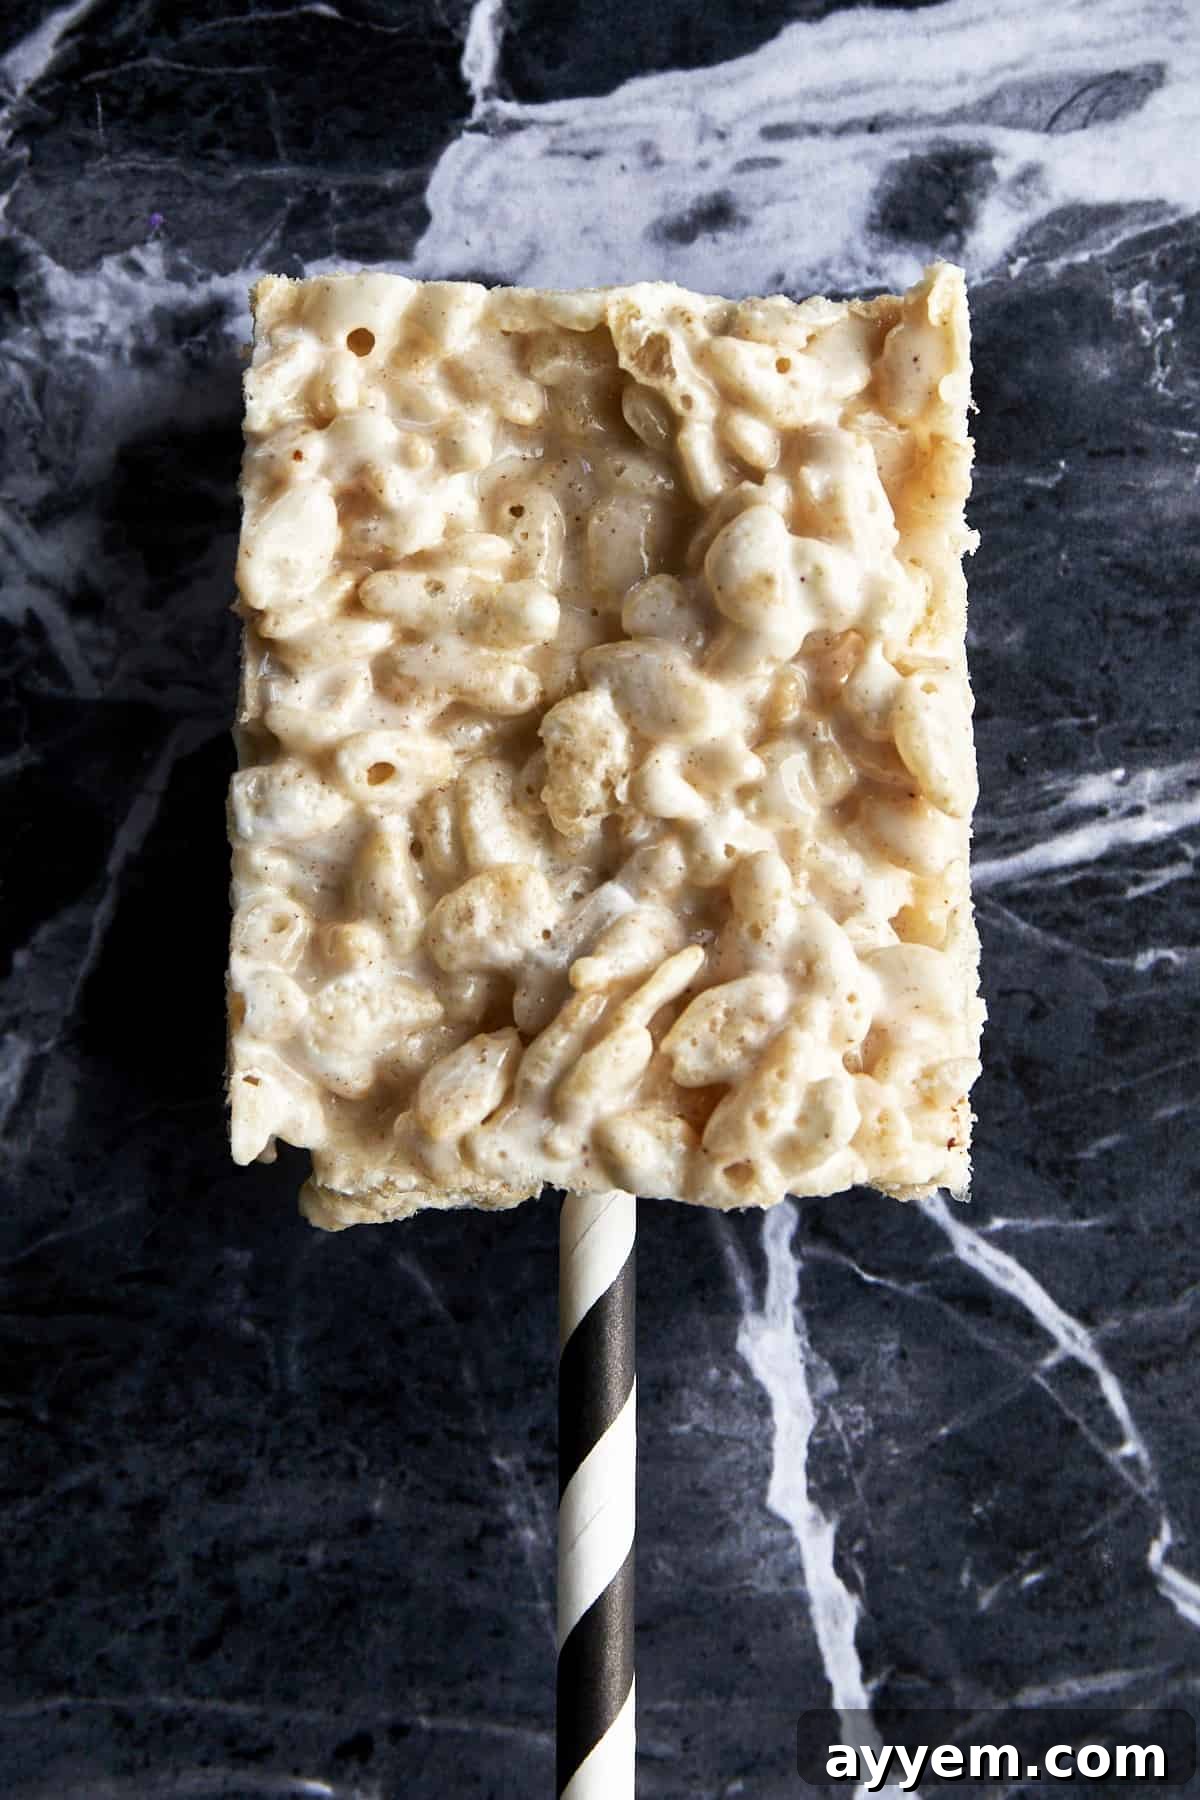
- Unsalted Butter: This forms the essential base for our treats. Browning the butter adds a rich, toasted, nutty flavor that deepens the overall taste profile, moving beyond the simple sweetness of traditional versions. It also contributes to the moisture content, ensuring the treats remain delightfully soft and cohesive.
- Jumbo Marshmallows: These larger marshmallows are the primary binding agent. As they melt, they create a wonderfully sticky, pliable “glue” that holds the crispy cereal together, forming the classic chewy texture we all love. Using fresh marshmallows is key for the best melt and consistency.
- Small Marshmallows: This is our clever secret for elevating these treats from good to absolutely phenomenal! By folding these smaller marshmallows in at the very last moment, they don’t fully melt. Instead, they retain their soft shape, creating delightful little pockets of ooey-gooey marshmallow bliss in every single bite. This contrast in texture adds an irresistible chewiness that truly sets these Halloween Rice Krispie Treats apart.
- Rice Krispies Cereal: The undisputed star of the show! While we typically opt for the classic name-brand cereal for its consistent crispiness, any plain puffed rice cereal will work beautifully. For those with dietary restrictions, ensure you select a certified gluten-free rice cereal, as some brands may contain malt flavoring that includes gluten. Feel free to experiment by swapping in other favorite cereals for unique flavor combinations!
- Paper Straws: While not a food ingredient, these festive paper straws are a game-changer! They act as convenient handles, making the treats much easier for little hands to hold, decorate, and enjoy without getting sticky. Opting for Halloween-themed straws in vibrant oranges, purples, or greens instantly adds an extra layer of festivity and fun to your creations.
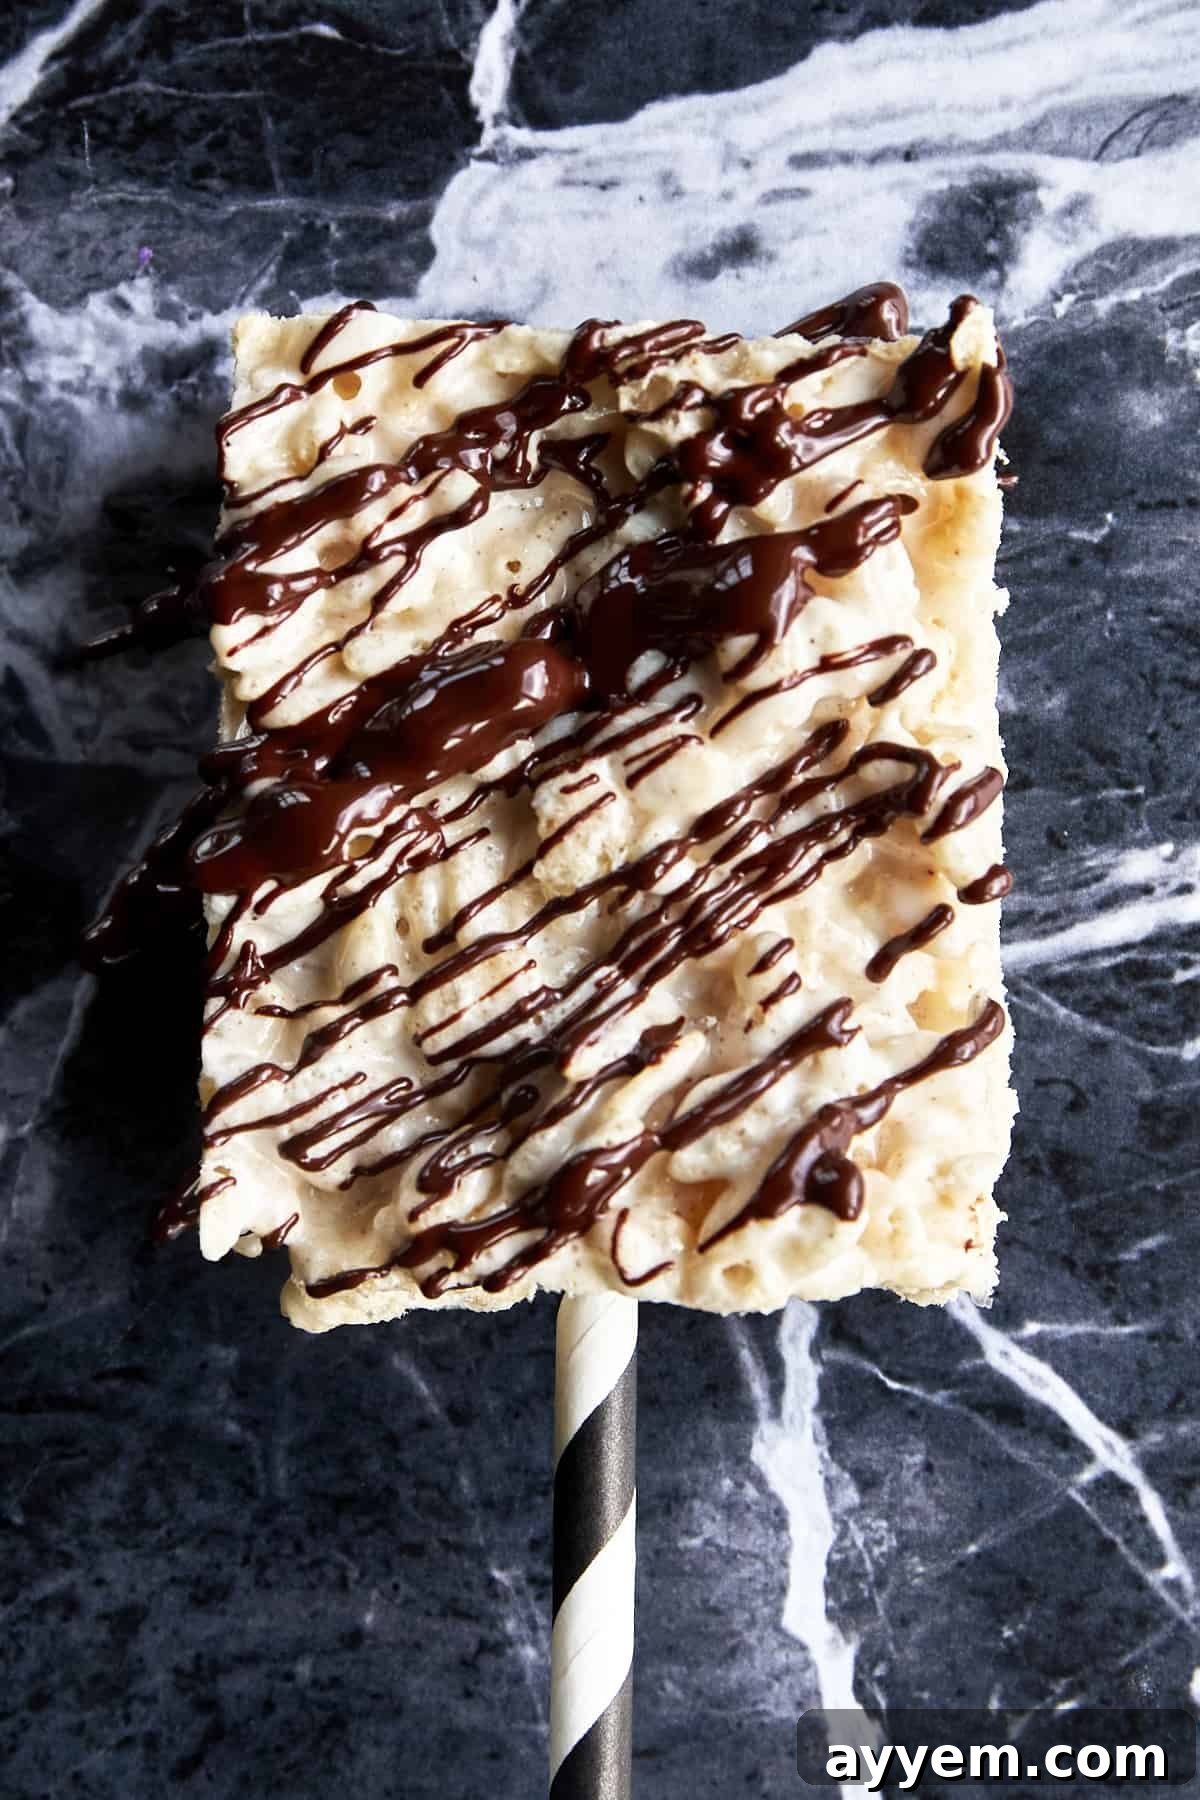
- Chocolate Chips: Semi-sweet chocolate chips are our go-to for a perfect balance of sweetness and rich cocoa flavor. Once melted until smooth, they provide an ideal base for drizzling or dipping, adding a luxurious coating to each square. Don’t hesitate to experiment with dark chocolate for a more intense flavor, or white chocolate for a lighter, sweeter contrast that can be easily colored with food dye.
- Halloween-Themed Sprinkles: These tiny bursts of color are essential for transforming your treats into eye-catching Halloween masterpieces! From classic orange and black jimmies to playful ghost and pumpkin shapes, sprinkles allow you to add instant pops of color, texture, and holiday cheer. They’re also perfect for creating whimsical faces or intricate designs.
Your Foolproof Guide to Making the Best Halloween Rice Krispie Treats
This recipe builds upon the beloved foundation of traditional Rice Krispie treats, but we’ve incorporated a few ingenious twists to amplify the flavor and ensure a truly irresistible result that will have everyone reaching for more!
- Prepare Your Dish: Begin by lining a standard 9×13-inch baking dish with parchment paper. Allow a generous overhang on the sides—this foresight will be your best friend when it comes time to easily lift the entire slab of treats out of the pan for cutting. A light spray of cooking oil on the parchment can also help prevent sticking.
- Brown the Butter to Perfection: In a large, heavy-bottomed saucepan, melt the unsalted butter over medium-low heat. Continue to cook the butter, stirring frequently with a heat-resistant spatula, for approximately 5-8 minutes. You’ll notice it foaming, then tiny brown flecks will begin to appear at the bottom, and a wonderful nutty aroma will fill your kitchen. The butter should transform into a beautiful golden-brown color. This browning process is crucial for the deep, complex flavor. Be vigilant and stir consistently to prevent burning; remove it from the heat as soon as it reaches this stage.
- Melt the Jumbo Marshmallows: Immediately add the entire bag of jumbo marshmallows to the browned butter in the saucepan. Return the saucepan to very low heat. Stir continuously until the marshmallows have completely melted into a smooth, glossy, and homogeneous mixture. Ensure there are no lumps remaining, but avoid overcooking, as this can make the treats hard.
- Incorporate the Cereal: Remove the saucepan from the heat immediately. This is a critical step to maintain the cereal’s crispiness. Quickly pour in the 8 cups of Rice Krispies cereal. Using your spatula, gently but swiftly fold and mix the cereal into the melted marshmallow mixture until every single piece is evenly coated. Work efficiently, as the mixture will begin to set as it cools.
- Fold in More Marshmallows: Now for our secret ingredient! Gently fold in the additional 1 cup of small marshmallows. Distribute them evenly throughout the mixture. These will soften but not entirely melt, creating those delightful pockets of gooeyness that add a fantastic textural contrast to the finished treats.
- Transfer and Press: Quickly transfer the warm cereal mixture into your prepared baking dish. To press it into the pan, lightly grease a spatula with butter or cooking spray, or dampen your hands with a little water. Gently and evenly press the mixture into the pan. The key is to press it firmly enough to hold its shape, but avoid compacting it too much, which can result in overly dense and hard treats. You want them to remain chewy and soft.
- Cool, Cut, and Insert Straws: Allow the treats to cool and set completely at room temperature for at least 30 minutes to 1 hour. This ensures they firm up nicely and are easy to cut. Once set, use the parchment paper overhang to lift the entire slab onto a cutting board. Slice the treats into desired squares or festive shapes. Finally, insert a paper straw into the bottom of each piece. These not only make them easy to handle but also add to their festive appearance!
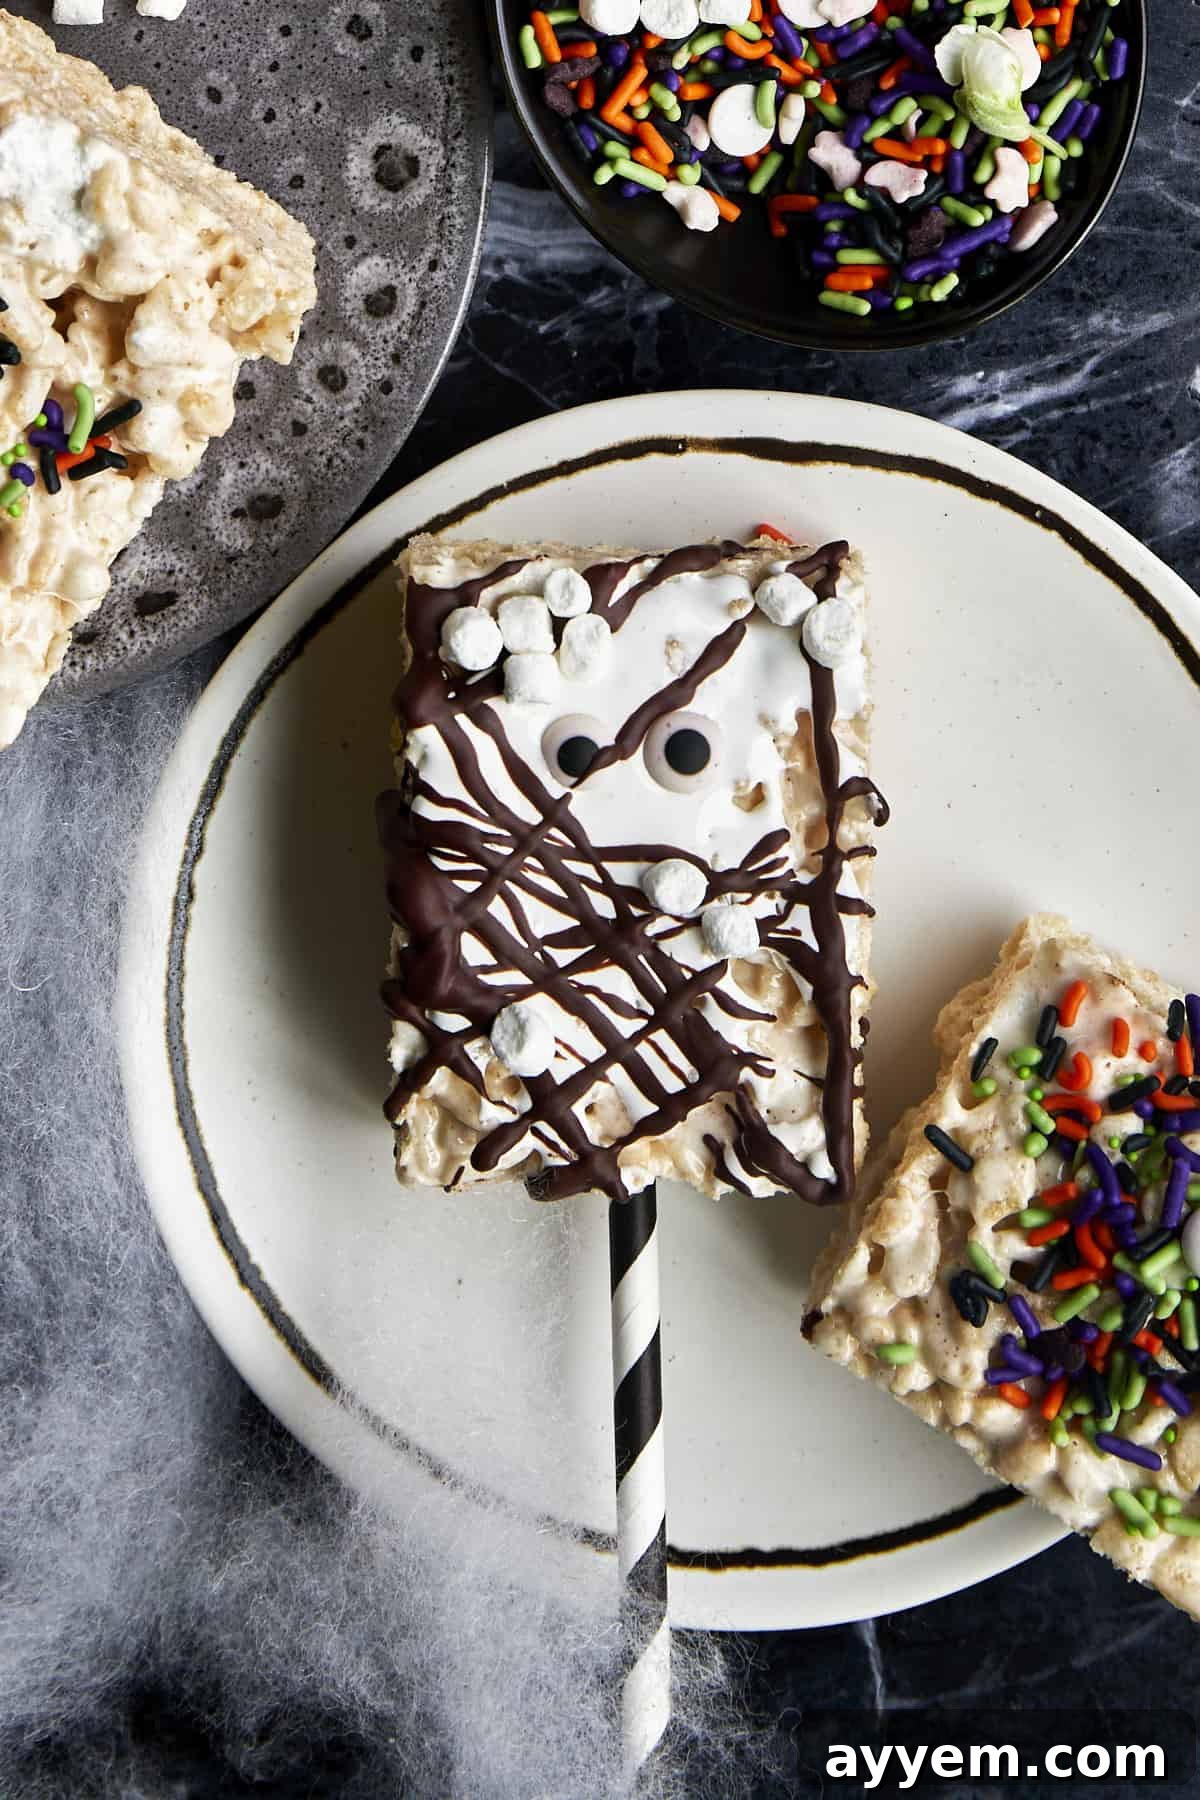
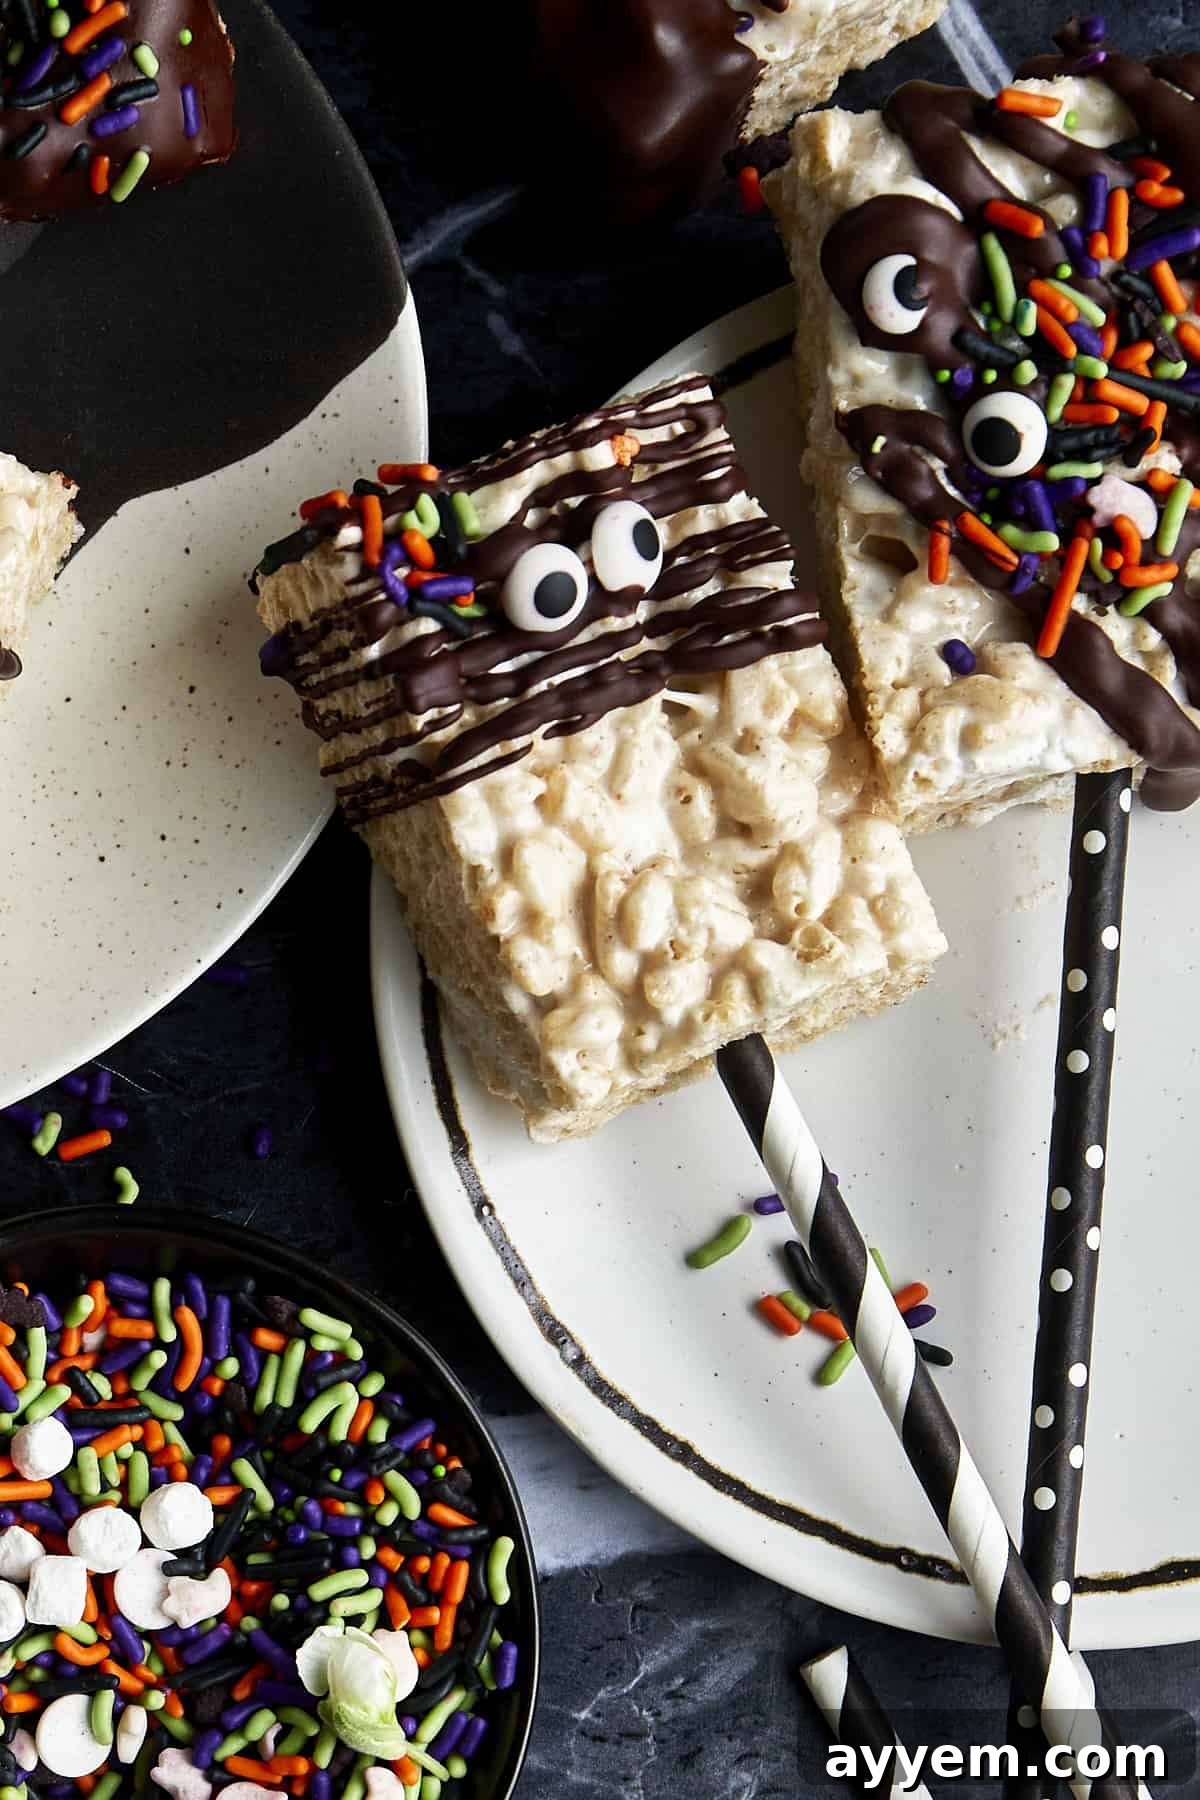
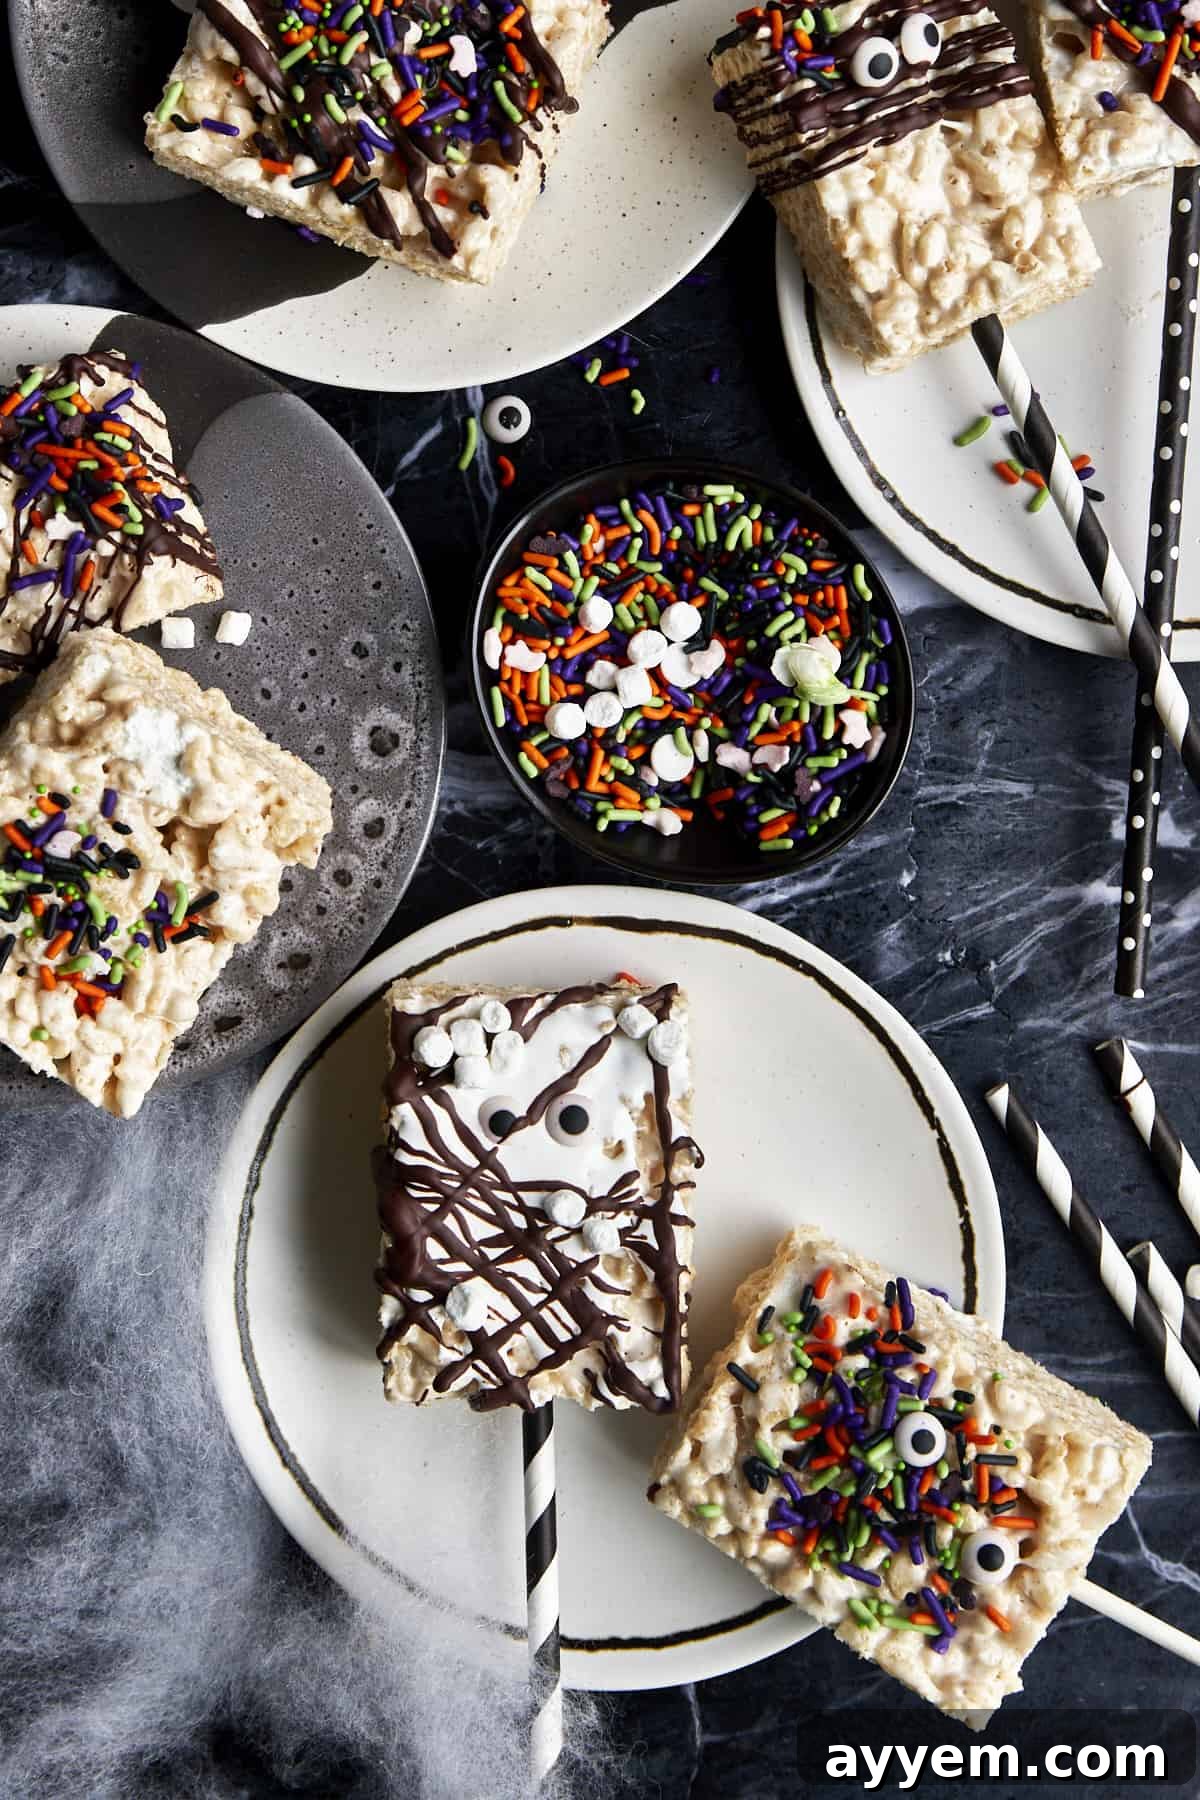
- Decorate with Drizzle and Sprinkles: Prepare your chocolate for decorating. Melt the semi-sweet chocolate chips in a microwave-safe bowl in 20-second increments, stirring well after each interval, until perfectly smooth and pourable. You can then generously drizzle the melted chocolate over the tops of your cooled treats, or for a more dramatic effect, dip half of each treat directly into the chocolate. While the chocolate is still wet and glossy, liberally shower your Halloween Rice Krispie Treats with your favorite Halloween-themed sprinkles. Feel free to add candy eyes or other spooky edibles at this stage. Allow the chocolate to fully harden, which typically takes about 15-20 minutes at room temperature, or a few minutes in the refrigerator to speed things up.
Unleash Your Creativity: Optional Variations and Decoration Ideas
Once you’ve mastered the perfectly chewy and flavorful base of these Rice Krispie squares, the possibilities for decoration and customization are virtually limitless! This is where your imagination can truly run wild, transforming simple treats into a gallery of creepy-cute Halloween delights. Have an absolute blast experimenting with a variety of mix-ins, toppings, and design elements to make each treat unique.
- Inject Vibrant Color: Add a few drops of gel food coloring to the melted marshmallow mixture right before you add the cereal. Choose spooky shades like electric green for monster slime, bright orange for pumpkins, or deep purple for witchy brews. Layer different colors for a marbled effect or create individual batches of multi-colored treats.
- Exciting Mix-ins: Boost the flavor and texture by folding in extra ingredients along with the small marshmallows. Consider mini chocolate chips, chopped nuts (if no allergies), candy corn, Reese’s Pieces, crushed Oreos for “dirt,” or even mini pretzels for a sweet and salty crunch. Ensure mix-ins are added at the very end to prevent them from melting or becoming soggy.
- Craft Spooky Faces and Characters: This is where the real fun begins! Use edible candy eyes to bring your treats to life, transforming them into adorable ghosts, grinning monsters, or wide-eyed mummies. You can use melted chocolate or colored icing pens to draw on mouths, scars, or intricate spiderwebs. For mummy treats, drizzle thin lines of white chocolate back and forth across the square, leaving a small gap for candy eyes.
- Add Edible “Arms” and Details: For playful monster or skeleton figures, press pretzel sticks or Pocky sticks into the sides of the treats to create fun “arms” or “bones.” You can even break thin pretzel sticks and use them as broomsticks for witches, or tiny twig arms for scarecrows. Decorate the tips with melted chocolate and sprinkles for extra flair.
- Themed Dips: Instead of just drizzling, consider completely dipping your treats! Dip them into melted white chocolate (which can be dyed any color), milk chocolate, or even a brightly colored candy melt. Before the coating sets, roll them in crushed cookies, finely chopped nuts, or a shower of themed sprinkles.
- Powdered Sugar Ghosts: For a simple yet effective ghost effect, cut your treats into ghost shapes (you can use a cookie cutter). Lightly dust them with powdered sugar to create a ethereal, ghostly sheen. Add two small chocolate chips for eyes.
Common Questions About This Halloween Rice Krispies Treats Recipe
Browning the butter is a simple yet transformative step! It adds a wonderfully rich, nutty, and toasted depth of flavor that a plain melted butter cannot provide. This subtle caramel-like note truly elevates the overall taste of your Rice Krispie treats, making them more complex and gourmet.
Absolutely! Decorating these treats is one of the most enjoyable parts and a fantastic activity for children of all ages. Let them unleash their creativity by drizzling melted chocolate, pressing in spooky candies, adding candy eyes, or going wild with various Halloween sprinkles. It’s a wonderful no-bake project that doubles as a creative art session (with delicious snacks as a reward!).
Yes, they are excellent for making in advance! These treats hold up beautifully for several days. For optimal freshness, wrap them tightly in plastic wrap (individually or as a whole slab) and store them in an airtight container at room temperature. Avoid refrigerating them, as this can make them hard and less chewy.
Not at all, it’s completely optional—but it’s a super fun extra! A few drops of orange, green, or purple food coloring can instantly turn your treats into vibrant, festive bites that perfectly capture the Halloween spirit without altering their delicious flavor. Gel food coloring works best for intense colors.
They certainly can be! The key is to be mindful of your ingredients. Ensure you’re using a certified gluten-free crispy rice cereal, as some conventional brands may contain malt flavoring derived from barley, which contains gluten. Also, double-check that your marshmallows are specifically labeled as gluten-free, as ingredients can vary by brand.
To prevent hardness, avoid overcooking the marshmallows (melt them just until smooth, then remove from heat). Also, when pressing the mixture into the pan, be gentle; over-compacting can lead to dense, hard treats. For stickiness, ensure your hands or spatula are lightly greased with butter or cooking spray before pressing. Storing them in an airtight container at room temperature also helps maintain their soft, chewy texture.
More Festive Halloween Treats to Try
Still searching for more sweet sensations to make your spooky season extra special? We’ve got you covered with these easy and crowd-pleasing Halloween recipes that are sure to be a hit!
- The Best Halloween Brownies
- Halloween Crack Candy (Saltine Toffee)
- Caramel Apple Bark with Pretzels
- Spooky Halloween Snack Mix
Halloween Rice Krispie Treats Recipe
Food Dolls
24 servings
10 mins
12 mins
50 mins
1 hr 12 mins
Print Recipe
Ingredients
- 1 stick (1/2 cup) unsalted butter
- 1 bag (10 ounces) jumbo marshmallows
- 8 cups Rice Krispies cereal
- 1 cup small marshmallows
- 12 paper straws
- 1/2 cup semisweet chocolate chips, melted (for drizzling)
- Halloween-themed sprinkles
- Optional: Candy eyes, food coloring, additional mix-ins
Instructions
Prepare Your Workspace:
- Line a 9×13-inch baking dish with parchment paper, leaving generous overhangs on the sides to assist with easy removal of the set treats.
Brown the Butter:
- In a large, heavy-bottomed saucepan, melt 1 stick (1/2 cup) of unsalted butter over medium-low heat. Continue to cook, stirring frequently with a heat-resistant spatula, for about 5-8 minutes until it turns a rich golden-brown color and emits a nutty aroma. Tiny brown flecks will appear at the bottom. Be extremely careful not to let it burn! Immediately remove the saucepan from the heat once this color and aroma are achieved.
Melt the Jumbo Marshmallows:
- Add the entire 10-ounce bag of jumbo marshmallows to the browned butter in the saucepan. Return the saucepan to low heat and stir continuously until the marshmallows are completely melted and form a smooth, gooey mixture. Do not overcook.
Combine with Rice Krispies:
- Remove the saucepan from the heat. Quickly add 8 cups of Rice Krispies cereal to the marshmallow mixture. Using your spatula, gently but efficiently stir and fold until all the cereal is evenly coated with the sticky marshmallow mixture. Work fast, as the mixture will begin to stiffen as it cools.
Add Small Marshmallows:
- Gently fold in the 1 cup of small marshmallows into the Rice Krispie mixture. These will soften but remain mostly intact, creating delightful pockets of extra gooeyness and chewiness throughout the treats.
Press into Baking Dish:
- Transfer the warm cereal mixture into the prepared baking dish. Lightly grease a spatula or your hands with butter or cooking spray. Gently press the mixture evenly into the pan. Avoid pressing too firmly, as this can compress the cereal and make the finished treats dense and hard rather than chewy.
Set and Cut:
- Allow the Rice Krispie mixture to cool and set completely at room temperature for approximately 30 minutes to 1 hour. This ensures the treats are firm enough to cut cleanly.
Insert Straws:
- Once the mixture has set, use the parchment paper overhang to lift the entire slab onto a cutting board. Cut into 24 squares (or your desired shapes). Carefully insert a paper straw into the bottom of each square to serve as a festive handle.
Decorate:
- Melt the 1/2 cup of semisweet chocolate chips in a microwave-safe bowl. Heat in 20-second bursts, stirring well between each, until smooth. Drizzle the melted chocolate artistically over the tops of your cooled Rice Krispie treats, or dip half of each treat into the chocolate for a more solid coating.
- While the chocolate is still wet, generously sprinkle Halloween-themed sprinkles over the treats. This is also the time to attach candy eyes, small candies, or draw designs with icing pens.
Final Set and Enjoy:
- Allow the chocolate drizzle and decorations to set completely, which will take approximately 15-20 minutes at room temperature, or slightly quicker in the refrigerator. Once set, your delightful Halloween Rice Krispie Treats are ready to be served and enjoyed!
Equipment
Nutrition
Calories: 76kcal |
Carbohydrates: 14g |
Protein: 1g |
Fat: 2g |
Saturated Fat: 1g |
Polyunsaturated Fat: 0.1g |
Monounsaturated Fat: 0.5g |
Trans Fat: 0.003g |
Cholesterol: 0.2mg |
Sodium: 75mg |
Potassium: 37mg |
Fiber: 0.4g |
Sugar: 3g |
Vitamin A: 623IU |
Vitamin C: 6mg |
Calcium: 4mg |
Iron: 3mg
Nutrition information is automatically calculated, so should only be used as an approximation.