
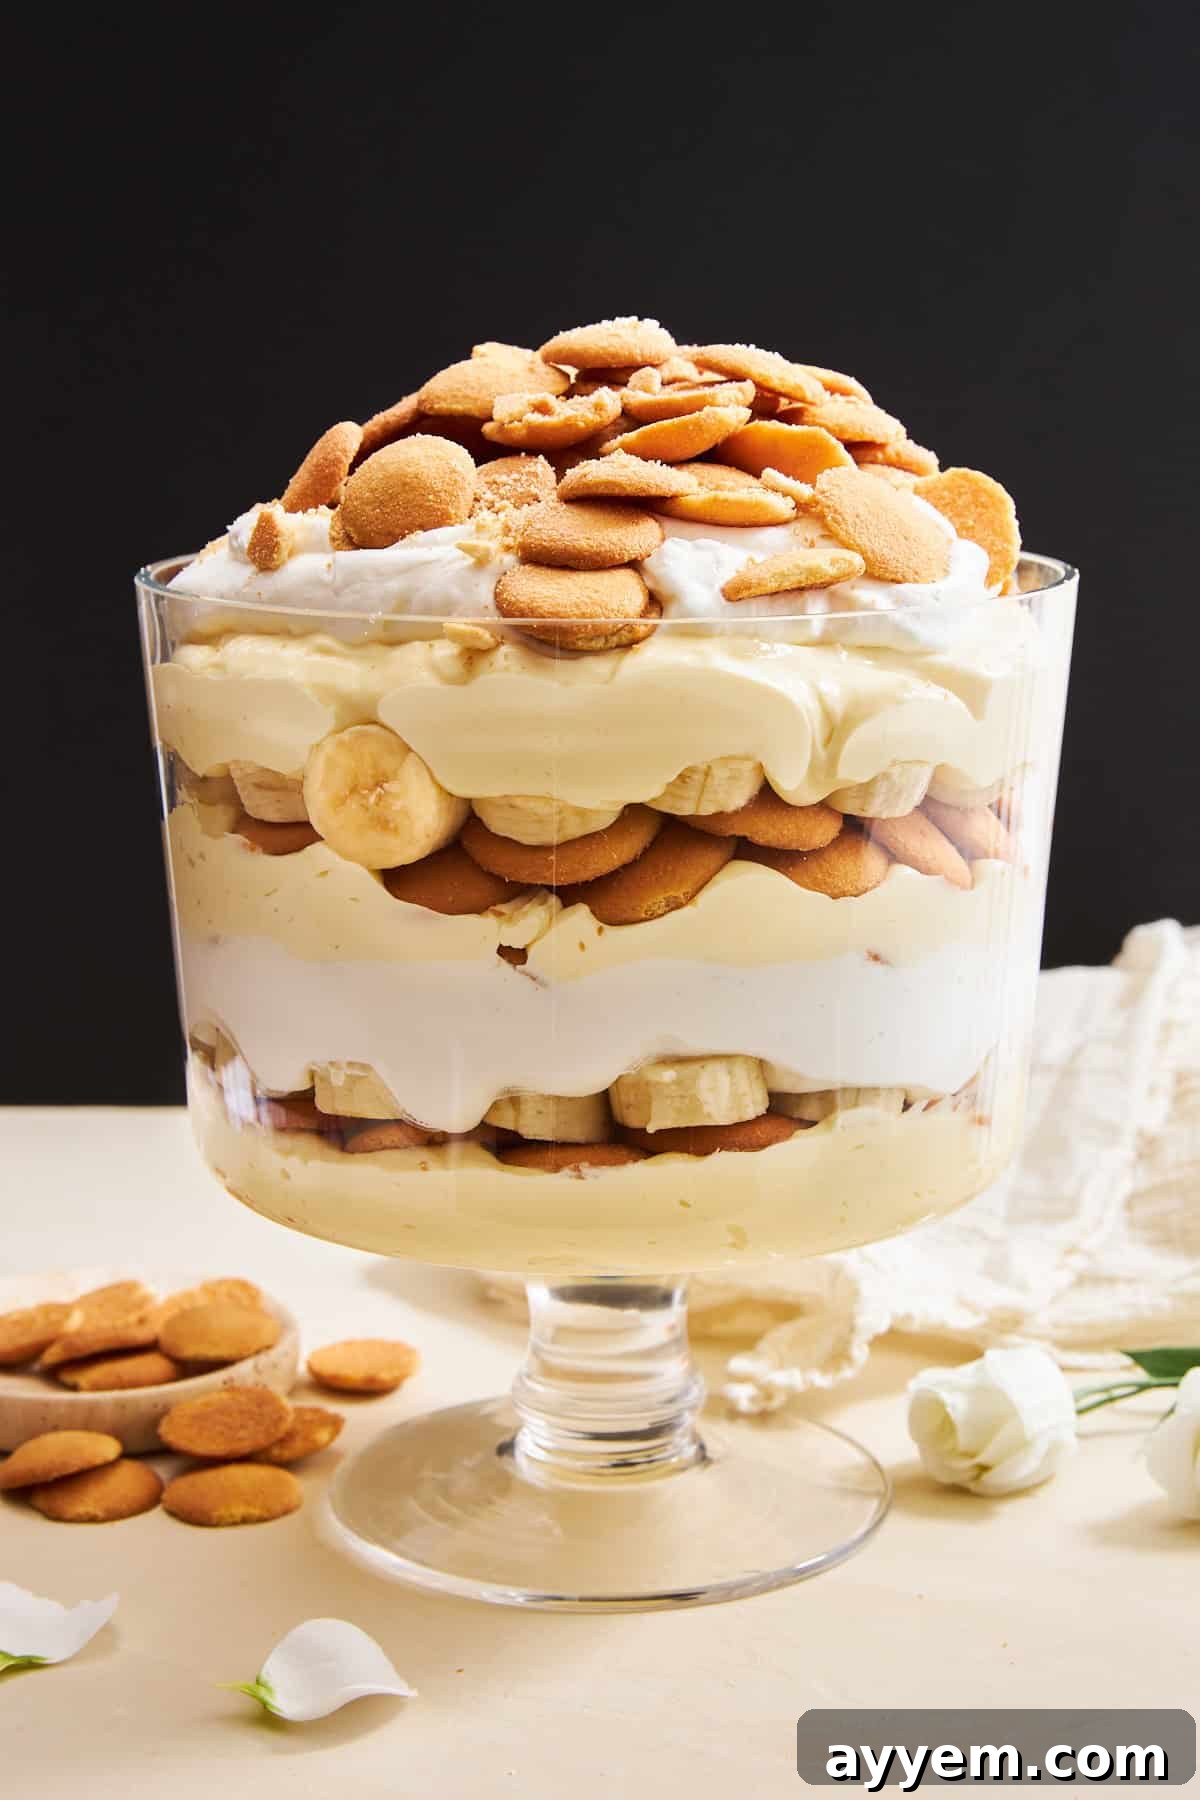
Welcome to the ultimate guide for creating the most divine and effortlessly delicious dessert that promises to captivate every palate: our Easy Banana Pudding Recipe. This classic Southern comfort food brings together layers of creamy, dreamy vanilla pudding, fresh ripe bananas, and crisp, sweet vanilla wafers, creating a symphony of textures and flavors that is truly irresistible. Whether you’re preparing for a large family gathering, a festive potluck, or simply seeking a sweet escape for a quiet evening at home, this foolproof recipe is designed for maximum flavor with minimal effort. Get ready to indulge in a dessert that’s both nostalgic and incredibly satisfying, guaranteed to become a cherished favorite in your recipe collection.
What is Banana Pudding: A Classic Southern Dessert?
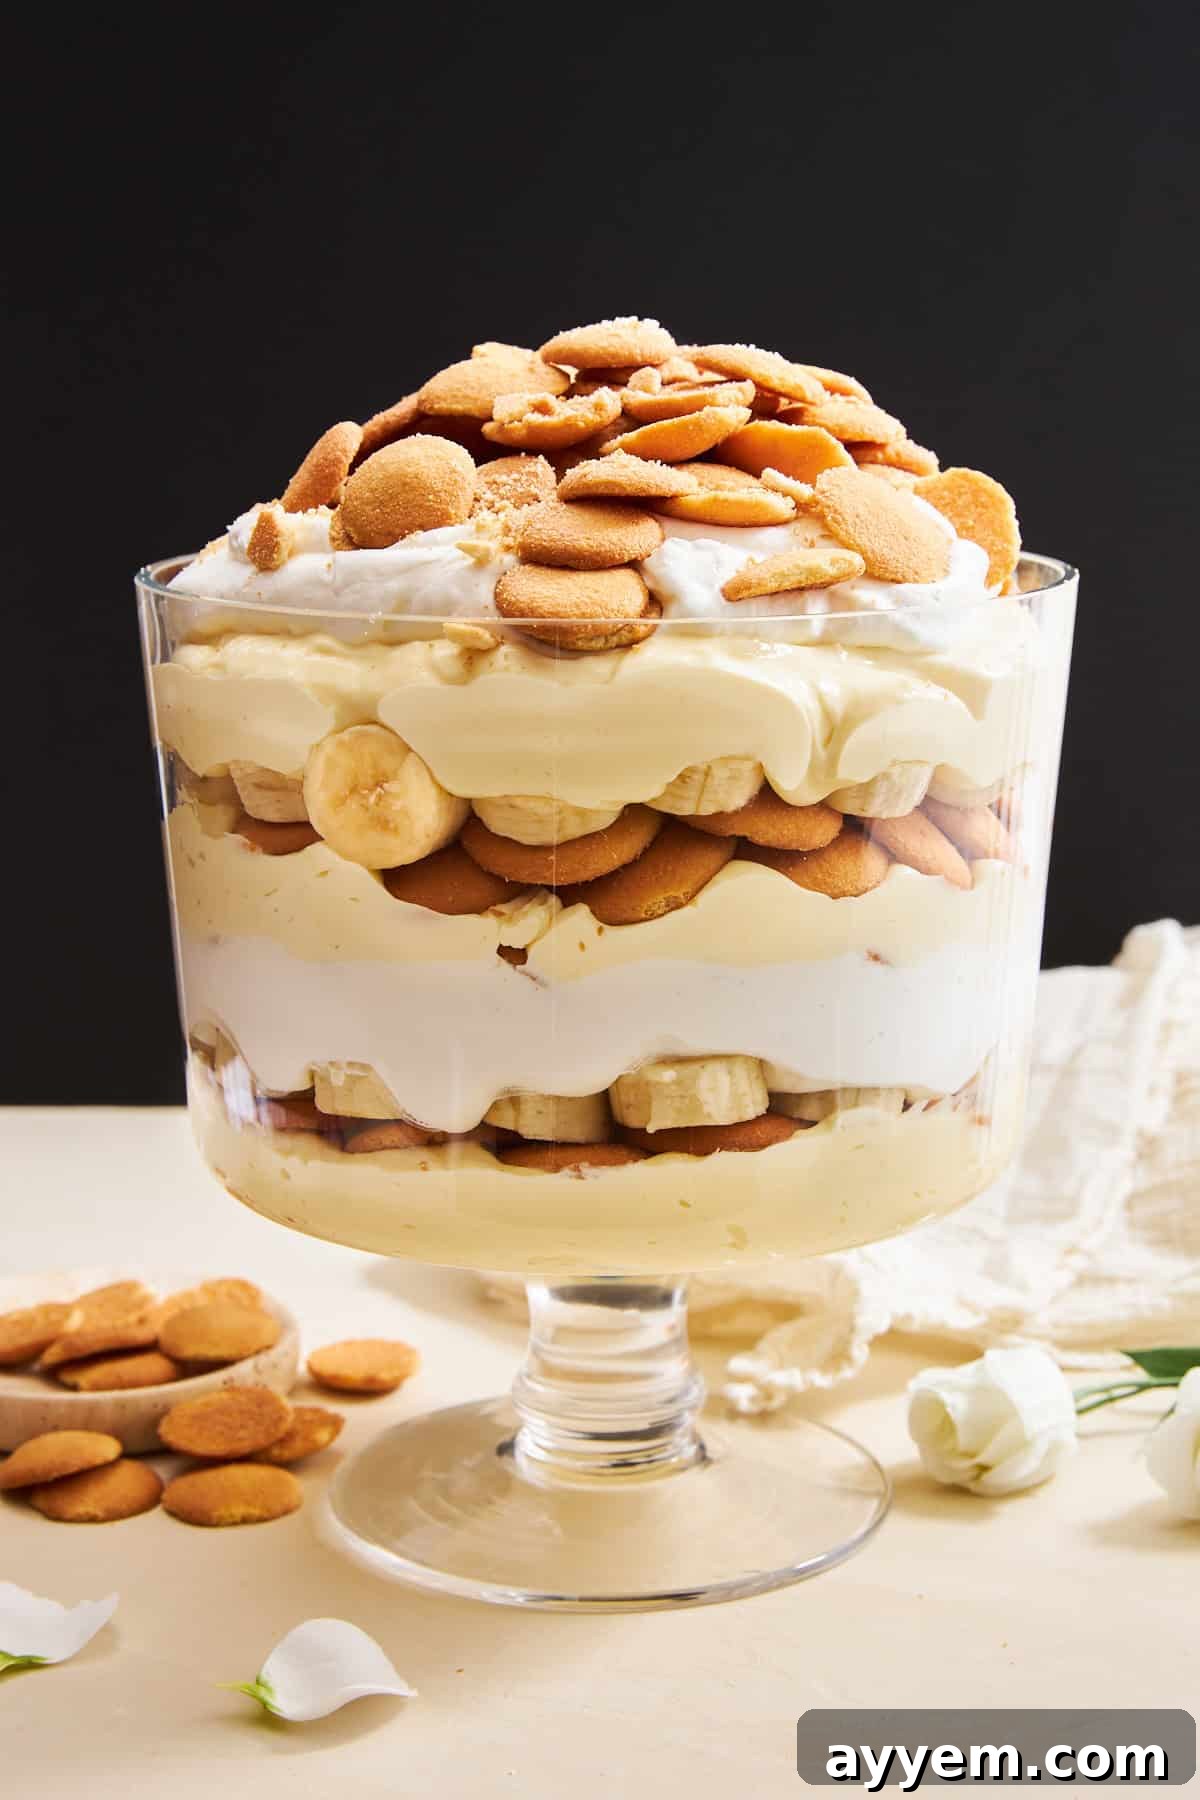
Banana pudding is more than just a dessert; it’s a culinary icon, particularly beloved in the American South. At its heart, it’s a harmonious layered dish composed of a rich, velvety pudding base, freshly sliced ripe bananas, and crispy vanilla wafers (most famously, Nilla Wafers). Each element contributes to a delightful interplay of creamy, soft, and crunchy textures, creating a comforting experience that evokes warmth and nostalgia.
What sets banana pudding apart is its exquisite balance. The pudding itself is often a homemade custard or a quick instant mix, made lusciously smooth with milk and sweetened condensed milk, and often lightened with whipped cream. This creamy base provides the perfect counterpoint to the natural sweetness and delicate texture of fresh bananas. The inclusion of vanilla wafers is crucial; as they sit in the pudding, they slowly soften, absorbing the flavors and transforming into a cake-like layer that’s utterly melt-in-your-mouth tender, yet still offers a slight resistance. This dessert isn’t just about taste; it’s about the memory of family gatherings, church potlucks, and simple, joyful celebrations, making it a true cultural staple.
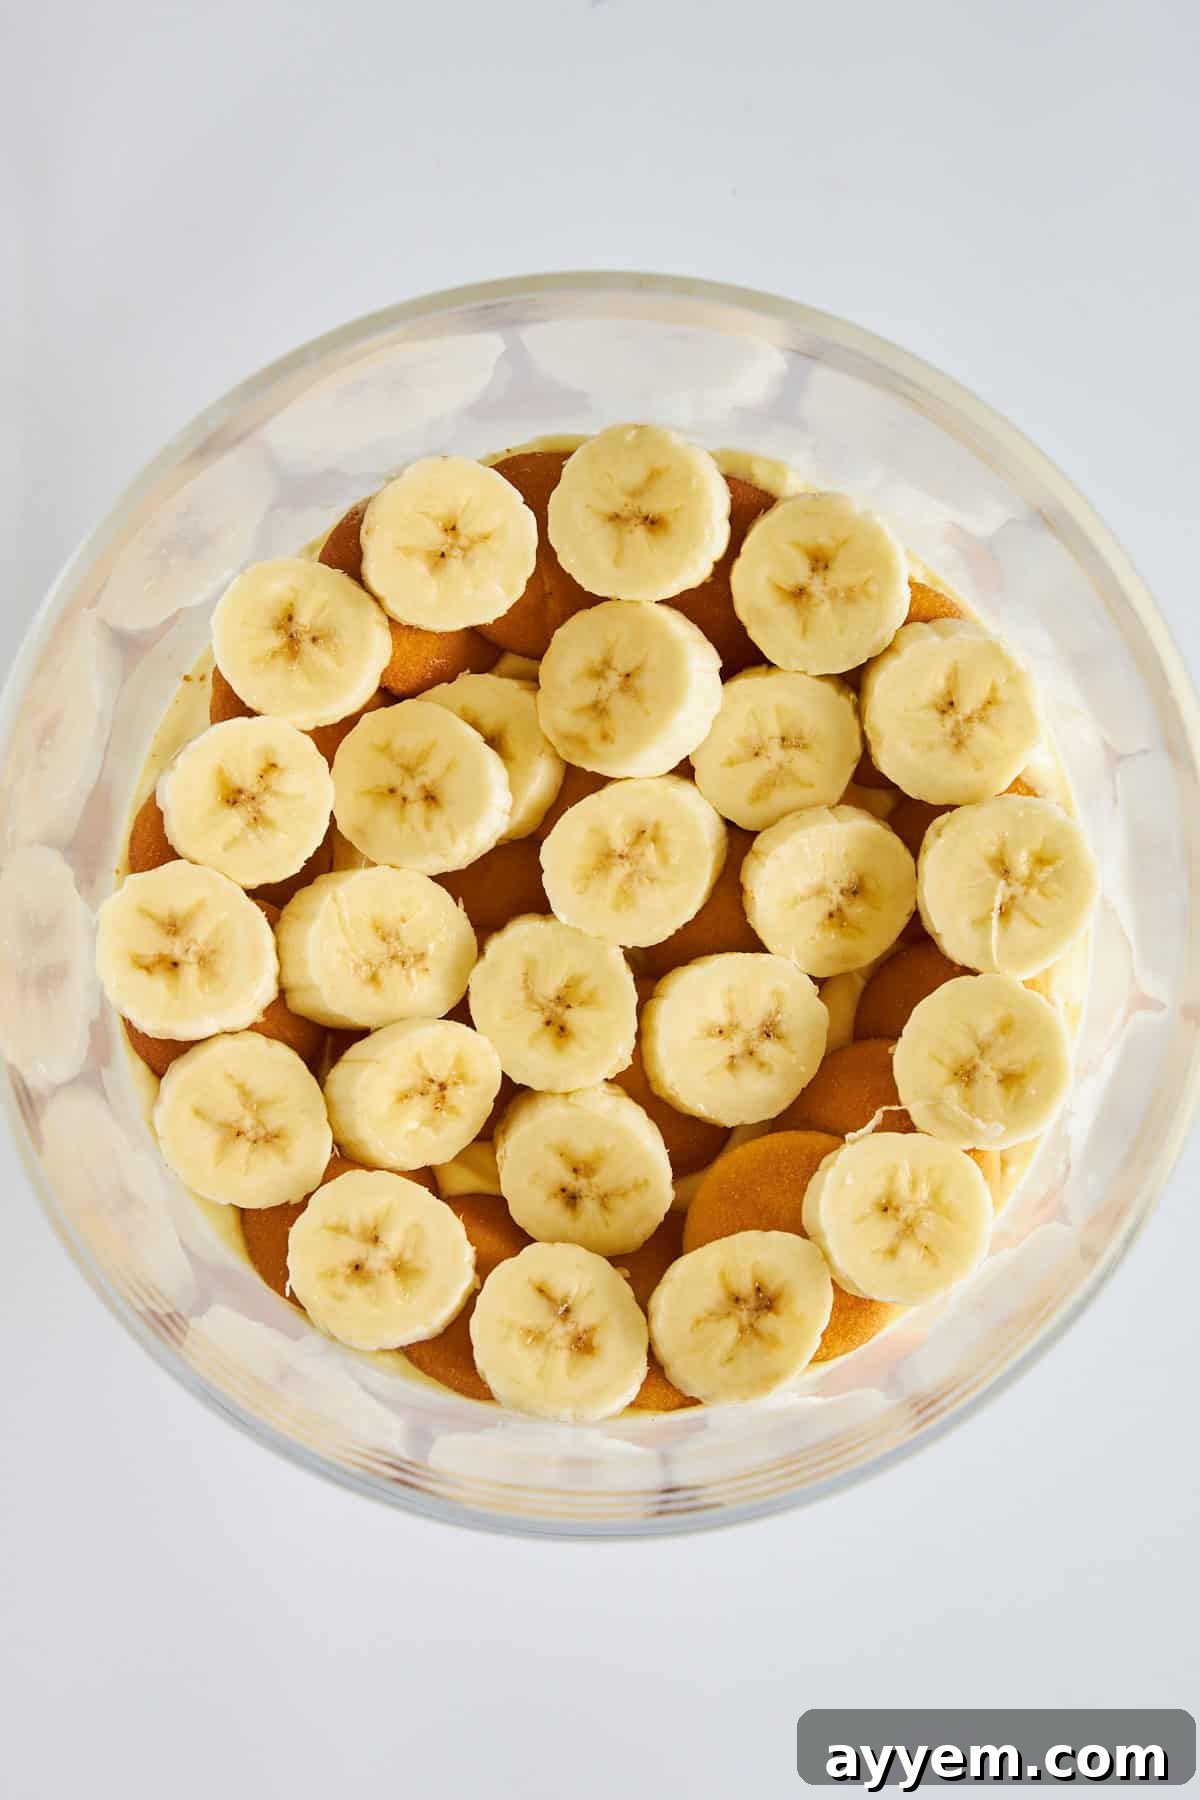
Essential Ingredients You Need for Easy Banana Pudding
Crafting the perfect easy banana pudding relies on a handful of simple yet powerful ingredients, each playing a crucial role in achieving that signature creamy texture and sweet flavor. Here’s what you’ll need to gather:
- Sweetened Condensed Milk: This ingredient is the secret to an incredibly rich and sweet pudding base without needing to add extra sugar. It provides a dense creaminess that’s unparalleled and helps bind all the flavors together. A standard 14-ounce can is usually perfect for a family-sized dish.
- Cold Milk: Whole milk is recommended for its higher fat content, which contributes to a creamier, more luxurious pudding. It’s essential for thinning out the condensed milk slightly and ensuring a smooth consistency for your pudding mixture.
- Heavy Cream: Whipped heavy cream is folded into the pudding base to lighten its texture, making it airy, fluffy, and truly irresistible. This creates a delightful contrast to the denser pudding layers and adds an elegant touch to the overall dessert.
- Instant Vanilla Pudding Mix: For an “easy” banana pudding, instant pudding mix is a fantastic shortcut. It provides a quick, thick, and consistently creamy vanilla base without the need for cooking a traditional custard from scratch. Be sure to use a good quality vanilla flavor for the best results.
- Ripe Bananas: The star of the show! Use bananas that are ripe but still firm, with a few brown spots on the peel. They offer natural sweetness and a soft, fruity bite that defines the dessert. Avoid overly green bananas, which lack sweetness, and very brown, mushy ones, which can disintegrate too quickly. Slice them just before layering to prevent browning.
- Nilla Wafers: These iconic vanilla-flavored cookies are non-negotiable for authentic banana pudding. They add the perfect crunchy texture initially, which then gradually softens as they absorb the pudding, creating tender, cake-like layers that complement the creamy pudding and soft bananas beautifully.
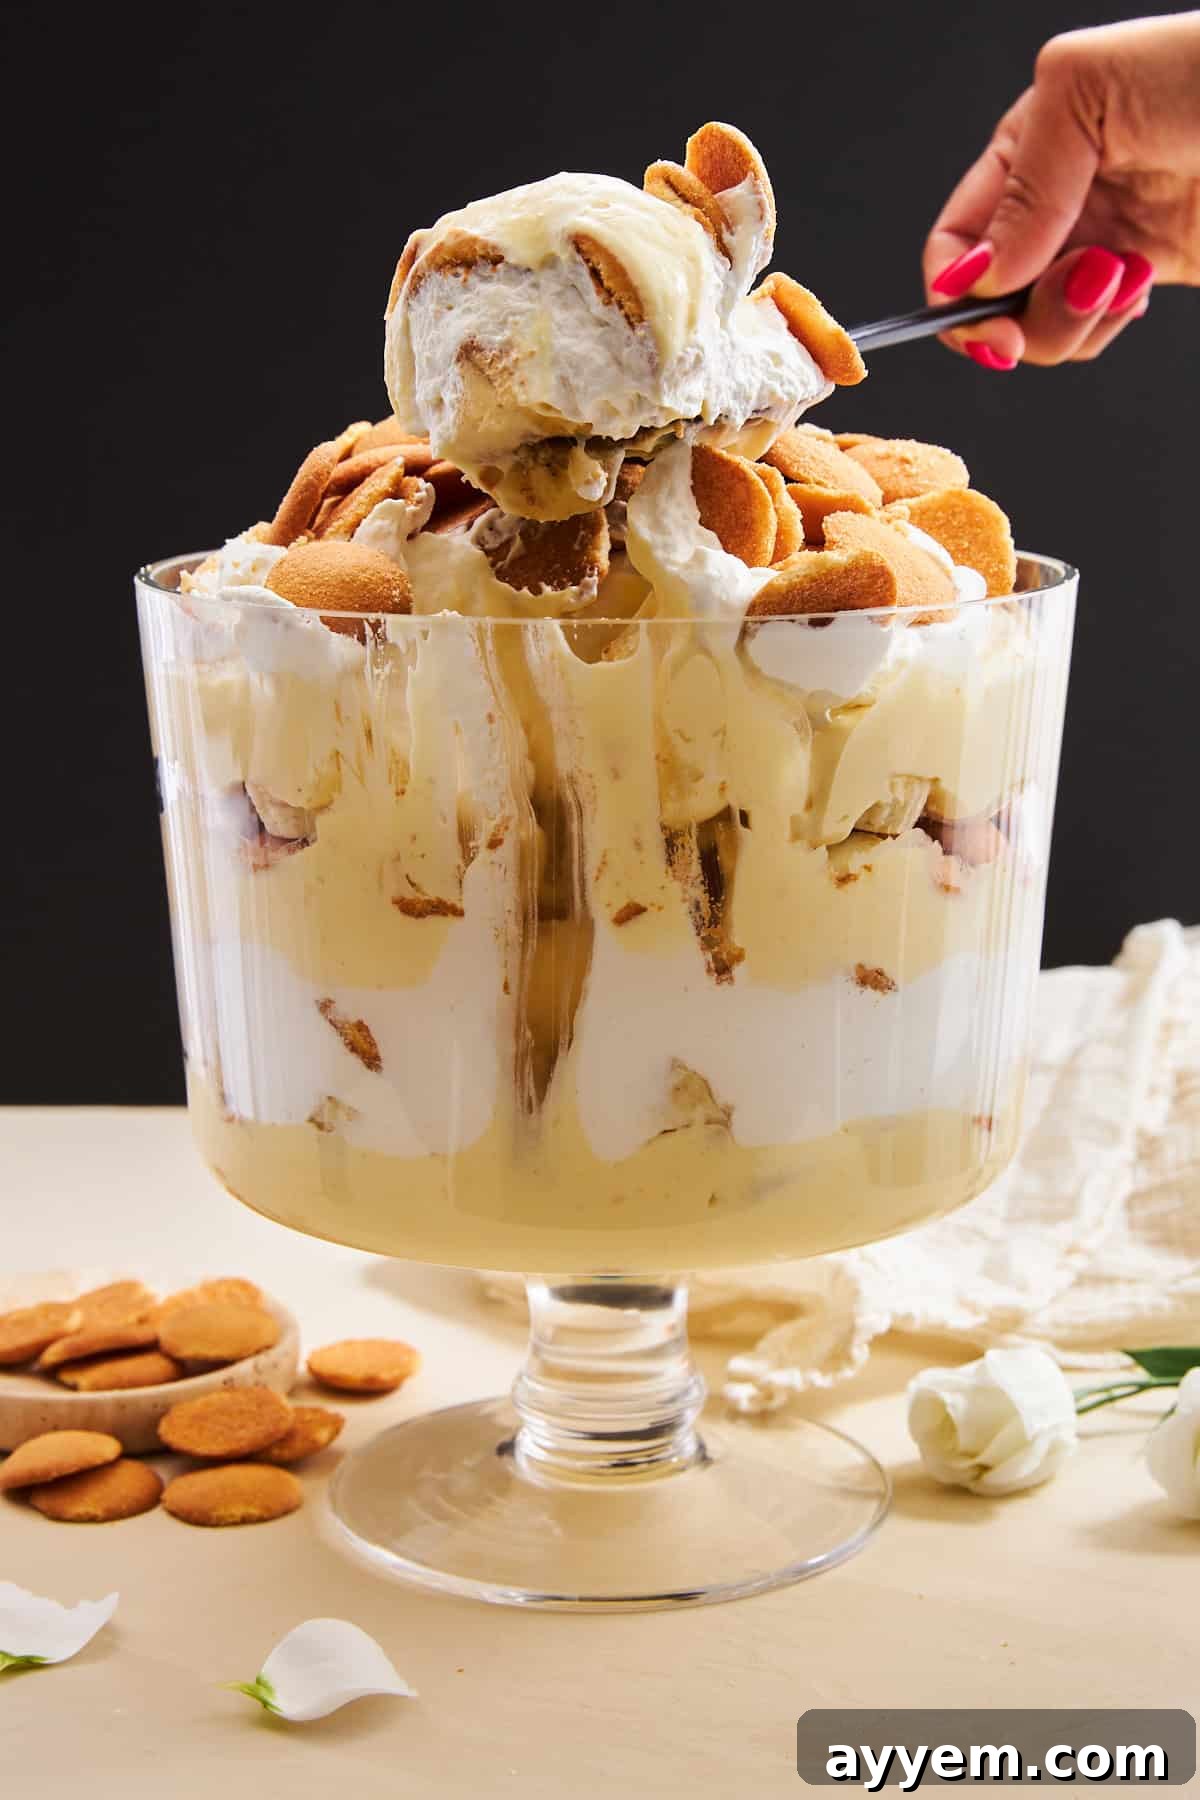
Step-by-Step Guide: How to Make Easy Banana Pudding
Making this incredible banana pudding is surprisingly simple, requiring just a few steps to achieve a truly impressive dessert. Follow these instructions for a perfect, failproof result every time:
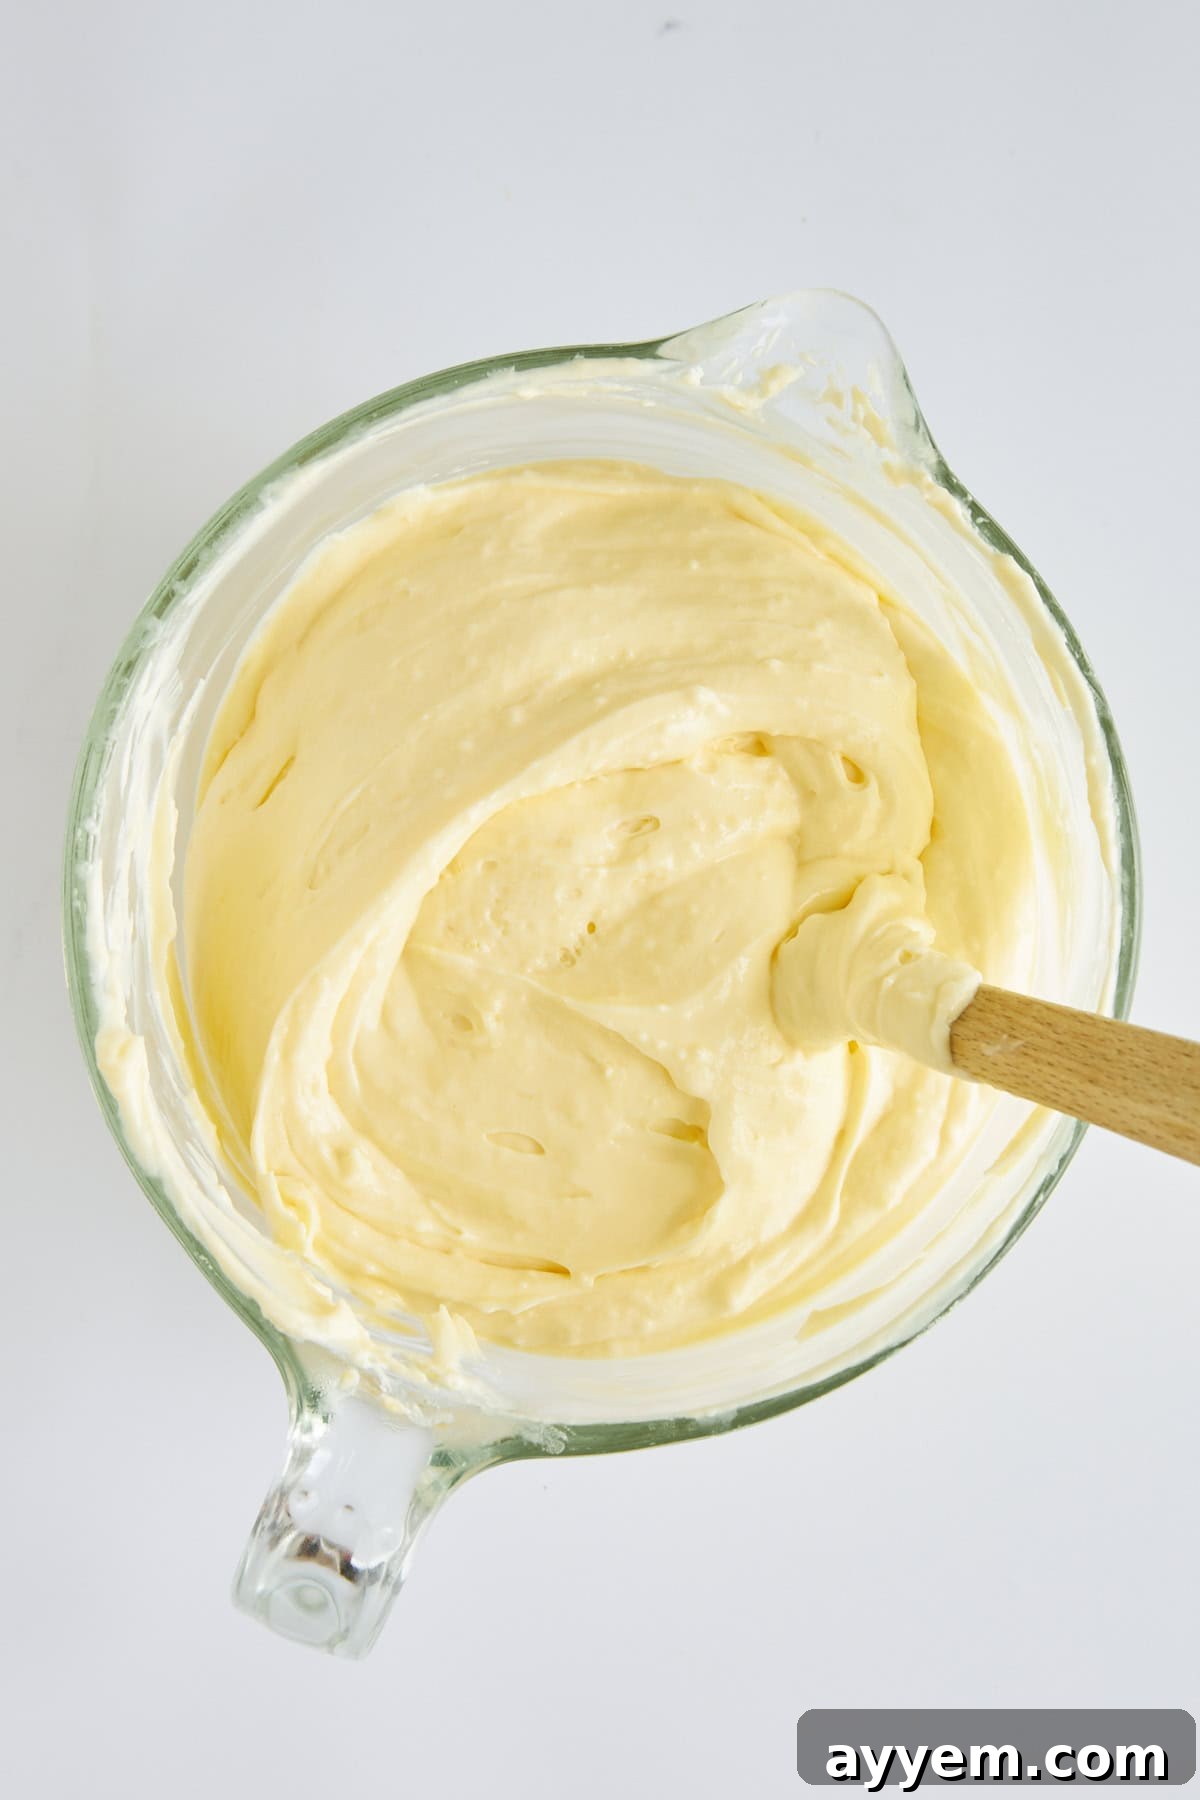
- Prepare the Creamy Pudding Base: In a large mixing bowl, combine the entire can of sweetened condensed milk with the cold whole milk. Whisk these two ingredients together thoroughly until the mixture is completely smooth and evenly combined. It should be thick but still pourable. This initial blend creates the sweet, rich foundation of your pudding.
- Thicken the Pudding Mixture: Gradually add the instant vanilla pudding mix to the condensed milk and cold milk mixture. Continue whisking vigorously for 2-3 minutes until the pudding mix is fully dissolved and the mixture begins to thicken. It’s crucial to whisk until no lumps remain. Once smooth, cover the bowl and refrigerate for at least 1 hour, or preferably overnight, to allow the pudding to set and become wonderfully thick and creamy.
- Whip the Heavy Cream: In a separate, chilled large bowl, pour in the cold heavy cream. Using an electric mixer (handheld or stand mixer), beat the cream on high speed until stiff peaks form. Be careful not to over-whip, or it will turn grainy. The whipped cream will add a light, airy texture to your pudding. Gently fold about half of the whipped cream into the chilled pudding mixture. This step infuses the pudding with a delightful fluffiness, making each spoonful feel lighter and more luxurious.
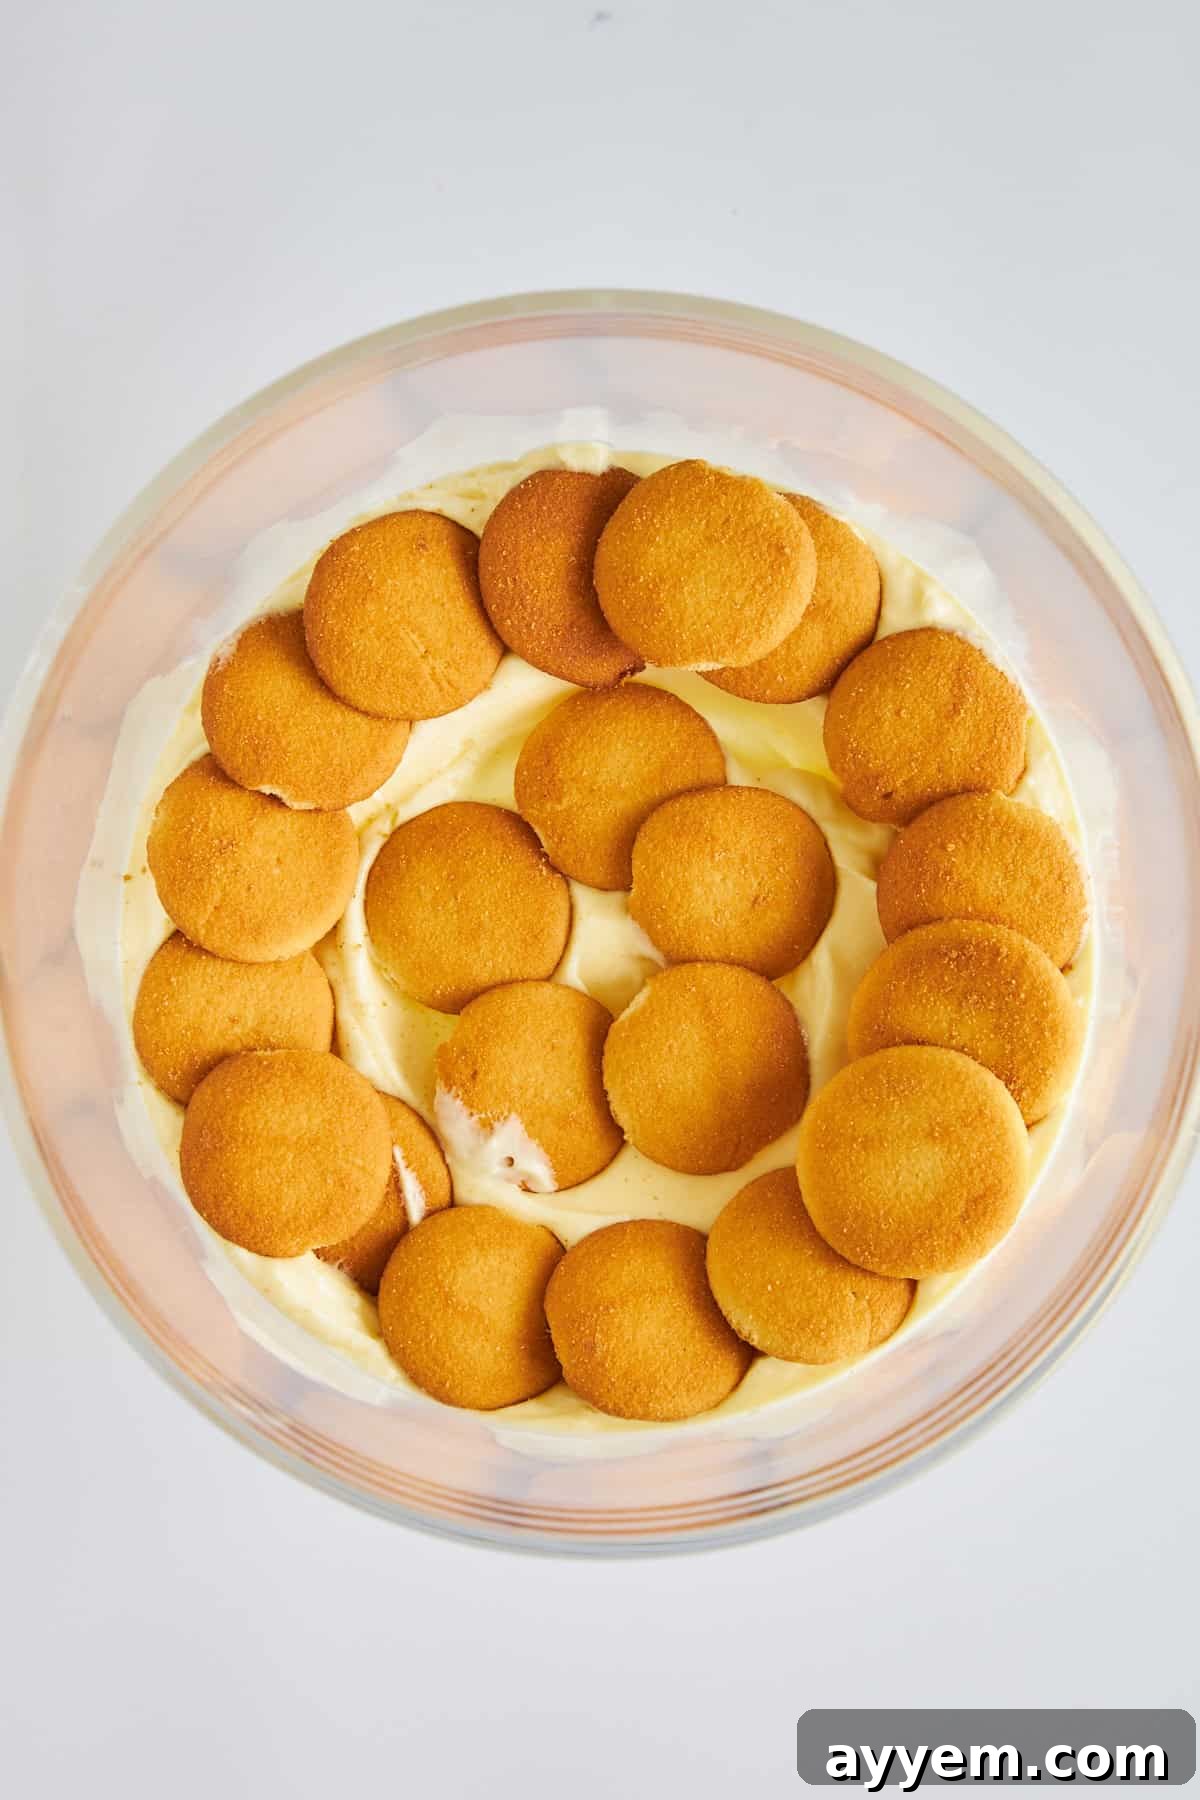
- Assemble Your Banana Pudding Layers: Now for the fun part – assembly! Choose a beautiful trifle dish or a large glass serving bowl to showcase the layers. Start by arranging a single layer of Nilla Wafers at the bottom of the dish, covering the base. Next, add a layer of freshly sliced ripe bananas over the wafers. Then, spread about a third of your creamy pudding mixture evenly over the bananas. Repeat these layers: Nilla Wafers, sliced bananas, and pudding, until you have used all your ingredients, finishing with a final layer of pudding. For an extra touch, you can top the last layer with whole or crushed Nilla Wafers.
- Chill and Serve for Perfect Flavor: Once assembled, cover the dish tightly with a lid, aluminum foil, or plastic wrap. Refrigerate the banana pudding for at least 4 hours, but ideally overnight. This crucial chilling period allows the flavors to meld beautifully and, importantly, gives the Nilla Wafers time to soften and transform into that signature cake-like texture. Just before serving, add a few fresh banana slices to the very top for an appealing presentation and a burst of fresh fruit flavor, helping them stay vibrant and prevent browning.
Creative Variations for Your Banana Pudding
While the classic banana pudding is undeniably perfect, its versatility makes it an excellent canvas for creative twists. Don’t be afraid to experiment with these delicious variations to customize your dessert:
- Chocolate Banana Pudding: For the chocolate lovers, simply swap the vanilla instant pudding mix for a chocolate instant pudding mix. The combination of rich chocolate and sweet bananas is a match made in heaven, creating a more decadent dessert.
- Peanut Butter Layers: Elevate the flavor profile by adding a thin layer of creamy peanut butter between the banana and pudding layers. The salty-sweet notes of peanut butter beautifully complement the banana and vanilla, reminiscent of a classic peanut butter banana sandwich.
- Strawberry Banana Pudding: Introduce a vibrant burst of color and tangy sweetness by layering fresh, sliced strawberries alongside the bananas. This variation is particularly refreshing and visually appealing, perfect for spring or summer gatherings.
- Graham Cracker Crunch: If you’re looking for a slightly different texture and a hint of honey-graham flavor, substitute graham crackers for the traditional Nilla Wafers. They soften equally well and add another dimension of taste to your pudding. Crushed graham crackers can also make a wonderful topping.
- Caramel Drizzle: For an extra layer of indulgent sweetness and a sophisticated touch, generously drizzle warm caramel sauce over the top layer of your banana pudding before serving. A sprinkle of flaky sea salt alongside the caramel can enhance the flavors even further.
- Toasted Coconut Delight: Add a tropical flair by sprinkling toasted coconut flakes between the layers or on top. The nutty, chewy texture of coconut pairs wonderfully with bananas and adds a delightful aroma.
Storage Tips: Can I Store Leftovers?
While banana pudding is often best enjoyed fresh, you can certainly store leftovers to savor later. However, it’s important to keep a few things in mind regarding its texture and quality over time.
The cookies in banana pudding, especially Nilla Wafers, are designed to soften as they absorb the pudding’s moisture. While this is desirable for the initial eating experience, prolonged storage will cause them to become very soft, almost mushy. The pudding itself will remain delicious, but the wafers will lose their initial tender-crispness entirely. Additionally, the sliced bananas, even with lemon juice, will naturally begin to brown and soften further the longer they are exposed to air, though this primarily affects appearance rather than taste.
Refrigeration: To keep your banana pudding fresh, cover the serving dish tightly with plastic wrap or a lid and refrigerate it. It will remain tasty and enjoyable for up to 3 days. Beyond that, the textures might degrade significantly.
Freezing is Not Recommended: We strongly advise against freezing banana pudding. The delicate structure of both the bananas and the cookies will not hold up well during the freezing and thawing process. Bananas tend to become watery and mushy when thawed, losing their pleasant texture, and the wafers will become completely soggy. For the best experience, plan to enjoy your banana pudding within a few days of preparation.
Common Questions About Banana Pudding
Where did banana pudding become popular in the U.S.?
Banana pudding truly cemented its place as a beloved Southern dessert during the early to mid-1900s. Its rise to prominence coincided with the wider availability of bananas in the United States and the popularization of packaged vanilla wafers. By the 1950s, recipes for banana pudding were appearing frequently in Southern cookbooks and newspapers, becoming a staple at family dinners, church potlucks, and community events. It quickly transformed from a simple home-cooked treat into a cherished cultural symbol of Southern hospitality and comfort food.
Is banana pudding always served cold?
For the most part, yes, classic banana pudding is almost always served chilled. The cooling period in the refrigerator is essential for allowing the pudding to set properly, the flavors to meld beautifully, and the vanilla wafers to soften into their characteristic cake-like texture. This cool, creamy experience is what most people associate with the dessert. However, there are some regional variations, particularly older, more traditional recipes, that feature a warm, baked custard-style banana pudding, often topped with meringue. While delicious in its own right, the cold, layered version remains the overwhelmingly popular and classic rendition.
Why are vanilla wafers so often used in banana pudding?
Vanilla wafers, specifically Nilla Wafers, are intrinsically linked with banana pudding for several excellent reasons. Firstly, their delicate vanilla flavor perfectly complements the natural sweetness of bananas and the creamy pudding without overpowering it. Secondly, their texture is ideal: they start out crisp, providing a satisfying crunch, but as they sit in the pudding, they absorb moisture and soften into a tender, almost cake-like consistency. This transformation is key to the unique mouthfeel of banana pudding. Furthermore, Nilla Wafers have been marketed alongside banana pudding recipes for nearly a century, solidifying their role as the traditional cookie of choice.
Is banana pudding only found in the South?
While banana pudding carries strong Southern roots and is deeply ingrained in Southern culinary traditions, it is certainly enjoyed all over the country and even internationally now. Its widespread appeal comes from its comforting flavors, simple ingredients, and undeniable deliciousness. You can find variations of banana pudding on menus from coast to coast, and it’s a popular homemade dessert in countless households beyond the Mason-Dixon line. However, for many, it will always evoke the warm, welcoming spirit of Southern comfort food.
What kind of bananas should I use for banana pudding?
The ideal bananas for banana pudding are ripe but still firm, with yellow peels that have a few small brown spots. They should be sweet but not mushy. Avoid green bananas, as they lack the necessary sweetness and can be starchy. Overly brown or black bananas, while sweet, tend to be too soft and can disintegrate, making your pudding watery. Slicing them just before assembly is also key to preventing premature browning.
Can I make banana pudding ahead of time?
Yes, banana pudding is an excellent make-ahead dessert! In fact, it tastes even better when given time for the flavors to meld and the wafers to soften. Prepare it at least 4 hours in advance, but making it the day before (up to 24 hours) is ideal. Just remember to add any fresh banana garnishes right before serving to keep them from browning.
More Sweet and Creamy Recipes
Looking to satisfy your sweet tooth with more delightful, creamy treats? Explore these other fantastic recipes from our collection:
Easy Mahalabia (Middle Eastern Milk Pudding)
Decadent Chocolate Chia Pudding
Creamy Coconut Rice Pudding
Exotic Mango Chia Pudding with Fresh Fruit Salad
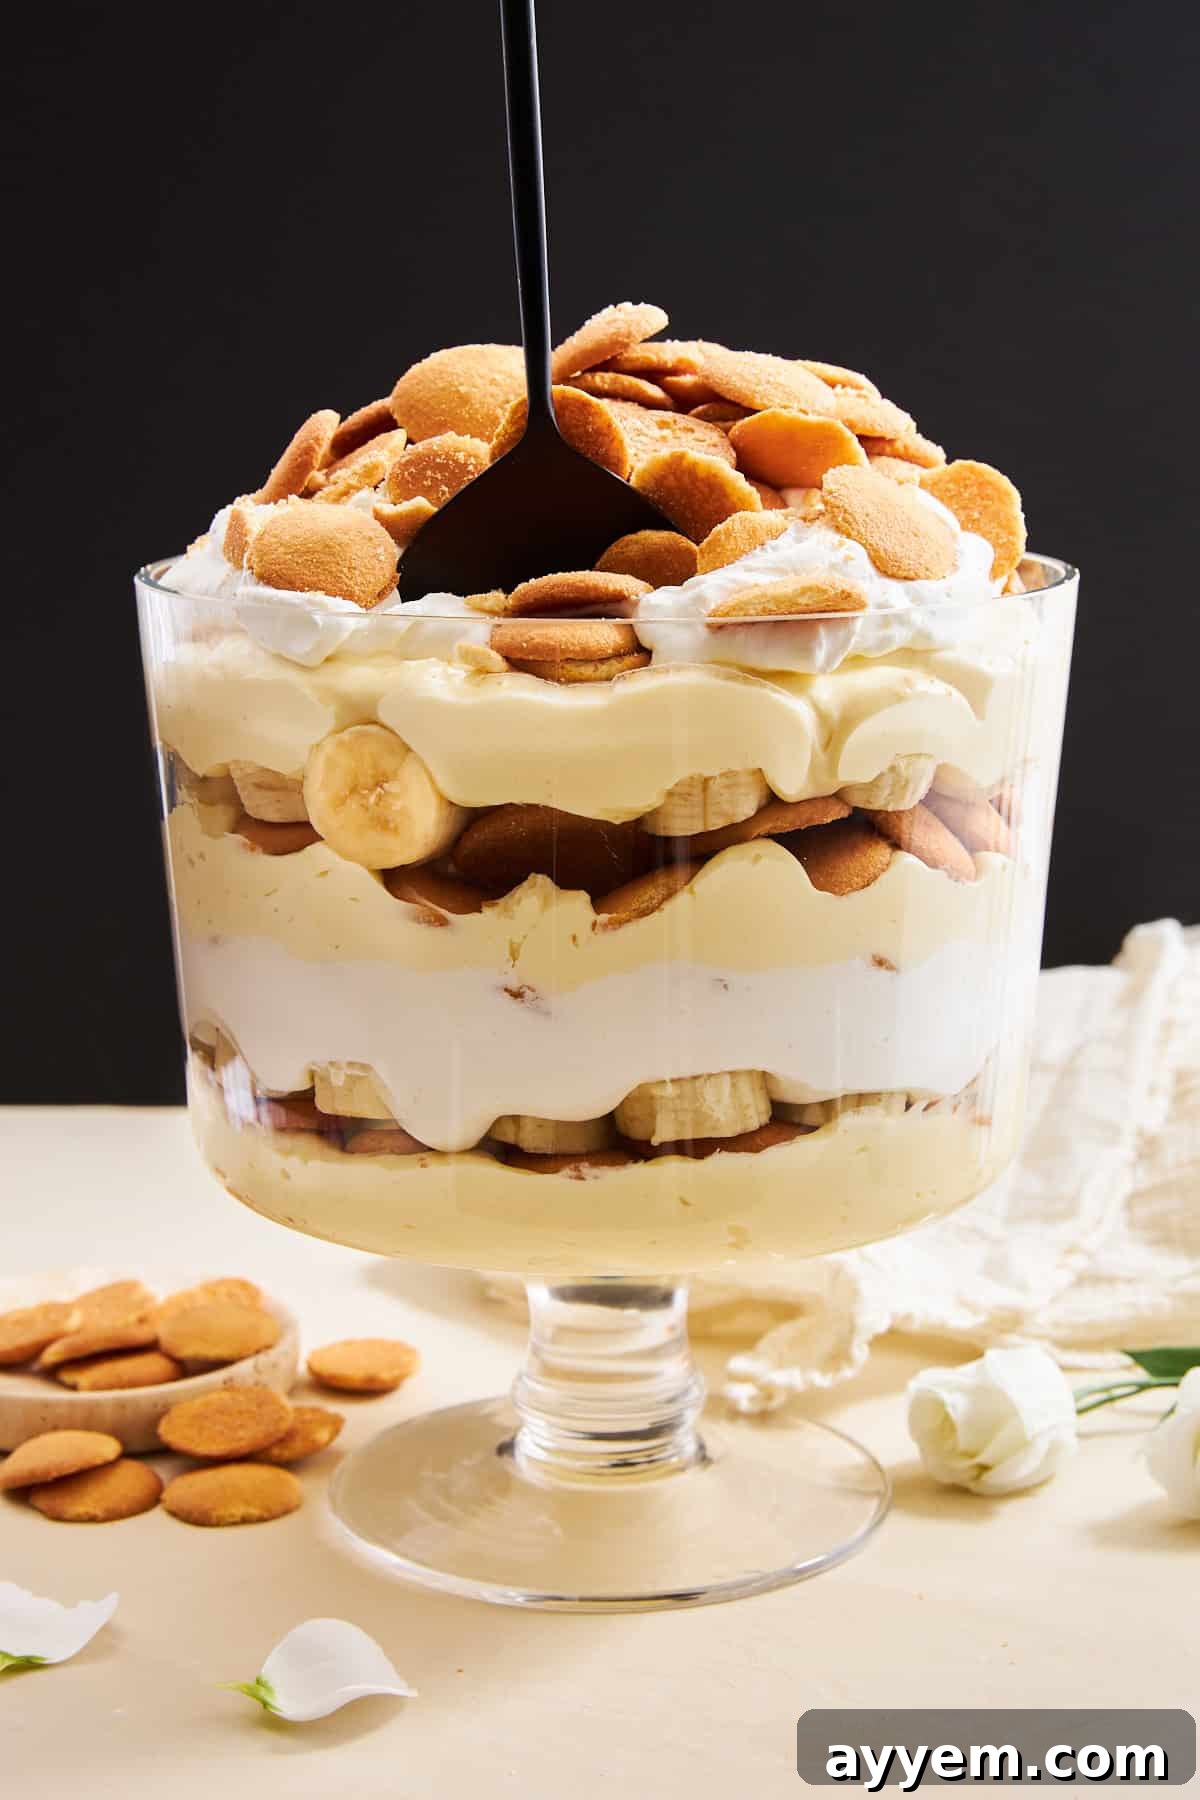
Easy Banana Pudding Recipe
★
★
★
★
Food Dolls
12
servings
20
6
6
20
Ingredients
-
1
(14 oz)
can sweetened condensed milk -
2
cups
cold whole milk -
1
(5.6 oz)
package instant vanilla pudding mix -
3
cups
cold heavy whipping cream -
1
box Nilla Wafers
or mini Nilla Wafers -
4
-5
ripe bananas
sliced
Instructions
Make the Pudding Base
-
In a large bowl (or 13×9 inch casserole dish), whisk together the sweetened condensed milk and cold whole milk until smooth and fully combined.
-
Add the instant vanilla pudding mix and whisk thoroughly until fully combined and creamy, ensuring no lumps remain.
-
Cover the bowl and refrigerate for at least 1 hour (or overnight) to allow the pudding to thicken properly.
Whip the Cream
-
In a separate, chilled bowl, whip the cold heavy cream using an electric mixer until medium-stiff peaks form. Be careful not to over-whip.
Combine for Fluffy Pudding
-
Gently fold about half of the whipped cream into the chilled pudding mixture until light and fluffy, creating an airy texture.
Assemble the Layers
-
In a trifle dish or large serving bowl, begin by layering approximately 1/3 of the Nilla Wafers at the bottom.
-
Follow with 1/3 of the freshly sliced bananas, spreading them evenly over the wafers.
-
Spread about 1/3 of the combined pudding mixture on top of the bananas.
-
Repeat these layers (Nilla Wafers, bananas, pudding) two more times until all ingredients are used, finishing with a final layer of pudding.
-
Optional: Top the final layer with crushed wafers, a sprinkle of flaky sea salt, or a drizzle of caramel/peanut butter for extra indulgence.
Chill and Serve
-
Cover the assembled dish and refrigerate for at least 4 hours (or ideally overnight) to allow the wafers to soften and the flavors to fully meld.
-
Garnish with extra fresh banana slices and crushed wafers just before serving to maintain their best appearance and texture.
Equipment
Notes
Nutrition
|
Calories: 278kcal
|
Carbohydrates: 16g
|
Protein: 3g
|
Fat: 23g
|
Saturated Fat: 14g
|
Polyunsaturated Fat: 1g
|
Monounsaturated Fat: 6g
|
Cholesterol: 72mg
|
Sodium: 116mg
|
Potassium: 122mg
|
Fiber: 0.1g
|
Sugar: 14g
|
Vitamin A: 941IU
|
Vitamin C: 0.4mg
|
Calcium: 90mg
|
Iron: 0.1mg
Nutrition information is automatically calculated, so should only be used as an approximation.
Like this recipe?
Please leave a comment! We love to hear from you.