
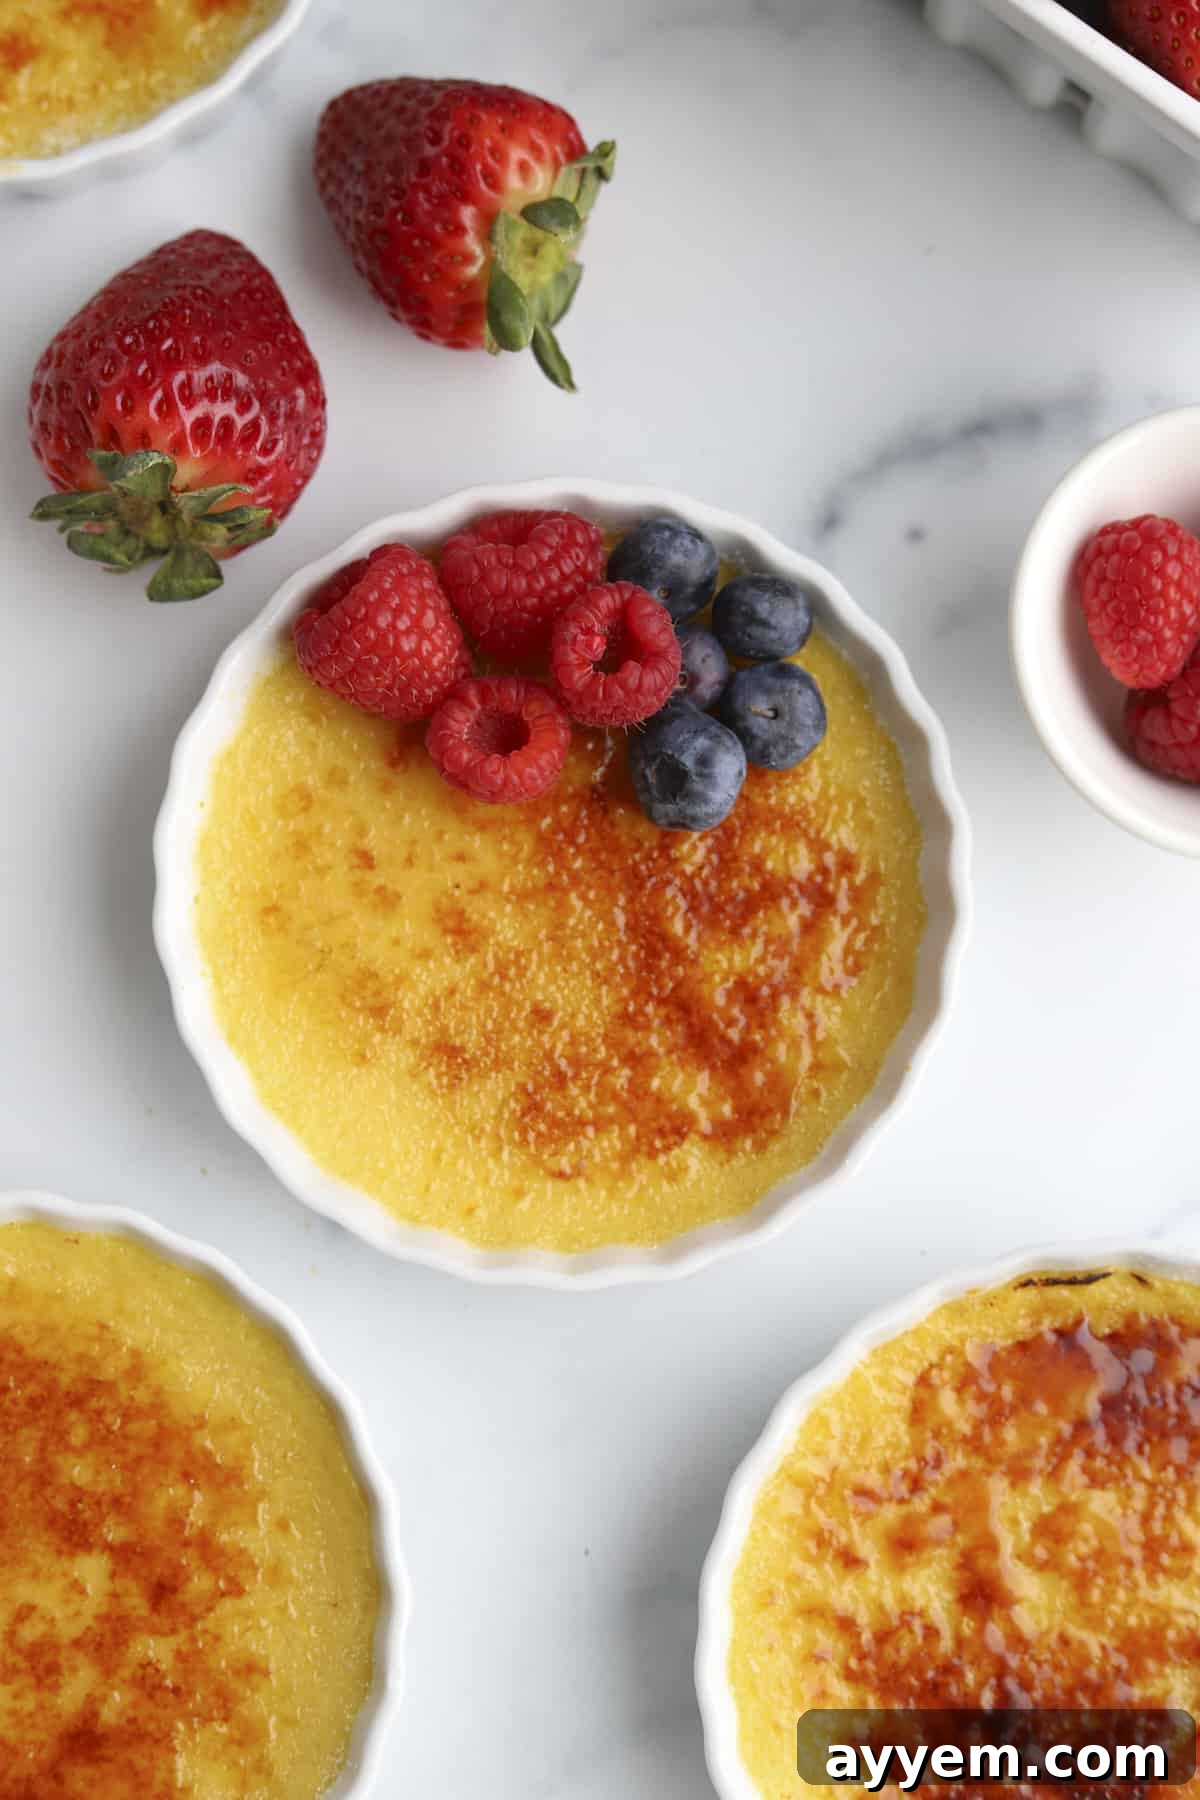
Welcome to the enchanting world of Crème Brûlée, a dessert that effortlessly combines sophistication with a surprisingly simple preparation. Often perceived as a delicacy exclusively found in high-end restaurants, this classic French masterpiece is, in fact, well within the reach of any home cook. With its signature dual texture – a lusciously creamy custard base topped with a shatteringly crisp, caramelized sugar crust – Crème Brûlée offers a truly unforgettable sensory experience. Each spoonful delivers a perfect symphony of rich vanilla notes, silken smoothness, and the delightful crunch of burnt sugar. Get ready to impress your friends, family, or simply treat yourself to a taste of pure culinary bliss without the need for a reservation!
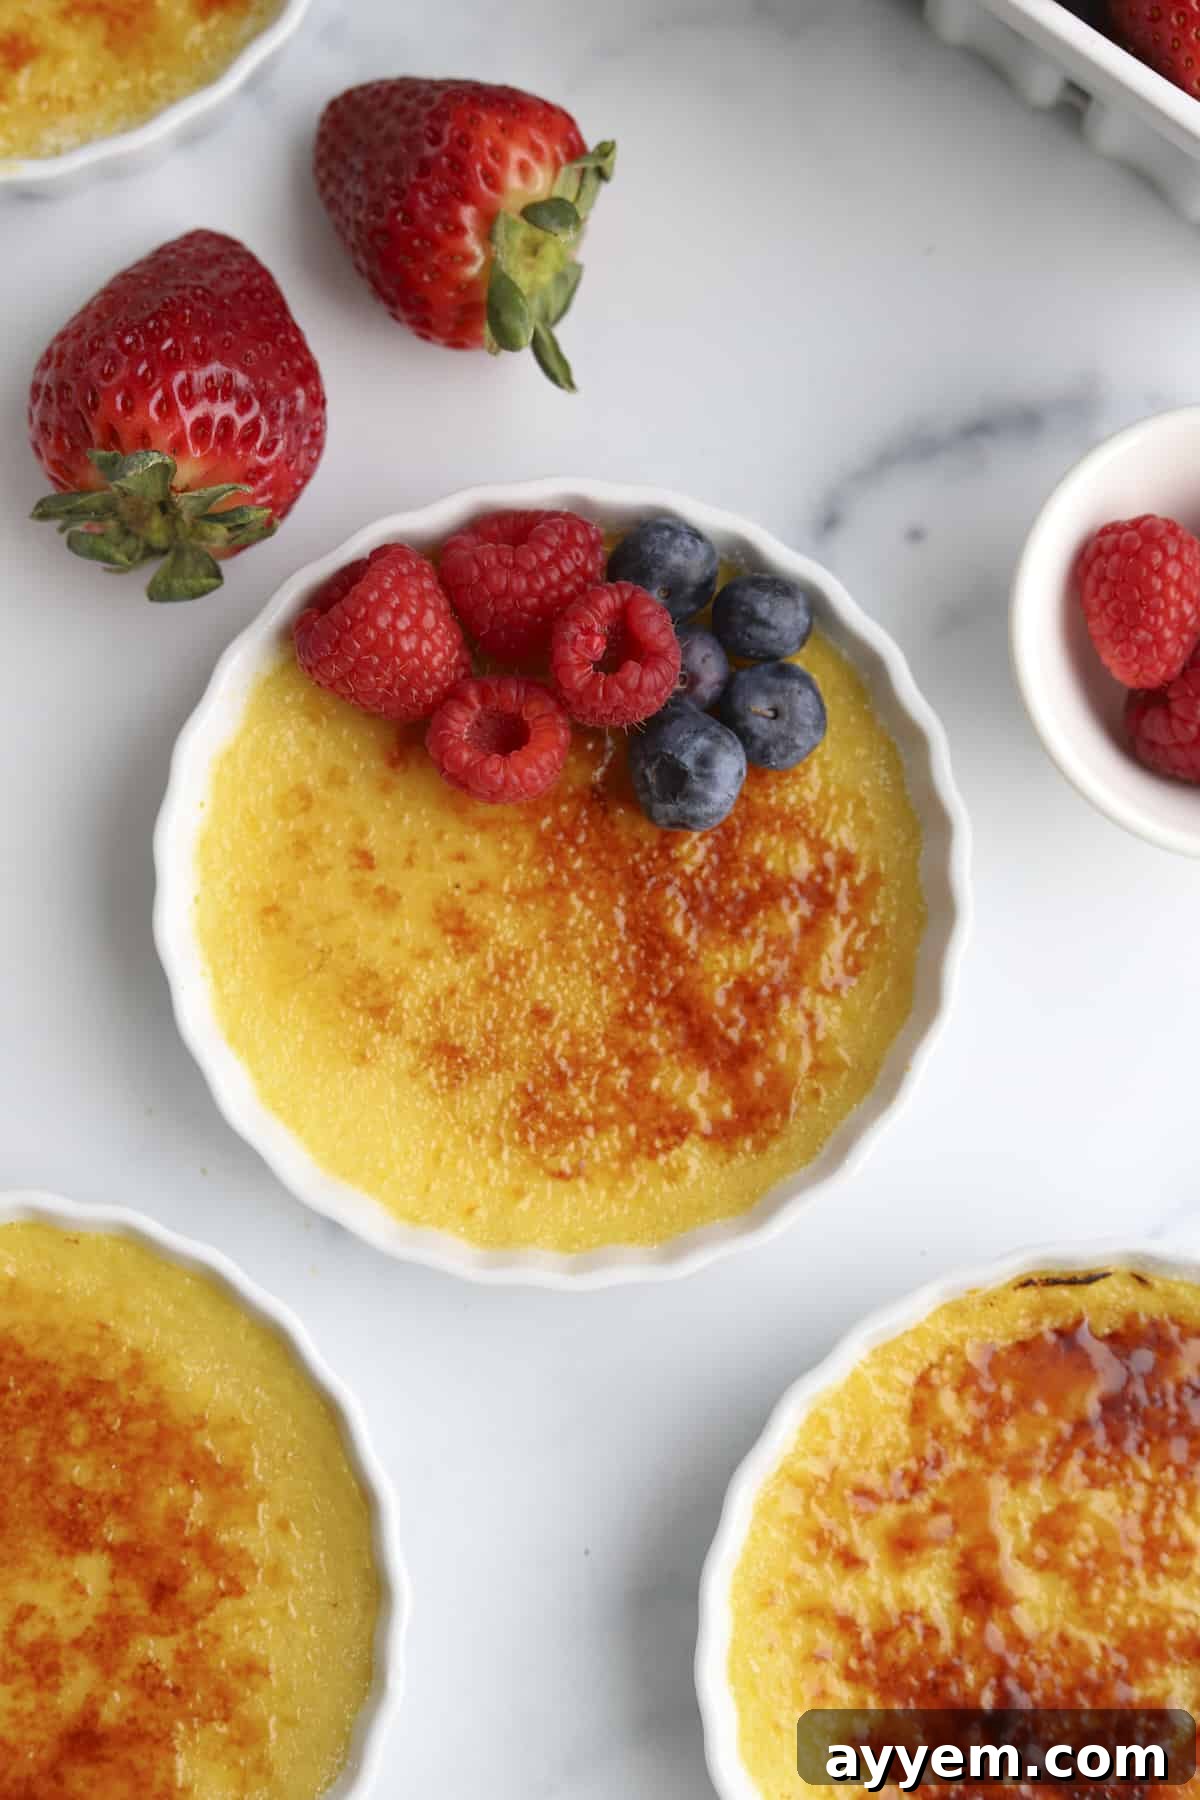
What is Crème Brûlée?
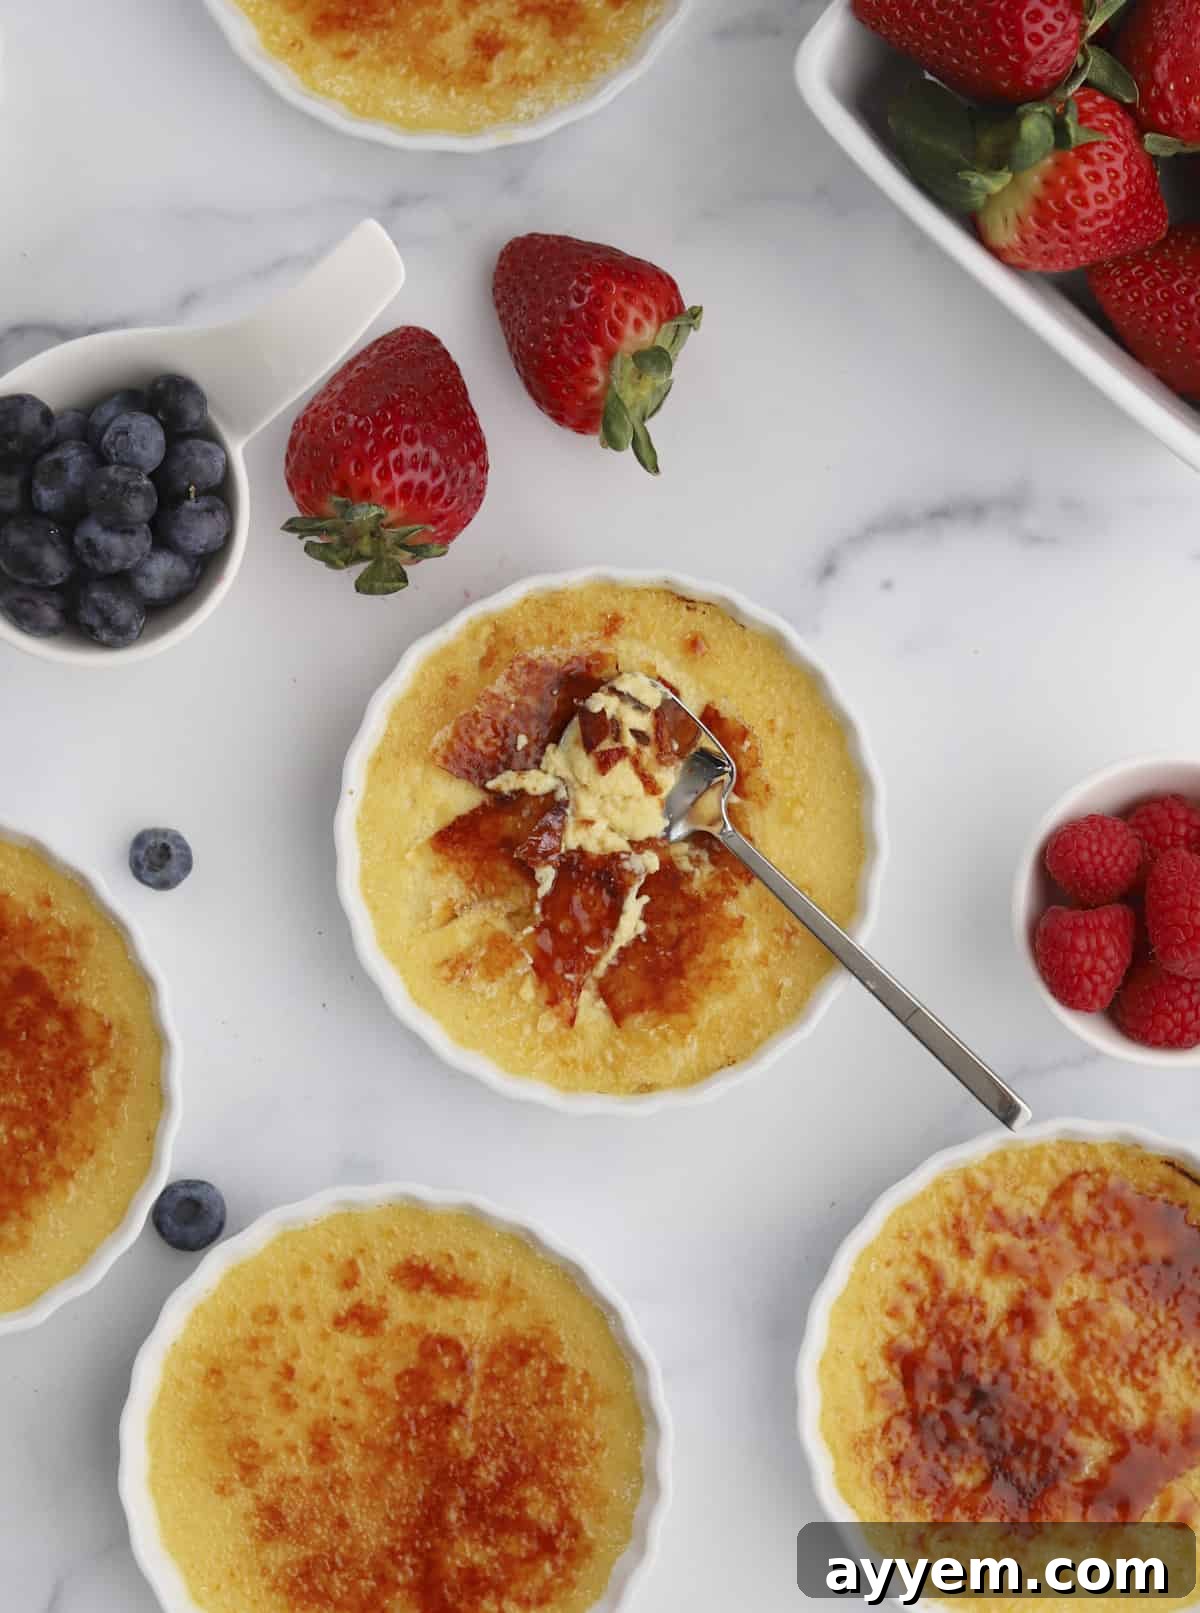
At its core, Crème Brûlée, which literally translates to “burnt cream” in French, is an elegant baked custard dessert. It features a rich, velvety custard base, typically flavored with vanilla, though it can be infused with various essences. This creamy concoction is gently baked in a water bath, ensuring a smooth and delicate texture that melts in your mouth. The magic of Crème Brûlée culminates with its iconic topping: a thin, hard layer of caramelized sugar created by torching granulated sugar directly onto the chilled custard. The dramatic contrast between the warm, brittle crust and the cool, creamy custard underneath is what makes this dessert a beloved classic across the globe.
Unlike other custards or puddings, the charm of Crème Brûlée lies not just in its exquisite taste but also in the delightful auditory and tactile experience of cracking through that glossy, caramelized shell. It’s a dessert that invites interaction, promising an indulgent reward with every tap of the spoon.
A Journey Through Time: The Fascinating History of Crème Brûlée
The true origin of Crème Brûlée is a delicious mystery, with culinary historians tracing its roots back to several European countries. Spain, England, and France all lay claim to being the birthplace of this beloved dessert, each presenting compelling, albeit different, historical accounts. While no single original recipe perfectly matches the modern Crème Brûlée we enjoy today, the evolution of the dessert tells a captivating story of culinary innovation.
French culinary historians often credit Crème Brûlée to the late 17th century, specifically the 1690s. At this time, it was fashionable to create intricate sugar shapes by burning sugar and placing them atop creamy custards. However, these early French versions typically involved preparing the caramelized sugar separately from the custard base, rather than burning it directly onto the cream. The first recorded recipes resembling the modern process of caramelizing sugar directly onto the custard began to appear in French cookbooks much later, in the 1980s, solidifying its place as a French culinary icon.
Across the English Channel, Britain also presents a strong case for the dessert’s invention. Legend has it that the first “burnt cream” or “Trinity Cream” originated at Trinity College, Cambridge, in the 1870s. A student purportedly took a traditional custard recipe and, with a hot iron, branded the school’s crest onto the sugar topping. This method of direct caramelization is remarkably similar to how modern Crème Brûlée is prepared, making it a strong contender for the dessert’s true antecedent.
Meanwhile, Spain asserts that its “Crema Catalana” is the predecessor to Crème Brûlée. Dating back to medieval times, Crema Catalana is a traditional milk-based custard that, like Crème Brûlée, is characterized by a distinctive burnt sugar crust. While it shares the iconic caramelized topping, the custard base itself is different, traditionally made with milk, egg yolks, and flavored with lemon zest and cinnamon, rather than the heavy cream and vanilla typically found in Crème Brûlée. Its ancient origins certainly place it as one of the earliest examples of a dessert with a “burnt cream” topping.
Given these diverse historical accounts, the debate over Crème Brûlée’s exact country of origin continues to simmer. What is certain, however, is that this elegant dessert has undergone a fascinating transformation over centuries, culminating in the refined and delightful treat we cherish today.
Why Make Crème Brûlée at Home?
While ordering Crème Brûlée at a restaurant is a lovely indulgence, making it at home offers a deeply satisfying experience with numerous benefits. Firstly, the freshness is unparalleled. A homemade Crème Brûlée, baked and torched moments before serving, delivers a crispier crust and a richer, more vibrant custard flavor that simply can’t be replicated by desserts prepared in advance and transported. Secondly, it offers immense customization. You can experiment with various flavor infusions, from different extracts like almond or orange blossom to zests, spices, or even liqueurs, making each batch uniquely yours.
Moreover, the process itself is a rewarding culinary journey. From whisking the silky custard to carefully tempering the eggs and, finally, the dramatic moment of torching the sugar, each step builds anticipation. Mastering Crème Brûlée at home transforms you into a dessert connoisseur, empowering you to create an elegant dessert that will undoubtedly impress guests. Plus, it’s often far more economical than purchasing individual servings from a bakery or restaurant, allowing you to enjoy this luxurious treat more frequently.
Essential Tools for Perfect Crème Brûlée
Making Crème Brûlée doesn’t require an arsenal of specialized gadgets, but a few key pieces of equipment will ensure your success and make the process enjoyable. Investing in these items will elevate your dessert game and make this elegant treat a regular possibility in your kitchen.
- Ramekins: These small, individual ceramic dishes are absolutely essential. For Crème Brûlée, it’s important to use shallow ramekins, typically 4-6 ounces in size. The shallow depth allows the custard to bake evenly and set perfectly without becoming overly firm in the center. Deeper ramekins can result in an overcooked exterior and an undercooked interior.
- A Large Roasting Pan or Baking Dish: This is crucial for creating a water bath (bain-marie), which is key to baking the custard gently and preventing it from curdling or cracking. Choose a dish large enough to comfortably hold your ramekins without them touching each other, and deep enough to allow water to come halfway up their sides.
- Mixing Bowls (one with a pouring spout): A standard mixing bowl is fine for whisking the egg yolks and sugar. However, a separate bowl or measuring cup with a pouring spout will make the critical step of transferring the hot cream mixture into the egg yolks much easier and more controlled, preventing spills and ensuring a smooth, continuous pour.
- Whisk: A good whisk is indispensable for thoroughly combining the egg yolks and sugar and for constantly stirring while tempering the eggs with hot cream. This ensures a smooth custard base free of lumps.
- Fine-Mesh Sieve: While not strictly mandatory, straining your custard mixture through a fine-mesh sieve is highly recommended. This step removes any tiny bits of cooked egg yolk (which can sometimes happen even with careful tempering) or vanilla bean specks, resulting in an impeccably smooth and silky custard.
- Kitchen Torch (Blow Torch): This is the star tool for achieving the signature crisp, caramelized sugar crust. A kitchen torch provides direct, intense heat, quickly melting and caramelizing the sugar without heating the custard underneath. While an oven broiler can be used as an alternative (see FAQs), a torch offers the best control and results.
Key Ingredients for a Silky Custard
The simplicity of Crème Brûlée’s ingredients belies the complexity of its flavor and texture. Each component plays a vital role in achieving that perfect balance.
- Heavy Cream: This is the backbone of the custard, providing its signature richness and velvety texture. Use full-fat heavy cream for the best results; lower-fat alternatives will not yield the same luxurious mouthfeel.
- Egg Yolks: The primary thickening agent, egg yolks are essential for the custard’s smooth and creamy consistency. They also contribute to the beautiful pale yellow hue and rich flavor. Ensure your egg yolks are at room temperature for easier whisking and tempering.
- Granulated Sugar: Sugar sweetens the custard and, most importantly, forms the crunchy, caramelized crust. For the custard, it dissolves beautifully, and for the topping, it melts and caramelizes under heat, creating that irresistible shell.
- Vanilla Bean Paste (or Extract): Vanilla is the traditional and quintessential flavoring for Crème Brûlée. Vanilla bean paste offers a more intense flavor and visible specks of vanilla bean, enhancing both taste and aesthetic. High-quality vanilla extract is also a great option.
- Espresso Powder: This recipe features an optional, but highly recommended, addition of instant espresso powder. Far from making the dessert taste like coffee, espresso powder enhances and deepens the other flavors, particularly the rich caramel notes, adding a sophisticated dimension without overpowering the vanilla.
- Pinch of Salt: A small amount of salt balances the sweetness and brings out the full depth of flavor in the custard.
How to Make Crème Brûlée (Step-by-Step Guide)
Follow these detailed steps to create your own restaurant-quality Crème Brûlée at home:
- Prepare the Egg Yolk Mixture: In a medium mixing bowl, whisk together the egg yolks and granulated sugar until the mixture is pale yellow and smooth. Whisk thoroughly until the sugar is well incorporated and the mixture is slightly thickened.
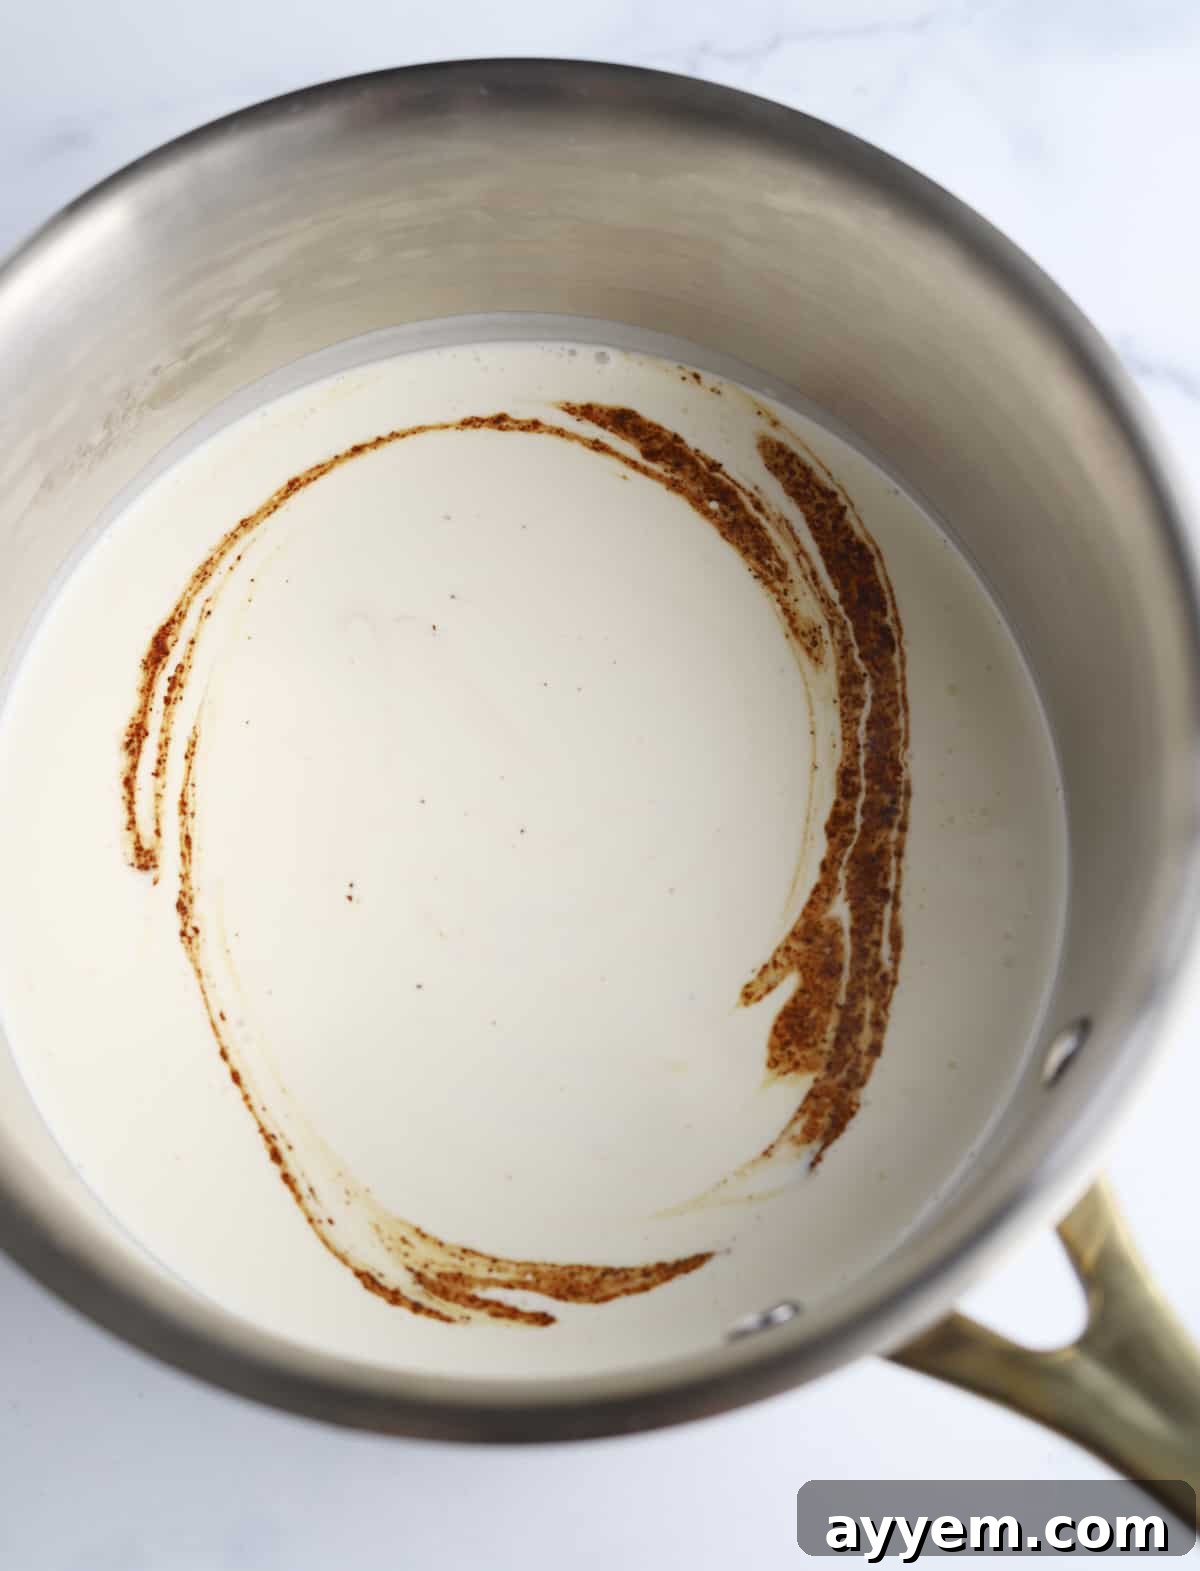
- Scald the Cream: In a medium pot, combine the heavy cream, vanilla bean paste (or extract), instant espresso powder (if using), and a pinch of salt. Heat this mixture over medium-high heat, stirring occasionally, just until it reaches a scald – tiny bubbles will form around the edges of the pot, but do not allow it to come to a full boil. Remove from heat immediately.
- Temper the Eggs: This is a crucial step to prevent the eggs from scrambling. Slowly and gradually pour the hot cream mixture into the egg yolk and sugar mixture, whisking constantly and vigorously throughout the entire process. Start with a very small stream of hot cream to slowly raise the temperature of the egg yolks, then gradually increase the stream. Continue whisking until all the hot cream is incorporated and the custard base is smooth.
- Strain the Custard: For the silkiest Crème Brûlée, pour the custard mixture through a fine-mesh sieve into a clean bowl or a liquid measuring cup with a spout. This removes any potential lumps or bits of cooked egg.
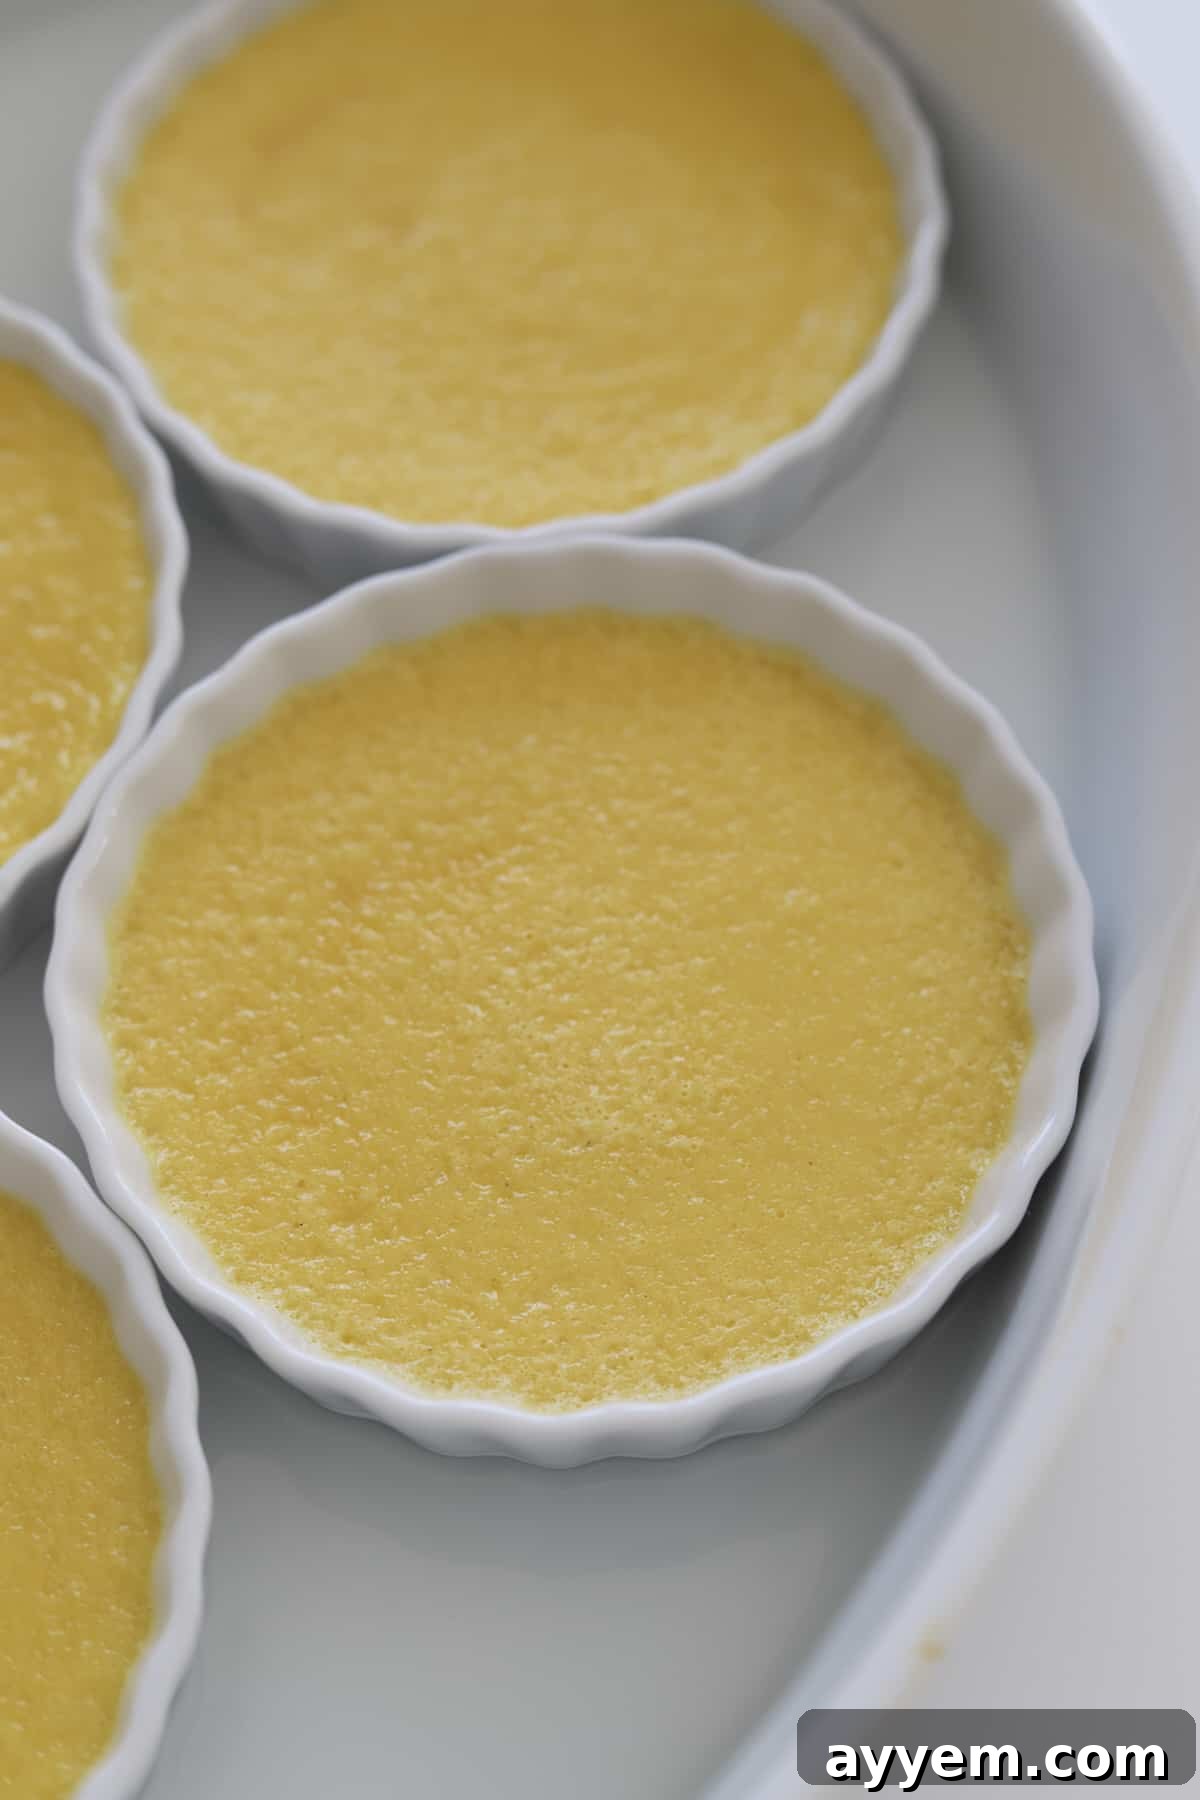
- Prepare for Baking: Preheat your oven to 300°F (150°C). Arrange your shallow ramekins (approximately 8 oz each) in a large oven-safe baking dish. Evenly distribute the strained custard mixture into the ramekins.
- Create the Water Bath (Bain-Marie): Carefully pour hot water into the baking dish around the ramekins, ensuring the water comes about halfway up the sides of the ramekins. Be very careful not to splash any water into the custard itself. The water bath ensures gentle, even cooking, preventing the custard from cracking or developing a rubbery texture.
- Bake to Perfection: Carefully transfer the baking dish with the ramekins and water bath to the preheated oven. Bake for approximately 30-35 minutes. The Crème Brûlée is done when the edges are set, but the center still has a slight, delicate jiggle when gently nudged. Over-baking will result in a grainy texture, while under-baking will leave it too runny.
- Chill Thoroughly: Once baked, carefully remove the baking dish from the oven. Then, gently remove the individual ramekins from the hot water bath (to prevent further cooking) and place them on a wire rack to cool completely at room temperature. Once cooled, cover each ramekin loosely with plastic wrap and refrigerate for at least 4 hours, or preferably overnight, until thoroughly chilled and set.
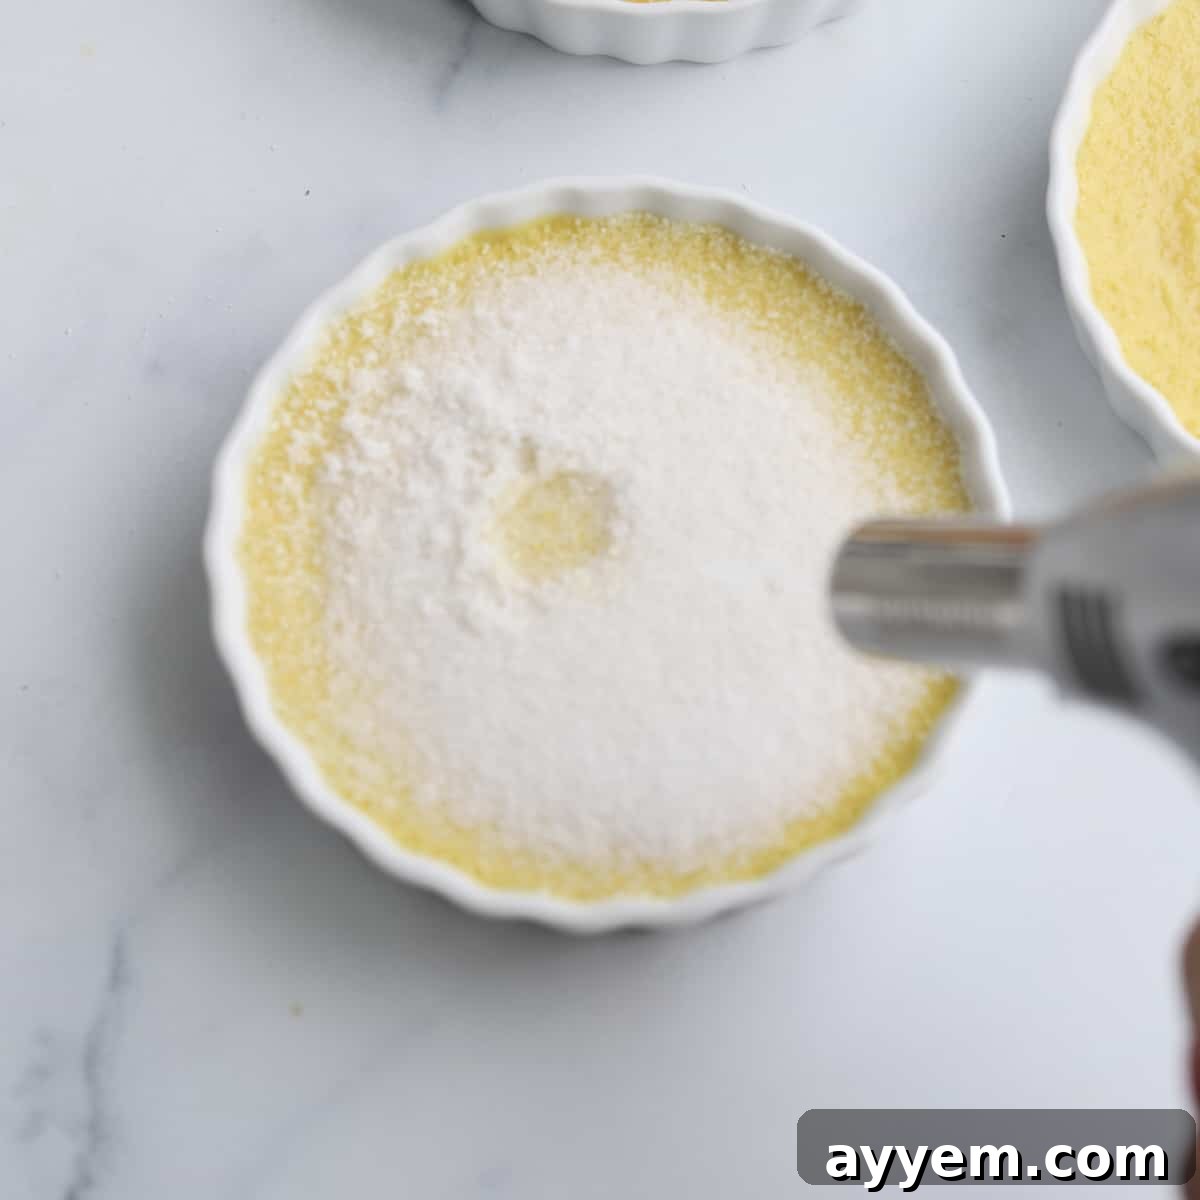
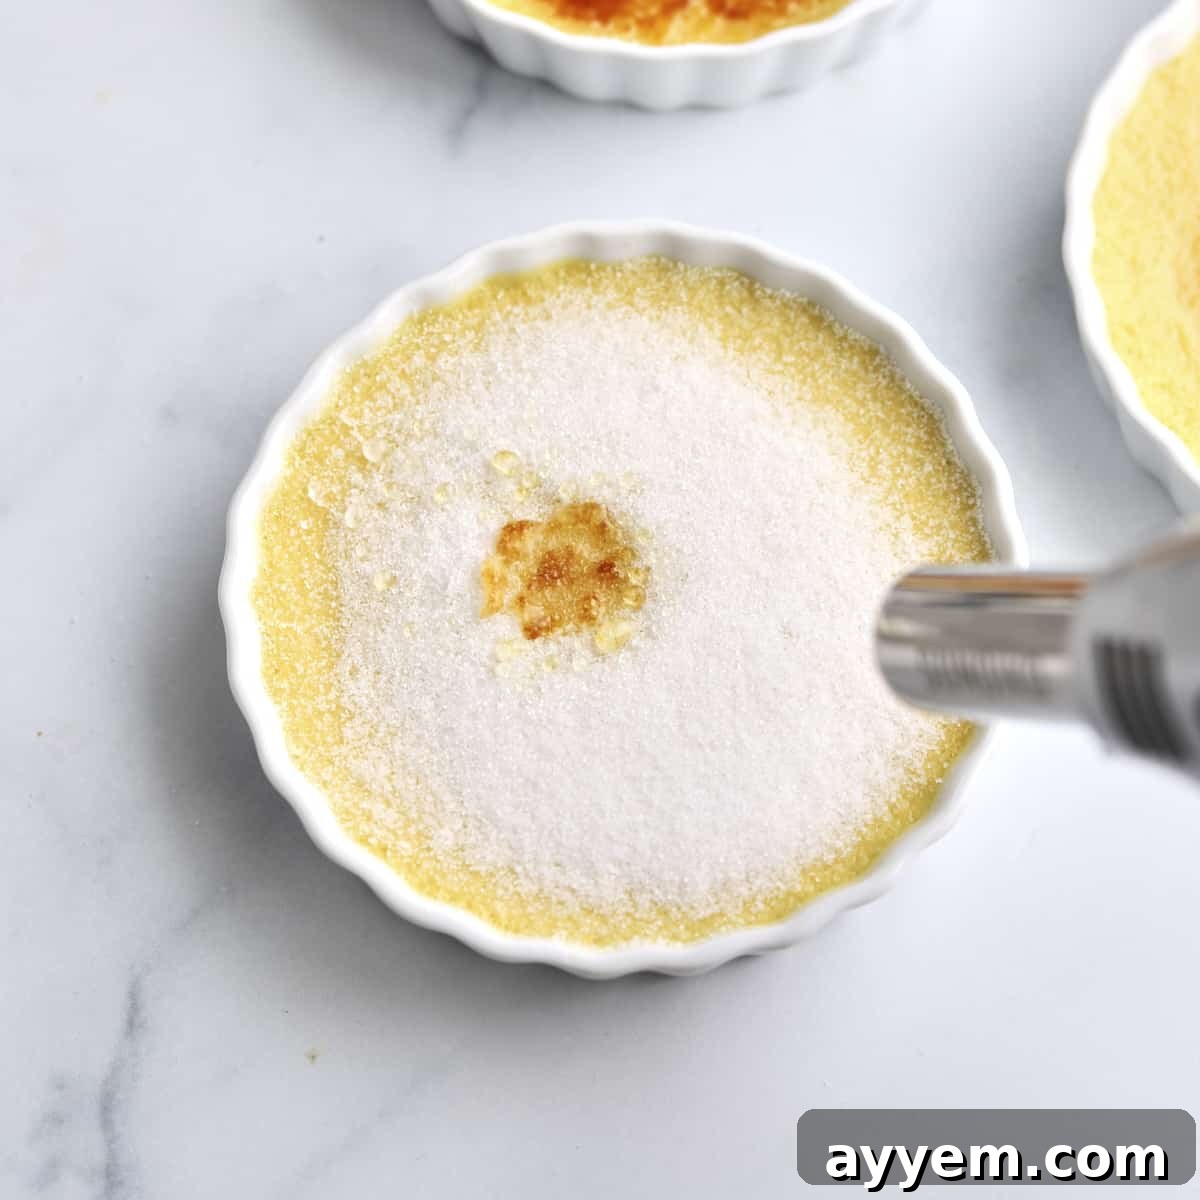
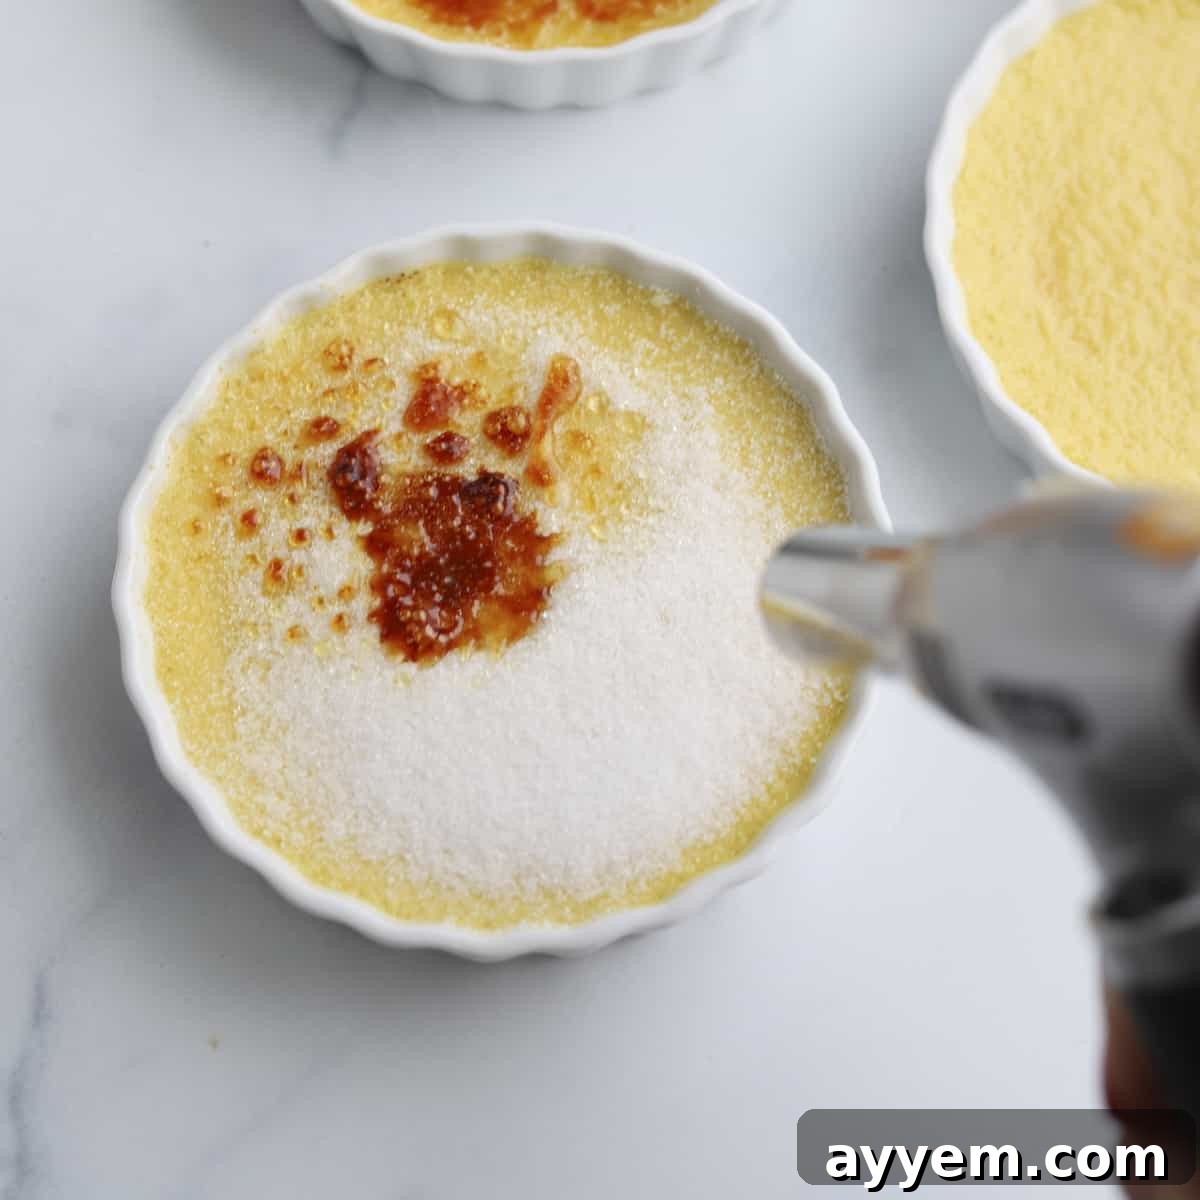
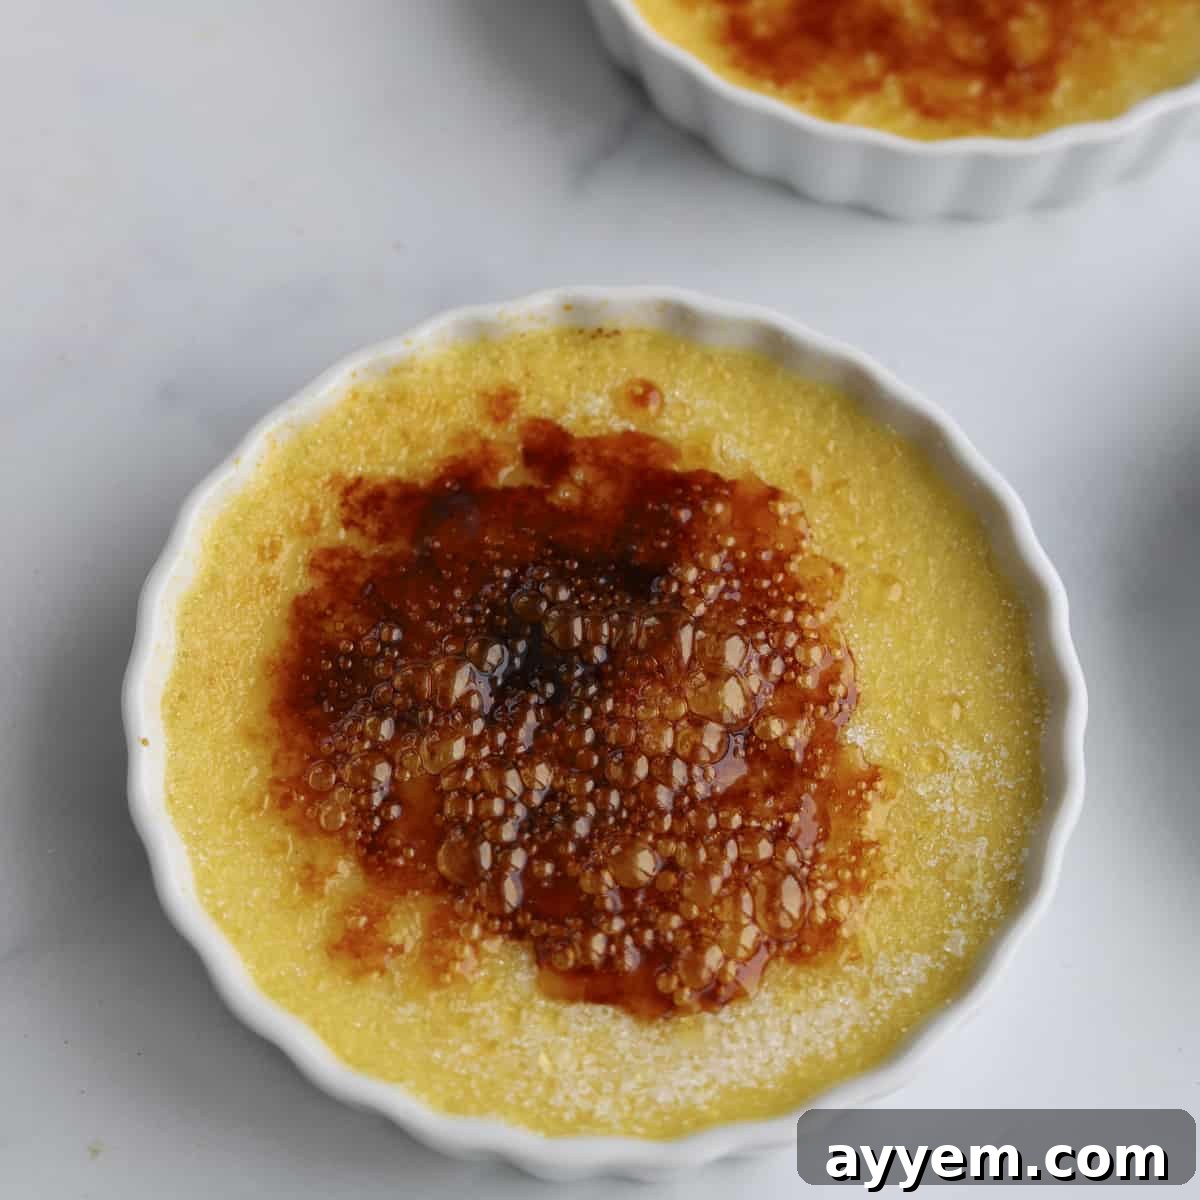
- Caramelize the Sugar: Just before serving, uncover the chilled Crème Brûlée. Sprinkle a thin, even layer of granulated sugar (about 1-2 teaspoons per ramekin) over the surface of each custard. Use your kitchen torch to caramelize the sugar. Hold the torch a few inches above the sugar, moving it steadily in circular motions until the sugar melts, bubbles, and turns a beautiful deep golden brown. Be careful not to burn it, as it can turn bitter.
- Serve Immediately: Once the sugar crust is caramelized and hard, serve your elegant Crème Brûlée!
Tips for Crème Brûlée Perfection
Achieving the perfect Crème Brûlée is all about attention to detail. Here are some extra tips to ensure your dessert turns out flawless every time:
- Room Temperature Ingredients: Ensure your egg yolks and heavy cream are at room temperature before you begin. This helps them combine more smoothly and temper more evenly, preventing curdling.
- Tempering is Key: The slow addition of hot cream to egg yolks is vital. Pouring too quickly or not whisking enough will scramble the eggs. Take your time, especially at the beginning, allowing the egg yolks to gradually warm up.
- Don’t Over-Whisk: While you want to whisk the egg yolks and sugar well, avoid over-whisking once the cream is added, as this can incorporate too much air, leading to a foamy or bubbly custard. If bubbles form, let the mixture rest for a few minutes or gently skim them off before pouring into ramekins.
- Check for Doneness Carefully: The “slight jiggle” is the perfect indicator. The center should still be soft, like firm jelly, but not liquid. The residual heat will continue to cook the custard as it cools.
- The Importance of Chilling: Do not skip the chilling step! Crème Brûlée needs ample time in the refrigerator (at least 4 hours, preferably overnight) to fully set and develop its rich flavor and signature silky texture.
- Even Sugar Layer for Caramelization: When sprinkling sugar for the topping, aim for an even, thin layer. Too much sugar can result in a thick, overly hard, or bitter crust. Too little might not form a complete crust.
- Torch Technique: Keep the kitchen torch moving constantly in small circles. This ensures even caramelization and prevents scorching. The sugar should melt and turn a deep amber color, not black.
- Serve Immediately After Torch: The best Crème Brûlée experience is when the crisp, warm sugar crust meets the cold, silky custard. Torch just before serving to maximize this delightful contrast.
Serving Your Exquisite Crème Brûlée
Crème Brûlée is truly exquisite on its own, a testament to its simple elegance. The contrast of the warm, crisp sugar against the cool, creamy custard is a dessert experience in itself. However, if you wish to elevate this classic even further, there are many delightful ways to serve and garnish it:
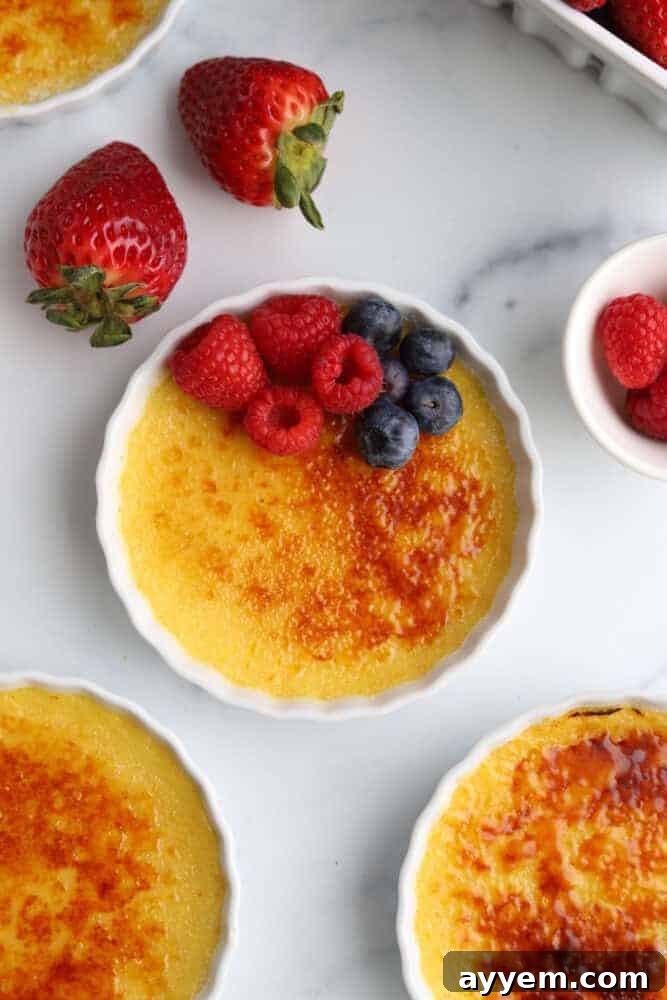
- Fresh Berries: A vibrant assortment of fresh berries is a classic and visually stunning accompaniment. Sliced strawberries, blueberries, raspberries, and blackberries offer a refreshing tartness that beautifully cuts through the richness of the custard. A single sprig of fresh mint can add an extra touch of sophistication.
- Dollop of Whipped Cream: For those who crave an extra layer of creamy indulgence, a generous dollop of freshly whipped cream is a perfect addition. You can either use store-bought whipped cream or easily make your own by whisking heavy cream with a touch of powdered sugar until light and fluffy.
- Chocolate Accents: Chocolate lovers rejoice! You can elevate your Crème Brûlée with various chocolate elements. Shave a few curls of dark chocolate over the top, or melt chocolate and drizzle it in an artistic pattern onto a piece of parchment paper. Allow it to harden in the fridge, then carefully peel and place the delicate chocolate pieces atop your dessert.
- Espresso Dusting: If you’ve included espresso powder in your custard, a light dusting of cocoa powder or a tiny sprinkle of finely ground espresso beans on the side of the plate can subtly hint at the hidden coffee notes within.
- Citrus Zest: A finely grated zest of orange or lemon can add a bright, aromatic counterpoint to the rich custard, especially if you opted for a non-espresso version.
- Liqueur Drizzle: For an adult twist, a very light drizzle of a complementary liqueur, such as Grand Marnier, Kahlúa, or a hazelnut liqueur, can add an extra layer of flavor complexity.
Delightful Crème Brûlée Variations
While classic vanilla Crème Brûlée is a timeless favorite, the basic custard recipe serves as a fantastic canvas for countless flavor innovations. Don’t be afraid to get creative and experiment with different infusions to discover your own signature Crème Brûlée:
- Citrus Crème Brûlée: Infuse the heavy cream with strips of lemon, orange, or lime zest while heating. Remove the zest before tempering for a bright and zesty custard.
- Lavender Crème Brûlée: Add a teaspoon of food-grade dried lavender flowers to the heavy cream as it heats. Strain the cream before tempering for a delicately floral dessert.
- Pumpkin Spice Crème Brûlée: Perfect for autumn! Add a teaspoon of pumpkin pie spice blend to the heavy cream, along with a tablespoon or two of pumpkin puree, for a seasonal treat.
- Chocolate Crème Brûlée: Melt 2-3 ounces of high-quality dark chocolate into the hot heavy cream mixture before tempering. This creates a rich, decadent chocolate custard.
- Ginger Crème Brûlée: Infuse the cream with a few slices of fresh ginger while heating for a warm, spicy kick. Remove ginger before tempering.
- Maple Crème Brûlée: Replace some of the granulated sugar in the custard with pure maple syrup for a delightful fall-inspired flavor. You can also use maple sugar for the topping.
- Coconut Crème Brûlée: Substitute half of the heavy cream with full-fat coconut milk for a tropical twist. Garnish with toasted coconut flakes.
Common Questions About Crème Brûlée (with Espresso)
The addition of a small amount of instant espresso powder to the custard base introduces a sophisticated coffee kick. This isn’t about making a coffee-flavored dessert, but rather using the espresso to enhance and deepen the other flavors. The coffee notes subtly amplify the caramel flavors from the torched sugar top and the rich vanilla in the custard, creating an amazing harmony of bitter, sweet, and creamy that regular Crème Brûlée doesn’t quite achieve. It adds a grown-up complexity without being overtly “coffee-flavored.”
While a kitchen torch is highly recommended for achieving the most control and that perfect, evenly caramelized, shatter-crisp top, you can use your oven’s broiler in a pinch. If using the broiler, place your chilled Crème Brûlée on a baking sheet on the top rack of your oven. Sprinkle with sugar, then broil for just 1-2 minutes, keeping a super close eye on it. The difference between perfectly caramelized and burnt sugar happens in seconds under a broiler, so do not walk away!
Absolutely! Crème Brûlée is an excellent make-ahead dessert. You can prepare and bake the custards up to 3 days in advance. Once fully cooled, cover them tightly with plastic wrap and keep them refrigerated. The key is to only add and torch the sugar topping right before serving. This ensures that magical contrast between the crisp, warm sugar crust and the cold, silky smooth custard underneath, which is the hallmark of a perfect Crème Brûlée.
Those pesky bubbles usually appear for a couple of reasons: either the custard mixture was whisked too vigorously, incorporating too much air, or it was poured too quickly and from too high into the ramekins. To prevent this, whisk gently but thoroughly. If bubbles still appear after pouring into ramekins, you can gently pop them with the back of a spoon or a small torch before baking. Straining the custard through a fine-mesh sieve is also a good preventative measure.
If your Crème Brûlée is runny, it likely wasn’t baked long enough or wasn’t chilled for a sufficient amount of time. The custard should have a slight jiggle in the center but be set around the edges when it comes out of the oven. Ensure you chill it for at least 4 hours, or preferably overnight, for it to fully set and firm up to the desired creamy consistency.
Fine granulated sugar (caster sugar) works best for the topping because its small crystals melt and caramelize quickly and evenly. While regular granulated sugar can work, it might take a little longer to melt, and the resulting crust might be slightly thicker. Avoid powdered sugar as it contains cornstarch and won’t caramelize correctly.
Notes
This recipe yields 4 – 8 oz ramekins. Alternatively, you can use 6 – 6 oz ramekins if you prefer slightly smaller portions.
Feel free to customize the flavor of your Crème Brûlée! You can omit the espresso powder for a classic vanilla version, or add different extracts like almond or rum. Zest from a lemon or orange can also be infused into the cream for a bright, refreshing twist.
Creme Brulee (with espresso)
Food Dolls
4
servings
15
30
45
Ingredients
-
5
large egg yolks
room temperature -
1/2
cup
granulated sugar -
2 3/4
cup
heavy cream -
2
teaspoons
vanilla bean paste -
1/2
teaspoon
instant espresso powder
optional -
pinch
of salt
Instructions
-
In a medium mixing bowl, whisk egg yolks and sugar.5 large egg yolks,
1/2 cup granulated sugar -
In a pot, combine heavy cream, vanilla bean paste, espresso powder and a pinch of salt. Heat up over medium high heat just until scalded. Do not boil.2 3/4 cup heavy cream,
2 teaspoons vanilla bean paste,
1/2 teaspoon instant espresso powder,
pinch of salt -
Transfer the hot heavy cream into a vessel with a spout. This will make the next step easier!
-
Slowly pour the heated cream into the egg yolk and sugar mixture. Make sure to whisk constantly throughout this process to prevent the egg yolks from curdling.
-
Note: the sugar in the egg yolk mixture will help the eggs withstand the heat, but it is extremely important to pour slowly and whisk the entire time. Egg yolks need to be exposed to the heat gently in order to prevent them from turning into scrambled eggs.
-
Distribute the creme mixture into shallow ramekins (8 oz) and arrange them in an oven safe baking dish.
-
Pour water into the baking dish around the ramekins. You want the water to come about halfway up the side of the ramekins. Be careful not to get any water in with the custard base.
-
Place in the oven at 300 degrees Fahrenheit, and bake until set about 30 minutes. Careful not to over bake, you want them to have a a slight jiggle. *If it jiggles too much then it will be runny, if it does not jiggle at all then it is over baked!
-
Remove the creme brûlée from the oven and carefully remove out of the water bath (otherwise it will continue to cook) let cool completely. Refrigerate for at least 1 hour or overnight.
-
Sprinkle sugar on top of each individual creme brûlée.
-
Toast the sugar with a blow torch until the sugar turns a deep golden brown.
-
Serve!
Video
Notes
Nutrition
Serving:
1
serving
|
Calories:
735
kcal
|
Carbohydrates:
32
g
|
Protein:
8
g
|
Fat:
65
g
|
Saturated Fat:
40
g
|
Polyunsaturated Fat:
4
g
|
Monounsaturated Fat:
18
g
|
Cholesterol:
428
mg
|
Sodium:
55
mg
|
Potassium:
185
mg
|
Sugar:
31
g
|
Vitamin A:
2730
IU
|
Vitamin C:
1
mg
|
Calcium:
137
mg
|
Iron:
1
mg
Nutrition information is automatically calculated, so should only be used as an approximation.
Like this recipe?
Please leave a comment!
Crème Brûlée is more than just a dessert; it’s an experience. The delicate dance between creamy and crisp, sweet and subtly bitter, makes it a true culinary delight. Don’t let its elegant reputation intimidate you; with this detailed guide, you have everything you need to recreate this masterpiece in your own kitchen. Whether you’re making it for a special occasion or simply to satisfy a craving for something truly extraordinary, preparing Crème Brûlée at home is a rewarding endeavor that promises delectable results. So, grab your ramekins and your kitchen torch, and get ready to indulge in the irresistible charm of homemade Crème Brûlée!