
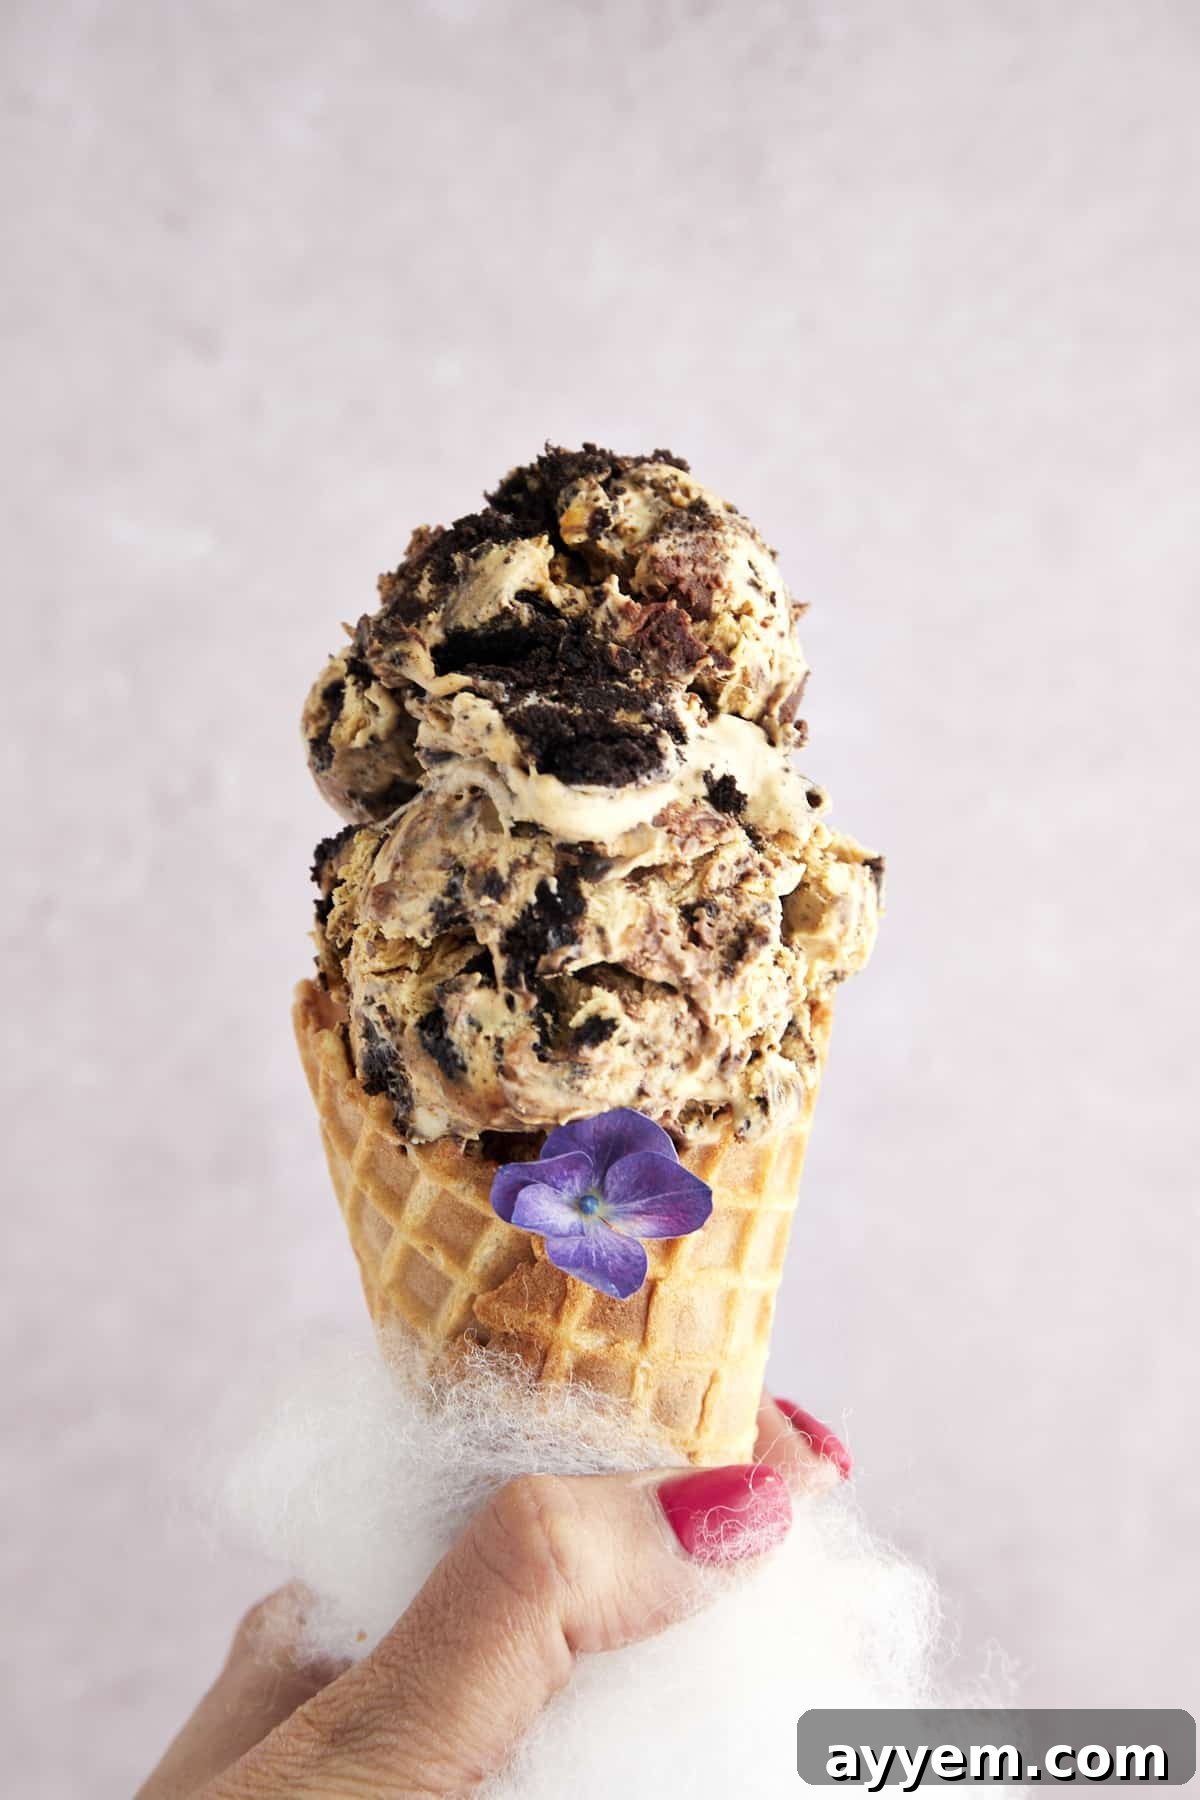
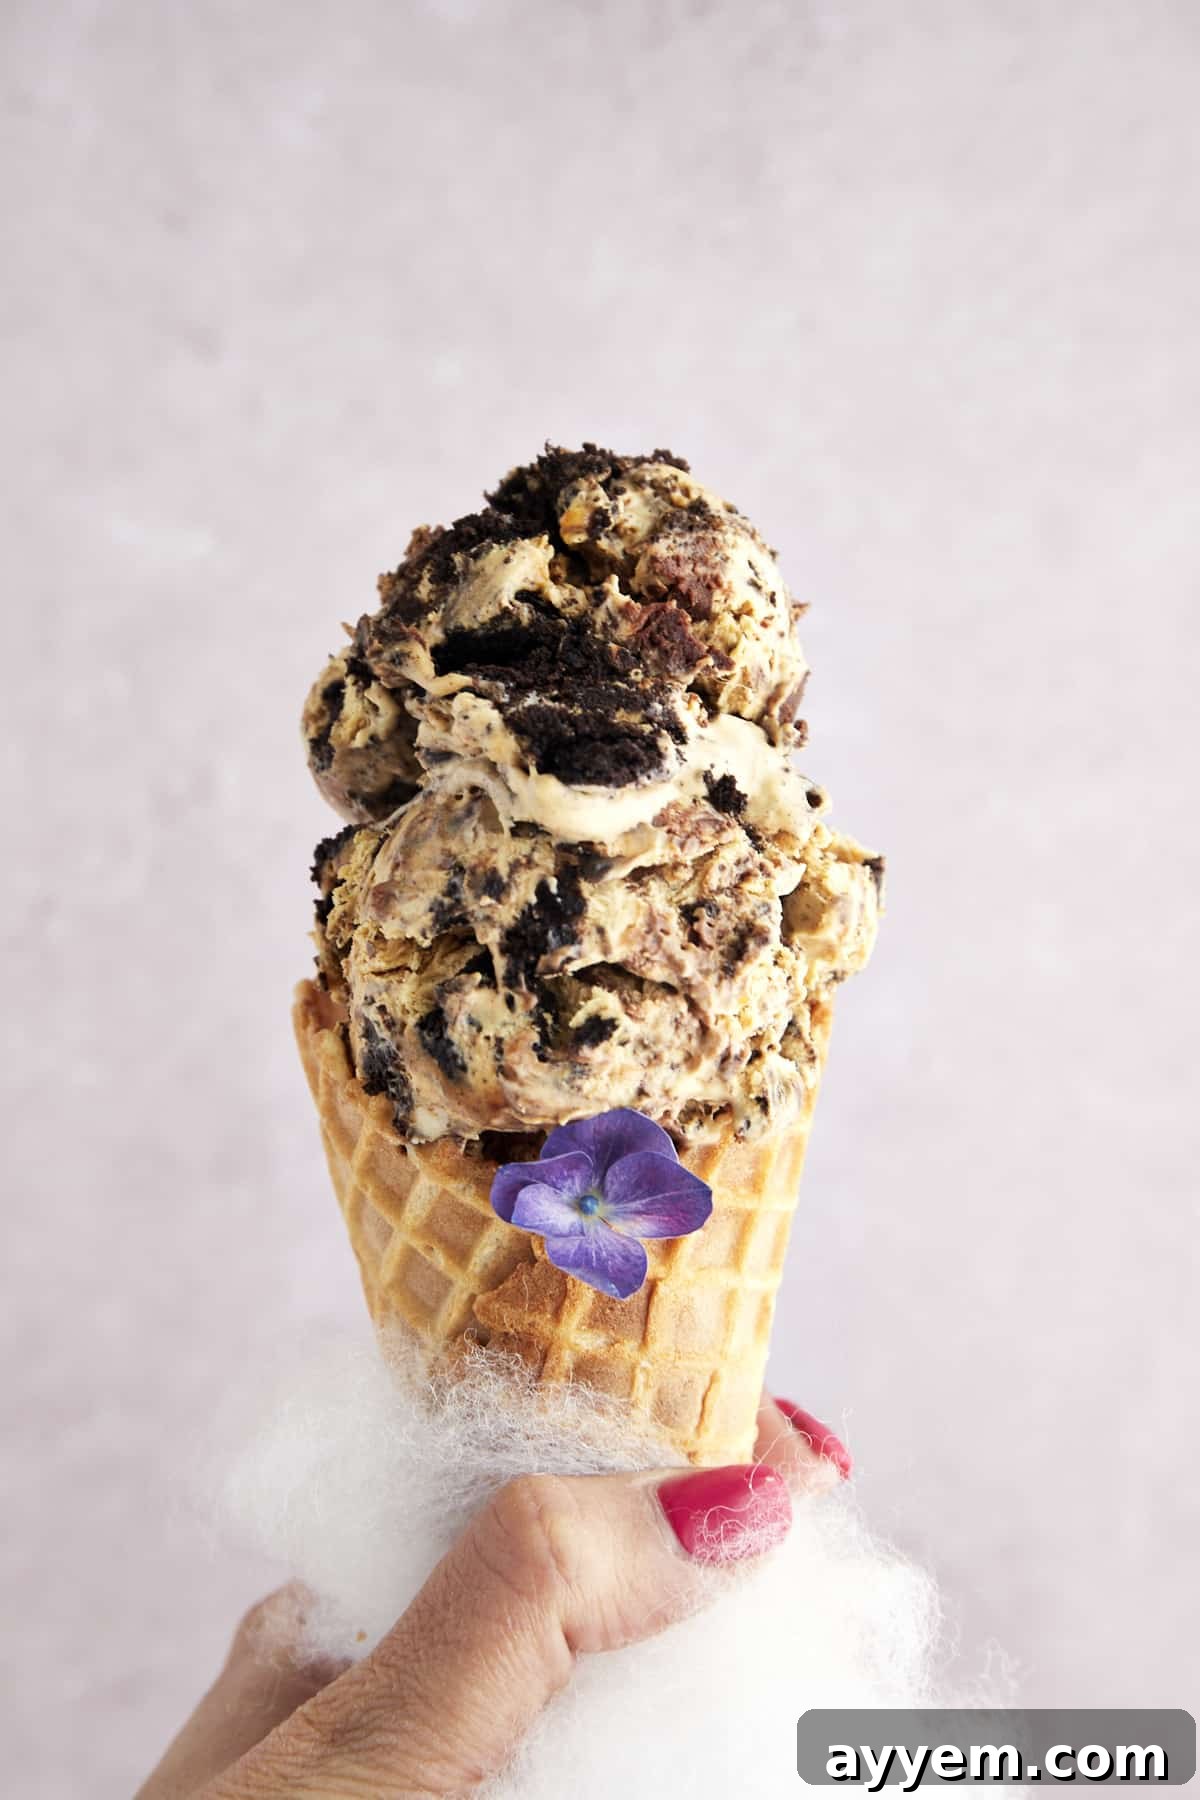
Tired of overpaying for mediocre store-bought ice cream? Imagine crafting your own incredibly rich, creamy, and irresistibly delicious frozen treat right at home, without the need for a bulky ice cream maker! Our easy Mocha Oreo No-Churn Ice Cream recipe transforms simple ingredients into a decadent dessert masterpiece that will have everyone clamoring for more. This delightful concoction blends the robust flavor of mocha coffee with a luscious, smooth ice cream base, generously swirled with your choice of indulgent chocolate or caramel, and packed with crunchy, sweet chunks of Oreo cookies.
This isn’t just any homemade ice cream; it’s a culinary dream come true for dessert lovers and coffee enthusiasts alike. The beauty of a “no-churn” recipe lies in its sheer simplicity and accessibility. Forget about expensive specialized equipment or complicated techniques. With just a few staple ingredients and minimal effort, you can whip up a batch of this delightful mocha Oreo ice cream that rivals any gourmet scoop shop. Prepare to embark on a sweet adventure that promises homemade goodness, incredible flavor, and a truly satisfying dessert experience.
What Exactly Is No-Churn Ice Cream and How Does It Work?
No-churn ice cream is a magical dessert innovation that allows you to create rich, creamy ice cream without the traditional churning process or specialized equipment like an ice cream machine. It’s perfect for home cooks who lack an ice cream maker, have limited kitchen space, or simply prefer a quicker, easier way to enjoy homemade frozen treats. The secret to no-churn ice cream lies in its ingenious use of two primary ingredients: heavy cream and sweetened condensed milk, which work together to create a smooth, scoopable texture.
Unlike traditional ice cream, which relies on continuous churning to prevent large ice crystals from forming, no-churn recipes achieve their creamy consistency through aeration and the unique properties of sweetened condensed milk. Heavy cream is whipped until it forms stiff peaks, incorporating air that gives the ice cream its light, fluffy texture. Sweetened condensed milk, a thick, sweet, and shelf-stable milk product, then serves multiple crucial roles. It provides the necessary sweetness without the need for additional sugar, and its high sugar content and low water activity help to inhibit the formation of large ice crystals during freezing. This combination results in a remarkably smooth and rich ice cream that freezes beautifully without any churning.
The process is wonderfully straightforward. First, you whip the heavy cream to achieve volume and airiness. Next, you gently fold in the sweetened condensed milk, along with any desired flavorings and mix-ins. This mixture is then poured into a freezer-safe container and left to freeze for several hours, typically overnight. The simplicity of this method makes homemade ice cream accessible to everyone, opening up a world of endless flavor possibilities for you to explore right in your own kitchen.
Why You’ll Love Making Your Own Homemade No-Churn Ice Cream
Beyond the sheer joy of indulging in a delicious dessert, making your own no-churn ice cream offers a multitude of benefits that elevate it above store-bought options. First and foremost is the incredible customization. You have complete control over every single ingredient, allowing you to tailor flavors, sweetness levels, and mix-ins to your exact preferences. Want extra Oreos? Go for it! Prefer a stronger coffee kick? Add more espresso powder! This level of personalization is simply unmatched by commercial pints.
Secondly, it’s surprisingly cost-effective. While quality store-bought ice cream can be quite pricey, a batch of homemade no-churn ice cream uses relatively inexpensive ingredients and yields a generous amount, making it a budget-friendly option for feeding a crowd or enjoying multiple servings. You’ll save money without compromising on flavor or quality.
Moreover, homemade ice cream provides a fun and rewarding kitchen experience. It’s an enjoyable activity for all ages, perfect for involving kids in the cooking process or simply unwinding with a creative culinary project. The satisfaction of creating something so delicious from scratch is truly priceless. You’ll be proud to serve your guests a dessert that’s not only incredibly tasty but also a testament to your own culinary skills. Plus, you avoid all the artificial flavors, preservatives, and unnecessary additives often found in mass-produced ice creams, ensuring a fresher, more wholesome treat for your family and friends.
Key Ingredients for This Decadent Mocha Oreo Ice Cream
To create this magnificent Mocha Oreo No-Churn Ice Cream, we’re combining a few essential ingredients that come together to form an unbeatable flavor and texture profile. Each component plays a vital role in achieving that rich, creamy, and satisfying result. Here’s a closer look at what you’ll need:
- Heavy Cream: This is the backbone of our no-churn recipe. When whipped, heavy cream incorporates air, creating the light and airy volume crucial for ice cream. Opt for cold heavy cream (with at least 36% milk fat) for best whipping results.
- Sweetened Condensed Milk: This ingredient is a true hero in no-churn ice cream. It provides the perfect balance of sweetness and a thick, smooth consistency, preventing ice crystals from forming and giving the ice cream its incredibly creamy texture. Ensure you use sweetened condensed milk, not evaporated milk, as they are not interchangeable.
- Unsweetened Cocoa Powder: To build a deep, classic chocolate ice cream base, unsweetened cocoa powder is essential. It delivers a rich, slightly bitter chocolate flavor that perfectly complements the coffee notes. Use good quality cocoa powder for the best taste.
- Instant Espresso Powder: This is what gives our ice cream its delightful mocha kick. Instant espresso powder dissolves easily and intensifies the chocolate flavor while adding a distinct coffee aroma and taste. If you prefer a milder coffee flavor or a decaffeinated option, feel free to use decaf instant espresso powder or adjust the quantity to your liking.
- Sea Salt: Don’t underestimate the power of a pinch of salt! Sea salt doesn’t just enhance all the sweet and chocolatey flavors; it also plays a scientific role by slightly lowering the freezing point of the mixture. This contributes to a smoother, less icy final product and helps the ice cream solidify more effectively.
- Oreo Cookies: The star mix-in! We recommend classic Oreos, roughly chopped into varying sizes. This provides a wonderful textural contrast – some pieces remain crunchy, while others soften into delightful cakey bits. Feel free to experiment with different Oreo flavors, like mint or peanut butter, for a unique twist.
- Chocolate or Caramel Sauce: Drizzling in your choice of chocolate or caramel sauce creates beautiful swirls of concentrated flavor throughout the ice cream. This adds an extra layer of indulgence and visual appeal. You can use store-bought sauces or make your own for an even fresher taste.
Step-by-Step Guide: How to Make Creamy No-Churn Ice Cream
Creating this homemade mocha Oreo ice cream is incredibly simple, and you’re practically guaranteed success even if you’re a beginner. Follow these detailed steps to whip up your own batch of creamy, dreamy frozen goodness:
- Prepare Your Pan: Begin by lining a standard 10×5 inch loaf pan with plastic wrap. Ensure that there’s enough overhang on both ends to cover the top of the ice cream mixture later. This plastic wrap lining will make it much easier to remove the frozen ice cream from the pan once it’s set. Set the prepared pan aside.
- Combine Base Ingredients: In the large bowl of a stand mixer (or a large bowl if using a hand mixer), add the cold heavy cream, one 14-ounce can of sweetened condensed milk, unsweetened cocoa powder, vanilla extract, instant espresso powder, and sea salt. Start mixing on a low speed to gently combine all the ingredients. This prevents the powders from flying out of the bowl and ensures a smooth initial mixture.
- Whip Until Soft Peaks Form: Once the ingredients are well combined and the mixture is smooth, gradually increase the speed of your mixer to medium-high. Continue beating for several minutes until soft peaks begin to form. Soft peaks hold their shape but still gently curl over at the tip when the whisk is lifted. Be careful not to overbeat, as this can result in a grainy texture. The goal is a light, airy, and voluminous base.
- Gently Fold in Oreo Pieces: Remove the bowl from the mixer. Using a rubber spatula, gently fold in the roughly chopped Oreo cookies. The key here is to fold, not stir vigorously, to maintain the airy texture of the whipped cream base. Distribute the Oreo pieces evenly throughout the mixture.
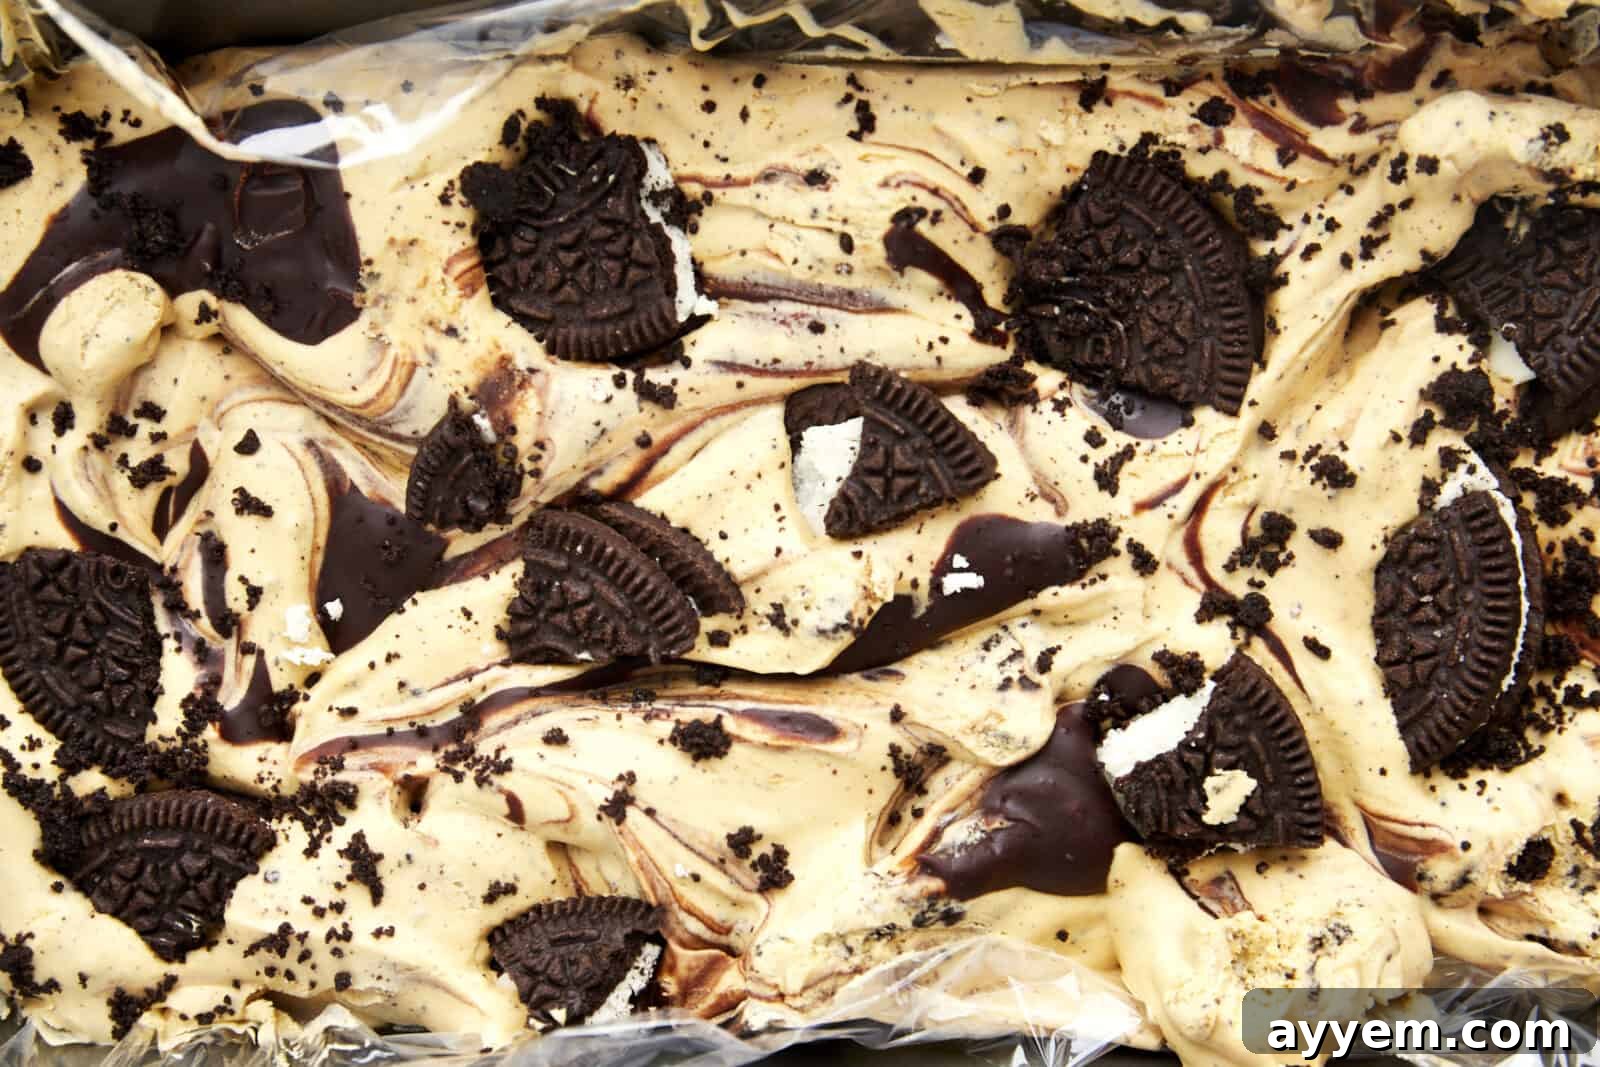
- Layer the Ice Cream and Swirl: Pour about half of the prepared cream mixture into your plastic wrap-lined loaf pan, spreading it out evenly with your spatula. Next, generously drizzle half of your chocolate or caramel sauce (about 2 tablespoons) over this layer. Take the tip of a knife or a skewer and gently swirl the sauce into the ice cream base to create beautiful ribbons of flavor. Pour the remaining ice cream mixture on top, spread it evenly, and then drizzle the rest of the chocolate or caramel sauce over the final layer. For an extra touch of gourmet flair, sprinkle a pinch of sea salt flakes on top.
- Freeze Overnight: Cover the loaf pan tightly with the excess plastic wrap, ensuring the surface of the ice cream is well-protected. Place the covered pan into the freezer and allow it to freeze overnight, or for a minimum of 8-12 hours. This extended freezing time is crucial for the ice cream to firm up completely and achieve its ideal creamy texture.
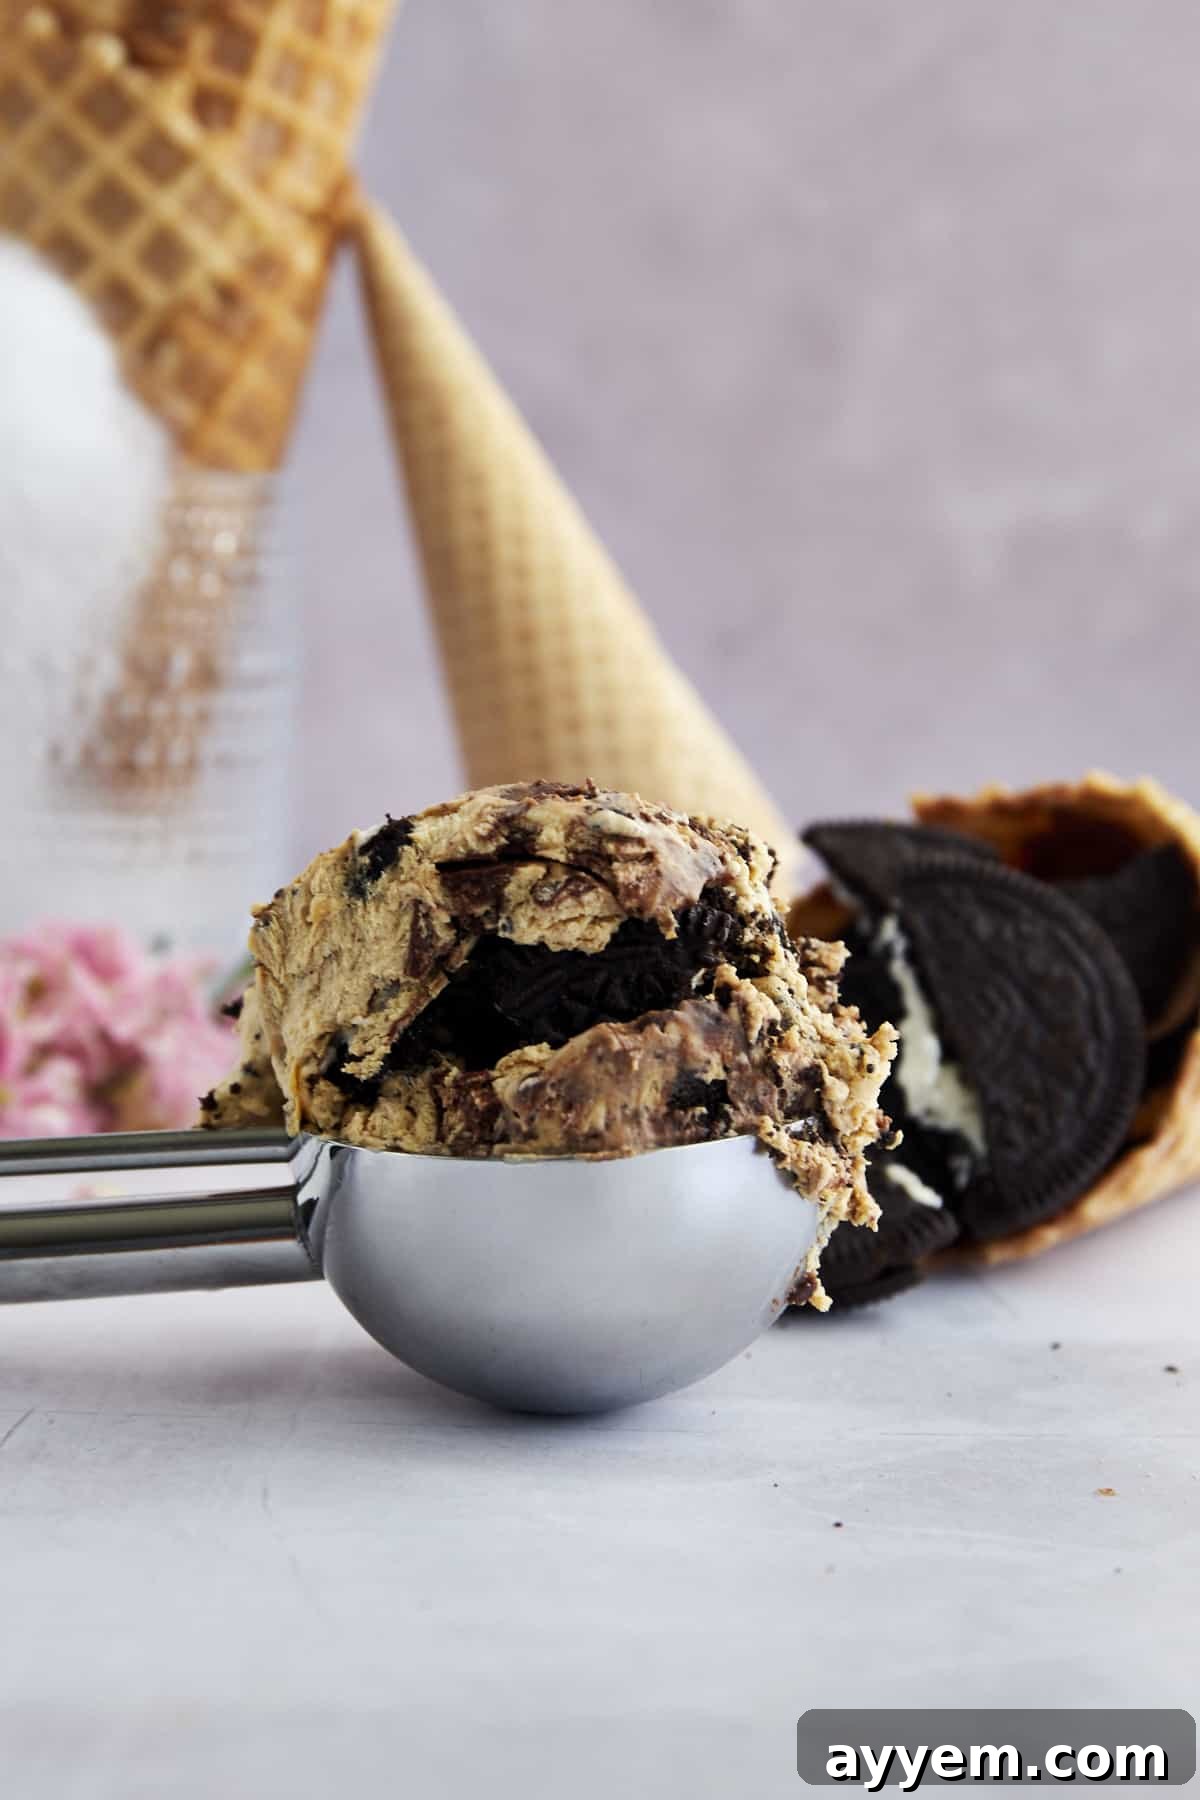
- Serve and Enjoy: When you’re ready to serve, remove the loaf pan from the freezer and let it sit at room temperature for about 10-15 minutes. This brief resting period allows the ice cream to soften slightly, making it much easier to scoop. Use an ice cream scoop to portion out generous servings, and get ready to enjoy your magnificent homemade Mocha Oreo No-Churn Ice Cream!
Delicious Flavor Variations to Try
The beauty of homemade no-churn ice cream lies in its incredible versatility. Once you master the basic technique, the possibilities for flavor combinations are virtually limitless! Feel free to get creative and tailor your ice cream to your favorite tastes. Here are some fantastic variations you can easily whip up:
- Classic Vanilla Bean: For a timeless treat, simply use the base of heavy cream and sweetened condensed milk. Stir in 1-2 teaspoons of high-quality vanilla extract or the seeds from a vanilla bean, along with a pinch of salt. It’s simple, elegant, and always a crowd-pleaser.
- Decadent Cookie Dough: Start with either a vanilla or chocolate ice cream base. Then, gently fold in generous chunks of your favorite edible cookie dough. Whether it’s classic chocolate chip, peanut butter, or oatmeal raisin, cookie dough adds a wonderful chewiness and bursts of flavor.
- Refreshing Mint Chocolate Chip: Achieve a vibrant and cool treat by adding 1 teaspoon of peppermint extract and a few drops of green food coloring to your cream mixture. Fold in plenty of mini chocolate chips or chopped chocolate for that classic crunch. For an extra fresh kick, you can even finely mince a few fresh mint leaves and add them in.
- Rocky Road Adventure: Transform your chocolate ice cream base into a rich Rocky Road experience. Fold in a generous mix of chopped almonds or chocolate-covered almonds for crunch, mini marshmallows for chewiness, and extra chocolate chunks or swirls for ultimate indulgence.
- Sweet & Salty Caramel Swirl: Create a vanilla base and swirl in a rich salted caramel sauce. You can also fold in chopped pretzels or pecans for added texture and a delightful sweet and salty contrast.
- Berry Bliss: For a fruity delight, make a vanilla base and gently fold in puréed and slightly chunky fresh berries like strawberries, raspberries, or blueberries. A hint of lemon zest can brighten the flavors beautifully.
- Peanut Butter Cup Dream: To a chocolate or vanilla base, swirl in creamy peanut butter and chunky pieces of chopped peanut butter cups. This combination is a guaranteed hit for peanut butter lovers.
Creative Serving Suggestions for Your Homemade Treat
While we wouldn’t blame you one bit for diving straight into the loaf pan with a spoon – it’s that good – this Mocha Oreo No-Churn Ice Cream is also incredibly versatile and can be served in a variety of delightful ways. Elevate your dessert experience with these creative serving suggestions:
- Classic Bowl Perfection: Scoop generous portions into individual bowls. Top with an extra drizzle of rich chocolate or smooth caramel sauce, a dollop of fresh whipped cream, and a sprinkle of additional crushed Oreo cookies for an impressive presentation.
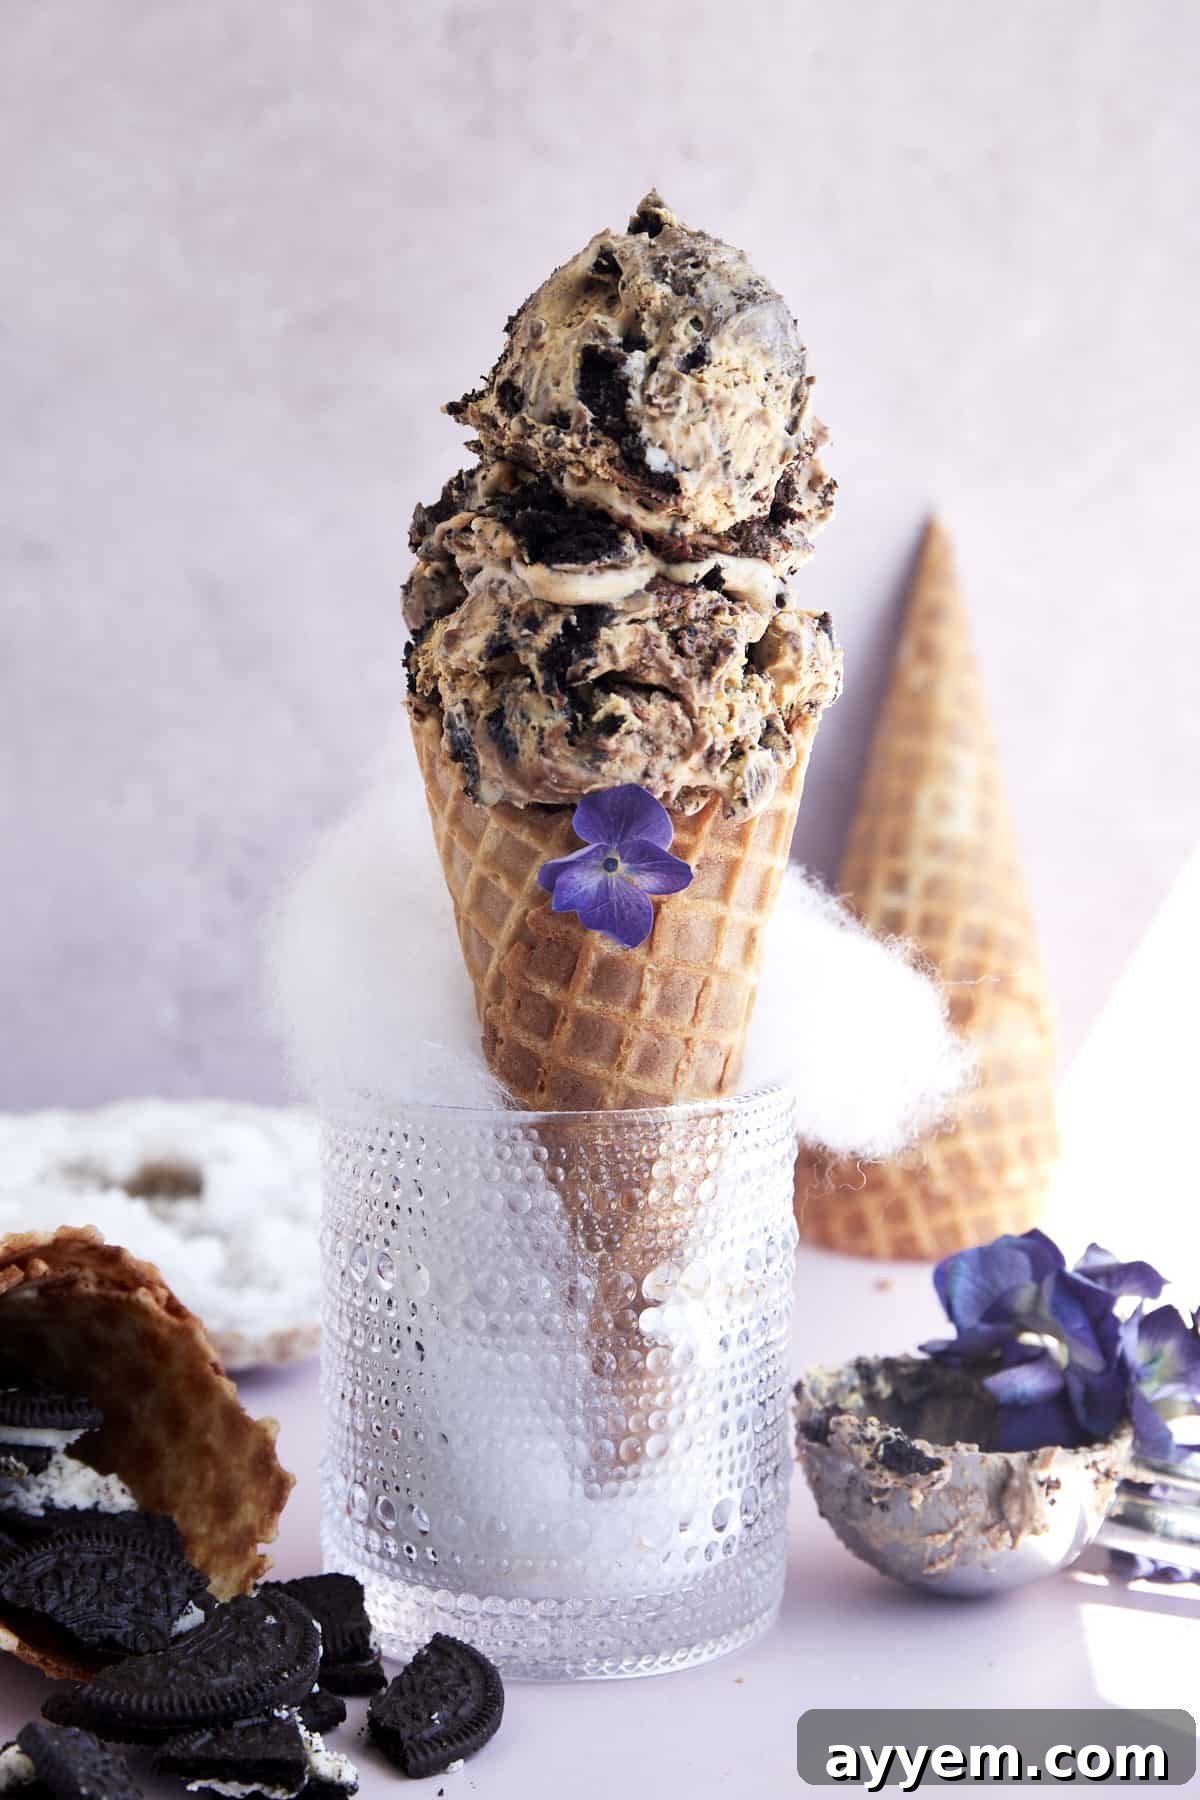
- Crunchy Cone Delight: Stuff fluffy scoops into crisp cake cones or crunchy waffle cones. The contrast between the cold, creamy ice cream and the crispy cone is simply irresistible, making it a perfect handheld treat for any occasion.
- Ultimate Ice Cream Sandwiches: Take two of your favorite large cookies (think soft chocolate chip, chewy oatmeal, or classic shortbread) and sandwich a generous scoop of mocha Oreo ice cream between them. Gently press to flatten slightly, and freeze for a few minutes to set before serving. This is a homemade ice cream sandwich like no other!
- Gourmet Sundae Bar: Set up an ice cream sundae bar with various toppings: hot fudge, caramel sauce, sprinkles, chopped nuts, mini marshmallows, extra Oreo crumbs, chocolate syrup, and of course, whipped cream and cherries. Let everyone customize their own ultimate sundae experience.
- Affogato Indulgence: For a sophisticated adult treat, place a scoop of this mocha Oreo ice cream in a small bowl or cup and pour a shot of hot espresso over it. The melting ice cream creates a luscious, creamy coffee drink that’s pure bliss.
- Milkshake Magic: Blend a few scoops of the frozen ice cream with a splash of milk (dairy or non-dairy) and a bit more chocolate or coffee syrup for a thick, creamy, and flavorful milkshake. Garnish with whipped cream and crushed Oreos.
- Alongside Baked Goods: Serve a scoop or two next to a warm brownie, a slice of apple pie, or a rich chocolate cake for an elevated dessert experience. The cool, creamy ice cream perfectly complements warm, comforting baked goods.
Common Questions About No-Churn Ice Cream
New to no-churn ice cream? You likely have some questions. Here are answers to common queries to ensure your homemade treat turns out perfectly every time:
- Is this ice cream super coffee-forward?
- Not at all! This recipe is designed to have a smooth, well-balanced mocha vibe. It contains just enough instant espresso powder to give it a delightful depth and a hint of coffee flavor without being overpowering. Even if you’re not a hardcore coffee drinker, you’ll appreciate the rich balance it brings to the chocolate and Oreo elements.
- Do the Oreos stay crunchy after freezing?
- It’s a wonderful mix of textures! Some of the Oreo bits will retain a pleasant crispness, adding a delightful crunch to each bite. Other pieces will soften slightly, melding into the creamy ice cream and becoming more like moist cake crumbs. This combination of soft and crisp elements is part of what makes this ice cream so enjoyable and interesting.
- Is it rich and creamy like traditional ice cream?
- Absolutely! Thanks to the expertly whipped heavy cream and the luscious sweetened condensed milk base, this no-churn ice cream is incredibly ultra-creamy, full-bodied, and wonderfully scoopable. It has that indulgent mouthfeel you expect from premium ice cream, easily rivaling many store-bought options.
- Do you need to stir it while it freezes?
- No, that’s one of the best parts about no-churn! Once you’ve mixed, layered, and placed it in the freezer, your work is done. The whipped texture and the unique properties of the ingredients ensure that it freezes into a smooth consistency without any need for churning or mixing mid-freeze. Just set it and forget it!
- How long does homemade no-churn ice cream last in the freezer?
- When stored properly in an airtight container, your homemade no-churn ice cream will maintain its best quality for 1 to 2 weeks. Beyond that, it may start to develop some ice crystals, though it will still be safe to eat for longer. For the freshest taste and creamiest texture, aim to enjoy it within the first two weeks.
- Can I make this recipe dairy-free or vegan?
- While this specific recipe uses dairy, you can adapt it! Look for full-fat coconut cream (chilled, scoop out the thick cream) as a substitute for heavy cream, and a dairy-free sweetened condensed milk alternative. The texture may vary slightly, but it can still yield a delicious frozen dessert.
Tips for Perfect No-Churn Ice Cream Every Time
While no-churn ice cream is forgiving, a few simple tips can ensure your dessert turns out exceptionally creamy and delicious:
- Chill Your Bowl and Whisk: For the best results when whipping heavy cream, place your mixing bowl and whisk attachment (from your stand mixer or hand mixer) in the freezer for 10-15 minutes before you start. Cold equipment helps the cream whip up faster and achieve stiffer peaks.
- Don’t Over-Whip the Cream: Whip the heavy cream until it reaches firm, soft peaks. If you over-whip it, it can become grainy and lead to a less smooth ice cream texture. The peaks should hold their shape but still be somewhat soft and not clumpy.
- Fold Gently: When combining the whipped cream with the sweetened condensed milk and your mix-ins, use a gentle folding motion with a rubber spatula. This technique preserves the air that you’ve incorporated into the heavy cream, which is crucial for the light and airy texture of no-churn ice cream.
- Quality Ingredients Matter: Since there are so few ingredients, the quality of each really shines through. Use good quality heavy cream, a brand of sweetened condensed milk you trust, and flavorful cocoa and espresso powders for the best taste.
- Use an Airtight Container: To prevent freezer burn and keep your ice cream fresh, store it in an airtight container. A loaf pan lined with plastic wrap, as suggested, works wonderfully, but transfer any leftovers to a more secure container after the initial freeze if you plan to store it for longer.
- Patience is Key for Freezing: Allow your ice cream ample time to freeze. While 8 hours might be sufficient, freezing it overnight (10-12 hours) ensures it’s perfectly firm and scoopable. Rushing the freezing process can lead to a softer, less satisfying texture.
- Temper Before Serving: Always let your ice cream sit at room temperature for 10-15 minutes before scooping. This tempering time allows it to soften slightly, making it easier to scoop and giving it a creamier, more enjoyable texture.
More Homemade Ice Cream Recipes You’ll Love
If you’ve fallen in love with the ease and deliciousness of this Mocha Oreo No-Churn Ice Cream, then you’re in for a treat! The world of homemade ice cream is vast and wonderful, offering endless opportunities to create incredible frozen desserts right in your own kitchen. Here are some other fantastic homemade ice cream recipes to inspire your next culinary adventure:
- Homemade Cotton Candy Ice Cream
- Easy No-Churn Biscoff Ice Cream
- Copycat The Tonight Dough Ice Cream
- Fried Ice Cream
Mocha Oreo No-Churn Ice Cream Recipe
This easy recipe allows you to skip the overpriced store-bought pints and make your own irresistible mocha Oreo ice cream at home. No ice cream maker required!
- Author: Food Dolls
- Servings: 12 servings
- Prep Time: 10 minutes
- Chill Time: 12 hours
- Total Time: 10 minutes (plus chilling)
Ingredients
- 2 ¼ cups heavy cream (cold)
- 1 (14-ounce) can sweetened condensed milk
- 2 Tablespoons unsweetened cocoa powder
- 1 teaspoon vanilla extract
- 2 teaspoons instant espresso powder (decaf if preferred)
- ½ teaspoon sea salt
- 10-12 Oreo Cookies, roughly chopped
- ¼ cup chocolate or caramel sauce (for swirling)
- Sea salt flakes for garnish (optional)
Instructions
- Prepare the Pan: Line a 10×5 inch loaf pan with plastic wrap, ensuring the wrap overhangs both sides for easy removal and covering.
- Create the Ice Cream Base: In the bowl of a stand mixer (or a large bowl with a hand mixer), combine the cold heavy cream, sweetened condensed milk, cocoa powder, vanilla extract, instant espresso powder, and sea salt. Mix on low speed until all ingredients are well combined and smooth.
- Whip to Soft Peaks: Gradually increase the mixer speed to medium-high. Beat the mixture until soft peaks form. The mixture should be airy and hold its shape but still be soft at the tips.
- Fold in Oreos: Using a rubber spatula, gently fold the roughly chopped Oreo pieces into the ice cream base. Be careful not to deflate the mixture too much.
- Layer and Swirl: Pour about half of the cream mixture into the prepared loaf pan, spreading it evenly. Drizzle half of the chocolate or caramel sauce (approximately 2 tablespoons) over this layer. Using the tip of a knife or a skewer, gently swirl the sauce into the ice cream.
- Add Remaining Layers: Pour the remaining ice cream mixture on top, spreading it evenly. Drizzle the rest of the chocolate or caramel sauce over the final layer. If desired, sprinkle a pinch of sea salt flakes on top for garnish.
- Freeze: Cover the loaf pan tightly with the overhanging plastic wrap, ensuring the ice cream surface is protected. Place it in the freezer and freeze overnight, or for a minimum of 8-12 hours, until completely firm.
- Serve: Before serving, let the mocha Oreo ice cream sit at room temperature for 10-15 minutes to soften slightly. This will make it easier to scoop. Scoop and enjoy!
- Storage: Store any leftover ice cream covered, or in an airtight container, in the freezer for 1-2 weeks for optimal freshness.
Equipment
- Stand Mixer (or hand mixer with a large bowl)
- 10×5 inch Loaf Pan
- Plastic Wrap
- Rubber Spatula
- Ice Cream Scoop
Nutrition Facts
(Note: Nutrition information is an approximation and can vary based on specific brands and exact measurements used.)
- Serving Size: 1 serving
- Calories: Approximately 330 kcal
- Carbohydrates: Approximately 31g
- Protein: Approximately 5g
- Fat: Approximately 22g
- Saturated Fat: Approximately 13g
- Polyunsaturated Fat: Approximately 1g
- Monounsaturated Fat: Approximately 6g
- Trans Fat: Approximately 0.01g
- Cholesterol: Approximately 62mg
- Sodium: Approximately 212mg
- Potassium: Approximately 225mg
- Fiber: Approximately 1g
- Sugar: Approximately 26g
- Vitamin A: Approximately 744 IU
- Vitamin C: Approximately 1mg
- Calcium: Approximately 130mg
- Iron: Approximately 2mg
Nutrition information is automatically calculated, so should only be used as an approximation.
Loved this recipe?
We’d be thrilled to hear from you! Please leave a comment below and share your experience. Your feedback helps us create more delicious recipes for you!