
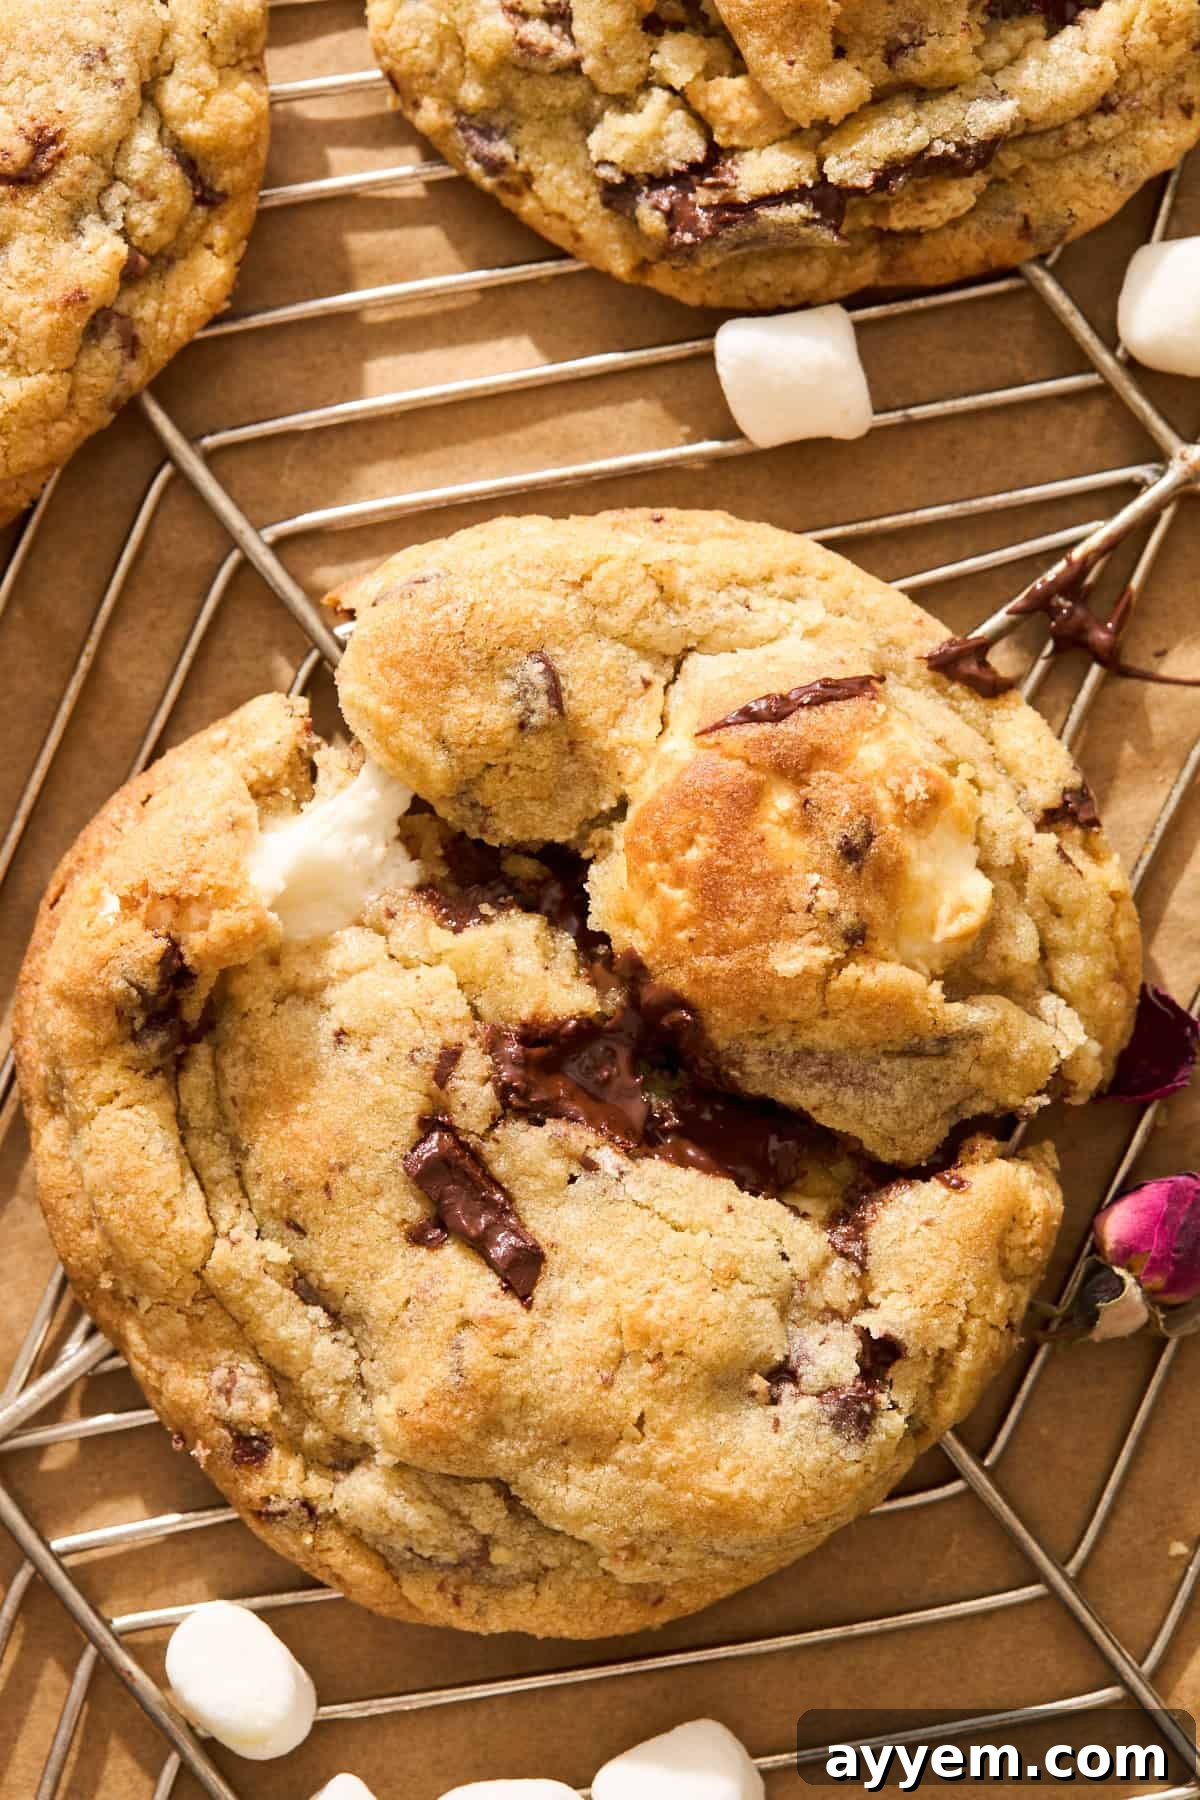
You’ve just pulled a batch of cookies from the oven, heart full of anticipation, only to find them slumped and spread thin across the baking sheet. Instead of those perfectly puffed, chewy rounds you dreamed of, you’re looking at what can only be described as cookie-pancakes. Sound familiar? If you’ve ever found yourself asking, “Why did my cookies spread too much?”, then welcome! You’re not alone, and more importantly, you’ve come to the right place for answers and solutions.
Flat, overly-spread cookies are a common baking frustration, a culinary mystery that can turn a joyous baking session into a perplexing puzzle. But here’s the good news: the culprits behind this common cookie catastrophe are typically few and often quite simple to identify. Once you understand the science and common pitfalls, transforming those disheartening disks into delectable, picture-perfect cookies becomes not just possible, but easy to replicate every single time.

Unraveling the Mystery: Common Reasons Why Cookies Spread Too Much
There isn’t a single universal reason why cookies decide to defy gravity and flatten out. However, most instances of excessive cookie spreading can be traced back to fundamental issues relating to ingredient ratios, temperatures, or even your baking technique. Let’s delve into the most frequent offenders:
- Butter Temperature: The Foundation of Cookie Structure
Butter is a critical component, influencing both flavor and texture. If your butter is too soft, borderline melted, or completely melted before you even start mixing, it’s a recipe for flat cookies. Butter, being a fat, provides structure to your dough. When it’s too warm, it melts too quickly in the oven, causing the dough to spread rapidly before the flour and eggs have a chance to set and create the desired structure. This results in thin, crispy edges and a lack of desirable lift. For most recipes, butter should be at a cool room temperature – soft enough to make an indentation with your finger, but still firm enough to hold its shape. - Inaccurate Flour Measurement: The Unsung Hero of Structure
Flour provides the primary structural integrity for your cookies. If you don’t use enough flour, or if it’s incorrectly measured, your dough simply won’t have the necessary framework to hold its shape against the heat of the oven. This leads to excessive spreading. Baking is a science, and precision is key. Always measure flour correctly: either by weighing it on a kitchen scale (the most accurate method) or by spooning it lightly into your measuring cup and then leveling it off with a straight edge (the “spoon and level” method). Scooping flour directly from the bag compacts it, adding significantly more flour than intended, which can lead to dense, dry cookies, while too little leads to spread. - Excessive or Incorrect Sugar: Sweetness with a Spreading Side Effect
Sugar doesn’t just add sweetness; it also plays a vital role in the texture and spread of your cookies. Sugar melts in the oven, contributing to the spreading process. Too much sugar, especially granulated sugar, can cause cookies to spread excessively. Different types of sugar also behave differently. Brown sugar, with its molasses content, adds moisture and chewiness, often resulting in a slightly thicker, softer cookie than one made predominantly with granulated sugar, which tends to promote more spread and crispiness. - Weak or Expired Leavening Agents: The Rise and Fall of Cookies
Baking soda and baking powder are the workhorses responsible for the lift and airy texture in many cookie recipes. If these leavening agents are old, expired, or simply not active, your cookies won’t rise properly. A lack of proper leavening means the cookie structure collapses, leading to a flatter cookie. Always check the expiration dates on your baking soda and baking powder, and consider testing their freshness (baking soda fizzes in vinegar; baking powder bubbles in hot water). - The Unseen Impact of Your Baking Sheet: Heat Conduction Matters
The type and color of your baking sheet can significantly affect how cookies spread. Dark-colored or nonstick baking sheets absorb and conduct more heat, often causing cookies to spread faster and sometimes burn on the bottom. The extra heat makes the butter melt more rapidly, exacerbating spreading. Lighter-colored, heavy-gauge aluminum baking sheets are generally recommended for cookies as they provide more even heat distribution, promoting consistent baking and reducing excessive spread. Parchment paper or silicone baking mats can also help insulate the dough and provide a nonstick surface without the need for greasing, which can also contribute to spread. - Warm Dough Temperature: Chilling for Cookie Control
Dough that is at room temperature or warmer before baking will spread more quickly than chilled dough. This goes hand-in-hand with butter temperature. When the fat in the dough is cold and firm, it takes longer to melt in the oven, allowing the cookie’s structure to set before excessive spreading occurs. Chilling your cookie dough for at least 30 minutes (or even several hours, or overnight) before baking is a highly effective strategy for controlling spread, resulting in thicker, chewier cookies with enhanced flavor. - Oven Temperature Inaccuracy: The Unseen Saboteur
An oven that isn’t properly preheated or one that runs too cool can be a major factor in cookie spread. If the oven isn’t hot enough, the cookies will sit in a gradually heating environment, giving the butter more time to melt and spread before the flour and leavening agents can set the cookie’s structure. Always preheat your oven fully, and consider using an oven thermometer to verify its accuracy, as many ovens can vary significantly from their dial settings.
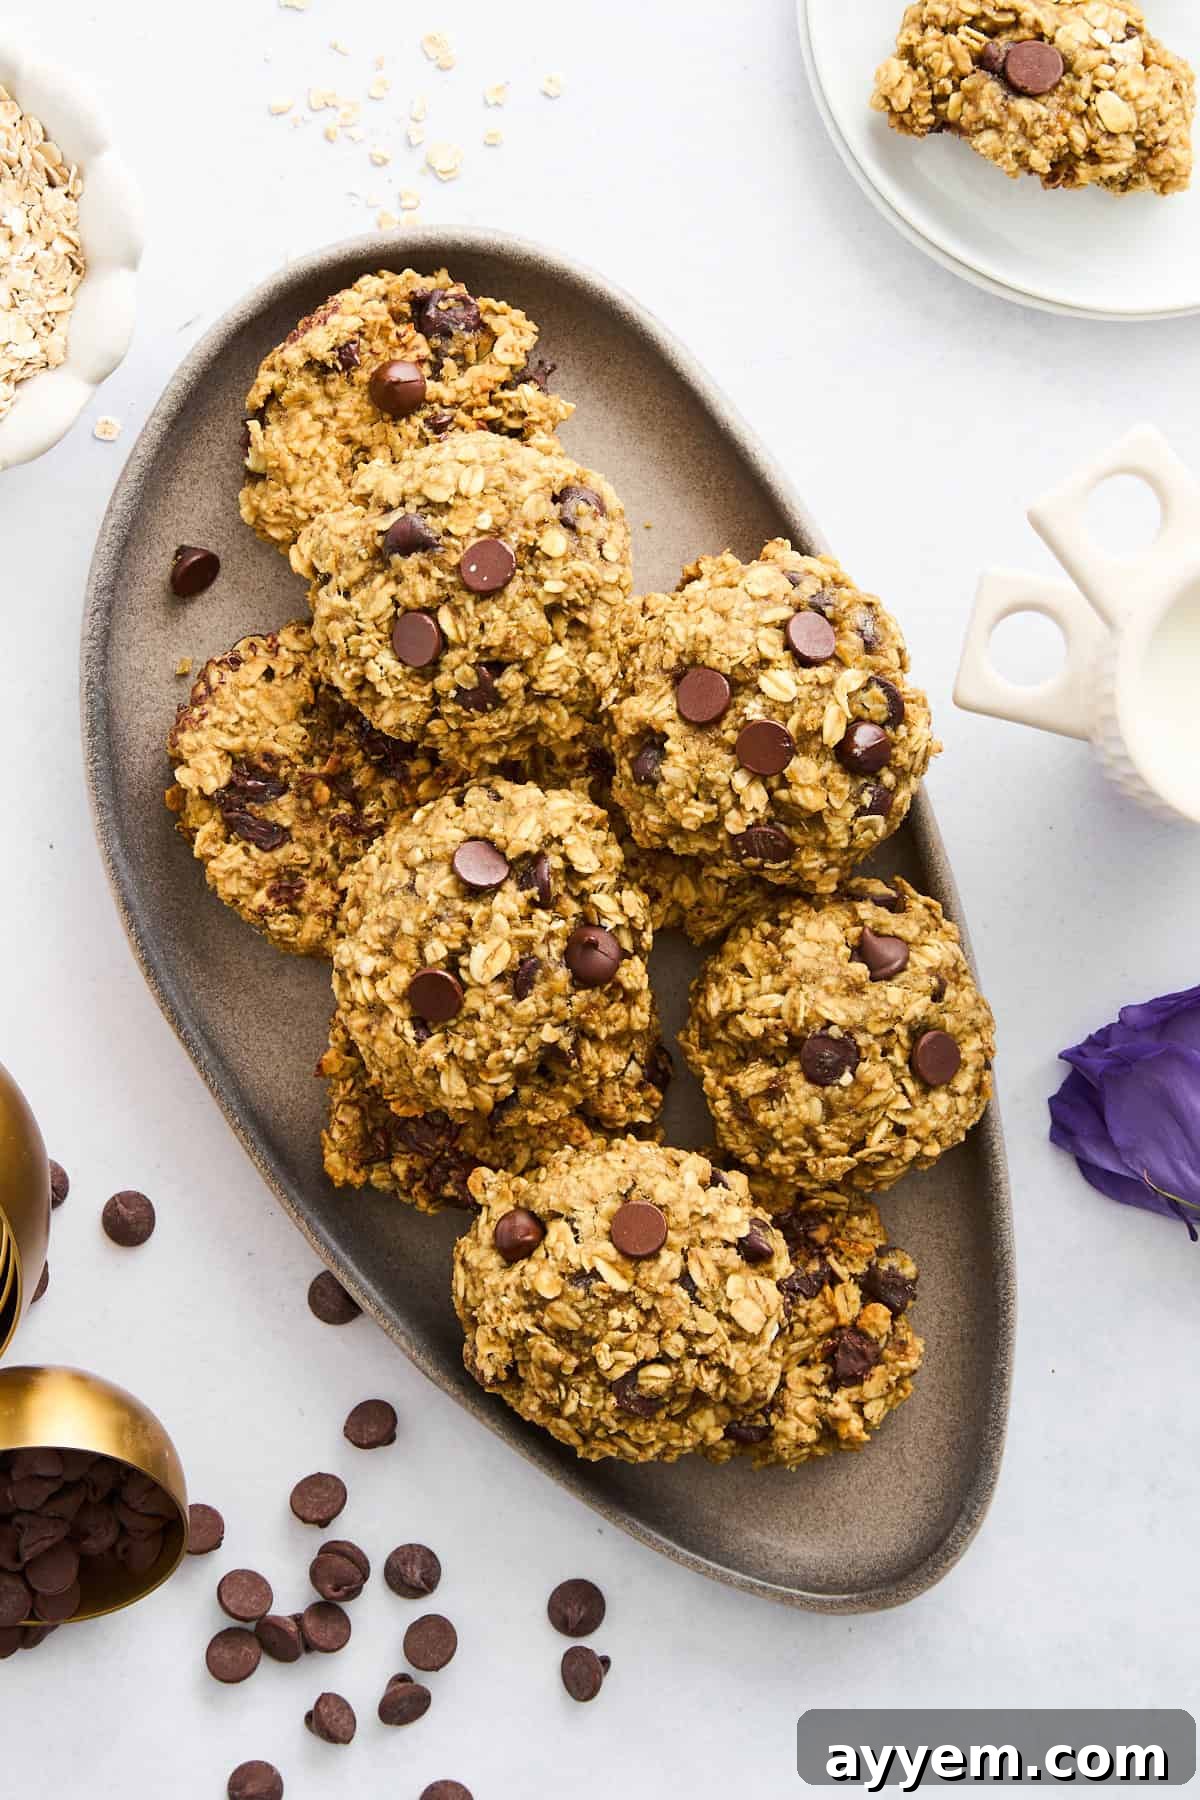
From Flat to Fabulous: How to Fix Overly Spread Cookies
Caught in the act with flat cookies? Don’t despair, and certainly don’t toss that precious dough! Most spreading problems are easily fixable, even mid-batch. If you’ve baked a test cookie and it came out disappointingly flat, here’s how to rescue your cookie dough and bring it back to its optimal, scoopable life:
- Embrace the Chill: Refrigerate Your Dough Immediately
This is perhaps the most effective immediate fix. If your test cookie spreads too much, pop the entire bowl of dough into the refrigerator for at least 30 minutes, or even an hour. Cold dough, with its firmed-up butter, spreads significantly less in the oven, allowing the cookies to hold their shape and bake up thicker and chewier. For some recipes, even chilling for several hours or overnight can vastly improve texture and depth of flavor. - Introduce a Little More Flour: A Structural Boost
If your dough feels excessively sticky, loose, or simply too soft to hold its form, it likely needs a bit more structure. Gradually add 1 to 2 tablespoons of all-purpose flour to your dough and mix it gently until just combined. Be careful not to overmix, as this can develop gluten and lead to tougher cookies. The goal is a dough that feels scoopable, holds its shape when rolled, and isn’t overly wet. Test bake another cookie after this adjustment. - Re-evaluate Butter Temperature: Firm it Up
Sometimes, despite your best efforts, the butter in your dough might have become too soft while you were mixing or waiting. If you suspect this is the case, the fix is simple: return the dough to the fridge. Chilling the dough will solidify the butter, mitigating the immediate spread once it hits the hot oven. Allow it to firm up until it’s cool to the touch and holds its shape well. - Opt for Parchment Paper or Silicone Mats: Ditch the Grease
Greasing your baking sheet, while common for some baked goods, can actually contribute to cookie spreading. The excess fat acts as a lubricant, allowing the cookie dough to slide and spread more easily. Instead, use parchment paper or silicone baking mats. Both provide a nonstick surface, promote even baking, and, crucially, help control the spread by creating a slight barrier between the dough and the direct heat of the metal sheet. - The Essential Test Bake: Your Quality Control Step
Never bake an entire batch of cookies without testing one first. Bake a single test cookie to observe its behavior. If it flattens excessively, you have the opportunity to make adjustments to your dough (like chilling or adding flour) or your baking environment (like oven temperature) before committing the whole batch. This small step can save you a lot of disappointment and wasted ingredients. - The Post-Bake Reshaping Trick: A Little Aesthetics Never Hurt
For minor spreading issues, especially if your cookies aren’t perfectly round, you can perform a quick fix right after they come out of the oven. While the cookies are still warm and pliable, use a large round cookie cutter (larger than the cookie itself) or the back of a spatula to gently push the edges inward, creating a perfectly round shape. This trick works best for cookies that have only slightly spread too much.
Mastering the Art: How to Prevent Cookie Spread Next Time
While fixing flat cookies is gratifying, preventing the problem altogether is even better. A few mindful adjustments to your technique and preparation can make all the difference, ensuring every batch of cookies comes out thick, chewy, and perfectly formed.
- Always Use Cool Baking Sheets: The Thermal Shock Advantage
If you’re baking multiple batches of cookies, resist the urge to reuse a hot baking pan immediately. Placing cold cookie dough on a hot baking sheet will cause the butter in the dough to melt almost instantly, leading to rapid and excessive spreading. Always allow your baking sheets to cool completely between batches, or use multiple sheets so you always have a cool one ready. You can even pop a warm sheet into the refrigerator for a minute or two to speed up the cooling process. - Measure Ingredients with Precision: The Science of Baking
Baking truly is a science, and accuracy in measurement is paramount. The balance of fats, sugars, and flours is delicate. Too little flour means inadequate structure, while too much butter (especially if melted) means a higher fat content that promotes spread. Invest in a digital kitchen scale for the most accurate results, especially for flour. If using measuring cups, always “spoon and level” flour rather than scooping it directly from the container to avoid compaction and inaccurate measurements. - Don’t Overmix the Dough: Guarding Against Gluten Development
Once you’ve added the flour to your wet ingredients, mix only until just combined. Overmixing develops the gluten in the flour, which can lead to tougher cookies. More importantly, overmixing can incorporate too much air into the dough, leading to an initial puff that then collapses in the oven, contributing to spreading. Mix gently and briefly after the flour is introduced. - Bake at the Right Temperature: An Oven Thermometer is Your Friend
An oven that’s too cool will cause cookies to spread excessively before they have a chance to set their structure. Conversely, an oven that’s too hot can lead to cookies browning too quickly on the outside while remaining undercooked and soft inside. Always ensure your oven is properly preheated (allow at least 15-20 minutes after reaching the target temperature for it to stabilize). Better yet, use a separate oven thermometer to verify your oven’s true temperature, as many can be off by 25-50 degrees Fahrenheit. - Consider a Higher Rack Placement: Even Heat from All Angles
Baking cookies in the middle or upper third of your oven can help prevent too much direct bottom heat, which can cause the dough to melt and spread too quickly from the base up. The middle rack usually provides the most even heat distribution for baking. Experiment with your oven to find its “sweet spot” for cookie baking. - Avoid Overcrowding Your Baking Sheet: Give Them Room to Grow
Placing too many cookie dough balls close together on a baking sheet not only limits their ability to spread properly but also traps steam, which can affect their texture. More importantly, it creates a denser, cooler environment on the baking sheet, causing the overall temperature to drop slightly and potentially leading to uneven baking and increased spread. Give your cookies adequate space to breathe and expand naturally.
A Twist in the Tale: When Flat Cookies Aren’t Always a Bad Thing
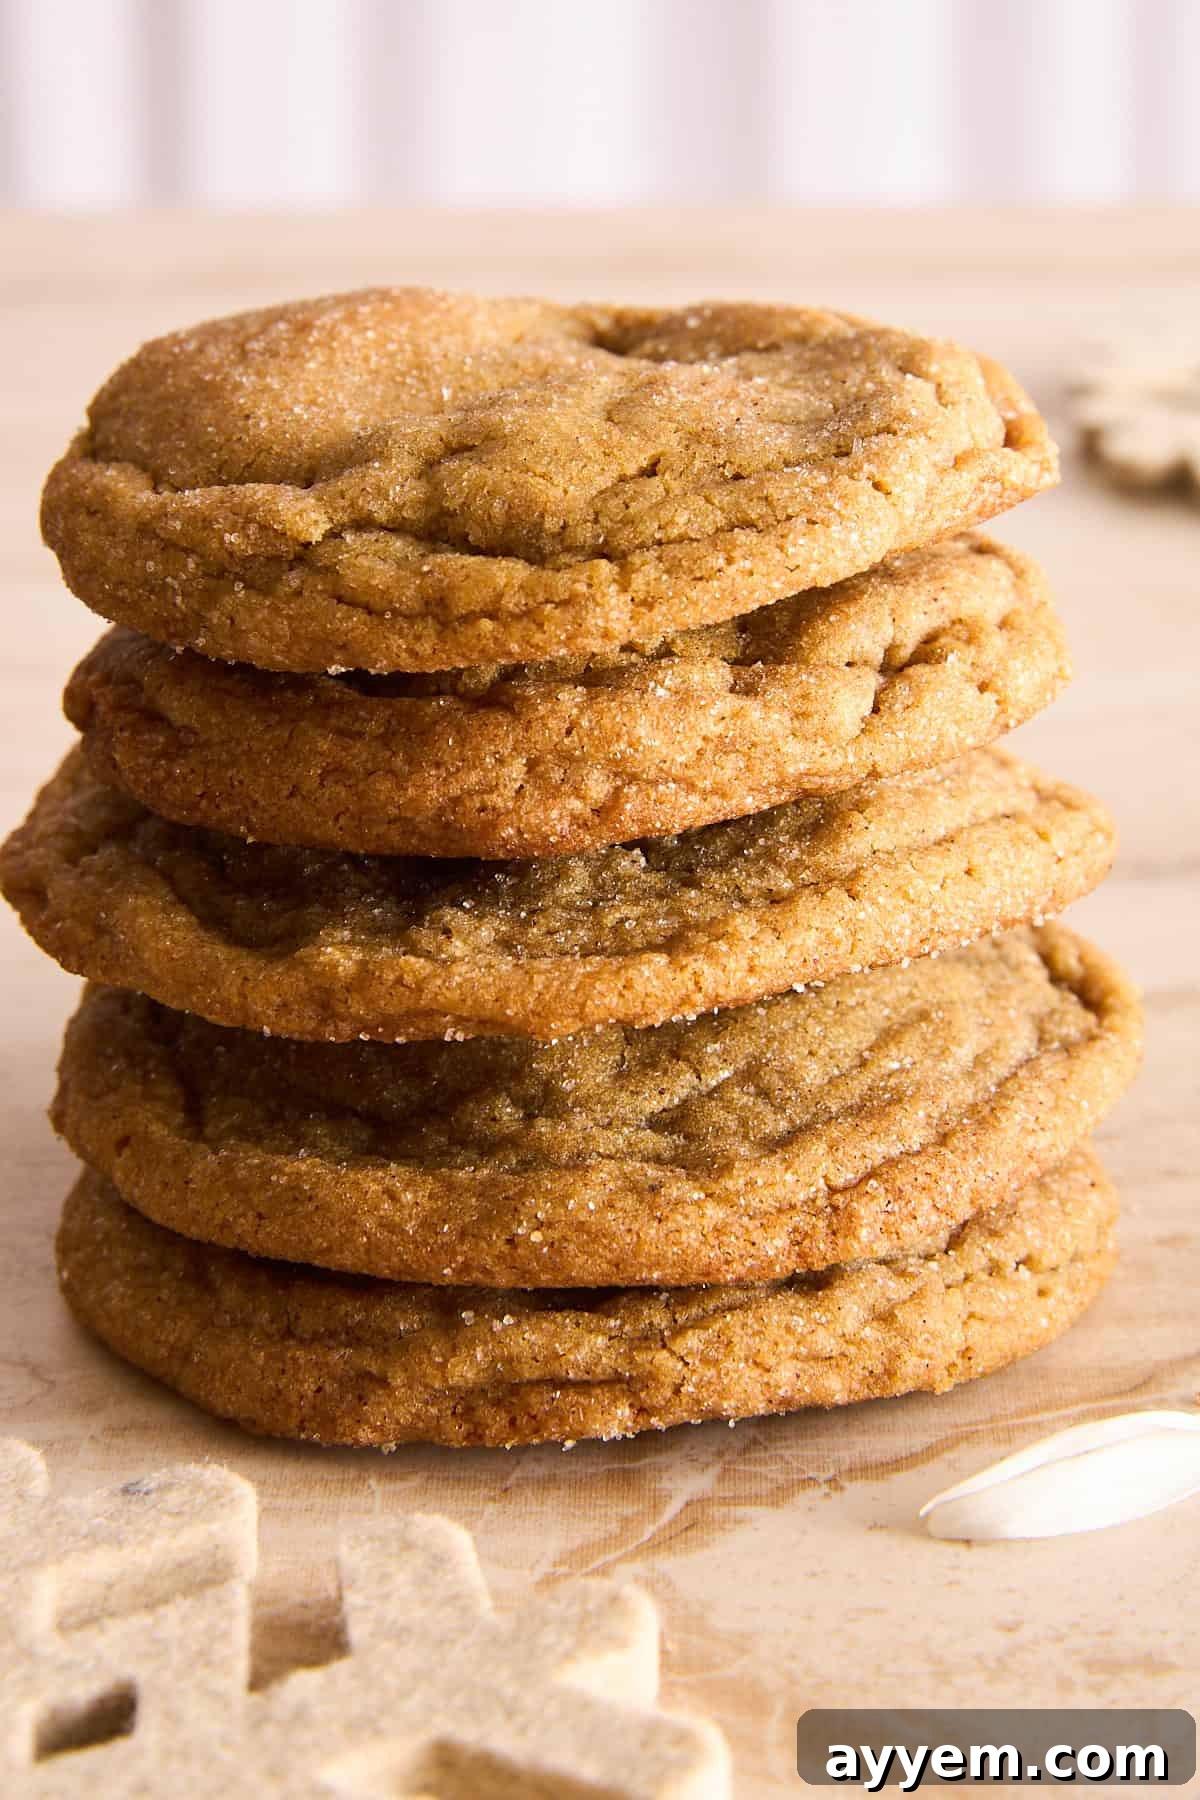
Here’s the delicious secret: not all cookie spread is a flaw! In the vast and wonderful world of baking, some recipes are explicitly designed for cookies to spread, creating unique textures and forms that are highly coveted. Think of delicate, crispy lace cookies, intricate florentines, thin and buttery tuiles, or even certain styles of chewy chocolate chip cookies that are prized for their crisp, wafer-thin edges and soft centers. These cookies rely on a controlled amount of spreading to achieve their signature characteristics.
If you genuinely love thin, crisp cookies, you can intentionally encourage spread by making slight modifications to your standard recipes. This might involve using slightly softer butter, skipping the dough chilling step entirely, or even reducing the flour by a tablespoon or two. Conversely, if your goal is always thicker, bakery-style cookies – those gloriously plump and chewy delights – then focus on reinforcing the opposite techniques: ensure your butter is cool, chill your dough longer, and consider adding a touch more flour for added structure.
Understanding the interplay of ingredients and techniques allows you to become the master of your cookie destiny, creating exactly the texture you crave, whether it’s a wide, lacy crisp or a towering, chewy disc.
The Golden Takeaway: Mastering Your Cookie Craft
So, why did your cookies spread so much? The most common culprits boil down to a few key factors: your butter was likely too warm, your flour measurement might have been a bit off, your dough wasn’t adequately chilled, or your oven temperature was a little unreliable. The truly excellent news for every home baker is that every single one of these issues has a straightforward, easy-to-implement fix.
Baking is a journey of continuous learning and delicious experimentation. By paying close attention to the small details—like the temperature of your ingredients, the precise consistency of your dough, and the nuances of your baking methods—you’ll quickly transition from cookie calamities to consistently turning out perfectly thick, wonderfully chewy, and visually appealing cookies that will impress everyone who tries them.
Remember, every batch, whether it’s a triumph or a minor mishap, offers a valuable lesson. It teaches you something new about your specific oven, the unique qualities of your ingredients, and ultimately, your personal preferences for what makes a truly perfect cookie. Once you master this delicate balance and understand the science behind the spread, your cookies will come out picture-perfect every single time, ready to be devoured.

Recipes for Picture-Perfect Cookies You’ll Love
Ready to put your newfound cookie knowledge to the test? Explore some of our favorite, super-simple cookie recipes that are designed for success and guaranteed to have everyone asking for the secret to your perfectly baked creations. Get ready to bake some magic!
Oatmeal Peanut Butter Cookies
Jam Thumbprint Cookies
Monster Cookies
Soft Baked Snickerdoodle Cookies