
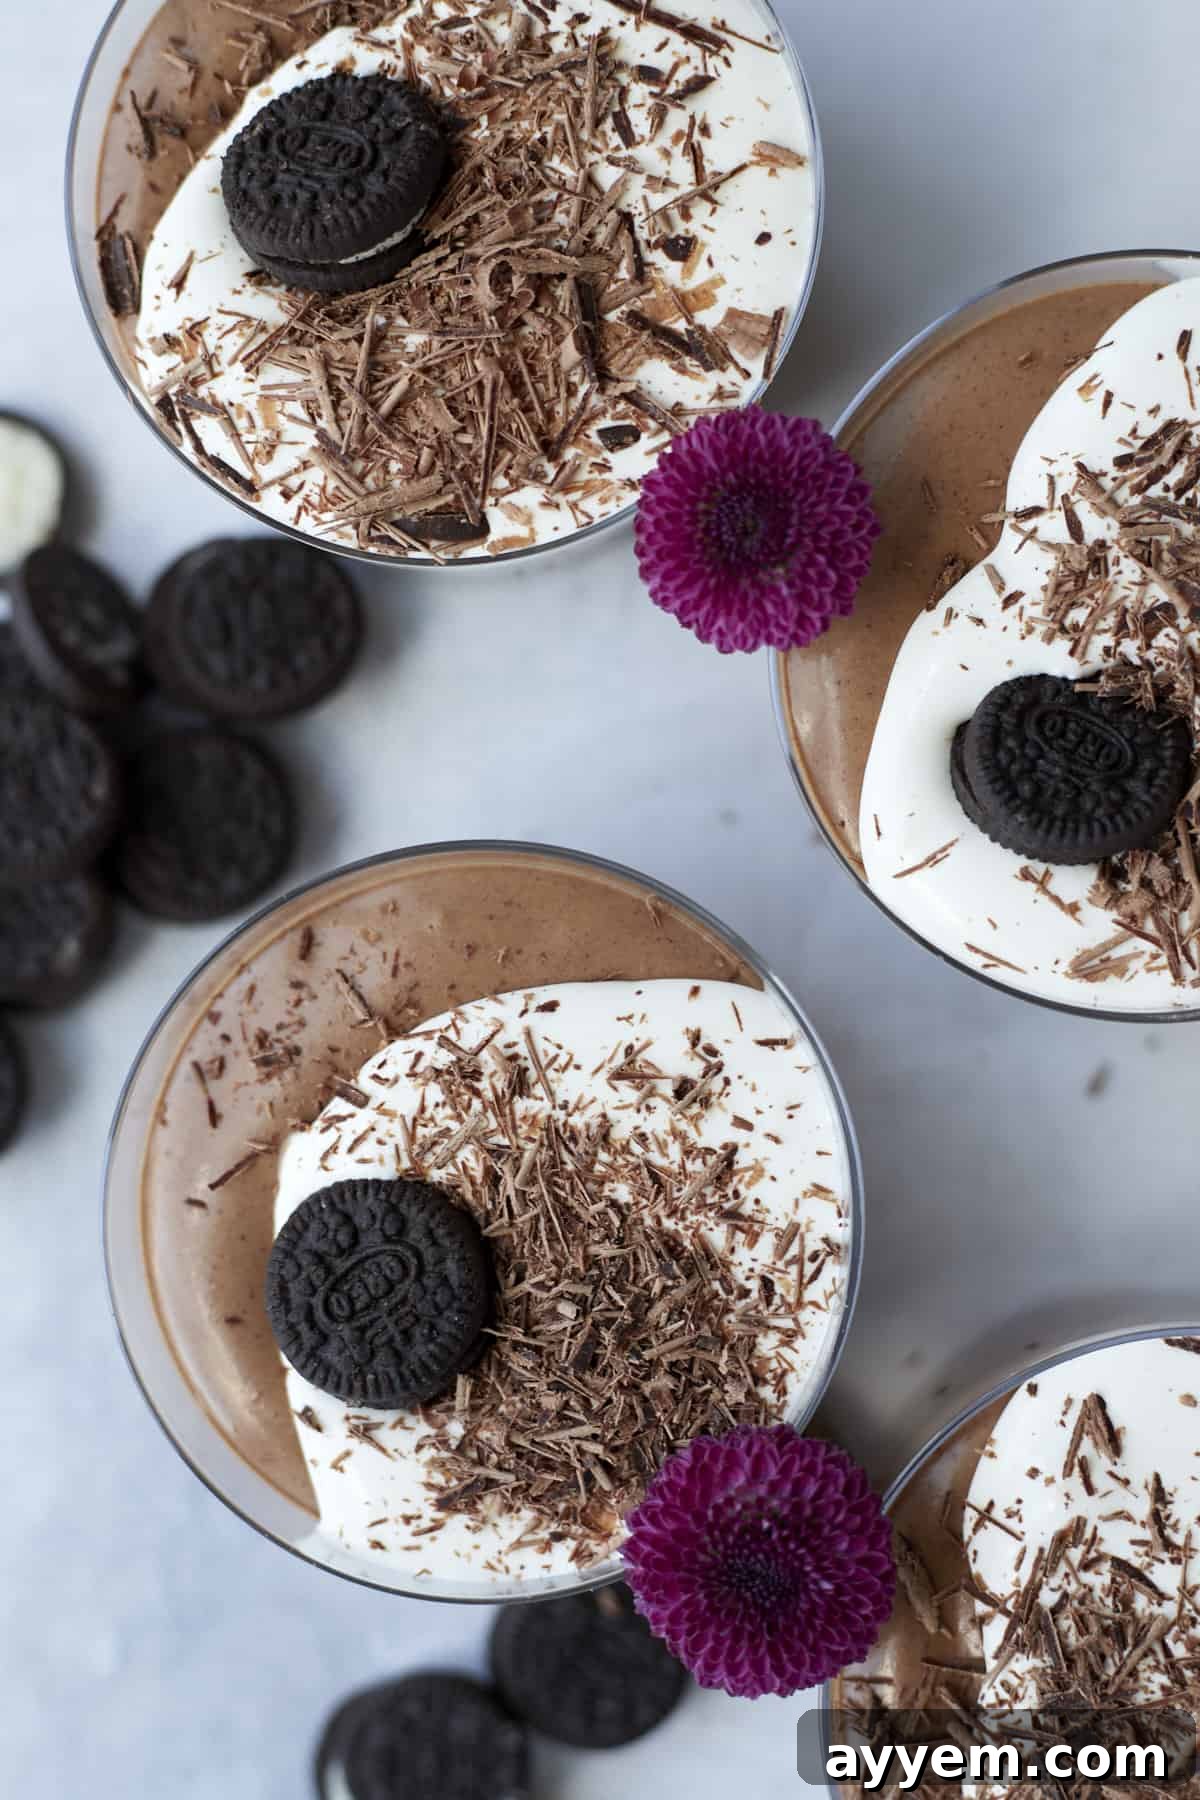
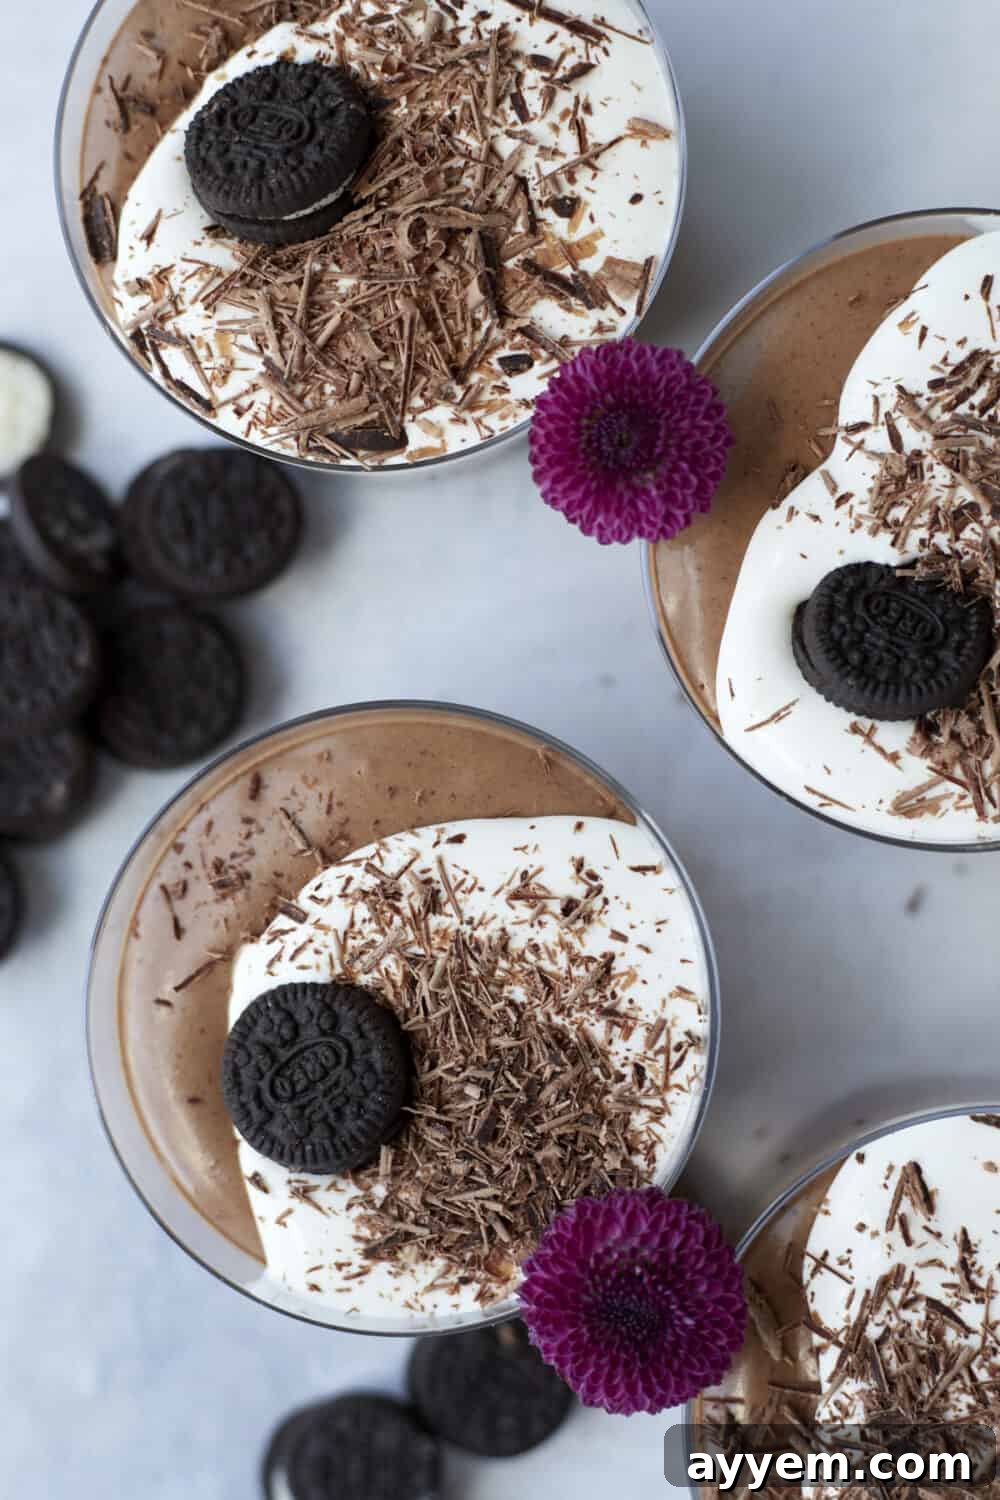
Irresistibly Easy Oreo Chocolate Mousse: A 5-Ingredient Dream Dessert
Prepare to indulge in a dessert that’s both decadently rich and surprisingly simple to create: the 5-ingredient Oreo Chocolate Mousse. This recipe marries the beloved crunch and iconic flavor of Oreo cookies with the luxurious lightness of a chocolate mousse, resulting in a treat that’s perfect for any occasion. Whether you’re a seasoned baker or a kitchen novice, this straightforward recipe promises a delightful experience, delivering a creamy, dreamy dessert with minimal effort and maximum flavor impact. It’s no wonder Oreo-inspired desserts hold a special place in our hearts and kitchens – they consistently deliver joy!
The Iconic Journey of the Oreo Cookie
The Oreo cookie isn’t just a snack; it’s a cultural phenomenon. Affectionately known as “Milk’s Favorite Cookie,” its journey began in the spring of 1912. Launched by Nabisco, the original Oreo design, featuring its distinctive embossed pattern, has remained remarkably consistent over more than a century, a testament to its timeless appeal. What’s even more fascinating is that for most of its history, the Oreo recipe contained a mere 11 ingredients, maintaining its classic taste through generations.
Initially, the Oreo was introduced as a direct competitor to a popular cookie of the era called Hydrox, which had debuted four years earlier. For decades, Oreo dominated the market, overshadowing its rival. While both cookies featured a chocolate wafer and cream filling, a significant difference set them apart: early Oreos used lard as a binder in their cream filling, whereas Hydrox did not. This distinction became crucial in the late 1990s when Hydrox experienced a resurgence, largely due to its Kosher certification – a status Oreo couldn’t achieve due to the lard.
To reclaim its competitive edge and broaden its appeal, Oreo made a pivotal change to its recipe. The lard was removed, and the cookie transitioned to using a vegetable-oil based cream. This reformulation not only allowed Oreo to become Kosher-certified but also, surprisingly, made it entirely vegan-friendly. It’s a delightful irony that a cookie so famously paired with dairy milk is, in fact, completely dairy-free, much to the delight of vegans and those with dairy sensitivities worldwide. This strategic evolution cemented Oreo’s status, ensuring its continued reign as one of the world’s most cherished and versatile cookies, inspiring countless desserts like our very own luscious Oreo mousse.
Crafting Your Perfect 5-Ingredient Oreo Mousse
Creating this irresistible Oreo chocolate mousse is simpler than you might imagine, requiring just five essential ingredients and a few easy steps. The beauty of this recipe lies in its elegant simplicity, delivering a rich, creamy, and satisfying dessert that tastes incredibly gourmet. Let’s walk through each step to ensure your mousse turns out perfectly light, fluffy, and bursting with chocolatey Oreo goodness.
Step-by-Step Guide to Silky Smooth Oreo Mousse
- Prepare the Chocolate Base: Begin by heating 3/4 cup of heavy cream in the microwave for approximately one minute, or until it’s very hot but not boiling. The goal is to get it sufficiently warm to melt the chocolate efficiently.
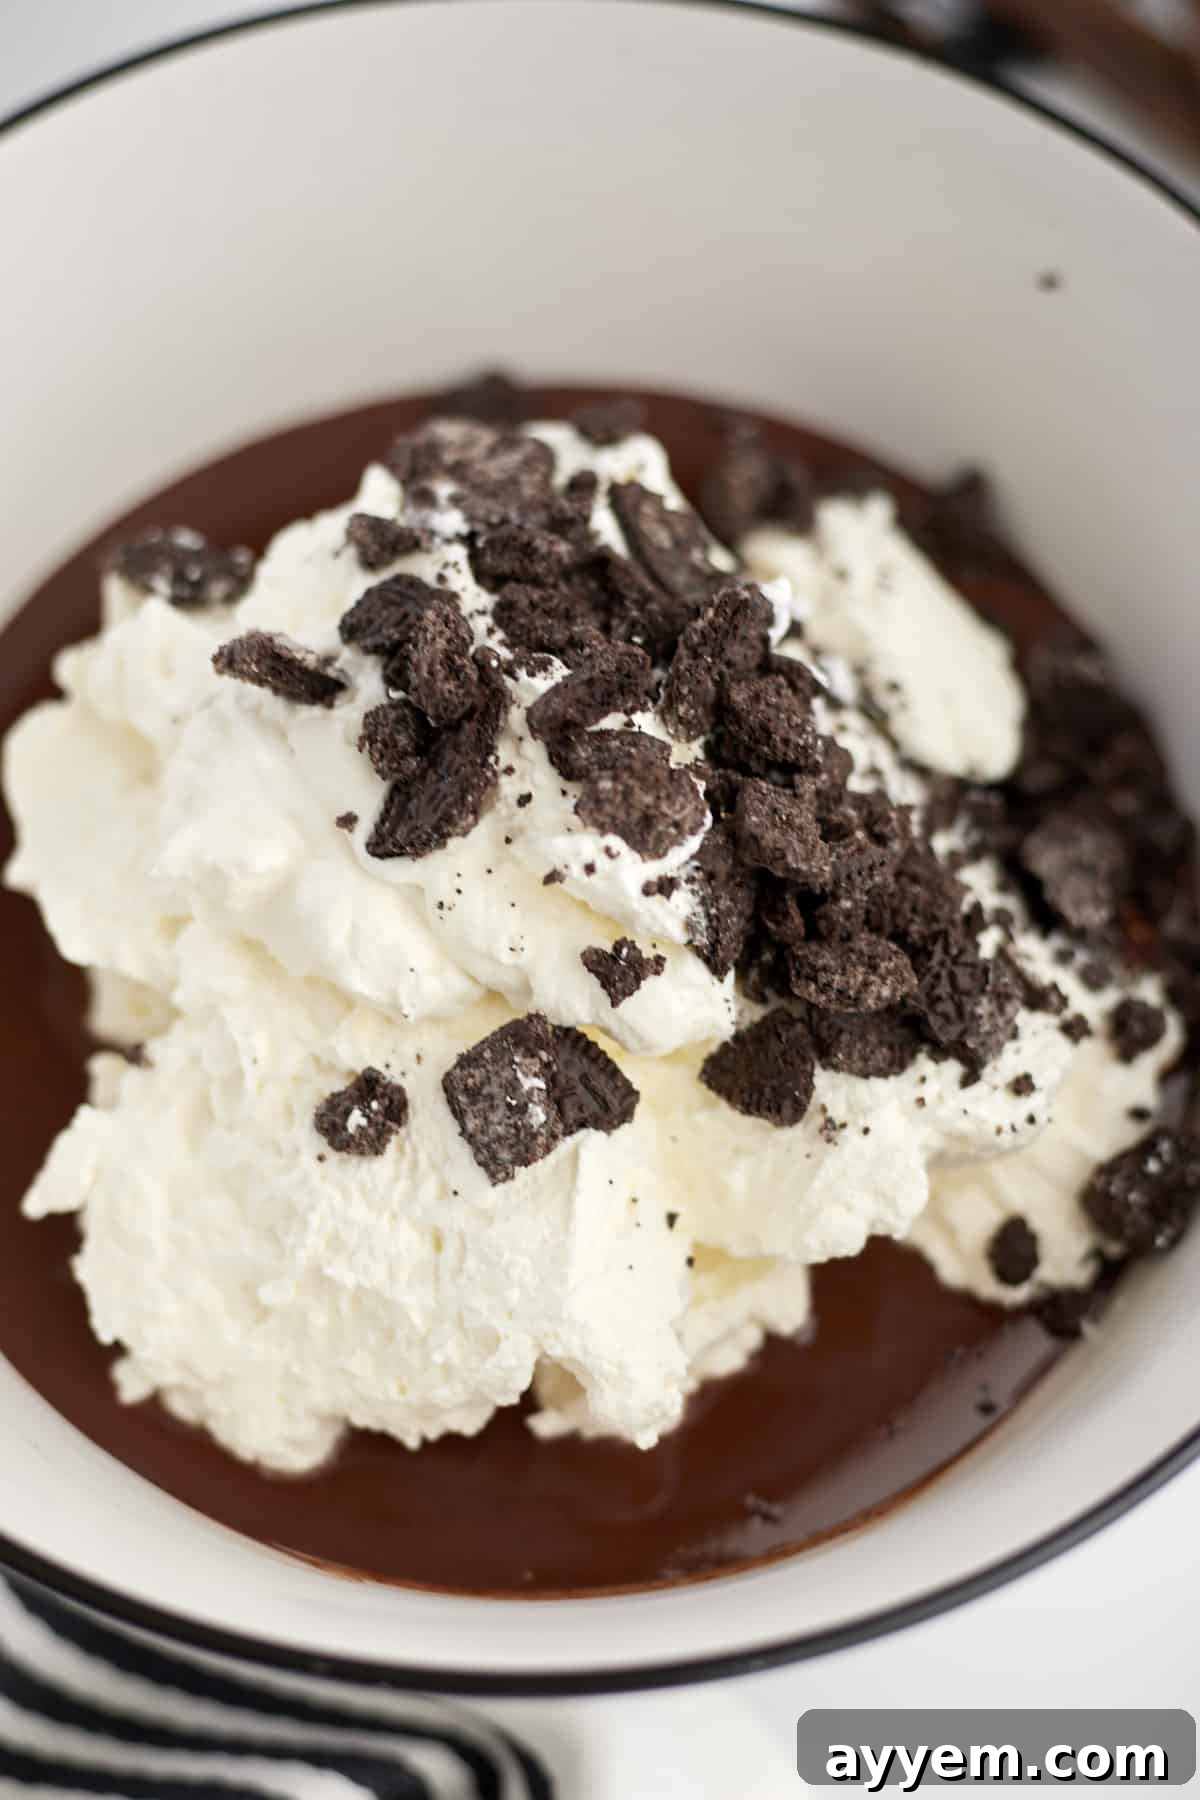
- Melt the Chocolate: In a heat-safe bowl, place your good quality semi-sweet chocolate chips or chunks. Pour the hot heavy cream directly over the chocolate. Let this mixture sit undisturbed for 5 minutes. This crucial resting period allows the hot cream to gently soften the chocolate, setting the stage for a smooth emulsion.
- Whisk to Perfection: After 5 minutes, begin whisking the chocolate and heavy cream mixture. Be patient; this might take a couple of minutes to achieve a completely smooth, glossy ganache-like consistency. If, after vigorous whisking, some chocolate chunks remain, you can microwave the mixture in 15-second intervals, stirring after each, until it’s perfectly melted and smooth. Avoid overheating to prevent the chocolate from seizing.
- Flavor and Cool: Once your chocolate mixture is smooth, stir in the vanilla extract and a pinch of salt. The salt enhances the chocolate flavor beautifully. Set this mixture aside for about 30 minutes, allowing it to cool down to room temperature. It’s important that it’s not warm when you combine it with the whipped cream later.
- Whip the Cream: While the chocolate cools, use a hand mixer or a stand mixer with a whisk attachment to whip the remaining cold heavy cream along with the powdered sugar. Beat on medium-high speed until stiff peaks form. Stiff peaks mean the whipped cream holds its shape firmly when the whisk is lifted. This is your light and airy whipped cream, essential for the mousse’s texture.
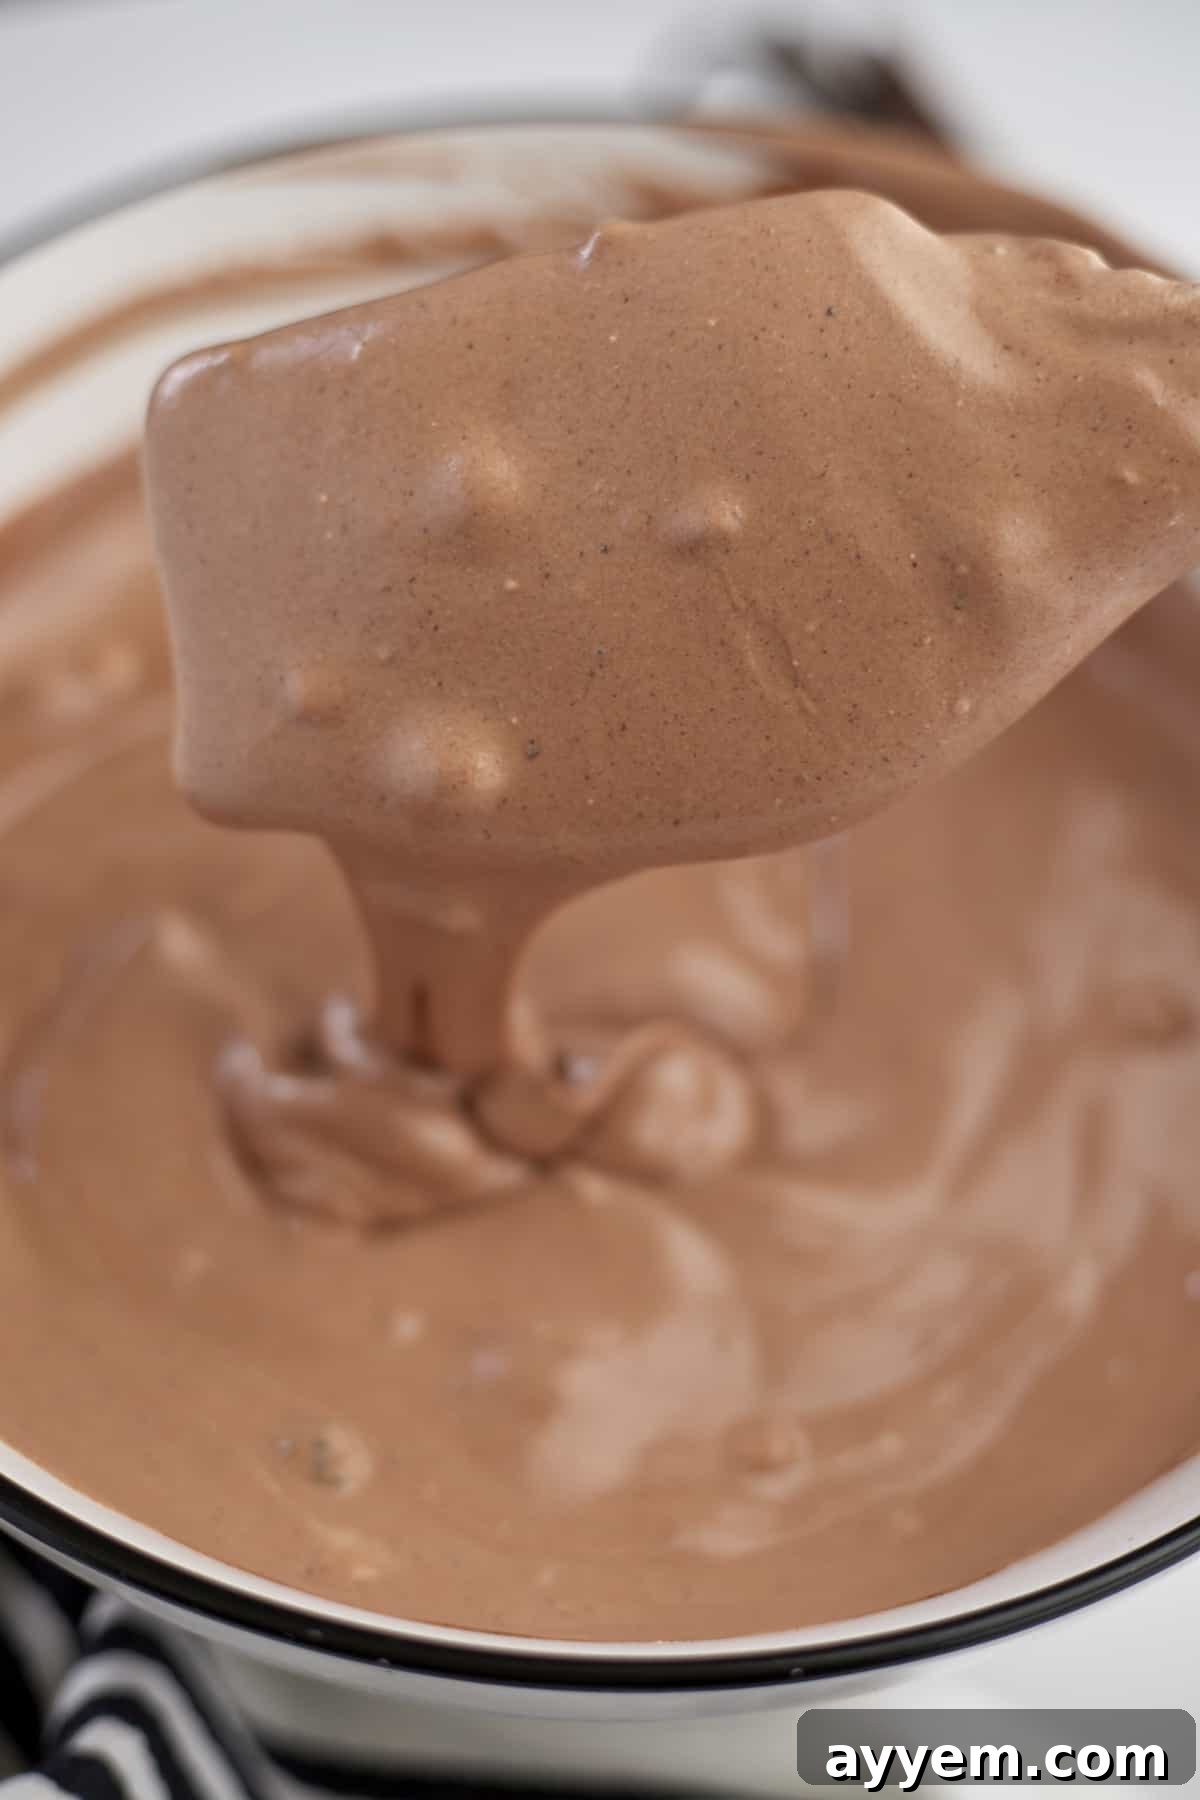
- Gently Fold: With careful hands, gently fold about a third of the whipped cream into your cooled chocolate mixture. This lightens the chocolate base. Then, gently fold in the remaining whipped cream until just combined. Overmixing will deflate the mousse, so strive for a delicate, airy consistency.
- Incorporate Oreos: Carefully fold in the chopped Oreo cookie pieces. The contrast of the creamy mousse and the crunchy cookie bits is what makes this dessert truly special.
- Chill and Set: Scoop the mousse into individual small ramekins or serving dishes. Refrigerate for a minimum of 2-3 hours to allow the mousse to set properly and develop its full flavor and texture.
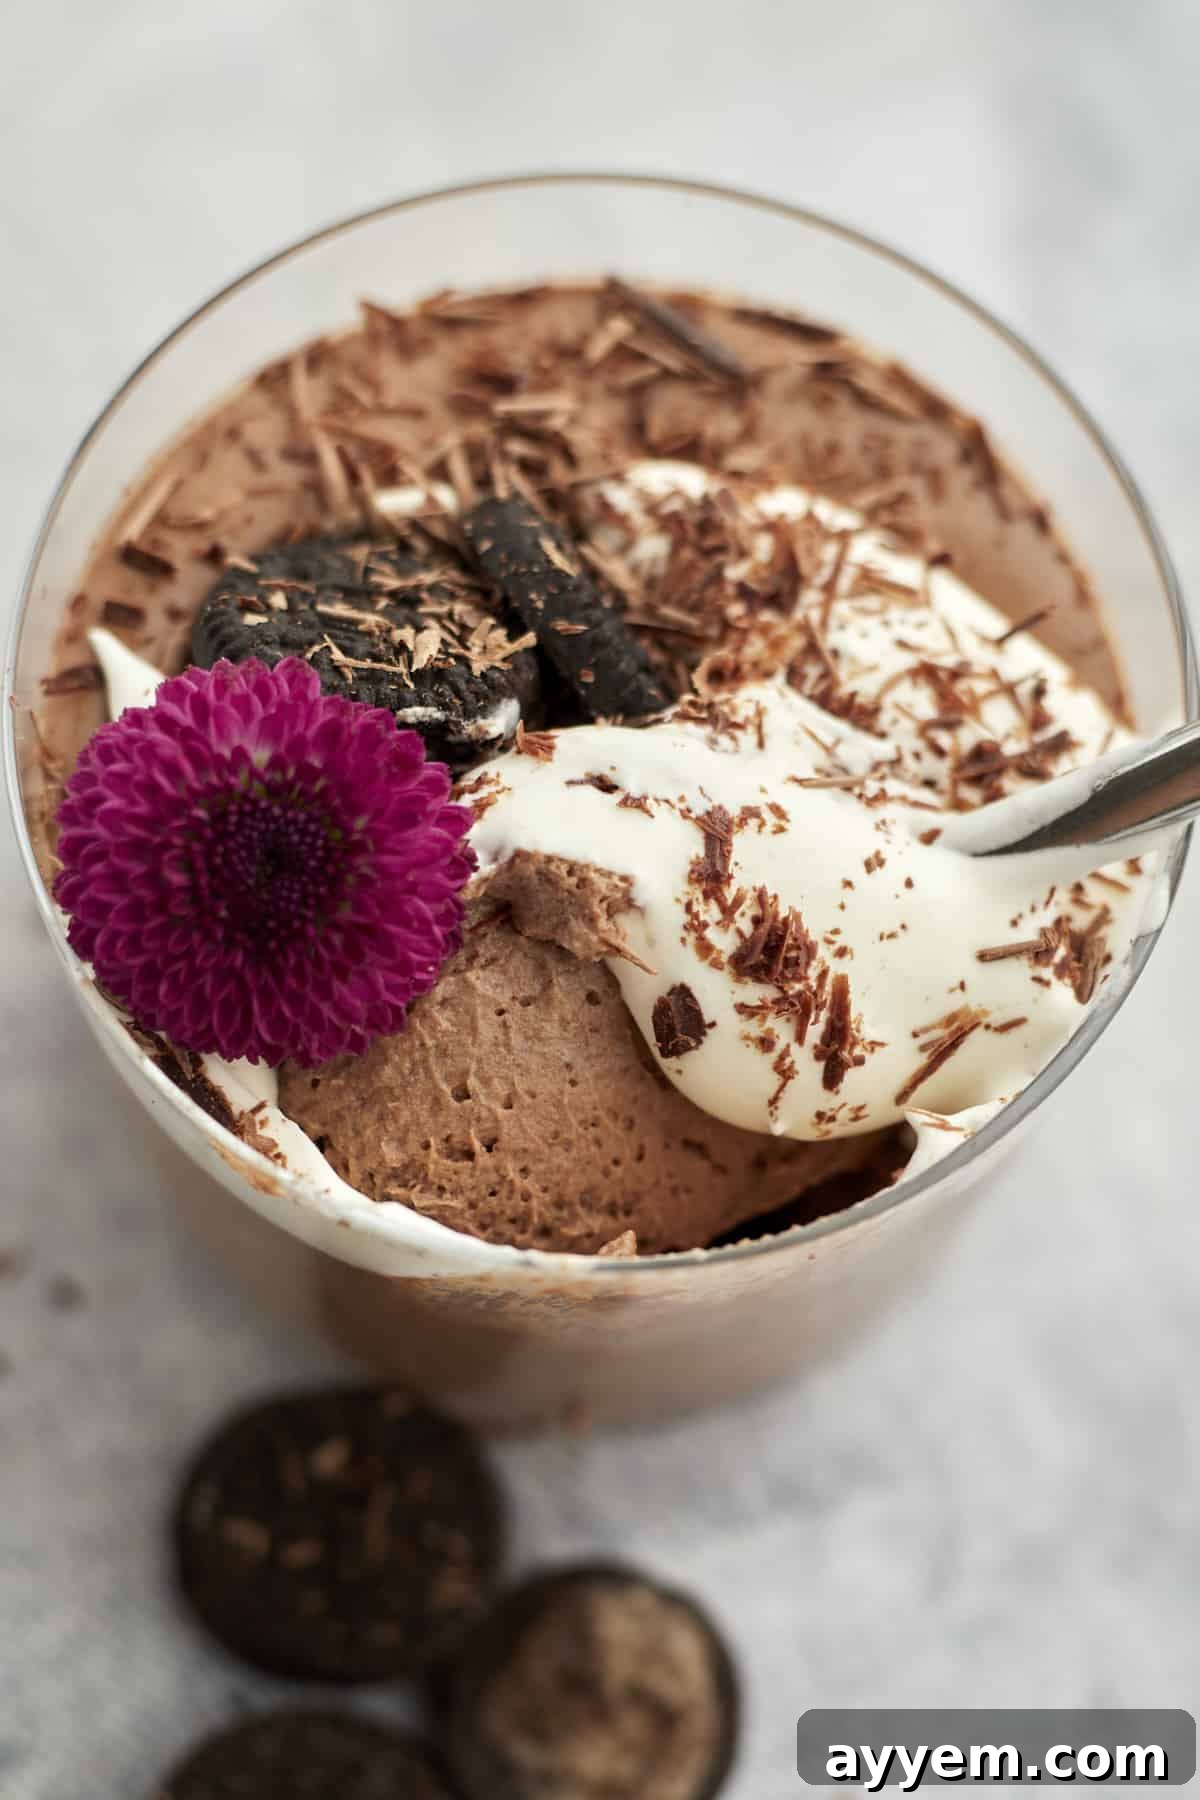
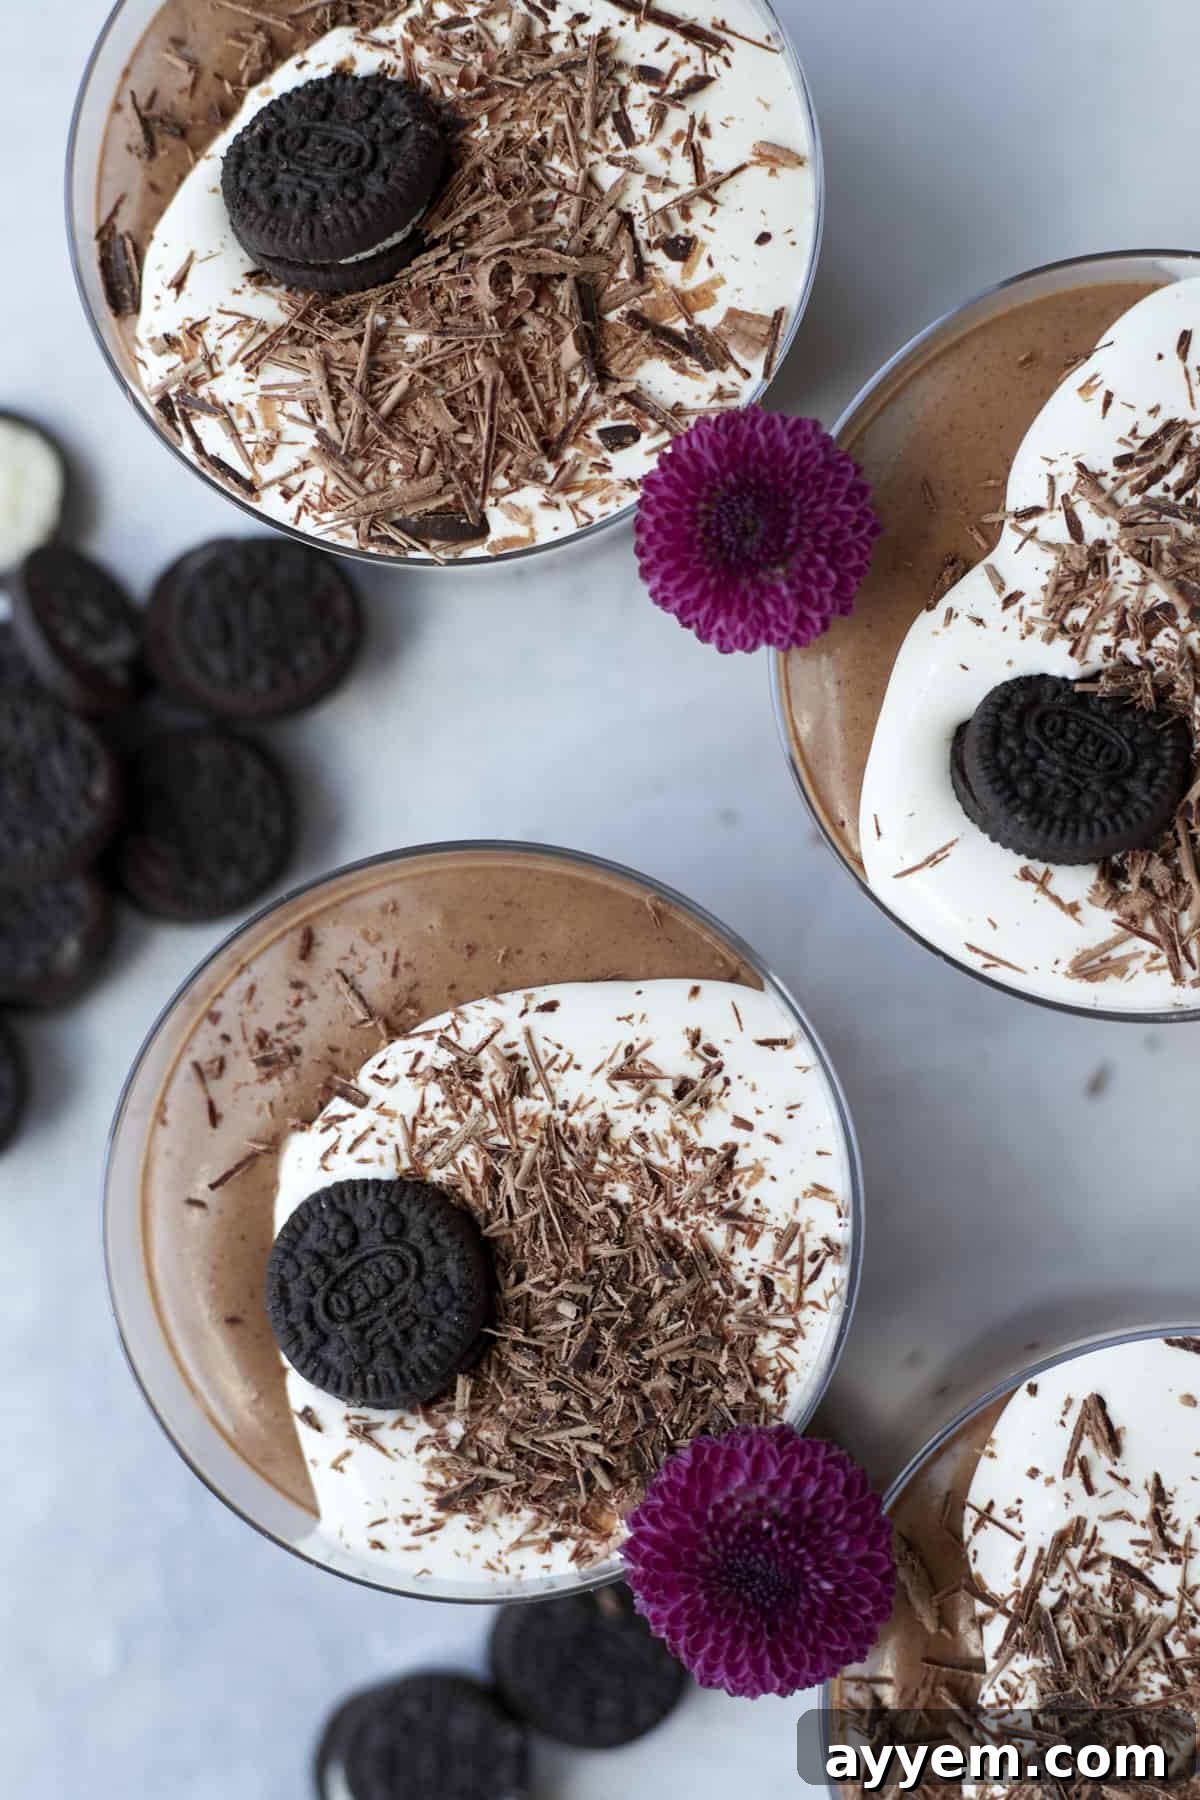
- Serve and Enjoy: Serve your delicious Oreo mousse when it’s fully set. For a slightly softer, more yielding texture, you can let it sit out of the fridge for about 15 minutes at room temperature before serving. Garnish generously with extra whipped cream, more chopped Oreo cookies, or delicate chocolate shavings for an added touch of elegance.

Unlock the Best Mousse: Essential Tips & Creative Variations
To ensure your homemade Oreo chocolate mousse is truly exceptional, consider these expert tips and explore exciting variations:
- Quality Ingredients Matter: While this is a simple recipe, using high-quality semi-sweet chocolate will significantly impact the final flavor. A good chocolate will melt more smoothly and provide a richer taste.
- Cold Cream is Key: Always start with very cold heavy cream for whipping. Chilling your mixing bowl and whisk attachment for 10-15 minutes beforehand can also help achieve stiffer peaks more quickly.
- Gentle Folding: The secret to a light, airy mousse is gentle folding. After combining the chocolate and whipped cream, use a spatula to carefully fold the ingredients together, preserving as much air as possible.
- Don’t Rush the Chill: Proper chilling time is crucial for the mousse to set and firm up. Resist the temptation to serve it too early, as a well-chilled mousse will have the perfect consistency.
- Perfect Portions: Serving the mousse in individual ramekins not only looks elegant but also ensures controlled portions. Clear glasses or martini glasses can also showcase the beautiful layers.
Creative Variations:
- Mint Oreo Mousse: Add a few drops of peppermint extract to the chocolate mixture for a refreshing minty twist. Use mint Oreos for an even bolder flavor.
- Espresso Kick: Dissolve 1 teaspoon of instant espresso powder into the hot heavy cream before melting the chocolate. This deepens the chocolate flavor without making it taste overtly like coffee.
- Caramel Drizzle: Before serving, drizzle a little salted caramel sauce over the top for an extra layer of sweetness and sophistication.
- White Chocolate Oreo Mousse: Substitute semi-sweet chocolate with good quality white chocolate chips for a lighter, sweeter mousse.
- Fruit Pairing: Serve with fresh berries like raspberries or strawberries. Their tartness provides a wonderful contrast to the rich mousse.
- Adult Version: A tablespoon of your favorite liqueur, like Kahlúa or Grand Marnier, can be added to the cooled chocolate mixture for an adult-friendly dessert.
Your Oreo Mousse Questions Answered (FAQ)
Standard Oreo mousse, made with traditional Oreo cookies, is not gluten-free because the cookies contain wheat flour. However, making a delicious gluten-free version is incredibly easy! Simply substitute regular Oreos with certified gluten-free chocolate sandwich cookies, which are widely available in most grocery stores. Always double-check that all your other ingredients, such as chocolate chips and vanilla extract, are also certified gluten-free to ensure a safe and enjoyable dessert for everyone, including those with gluten sensitivities or celiac disease.
If heavy cream isn’t an option, you have a few excellent alternatives. For a dairy-free and vegan mousse, chilled full-fat coconut cream (the thick cream scooped from the top of a can of refrigerated full-fat coconut milk) whips up beautifully and provides a lovely richness, though it will impart a subtle coconut flavor. Another convenient substitute is a pre-made whipped topping, like Cool Whip. This option saves you the step of whipping cream and adding sugar, making the recipe even quicker, but be aware it will slightly alter the texture and flavor profile compared to freshly whipped heavy cream.
A runny Oreo mousse is usually the result of one of two common issues. Firstly, the heavy cream might not have been whipped to stiff peaks. Achieving stiff peaks is essential as it provides the structure for the mousse. If the cream is only whipped to soft peaks, the mousse will be too loose. Secondly, the chocolate mixture might have been too warm when folded into the whipped cream. Warm chocolate can melt the delicate air pockets in the whipped cream, causing the mousse to lose its aeration and become runny. Always ensure your chocolate base is cooled to room temperature before combining. If your mousse turns out a bit too soft, try chilling it for an additional hour or two; sometimes, it just needs more time to firm up.
Oreo mousse is a versatile dessert that pairs wonderfully with a variety of accompaniments. For a classic combination, serve it with fresh, vibrant berries such as strawberries, raspberries, or blueberries; their slight tartness beautifully cuts through the richness of the chocolate. A simple drizzle of chocolate sauce or a sprinkle of additional chocolate shavings elevates the presentation and taste. For an extra indulgent treat, a scoop of vanilla bean ice cream or a side of a light shortbread cookie works marvelously. Consider serving the mousse in elegant shot glasses for a party, or layer it with extra crushed Oreos in clear dessert cups to highlight its appealing black and white layers.
This delightful Oreo chocolate mousse can be stored in an airtight container in the refrigerator for up to 3-4 days. While it remains delicious, the crushed Oreo cookies inside may soften slightly over time. For the best texture, especially the crispness of the cookies, it’s ideal to enjoy the mousse within the first two days after preparation. We don’t recommend freezing mousse as the texture can become grainy and watery upon thawing.
Oreo Chocolate Mousse – 5 Ingredients
5 from 3 votes
Food Dolls
8
10 mins
1 min
2 hrs
Pin
Ingredients
- 8 oz good quality semi-sweet chocolate chips or chunks
- 3 cups cold heavy cream, divided
- 1/4 cup powdered sugar
- 1 cup chopped Oreo cookies
- 1 teaspoon vanilla extract
- pinch of salt
Instructions
- Heat up 3/4 cup heavy cream in the microwave for about one minute. You want it to be hot!
- Pour chocolate chunks into a heat safe bowl and pour the hot heavy cream over the chips. Set aside for 5 minutes.
- Whisk the melted chocolate and hot heavy cream until it is smooth. Note: This may take a couple minutes, so be patient! If your chocolate chunks are not melting, feel free to pop this in the microwave for another 15 seconds. You can do this until it is completely smooth and melted.
- When the chocolate and heavy cream are fully combined, stir in the vanilla extract and salt. Set aside for about 30 minutes or until it is cooled to room temperature.
- Using a hand mixer or stand mixer, whip the remaining cold heavy cream and powdered sugar together until stiff peaks form. This is your whipped cream!
- Gently fold the whipped cream into the cooled chocolate and heavy cream mixture until just combined.
- Carefully fold in the chopped Oreo cookies.
- Scoop the mousse into small ramekins or serving dishes and refrigerate for 2-3 hours, or until fully set. Serve when the mousse is set! For a softer texture, you can let it sit out of the fridge for 15 minutes at room temperature before serving.
- Garnish with extra whipped cream, more chopped Oreo cookies, and chocolate shavings for a beautiful finish.
Video
Nutrition
Nutrition information is automatically calculated, so should only be used as an approximation.
Like this recipe?
Please leave a comment below and share your experience! We love hearing from you!