
Transform your home into a captivating haven this autumn with a dazzling Halloween tablescape and an irresistible indoor s’mores dessert board. This guide will teach you how to craft a show-stopping display that blends spooky charm with elegant design, perfectly paired with a sweet treat that’s ideal for festive gatherings, intimate family nights, or any occasion that calls for a touch of seasonal magic. Forget the chilly outdoor campfires; we’re bringing the s’mores experience indoors, creating a memorable feast for both the eyes and the palate. Get ready to impress your guests and indulge in the ultimate fall entertainment!
Elevate Your Celebrations: Dazzling Halloween Table Decor & Indoor S’mores
For those who’ve been following our creative journey on Instagram, you’ve witnessed our recent dive into the world of interior design. What started with the successful completion of a DIY accent wall quickly blossomed into a full-blown obsession with home aesthetics and organization. We believe that a beautifully curated space enhances every aspect of life, especially when it comes to presenting our beloved homemade treats. After all, if our culinary creations look incredible, imagine how much more delightful they become when served in a stunning setting!
Our latest passion project revolves around crafting enchanting, themed tablescapes to complement our favorite dishes and desserts. As the crisp air of fall began to settle and Halloween drew near, we eagerly headed to the stores, gathering an array of pumpkin-shaped delights and festive adornments to embrace the season. Today, we are thrilled to unveil our latest creation: a captivating Halloween table setting, perfectly complemented by a delightful indoor s’mores board. This dynamic duo is not just decor and dessert; it’s an experience designed to transform your dining area into a festive focal point.
These versatile designs aren’t limited to a single day; with a few thoughtful adjustments, they can grace your home throughout the entire fall season. And let’s be honest, who can resist the gooey, chocolatey magic of s’mores? We confess, we’ve often set up this dessert board and found ourselves indulging in an indoor s’more (or two!) all to ourselves. With such an inviting atmosphere, it’s simply irresistible! We’re excited to walk you through every step of creating this charming setup, from sourcing our favorite decor pieces to assembling the ultimate dessert experience, so you can easily recreate this enchanting scene in your own home.
Crafting the Perfect Autumn & Halloween Tablescape: A Step-by-Step Guide
There’s an undeniable magic in a thoughtfully arranged tablescape. It elevates an ordinary dining table into a magazine-worthy centerpiece, setting the stage for memorable meals and conversations. What we particularly adore about this fall and Halloween-inspired design is its adaptability. By adhering to a palette of neutral autumn colors—think rich browns, sophisticated blacks, vibrant oranges, and warm beiges—your tablescape can beautifully transition from early fall gatherings to the spooky Halloween night, and even through Thanksgiving, ensuring maximum seasonal enjoyment.
View this post on InstagramA post shared by Alia & Radwa (@fooddolls)
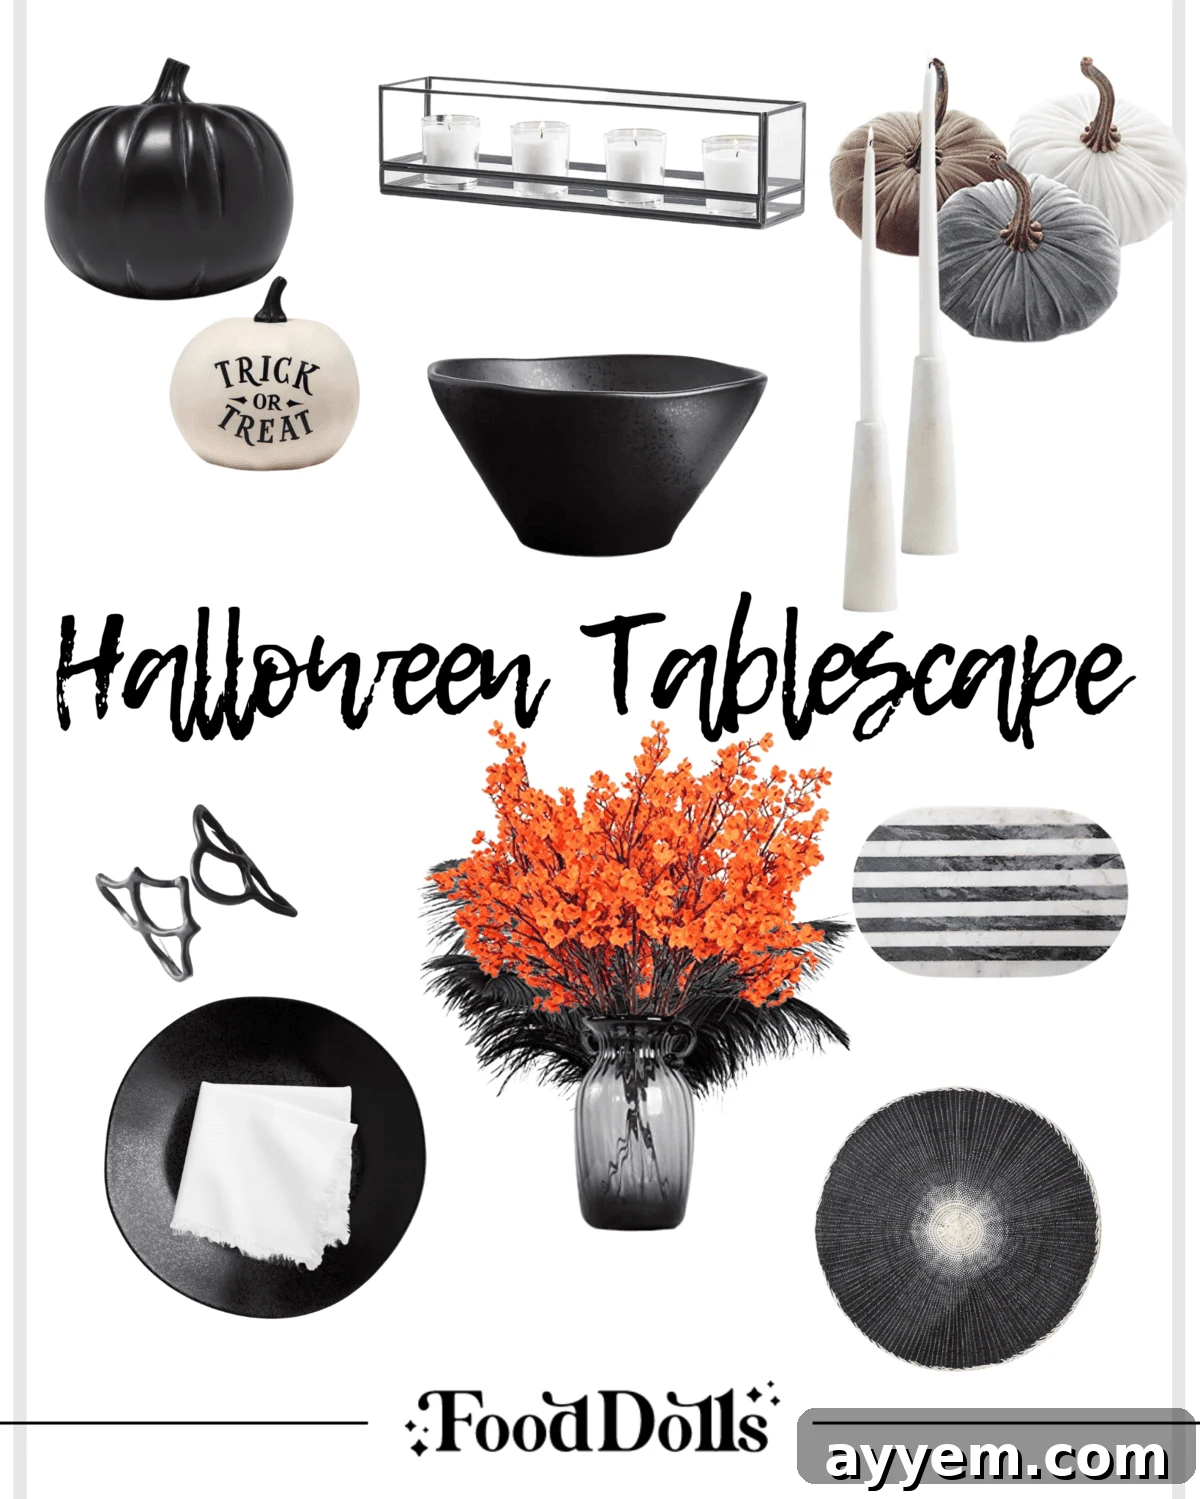
Essential Elements for Your Halloween Tablescape
Before you begin arranging, gather your key components. Having everything at hand will make the creative process smooth and enjoyable:
- Tablecloth or Runner: A foundation piece to define your theme and protect your table. Consider textures like linen, burlap, or even a subtle plaid.
- Placemats: Add another layer of texture and color, grounding each place setting.
- Dinnerware: Mix and match plates, salad plates, and bowls. Don’t be afraid to combine patterns or colors for an eclectic look.
- Cutlery: Standard silverware or consider a darker, matte finish for a more dramatic Halloween feel.
- Napkins: Fabric napkins in coordinating colors, perhaps with festive rings or creative folds.
- Centerpiece Base: A large pot, vase, or decorative bowl to hold your main floral or foliage arrangement.
- Decorative Accents: Small pumpkins, gourds, candles (pillar, tapered, or flameless), mini cauldrons, faux spiders, bats, skull figurines, autumnal leaves, or fairy lights.
Unleashing Your Creativity: How to Assemble Your Fall Tablescape
While there are no strict rules for creating your ideal Halloween table decor, we do have a tried-and-true method that ensures a cohesive and stunning result. Feel free to adapt these guidelines to express your unique style:
View this post on InstagramA post shared by Alia & Radwa (@fooddolls)
- Lay the Foundation with Layers: Begin by determining the number of place settings you need. Start with a table runner or tablecloth to set the overall mood. Then, arrange your placemats, followed by dinner plates, salad plates, and finally, bowls. This layering technique is key to creating visual interest and depth. We love to incorporate varying colors, textures, and even patterns here—think a rustic wooden placemat under a matte black dinner plate, topped with a crisp white salad plate, for a beautiful and intriguing contrast.
- Accessorize with Napkins and Personal Touches: Neatly fold your napkins (perhaps using a simple fan fold or a more elaborate design) or secure them with festive napkin rings. Place a small, decorative item inside each bowl, such as a mini pumpkin, a faux spider, a sprig of dried leaves, or a personalized name card. These small details add charm and a welcoming feel to each guest’s spot.
- Construct Your Captivating Centerpiece: The centerpiece is the heart of your tablescape. Choose a prominent vessel—a large pot, a tall vase, or even a hollowed-out pumpkin—and fill it with seasonal elements. This could be an arrangement of fresh fall flowers like chrysanthemums or sunflowers, dried foliage, whimsical feathers, or even bare branches for a more dramatic, spooky effect. Ensure the centerpiece isn’t too tall, allowing guests to converse easily across the table.
- Embellish and Set the Mood: This is where your tablescape truly comes alive! Arrange candles of various heights and sizes along the length of the table. Incorporate other festive decor elements like mini cauldrons filled with candy, scattered faux spiderwebs, battery-operated fairy lights woven through your centerpiece, or an assortment of smaller gourds and pumpkins. Don’t forget to think about lighting—dimming the overhead lights and relying on candles can create an incredibly warm and inviting, yet subtly spooky, ambiance.
Embrace your inner decorator! Feel free to mix and match items you already own with new budget-friendly finds. Let your personal style shine through in your Halloween table decor, making it uniquely yours. For more visual inspiration and a quick tutorial on how we create our own fall tablescapes in minutes, you can watch our reel here!
The Ultimate Indulgence: Crafting an Irresistible Indoor S’mores Board
The longing for crackling campfires and gooey s’mores used to fade with the onset of cold weather. But not anymore! We’ve discovered the game-changing secret to enjoying this classic treat indoors, anytime. Our indoor s’mores are cooked over a safe, contained flame, replicating the authentic campfire experience with perfectly toasted marshmallows and melted chocolate. This method makes them every bit as delicious as the outdoor original and transforms them into the perfect, easy-to-assemble dessert board, just in time for Halloween festivities!
View this post on InstagramA post shared by Alia & Radwa (@fooddolls)
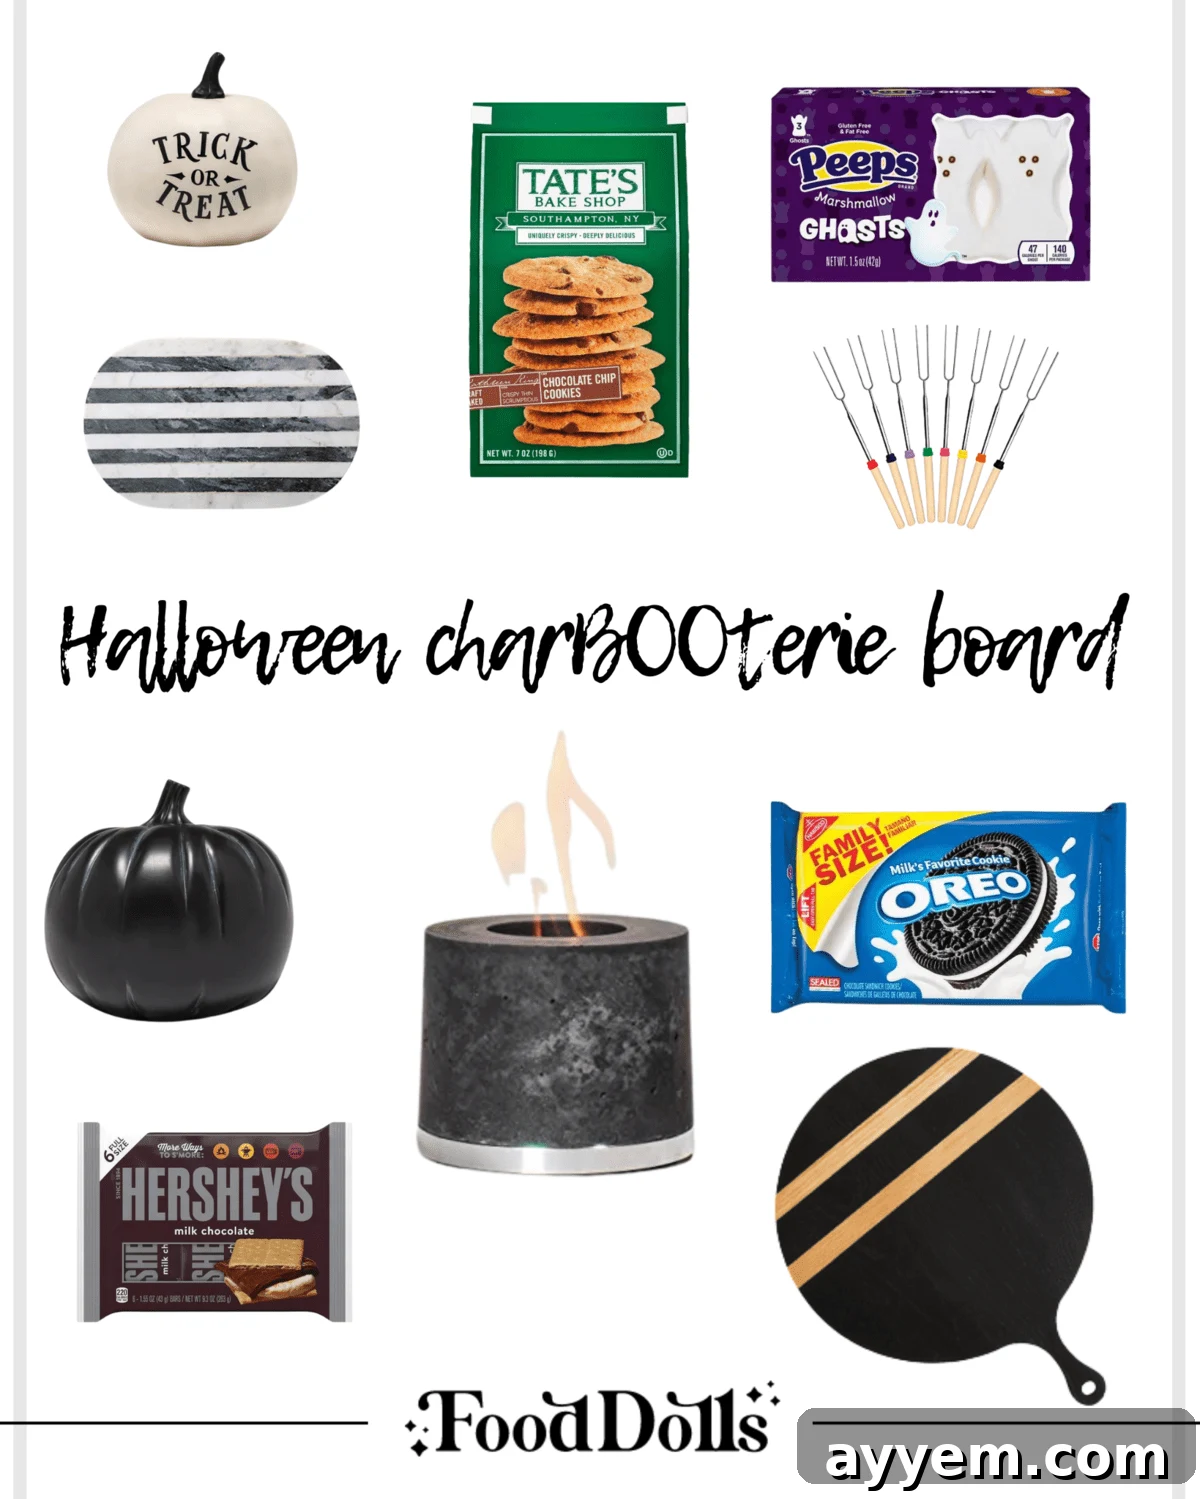
Ingredients for Your Spooktacular S’mores Board
These indoor s’mores are anything but basic. Fully embracing the spirit of the season, we’ve gone all out with fun cookies, adorable ghost-shaped marshmallows, and more for a super fun and always tasty dessert experience. The beauty of a s’mores board lies in its customizability, allowing everyone to create their perfect bite. Here’s a comprehensive list of what you’ll need to create a truly spectacular indoor s’mores board:
- Marshmallows: Classic large marshmallows are a must, but don’t stop there! Look for flavored marshmallows (vanilla bean, pumpkin spice), mini marshmallows for smaller bites, or seasonal shapes like ghost-shaped peeps or orange pumpkin marshmallows.
- Graham Crackers: The traditional foundation. Include classic honey graham crackers, chocolate-flavored graham crackers, or cinnamon sugar varieties for different flavor profiles.
- Chocolate: A s’mores board isn’t complete without an assortment of chocolates. Offer classic milk chocolate bars (like Hershey’s), dark chocolate squares for a richer taste, white chocolate, peanut butter cups, and even miniature seasonal candies with festive Halloween wrappers.
- Cookies: Expand beyond graham crackers! Include chocolate chip cookies, Oreo cookies (original or seasonal flavors), shortbread, or even wafer cookies. These add different textures and flavors to the s’mores.
- Pretzels: For a salty-sweet crunch, pretzel sticks or mini pretzel twists are a fantastic addition.
- Fruit: Sliced strawberries, banana coins, or raspberries can add a fresh, tangy contrast to the sweetness.
- Spreads and Sauces: Small bowls of caramel sauce, chocolate fudge sauce, or even a dollop of whipped cream can take your s’mores to the next level.
- Halloween Candies & Sprinkles: Mini candy corn, gummy worms, edible googly eyes, or festive sprinkles can be used to decorate the marshmallows after toasting, adding an extra layer of fun, especially for kids.
- Heat Source: This is crucial for indoor s’mores. Consider a mini portable fireplace designed for tabletop use, a fondue pot with gel fuel (Sterno), or even a culinary torch for quick toasting. Always prioritize safety and ensure proper ventilation.
- Skewers or Roasting Sticks: Essential for toasting marshmallows safely and easily.
Assembling Your Indoor S’mores Board: Tips for Success
Once you have all your ingredients, it’s time to arrange them artfully! Choose a large wooden board, a slate platter, or a decorative tray as your base. Create “zones” for each ingredient, ensuring that everything is easily accessible. Arrange the graham crackers, cookies, and various chocolates around the perimeter, and place smaller bowls of fruit, sauces, and themed candies in the center. Position your heat source safely in the middle of the board, making sure there’s enough space for guests to gather and roast their marshmallows comfortably. Don’t forget to include a small bowl for discarded skewers and some wet wipes for sticky fingers!
Remember, the goal is to make it interactive and fun. Encourage guests to experiment with different combinations of crackers, chocolates, and toppings. The visual appeal of a well-stocked board is part of the experience, inviting everyone to dive in and create their custom s’mores masterpieces. With a little planning, your indoor s’mores board will be the star of your Halloween celebration, bringing warmth, sweetness, and communal joy to your autumn evenings.
Absolutely! The beauty of tablescape design lies in its versatility. You can easily adapt the foundational principles—layering, centerpieces, and decorative accents—by simply switching out colors, themes, and seasonal decor elements. For example, use pastel shades and fresh flowers for spring, vibrant colors and citrus for summer, or silvers and golds with evergreen for winter holidays. Stay tuned to our blog for more exciting seasonal design inspirations!
For optimal freshness and taste, indoor s’mores boards are best assembled and served immediately before use. This prevents the unwrapped ingredients, especially marshmallows and graham crackers, from becoming stale or absorbing moisture. However, if you need to do some prep, you can arrange non-perishable items on the board, cover it tightly with cling film or saran wrap, and store it at room temperature in a cool, dry place for up to 1-2 days. Add any fresh fruit or sauces just before serving.
Yes, you certainly can! If you prefer not to use an open flame, you have excellent alternatives. You can assemble your s’mores (graham cracker, chocolate, marshmallow) and place them on a baking sheet. Pop them into a preheated oven at about 350°F (175°C) for 3-5 minutes, or until the marshmallows are golden and puffy. Alternatively, for a quick fix, microwave individual s’mores for 10-15 seconds until the marshmallow expands and the chocolate softens. While the oven or microwave won’t give you that authentic toasted char, they still deliver delicious, melted s’mores!
There you have it—your comprehensive guide to creating a truly unforgettable Halloween experience, blending stunning tablescape design with an utterly delicious indoor s’mores dessert board. These elements work in harmony to create an inviting, festive, and utterly charming atmosphere that your guests will adore. From the intricate layers of your table decor to the interactive joy of custom s’mores, you’re now equipped to host a celebration that is both stylish and incredibly fun. So, gather your supplies, unleash your creativity, and prepare to make some deliciously spooky memories this season!