
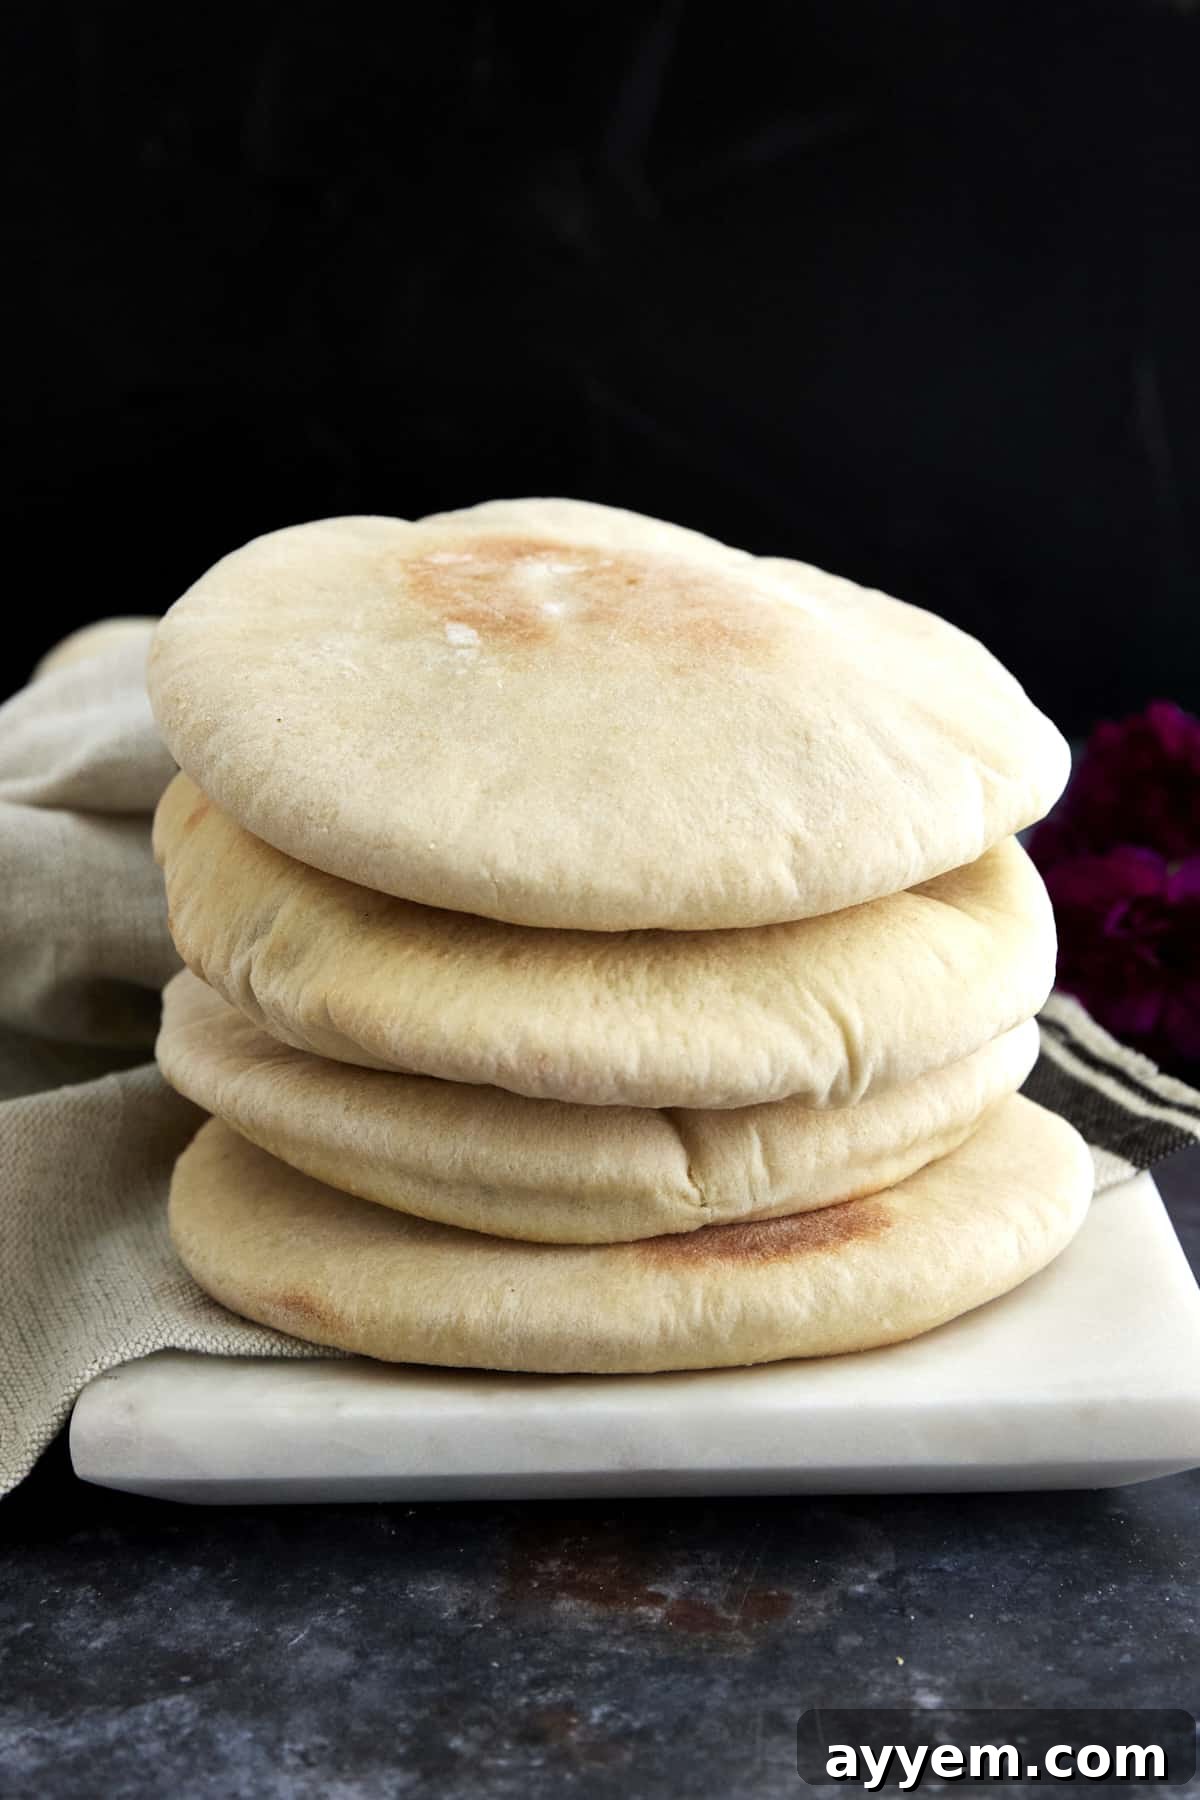
Welcome to the ultimate guide for crafting the most incredible Easy Pita Bread Recipe right in your own kitchen! Forget the dry, store-bought versions – this homemade pita bread is wonderfully fluffy, mildly sweet, and utterly irresistible. Perfect for dipping into creamy spreads, stuffing with succulent meats, or even as a comforting accompaniment to your favorite soups, this versatile flatbread will quickly become a staple in your culinary repertoire. We’ll walk you through every step, ensuring a perfect puffy pocket every time, guaranteed to impress your family and friends.
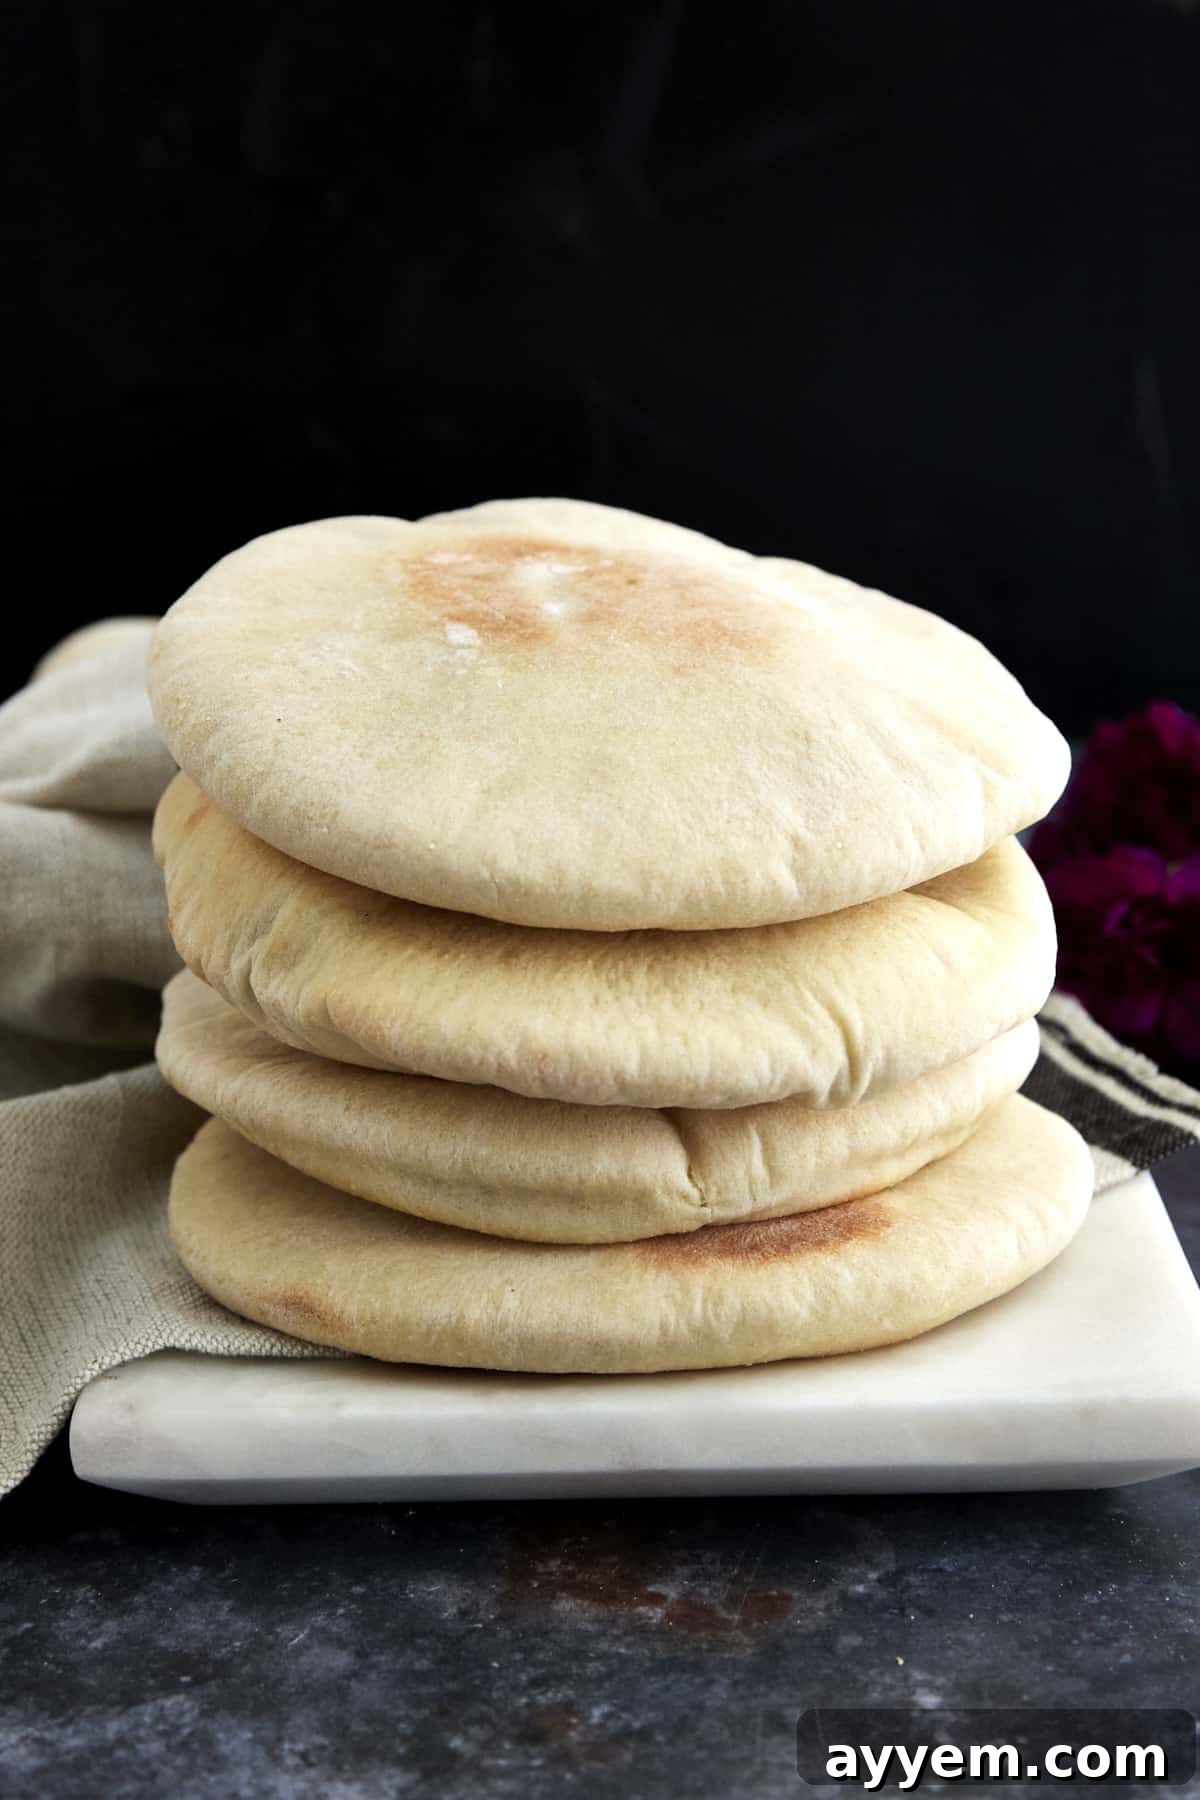
What is Pita Bread? An Ancient Staple Reimagined
Pita, often spelled pitta, is a traditional leavened flatbread deeply rooted in Middle Eastern cuisine, with a history spanning thousands of years. The name itself is believed to originate from the Greek word “pitta,” meaning “flatbread.” This simple yet profound bread is typically made from a combination of yeast, water, and flour, often enriched with a touch of sugar and salt for enhanced flavor and texture. Historically, pita was baked on hot stone surfaces or in traditional clay ovens, allowing it to cook quickly and evenly. Today, home bakers and professional chefs alike achieve similar results using conventional ovens, baking at extremely high temperatures.
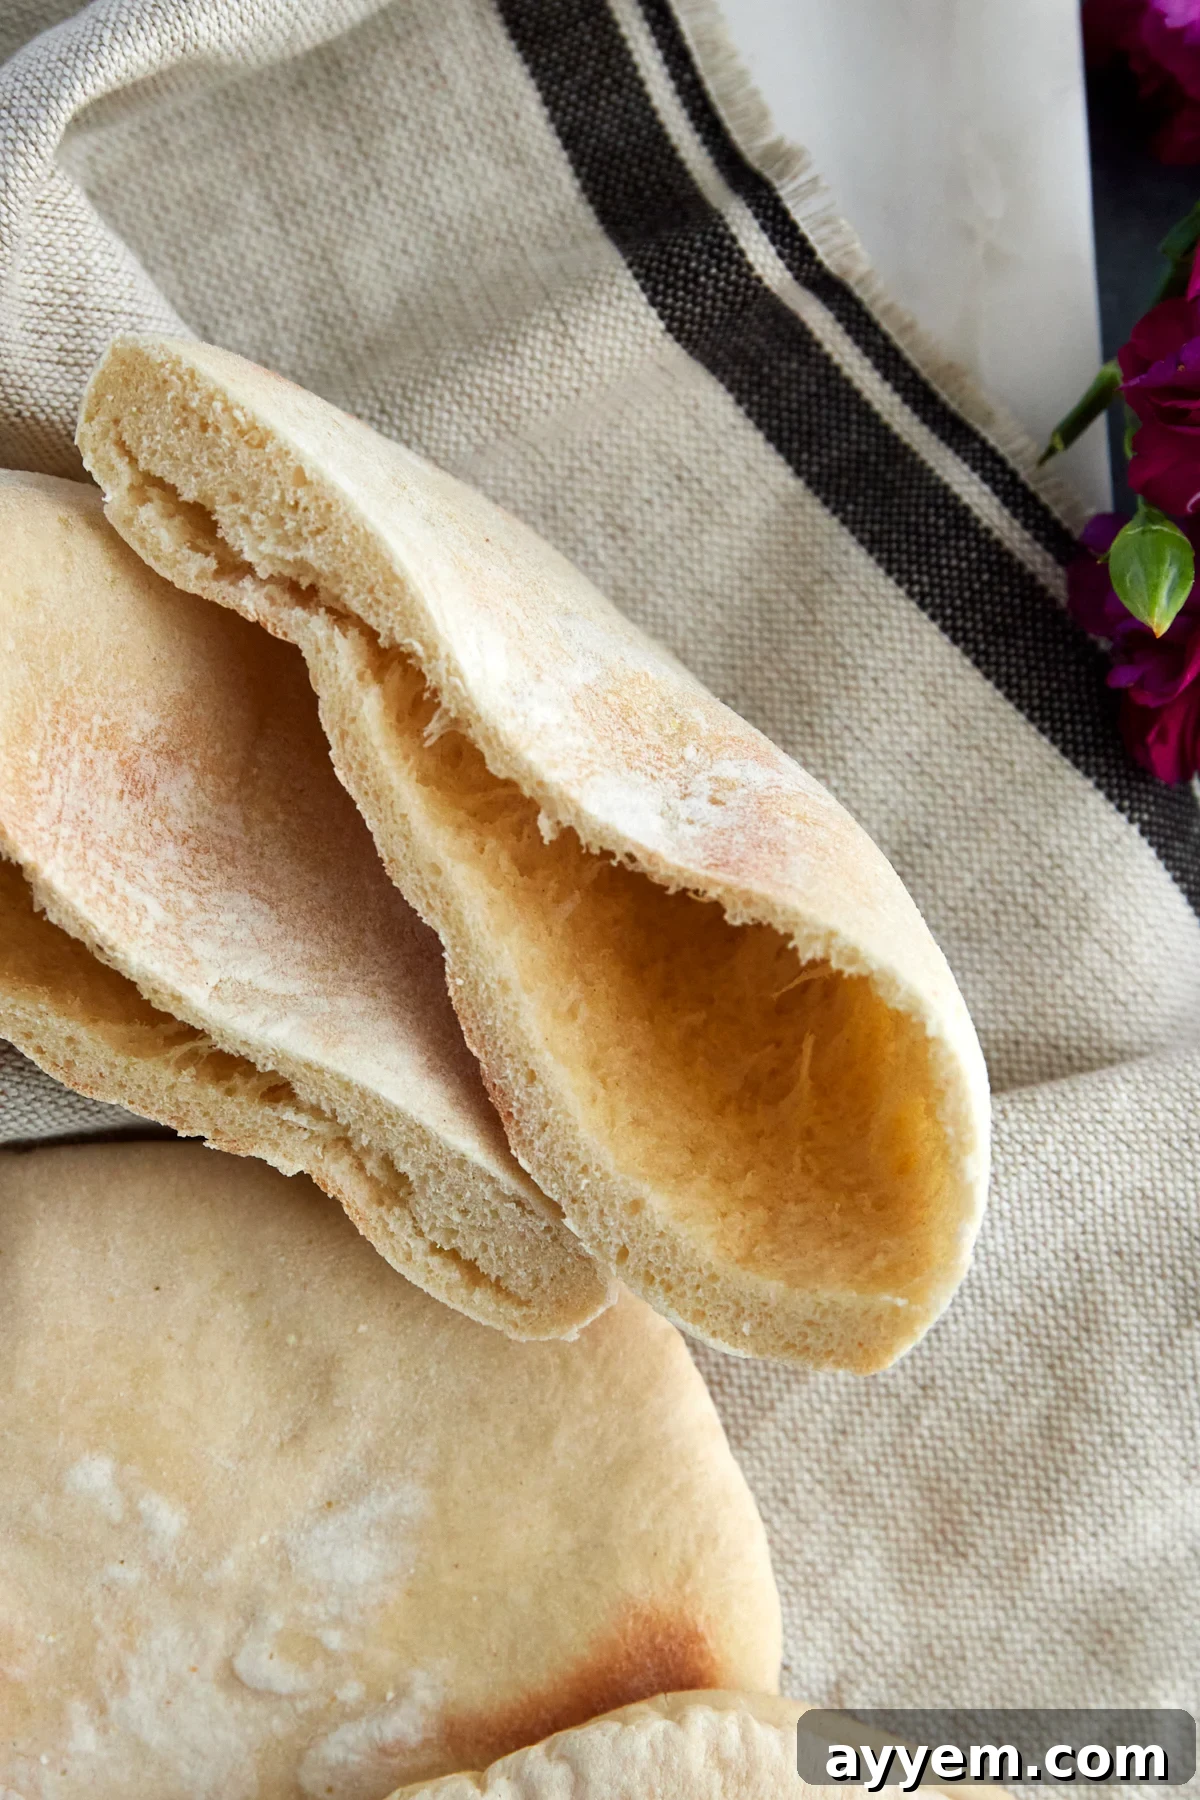
The magic of pita lies in its unique baking process. When the dough is exposed to intense heat, the water within rapidly turns into steam. This steam becomes trapped inside the dough, causing the bread to puff up dramatically and create the signature “pocket.” This pocket is not only fascinating to watch form but also serves a practical purpose, making pita an ideal vessel for various fillings. On its own, freshly baked pita boasts a subtly neutral yet slightly sweet flavor profile. Its texture is a harmonious blend of light chewiness and a delicate density, making it incredibly versatile. This adaptability allows it to be easily customized with an array of herbs and spices, adapting effortlessly to countless culinary applications, from savory to sweet.
Understanding the Nuances: Greek Pita vs. Traditional Pocket Pita
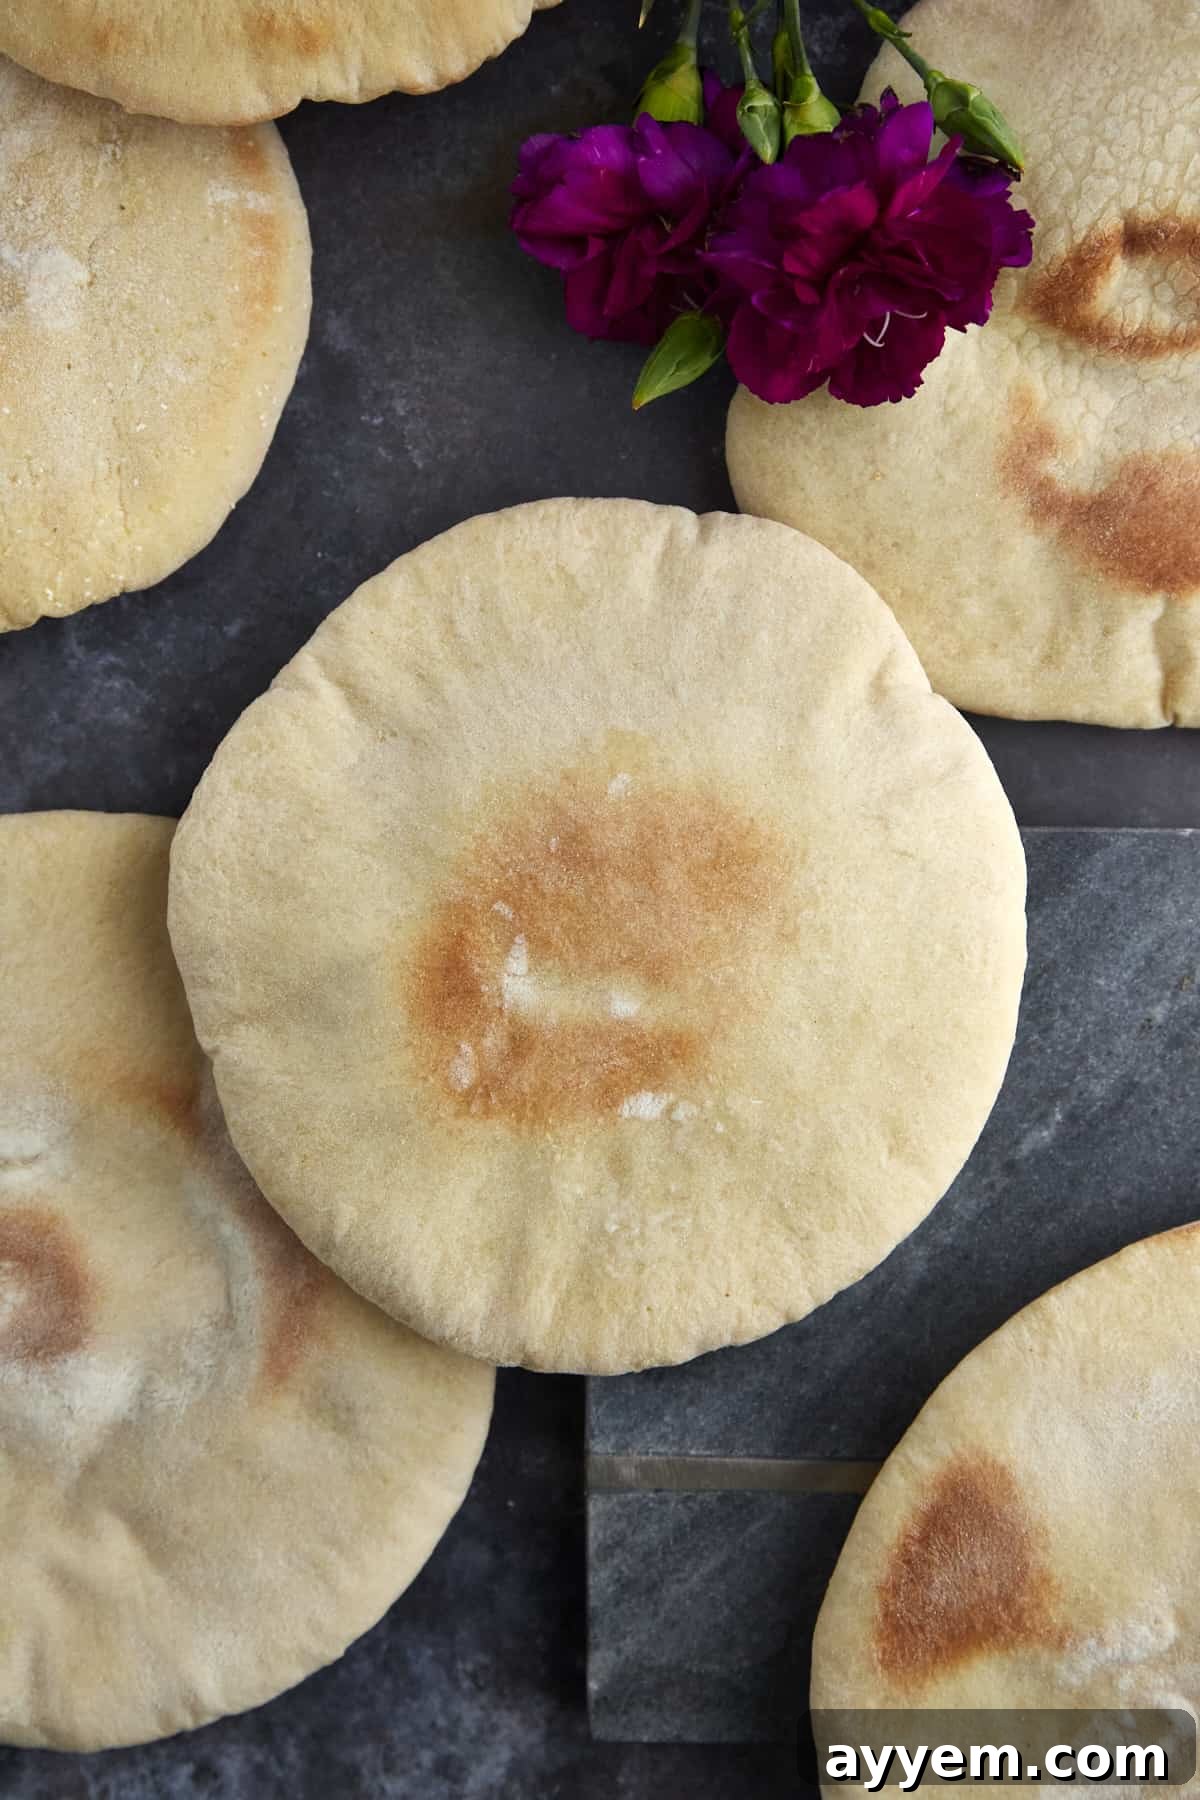
While the term “pita” often conjures images of the familiar pocketed bread, it’s essential to understand that there are delightful variations. The most common type, often referred to as traditional or Mediterranean pita, is characterized by its distinct pocket. This hollow interior forms during baking as the steam separates the two layers of dough, creating the perfect space for stuffing with various fillings like falafel, gyros, or fresh salads. Its moderate thickness and slightly chewy texture make it robust enough to hold generous amounts of ingredients without tearing.
However, another equally delicious and significant type is Greek pita. Unlike its pocketed counterpart, Greek pita is typically thicker, softer, and does not develop an internal pocket. Instead, it maintains a flatter, more substantial profile, resembling a soft, round flatbread. This thicker texture makes it exceptionally well-suited for wrapping meats like souvlaki or gyros, or for tearing and dipping into flavorful sauces and spreads such as tzatziki or hummus. Its extra softness also lends itself beautifully to absorbing the delicious juices and oils of whatever it accompanies. Both styles of pita offer unique culinary experiences, highlighting the rich diversity within this ancient bread tradition.
Essential Ingredients for Your Homemade Pita Bread
Crafting this simple yet incredibly rewarding homemade pita bread requires just a handful of basic pantry staples. Each ingredient plays a crucial role in achieving that perfect fluffy texture and subtly sweet flavor. Here’s a detailed look at everything you’ll need:
- All-Purpose Flour: This is the foundation of our pita dough. All-purpose flour provides the necessary structure and elasticity for a soft, pliable bread. You’ll also need a little extra for dusting your work surface and rolling pin to prevent sticking. For a slightly denser, nuttier flavor, you can substitute a portion of all-purpose flour with whole wheat flour, or use 100% whole wheat flour if you prefer.
- Sea Salt: More than just a flavor enhancer, salt plays a vital role in controlling yeast activity and strengthening the gluten structure in the dough. This contributes to the bread’s overall texture and helps balance the sweetness.
- Olive Oil: A touch of olive oil adds richness, moisture, and a lovely subtle flavor to the pita dough. It also helps to create a tender crumb and prevents the dough from sticking during mixing and kneading. Opt for good quality extra virgin olive oil for the best taste.
- Granulated Sugar: While only a small amount is used, sugar serves multiple purposes. It acts as food for the yeast, helping it activate and produce carbon dioxide, which causes the dough to rise. Additionally, sugar contributes to the mild sweetness and helps the pita achieve a beautiful golden-brown color during baking.
- Baking Powder: A common leavening agent, baking powder works in conjunction with yeast to provide an extra boost of lift and tenderness to the pita. Ensure your baking powder is fresh for optimal results; expired baking powder will not activate properly, leading to flat pita.
- Warm Water: This is perhaps the most critical ingredient for yeast activation. The water must be lukewarm (ideally between 105-115°F or 40-46°C). Water that is too hot will kill the yeast, preventing the dough from rising. Water that is too cold will inhibit yeast activity, making the rising process slow or non-existent.
- Active Dry or Instant Yeast: Yeast is the living organism responsible for leavening our pita bread, giving it its characteristic lightness and airiness. You can find regular packets of instant yeast in the baking aisle of most grocery stores. Instant yeast can often be added directly to dry ingredients, while active dry yeast usually requires proofing in warm water first.
Crafting Your Own Fluffy Pita Bread: A Step-by-Step Guide
Once you experience the unparalleled taste and texture of homemade pita, you’ll likely never return to store-bought again. This recipe simplifies the process, making it accessible for even novice bakers. Here’s how to create your own batch of delicious, fluffy pita bread:
- Activate the Yeast: Begin by pouring 1 cup of lukewarm water into the bowl of a stand mixer (or a large mixing bowl if kneading by hand). Sprinkle in the heaping tablespoon of yeast and 1 tablespoon of granulated sugar. Stir gently until both the yeast and sugar are fully dissolved in the water. This sugar acts as food for the yeast, encouraging it to become active. Cover the bowl loosely and set it aside for about 10-15 minutes. You’ll know the yeast is active when a foamy layer of bubbles forms on the surface, indicating it’s alive and ready to work its magic.
- Prepare and Knead the Dough: Into the bowl with your activated yeast mixture, sift in the 4 cups of all-purpose flour, ½ teaspoon of baking powder, 1 teaspoon of sea salt, and the remaining 1 tablespoon of granulated sugar. Using a dough hook attachment on your stand mixer (or your hands), begin kneading the dough on a low speed. Initially, the mixture will look shaggy. Continue kneading, and if the dough appears too dry or stiff, gradually add the additional ⅓ cup of lukewarm water, one tablespoon at a time. Allow each tablespoon to incorporate fully before adding more. The goal is a soft, smooth, and elastic dough that is slightly sticky but not overly wet. Kneading typically takes about 5-7 minutes in a stand mixer, or 10-15 minutes by hand, until the dough is smooth and springs back when gently poked.
- First Rise (Proofing): Lightly brush the inside of a clean mixing bowl with olive oil, then transfer your kneaded dough to this bowl. Turn the dough over once to coat it lightly with oil, which prevents it from drying out. Cover the bowl tightly with plastic wrap, then place a clean kitchen towel over the plastic wrap for extra insulation. Set the bowl aside in a warm, draft-free place (like a turned-off oven with the light on) for at least 1 to 1.5 hours, or until the dough has noticeably doubled in size. This rising period allows the yeast to ferment, developing flavor and creating a light, airy texture.
- Shape the Pita Rounds: Once the dough has doubled, gently deflate it by pressing down with your fists to release the accumulated gases. Turn the dough out onto a clean, lightly floured workspace. Divide the dough into 10-12 equal pieces. For consistent results, you can weigh each piece (around 80-90 grams each). Roll each piece into a smooth, round ball between your palms. Cover these dough balls with a clean kitchen towel again and let them rest for another 20 minutes. This second brief rest helps relax the gluten, making the dough easier to roll out without shrinking back.
- Roll Out the Pita: After the short rest, take one dough ball at a time, keeping the others covered. Place it on your lightly floured surface and, using a floured rolling pin, roll it into a circle approximately 8 inches in diameter and about ¼ inch thick. Aim for an even thickness across the entire circle to ensure uniform puffing during baking. Dust with more flour as needed to prevent sticking, but avoid using excessive flour, which can make the pita tough.
- Bake the Pitas: Preheat your oven to a blazing 500°F (260°C). Crucially, place a baking sheet or pizza stone in the oven while it preheats. This allows the baking surface to get incredibly hot, which is essential for the pita to puff up. Once the oven and baking sheet are fully preheated, carefully place one or two rolled pita rounds directly onto the hot baking sheet. Bake for 1-2 minutes on the first side. You’ll observe the pita beginning to puff up. Using tongs, carefully flip the pita over and bake for another 30 seconds to 1 minute, or until it has fully inflated like a balloon. The high heat creates the steam that forms the pocket.
- Repeat and Store: Remove the puffed pita from the oven and immediately transfer it to a plate or basket lined with a clean kitchen towel. Cover the warm pita with the towel; this traps the steam and keeps the bread soft and pliable as it cools slightly. Continue this process with the remaining dough, preheating the baking sheet between batches if it cools down too much. Serve warm and enjoy!
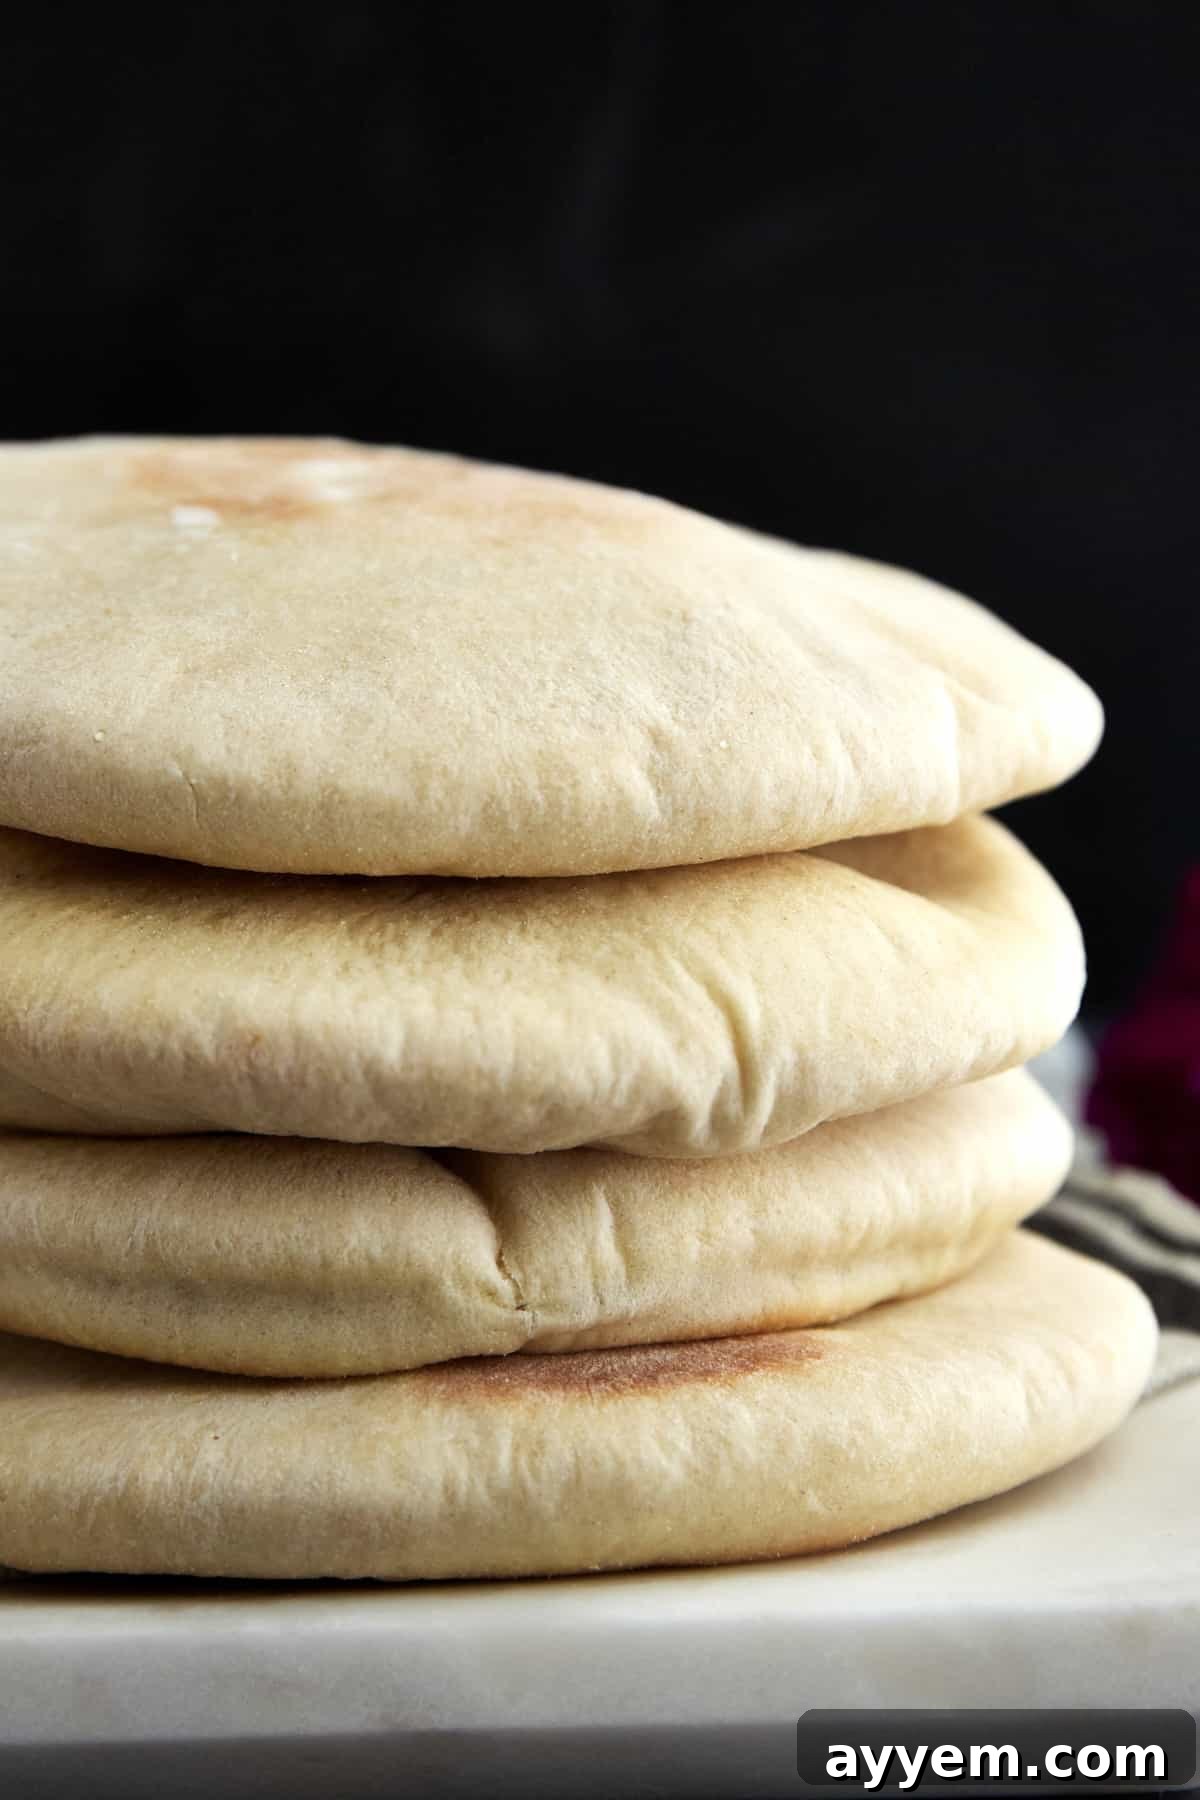
Tips for Achieving Perfectly Puffy Pita Every Time
While making homemade pita is straightforward, a few key tips can ensure consistently fantastic results:
- Temperature is Key: Ensure your water is the correct temperature for activating yeast (105-115°F). Also, the oven temperature must be very high (500°F) for the pita to puff properly. Don’t be tempted to lower it.
- Don’t Skimp on Kneading: Proper kneading develops the gluten, which is essential for the dough’s elasticity and ability to trap steam, creating that perfect pocket. Whether by hand or mixer, ensure the dough is smooth and elastic.
- Patience with Rising: Allow the dough to complete its first rise fully. Rushing this step will result in less flavorful and less fluffy pita. A warm, draft-free spot is crucial.
- Even Rolling: Roll your pita rounds to an even thickness (around ¼ inch). Uneven thickness can lead to uneven puffing, with some parts not forming a pocket.
- Hot Baking Surface: Always preheat your baking sheet or pizza stone in the oven before placing the pita on it. This initial burst of heat is what creates the instant steam needed for the puff.
- Don’t Overbake: Pita cooks very quickly. Overbaking will make it dry and stiff instead of soft and pliable. Watch it closely; as soon as it puffs, it’s almost ready.
- Cover After Baking: As soon as pita comes out of the oven, cover it with a clean kitchen towel. This traps residual steam, keeping the pita soft and flexible.
Delicious Variations to Elevate Your Homemade Pita
While this classic pita bread recipe is perfect on its own, don’t hesitate to experiment with variations to suit your taste:
- Herb-Infused Pita: Knead in 1-2 tablespoons of finely chopped fresh herbs like oregano, thyme, rosemary, or parsley during the dough mixing stage for a fragrant twist.
- Garlic & Sesame Pita: Before baking, brush the rolled pita rounds with a little olive oil and sprinkle with minced garlic and sesame seeds.
- Whole Wheat Pita: For a healthier, nuttier pita, substitute half of the all-purpose flour with whole wheat flour. You might need a little extra water as whole wheat flour absorbs more liquid.
- Spiced Pita: Add ½ teaspoon of ground cumin, coriander, or sumac to the dry ingredients for an aromatic flavor profile.
Make-Ahead and Storage Options for Freshness
Enjoying this easy pita bread immediately, while it’s still warm from the oven, offers the best experience. However, unless you’re serving a large gathering, you’re likely to have delicious leftovers. Fortunately, homemade pita stores exceptionally well, allowing you to savor its goodness for days or even months. Follow these simple tips to keep your pita perfectly fresh and ready to enjoy whenever a craving strikes:
- To Store at Room Temperature: Once your freshly baked pita bread has cooled completely to room temperature, transfer it to an airtight container or a large, sealable plastic bag. Make sure to press out any excess air from the bag before sealing. Stored in a cool, dry place away from direct sunlight, homemade pita will remain soft and delicious for up to three days.
- To Freeze for Long-Term Freshness: For a convenient, longer-lasting storage solution, freezing your pita is an excellent option. Once the pita is fully cooled, stack the individual pieces with a sheet of wax paper or parchment paper between each one to prevent them from sticking together. Place the stack into a heavy-duty, freezer-safe sealable bag. Again, squeeze out as much air as possible before sealing to prevent freezer burn. You can keep your pita frozen for up to three months without compromising its quality or texture. When you’re ready to use it, simply thaw at room temperature.
- To Reheat Pita Bread: Reviving frozen or thawed pita to its warm, soft state is incredibly easy. You can reheat pita bread in a variety of ways:
- Oven: Preheat your oven to 350°F (175°C). Place pita directly on the oven rack or on a baking sheet and warm for 2-3 minutes, or until soft and pliable.
- Toaster/Toaster Oven: A quick and easy method for individual pieces. Toast lightly until warm but not crispy, to maintain softness.
- Air Fryer: Place pita in a preheated air fryer at 350°F (175°C) for 1-2 minutes. This method gives a slight crispness while keeping the inside soft.
Ensure pita is heated through but not dried out.
Delightful Serving Suggestions for Your Homemade Pita
The versatility of homemade pita bread means the ways to enjoy it are truly endless! We personally adore snacking on it all on its own, especially when it’s still warm and fragrant from the oven. However, its neutral yet appealing flavor and perfect texture make it a fantastic companion to a wide array of dishes. Here are just a few of our favorite ways to incorporate this delicious bread into your meals:
- The Ultimate Sandwich Base: Transform your pita into the perfect wrap or sandwich pocket. It’s ideal for crafting authentic gyros or creating your own stuffed pita sandwiches. Fill it with savory Kofta, creamy feta cheese, crisp vegetables, and a dollop of fresh Tzatziki sauce for a Mediterranean feast.
- Homemade Pita Chips: For a delightful crunch, brush pita rounds with olive oil, sprinkle with your favorite seasonings (think za’atar, garlic powder, paprika, or just salt and pepper), cut them into triangles, and bake until golden and crisp. These make fantastic dippers for all sorts of spreads!
- A Companion to Comforting Soups: Pita bread is superb for dunking into hearty and flavorful soups, soaking up every last drop of goodness. Try it with a rich and aromatic Egyptian Lentil Soup or a soul-warming Slow Cooker Moroccan Harira Soup for an extra satisfying meal.
- The Perfect Dipper for Appetizers: Elevate your appetizer spread by serving warm pita alongside your favorite dips. It pairs beautifully with vibrant spreads like Spinach Olive Dip, smoky Baba Ganoush, or a zesty Roasted Red Pepper Feta Dip. The soft, absorbent texture of pita is ideal for scooping up every delicious spoonful.
Common Questions About Making Easy Pita Bread
Yes, traditional pita bread recipes are generally vegan. They are made from simple plant-based ingredients: flour, water, yeast, salt, and sometimes sugar and olive oil. However, when purchasing store-bought versions, it’s always a good practice to check the ingredient list carefully to ensure no animal-derived additives, like dairy or honey, have been included.
To maintain the irresistible softness of your homemade pita bread, proper storage is crucial. Once the pita has cooled completely after baking, place it in airtight zip-top bags. Make sure to press out as much air as possible before sealing the bag. For added convenience and to prevent sticking, you can layer sheets of wax paper or parchment paper between each pita. This method helps lock in moisture, preventing the pita from drying out and ensuring it remains wonderfully soft for several days at room temperature.
Absolutely! You can certainly use whole wheat flour to make pita bread, and it’s a great way to add more fiber and nutrients. Using 100% whole wheat flour will result in a pita with a noticeably nuttier flavor and a denser, heartier texture compared to all-purpose flour. If you prefer a lighter pita but still want the benefits of whole wheat, a good compromise is to use a mix of whole wheat and all-purpose flour (e.g., 50/50 ratio). Keep in mind that whole wheat flour tends to absorb more liquid, so you might need to adjust the water content slightly to achieve the desired dough consistency.
Yes, and this is one of the most exciting and characteristic aspects of baking pita bread! When baked at a very high temperature (like 500°F), the intense heat causes the moisture within the dough to rapidly turn into steam. This steam becomes trapped between the layers of dough, forcing them to separate and creating that iconic, airy pocket. This magical puffing action is precisely what makes pita bread so perfect for stuffing with a wide variety of delicious fillings.
Explore More Delicious Homemade Bread Recipes
If you’ve enjoyed the process of baking your own pita bread and are eager to expand your bread-making skills, we have plenty more super easy and incredibly tasty bread recipes for you to try. From rustic focaccia to cheesy garlic delights, these recipes are perfect for any home baker:
- No Knead Focaccia: Discover the simplicity of making this Italian classic with minimal effort, resulting in a perfectly airy and flavorful loaf.
- Cheesy Garlic Bread: Indulge in the ultimate comfort food with this irresistible recipe, featuring gooey melted cheese and aromatic garlic on crusty bread.
- Olive Cheese Bread: A savory delight packed with briny olives and savory cheese, perfect as an appetizer or a side dish.
- Garlic Caprese Bread: Enjoy the fresh flavors of Italy with this bread topped with juicy tomatoes, fresh mozzarella, and fragrant basil.
- Air Fryer Pita Bread: For an even quicker pita fix, learn how to make fluffy pita bread using your air fryer – fast and convenient!
Easy Homemade Pita Bread
Food Dolls
10-12 servings
1 hr 50 mins
3 mins
1 hr 53 mins
Print Recipe
Email Recipe
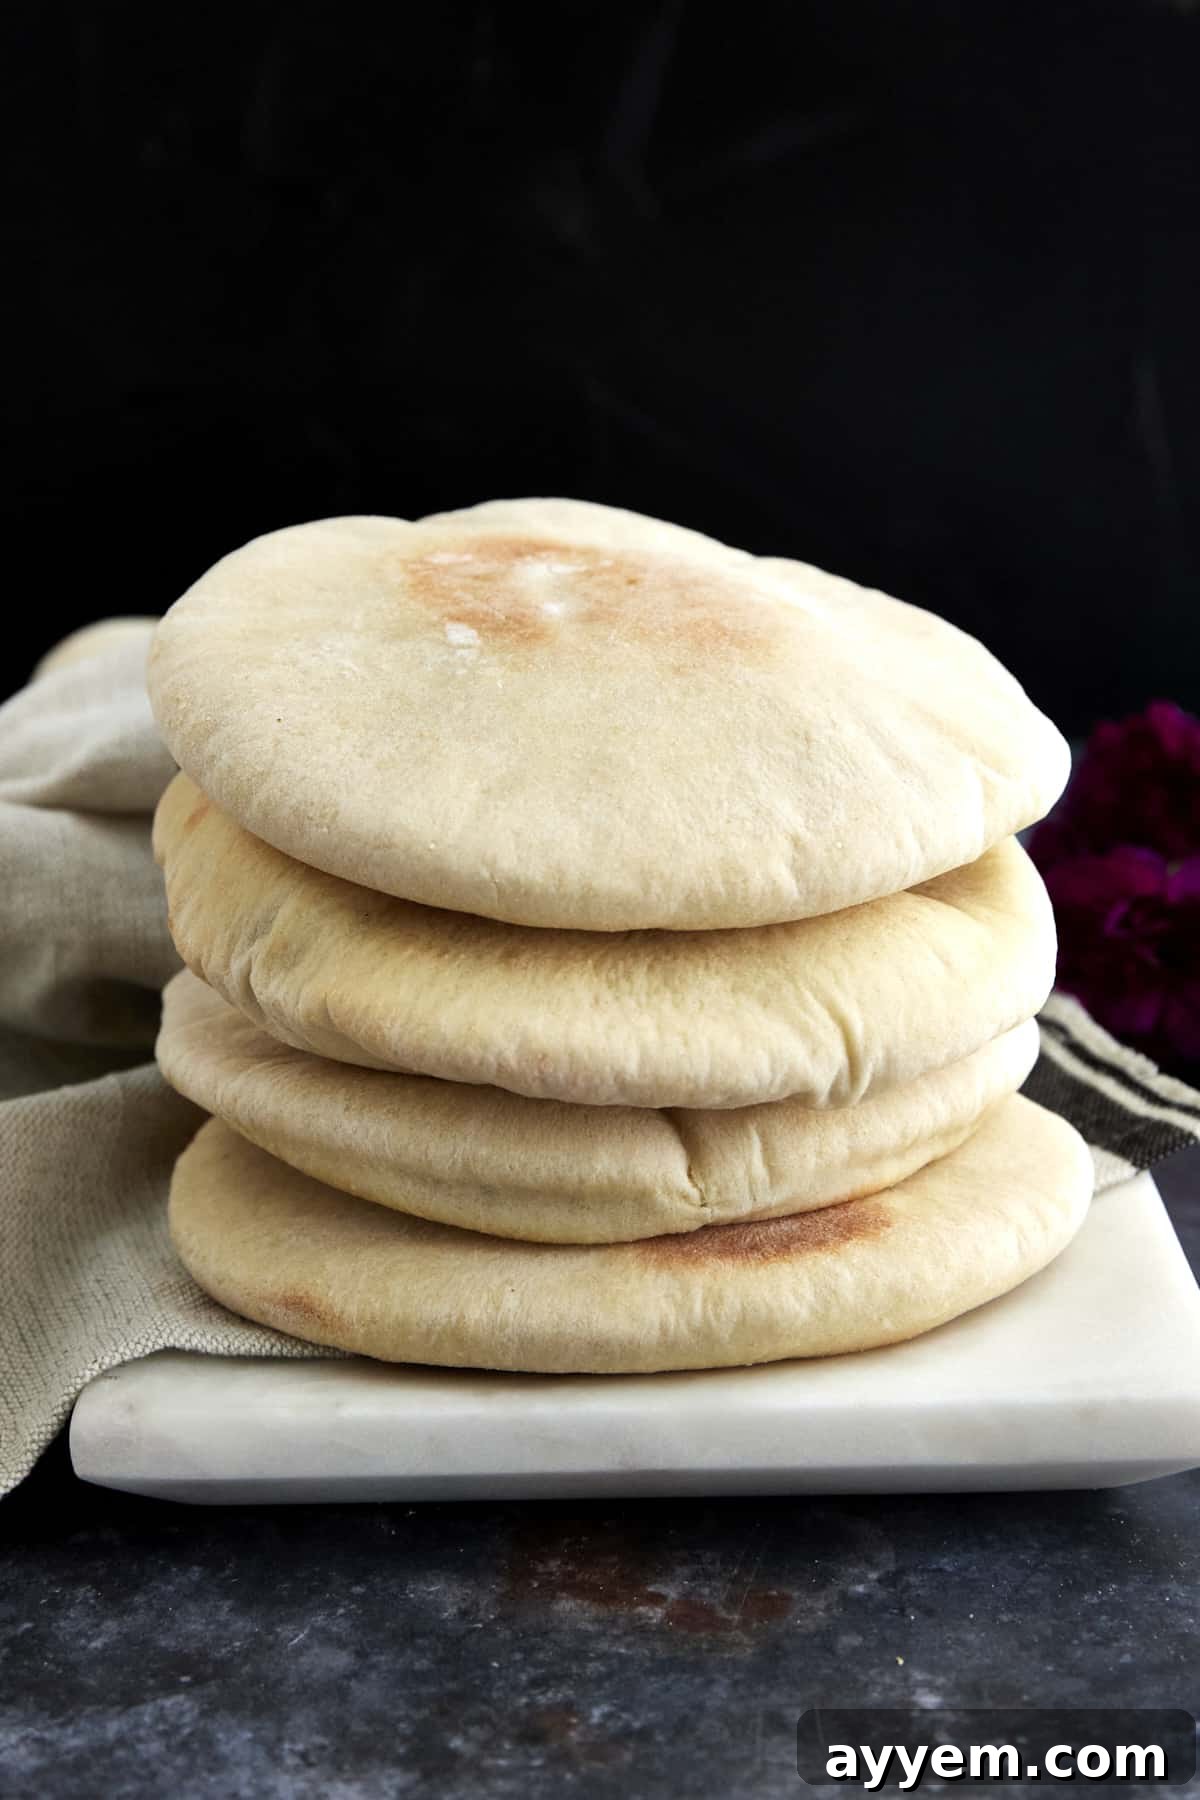
This Easy Pita Bread Recipe uses simple ingredients to create fresh, homemade pita bread that’s mildly sweet and perfectly fluffy!
Ingredients
- 1 cup lukewarm water +⅓ cup additional if needed
- 1 heaping Tablespoon yeast
- 2 Tablespoons granulated sugar, divided
- 4 cups all-purpose flour plus more for dusting
- 1/2 teaspoon baking powder
- 1 teaspoon sea salt
- 2 teaspoons olive oil
Instructions
-
In the bowl of a stand mixer, add 1 cup lukewarm water. Add the yeast and 1 tablespoon sugar, stirring until they are dissolved. Cover, and set aside for 15 minutes or until bubbles begin to form.1 cup lukewarm water +⅓ cup additional,
1 heaping Tablespoon yeast,
2 Tablespoons granulated sugar, divided -
Sift in the flour, baking powder, salt, and the remaining sugar. Then, using a dough hook attachment, knead the dough on a low speed. If needed, add more water 1 tablespoon at a time until the dough is well combined and soft. Note: If the dough becomes too runny, simply add 1 tablespoon flour at a time until the desired consistency is reached.4 cups all-purpose flour,
1/2 teaspoon baking powder,
1 teaspoon sea salt -
Lightly brush a mixing bowl with olive oil, and add the dough. Cover the bowl tightly with plastic wrap followed by a towel. Set it aside in a dry, warm place for at least an hour or until the dough has doubled in size.2 teaspoons olive oil
-
Punch the dough down, deflating it with fists. Then, transfer it to a floured work surface. Using two hands, divide the dough into 10-12 equal mounds. Roll them between two palms until they resemble round balls. Cover the dough with a towel, and let it rest for 20 minutes.
-
Using a floured rolling pin, roll each dough ball into a circle roughly 8 inches round and a quarter-inch thick. Dust the dough with more flour as needed to prevent it from sticking.
-
Preheat the oven to 500 degrees Fahrenheit, and place a baking sheet in the oven to heat up. Carefully place the rolled dough on the hot sheet pan. Bake for 2 minutes. Then, using tongs, carefully turn each pita over, and place the pan back in the oven for 1 minute or until the pita is puffy.
-
Remove the pan from the oven, cover the baked pita bread with a clean towel, and repeat the process until all of the dough has been used.
-
Store in an airtight container at room temperature for up to 3 days.
Notes
To freeze baked pita, place it in a sealable bag with wax paper between each piece, and squeeze out all excess air. Store in the freezer for up to 3 months.
Nutrition Information
Nutrition information is automatically calculated, so should only be used as an approximation.
Like this recipe?
Please leave a comment and rating!