
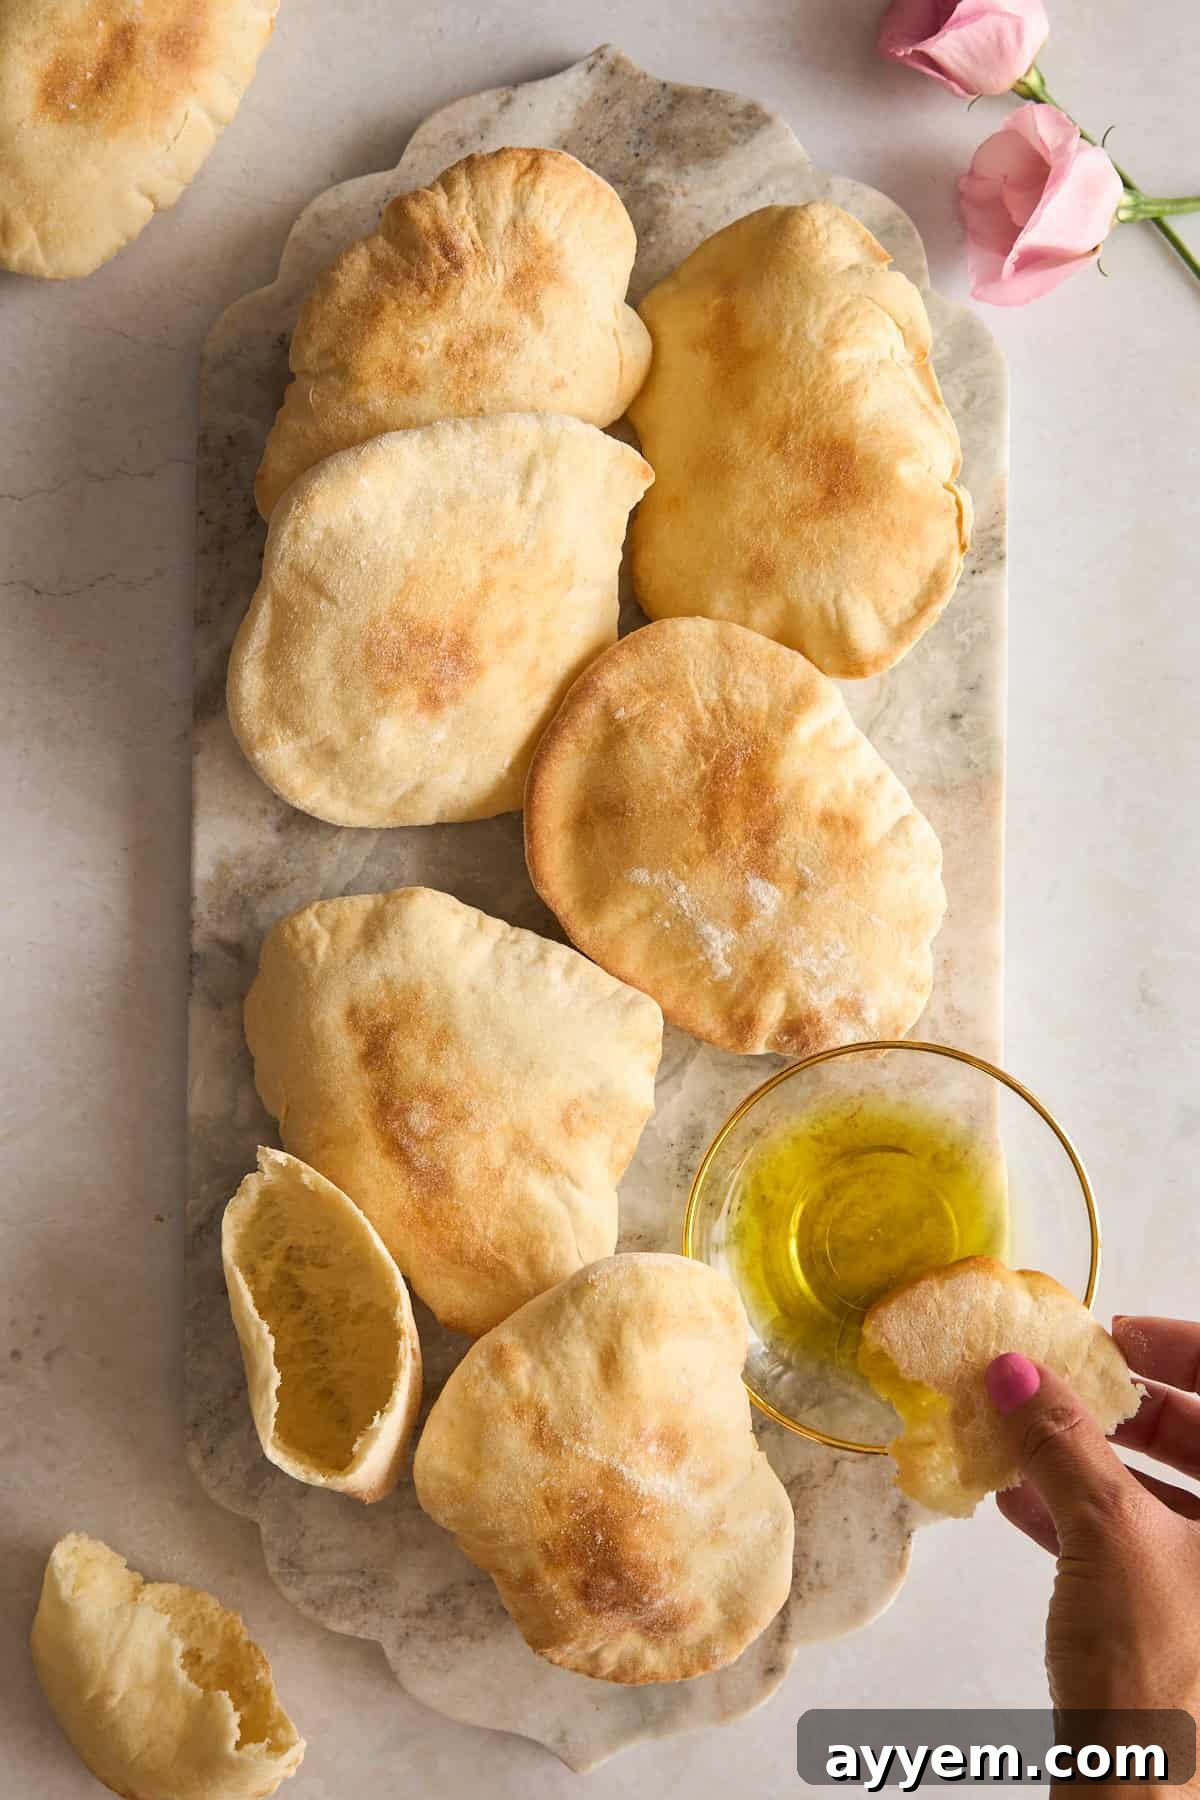
Soft, warm, and perfectly puffed—this Air Fryer Pita Bread is as easy as it is satisfying. With just a few ingredients and minimal prep, you can have fresh pita ready for stuffing, dipping, or snacking in no time. Forget the store-bought versions; creating your own fluffy, delicious pita pockets right in your kitchen has never been simpler, especially when using this ingenious air fryer method. This recipe offers a fantastic shortcut to enjoying homemade pita bread without the extensive effort usually involved in traditional baking.
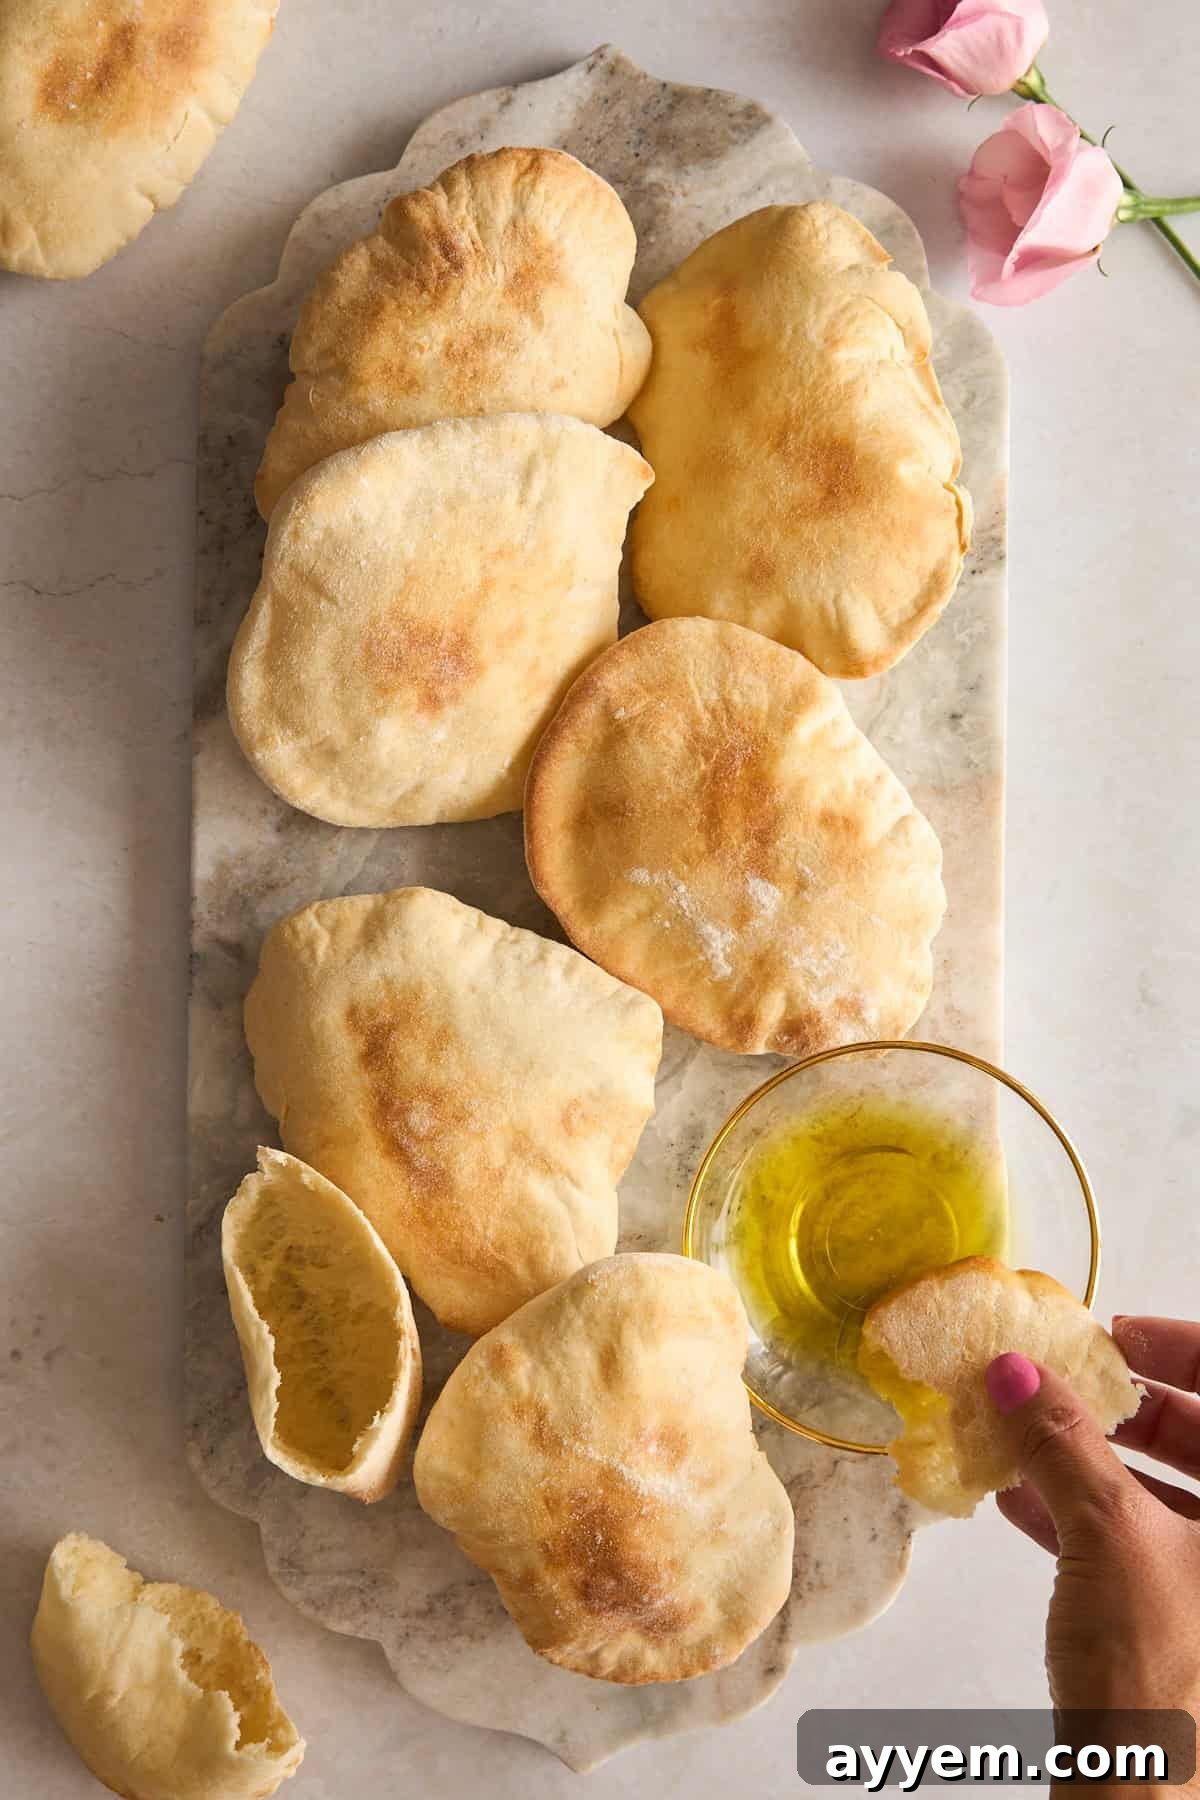
Why You’ll Love This Air Fryer Pita Bread
There are countless reasons to fall in love with this air fryer pita bread recipe. First and foremost, its unparalleled ease makes it a game-changer for anyone craving fresh bread but lacking the time for traditional yeast dough. By leveraging the convenience of frozen dinner rolls, you bypass the labor-intensive steps of mixing, kneading, and lengthy proofing, transforming what’s typically an hours-long process into a quick and simple one. This recipe is perfect for busy weeknights, last-minute gatherings, or whenever you desire warm, homemade bread without the fuss.
Beyond its simplicity, the results are truly remarkable. Each pita emerges from the air fryer perfectly puffed, creating that signature pocket ideal for stuffing with your favorite fillings. The texture is wonderfully soft and fluffy with a gentle chew, mirroring the quality of freshly baked pita from an authentic bakery. It’s also incredibly versatile – whether you’re using it for savory dips like hummus and tzatziki, creating delicious sandwiches, or even transforming it into a sweet treat, this pita bread is guaranteed to be a hit. Plus, using an air fryer means less energy consumption compared to heating a large oven, making it an efficient choice for preparing smaller batches or a full spread.
What is Air Fryer Pita Bread?
Air fryer pita bread represents a smart, quick, and modern approach to preparing the beloved Middle Eastern flatbread. Traditionally, authentic pita bread is crafted from a simple yeast-based dough, carefully rolled thin, and then baked at extremely high temperatures in a conventional oven or tandoor. This intense heat causes the moisture in the dough to rapidly turn into steam, creating that iconic internal pocket that makes pita so unique and perfect for stuffing.
Our innovative air fryer method simplifies this age-old process dramatically. Instead of starting from scratch with flour, water, yeast, and salt, we utilize frozen dinner rolls as a convenient base. This ingenious shortcut allows you to completely bypass the laborious mixing, extensive kneading, and often unpredictable long proofing times associated with traditional bread making. Despite this simplified approach, the outcome is remarkably similar: you still achieve that desirable soft, fluffy texture with a satisfying chew, and most importantly, those beautiful, airy pockets.
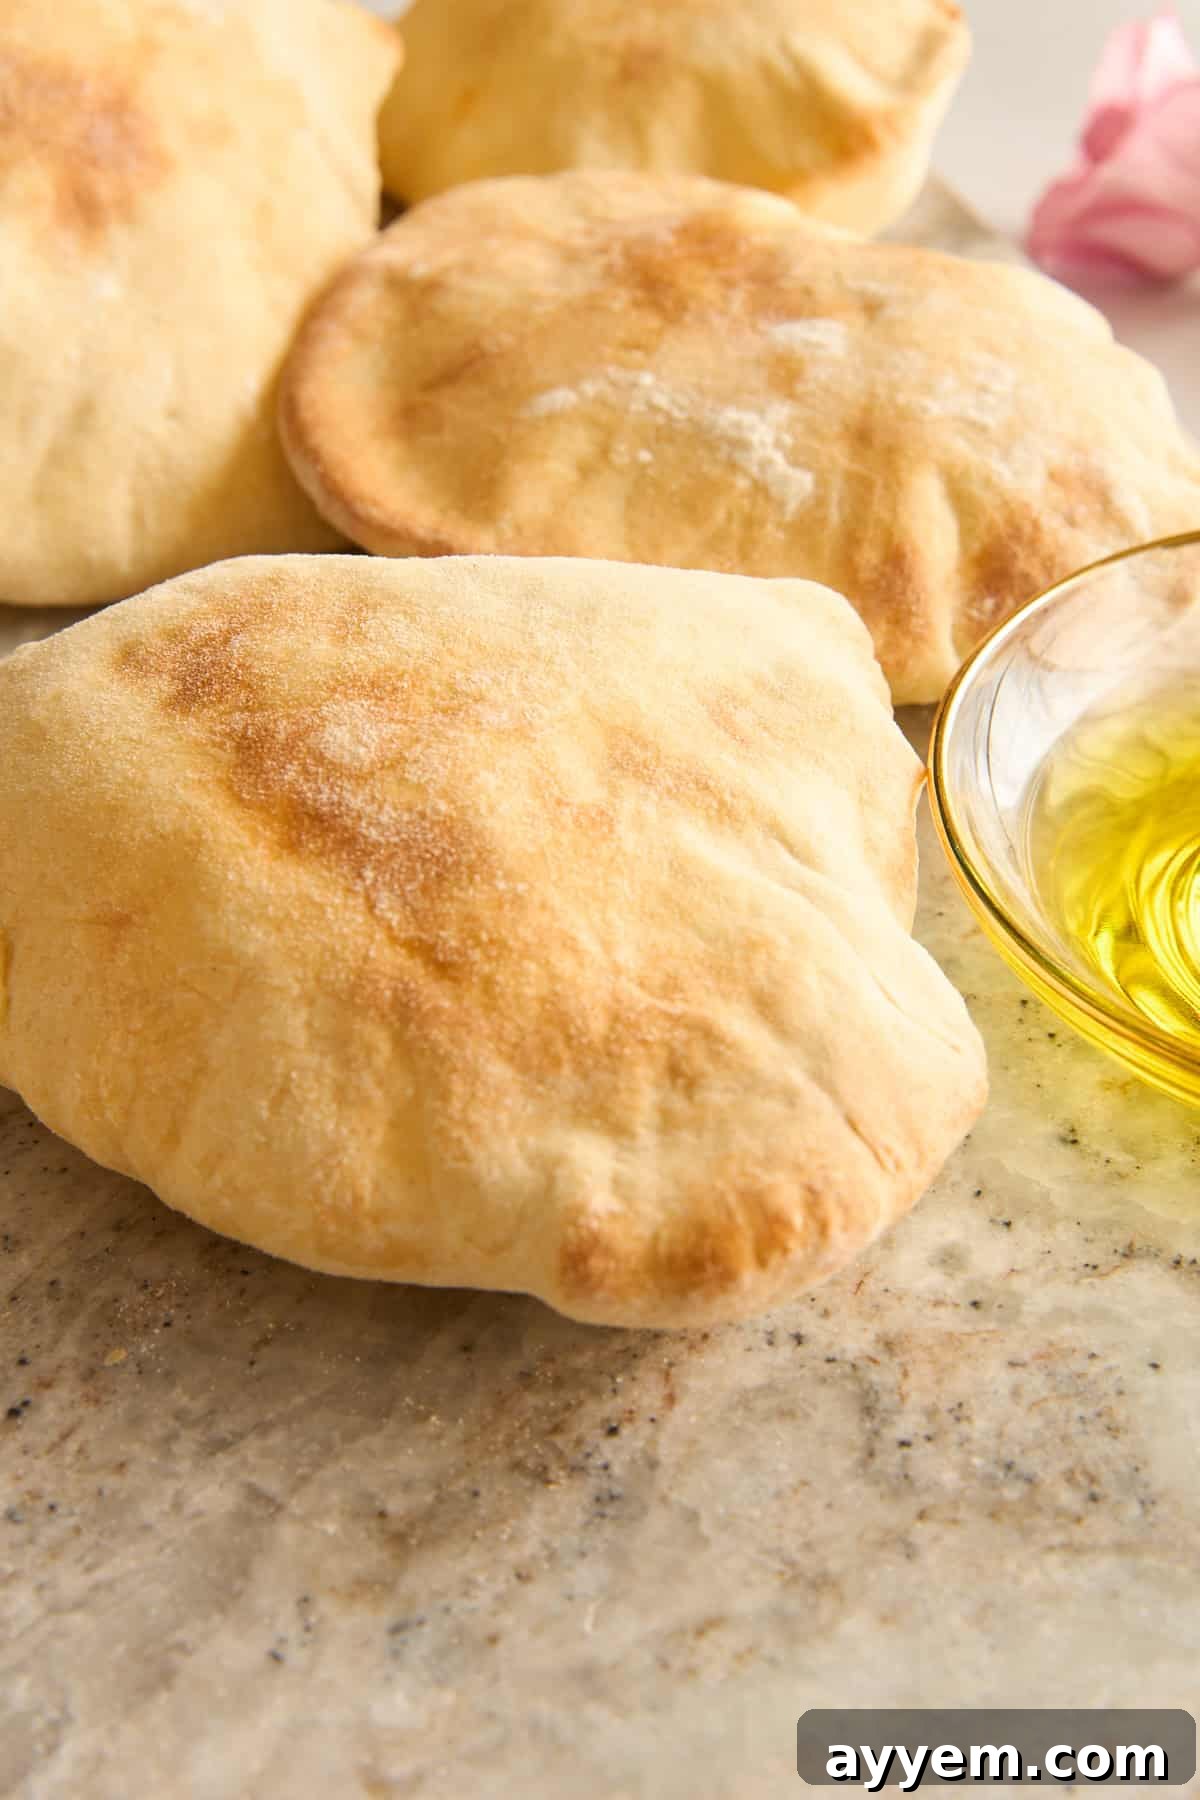
When these small, prepared dough rounds are cooked in the air fryer, the intense, circulating heat works its magic, causing them to puff up beautifully and rapidly. The result is a light, airy center that readily forms a perfect pocket, ideal for filling with an array of delicious ingredients. This method makes fresh pita bread accessible to home cooks of all skill levels, allowing you to enjoy this versatile bread as a side for soups and salads, a delicious scoop for creamy hummus, a refreshing partner for tangy tzatziki, or a hearty accompaniment to smoky baba ganoush. The convenience of using an air fryer means you can effortlessly whip up just a few pieces for a personal snack or a larger batch for entertaining, all without the need to heat your entire kitchen with a conventional oven.
Essential Ingredients for Air Fryer Pita Bread
Creating these delightful air fryer pita breads requires just a handful of simple ingredients, making it an incredibly accessible recipe for any home cook. The magic truly lies in the choice of our base ingredient, which streamlines the entire process.
- Rhodes Frozen Dinner Rolls: These are the star of our recipe and the ultimate shortcut to homemade pita bread. We specifically recommend Rhodes Frozen Dinner Rolls because they are designed to thaw and rise beautifully, yielding a tender, airy crumb that perfectly mimics a traditional yeast-based dough. Using frozen rolls eliminates the need for measuring yeast, kneading dough, or waiting for multiple proofing cycles, saving you significant time and effort while still delivering that authentic soft and fluffy texture. You can use as many as you want to make, ensuring fresh pita whenever a craving strikes.
- Olive Oil: A light brushing of good quality olive oil serves multiple purposes in this recipe. Firstly, it imparts a delicate, rich flavor that complements the mild taste of the pita. Secondly, and perhaps more importantly, it aids in achieving that gorgeous golden-brown color and slightly crispy exterior as the pita cooks in the air fryer. This creates a more appetizing appearance and a pleasant textural contrast to the soft interior. You can also infuse the olive oil with garlic or herbs for an extra layer of flavor.
- Flour: A small amount of all-purpose flour is essential for dusting your work surface and rolling pin. This simple step prevents the thawed, sticky dough from adhering to your surfaces, allowing you to easily roll out each dinner roll into a smooth, even circular shape. Achieving uniform rounds is key for even cooking and consistent puffing in the air fryer, ensuring every piece of pita bread is perfect.
Step-by-Step Guide: How to Make Air Fryer Pita Bread Using Rhodes Dinner Rolls
Making air fryer pita bread is incredibly straightforward, even for novice bakers. Follow these detailed steps to achieve perfectly puffed, soft, and delicious pita every time.
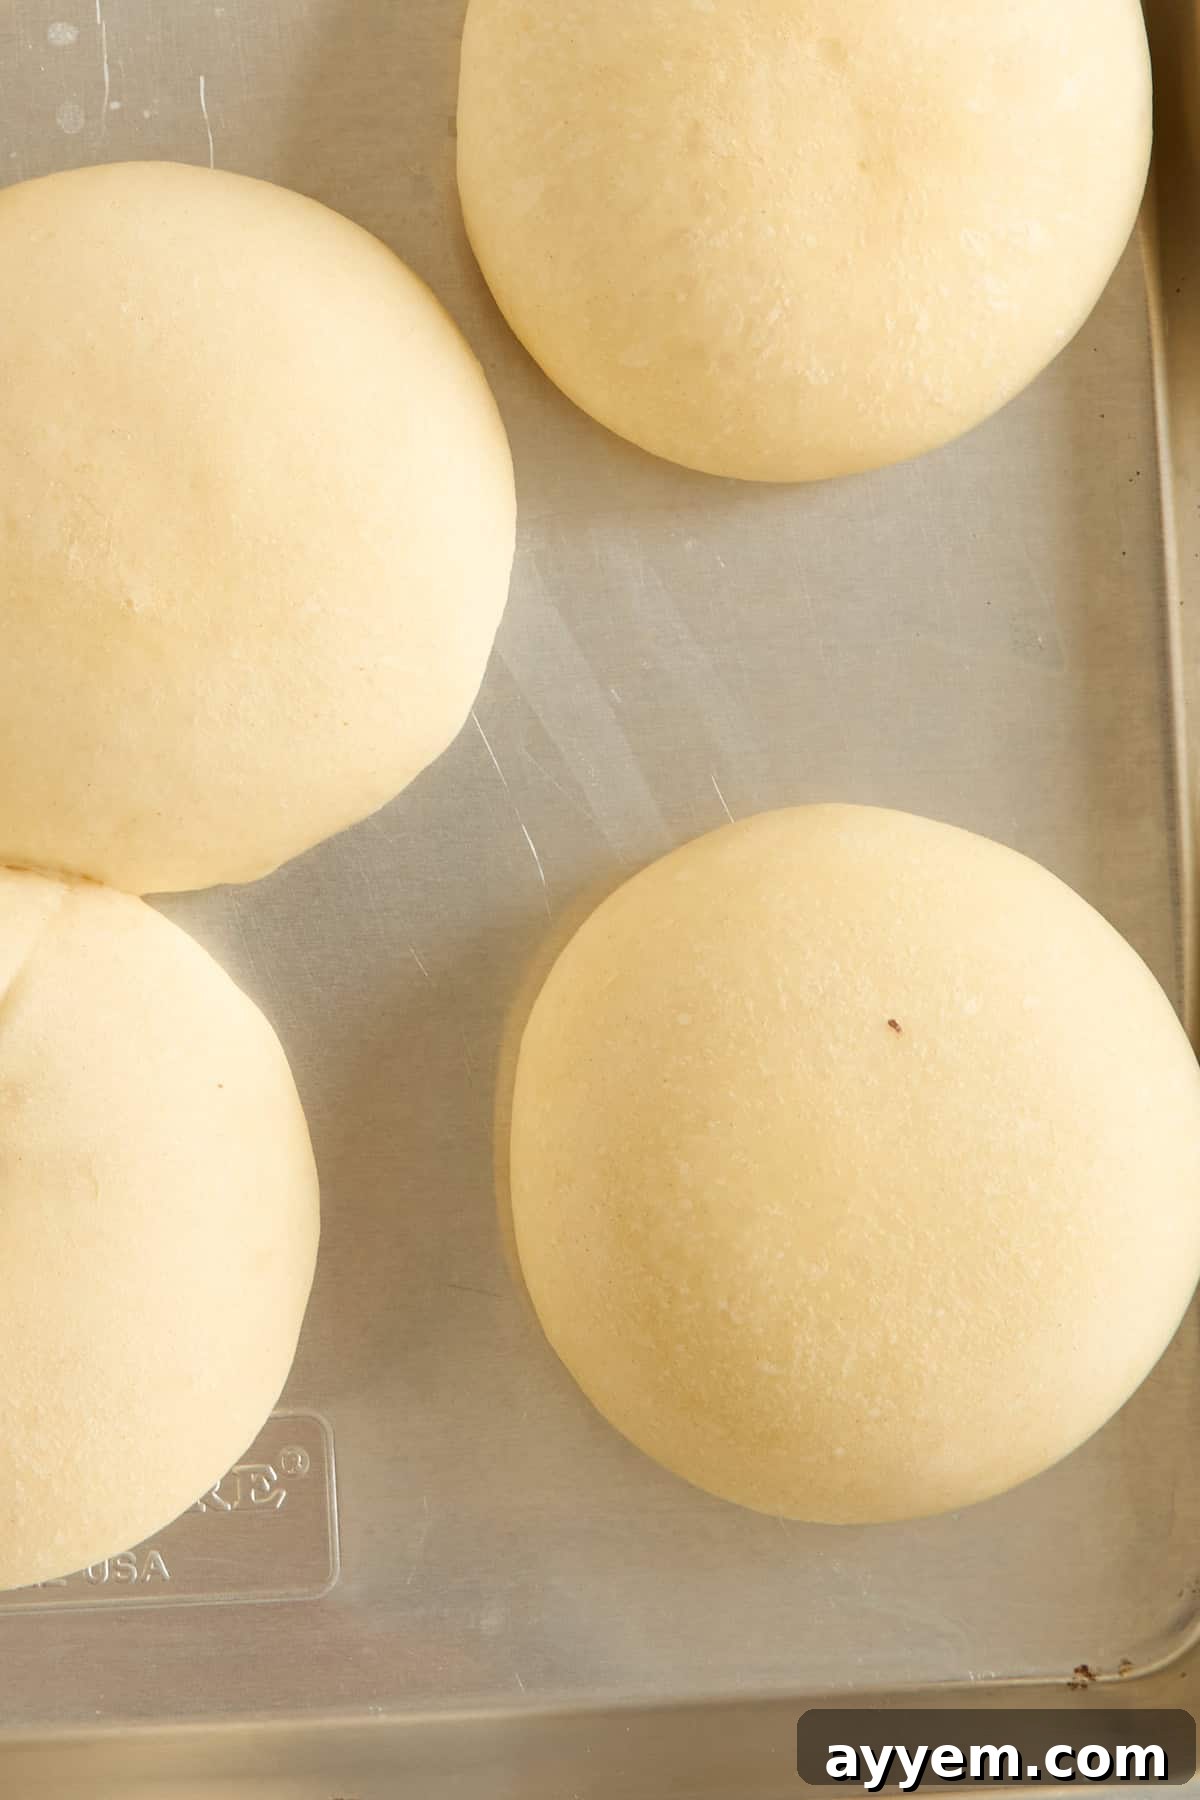
- Prep the Dough for Thawing: Begin by retrieving your Rhodes frozen dinner rolls from the freezer. Arrange them on a baking sheet lined with parchment paper or lightly greased to prevent sticking. Ensure there is ample space between each roll, as they will expand significantly during the thawing and rising process. This space prevents them from sticking together and allows for optimal air circulation.
- Allow Them to Thaw and Rise: Loosely cover the baking sheet with plastic wrap. For best results, lightly spray the underside of the plastic wrap with nonstick cooking spray; this ensures the rising dough doesn’t stick to the wrap. Place the covered rolls in a warm spot at room temperature and allow them to thaw completely and rise until they have doubled in size. This process typically takes about 3 to 5 hours, depending on the warmth of your kitchen. Patience here is key, as properly risen dough is crucial for the pita to puff.
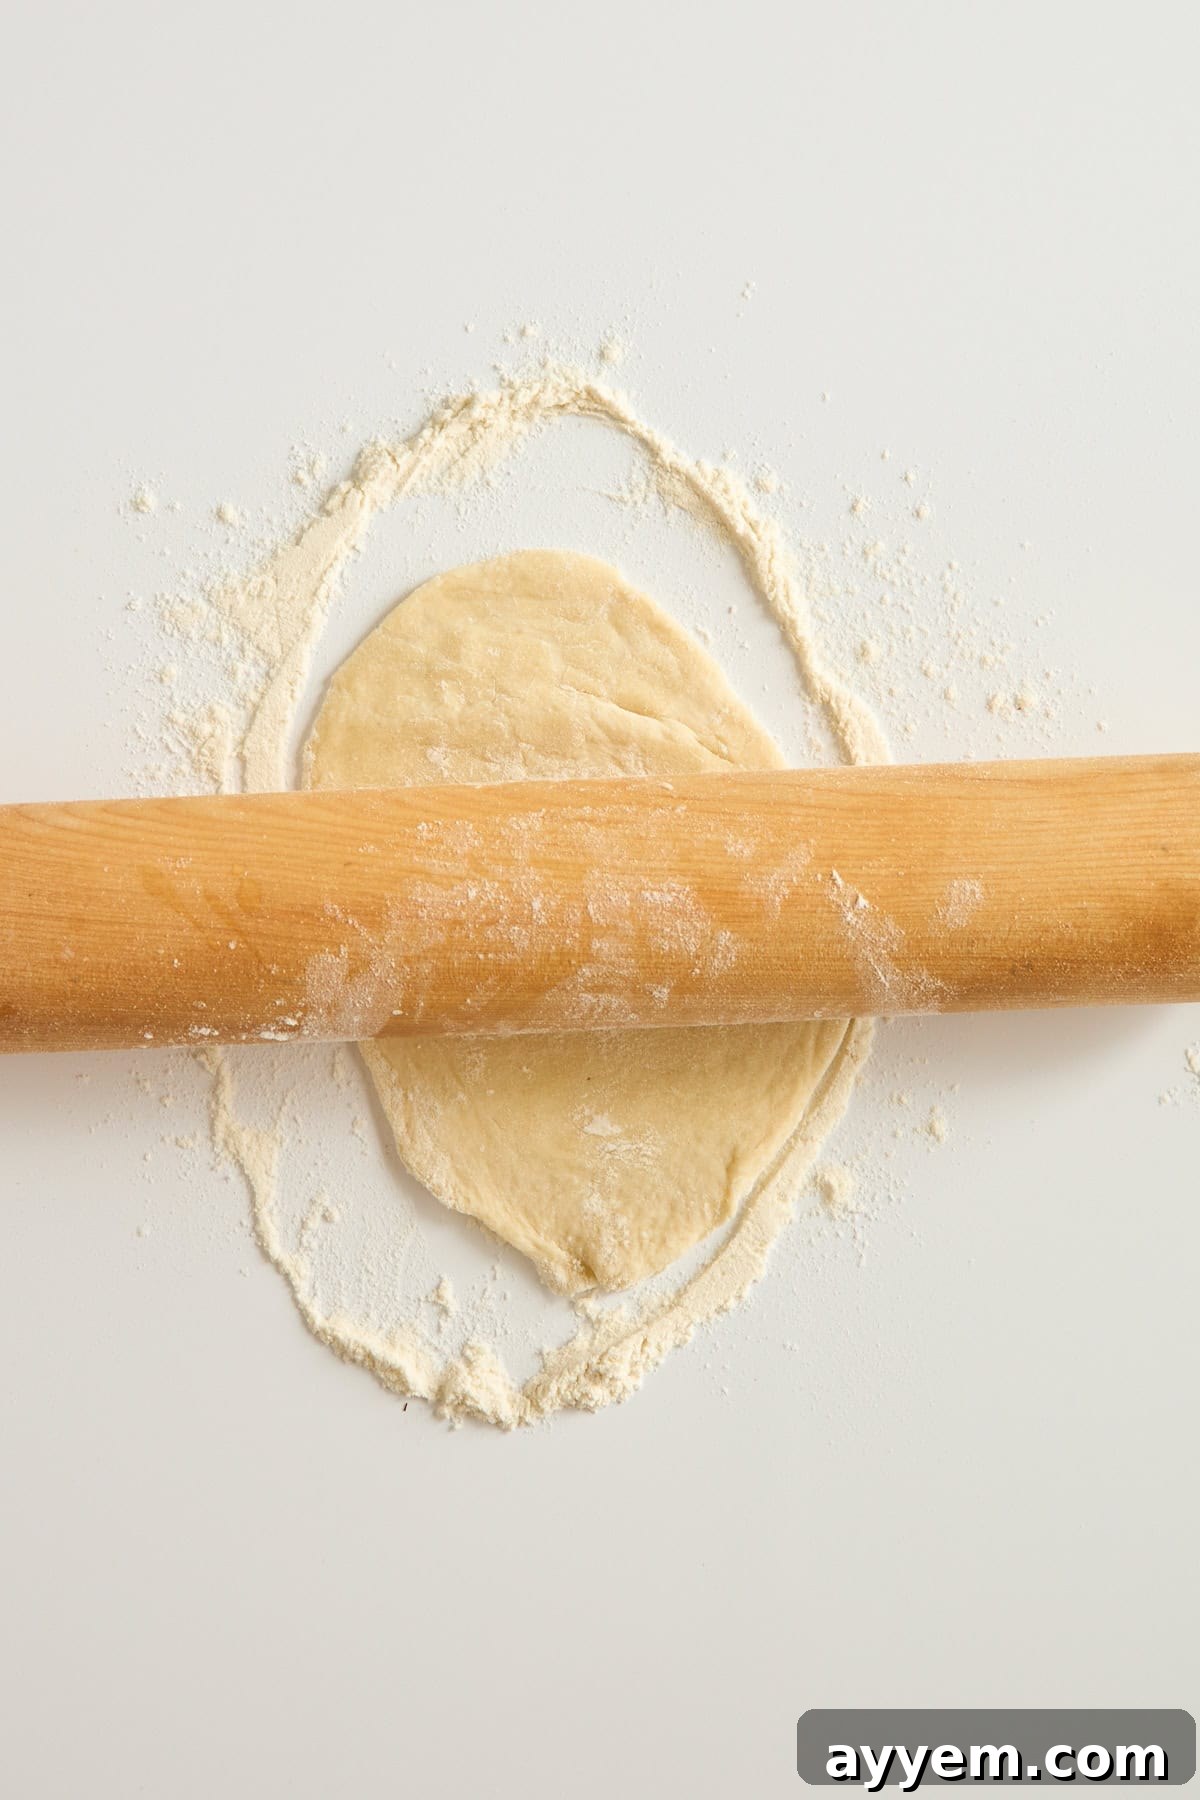
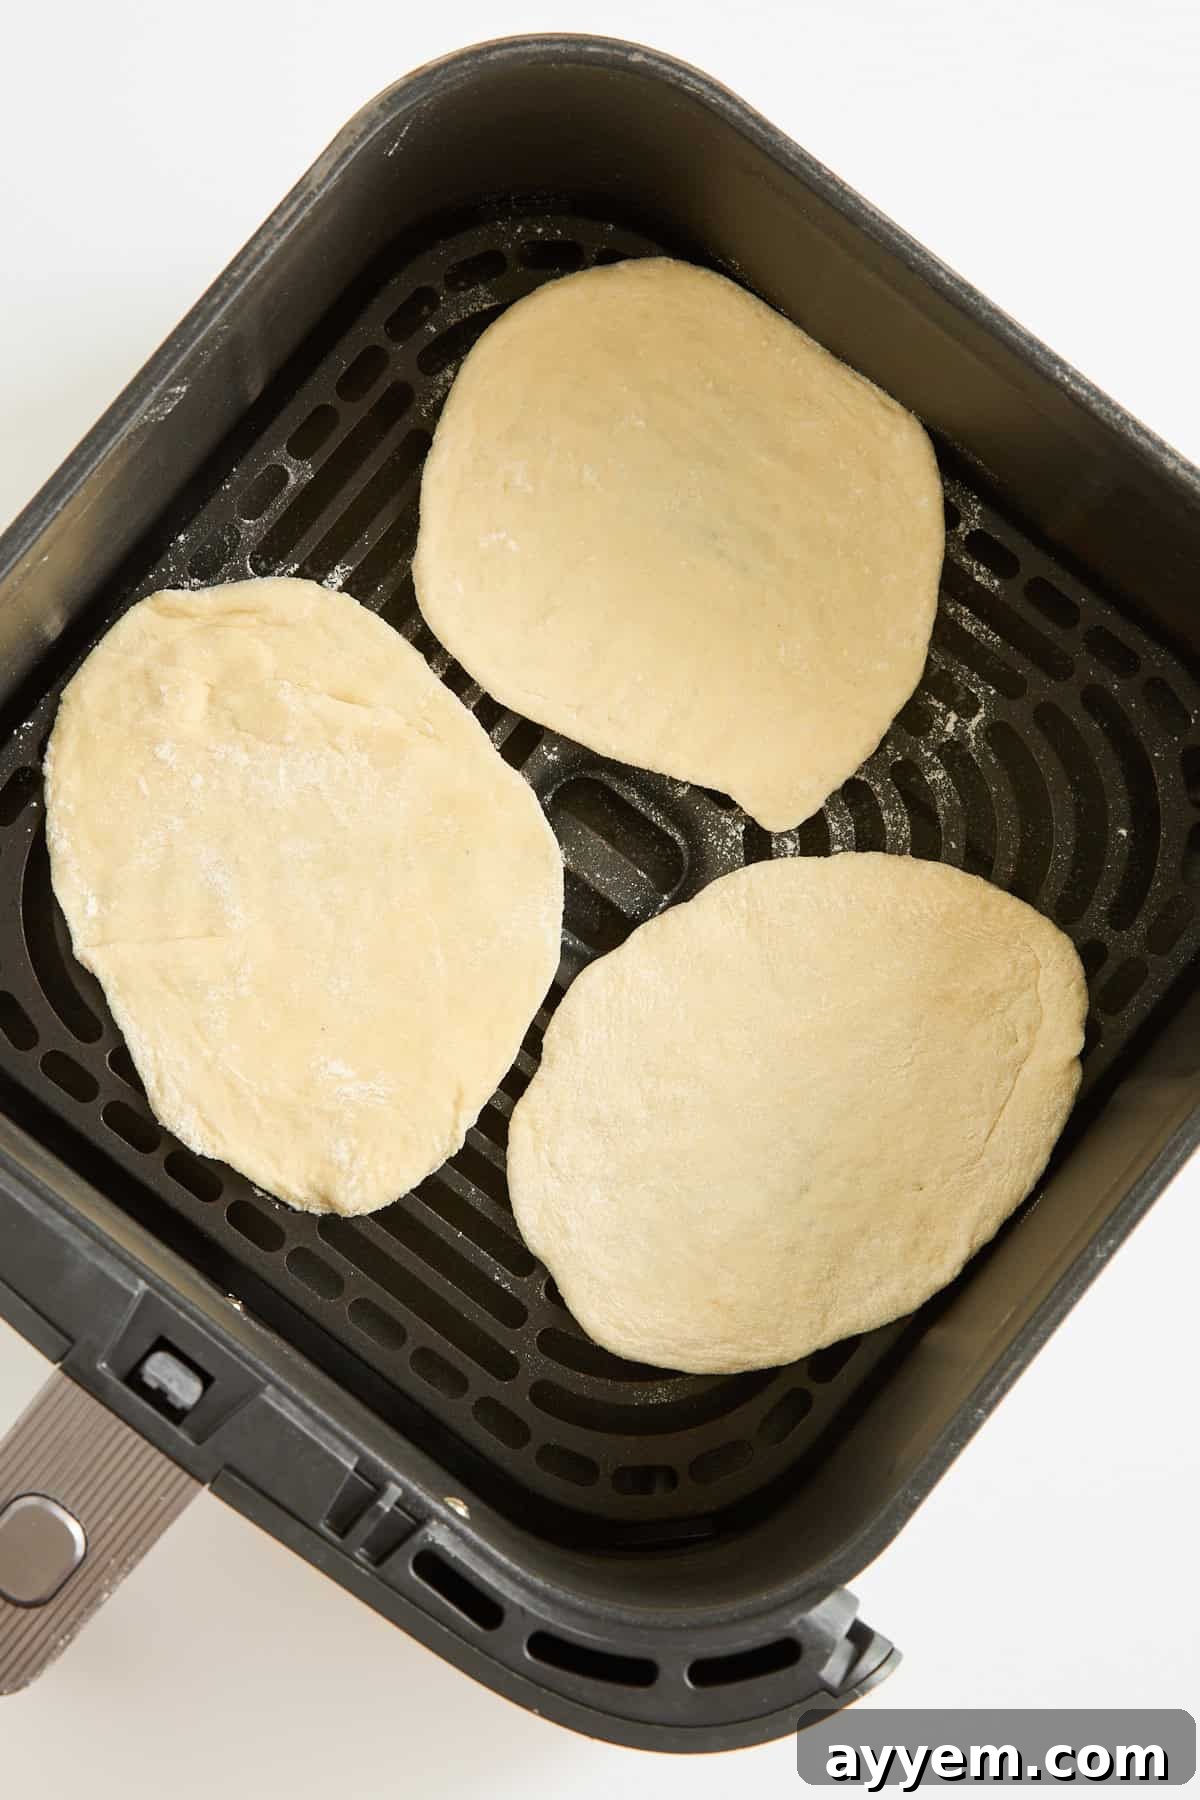
- Shape the Pita Rounds: Once the rolls are fully thawed and beautifully risen, it’s time to shape them into pita bread. Lightly sprinkle your clean work surface (such as a countertop or a large cutting board) with flour. Also, dust your rolling pin with flour if you plan to use one. Alternatively, you can use your hands, which often gives a more rustic feel. Gently press and stretch each risen roll into a circle, aiming for a diameter of about 4 to 5 inches and a thickness of roughly ¼ inch. Avoid pressing too hard or rolling them too thin, as maintaining a bit of thickness is essential for the pita to puff up and create that characteristic pocket when cooked.
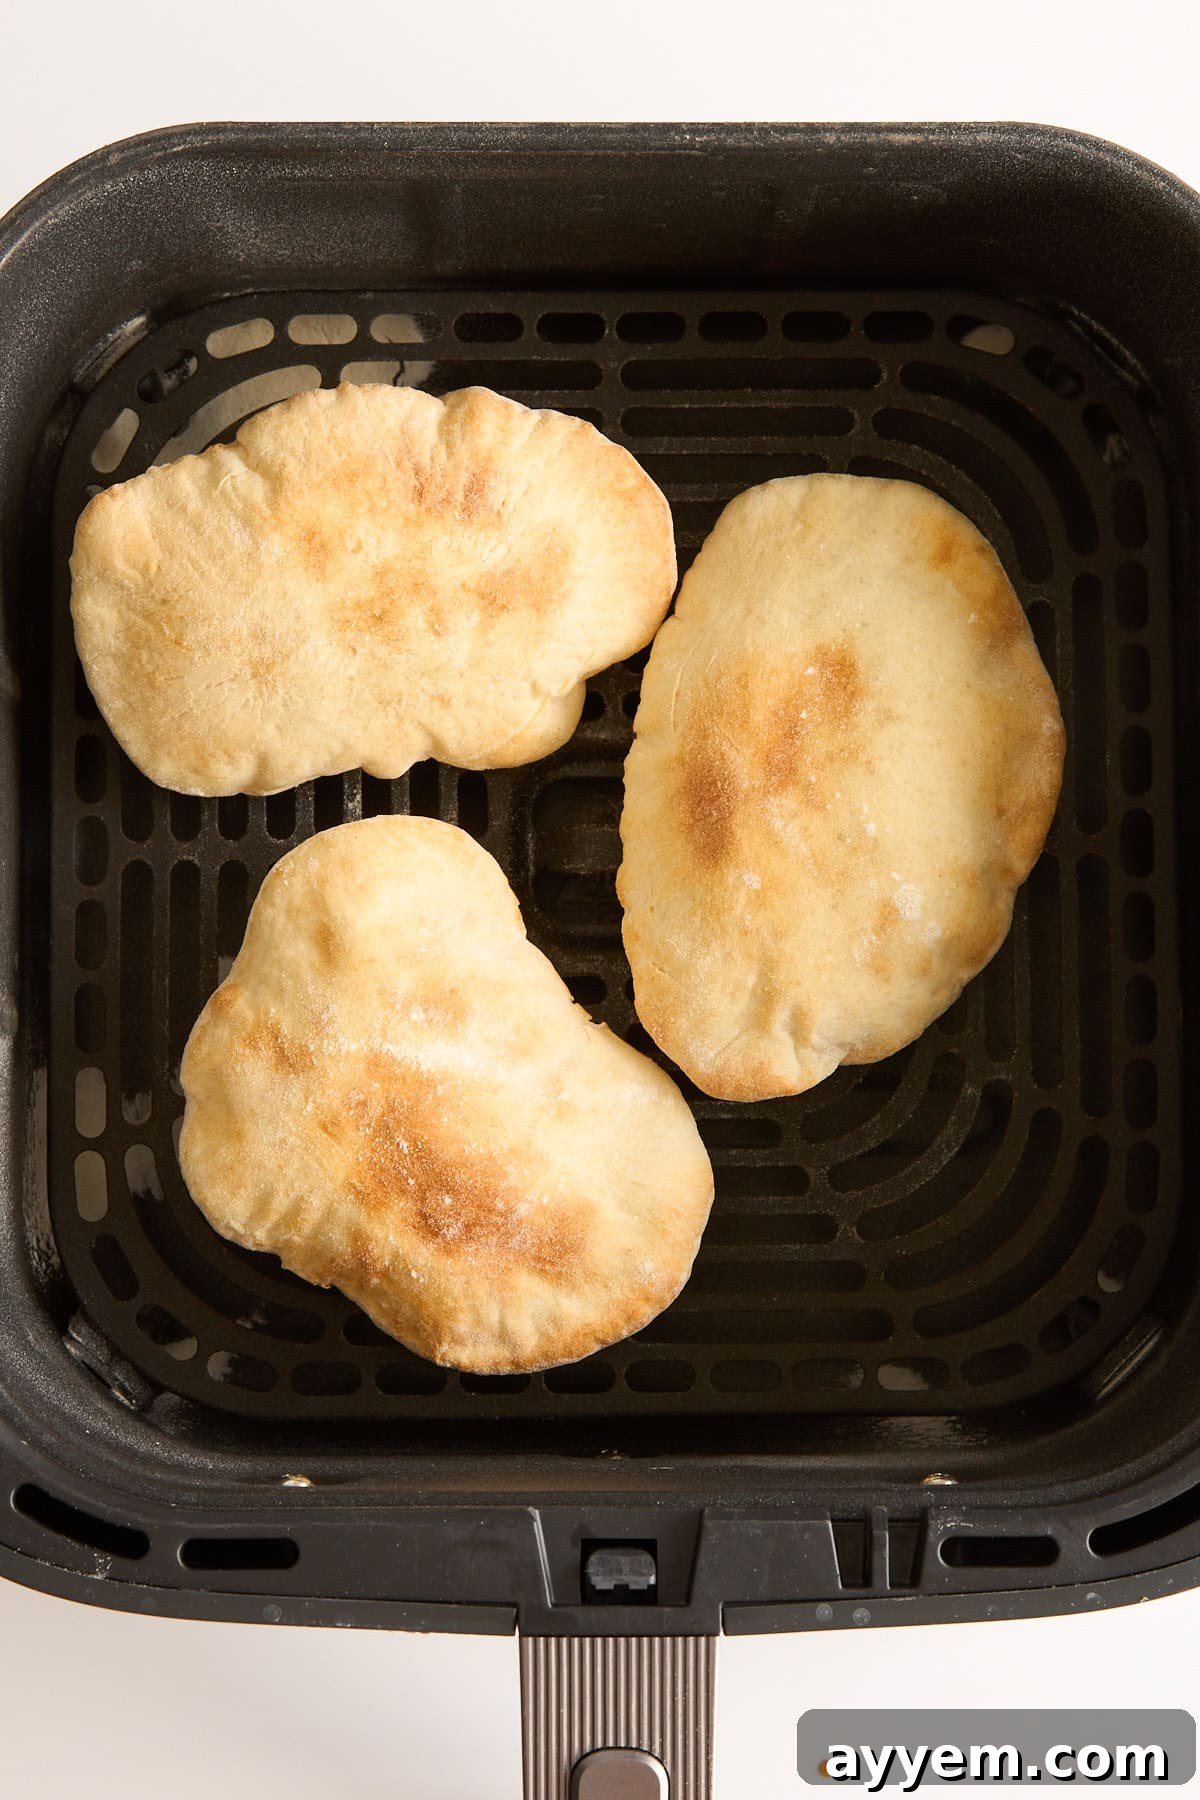
- Air Fry to Golden Perfection: Preheat your air fryer to 350°F (175°C) for about 3 minutes to ensure it’s hot enough for immediate puffing. Carefully place one or two shaped pita rounds into the air fryer basket, depending on the size of your air fryer. It’s crucial not to overcrowd the basket; leave plenty of space around each pita for hot air to circulate freely. Cook for 3 to 4 minutes on the first side, then flip them gently and continue cooking for another 2 to 3 minutes, or until they are beautifully puffed and just turning golden brown. Keep a close eye on them, as air fryer temperatures can vary.
- Add Finishing Touches for Softness and Flavor: As soon as you remove the freshly air-fried pita from the basket, you have a couple of options. For exceptionally soft pita, transfer them to a plate and immediately cover them with a clean kitchen towel. This traps the steam, keeping them tender and pliable. If desired, you can also use a pastry brush to apply a light coating of olive oil, melted butter, or even garlic butter over the warm pita. This enhances the flavor and adds a lovely sheen, making them even more irresistible. Serve immediately and enjoy your homemade air fryer pita bread!
Tips for Achieving Perfectly Puffed Pita
While this recipe is designed to be foolproof, a few expert tips can ensure your air fryer pita bread puffs up beautifully every single time, giving you that authentic pocket perfect for stuffing:
- Proper Thawing and Rising: This is arguably the most crucial step. Do not rush the thawing and rising process. The yeast in the dinner rolls needs sufficient time to activate and produce gas, which creates the airy texture and helps the pita puff. If the dough hasn’t doubled in size, give it more time in a warm spot.
- Don’t Roll Too Thin: When shaping the dough, aim for about ¼ inch thickness. If the dough is rolled too thin, there won’t be enough internal structure or moisture to create a robust steam pocket, resulting in flatter pita. Conversely, rolling it too thick might lead to dense pita that doesn’t puff evenly.
- Preheat Your Air Fryer: A hot air fryer is essential. Just like a hot oven is critical for traditional pita, a preheated air fryer provides that initial burst of intense heat needed to flash-cook the surface and trap steam inside, encouraging the dramatic puffing effect. Don’t skip the 3-minute preheat.
- Avoid Overcrowding the Basket: Air fryers rely on circulating hot air to cook food evenly. If the basket is overcrowded, air circulation is hampered, leading to uneven cooking and less puff. Cook one or two pita rounds at a time, depending on your air fryer’s size, ensuring there’s space around each piece.
- Cook Immediately After Shaping: Once you’ve shaped your pita rounds, cook them relatively quickly. Letting them sit for too long after shaping can cause them to lose some of their gas, reducing their puffing potential.
- Flip Halfway: Flipping the pita halfway through the cooking process ensures both sides get direct exposure to the heating element, leading to more even browning and helping to encourage a consistent puff.
- Cover for Softness: If you prefer softer, more pliable pita (perfect for wrapping), cover the cooked pita with a clean kitchen towel immediately after removing it from the air fryer. The trapped steam will keep the bread moist and soft. For a slightly crispier exterior, leave them uncovered.
Delicious Variations & Serving Suggestions
This air fryer pita bread is fantastic on its own, but its mild flavor makes it a perfect canvas for countless variations and serving ideas. Get creative and customize your pita to suit any meal or mood!
- Cheesy Pita: For a gooey, savory delight, sprinkle shredded mozzarella, Parmesan, or a blend of your favorite cheeses over the warm pita as soon as it comes out of the air fryer. The residual heat will melt the cheese beautifully. Alternatively, you can sprinkle cheese on the pita before the last minute of air frying for a crispy, toasted cheese topping. Serve with a marinara dip for an instant pizza bread snack.
- Everything Bagel-Style Pita: Elevate your pita with the popular “everything bagel” flavor. After air frying, brush the warm pita with a little olive oil or melted butter, then generously sprinkle with everything bagel seasoning. This adds a fantastic savory, garlicky, and oniony crunch that pairs wonderfully with cream cheese or avocado spread.
- Za’atar Pita: Embrace authentic Middle Eastern flavors by brushing the pita with olive oil before cooking, then sprinkling a generous amount of za’atar spice blend on top. Za’atar, a blend of thyme, sumac, and sesame seeds, offers an earthy, tangy, and aromatic profile that is incredibly addictive. Air fry as directed, and serve with labneh or feta cheese.
- Sweet Cinnamon Sugar Pita: Transform your pita into a delightful dessert or sweet snack. Immediately after air frying, brush the warm pita with melted butter, then sprinkle generously with a mixture of cinnamon and sugar. Serve warm on its own, with a scoop of vanilla ice cream, or alongside fresh fruit. It’s a quick and easy sweet treat that kids and adults will adore.
- Spicy Pita: For those who enjoy a little heat, add a light sprinkle of crushed red pepper flakes to the pita before or after air frying. This provides a gentle kick that can complement savory dips or stand out on its own.
- Sesame Seed Pita: For a nutty aroma and a satisfying textural crunch, sprinkle white or black sesame seeds (or a mix of both) over the shaped pita rounds just before placing them in the air fryer. The seeds will toast beautifully as the pita cooks, adding an extra layer of flavor and visual appeal, reminiscent of traditional Middle Eastern breads.
- Garlic Herb Pita: Mix minced garlic and fresh chopped herbs like parsley, oregano, or dill into melted butter or olive oil. Brush this fragrant mixture onto the pita immediately after air frying for an aromatic and savory bread, perfect with pasta dishes or as an appetizer.
Storing and Reheating Your Homemade Pita
These homemade air fryer pitas are truly at their best when enjoyed fresh and warm, straight out of the air fryer. However, if you find yourself with leftovers, rest assured they can be stored and enjoyed later with minimal compromise to their deliciousness. Proper storage techniques will help maintain their texture and flavor.
For short-term storage, keep your leftover pita bread in an airtight container or a resealable plastic bag at room temperature for up to 2 days. This is ideal if you plan to consume them within a day or two. Ensure they are completely cooled before storing to prevent condensation, which can make them soggy.
If you need to store them for a bit longer, refrigeration is a good option. Place the cooled pita in a sealed bag or an airtight container and store in the refrigerator for up to 4 days. While refrigeration can sometimes make bread slightly tougher, a quick reheat will restore much of its original softness. To reheat, you can pop them back into the air fryer for 1-2 minutes at 300°F (150°C), toast them lightly, or warm them in a microwave for a few seconds until soft and pliable again.
For longer preservation, freezing is an excellent choice. Wrap each cooled pita individually in plastic wrap or aluminum foil, then place the wrapped pitas into a heavy-duty freezer bag. This individual wrapping prevents them from sticking together and helps protect against freezer burn. Stored this way, they will keep well in the freezer for up to two months. When you’re ready to enjoy, simply remove the desired number of pitas from the freezer. You can thaw them at room temperature for about an hour, then reheat as described for refrigerated pitas, or even place them directly into a preheated air fryer at 300°F (150°C) for 3-5 minutes until warmed through and soft.
Common Questions About Air Fryer Pita Bread
Yes, absolutely. Thawing the frozen dinner rolls is a crucial first step. This allows the yeast within the dough to activate and the dough to properly proof (rise). Without adequate thawing and rising, the dough will not be elastic enough to roll out effectively, nor will it produce the necessary gases to puff up and form the characteristic pita pocket when cooked in the air fryer. Patience during this stage ensures a soft, fluffy, and perfectly pocketed pita.
Absolutely! While frozen dinner rolls offer an incredible shortcut for convenience, you can certainly use your favorite homemade yeast dough. The key is to ensure it’s a soft, pliable dough that has undergone its initial rise (first proofing) before you begin shaping. Treat your homemade dough similarly: divide it into small, uniform balls, let them rest for a few minutes, then roll them out to the desired ¼-inch thickness before air frying. This recipe can adapt well to most traditional pita or even pizza dough recipes.
There are a few common reasons why your pita might not puff up as expected. Firstly, if the dough was rolled too thin, there might not be enough dough structure or moisture to create the internal steam pressure needed for a pocket. Secondly, an air fryer that isn’t hot enough (or not preheated) won’t provide the rapid heat shock required for immediate puffing. Lastly, if the frozen rolls weren’t fully thawed and risen, the yeast might not have produced enough gas, or the dough might be too dense to create a proper pocket. Ensure you follow the thawing and rolling thickness guidelines carefully.
Yes, adding flavors directly to the dough is a fantastic way to customize your pita! For savory options, after the rolls have thawed but before shaping, you can gently knead in dried herbs (like oregano, thyme, or rosemary), garlic powder, onion powder, a pinch of chili flakes, or even a tablespoon of grated Parmesan cheese. For a subtle sweetness, you could knead in a tiny bit of cinnamon or sugar. Be careful not to add too much, as it can affect the dough’s texture and ability to rise and puff.
Air fryer pita bread is incredibly versatile! You can slice them in half to create perfect pockets for stuffing with falafel, chicken shawarma, gyros, or fresh salads. Alternatively, keep them whole and use them for dipping into classics like hummus, tzatziki, baba ganoush, or even a simple olive oil and balsamic vinegar blend. They also make an excellent accompaniment to soups, stews, or grilled meats, serving as a soft, absorbent bread to soak up delicious sauces.
While Rhodes Frozen Dinner Rolls are specifically recommended for their consistent results and tender texture, you can experiment with other brands of frozen yeast roll dough or even frozen bread dough. The key is that the dough should be designed to thaw and rise. Cooking times and temperatures might need slight adjustments depending on the specific dough’s composition and thickness, so keep a close eye on your pita during the first few batches.
More Irresistible Bread Recipes You’ll Love
Whether you’re seeking the perfect vehicle for creamy dips, a comforting side for a hearty soup, or a sweet treat to slather with butter or Nutella, our collection of bread recipes has something to satisfy every craving. Explore more delightful homemade breads that are sure to become family favorites!
Cinnamon Sugar Pull Apart Bread
Slow Cooker Easy Focaccia
Pull Apart Olive Bread
Chocolate Chip Peanut Butter Banana Bread
Air Fryer Pita Bread Recipe
Print Recipe
Email Recipe
Ingredients
- Rhodes frozen dinner rolls as many as you want to make
- Flour for dusting
- A little olive oil optional, for brushing
Instructions
Thaw & Rise
-
Place the frozen Rhodes rolls on a parchment-lined baking sheet.Rhodes frozen dinner rolls
-
Cover lightly with plastic wrap sprayed with nonstick spray so it doesn’t stick.
-
Let them thaw and rise at room temperature until doubled in size (about 3–5 hours).
Flatten into Discs
-
Lightly flour your surface and rolling pin (or just use your hands).Flour
-
Gently flatten each roll into a 4–5 inch round, about ¼ inch thick. Don’t press too hard—you want to keep a little puff potential for that pita pocket texture.
Preheat Air Fryer
-
Set your air fryer to 350°F (175°C) and let it preheat for about 3 minutes.
Air Fry
-
Place 1–2 flattened rounds in the air fryer basket (don’t overcrowd).
-
Air fry for 3–4 minutes, flip, then another 2–3 minutes until lightly golden and puffed.
-
If you want them softer, air fry a minute less and cover them with a towel right after cooking to trap steam.
Optional Brushing
-
Right after cooking, brush with olive oil or garlic butter for extra flavor.A little olive oil
Serve
-
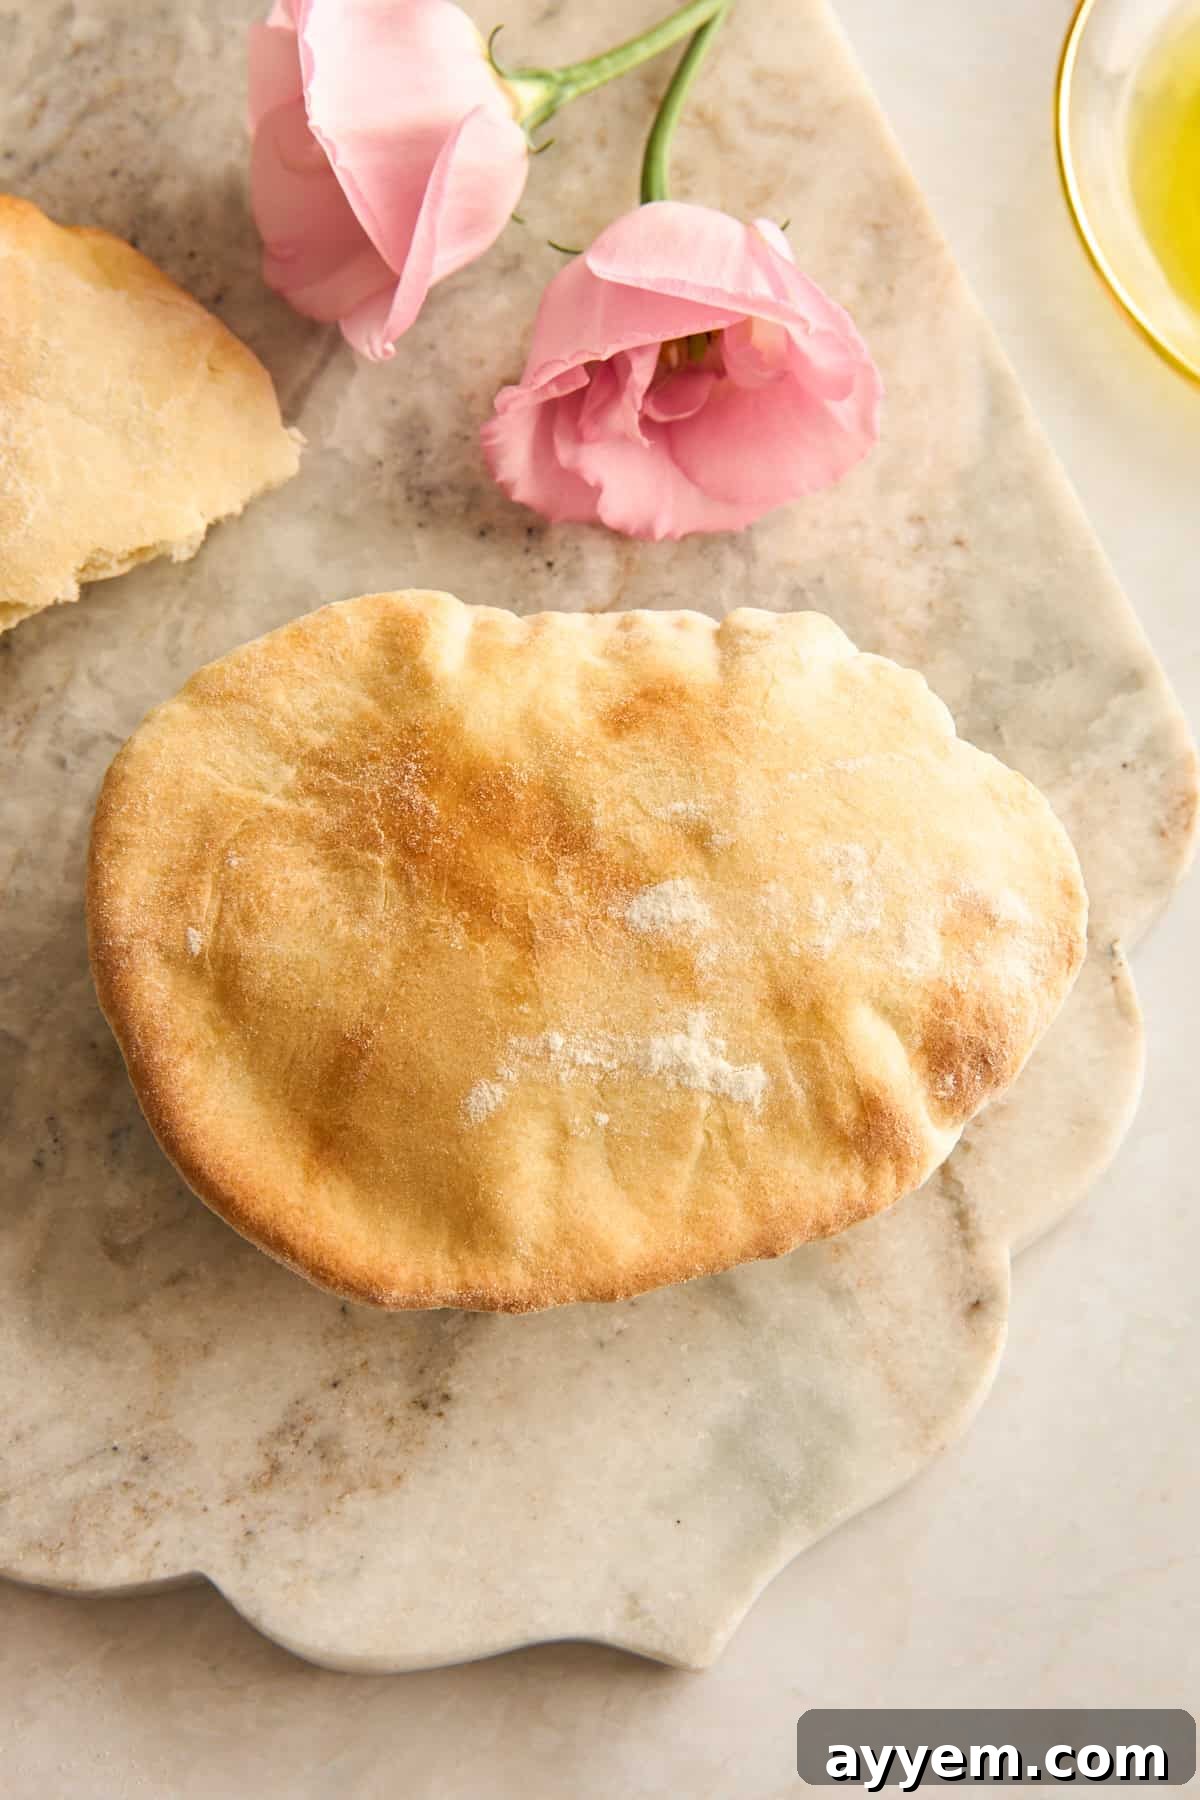
Slice in half for pockets, or keep whole for dipping with hummus, tzatziki, or spreads.
Equipment
Nutrition
Nutrition information is automatically calculated, so should only be used as an approximation.