
If you’ve ever dreamt of crafting incredibly smooth, velvety sauces, rich gravies, or comforting soups that truly stand out, then mastering the art of the roux is your essential first step. This humble yet powerful blend of fat and flour is a fundamental technique in French cuisine, acting as the magical thickening agent and flavor base for countless beloved dishes around the world. Understanding how to make a roux transforms ordinary meals into extraordinary culinary experiences, laying the foundation for depth, texture, and unforgettable taste.
From the creamy indulgence of homemade mac and cheese to the complex, savory heartiness of a classic gumbo, a perfectly executed roux is the secret ingredient that binds flavors and textures together. It’s a technique that builds confidence in the kitchen, proving that even the simplest ingredients, when handled correctly, can produce professional-quality results. And fear not if your first attempt isn’t flawless; lumps are common, but easily fixed. This comprehensive guide will walk you through every stage, from selecting the right ingredients to perfecting your technique, ensuring you conquer this cornerstone of cooking and elevate your home-cooked meals.
What is a Roux? The Culinary Foundation
At its heart, a roux (pronounced “roo”) is a classic French cooking staple made by whisking together equal parts fat and flour over heat. This seemingly simple mixture serves two critical purposes: it thickens liquids and contributes flavor. The magic happens as the flour’s starch granules absorb the fat, creating a smooth paste that, when later combined with a liquid, will swell and thicken, preventing lumps and adding a desirable sheen to your final dish.
The cooking process is key to developing both its thickening power and its flavor profile. Depending on how long you cook it, a roux can range from very pale to deep brown, each stage offering distinct characteristics that are suited for different culinary applications. Here’s a detailed breakdown of the common varieties:
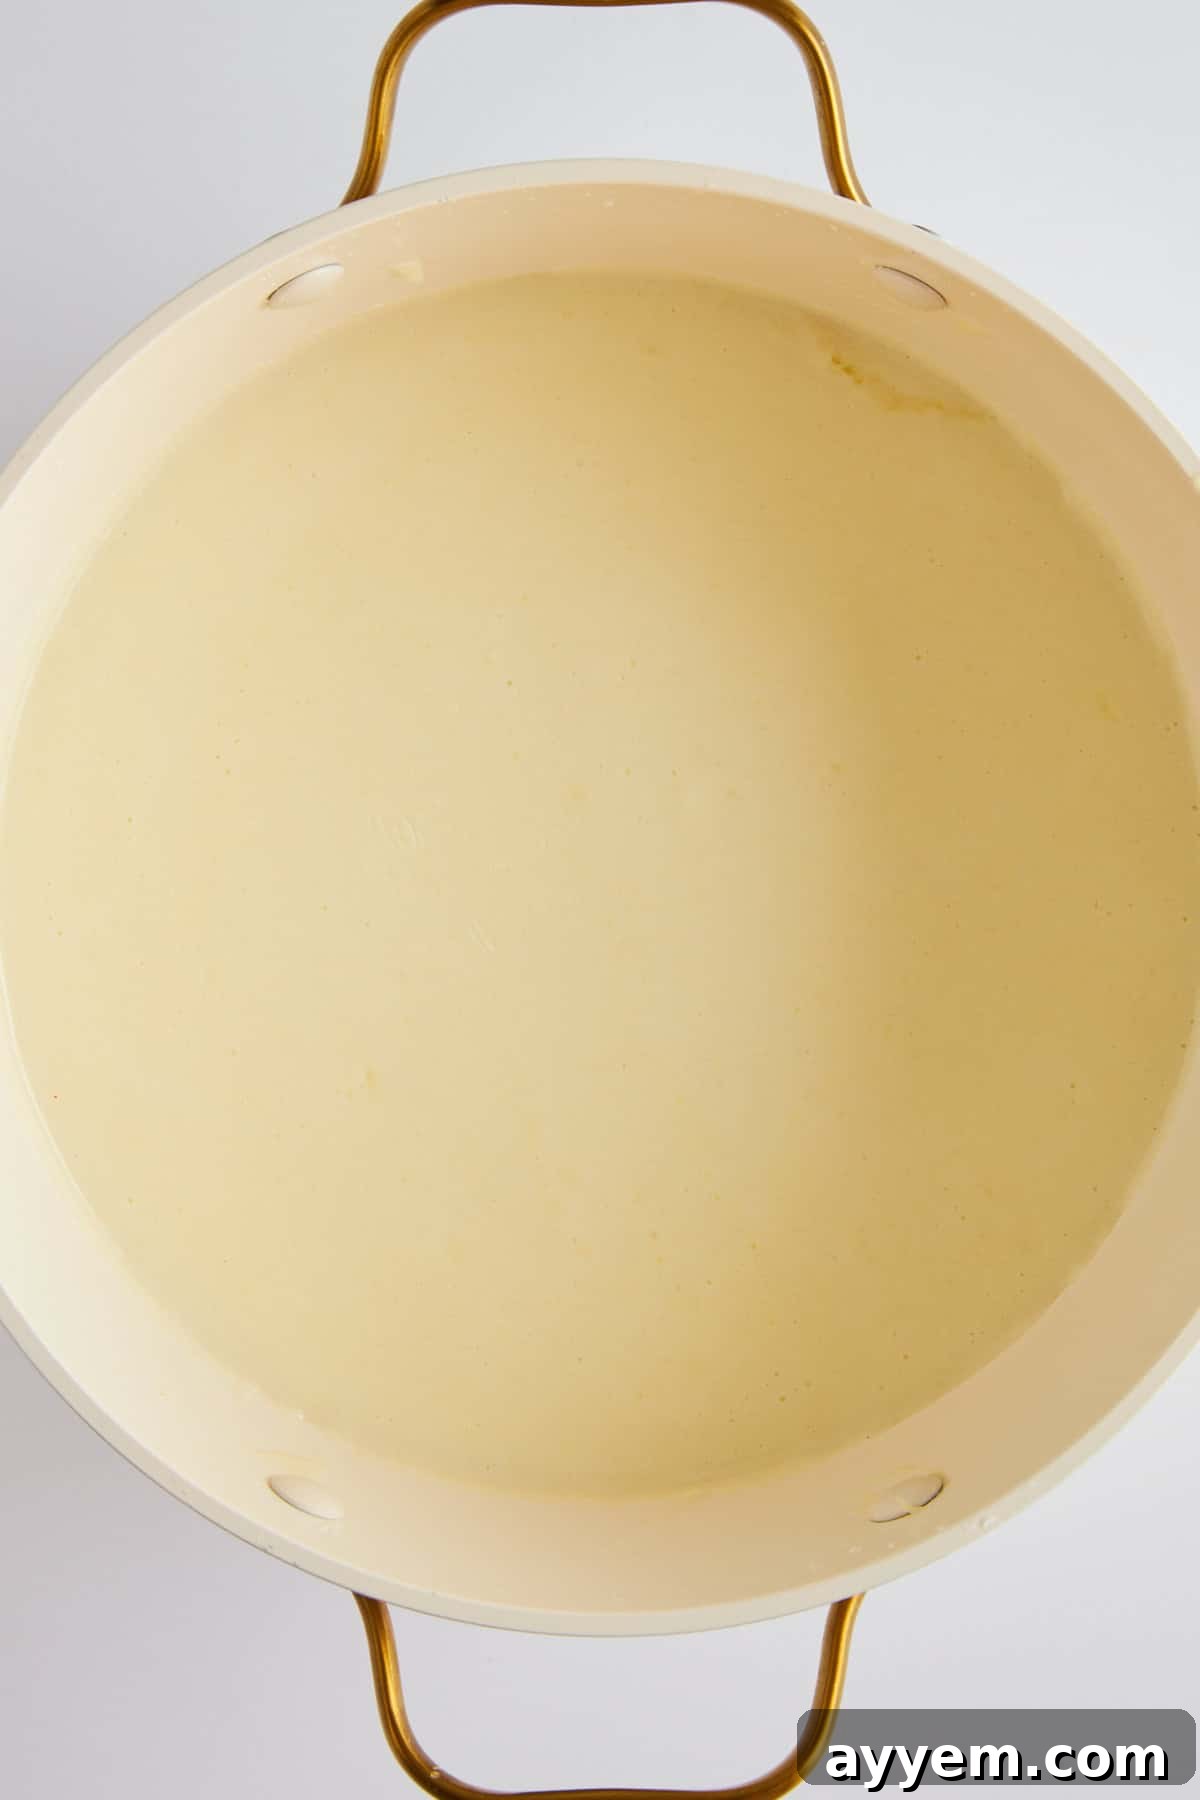
- White Roux: This is the lightest and mildest roux, cooked just long enough to remove the raw flour taste, typically 2-3 minutes. It retains the most thickening power and has a neutral flavor, making it ideal for delicate sauces where you want the other ingredients to shine. Think creamy cheese sauces for mac and cheese, luscious béchamel sauce, or light, dairy-based soups like cream of mushroom.
- Blond Roux: Cooked slightly longer than a white roux, typically 3-5 minutes, until it achieves a pale golden or “blond” hue. It develops a subtle nutty aroma and a slightly richer flavor. While still an excellent thickening agent, its thickening power is marginally less than a white roux. Blond roux is perfect for gravies, chowders, velouté sauces, and other dishes where a slightly toasted, savory depth is desired without overpowering the main ingredients.
- Brown Roux: This is the most deeply cooked roux, taking anywhere from 8-15 minutes, or even longer for a very dark version. It ranges in color from a peanut butter shade to a rich, dark chocolate brown, emanating a profound, toasty, and nutty aroma. The extensive cooking caramelizes the flour’s starches and develops complex flavors through the Maillard reaction. This process, however, significantly reduces its thickening capability because the starch molecules break down. Brown roux is the indispensable foundation for hearty, flavor-packed Cajun and Creole dishes like gumbo, étouffée, and jambalaya, where its deep, robust flavor is paramount to the dish’s identity.
Understanding the relationship between color, flavor, and thickening power is crucial. The darker the color of the roux, the more complex and developed the flavor becomes, but conversely, the less effectively it will thicken your dish. This is why knowing how long to cook it, and which type to use for your specific recipe, makes all the difference in achieving culinary perfection.
Essential Ingredients for a Perfect Roux
Creating a stellar roux requires only two humble ingredients: fat and flour. However, the choices you make for these components can dramatically influence the final flavor, texture, and even the cooking process. Simplicity is key, but quality and selection matter.
- Fat: The fat serves to coat the flour particles, preventing them from clumping and allowing them to cook evenly. The type of fat you select will impart a distinct flavor profile to your roux and, consequently, your final dish.
- Unsalted Butter: This is the most common choice for French-style rouxs, especially for béchamel and other white sauces. Butter adds a rich, delicate, and slightly sweet flavor, contributing to a wonderfully creamy mouthfeel. Its relatively low smoke point means it’s best for white or blond rouxs, as it can burn if cooked too long at high heat. Clarified butter (ghee) can be an excellent alternative as it has a higher smoke point, offering a pure butter flavor without the risk of scorching milk solids.
- Neutral Oils (e.g., Canola, Vegetable, Grapeseed): These oils are ideal when you want the roux to act purely as a thickening agent without adding a dominant flavor. They have higher smoke points than butter, making them suitable for longer cooking times required for darker rouxs. Neutral oils are often preferred for gravies or dishes where the other ingredients provide the primary flavor.
- Bacon Grease or Duck Fat: For heartier, savory dishes, especially in Southern or Cajun cuisine, these flavorful fats are exceptional choices. Bacon grease adds a smoky, umami depth, perfect for gravies or stews, while duck fat provides a rich, subtle gamey note, often used in confits or specific regional dishes. They contribute significantly to the overall flavor profile and richness of the dish.
- All-Purpose Flour: This is the undisputed champion for making roux. Its moderate protein content (around 10-12%) provides enough structure to thicken evenly and blends smoothly with the fat, ensuring that silky finish. While it is the standard, understanding alternatives is also useful:
- Gluten-Free Flour: For those with dietary restrictions, many 1:1 gluten-free all-purpose flour blends can successfully substitute traditional wheat flour. Look for blends that specifically state they can be used in a 1:1 ratio. Flours like rice flour can also work, but be mindful of potential textural differences. Avoid starches like cornstarch or arrowroot powder for true roux, as they behave differently when cooked with fat and don’t develop the same deep flavors.
- Other Flours: While possible, using other wheat flours (like bread flour or cake flour) is generally not recommended as their protein content can result in a less desirable texture or thickening power in a roux.
That’s truly all you need! The magic, as you’ll soon discover, lies entirely in the method, temperature control, and consistent whisking.
Step-by-Step Guide: Mastering the Art of Roux
Making a roux is a straightforward process, but precision and attention to detail are key to achieving a perfectly smooth and flavorful base. Follow these steps to create your ideal roux:
- Gather and Prepare: Before you even turn on the stove, ensure all your ingredients are measured out and ready. For a standard roux, you’ll use equal parts fat and flour by weight or volume. A common starting point is ¼ cup of fat to ¼ cup of flour, yielding a moderate amount of roux. Choose a heavy-bottomed saucepan or skillet; cast iron or stainless steel works wonderfully as it distributes heat evenly and prevents scorching. Have a sturdy whisk (a balloon whisk is ideal) within reach.
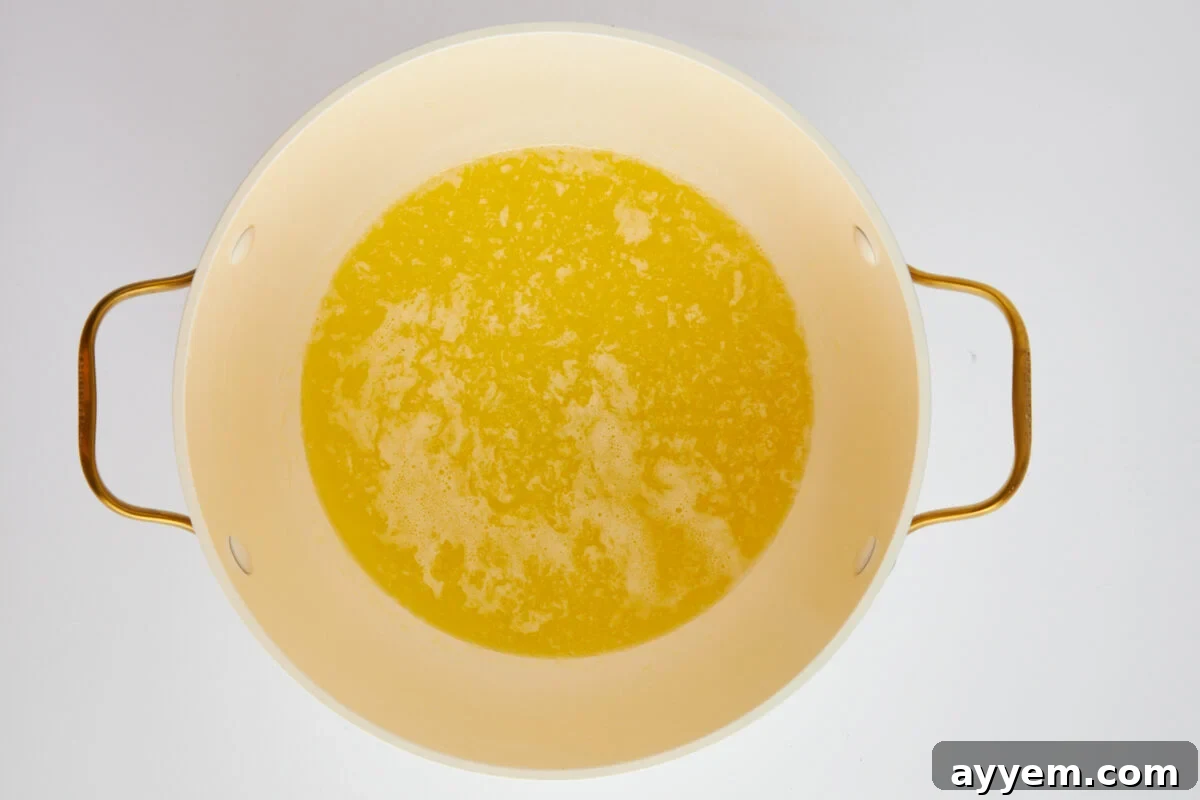
- Melt the Fat: Place your chosen fat (butter, oil, etc.) in the saucepan over medium to medium-low heat. If using butter, allow it to melt completely. For oils, simply heat until shimmering slightly. The goal here is to get the fat warm enough to readily accept the flour without burning. Avoid high heat, especially with butter, as its milk solids can brown too quickly.
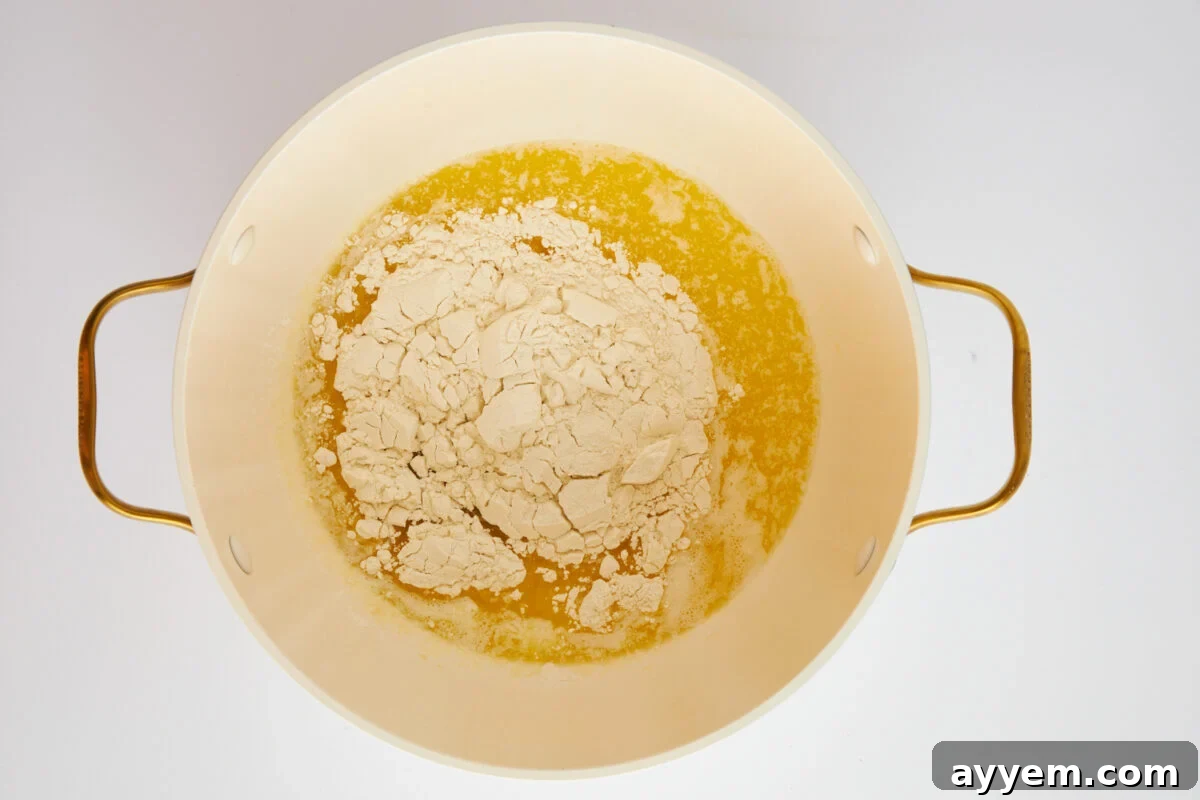
- Add the Flour: Once the fat is melted and warm, sprinkle in the equal amount of flour. It’s helpful to add the flour gradually while continuously whisking to ensure smooth incorporation. This initial whisking is critical to coat every particle of flour with fat, preventing lumps from forming. The mixture will immediately transform into a thick paste.
- Cook and Stir Consistently: This is where the magic happens and where patience pays off. Keep whisking the mixture constantly. Initially, the roux will be pale and foamy, almost like wet sand. As it cooks, the raw flour smell will dissipate, and it will begin to thicken and smooth out. The color will gradually change, developing different flavors at each stage:
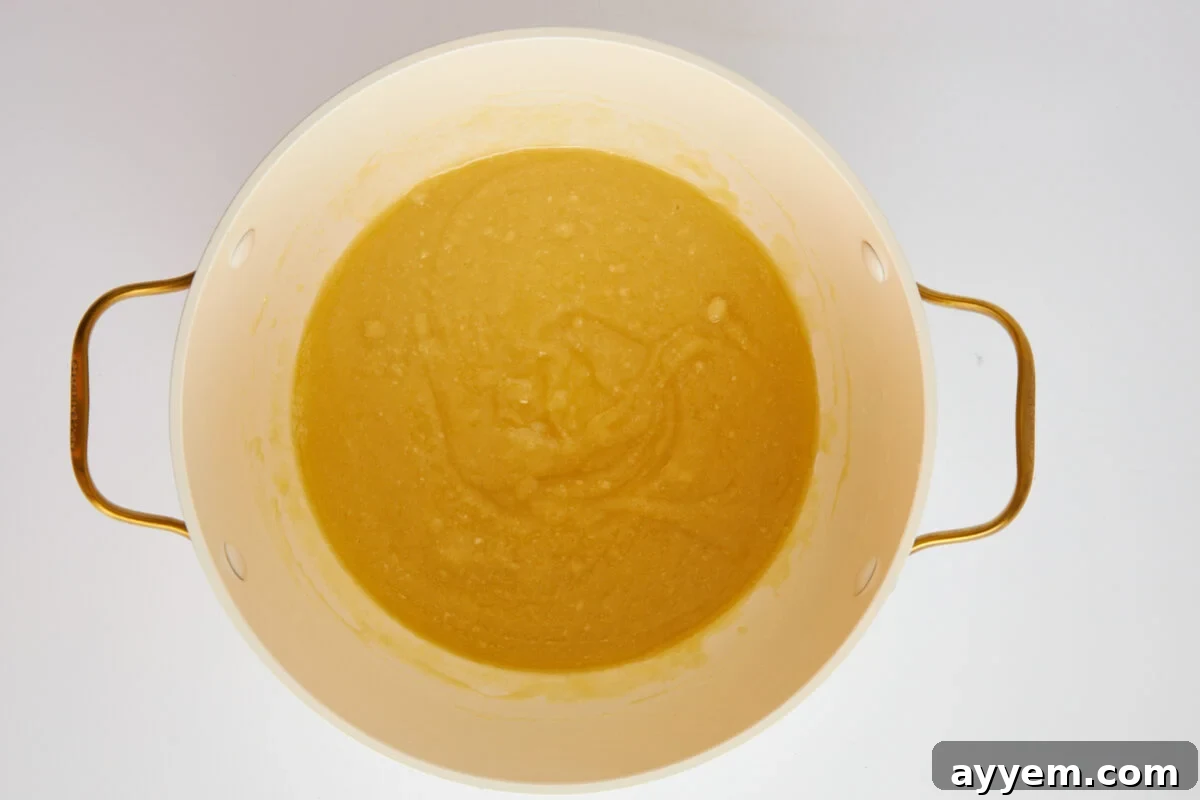
- For a White Roux: Continue whisking for 2-3 minutes. It should remain pale yellow, just cooked enough to eliminate the raw flour taste but without any significant browning. It will smell slightly buttery and toasty.
- For a Blond Roux: Whisk for 3-5 minutes. The mixture will take on a light golden or “blond” hue and emit a distinct, pleasant nutty aroma. Its texture will be slightly thinner than a white roux.
- For a Brown Roux: This requires more time and vigilance, typically 8-15 minutes, or even longer for a very dark roux (up to 20-30 minutes for Cajun-style). Continue whisking over medium-low heat. The roux will progress through various shades of tan, peanut butter, copper, and eventually deep chocolate brown. As it darkens, it will thin out and become more fluid, smelling intensely nutty, earthy, and richly toasted. Pay close attention to the aroma; if it smells burnt, it is. Discard and start over.
- Use It or Store It: Once your roux reaches the desired color and aroma, it’s ready for its next purpose.
- Immediate Use: To create a sauce or soup base, immediately add your liquid (milk, broth, stock) to the hot roux. For best results and to prevent lumps, use a hot roux with cold or room-temperature liquid, or a cooled roux with hot liquid. Whisk continuously as you pour the liquid in a steady stream, allowing it to fully incorporate and thicken.
- Storage: If you’re not using it right away, transfer the roux to a clean, airtight container and let it cool completely before refrigerating. It can be stored in the refrigerator for up to two weeks or frozen in small portions for several months, making it a fantastic meal prep component for quick sauces anytime.
You’ll know your roux is perfectly ready when it’s smooth, aromatic (without any raw flour smell), and evenly colored throughout, with no dry patches or lumps. It should have a consistency that’s easy to whisk and incorporate into other ingredients.
Troubleshooting: How to Fix a Lumpy Roux
Even experienced cooks encounter lumps occasionally. If your roux or the subsequent sauce turns out lumpy, don’t despair! It’s a common issue, and thankfully, there are several easy fixes. Lumps typically form when the flour and fat don’t blend evenly, when the mixture gets too hot too quickly, or when liquid is added improperly. Understanding the causes helps in both prevention and remedy.
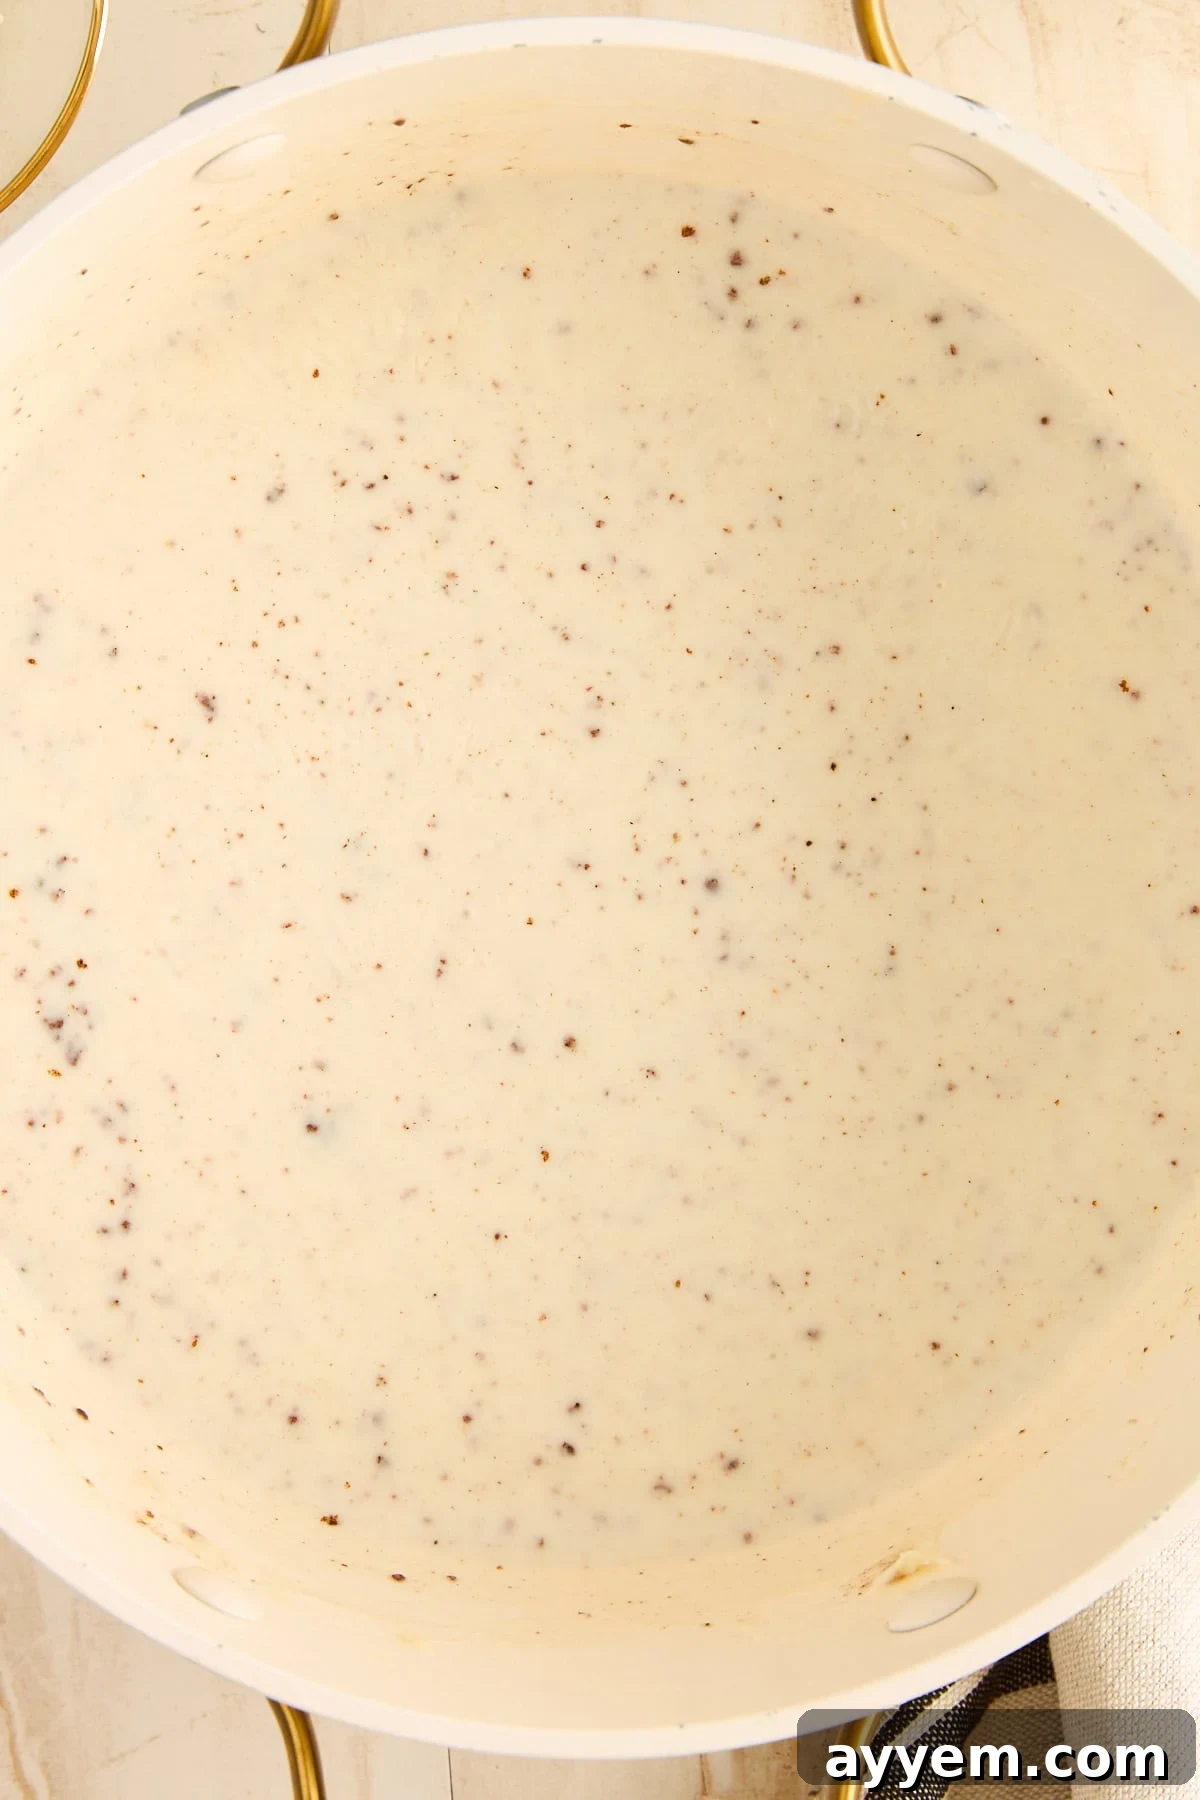
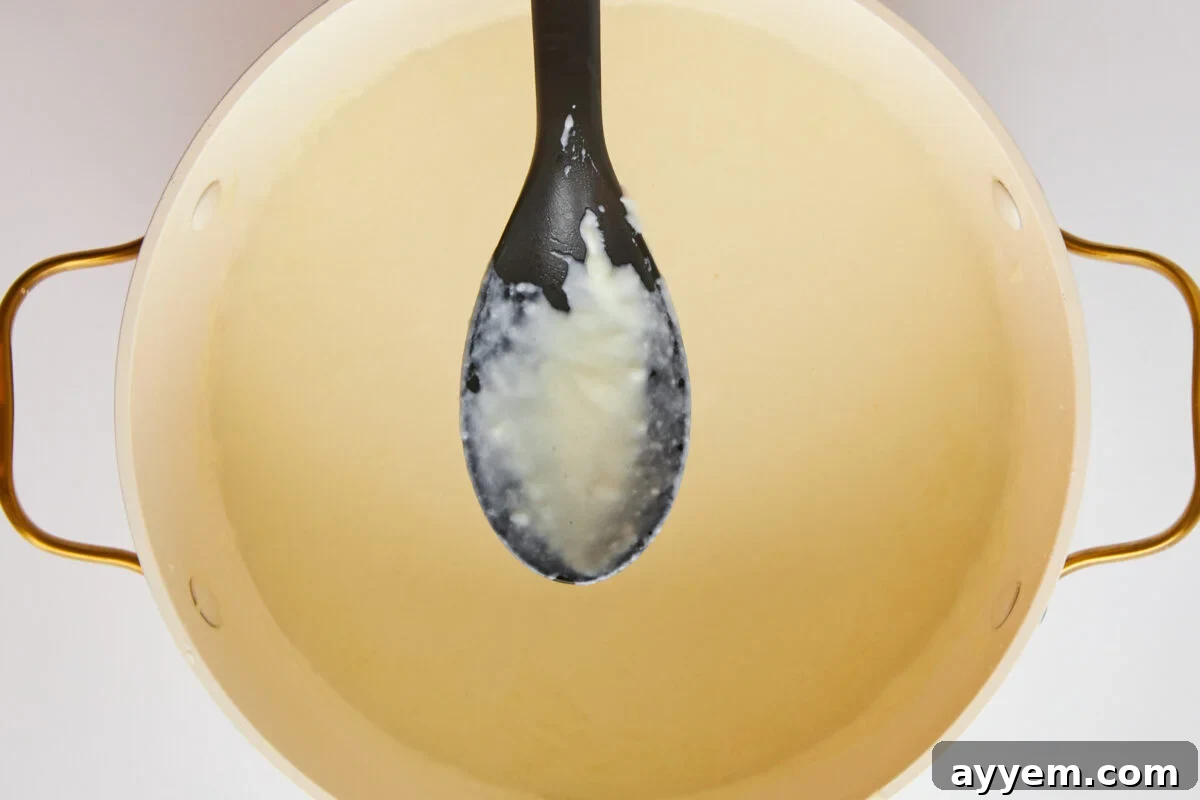
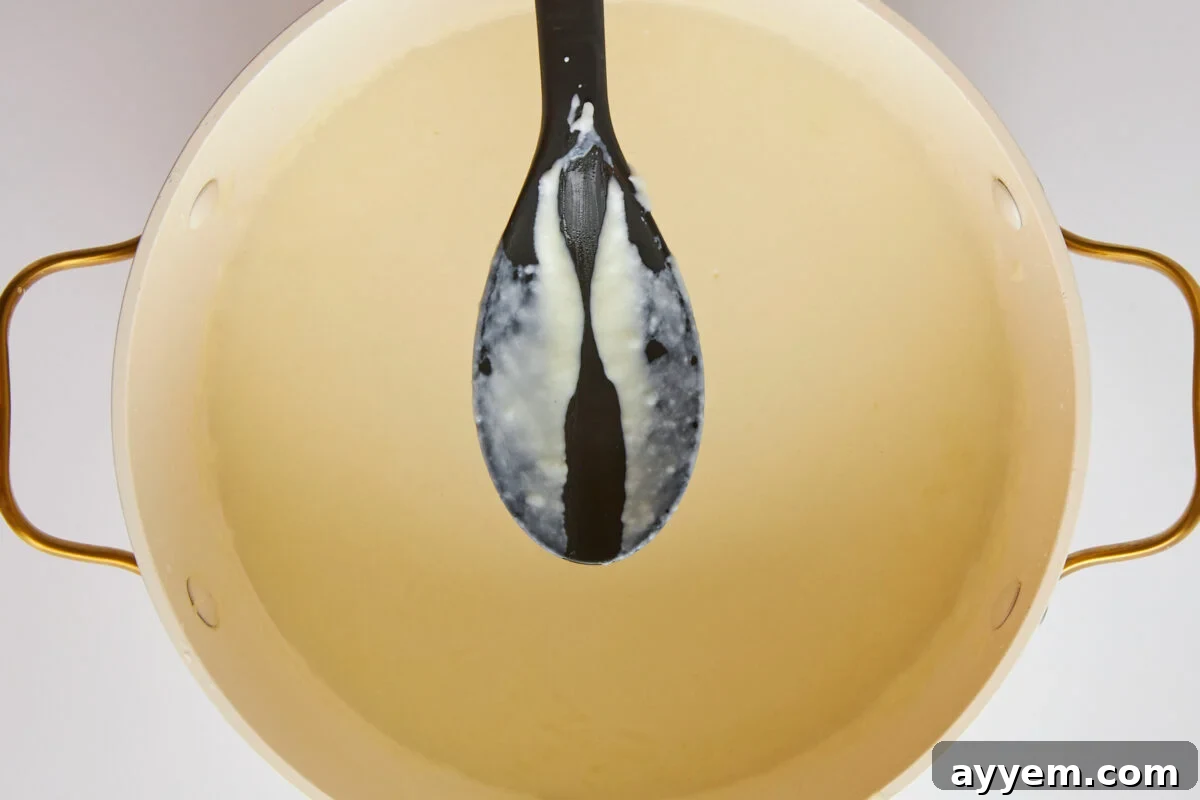
- Whisk It Out: This is often the simplest and most effective solution. Lower the heat immediately to prevent further cooking and whisk vigorously. A balloon whisk is particularly effective because its many wires can reach into the corners and edges of the pan, breaking up clumps. Continue whisking until the mixture visibly smooths out. Often, just a minute or two of intense whisking is enough to resolve minor lumps.
- Add Liquid Gradually and Mindfully: When you’re transitioning your roux into a sauce, the way you add liquid is critical for preventing lumps. If you find lumps forming at this stage, try these techniques:
- Temperature Pairing: The golden rule for preventing lumps is to pair opposite temperatures. Add hot liquid to a cooled roux, or cold (or room temperature) liquid to a hot roux. A sudden influx of liquid at the wrong temperature can shock the starches and cause them to clump.
- Slow Incorporation: Whisk in a small amount of liquid first – just enough to create a very thick, smooth paste. Continue to whisk vigorously as you gradually add the remaining liquid, a little at a time, until it’s fully incorporated and the sauce is smooth. This slow, steady addition helps dissolve any stubborn clumps and ensures even thickening.
- Strain It: If all else fails, or if the lumps are particularly stubborn and numerous, a fine-mesh strainer is your best friend. Simply pour the lumpy roux (or the sauce made from it) through a fine-mesh sieve into another saucepan. Use the back of a spoon or a rubber spatula to push the smooth sauce through, leaving any undissolved lumps behind. You’ll be left with a silky-smooth sauce, and no one will ever know you had a moment of panic.
Pro Tip for Prevention: As mentioned, temperature pairing is a fundamental technique. Always add hot liquid to a cold roux, or cold/room-temperature liquid to a hot roux. This thermal contrast helps the starch granules separate and hydrate evenly, minimizing the chance of clumping. For example, if you’ve made a hot roux and want to make a béchamel, have your milk warm or at room temperature, not straight from the fridge. Conversely, if you’re using a pre-made, chilled roux, heat your liquid before incorporating it.
Transformative Uses for Your Mastered Roux
Once you’ve mastered the art of making a roux, a whole new world of culinary possibilities opens up in your kitchen. This versatile thickening agent is truly the backbone of so many classic, comforting, and deeply flavorful dishes across various cuisines. You’ll begin to notice opportunities to incorporate it everywhere, elevating your cooking with its smooth texture and rich base.
- Mac and Cheese: A classic white roux is the ultimate secret to achieving that luscious, incredibly creamy cheese sauce that blankets every noodle. It ensures a velvety texture without any grittiness, making our recipe for Hidden Veggie Mac and Cheese a guaranteed hit, beloved by both kids and adults for its perfect creaminess.
- Gravy: Whether it’s for Thanksgiving turkey, roasted chicken, or savory beef, a blond roux provides gravies with that irresistible smooth, glossy consistency and rich depth of flavor. It’s exactly what we whip up to make sure our holiday Turkey Gravy turns out flawlessly thick and delicious, perfect for pouring over mashed potatoes or stuffing.
- Gumbo and Étouffée: These iconic Southern favorites absolutely rely on a dark brown roux. The lengthy cooking time of the roux develops a deep, earthy, nutty, and slightly bitter flavor that is non-negotiable for the complex character of gumbo and étouffée. It not only thickens but imbues the dish with a foundational richness that defines these beloved Cajun and Creole stews.
- Soups and Chowders: Employing a roux is a fantastic way to give hearty body and luxurious thickness to various soups, bisques, and chowders without solely relying on heavy cream. It creates a satisfying mouthfeel and helps to meld flavors together. We leverage a roux to make our Slow Cooker Creamy Chicken Wild Rice Soup astonishingly rich and comforting, providing a depth that’s impossible to achieve with just a dash of cream.
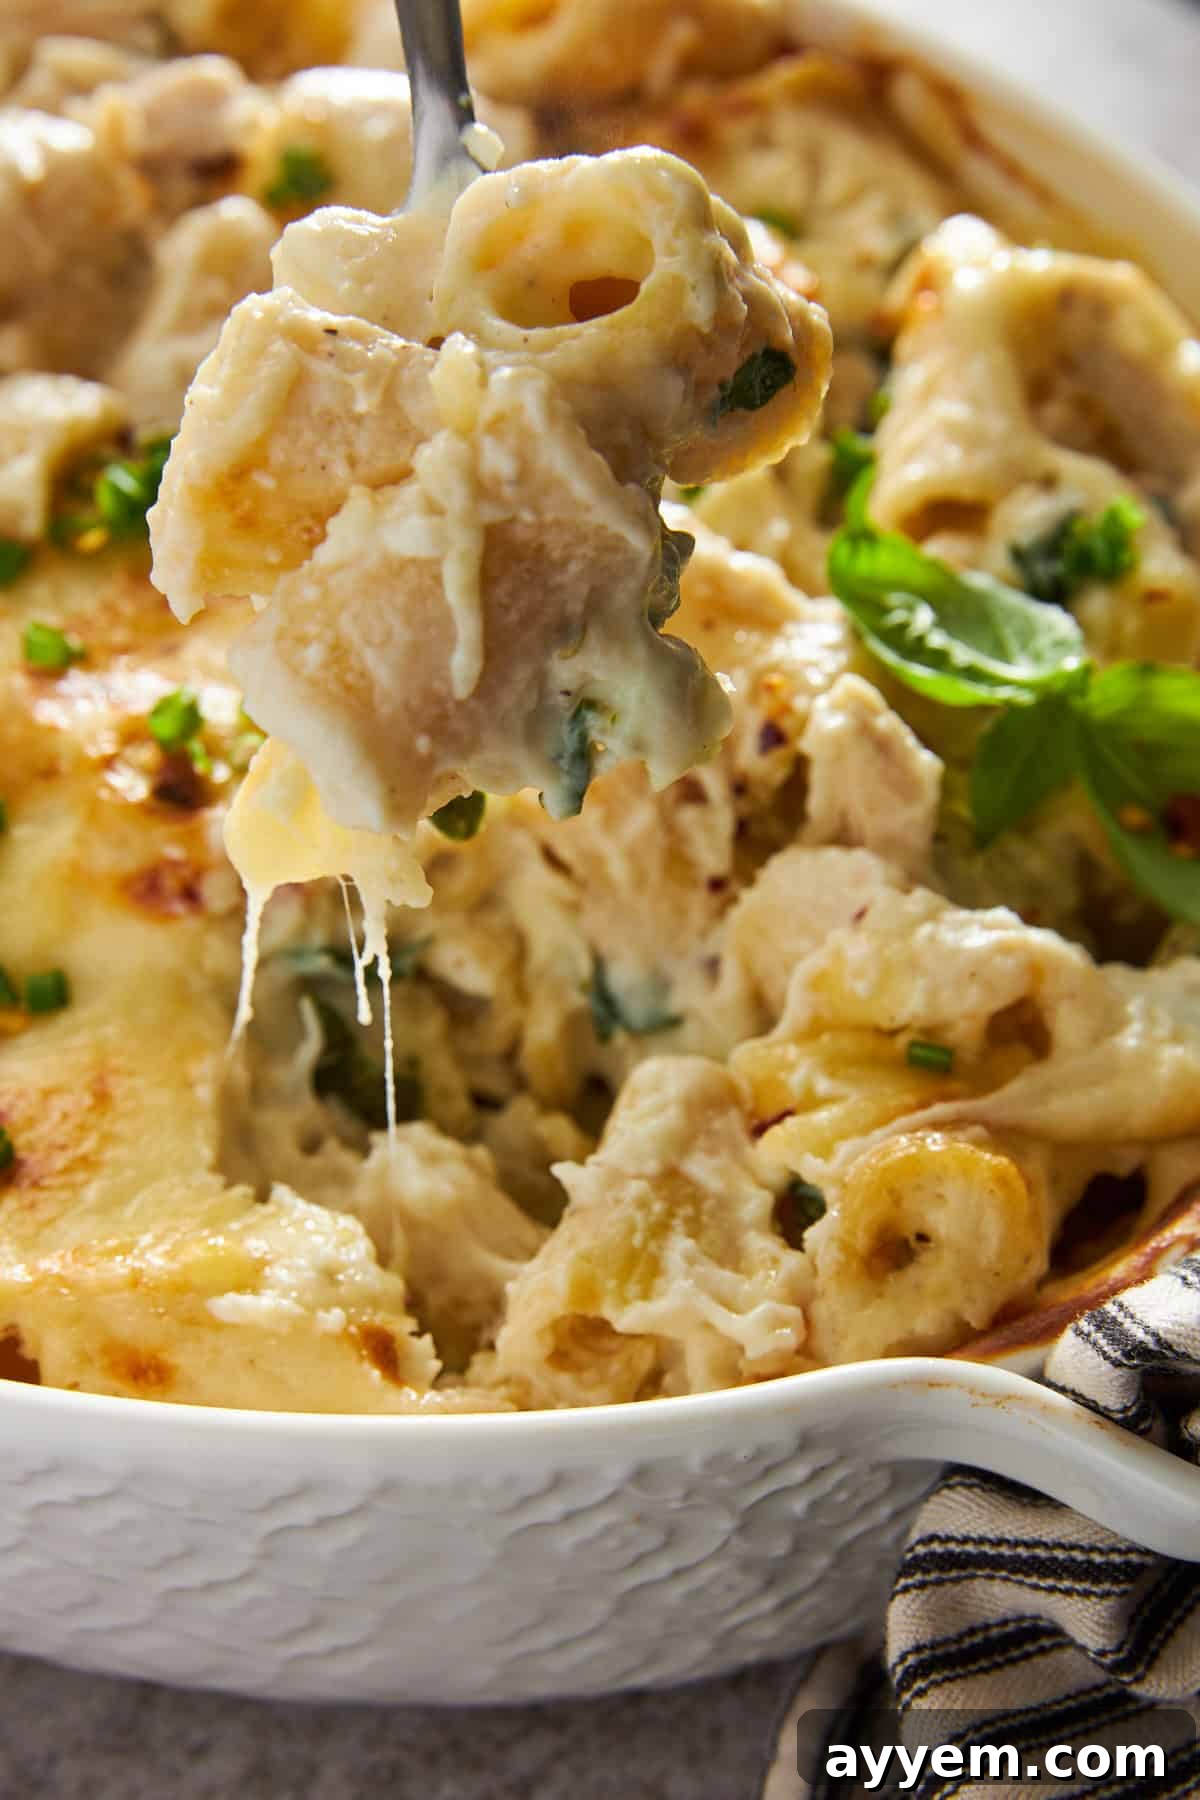
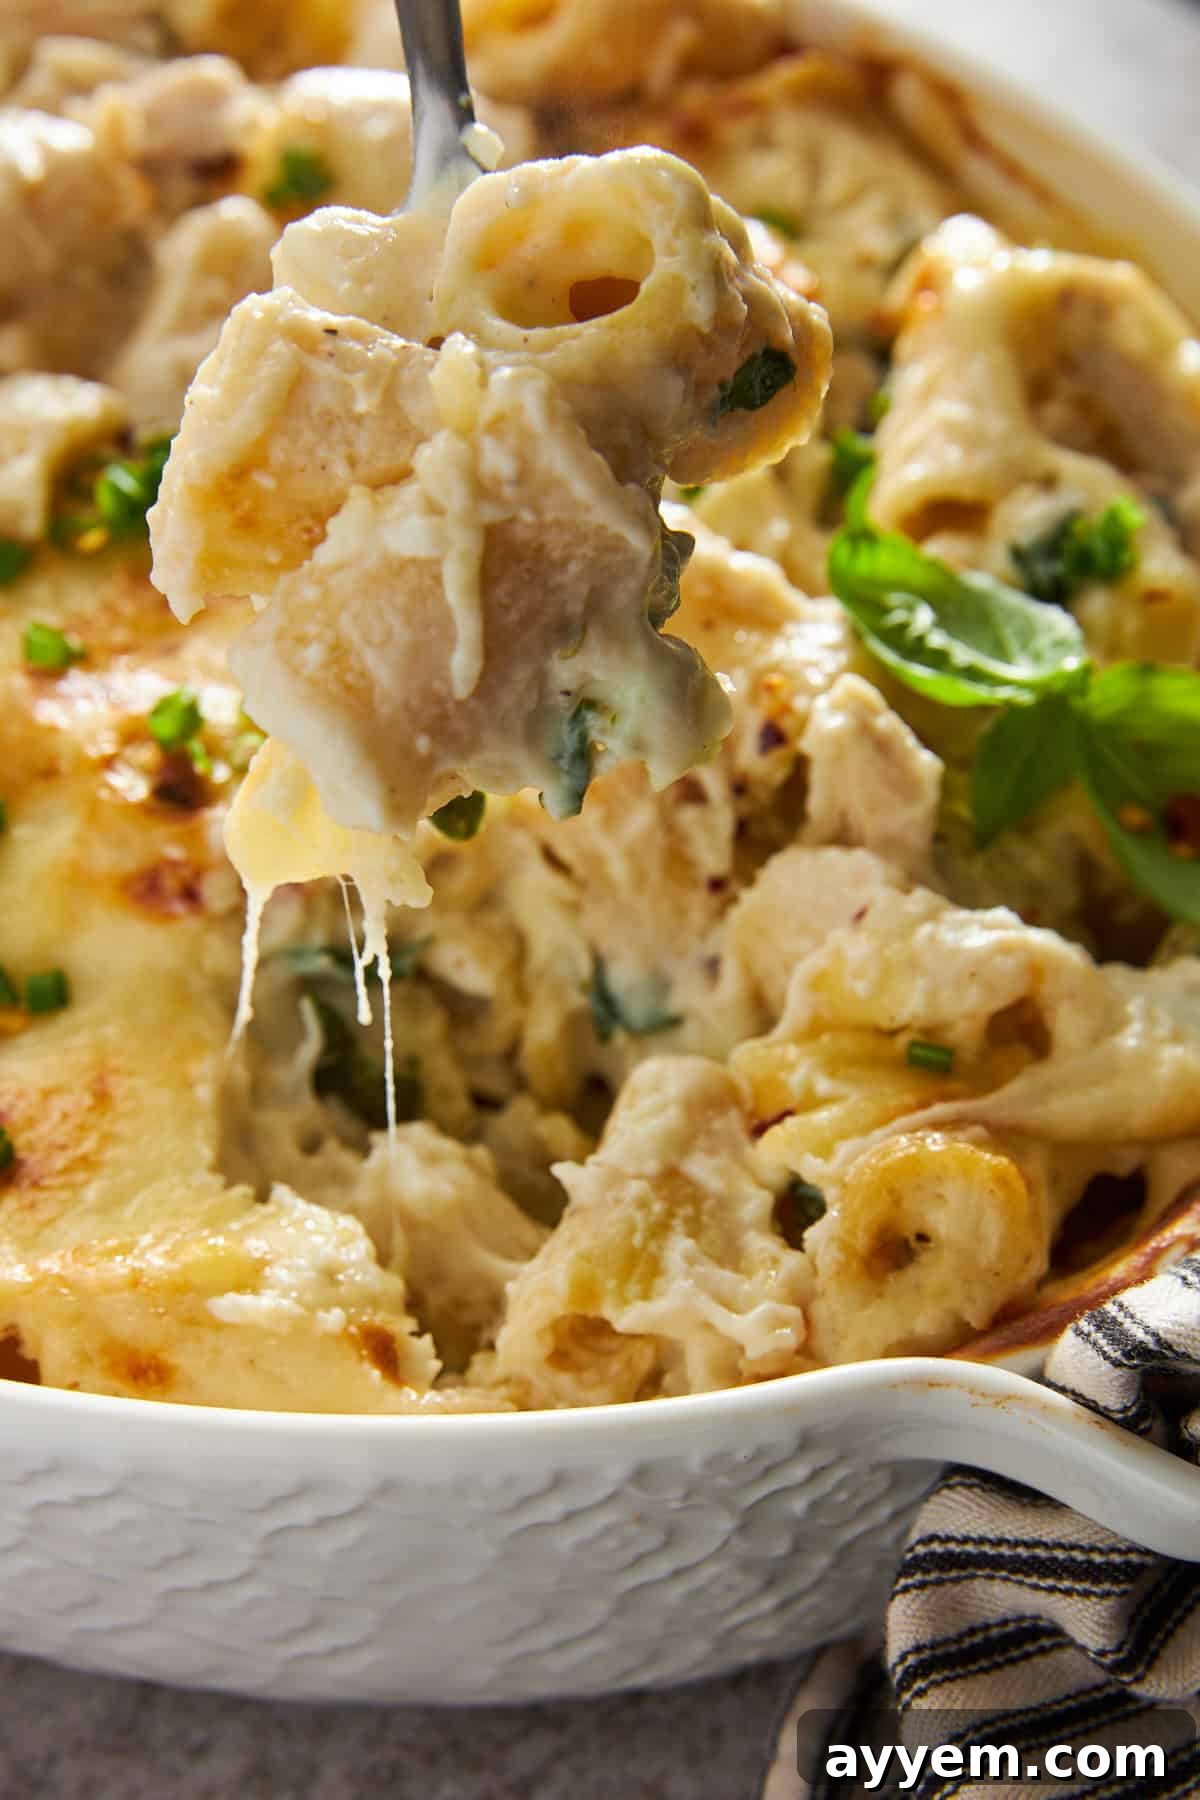
- Béchamel and Mornay Sauces: These are two of the “mother sauces” of French cuisine, and both begin with a white roux. Béchamel is a simple yet elegant white sauce made by whisking milk into a white roux, forming a versatile base for gratins, lasagna, and creamed vegetables. Mornay sauce builds on béchamel by adding cheese, creating a rich, savory sauce perfect for croque monsieur or pasta dishes. Our Baked Penne with Béchamel owes its signature lusciousness to the smooth, flavorful foundation provided by a well-made roux.
- Stews and Casseroles: Beyond classic sauces, a roux can be incorporated into many slow-cooked stews and baked casseroles to thicken the liquid, create a cohesive texture, and add a layer of savory richness that makes them truly satisfying. From beef stews to chicken pot pie fillings, a roux ensures every bite is substantial and flavorful.
The possibilities are genuinely endless. Once you internalize this foundational technique, it becomes second nature to apply it creatively in both your everyday family meals and special occasion dishes, significantly enhancing their texture and flavor.
Expert Tips for a Consistently Perfect Roux
While the basic steps for making a roux are simple, a few expert tips can ensure your results are consistently perfect, free of lumps, and bursting with the right flavor. Mastering these nuances will elevate your roux-making from good to truly exceptional.
- Maintain Steady, Medium to Medium-Low Heat: This is arguably the most critical factor. Cooking a roux too quickly over high heat is the fastest way to burn the flour, especially when using butter. Lower temperatures allow the flour to cook evenly, develop flavor gradually, and prevent scorching. Patience is key, especially for darker rouxs. If you notice any browning too rapidly, immediately lower the heat or even remove the pan from the burner briefly.
- Stir Constantly and Thoroughly: Consistent agitation with a whisk is non-negotiable. This ensures that the flour cooks evenly, prevents lumps from forming, and keeps the mixture from sticking to the bottom of the pan. Pay attention to scraping the sides and corners of the pan with your whisk to ensure no flour or fat is left uncooked or scorched. A flat-bottomed whisk can be particularly useful for reaching all areas of the pan effectively.
- Use a Heavy-Bottomed Pan: The type of cookware you use makes a significant difference. A heavy-bottomed pot or skillet (like cast iron, enameled cast iron, or thick stainless steel) distributes heat much more evenly than a thin pan. This even heat distribution is crucial for preventing hot spots that can scorch parts of your roux while other areas remain undercooked.
- Trust Your Senses – Look, Smell, and Feel: Don’t just rely on timing.
- Look: Observe the color change. A white roux will be pale, a blond roux golden, and a brown roux will deepen to a rich mahogany.
- Smell: The raw flour smell should disappear quickly. A white roux will smell faintly toasty and buttery, a blond roux nutty, and a brown roux will have a profound, roasted, earthy aroma. If it smells burnt, it is.
- Feel: The consistency will change; it will loosen as it cooks longer, especially for darker rouxs.
- Consider Sifting Your Flour (Optional but Recommended): For an extra layer of lump prevention, especially if you’re new to making roux, lightly sifting your flour before adding it to the fat can break up any existing clumps and ensure a smoother start.
- Store for Later Use: Don’t feel obligated to use your roux immediately. Making a larger batch of roux, especially a white or blond one, can be a fantastic time-saver. Once cooled, transfer it to an airtight container and refrigerate for up to two weeks, or freeze it in small, pre-portioned amounts (e.g., in an ice cube tray) for several months. Thaw frozen roux in the refrigerator overnight or melt gently in a saucepan before use. This makes whipping up a quick sauce or gravy incredibly convenient.
The Takeaway: Your Culinary Confidence Boost
Learning how to make a roux is more than just mastering a single recipe; it’s acquiring a foundational skill that instantly boosts your confidence and capability in the kitchen. It’s a versatile, economical, and endlessly useful technique that underpins countless delicious dishes, from the simplest weeknight meals to elaborate holiday feasts.
By understanding the nuances of fat and flour, the importance of heat control, and the magic of consistent whisking, you’ve unlocked the secret to achieving perfectly smooth, flavorful sauces, gravies, and soups. No longer will you dread the prospect of a lumpy sauce, armed now with the knowledge to both prevent and fix common mishaps.
Embrace the practice, experiment with different fats and cooking times, and watch as your home cooking transforms. Once you truly get the hang of it, your ability to create rich, velvety, and undeniably delicious comfort food favorites will be forever changed, making every meal a testament to your newfound culinary prowess.