
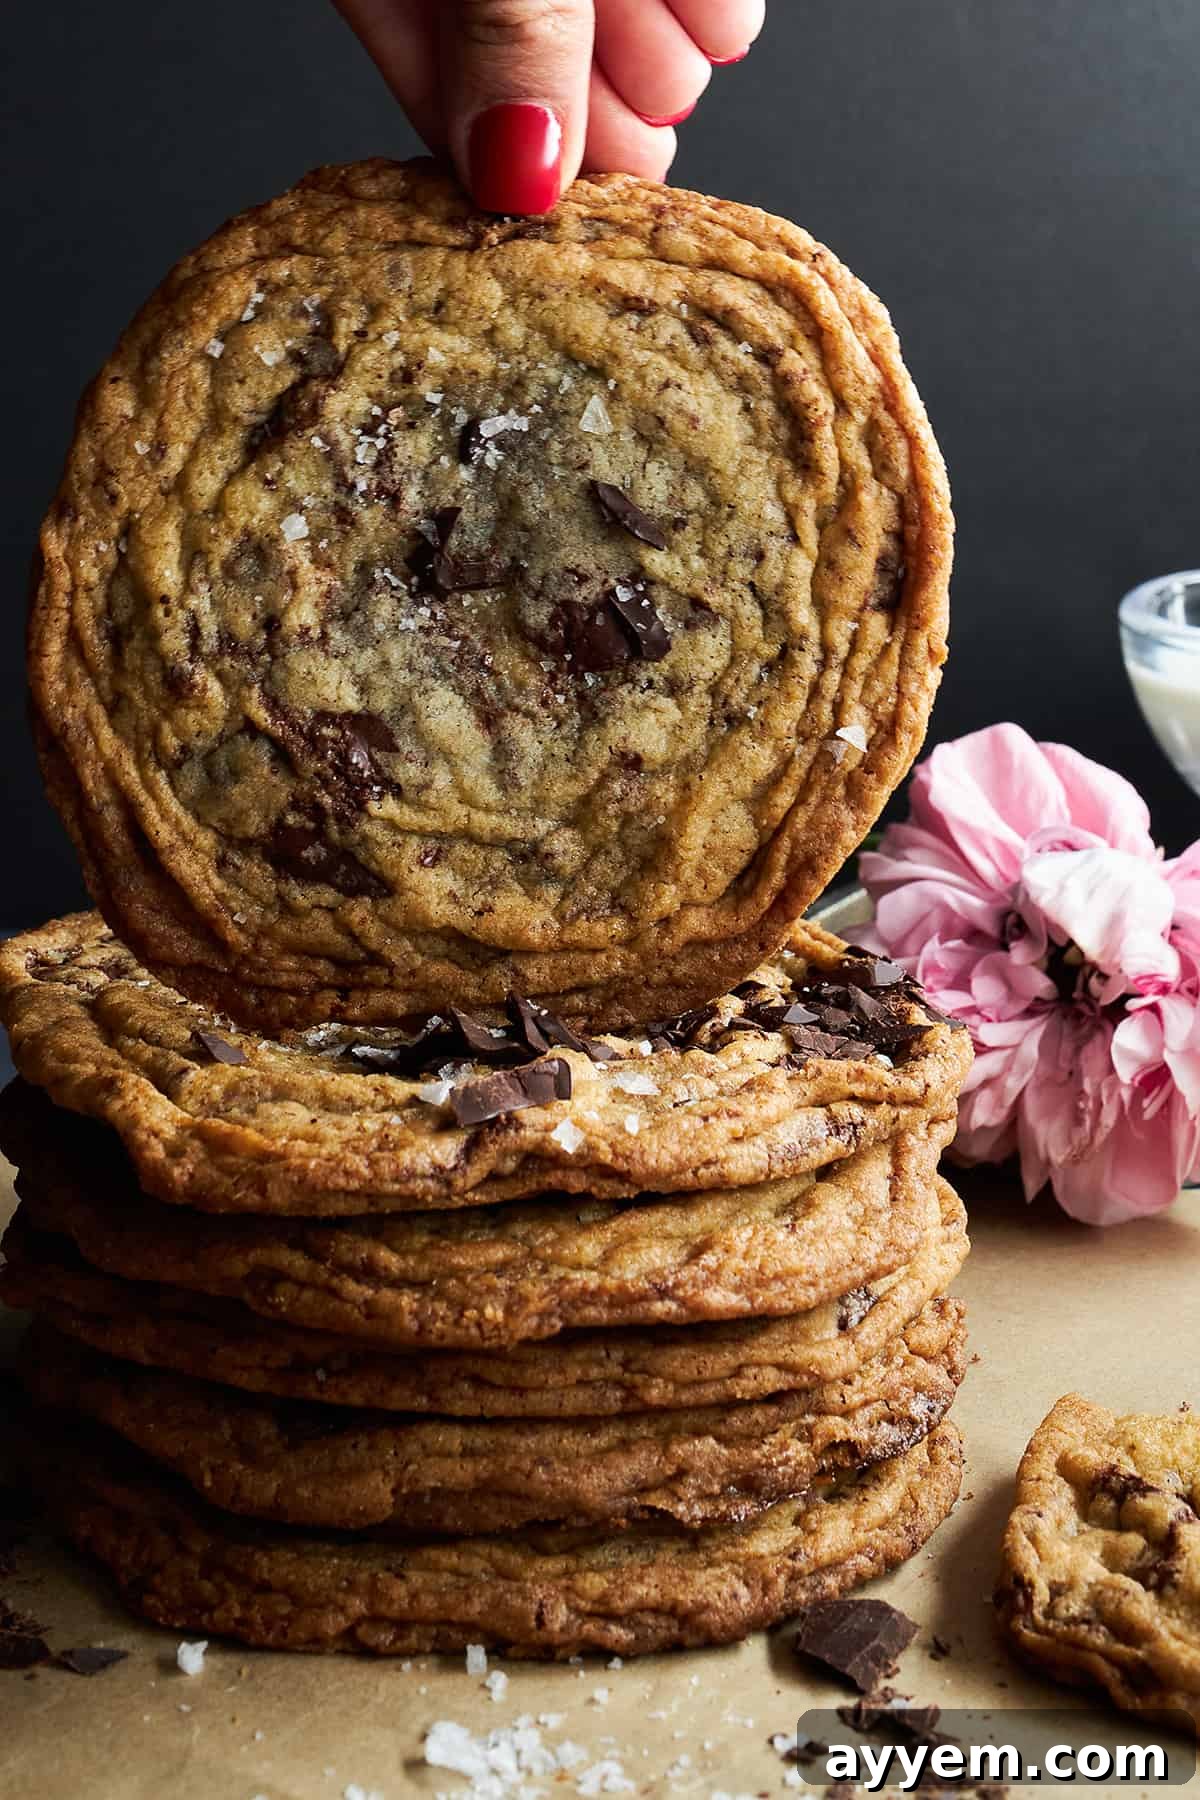
Welcome to the ultimate guide for mastering the sensational Pan-Banging Chocolate Chip Cookies! Prepare to unlock the secrets behind these extraordinary cookies that promise an unrivaled symphony of textures and flavors. Imagine: perfectly crisp, crinkly edges giving way to a luxuriously soft, chewy center, all generously studded with rich, gooey chocolate in every single bite. This isn’t just another cookie recipe; it’s a culinary adventure that transforms simple ingredients into bakery-worthy masterpieces right in your own kitchen.
What sets these cookies apart is a brilliant technique that encourages them to spread thin, creating those iconic ripples and an incredible textural contrast. As they bake, the heat works its magic, crisping the outer edges to golden perfection while preserving a delightfully soft and molten core. The abundant, high-quality chocolate ensures that each mouthful is a decadent experience, making these pan-banging cookies truly irresistible and memorable.
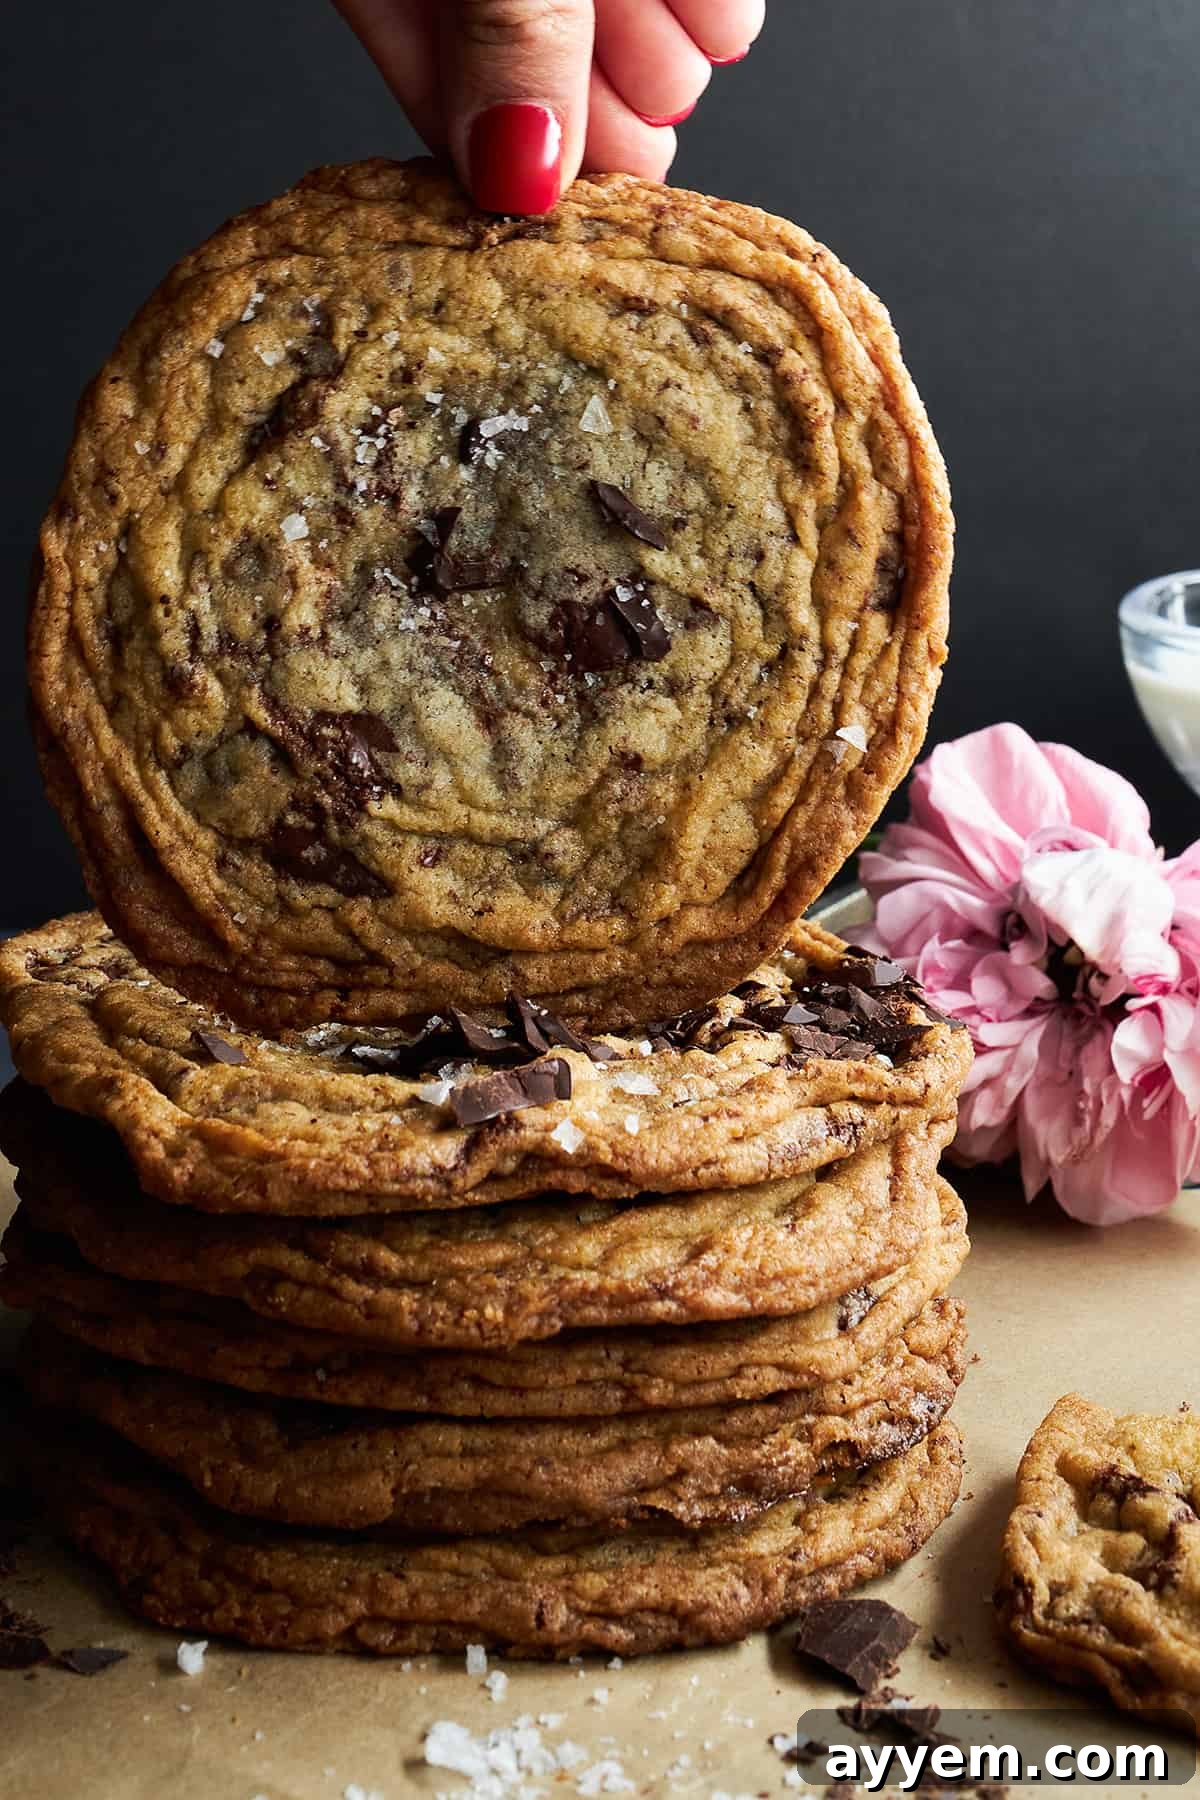
What Are Pan-Banging Cookies?
Pan-banging cookies are a revolutionary style of cookie, famously innovated by Sarah Kieffer of The Vanilla Bean Blog. This distinctive baking method involves gently lifting and dropping the baking sheet a few times during the baking process. The sudden jarring motion causes the cookies to deflate slightly, spreading outwards and creating a beautiful, wavy ripple effect around their edges.
The magic of this technique lies in its ability to manipulate the cookie’s structure as it bakes. By interrupting the setting process, the dough pushes outwards, resulting in those signature thin, crispy edges. Meanwhile, the center retains its delightful softness and chewiness, ensuring a perfect balance of textures that makes these cookies exceptionally delicious. It’s a game-changing method for anyone seeking that professional, gourmet cookie experience at home.
The Essential Ingredients for Perfect Pan-Banging Chocolate Chip Cookies
Crafting the best gooey, crispy chocolate chip cookies begins with selecting high-quality ingredients. Each component plays a crucial role in achieving the desired texture, flavor, and spread. Here’s a detailed look at what you’ll need and why:
- All-Purpose Flour: This forms the foundational structure of your cookies. Ensuring it’s fluffed and leveled accurately is key to preventing overly dense or crumbly cookies.
- Unsalted Butter: The cornerstone of rich flavor and tender texture. Using unsalted butter allows you to control the total salt content in your recipe. Make sure it’s at room temperature for optimal creaming with the sugars.
- Granulated Sugar & Light Brown Sugar: The combination of these two sugars is essential. Granulated sugar contributes to the crispness of the edges, while light brown sugar adds moisture, depth of flavor (with its molasses content), and that desirable chewiness in the cookie’s center.
- Eggs (Whole Egg & Egg Yolk): A whole large egg provides structure and helps bind the ingredients, while an additional egg yolk adds extra richness, moisture, and chewiness, preventing the cookies from becoming too dry or brittle. Ensure they are at room temperature for better emulsion with the butter mixture.
- Baking Essentials:
- Baking Soda: This leavening agent reacts with the acidic brown sugar to help the cookies spread and achieve their signature thinness and crinkled edges.
- Salt: A crucial flavor enhancer that balances the sweetness and brings out the full depth of the chocolate and butter. Don’t skip it!
- Pure Vanilla Extract: Essential for adding a warm, aromatic complexity that complements the chocolate beautifully. Use good quality pure vanilla for the best results.
- Water: A small amount of water helps activate the baking soda and contributes to the overall moisture content, facilitating the spreading effect.
- High-Quality Semi-Sweet Chocolate: The star of the show! Instead of standard chocolate chips, opting for a good quality semi-sweet chocolate bar, chopped into uneven chunks (averaging 1/2 inch with some smaller and larger pieces), provides varying pockets of melted chocolate. This creates a more dynamic and intensely gooey chocolate experience throughout the cookie.
- Flaky Sea Salt: This is more than just a garnish; a sprinkle of flaky sea salt on top of the warm cookies provides a delightful contrast to the sweetness, elevating the overall flavor profile and adding a gourmet touch.
Creative Optional Mix-Ins for Your Pan-Banging Cookies
While pan-banging chocolate chip cookies are spectacular on their own, adding mix-ins can introduce exciting new dimensions of flavor and texture. However, a word of caution: adding too many extra ingredients can prevent the cookie dough from spreading properly, which is crucial for achieving those characteristic crisp, crinkled edges. Aim for a total of no more than 1/2 to 3/4 cup of mix-ins to ensure your cookies maintain their unique structure.
Here are some delicious ideas to inspire your cookie creativity:
- Chopped Nuts: Introduce a delightful crunch and nutty flavor.
- Almonds: Offer a subtle, buttery crunch.
- Pecans: Provide a richer, almost caramel-like note.
- Pistachios: Add a unique savory-sweet element and beautiful green color.
- Walnuts: Bring a classic, earthy flavor and satisfying texture.
- Toffee Bits: For an extra layer of buttery, caramelized sweetness and a pleasing chew. They melt slightly, adding to the gooey factor.
- Different Chocolate Varieties: Experiment with various chocolates to change the flavor profile.
- Milk Chocolate Chips: For a sweeter, creamier chocolate experience.
- Dark Chocolate Chunks: To add a sophisticated, bittersweet contrast.
- White Chocolate Chips: Introduce a creamy, vanilla-infused sweetness.
- Butterscotch Chips: For a nostalgic, warm, and buttery flavor.
- Coconut Flakes: Toasted or untoasted, coconut flakes can add a tropical aroma and a chewy, textured bite. Toasting them first will enhance their nutty flavor.
- Cookie Pieces: Crush up other cookies like Oreos or shortbread for an indulgent, layered dessert experience.
- Dried Fruits: (Use sparingly due to potential impact on spread) Dried cherries, cranberries, or apricots can add a tangy chewiness.
- Spices: A pinch of cinnamon, nutmeg, or a dash of espresso powder can subtly enhance the chocolate flavor without affecting the texture.
Mastering the Technique for Crispy, Crinkled Chocolate Chip Cookies
The pan-banging method is simple yet transformative. Follow these detailed steps to achieve perfect cookies every time:
Before you begin, make sure your oven rack is adjusted to the middle position. This ensures even heat distribution, crucial for uniform baking. Preheat your oven to 350°F (175°C), and line three baking sheets with parchment paper or silicone baking mats. These liners are key to preventing sticking and promoting even browning.
- Prepare the Dry Ingredients: In a medium bowl, whisk together the all-purpose flour, baking soda, and salt. Whisking ensures these dry ingredients are thoroughly combined and evenly distributed, which is vital for the cookie’s rise and texture. Set aside.
- Cream Butter and Sugars: In the bowl of a stand mixer fitted with a paddle attachment, beat the softened unsalted butter on medium speed until it’s light and creamy. This aerates the butter, creating a good foundation. Gradually add the granulated sugar and light brown sugar. Continue beating on medium-high speed for 2-3 minutes until the mixture is visibly lightened in color and fluffy. This step incorporates air, contributing to a tender crumb.
- Incorporate Wet Ingredients: Add the large egg, egg yolk, pure vanilla extract, and water to the creamed butter and sugar. Mix on low speed just until everything is combined. Be careful not to overmix at this stage; overmixing can develop too much gluten, leading to tougher cookies.
- Combine Wet and Dry: Gradually add the whisked dry ingredients to the wet mixture in the stand mixer. Mix on low speed until just combined and no streaks of flour remain. Stop as soon as the flour is incorporated to avoid overdeveloping the gluten.
- Fold in the Chocolate: Gently stir in the chopped semi-sweet chocolate chunks by hand. Ensure they are evenly distributed throughout the dough. Using unevenly chopped chocolate creates pockets of melted goodness that enhance the eating experience.
- Shape and Chill the Cookies: Divide the dough into equal-sized balls, each weighing about 3.5 ounces (a generous 1/3 cup). Arrange no more than four cookie dough balls on each prepared baking sheet, leaving ample space between them for spreading. This spacing is crucial for allowing the cookies to spread and form their characteristic crinkled edges. Transfer one of the baking sheets with the dough balls to the freezer to chill for at least 15 minutes. Chilling helps the cookies maintain their shape and spread more slowly, contributing to the desired texture.
- Initial Bake: Place one chilled baking sheet in the preheated oven. Bake for approximately 10 minutes, or until the edges begin to set and the centers appear slightly puffy. The cookies won’t look fully baked yet, which is exactly what you want for the next step.
- The “Banging” Technique: This is where the magic happens! Carefully open the oven door. Lift the side of the baking sheet about 3-4 inches and gently drop it back down against the oven rack. Repeat this lifting and dropping motion a few times (3-5 times) in quick succession. You’ll observe the cookies deflate and their edges begin to ripple and crinkle. This action forces the air out of the center, causing the edges to set and spread further outwards.
- Continue Baking: Close the oven door and continue to bake for another 4-6 minutes, or until the cookies are golden brown around the edges, but their centers are still soft, gooey, and slightly undercooked. The total baking time should be around 14-16 minutes, depending on your oven.
- Cooling Process: Remove the baking sheet from the oven. Allow the pan-banging cookies to cool on the baking sheet for at least 5 minutes. This allows them to set further and makes them easier to transfer. Then, carefully transfer them to a wire rack to cool completely. Cooling on a wire rack ensures air circulation, preventing soggy bottoms.
- Repeat and Garnish: Repeat the entire baking and banging process with the remaining chilled dough balls on your other prepared baking sheets. Once all cookies are baked and slightly cooled, generously sprinkle flaky sea salt on top of each cookie. Serve warm or at room temperature, and enjoy the perfect balance of crispy and gooey!
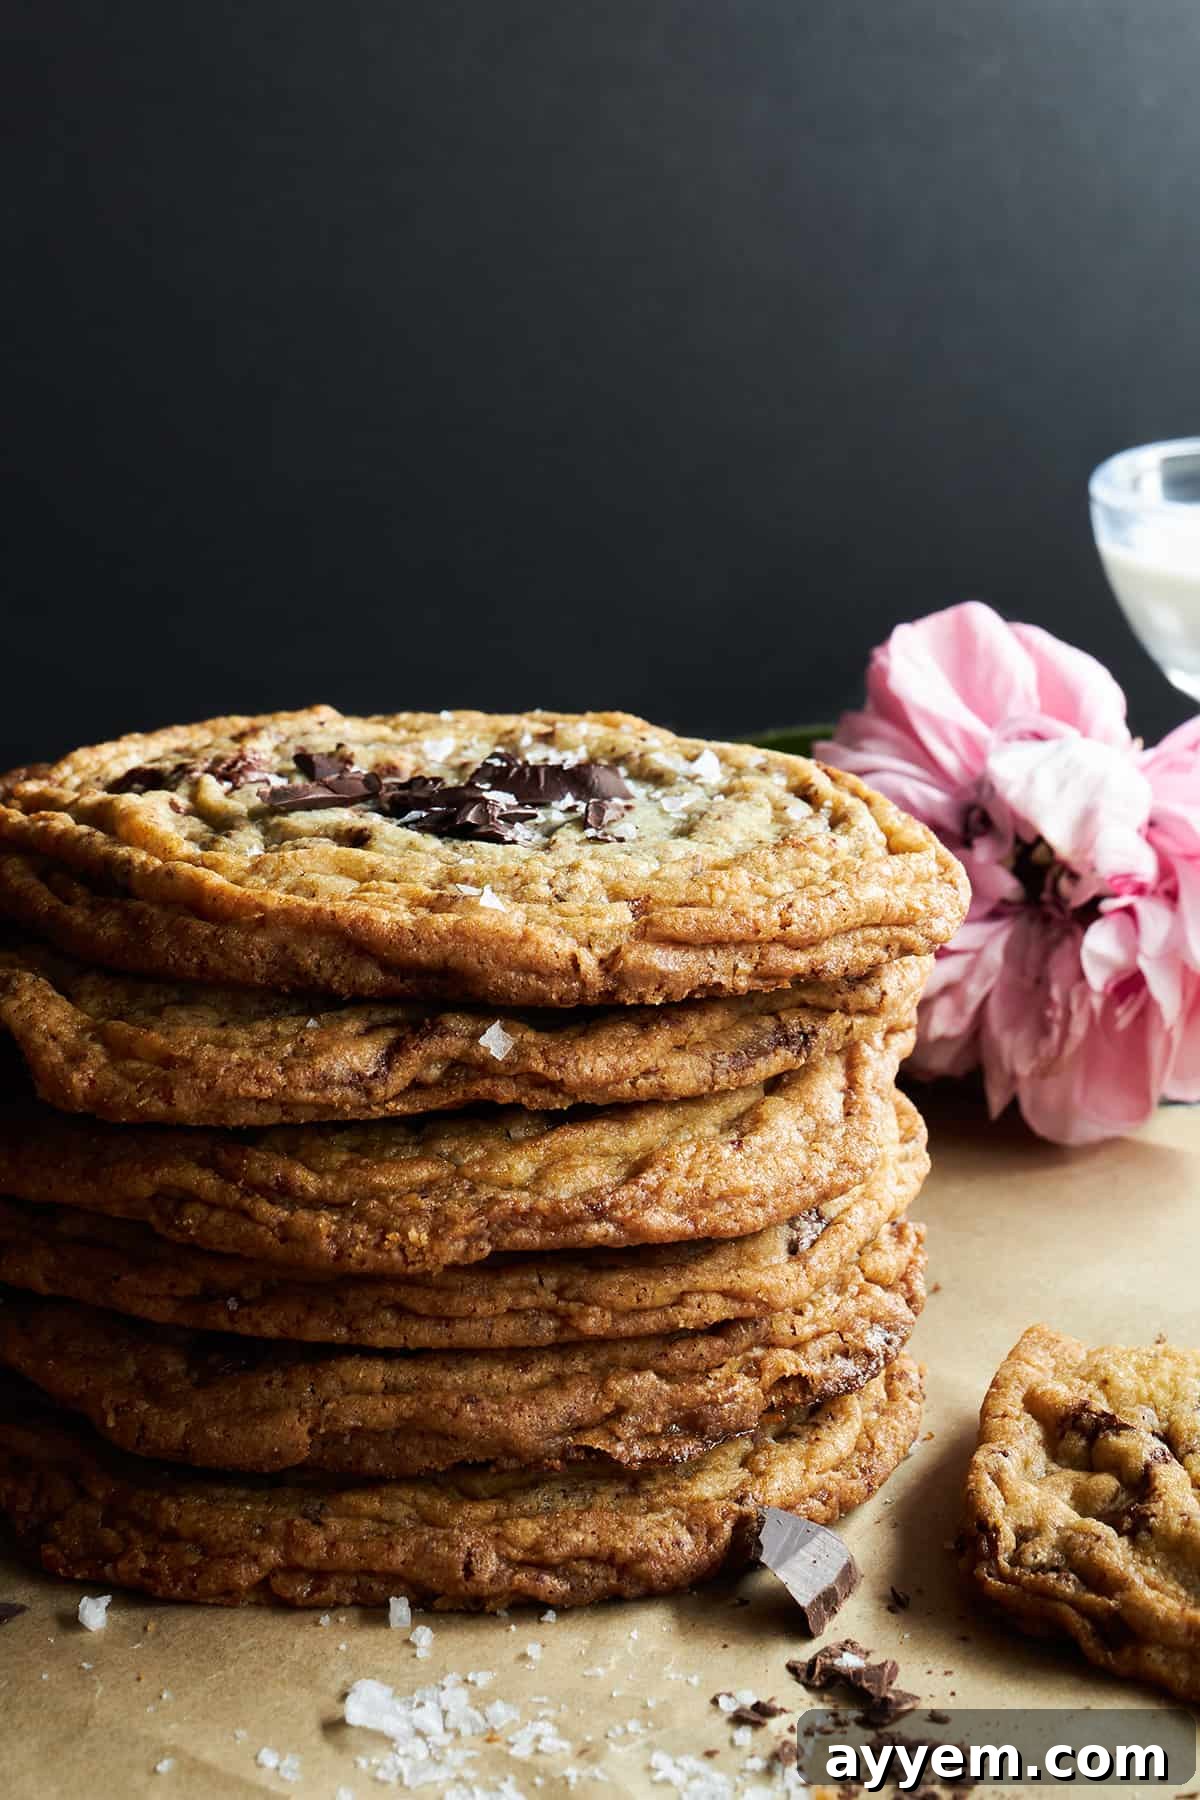
Essential Baking Tips for Pan-Banging Chocolate Chip Cookies
Achieving bakery-quality pan-banging chocolate chip cookies is within reach with these helpful tips:
- Room Temperature Ingredients are Key: Always allow your butter and eggs to come to proper room temperature before you start mixing. Room temperature butter creams more smoothly with sugar, creating an airy, emulsified base. Cold ingredients, on the other hand, can lead to a lumpy batter and a less uniform cookie texture. Plan ahead by taking them out of the refrigerator an hour or two before baking.
- Avoid Overmixing the Dough: Once you add the flour, mix the ingredients only until they are just combined and no dry streaks of flour are visible. Overmixing develops the gluten in the flour, which can lead to tough, dense cookies instead of the desired tender, chewy ones.
- Proper Spacing is Crucial: These cookies spread significantly due to the pan-banging technique. Portion the dough into roughly ⅓ cup sized balls and arrange no more than four cookie dough balls per standard baking sheet. Leaving ample space (at least 3-4 inches) around each cookie is essential to prevent them from merging together as they spread.
- Don’t Skimp on Chilling Time: While the recipe calls for a minimum of 15 minutes in the freezer, a slightly longer chill (up to 30 minutes in the fridge or freezer) can be beneficial. Chilling solidifies the butter, which helps the cookies spread more slowly and evenly, contributing to those desirable crispy edges without becoming overly thin.
- Don’t Overbake: For that perfect gooey center, these cookies are meant to be slightly underbaked when removed from the oven. The residual heat from the baking sheet will continue to cook them slightly as they cool, leading to that ideal balance of set edges and soft middles. If they look perfectly done in the oven, they might be overbaked once fully cooled.
- Store Properly: Once completely cooled, store your pan-banging chocolate chip cookies in an airtight container at room temperature for up to 3-4 days. For optimal freshness, you can also place a slice of bread in the container to help keep them soft.
Why Are My Cookies Greasy?
If you notice the bottoms of your pan-banging cookies appear a bit greasier than other cookie varieties, don’t worry – it’s completely normal and actually part of what makes them so special! The generous amount of butter in this recipe, combined with the spreading technique, can cause some of the butter to render out during baking. This contributes to the irresistibly rich flavor and incredibly tender texture. It’s a sign that you’ve got a decadent, buttery cookie, not that you’ve done anything wrong!
Why Won’t My Pan-Banging Cookies Crinkle?
If your cookie edges aren’t developing those characteristic ripples, it could be due to a few factors. One common reason is the protein content of your flour. Flours with a higher protein content (like bread flour) can create a stronger gluten structure that resists spreading as much. Experimenting with different brands of all-purpose flour, or even slightly reducing the flour amount next time, can help. Additionally, ensuring your butter is at the correct room temperature, not too cold or too warm, and that your oven is accurately preheated, plays a role in the cookie’s spread. Make sure you are also dropping the pan firmly enough to encourage the dough to ripple.
Why Are the Bottoms of My Cookies Burning?
Burnt cookie bottoms can be frustrating. To prevent this, first, ensure your oven is fully preheated to the correct temperature. An oven that hasn’t reached its set temperature can result in the cookies baking unevenly. Second, make sure your dough is thoroughly combined, as pockets of unmixed ingredients can cause uneven cooking. Using light-colored baking sheets instead of dark ones can also help, as dark sheets absorb more heat and can lead to overbrowning. Lastly, check your oven rack position; sometimes, moving it up one notch can prevent direct heat from scorching the bottoms.
Does This Technique Work with Other Cookies?
The pan-banging technique is specific and works best with certain types of cookie dough. It is generally effective for recipes designed to produce thinner, crispier cookies with good spread, where the goal is to achieve those distinct crinkled edges and a soft interior. It might work well with thinner sugar cookies or some types of snickerdoodles. However, it is not suitable for cookies that are intended to be thick, cakey, or extra chewy, as the banging would disrupt their desired structure and height, often flattening them excessively.
Other Common Questions about Chocolate Chip Cookies
Banging the pan is a brilliant technique to create the signature ripple effect and varied textures of these cookies. It interrupts the baking process, causing the cookie to deflate slightly and spread out in waves. This action pushes the unbaked dough towards the edges, resulting in a thin, crisp exterior and a beautifully chewy, gooey center with rich pockets of melted chocolate.
While not strictly mandatory, chilling the dough is highly recommended for pan-banging cookies. It helps solidify the butter, which in turn slows down the cookie’s spread in the oven. This allows the edges to set and crisp up more effectively before the center fully bakes, contributing to the distinct crinkles. A good 15-30 minutes in the freezer is usually sufficient, but you can chill it for longer, even overnight, for deeper flavor development and a more controlled spread.
Absolutely! To make these pan-banging cookies gluten-free, substitute the all-purpose flour with a high-quality 1:1 gluten-free flour blend that contains xanthan gum. It’s also important to check the labels of your chocolate to ensure there are no hidden gluten-containing additives. Gluten-free doughs sometimes tend to spread more, so you might find that a slightly longer chilling time (e.g., 30-45 minutes) helps the cookies hold their structure better during baking and achieve those perfect crinkles.
Yes, freezing the cookie dough is an excellent way to prepare ahead! Simply scoop the dough into individual balls as directed in the recipe, then place them on a parchment-lined baking sheet and freeze until solid (about 1-2 hours). Once frozen, transfer the dough balls to a freezer-safe bag or airtight container, where they can be stored for up to 3 months. When you’re ready to bake, place the frozen dough balls on your prepared baking sheets and let them sit at room temperature for about 15-20 minutes while your oven preheats, then follow the usual pan-banging baking method.
Pan-banging cookies are best when slightly underbaked in the center. Look for edges that are golden brown and set, while the centers still appear soft, puffy, and slightly jiggly. They will continue to set as they cool on the baking sheet. Removing them at this stage ensures a perfectly gooey and chewy interior.
For the ultimate pan-banging cookie experience, use a high-quality semi-sweet chocolate bar (around 60-70% cacao) that you chop yourself. Chopping creates uneven pieces, from fine shards to larger chunks, which melt into irresistible pools and pockets of chocolate throughout the cookie. While chocolate chips work, chopped chocolate provides a more dynamic and decadent texture.
More Drool-Worthy Chocolate Chip Cookie Recipes
If you’re as passionate about chocolate chip cookies as we are, don’t stop here! Explore some of our other incredibly ooey-gooey, deeply chocolatey cookie recipes that are sure to satisfy any craving:
- The Best Chewy Chocolate Chip Cookies
- Mini Chocolate Chip Cookies
- Brown Butter Pistachio Chocolate Chip Cookies
- Salted Tahini Chocolate Chip Cookies
- Chocolate Chip Caramel Bars (Carmelitas)
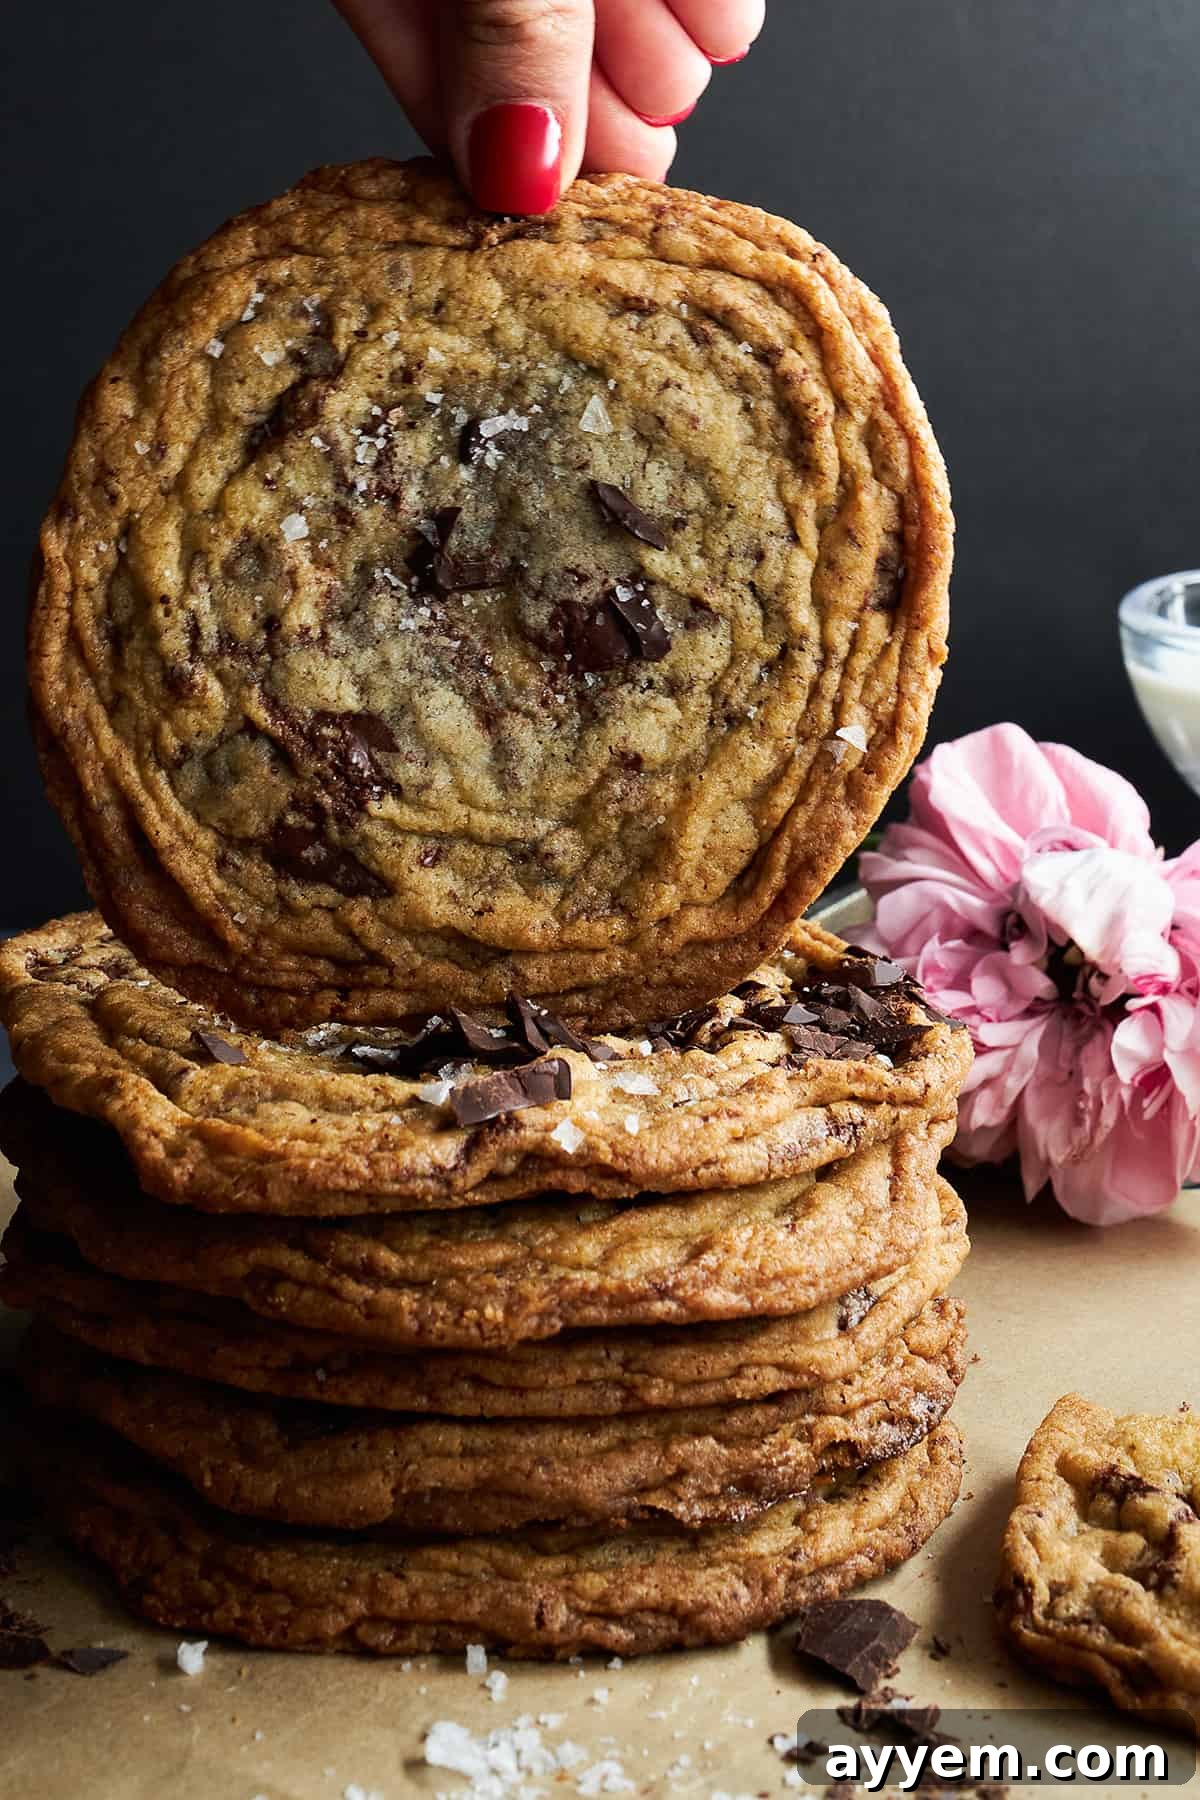
Pan-Banging Chocolate Chip Cookies
Pin
Ingredients
- 2 cups all-purpose flour fluffed then leveled
- 1/2 teaspoon baking soda
- 3/4 teaspoon salt
- 1 cup (2 sticks) unsalted butter, room temperature
- 1 1/2 cups granulated sugar
- 1/3 cup packed light brown sugar
- 1 large egg
- 1 large egg yolk
- 2 teaspoons pure vanilla extract
- 2 Tablespoons water
- 8 ounces semi-sweet chocolate chopped into bite-size pieces averaging 1/2 inch with some smaller and some larger
- flakey sea salt for garnish
Instructions
-
Adjust an oven rack to the middle position. Preheat the oven to 350 degrees Fahrenheit (175 degrees Celsius). Line 3 baking sheets with parchment paper or silicone baking mats.
-
In a small bowl, whisk together the flour, baking soda, and salt.2 cups all-purpose flour, 1/2 teaspoon baking soda, 3/4 teaspoon salt
-
In the bowl of a stand mixer fitted with a paddle attachment, beat the butter on medium speed until creamy. Add the granulated sugar and brown sugar, and beat on medium-high speed until light and fluffy, about 2-3 minutes.1 cup (2 sticks) unsalted butter, room temperature, 1 1/2 cups granulated sugar, 1/3 cup packed light brown sugar
-
Add the egg, egg yolk, vanilla extract, and water to the butter-sugar mixture, and mix on low speed until combined.1 large egg, 1 large egg yolk, 2 teaspoons pure vanilla extract, 2 Tablespoons water
-
Gradually add the flour mixture to the wet ingredients and mix on low speed until just combined.
-
Stir in the chopped chocolate chunks until evenly distributed throughout the dough.8 ounces semi-sweet chocolate
-
Form the dough into 3 1/2-ounce balls (about a heaping 1/3 cup each) and place them on the prepared baking sheets, spaced evenly apart. Place 4 balls on each baking sheet.
-
Transfer the baking sheets with the dough balls to the freezer and chill for at least 15 minutes before baking.
-
Place one chilled baking sheet in the preheated oven and bake for 10 minutes, until the cookies are puffed slightly in the center.
-
Carefully lift the side of the baking sheet up about 4 inches and gently let it drop back down against the oven rack, so the edges of the cookies set and the inside falls back down. Repeat this lifting and dropping process a few times to create ridges around the edge of the cookie.
-
Bake for a total of 14-16 minutes, until the edges are golden brown but the centers are still soft and slightly undercooked.
-
Remove the baking sheet from the oven and allow the cookies to cool on the baking sheet for 5 minutes before transferring them to a wire rack to cool completely.
-
Repeat the baking process with the remaining chilled dough balls on the other baking sheets.
-
Sprinkle with flakey sea salt.flakey sea salt for garnish
Equipment
Notes
Nutrition
Nutrition information is automatically calculated, so should only be used as an approximation.