
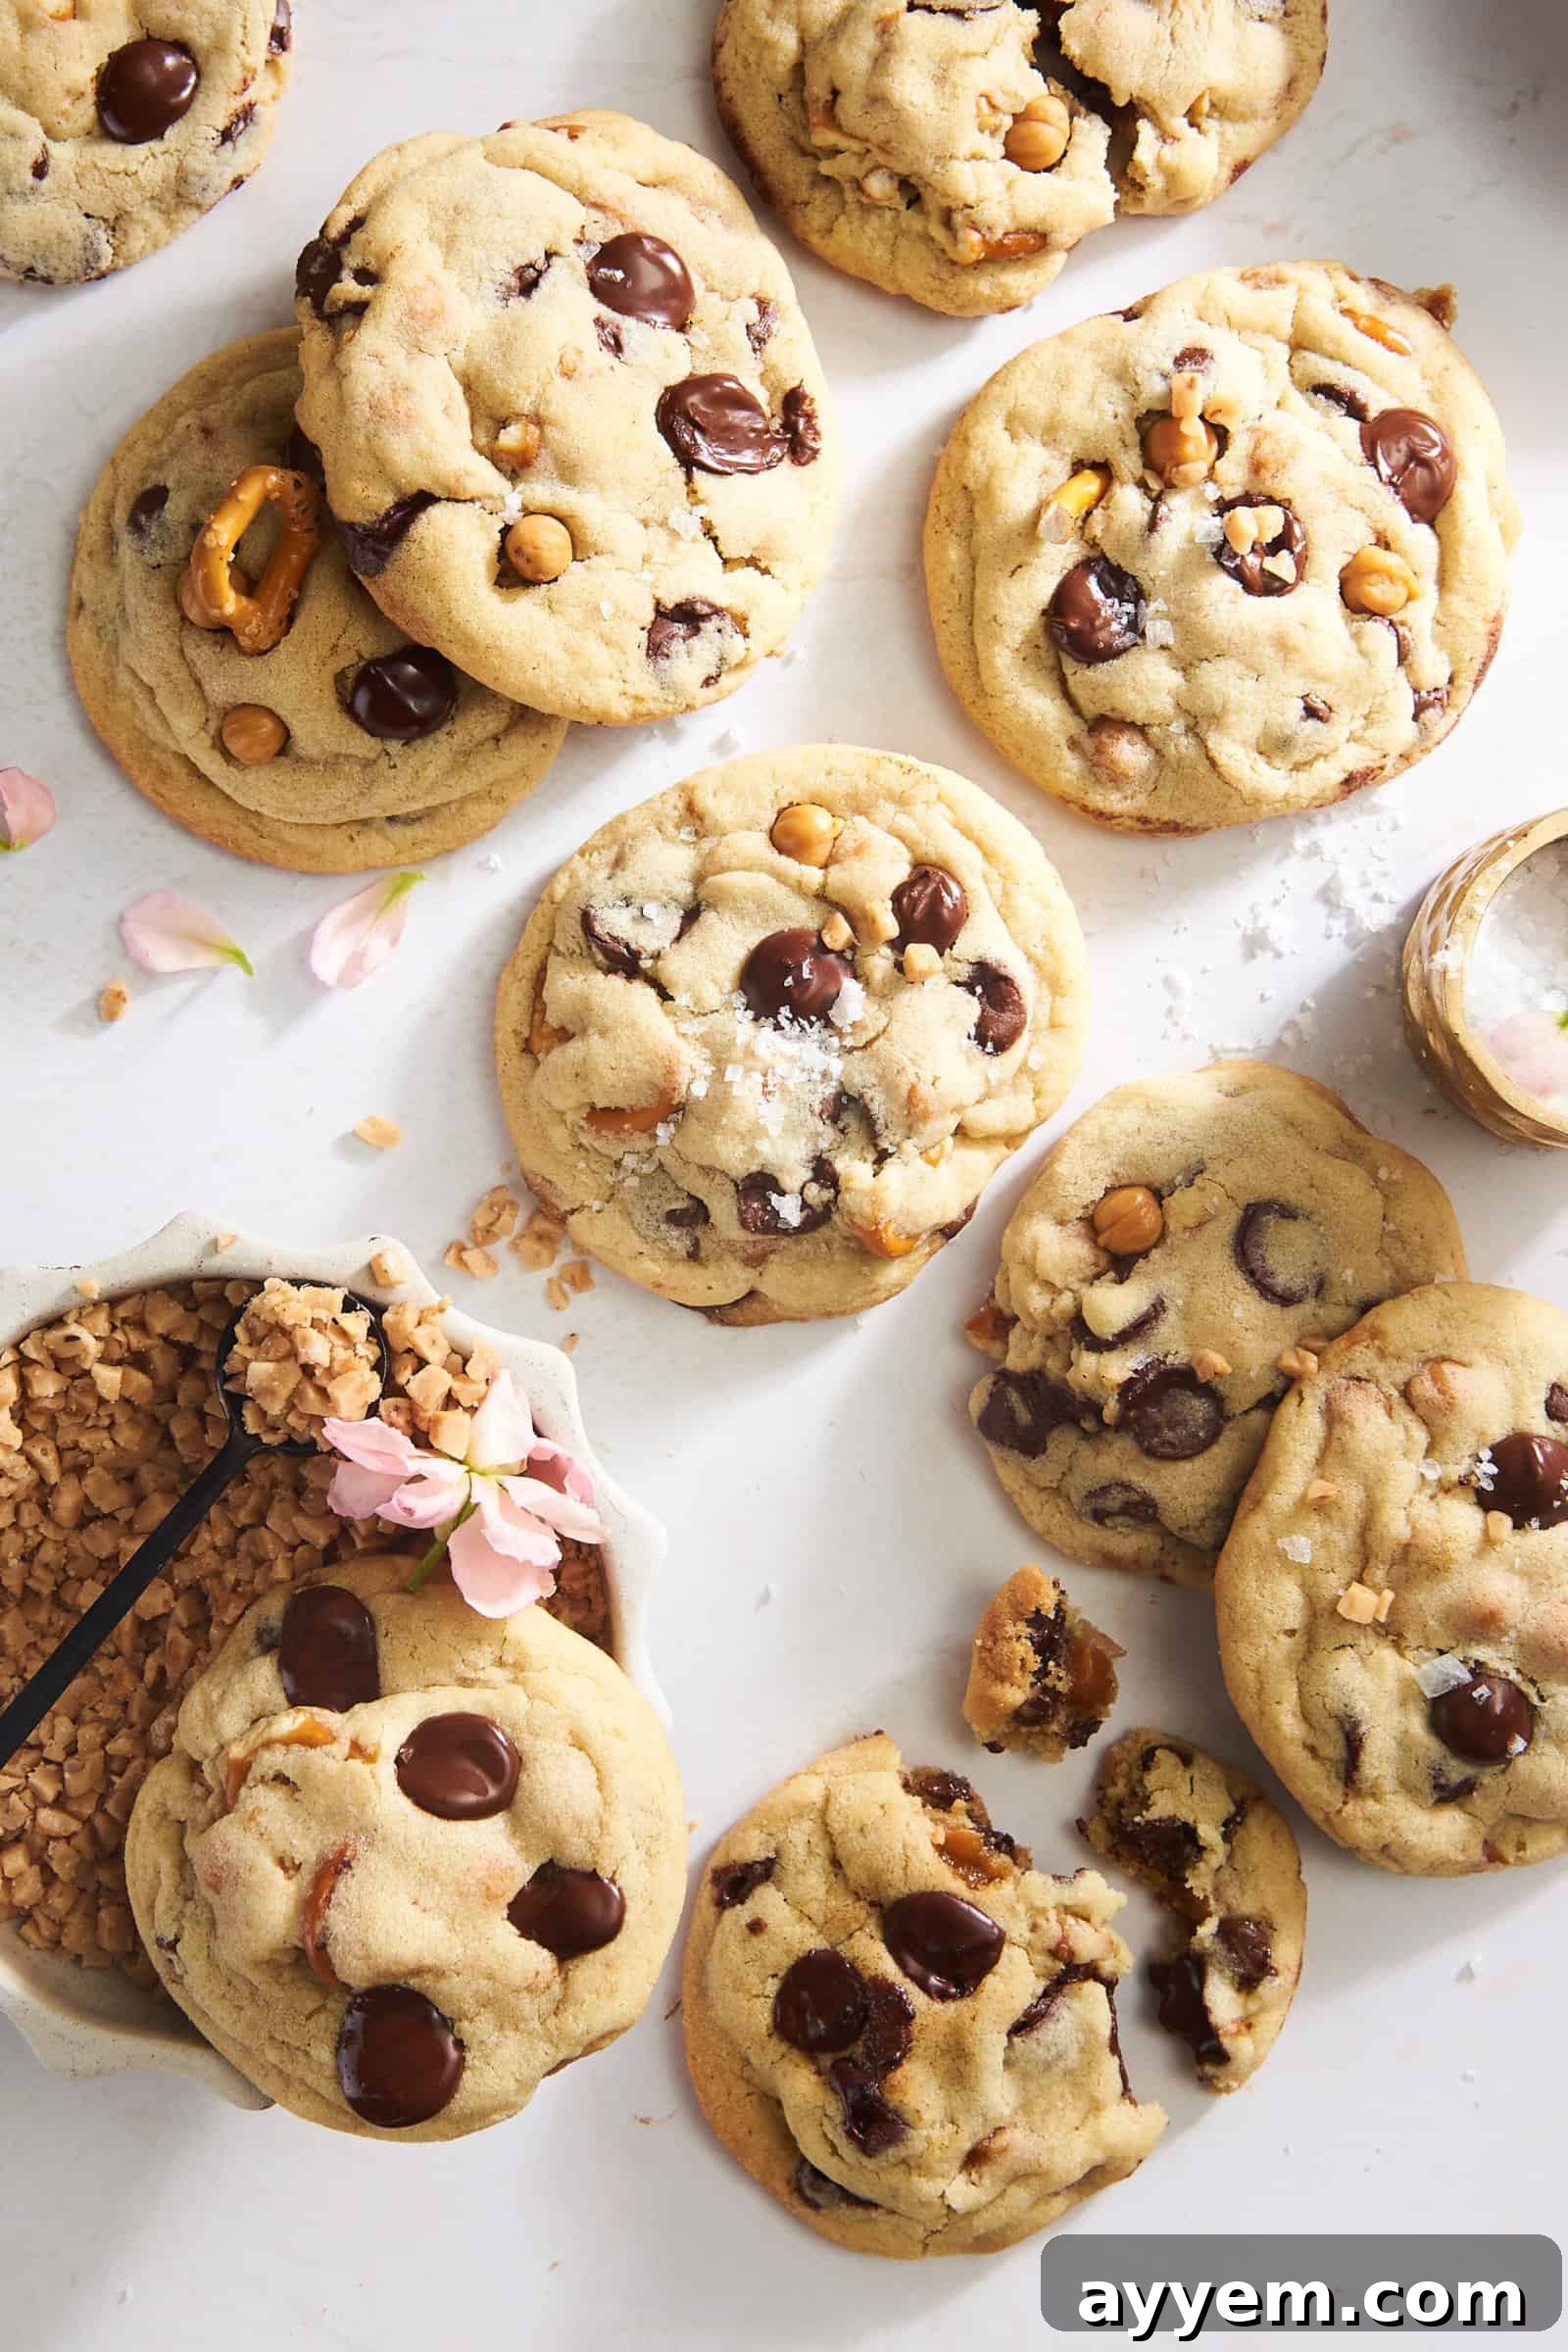
Panera Bread Kitchen Sink Cookies: The Ultimate Copycat Recipe for Sweet & Salty Bliss
Prepare to satisfy every craving with these incredible homemade Panera Bread Kitchen Sink Cookies. Aptly named because they truly contain “everything but the kitchen sink,” these cookies are a harmonious blend of sweet and salty, gooey and crunchy, soft and chewy. Imagine biting into a perfect cookie loaded with luscious chocolate chips, soft caramel, crispy pretzels, and irresistible toffee bits, all balanced with a sprinkle of flaky sea salt. This recipe brings the beloved Panera experience right to your kitchen, offering an easy way to create a decadent treat that’s impossible to resist.
The best part? These cookies are incredibly versatile. You can easily customize them with your favorite mix-ins, making each batch a unique culinary adventure. Whether you’re baking for a special occasion, a solo indulgence, or sharing with friends and family, this recipe is guaranteed to become your new go-to for a truly unforgettable cookie experience.
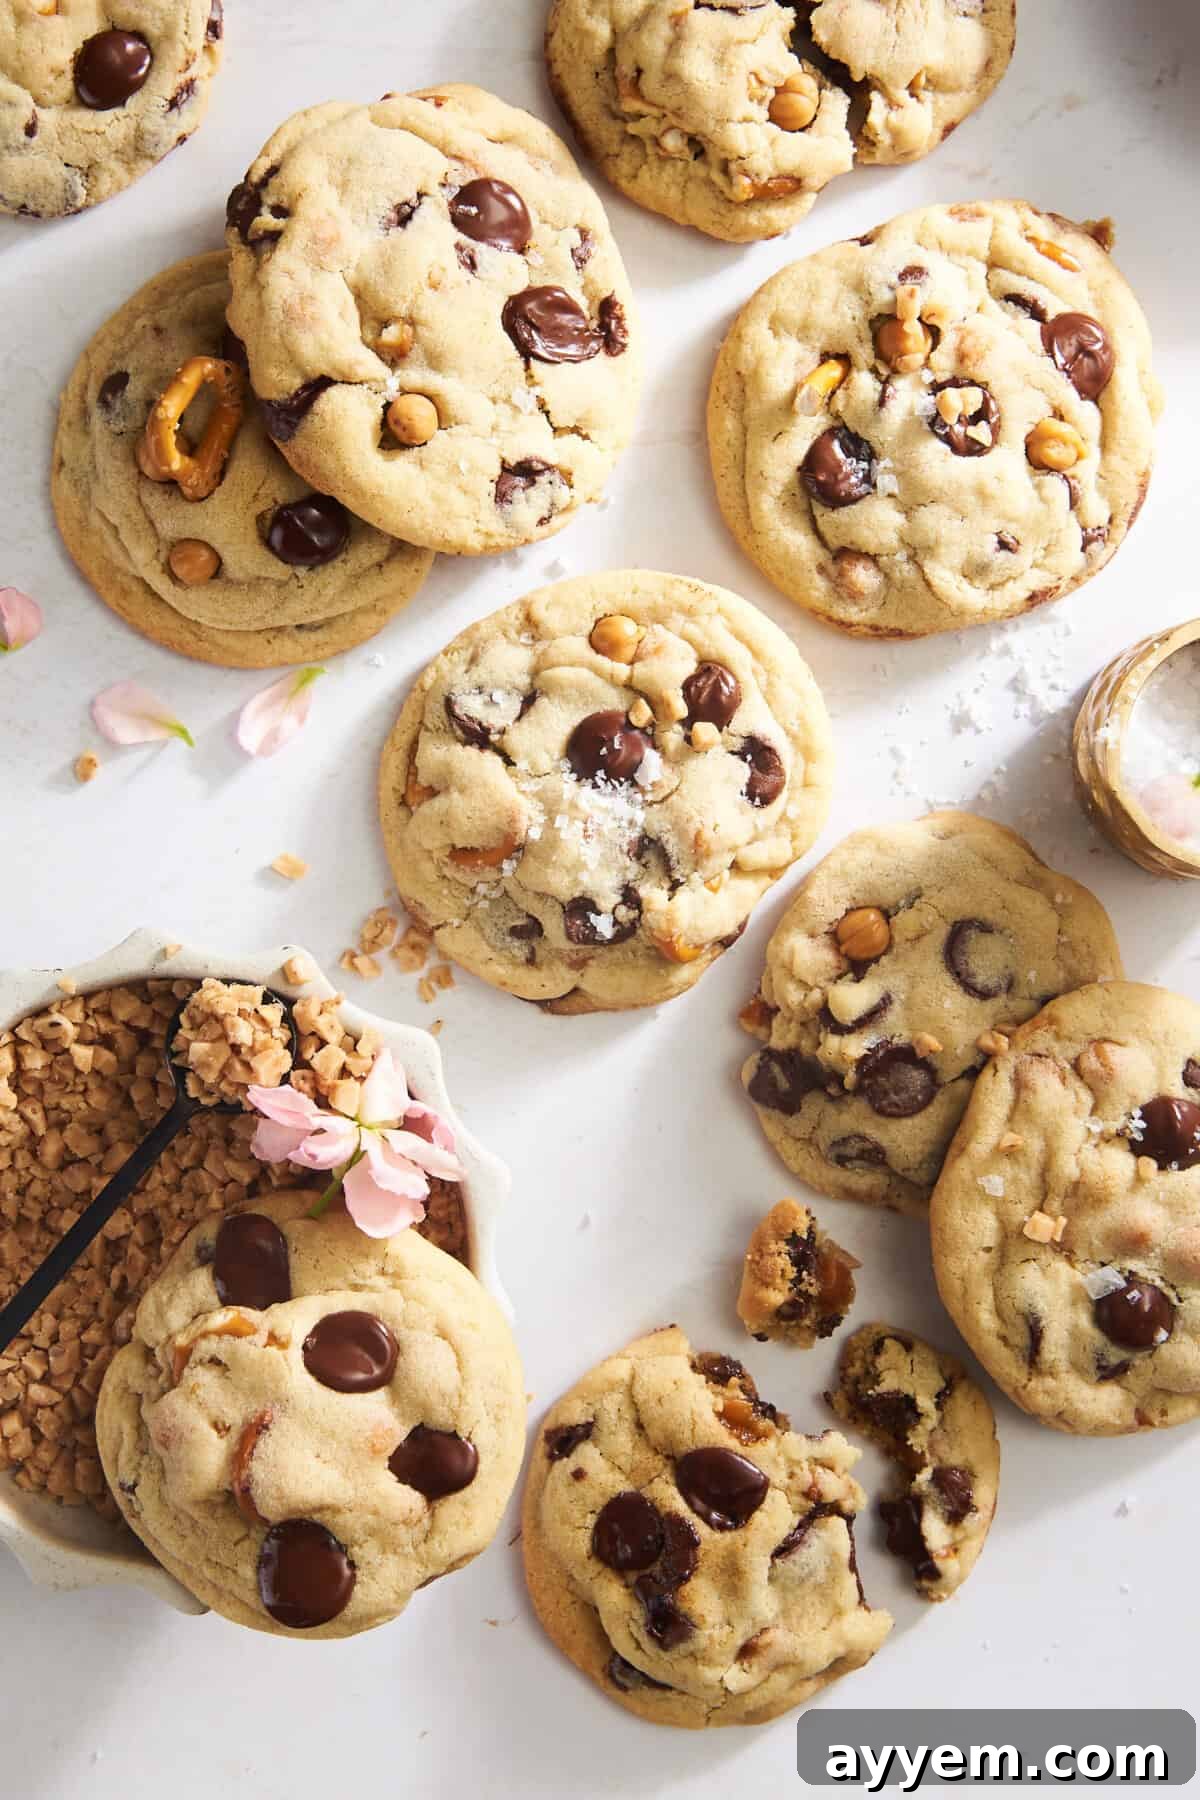
What Exactly Are Kitchen Sink Cookies? Exploring the “Everything But the Sink” Phenomenon
The term “Kitchen Sink Cookies,” often interchangeably called “everything but the kitchen sink cookies,” refers to a style of cookie that incorporates a diverse array of mix-ins, typically combining both sweet and salty elements. This playful name alludes to the common idiom meaning “everything imaginable,” suggesting that these cookies are packed with a wide variety of delicious additions.
While the concept of a “kitchen sink” dessert has existed in various forms for decades, it gained significant popularity, especially in the casual dining sphere, thanks to establishments like Panera Bread. Panera’s version quickly became a fan favorite, celebrated for its perfect balance of textures and flavors – the chewiness of the cookie base, the meltiness of chocolate, the rich pull of caramel, and the satisfying crunch of pretzels, all enhanced by a touch of salt. This recipe is meticulously crafted to replicate that iconic Panera taste and texture, allowing you to enjoy a beloved bakery treat from the comfort of your home.
Why You’ll Love This Panera Kitchen Sink Cookie Copycat Recipe
This recipe isn’t just a copycat; it’s an elevated experience designed to give you the best possible kitchen sink cookie. Here’s why it will quickly become a favorite in your recipe collection:
- **Unrivaled Flavor Balance:** The magic lies in the equilibrium of sweet and salty. Each bite delivers bursts of sweetness from chocolate and caramel, perfectly complemented by the savory crunch of pretzels and the subtle brininess of sea salt.
- **Satisfying Texture Medley:** From the soft, chewy cookie base to the gooey melted chocolate, the sticky caramel, and the crisp pretzels, these cookies offer a delightful textural journey with every mouthful.
- **Effortless Customization:** The “kitchen sink” philosophy means there’s no wrong way to mix and match. This recipe provides a fantastic base, encouraging you to experiment with whatever delicious additions you have on hand or crave.
- **Easy to Follow:** Despite their complex appearance, these cookies are surprisingly simple to make. Our clear, step-by-step instructions ensure success for bakers of all skill levels.
- **Perfect for Any Occasion:** Whether you need a crowd-pleasing dessert, a comforting snack, or a unique treat to share, these cookies fit the bill perfectly.
The Anatomy of a Perfect Kitchen Sink Cookie: Key Ingredients Explained
The foundation of any great cookie lies in its ingredients. For our Panera-inspired Kitchen Sink Cookies, we use a combination of pantry staples, each playing a crucial role in achieving that coveted chewy, flavorful result. Understanding the function of each component can help you master this recipe and even inspire your own variations.
- Unsalted Butter: Using unsalted butter is key because it gives you complete control over the salt content in your cookies. Butter contributes to the rich flavor and tender texture, and when softened, helps create a light and fluffy dough when creamed with sugar.
- Brown Sugar (Packed): Dark or light brown sugar is essential for a chewy cookie. The molasses content in brown sugar adds moisture, depth of flavor, and contributes to the soft, bendy texture we all love. Packing the sugar ensures accurate measurement.
- Granulated Sugar: This provides additional sweetness and helps the cookies spread slightly, creating those perfectly crisp edges while maintaining a soft center.
- Large Eggs (Whole Egg + Extra Yolk): The whole egg provides structure and richness, while the extra egg yolk is our secret weapon for an incredibly tender, moist, and chewy cookie. The added fat from the yolk significantly enhances the cookie’s texture and richness.
- Vanilla Extract: Use a high-quality pure vanilla extract. It’s not just a flavoring; vanilla enhances and rounds out all the other sweet flavors in the cookie dough, making them more vibrant.
- All-Purpose Flour: This forms the primary structure of your cookie dough. For those with dietary restrictions, a 1:1 gluten-free all-purpose flour blend can be used as a substitute without compromising too much on texture.
- Baking Soda: This leavening agent reacts with the acidic brown sugar to help the cookies rise and spread, resulting in a soft, airy interior and a slightly crisp exterior. Always ensure your baking soda is fresh for the best results.
- Salt: A pinch of salt is vital to balance the sweetness and enhance all the flavors in the cookie. It brings out the chocolate and caramel notes, preventing the cookies from tasting overly saccharine.
Essential Mix-Ins for the Panera Experience
These are the core components that give our copycat recipe its authentic Panera Kitchen Sink Cookie identity:
- Dark Chocolate Chips or Chunks: For intense chocolate flavor and pockets of gooey delight.
- Semi-Sweet Chocolate Chips or Chunks: A classic choice that adds a familiar sweetness and smooth texture.
- Chopped Pretzels: The ultimate salty crunch that defines the “kitchen sink” appeal.
- Caramel Squares (cut into small pieces): These melt into luscious, chewy pockets of buttery sweetness.
- Toffee Bits: Adds a rich, buttery, and slightly crunchy element with a caramelized flavor.
- Flaky Sea Salt (optional, for sprinkling): A finishing touch that brightens all the flavors and adds a beautiful visual appeal.
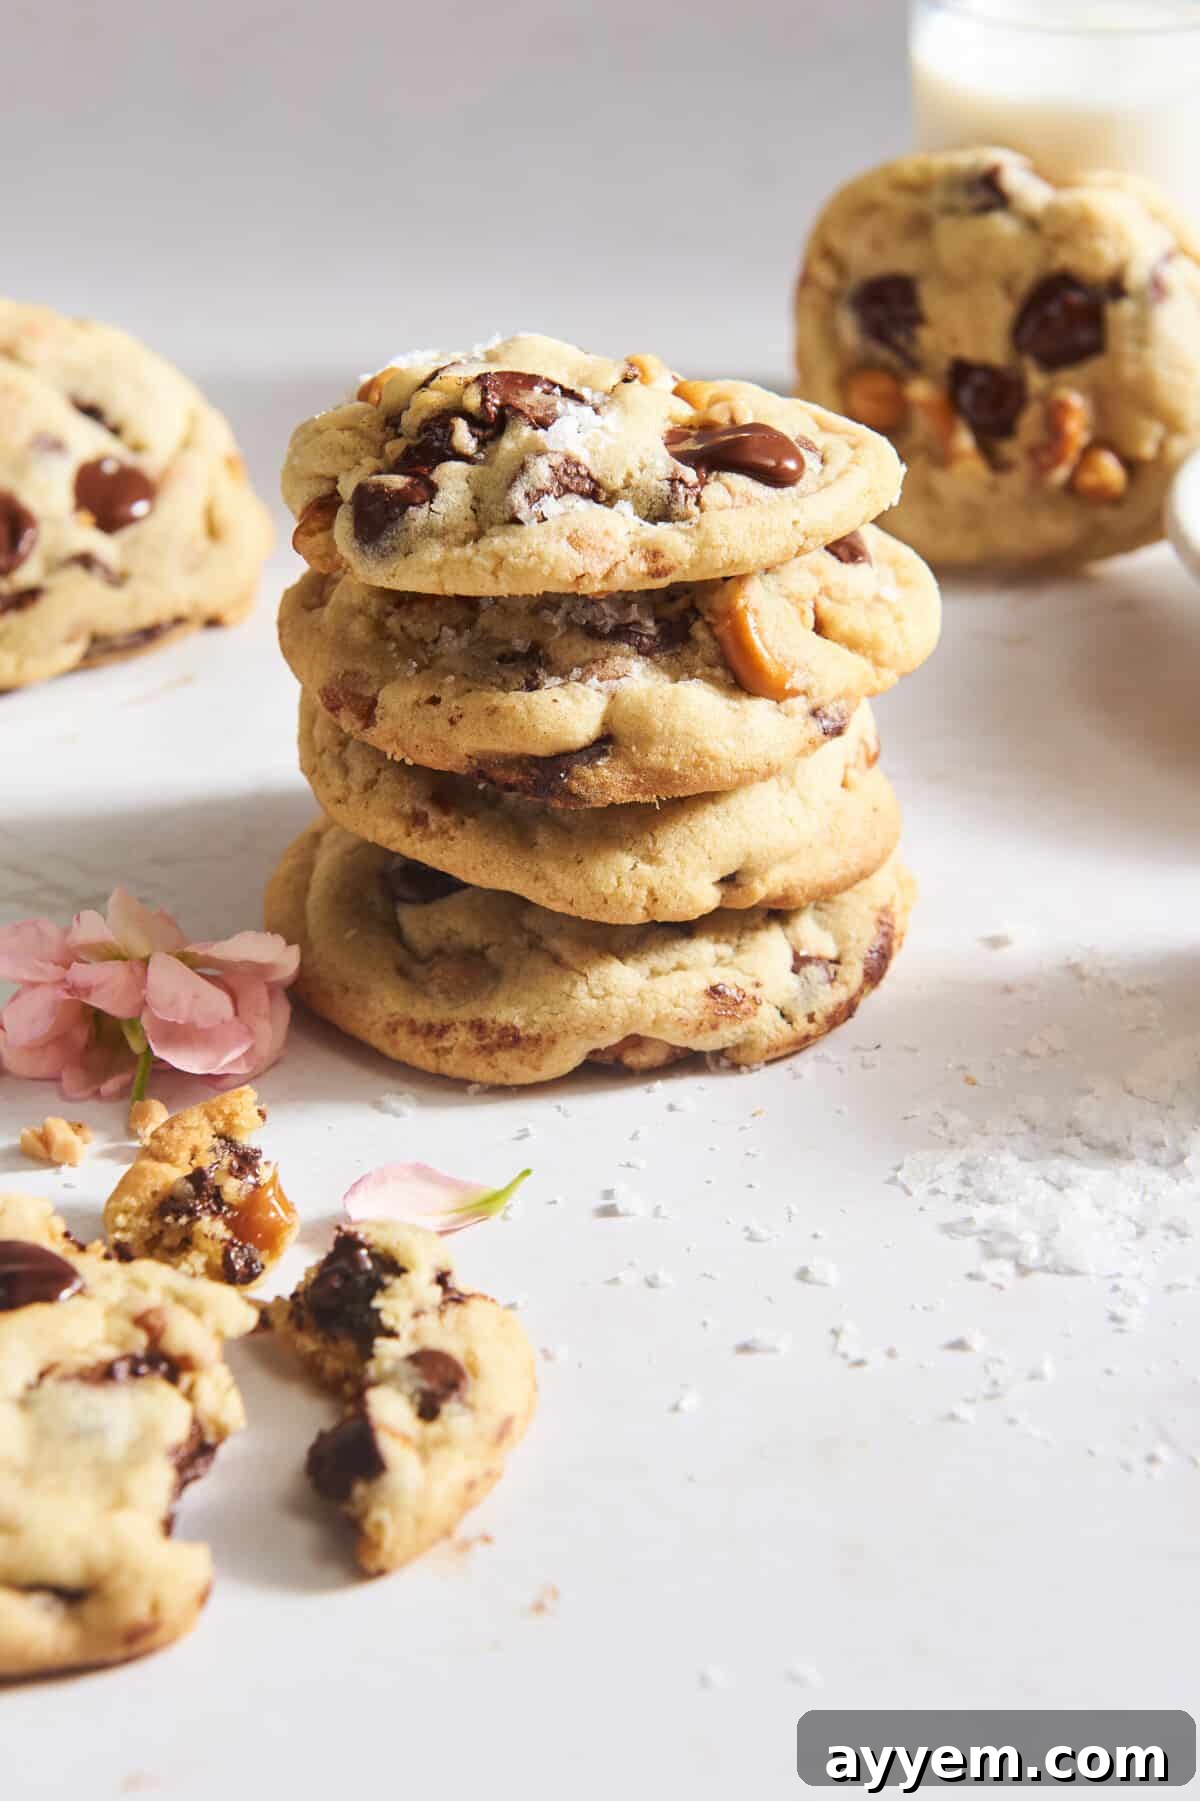
Step-by-Step Guide: Crafting Your Panera Kitchen Sink Cookies
Making these bakery-worthy cookies is a straightforward process, but paying attention to each step will ensure perfect results every time. Follow these instructions carefully to create a batch of irresistible sweet and salty treats.
- Prepare Your Baking Environment: Begin by preheating your oven to 350°F (175°C). Line two large baking sheets with parchment paper or silicone baking mats. This prevents sticking and ensures even baking. Set them aside for later.
- Cream the Wet Ingredients: In a large mixing bowl (or the bowl of a stand mixer fitted with the paddle attachment), combine the softened unsalted butter, packed brown sugar, and granulated sugar. Beat on medium speed for 2-3 minutes until the mixture is light, fluffy, and pale in color. This creaming process incorporates air, which is vital for a tender cookie.
- Incorporate Eggs and Vanilla: Add the large egg, extra large egg yolk, and vanilla extract to the creamed butter and sugar mixture. Mix on low speed until just combined. Be careful not to overmix at this stage; overmixing can introduce too much air, which can lead to flatter cookies.
- Whisk the Dry Ingredients: In a separate, medium-sized bowl, whisk together the all-purpose flour, baking soda, and salt. Whisking ensures that the leavening agent and salt are evenly distributed throughout the flour, leading to uniform rising and flavor.
- Combine Wet and Dry: Gradually add the dry ingredient mixture to the wet ingredients in the large mixing bowl. Mix on low speed until the dough just comes together and no streaks of flour remain. It’s crucial not to overmix the dough once the flour is added, as this can develop the gluten too much, resulting in tough, dry cookies.
- Fold in the Mix-Ins: Gently fold in the dark chocolate chips, semi-sweet chocolate chips, chopped pretzels, caramel squares, and toffee bits using a spatula. Distribute them evenly throughout the dough. If using flaky sea salt, reserve it for sprinkling on top of the portioned cookie dough.
- Portion and Chill the Dough: Use a 1/4-cup cookie scoop or a spoon to portion the cookie dough into equal-sized balls. Arrange them on the prepared baking sheets, leaving at least 2 inches of space between each cookie to allow for spreading. This step is critical: transfer the baking sheets with the cookie dough balls to the refrigerator to chill for at least 1 hour, or ideally, overnight. Chilling the dough prevents excessive spreading, concentrates flavors, and results in a thicker, chewier cookie.
- Bake to Perfection: Place the chilled cookies in the preheated oven. Bake for 10-12 minutes, or until the edges are golden brown and set, but the centers still appear slightly soft and gooey. Remember that cookies continue to cook slightly even after they’re removed from the oven.
- Cool and Enjoy: Remove the cookies from the oven and let them cool on the baking sheets for 5-10 minutes. This allows them to firm up without breaking. Then, carefully transfer them to a wire rack to cool completely. Allowing them to cool on a rack prevents the bottoms from becoming soggy.
Unleash Your Creativity: Endless Mix-In Variations
The beauty of Kitchen Sink Cookies lies in their adaptability. Don’t be afraid to experiment with different combinations to create your own signature cookie. Here are some popular and creative additions to inspire your next batch:
- Salty & Savory Twists:
- Potato Chips (crushed): Adds a unique salty crispness.
- Pretzel Potato Chips: Combines two great textures and flavors.
- Everything Bagel Seasoning: For a surprisingly savory and aromatic kick.
- Nutty & Crunchy Enhancements:
- Pecans or Walnuts (chopped): Classic additions for a nutty flavor and satisfying crunch.
- Peanuts or Cashews: Adds different nutty profiles.
- Granola: For an extra layer of texture and wholesome flavor.
- Chocolate & Candy Overload:
- M&M’s: A burst of color and classic candy shell crunch.
- White Chocolate Chips: Adds a creamy, sweet contrast.
- Milk Chocolate Chips: For a milder, sweeter chocolate experience.
- Peanut Butter Chips: If you’re a peanut butter lover, these are a must.
- Chopped Peanut Butter Cups: Takes the peanut butter and chocolate combo to the next level.
- Reese’s Pieces: Adds a vibrant color and distinct peanut butter candy flavor.
- Chopped Chocolate Bars: Elevates the chocolate experience with premium quality chocolate.
- Butterscotch Chips: For a rich, caramel-like flavor.
- Heath Bar Bits: More toffee goodness and crunch.
- Fruity & Chewy Additions:
- Dried Cranberries or Raisins: Adds a tart or sweet chewiness.
- Shredded Coconut: For a tropical hint and chewy texture.
- Breakfast Cereal Surprise:
- Crushed Corn Flakes or Rice Krispies: Adds an unexpected, light crunch.
- Cinnamon Toast Crunch (crushed): For a sweet, spiced breakfast-inspired twist.
- Caramel Enhancements:
- Soft Caramel Chunks or Bits: More gooey caramel goodness.
- Fun & Festive Touches:
- Sprinkles: For a festive look, especially for celebrations.
Tips for Choosing Your Mix-Ins
- Balance Flavors: Aim for a mix of sweet and salty to truly capture the “kitchen sink” essence.
- Vary Textures: Combine soft, gooey, and crunchy elements for an exciting bite.
- Don’t Overload: While it’s tempting, too many mix-ins can make the dough difficult to handle and prevent cookies from baking evenly. A good rule of thumb is about 2-3 cups total for a standard batch.
- Chop Larger Items: Ensure larger candies or nuts are chopped into smaller, bite-sized pieces for better distribution.
Achieving Bakery-Quality: Expert Tips & Tricks for Perfect Cookies
While the recipe itself is straightforward, a few expert tips can elevate your Kitchen Sink Cookies from good to absolutely phenomenal, matching the quality you’d find in a professional bakery.
Tips for Perfectly Round Cookies
The secret to achieving those beautifully symmetrical, bakery-worthy round cookies is simple but effective. As soon as your cookies emerge from the oven, while they are still hot and pliable, use a large round cookie cutter (or even an appropriately sized mug or glass) that is slightly larger than your cookie. Place the cutter over a cookie and gently swirl it around the edges, effectively “shaping” the warm cookie into a perfect circle. This technique works wonders for creating a polished, professional look.
The Importance of Chilling Dough
Chilling your cookie dough is a non-negotiable step for truly outstanding cookies. While the recipe suggests a minimum of 1 hour, chilling overnight yields the best results. Here’s why:
- **Prevents Spreading:** Cold butter takes longer to melt in the oven, meaning the cookies spread less, resulting in thicker, chewier cookies.
- **Intensifies Flavor:** Chilling allows the flour to fully hydrate and the flavors of all the ingredients to meld and deepen, leading to a more complex and delicious cookie.
- **Better Texture:** It creates a more developed gluten structure, contributing to a chewier texture.
Baking for Ideal Texture
The ideal Kitchen Sink Cookie has slightly crisp edges with a soft, chewy, and sometimes gooey center. To achieve this, watch your cookies carefully in the oven. They should be golden brown around the edges, but the very center should still look a little underbaked and slightly puffed. As they cool, they will set up to the perfect texture. Overbaking leads to dry, crumbly cookies, so err on the side of slightly underbaked.
Troubleshooting Common Cookie Issues
- Cookies Spreading Too Much: Ensure your butter wasn’t too soft (or even melted) before creaming. Always chill your dough for the recommended time. Your oven might also be running too low; use an oven thermometer.
- Cookies Not Spreading Enough/Too Cakey: Your butter might have been too cold, or you might have added too much flour. Ensure baking soda is fresh.
- Cookies Too Dry/Crumbly: Likely overbaked or overmixed. Follow precise baking times and avoid overmixing the flour. The extra egg yolk in this recipe helps prevent dryness.
- Mix-Ins Sinking to the Bottom: Toss chocolate chips, pretzels, and other mix-ins with a tablespoon of flour before adding them to the dough. This helps them adhere better and prevents them from sinking.
Plan Ahead: Make-Ahead, Storage, and Freezing Tips
These Kitchen Sink Cookies are fantastic fresh out of the oven, but they also store beautifully, making them perfect for meal prepping or enjoying throughout the week.
Making Dough Ahead of Time
Yes, you can absolutely prepare this recipe in advance! Once you’ve combined all the ingredients and folded in your mix-ins, cover the cookie dough tightly with plastic wrap and store it in the refrigerator. It will keep well for up to four days. When you’re ready to bake, you have two options: either let the dough come to room temperature for about 30 minutes before scooping and baking, or portion the dough into balls before refrigerating and bake them straight from the fridge, adding a minute or two to the baking time as needed.
Storing Baked Cookies
To maintain their freshness and chewiness, store leftover baked cookies in an airtight container or a resealable bag at room temperature. They will remain delicious for up to seven days. For optimal texture, you can place a slice of bread in the container; the cookies will absorb moisture from the bread, helping them stay soft.
Freezing Cookie Dough and Baked Cookies
Freezing is an excellent way to enjoy these cookies whenever a craving strikes!
- Freeze Baked Cookies: Allow baked cookies to cool completely. Then, transfer them to an airtight freezer-safe container or heavy-duty freezer bag. They can be stored for up to one month. Thaw at room temperature or gently warm in the microwave or oven for a “freshly baked” experience.
- Freeze Unbaked Cookie Dough: This is a fantastic option for having fresh cookies on demand. Shape the cookie dough into individual balls using your scoop, then place them on a baking sheet lined with parchment paper. Flash-freeze for about 1-2 hours, or until solid. Once frozen, transfer the solid cookie dough balls to an airtight freezer bag or container. They can be stored in the freezer for up to six months. When you’re ready to bake, simply place the frozen dough balls on a prepared baking sheet and bake directly from the freezer. You may need to add an extra 2-4 minutes to the baking time, watching for those golden-brown edges.
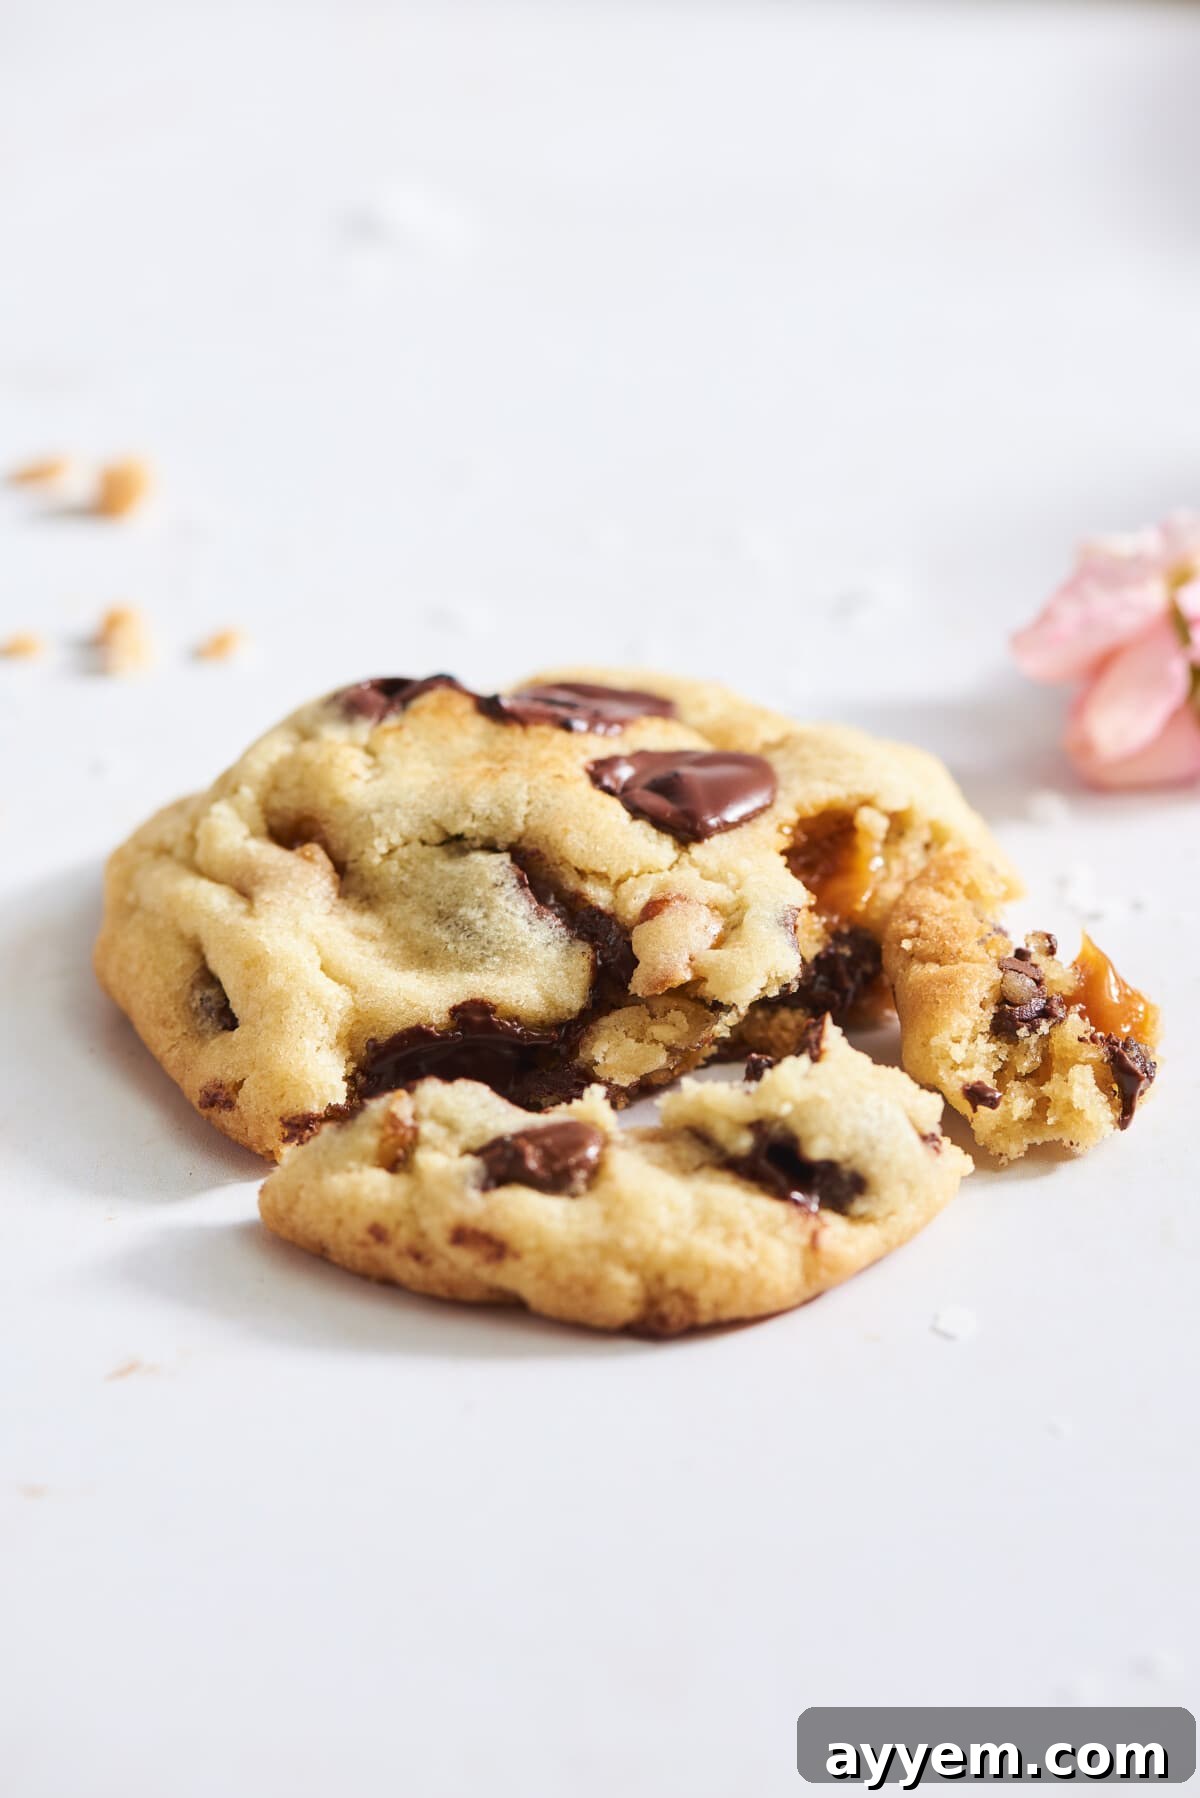
Frequently Asked Questions About Panera Bread Kitchen Sink Cookies
What makes Panera’s version so addictive?
It’s the irresistible combination of sweet and salty notes that creates a perfect flavor symphony. The cookie itself is wonderfully soft and rich, dotted with melty chocolate, chewy pockets of buttery caramel, and delightful crunchy surprises like pretzels, all elevated by a final sprinkle of flaky sea salt on top.
Can I customize my kitchen sink cookies?
Absolutely! The “kitchen sink” concept is all about personalization. Feel free to add in your favorite ingredients such as peanut butter chips, chopped nuts (like pecans or walnuts), shredded coconut, or even crushed potato chips for an extra salty kick. It’s truly a choose-your-own-adventure cookie, and it’s hard to go wrong!
Do I need to chill the dough?
While not strictly mandatory if you’re in a hurry, chilling the dough is highly recommended for optimal results. It significantly helps the cookies maintain their shape during baking, preventing excessive spreading, and also allows the flavors to deepen and meld, resulting in a more delicious and complex cookie. Even 30 minutes in the refrigerator can make a noticeable difference in texture and flavor.
Can I make these gluten-free?
Yes, you can certainly adapt this recipe to be gluten-free! Simply substitute the all-purpose flour with a high-quality 1:1 gluten-free flour blend. Additionally, ensure that all your chosen mix-ins, especially pretzels, are certified gluten-free. You’ll still achieve that crave-worthy texture and rich flavor profile.
Beyond the Sink: More Irresistible Cookie Recipes to Try
If you’re a fan of cookies packed with delicious add-ins and crave more sweet treats, explore some of our other favorite loaded cookie recipes:
- Monster Cookie Recipe
- Easy Soft-Baked M&M Cookie Recipe
- S’mores Cookies
- Crumbl Cookies Mom’s Recipe Copycat
The Ultimate Panera Kitchen Sink Cookie Copycat Recipe Card
Make these Panera-inspired “everything but the kitchen sink” cookies for an easy, satisfying treat that hits all the sweet and salty notes!
- Author: Food Dolls
- Servings: 24 servings
- Prep Time: 10 minutes
- Cook Time: 12 minutes
- Chill Time: 1 hour
- Total Time: 1 hour 22 minutes
Ingredients
- 1 cup (2 sticks) unsalted butter, softened
- 3/4 cup packed brown sugar (light or dark)
- 3/4 cup granulated sugar
- 1 large egg
- 1 large egg yolk
- 2 teaspoons pure vanilla extract
- 2 1/4 cups all-purpose flour (or 1:1 gluten-free flour blend)
- 1 teaspoon baking soda
- 3/4 teaspoon salt
- 3/4 cup dark chocolate chips or chunks
- 1/2 cup semi-sweet chocolate chips or chunks
- 3/4 cup chopped pretzels
- 3/4 cup caramel squares, cut into small pieces
- 1/2 cup toffee bits
- 1/2 teaspoon flaky sea salt (optional, for sprinkling)
Instructions
- Preheat your oven to 350°F (175°C). Line two large baking sheets with parchment paper or silicone baking mats and set aside.
- In a large mixing bowl (or stand mixer), cream together the softened butter, brown sugar, and granulated sugar for 2-3 minutes until the mixture is light and fluffy.
- Add the whole egg, egg yolk, and vanilla extract to the butter-sugar mixture. Mix until just combined, scraping down the sides of the bowl as needed.
- In a separate medium bowl, whisk together the all-purpose flour, baking soda, and salt until well combined.
- Gradually add the dry ingredient mixture to the wet ingredients. Mix on low speed until the dough comes together and no dry streaks of flour remain. Be careful not to overmix.
- Gently fold in the dark chocolate chips, semi-sweet chocolate chips, chopped pretzels, caramel pieces, and toffee bits until evenly distributed. If using, sprinkle flaky sea salt on top of the dough.
- Using a 1/4-cup cookie scoop or a spoon, drop equal-sized balls of cookie dough onto the prepared baking sheets, leaving at least 2 inches between each cookie.
- Crucial Step: Refrigerate the cookie dough balls on the baking sheets for at least 1 hour, or preferably overnight, to prevent spreading and enhance flavor.
- Bake the chilled cookies in the preheated oven for 10-12 minutes, or until the edges are golden brown and the centers are still slightly soft.
- Remove the cookies from the oven and let them cool on the baking sheets for 5-10 minutes before carefully transferring them to a wire rack to cool completely.
Equipment
- 2 Baking Sheets
- 2 Mixing Bowls
- 1 Wire Rack
Nutrition Information
The following nutrition information is an approximation per serving (1 cookie), calculated automatically based on the ingredients listed:
- Calories: 216 kcal
- Carbohydrates: 38g
- Protein: 3g
- Fat: 6g
- Saturated Fat: 4g
- Polyunsaturated Fat: 1g
- Monounsaturated Fat: 1g
- Trans Fat: 0.04g
- Cholesterol: 21mg
- Sodium: 186mg
- Potassium: 106mg
- Fiber: 1g
- Sugar: 24g
- Vitamin A: 83IU
- Vitamin C: 0.1mg
- Calcium: 42mg
- Iron: 1mg
Nutrition information is automatically calculated and should only be used as an approximation. Actual values may vary based on specific ingredients and preparation methods.
We hope you enjoy baking and devouring these incredible Panera Bread Kitchen Sink Cookies! Don’t forget to share your creations and tell us your favorite mix-in combinations in the comments below!