
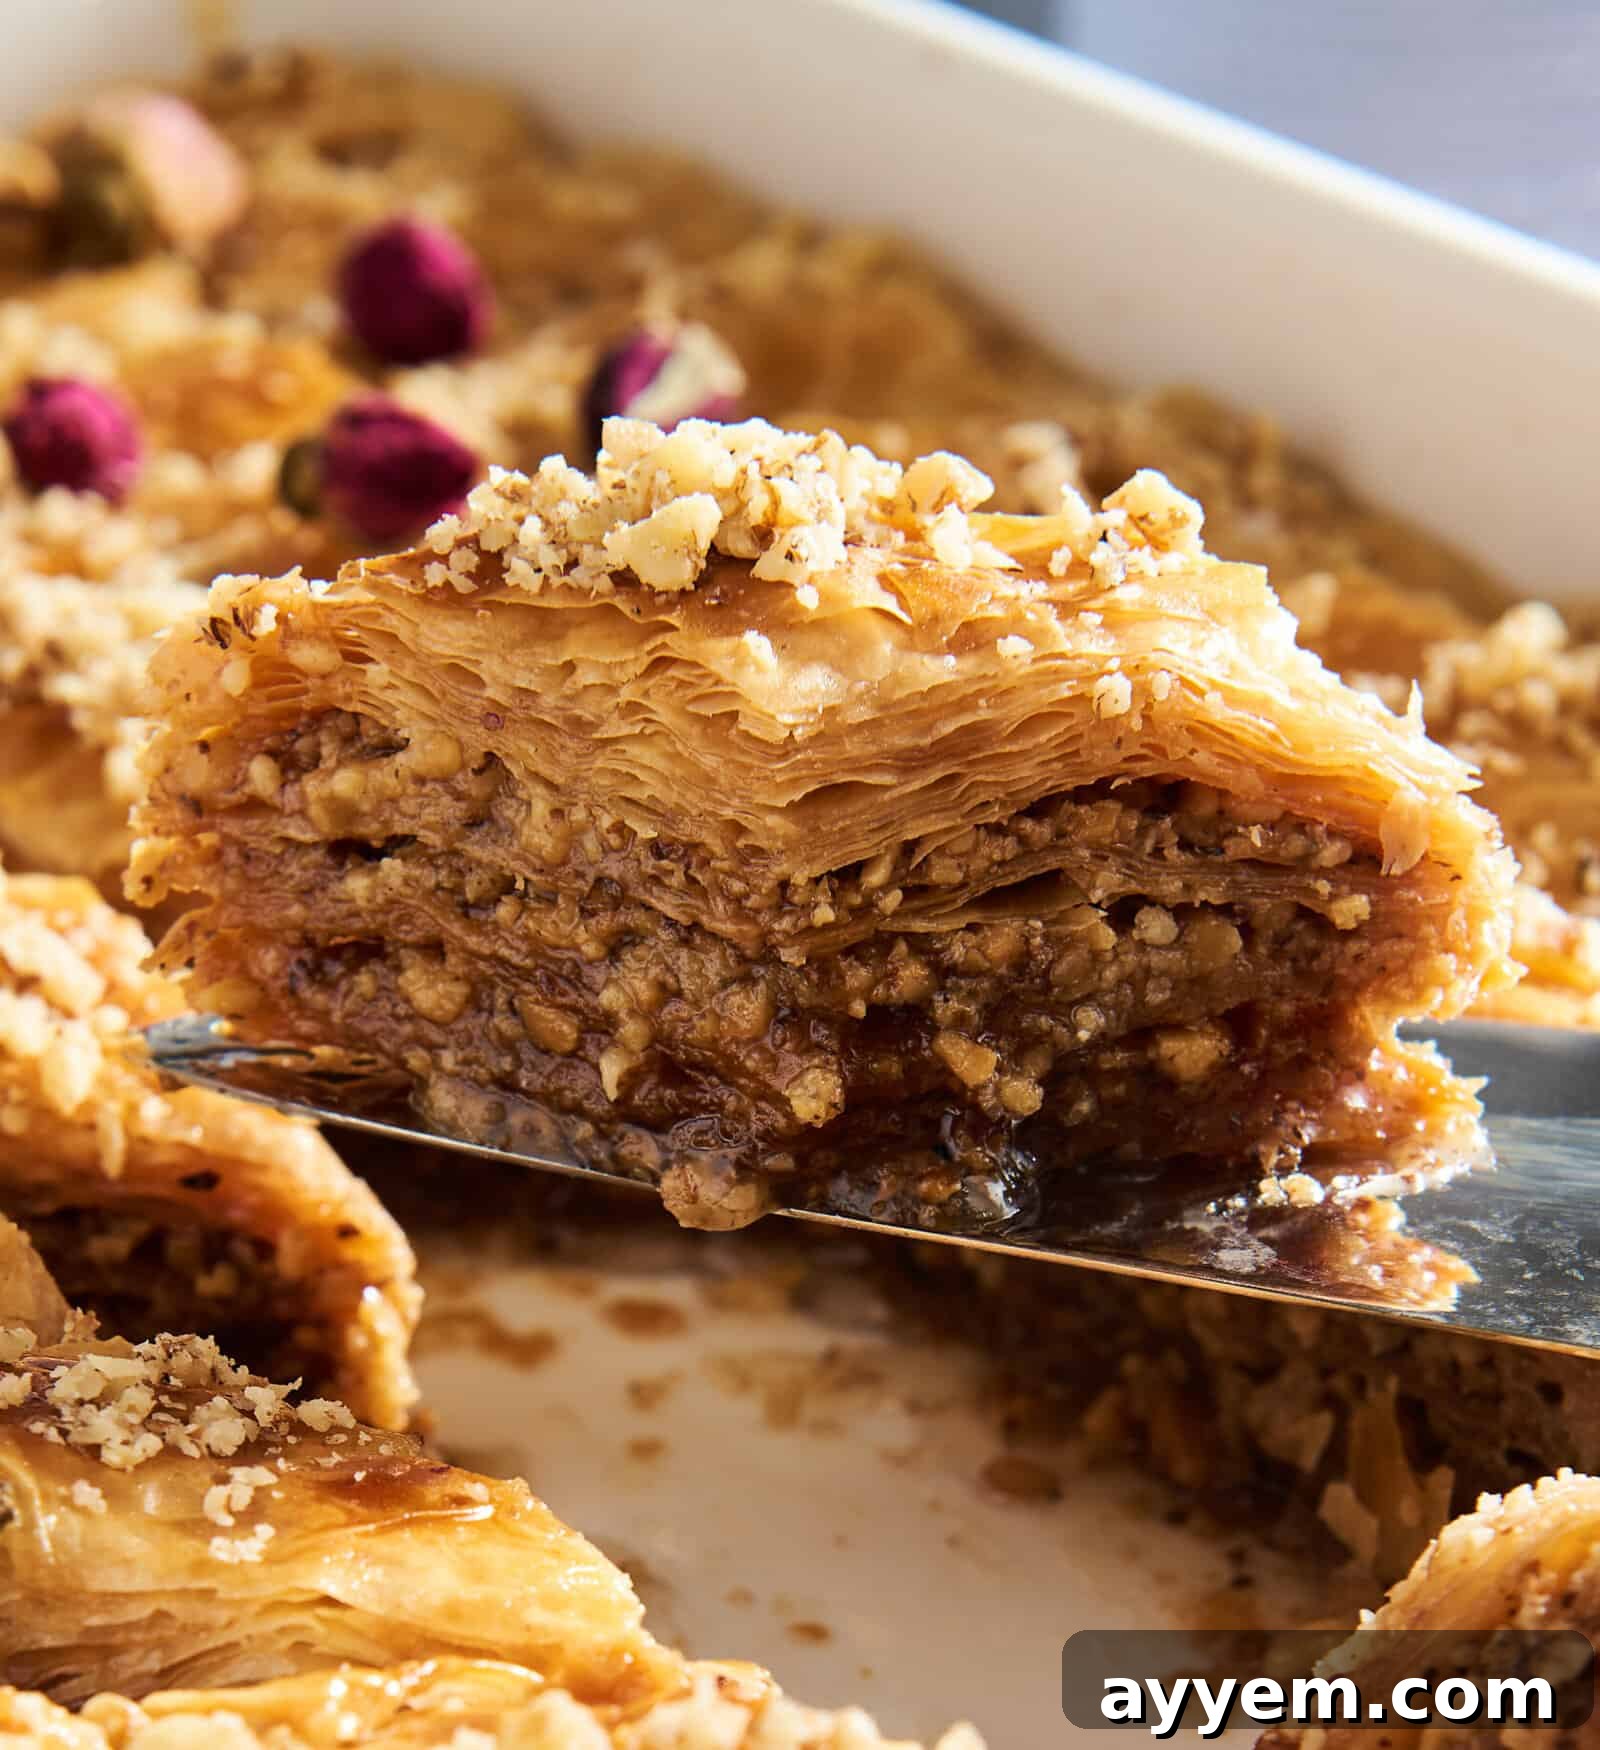
Step into a world where crisp, buttery layers meet a sweet, nutty embrace, and discover the magic of homemade Baklava. This beloved dessert, a staple in Egyptian homes and across the Middle East and Mediterranean, carries the warmth of cherished memories, much like the one our mothers used to craft for every special occasion. From festive holidays and lively family gatherings to casual school potlucks, Baklava was always a centerpiece, enchanting everyone with its irresistible aroma and exquisite taste. Our rendition of this classic dessert pays homage to those treasured childhood flavors, delivering a baklava so scrumptious, your friends and family will undoubtedly ask for more!
Unveiling Baklava: A Journey Through Sweetness and Tradition
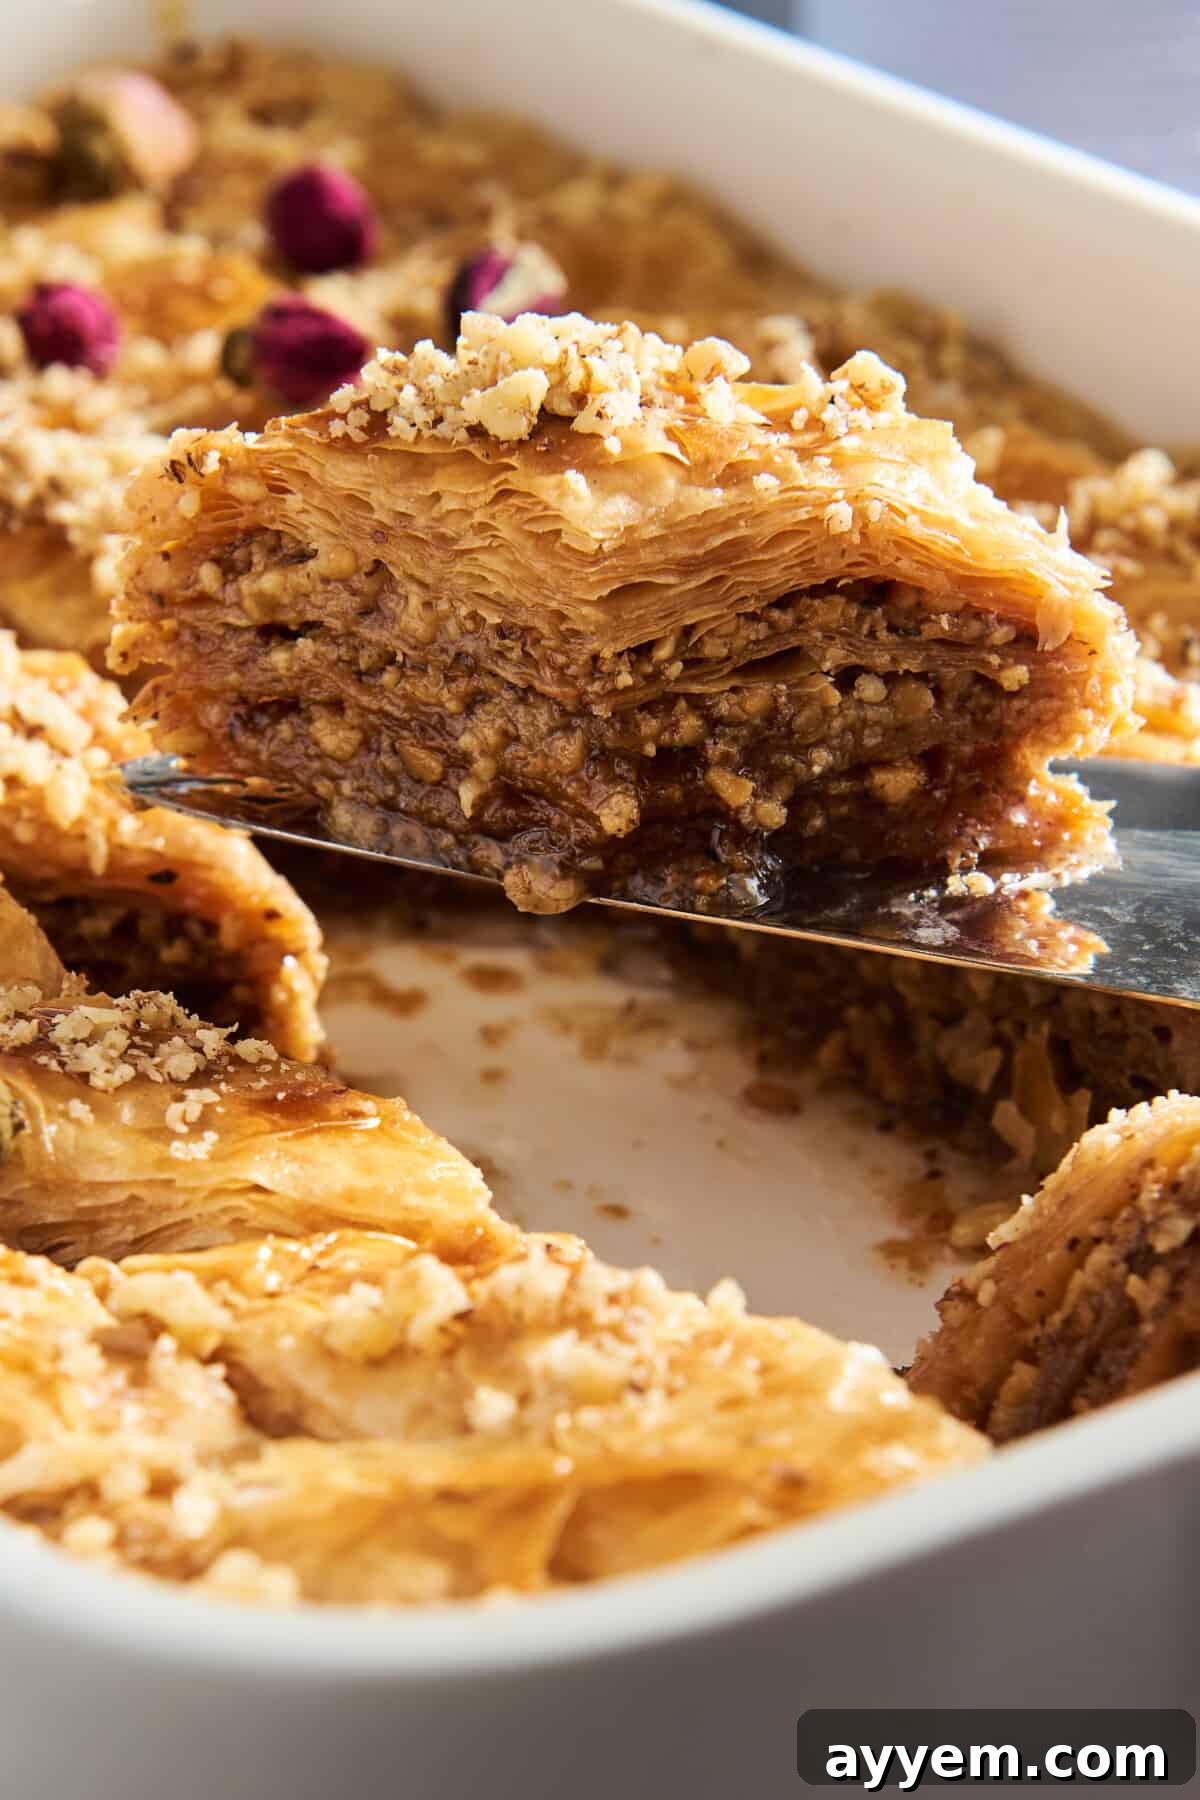
Baklava is more than just a dessert; it’s a culinary masterpiece with roots deeply embedded in the rich history of the Ottoman Empire. At its heart, Baklava is a luscious, flaky pastry meticulously crafted from paper-thin layers of phyllo (or filo) dough, generously filled with finely chopped nuts, and drenched in a fragrant syrup, typically made with sugar or honey. This sweet confection holds a special place in the hearts and palates of people throughout the Middle East, the Balkans, and the Mediterranean regions, where it frequently graces tables during significant celebrations, religious holidays, and personal milestones like weddings and graduations. Its universal appeal lies in its captivating contrast of textures and flavors – the delicate crispness of the pastry, the satisfying crunch of the nuts, and the profound sweetness of the syrup.
The Essence of Baklava: Exploring Authentic Flavors and Regional Twists
While the core components of baklava – phyllo, nuts, and syrup – remain consistent, the nuances of its preparation and flavor profile vary wonderfully from region to region, and even from family to family. What constitutes “authentic” baklava can be a delightful debate! Traditional Turkish baklava, often referred to as fistikli baklava, famously showcases a vibrant green pistachio filling, bound together with clarified butter (ghee) and sweetened with a simple sugar syrup. This version is celebrated for its rich nutty flavor and elegant appearance.
However, the journey of baklava extends far beyond Turkey. In Greece, for example, the classic baklava recipe frequently features walnuts and a touch of warm cinnamon, lending it a distinct aromatic charm. Other Middle Eastern variations might incorporate rosewater or orange blossom water into the syrup, infusing the dessert with delicate floral notes. It’s also common to see different nuts or combinations of nuts, such as almonds or cashews, used in the filling, reflecting the diverse culinary landscapes where baklava thrives.
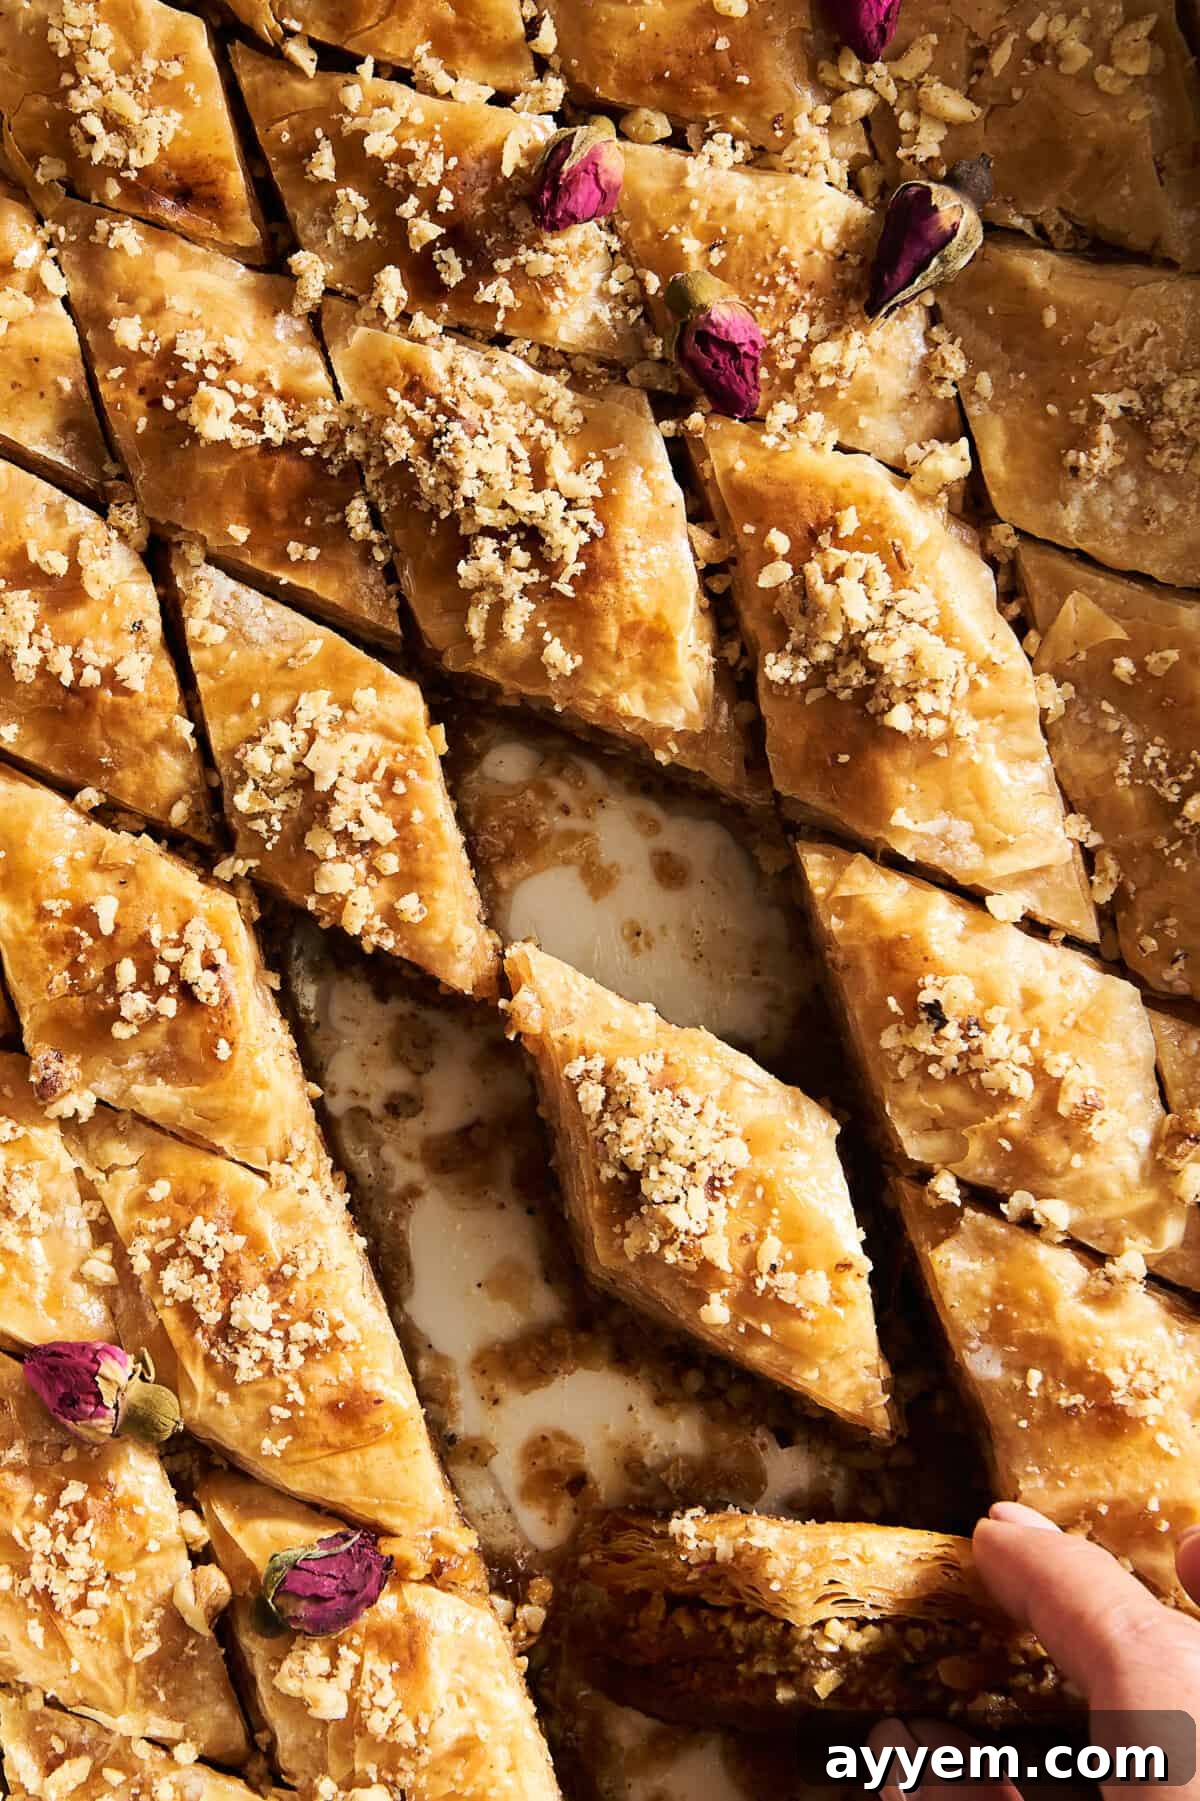
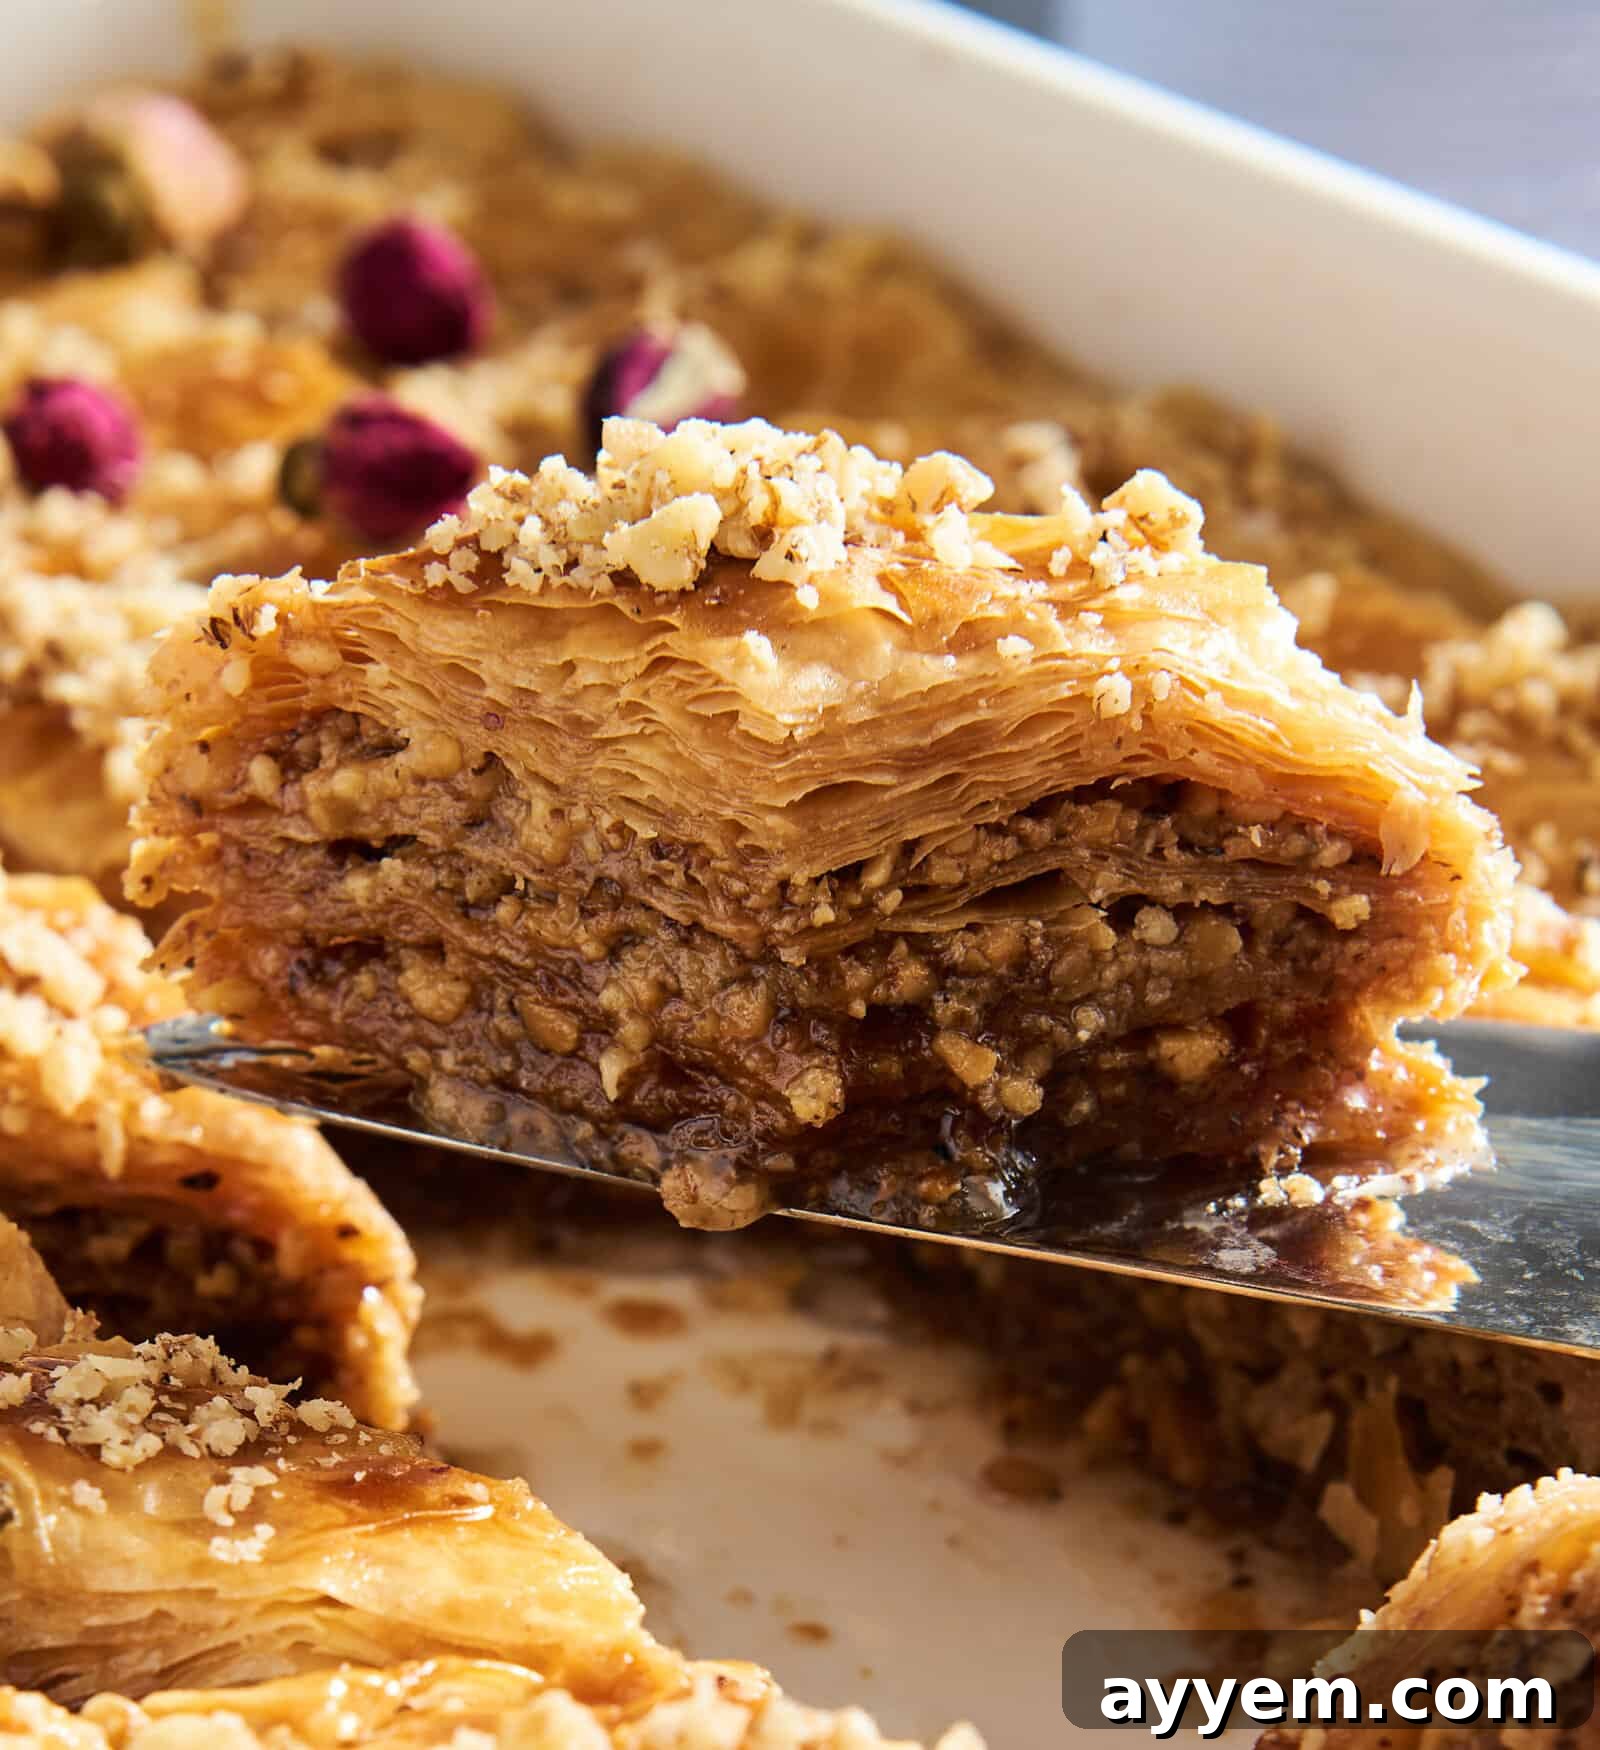
Our cherished family recipe, which we’re excited to share with you, leans towards the beloved Greek style of baklava. We build our baklava with delicate layers of phyllo dough, each sheet lovingly brushed with melted ghee – a traditional clarified butter that imparts a rich, nutty flavor and contributes significantly to the pastry’s signature flakiness. Between these buttery layers lies a generous filling of crunchy walnuts, perfectly balanced with sugar and a hint of warm cinnamon. Once baked to a magnificent golden perfection, the warm baklava is generously drizzled with a simple, sweet syrup. This syrup is crucial; it slowly seeps into every intricate layer and tiny crevice of the pastry, adding unparalleled moisture and a harmonious sweetness that beautifully complements the toasted, crunchy walnuts. The result is a dessert that is not just sweet, but deeply satisfying and incredibly addictive.
Crafting Perfection: A Step-by-Step Guide to Homemade Baklava
While some traditional baklava recipes can be quite intricate, our family’s take on this classic Greek-inspired dessert simplifies the process without sacrificing any of the decadent flavor or flaky texture. This is the exact method we grew up with and continue to use, proving that an extraordinary baklava is well within reach for any home baker. Follow these steps to create a dessert that will surely become a staple in your own kitchen.
Essential Ingredients for Your Baklava Masterpiece
Gathering the right ingredients is the first step to a successful baklava. Each component plays a vital role in achieving that perfect balance of sweetness, crunch, and flakiness.
- Granulated Sugar: This is the foundation of our sweet syrup, providing the primary sweetness that soaks into the phyllo layers.
- Water: It forms the base of the syrup, allowing the sugar and other ingredients to dissolve and meld into a rich liquid.
- Corn Syrup: A crucial ingredient for achieving the perfect sticky consistency and preventing the sugar in the syrup from crystallizing, ensuring a smooth, glossy finish. It acts as an excellent substitute for honey often found in traditional recipes, offering a more neutral sweetness.
- Lemon Juice: A touch of freshly squeezed lemon juice brightens the flavor of the syrup and further helps to prevent sugar crystallization, ensuring a clear and inviting pour.
- Sea Salt: Just a pinch enhances all the flavors, providing a subtle contrast that makes the sweetness of the syrup even more profound. Adjust to your personal preference.
- Walnuts: The star of our filling! We recommend shelled, raw walnuts for their rich, earthy flavor and satisfying crunch. While our recipe highlights walnuts, feel free to experiment with pistachios for a Turkish-inspired twist, or even a mix of nuts like almonds or pecans for a unique flavor profile.
- Phyllo Dough: This delicate, paper-thin pastry is the soul of baklava. You’ll typically find it in the frozen or refrigerated section of your local grocery store. Ensure it’s properly thawed before use, as outlined in our tips for success.
- Melted Ghee (Clarified Butter): Ghee is paramount for creating those signature crispy, golden layers. Its pure butterfat content means less water, leading to a flakier pastry. If ghee isn’t readily available, you can easily clarify unsalted butter yourself at home – we’ve included instructions on how to do so in the notes section.
Step-by-Step Instructions: Assembling Your Delicious Baklava
Making baklava is a meditative process that rewards patience with incredibly delicious results. Here’s how to bring all these wonderful ingredients together:
- Begin with the Simple Syrup: In a medium saucepan, combine the granulated sugar, water, corn syrup, lemon juice, and sea salt. Stir well to ensure the sugar fully dissolves. Bring this mixture to a boil over medium heat, then reduce the heat to low and let it simmer gently for about 10 minutes, or until the syrup slightly thickens to a pourable consistency. Remove from heat and set aside to cool completely to room temperature. A cooled syrup poured over hot baklava is essential for absorption and preventing sogginess.
- Prepare the Nut Filling: Using a sharp knife, finely chop your shelled, raw walnuts. You want them fine enough to spread evenly but still coarse enough to provide a delightful crunch. Alternatively, you can pulse them a few times in a food processor, being careful not to over-process them into a paste.
- Preheat and Prepare Your Baking Dish: Preheat your oven to 350 degrees Fahrenheit (180 degrees Celsius). Lightly coat the bottom and sides of a 9×13-inch (23×33 cm) baking dish with melted ghee or clarified butter. This prevents sticking and helps in achieving a golden crust.
- Layer the Phyllo Foundation: Carefully place one sheet of phyllo dough into the prepared baking dish. Gently brush the entire surface of this sheet with melted ghee. Repeat this process, layering a total of ten individual phyllo sheets, ensuring each one is lightly brushed with ghee. This forms the sturdy base of your baklava.
- Add the Hearty Filling: Once your base layers are complete, sprinkle about one-third of your finely chopped nuts evenly over the 10th phyllo sheet. Continue layering with the remaining phyllo sheets, brushing each sheet generously with butter, and alternating with the remaining nut mixture. Aim for two more nut layers, ending with a final top layer of approximately ten buttered phyllo sheets. This layering technique ensures a balanced distribution of nuts and crisp pastry.
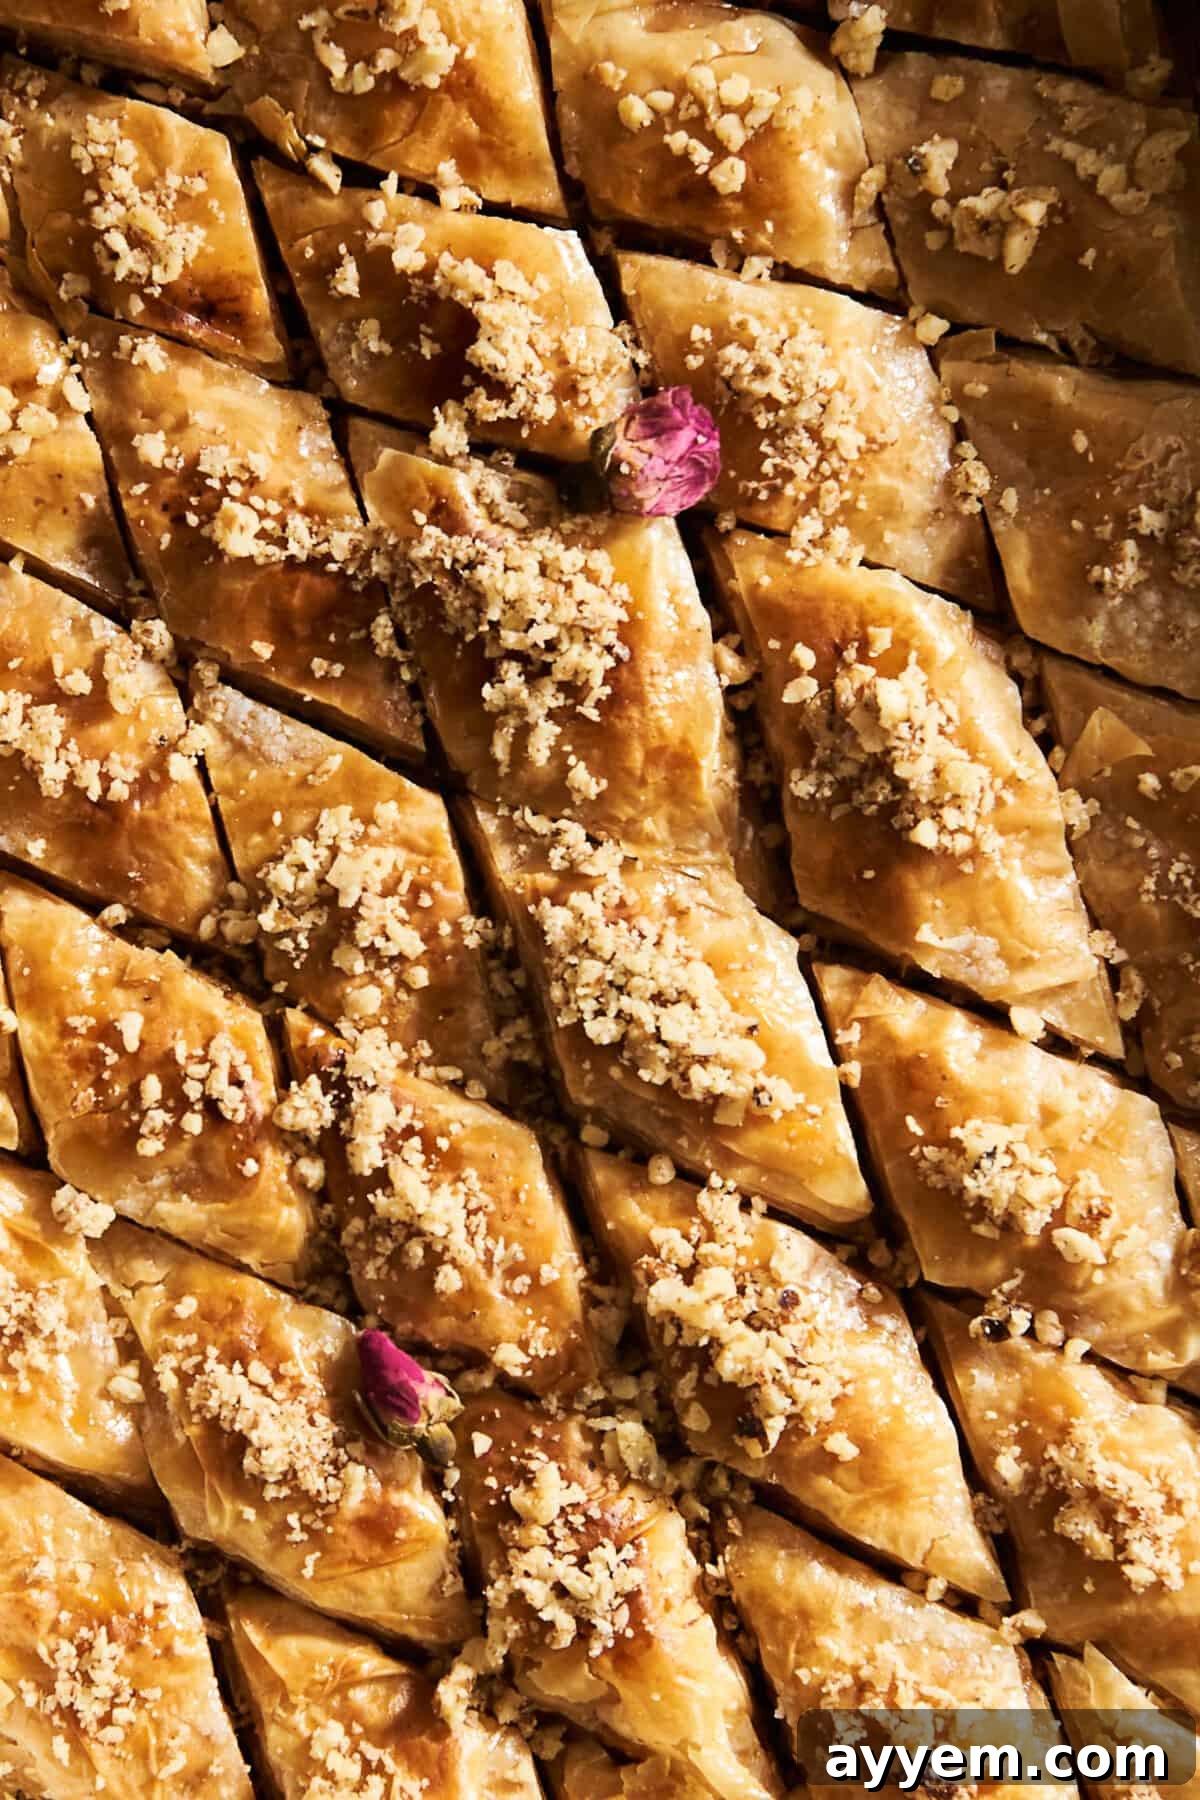
- Precise Slicing is Key: Before baking, carefully use a very sharp knife to cut the baklava into your desired shapes – traditional diamonds or neat squares are most common. This step is crucial, as the baked baklava becomes incredibly flaky and difficult to cut cleanly without crumbling.
- Bake to Golden Perfection: Transfer your baking dish to the preheated oven. Bake for approximately 45-55 minutes, or until the top layers are beautifully golden brown and delightfully crisp. Keep an eye on it to prevent over-browning.
- The Sweet Coating: Immediately upon removing the hot baklava from the oven, pour the completely cooled simple syrup evenly over the entire surface. You’ll hear a satisfying sizzle as the syrup begins to absorb. Allow the baklava to cool completely to room temperature before serving. This cooling period is vital, as it allows the pastry to fully soak up the syrup, resulting in a moist, sweet, and perfectly flavored dessert.
Expert Tips for Baklava Success: Mastering the Art of Flaky Sweetness
Achieving baklava perfection requires a few insider tricks. Here are our top tips to ensure your homemade baklava is absolutely divine:
- Proper Phyllo Thawing is Non-Negotiable: If your phyllo dough is frozen, planning ahead is key. Transfer the package to the refrigerator at least 24 hours in advance. Attempting to work with partially frozen or improperly thawed phyllo will result in brittle sheets that tear easily, making the layering process incredibly frustrating.
- Keep Your Phyllo Hydrated: Phyllo dough dries out remarkably quickly when exposed to air, becoming unworkable. To prevent this, keep the stack of dough covered with a slightly damp paper towel or a clean kitchen towel while you work. Only uncover one sheet at a time as you layer.
- Nut Texture Matters: When chopping your nuts, aim for a fine but not powdery consistency. You want them to have enough texture to provide a satisfying crunch in every bite, not to resemble flour or sand. This ensures a delightful contrast to the delicate phyllo.
- Prevent Sticky Fingers: Working with phyllo and butter can get a bit messy. Keep a small bowl of water next to your workstation. If the phyllo starts sticking to your fingers, a quick dip in the water will help keep your hands clean and prevent tearing the delicate sheets.
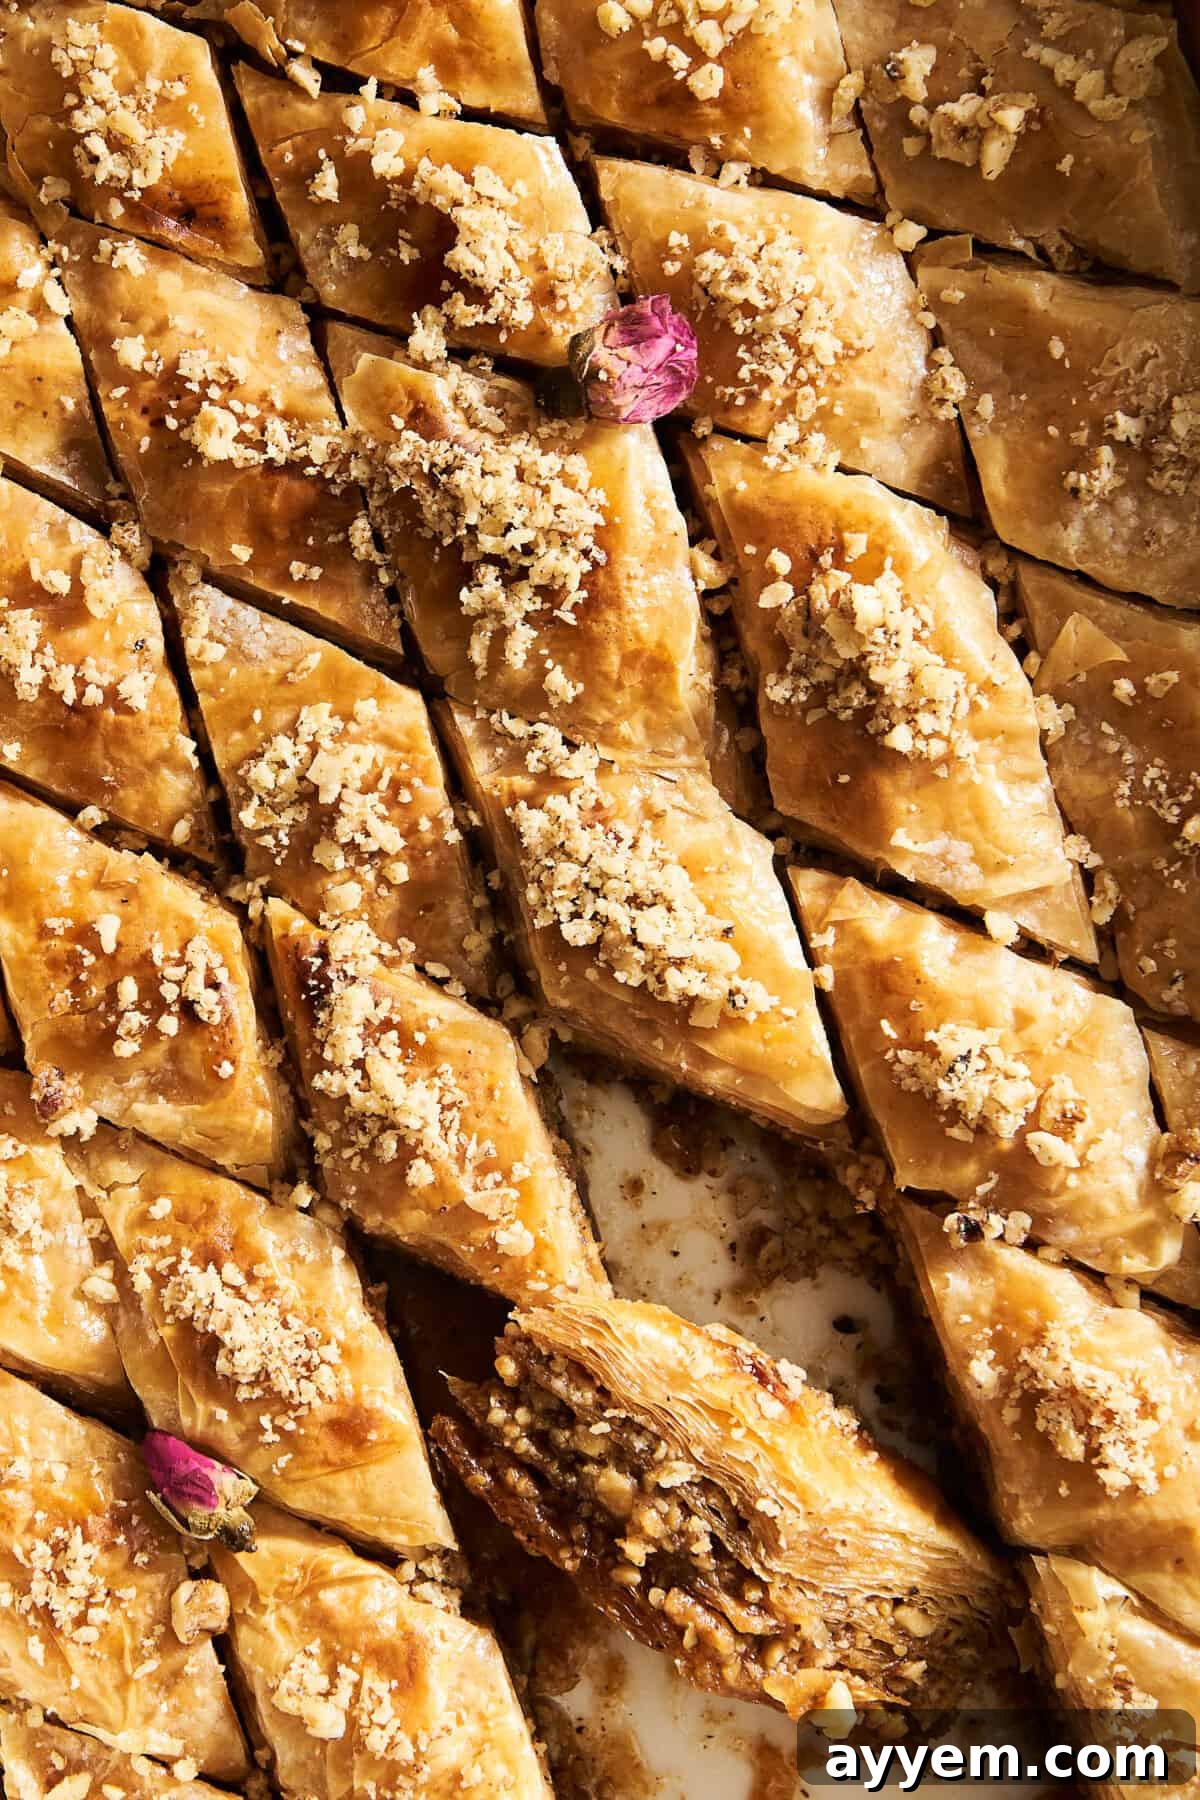
- Slice Before You Bake: This is a golden rule for baklava! It is absolutely essential to cut your baklava into individual diamond or square shapes *before* it goes into the oven. Once baked, the phyllo becomes incredibly flaky and brittle. Trying to slice it afterwards will cause it to shatter and crumble, making serving a challenge. Pre-cutting ensures beautiful, intact pieces.
- The Syrup Temperature Duo: Remember, hot baklava meets cool syrup. This temperature difference is vital for the syrup to properly absorb into all the layers, giving your baklava its characteristic moistness without making it soggy. If both are hot, the syrup may just sit on top.
- Don’t Rush the Cooling: Allowing the baklava to cool completely, preferably for several hours or even overnight, is crucial. This gives the syrup ample time to fully penetrate every layer, resulting in a deeply flavored and perfectly tender dessert.
Frequently Asked Questions About This Baklava Recipe
The secret to baklava’s exquisite crispiness lies in the delicate layering of phyllo dough. By diligently brushing each paper-thin sheet with melted ghee or butter, you create countless air pockets between the layers. As the baklava bakes, the water in the butter evaporates, causing these layers to puff up and become incredibly light, golden, and shatteringly crisp. This meticulous process is what gives baklava its signature texture that truly melts in your mouth with every bite.
Yes, baklava is known for its sweet profile, and that’s part of its irresistible charm! The generous pour of syrup over the warm, freshly baked pastry allows it to seep into every nook and cranny, saturating the layers with its sugary goodness. However, a well-made baklava, like ours, achieves a perfect balance. The rich sweetness from the syrup is beautifully complemented and grounded by the robust, earthy flavor of the toasted nuts and the rich, buttery pastry. It creates a dessert that feels luxurious and satisfyingly rich without being overly cloying.
Absolutely, and we highly recommend it! Baklava is one of those rare desserts that actually improves with time. Preparing it a day or two in advance allows the syrup ample time to fully soak into the phyllo layers, intensifying the flavors and softening the pastry to an ideal texture. Store your baklava at room temperature in an airtight container for up to a week. For longer storage, you can refrigerate it for up to two weeks, or even freeze it for several months. Just be sure to bring it back to room temperature before serving for the best experience.
While baklava might look incredibly fancy and intimidating, it’s actually much easier to make than you might think! The key is indeed patience, particularly when working with the delicate phyllo dough. Once you find your rhythm with the layering and buttering process, it becomes a very enjoyable, almost therapeutic, experience. The steps are straightforward, and the reward of biting into your homemade, golden-layered baklava makes every moment of effort entirely worth it. Don’t be afraid to give this classic dessert a try!
More Baklava-Inspired Culinary Creations
If you’ve fallen in love with the intoxicating flavors and textures of baklava, you’re in for a treat! We’ve taken the essence of this decadent dessert – its sweet, nutty, and flaky characteristics – and infused them into a variety of other delightful recipes. Prepare to explore new ways to enjoy the magic of baklava beyond the traditional pastry.
- Baklava Skillet Pancake
- Baklava French Toast
- Easy Baklava Granola Recipe
- Baklava Cinnamon Rolls
- Baklava Dessert Focaccia
Baklava Recipe
Food Dolls
24 servings
15 mins
1 hr 10 mins
Ingredients
For the Sugar Syrup:
- 1¾ cups granulated sugar
- 1 cup water
- 2 Tablespoons corn syrup
- 2 teaspoons lemon juice
- ⅛ teaspoon sea salt
For the Nut Filling:
- 3 cups shelled raw walnuts, plus more for garnish
For the Pastry:
- 1 1/4 cup melted ghee or 1 3/4 cups unsalted butter, clarified per instructions below, melted, and cooled slightly
- 2 (8 ounces each) packages phyllo dough, a total of 30 sheets, thawed
Instructions
For the Sugar Syrup:
- In a saucepan, combine the granulated sugar, water, corn syrup, lemon juice, and sea salt.
- Stir the mixture to combine and dissolve the sugar.
- Place the saucepan over medium heat, and bring the mixture to a boil.
- Once it boils, reduce the heat to low and simmer for about 10 minutes until it slightly thickens.
- Remove the saucepan from the heat and let the syrup cool to room temperature.
For the Nut Filling:
- Finely chop the shelled, raw walnuts.
For the Pastry:
- Preheat the oven to 350 degrees Fahrenheit (180 degrees Celsius).
Assembly:
- Brush a 9×13-inch (23×33 cm) baking dish with some of the melted ghee or clarified butter.
- Place one sheet of phyllo dough into the baking dish, and brush it generously with the melted ghee or clarified butter. Repeat this process for 10 sheets, making sure to brush each sheet with butter.
- Sprinkle a portion of the chopped walnuts evenly over the 10th phyllo sheet.
- Continue layering the phyllo sheets and walnuts until all the walnuts are used, finishing with a top layer of 10 buttered phyllo sheets.
- Using a sharp knife, cut the baklava into diamond or square shapes.
Baking:
- Place the baking dish in the preheated oven, and bake for about 45-55 minutes or until the baklava is golden brown and crispy.
- Remove the baklava from the oven, and immediately pour the cooled sugar syrup evenly over the hot baklava.
- Allow the baklava to cool completely before serving, which will allow it to absorb the syrup.
Equipment
Notes
How to make clarified butter (ghee):
Ingredients:
- 1 3/4 cups of unsalted butter
Instructions:
- Cut the unsalted butter into smaller pieces (cubing or slicing). This helps the butter melt more evenly and quickly.
- Place the cut butter in a heavy-bottomed saucepan. Choose a pan that is large enough to prevent overflowing as the butter melts and foams.
- Heat the butter over low to medium heat. A gentle heat is crucial to prevent the butter from burning or splattering, allowing it to clarify slowly.
- As the butter melts, you will observe three distinct layers forming: a layer of foam on top, the clear clarified butter (ghee) in the middle, and milky solids settling at the bottom.
- Continue simmering the butter. The foam will rise to the surface as water evaporates and milk solids separate from the pure butterfat.
- Gently skim off the foam from the surface using a spoon or a fine mesh skimmer. You can discard the foam or save it for other culinary uses if desired.
- Keep a close eye on the butter as it continues to clarify. It will become transparent with visible sediment (the milk solids) resting at the bottom of the pan. This process typically takes around 20-30 minutes, depending on the heat and quantity.
- Once clarified, remove the pan from the heat and let it cool for a few minutes. This allows the milk solids to settle more thoroughly and prevents splashing when pouring.
- Place a fine mesh strainer or a layer of cheesecloth over a clean, dry, heatproof glass jar or container. Carefully pour the cooled clarified butter through the strainer, ensuring that the milk solids remain in the saucepan. The clear, golden liquid collected is your homemade clarified butter (ghee).
Nutrition
Calories: 296kcal |
Carbohydrates: 28g |
Protein: 4g |
Fat: 20g |
Saturated Fat: 7g |
Polyunsaturated Fat: 7g |
Monounsaturated Fat: 5g |
Cholesterol: 24mg |
Sodium: 106mg |
Potassium: 79mg |
Fiber: 1g |
Sugar: 16g |
Vitamin A: 3IU |
Vitamin C: 0.4mg |
Calcium: 17mg |
Iron: 1mg
Nutrition information is automatically calculated, so should only be used as an approximation.