
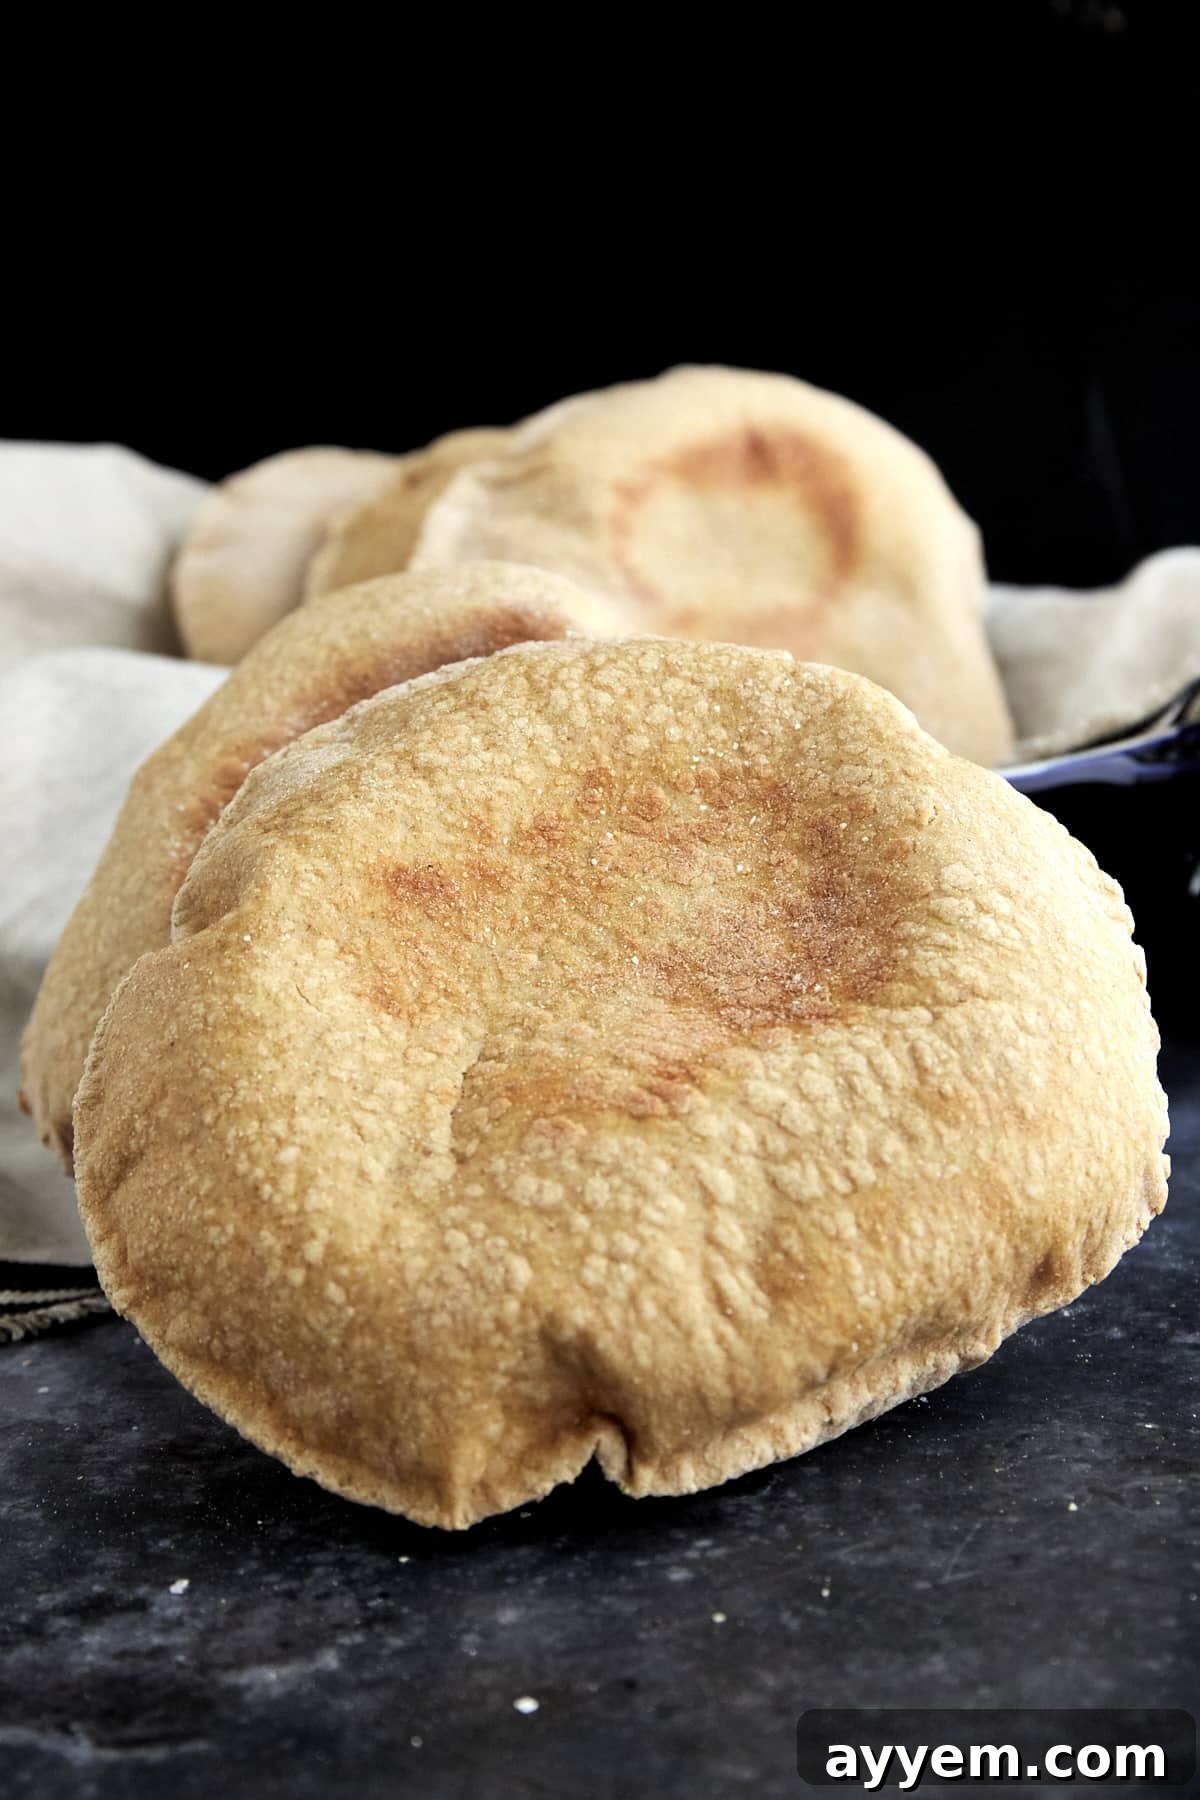
Transform your kitchen into an artisanal bakery with this incredible recipe for homemade Whole Wheat Pita Bread. Forget bland, store-bought versions – this recipe yields perfectly fluffy, irresistibly soft pita pockets with a delightful, subtle nutty sweetness. Ideal for aspiring bakers and seasoned pros alike, it’s a remarkably straightforward process that unlocks a world of culinary versatility. Imagine serving up fresh, warm gyros, crafting personalized pita pizzas, or simply enjoying crunchy pita chips made right in your own home!
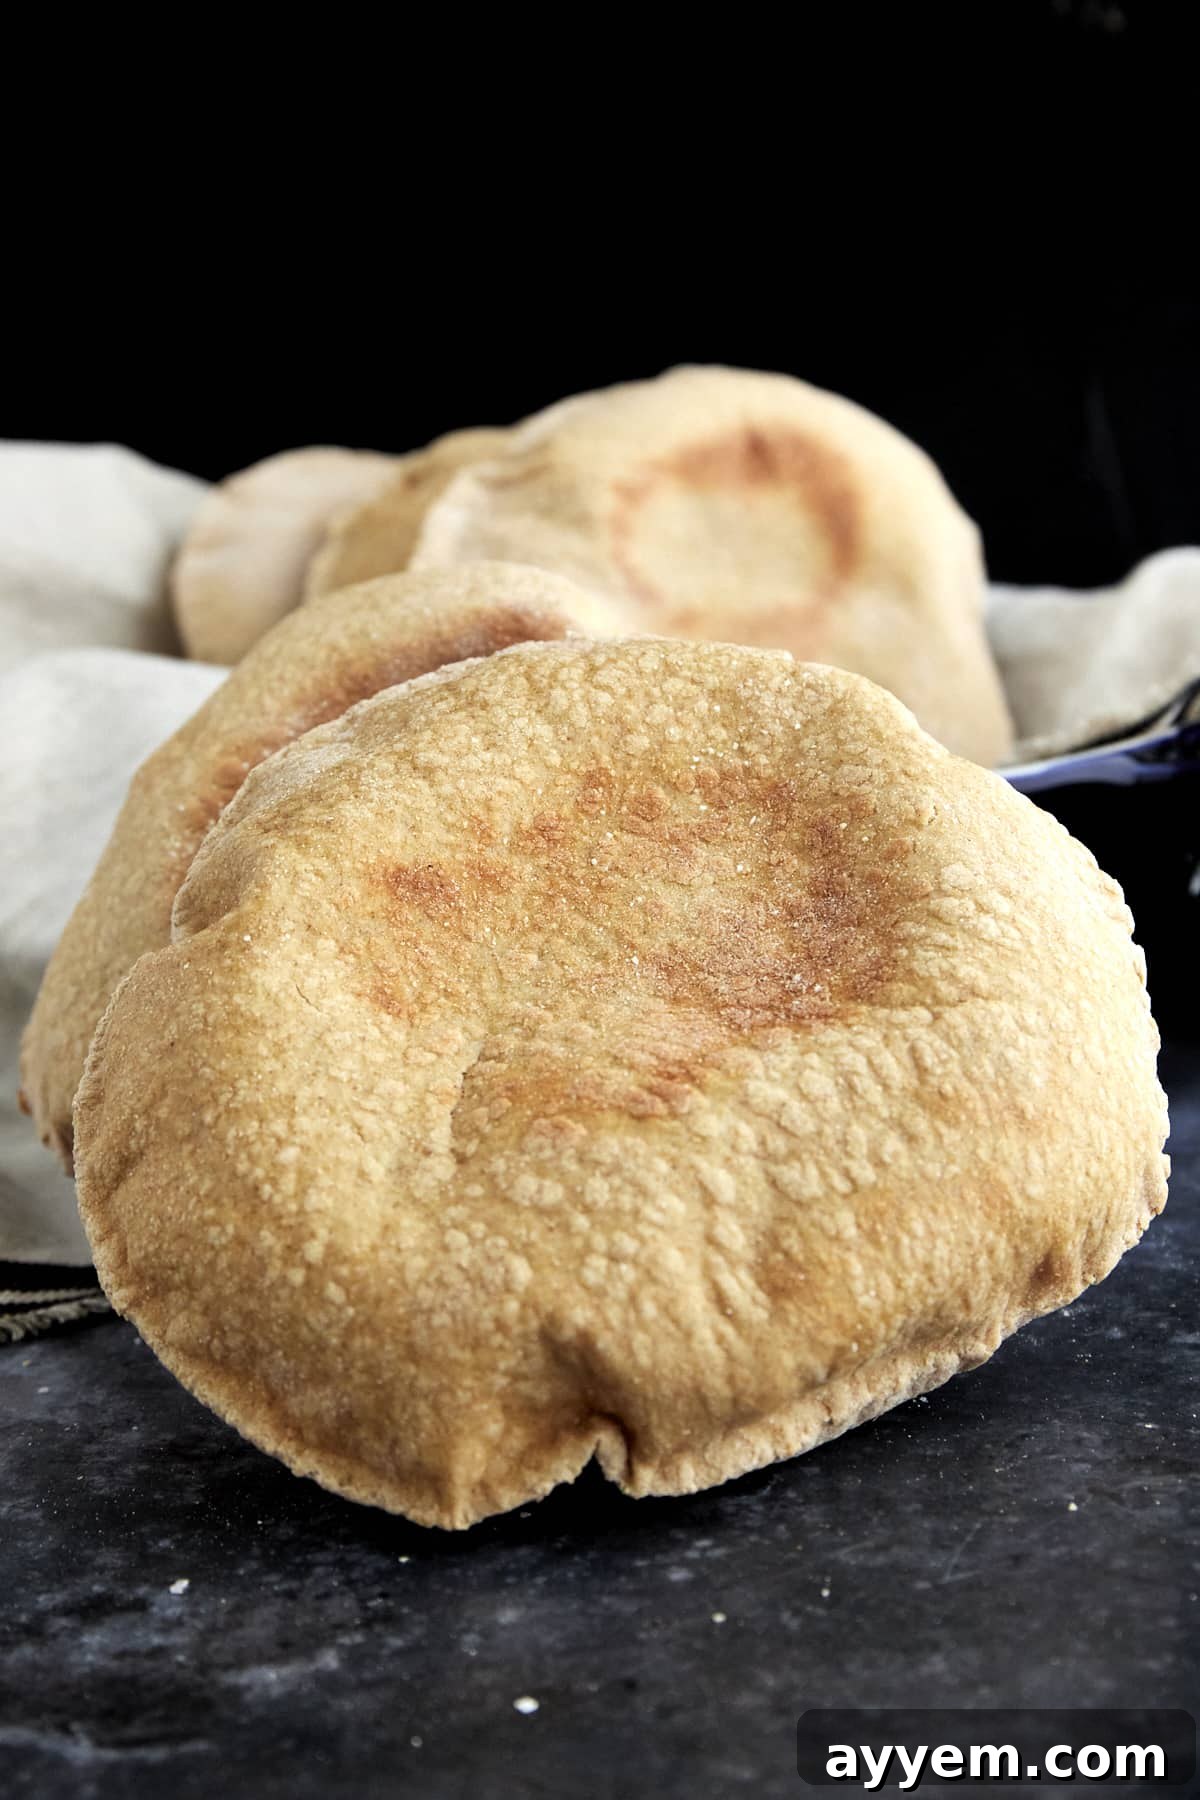
Why You’ll Fall in Love with This Homemade Whole Wheat Pita Bread Recipe
There’s something truly magical about freshly baked bread, and homemade pita is no exception. While classic white pita bread holds a special place in our hearts, our whole wheat rendition offers an extra layer of flavor and nutrition that we simply adore. It’s not just bread; it’s an experience. This easy whole wheat pita bread recipe will become a staple in your kitchen because it’s:
- Made with Accessible Pantry Staples: You likely already have most of these ingredients on hand, making it a convenient bake.
- Surprisingly Simple to Prepare: Despite its impressive results, the steps are straightforward and perfect for beginners.
- Packed with Wholesome Fiber: Enjoy the added nutritional benefits of whole grains without sacrificing taste or texture.
- Perfect for Batch Baking: Easily scale up the recipe to make a large batch, ideal for meal prepping or feeding a crowd.
- Incredibly Versatile: From savory fillings to sweet spreads, this pita pairs beautifully with countless dishes.
- Unbeatable in Freshness and Flavor: Store-bought pita simply can’t compare to the warm, aromatic deliciousness of homemade.
- A Rewarding Baking Project: There’s immense satisfaction in creating such a fundamental and delicious food from scratch.
Embracing the Wholesome Goodness: Is This Whole Wheat Pita Bread Healthy?
In today’s health-conscious world, everyone seeks nutritious options, and this whole wheat pita bread proudly stands as a genuinely wholesome choice. When it comes to bread, this recipe is a fantastic way to boost your dietary fiber and essential nutrients. Here’s why we consider it a healthy addition to your meal rotation:
- Rich in Dietary Fiber: The star ingredient, whole wheat flour, is a powerhouse of fiber. This not only aids in digestion but also helps you feel fuller for longer, contributing to better weight management and stable blood sugar levels.
- Nutrient-Dense: Beyond fiber, whole wheat flour contains a variety of essential vitamins and minerals, including B vitamins, iron, and magnesium. The yeast used in this recipe is often fortified with B vitamins, further enhancing its nutritional profile.
- Source of Healthy Fats: A touch of olive oil keeps the dough moist and contributes healthy monounsaturated fats, which are beneficial for heart health.
- Mindful Sugar Content: With just a tablespoon of granulated sugar for the entire batch, this pita is naturally low in added sugars, relying instead on the inherent sweetness of the whole grains. This minimal sugar acts primarily as fuel for the yeast, ensuring a good rise, rather than for sweetening the bread itself.
- Control Over Ingredients: Making pita at home gives you complete control over what goes into your food, allowing you to avoid preservatives, artificial flavors, and excessive sodium often found in commercial products.
Compared to many refined white bread options, this whole wheat pita offers a significantly improved nutritional profile, making it a smart and delicious choice for a balanced diet.
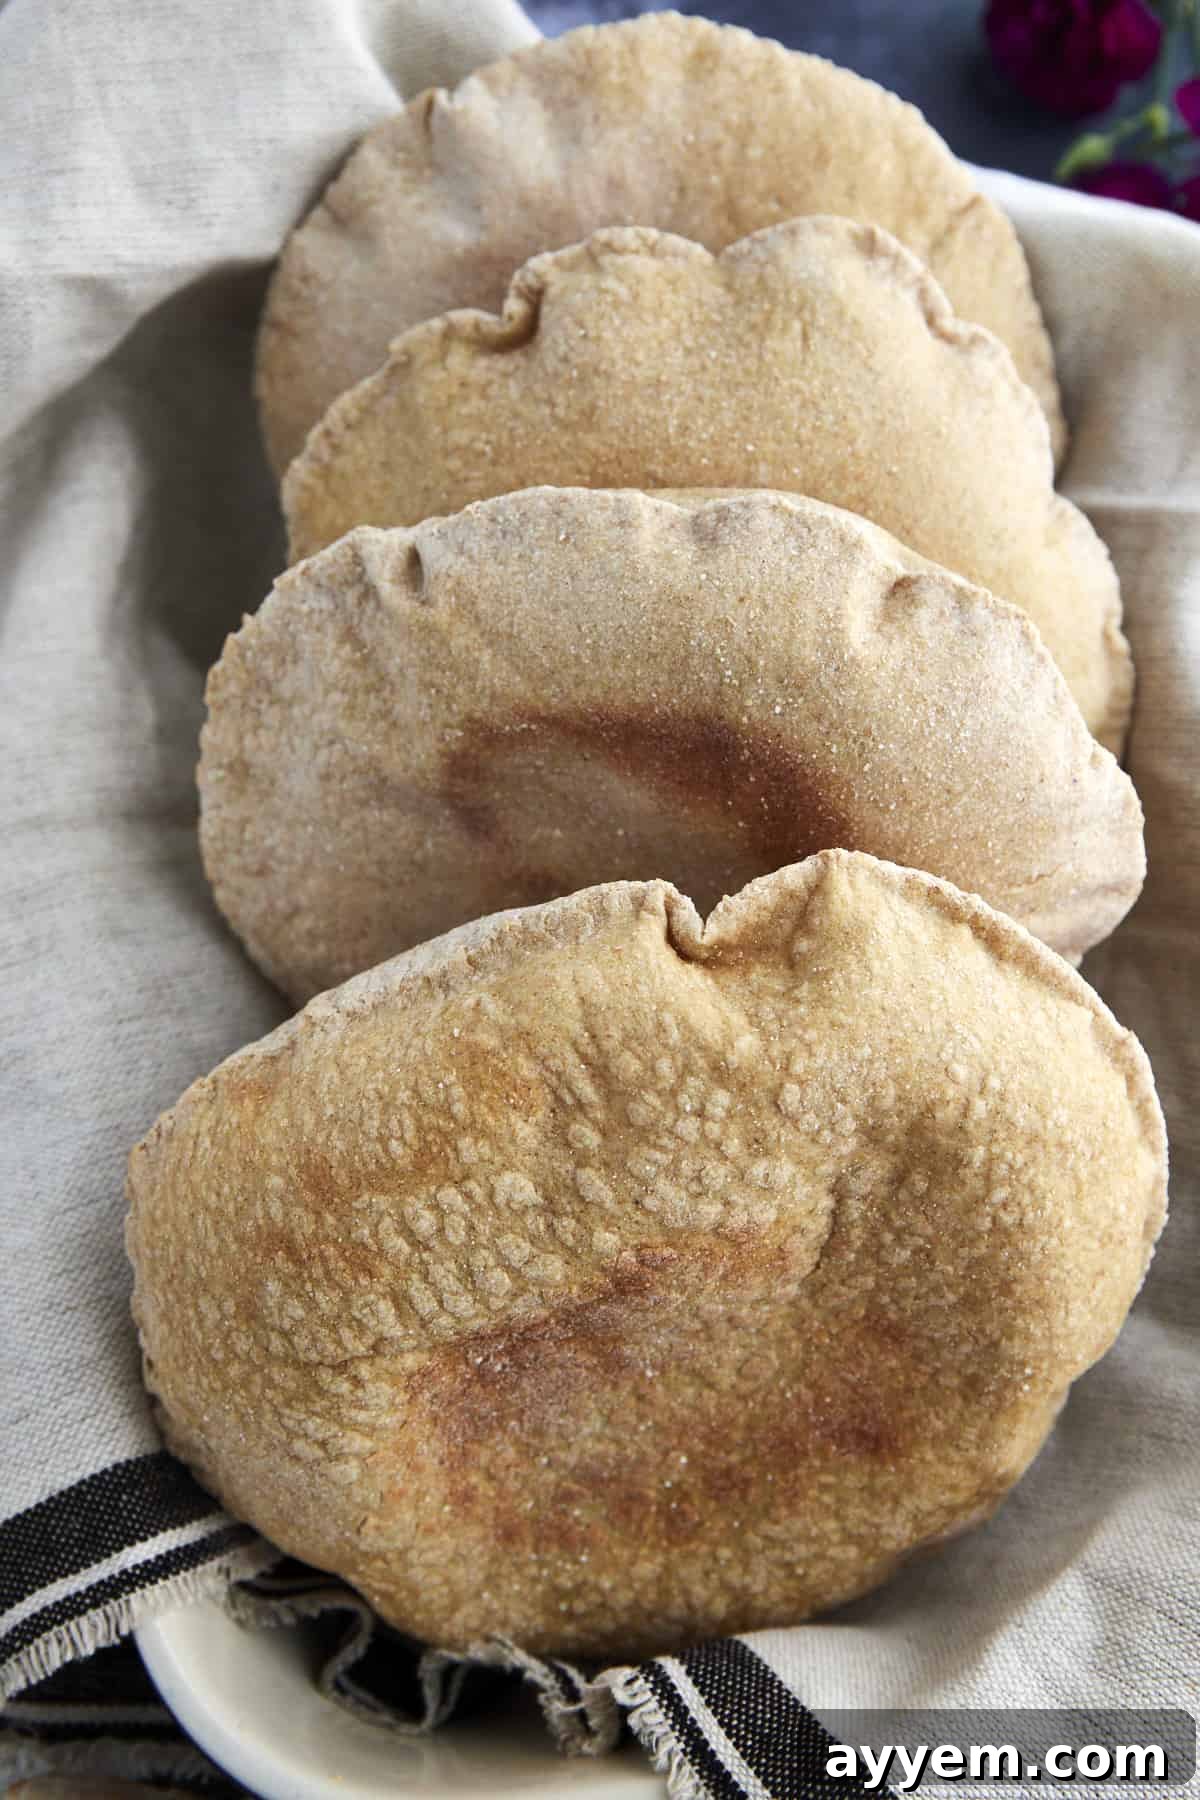
Essential Ingredients You’ll Need for Perfect Whole Wheat Pita
Crafting delicious whole wheat pita bread doesn’t require an extensive list of obscure ingredients. In fact, this recipe relies on simple, budget-friendly staples you likely already have in your pantry. Each ingredient plays a crucial role in achieving that perfect fluffy texture and authentic flavor:
- Whole Wheat Flour: This is the foundation of our whole wheat pita. It imparts a delightful nutty flavor and boosts the fiber content significantly, contributing to its wholesome profile. Whole wheat flour also gives the pita a slightly denser, yet still tender, crumb compared to purely white flour versions.
- All-Purpose Flour: To balance the richer flavor and denser texture of whole wheat flour, we incorporate a portion of all-purpose flour. This blend ensures the pita remains wonderfully soft and pliable, making it easier to roll out and preventing it from becoming overly heavy. It’s the secret to achieving that characteristic fluffy pocket.
- Active Dry Yeast: The magic ingredient that makes our pita puff! Yeast is a living organism that, when activated, produces carbon dioxide, creating air pockets within the dough and giving the pita its signature pocket. Ensure your yeast is fresh for optimal results.
- Warm Water: The perfect temperature of water is paramount for activating the yeast. It needs to be lukewarm, roughly between 105-115°F (40-46°C). If the water is too cold, the yeast won’t activate properly, leading to flat pita. If it’s too hot, it will kill the yeast, with the same disappointing result.
- Granulated Sugar: A small amount of sugar acts as food for the yeast, helping it to activate and multiply efficiently, which is essential for a good rise. It also contributes a very subtle hint of sweetness to the final bread, enhancing its overall flavor without making it overtly sweet.
- Sea Salt: Salt is more than just a seasoning; it plays a vital role in controlling the yeast’s activity and strengthening the gluten structure of the dough. This results in a more flavorful bread with a better texture and elasticity.
- Olive Oil: A dash of good quality olive oil adds moisture and richness to the dough, contributing to its tenderness and pliability. It also adds healthy fats and a delicate flavor that complements the nutty whole wheat notes.
- Baking Powder: While yeast is the primary leavening agent, a small amount of baking powder provides an additional lift, contributing to a lighter, softer crumb and ensuring those impressive pockets form during baking. Make sure your baking powder is fresh for maximum effectiveness.
Your Step-by-Step Guide to Making Fluffy Whole Wheat Pita Bread
Crafting homemade whole wheat pita bread is a rewarding process that combines simple ingredients with a bit of patience. Follow these detailed steps to achieve perfectly puffed, soft, and delicious pita pockets every time!
- Activate the Yeast: The Foundation of Fluffy Pita. Begin by adding 1 cup of lukewarm water to the bowl of your stand mixer. The water should feel warm to the touch, like a baby’s bath – ideally between 105-115°F (40-46°C). Sprinkle in the heaping tablespoon of active dry yeast and the granulated sugar. Stir gently until the yeast and sugar are fully dissolved. Cover the bowl loosely and let the mixture sit for about 10-15 minutes. This crucial step “wakes up” the yeast. You’ll know it’s activated when a foamy layer of bubbles forms on the surface, indicating the yeast is alive and ready to work its magic.
- Forming the Dough: Mixing and Kneading Perfection. Once your yeast is bubbly, it’s time to build the dough. Sift in the whole wheat flour, all-purpose flour, baking powder, and sea salt directly into the mixer bowl with the yeast mixture. Using a dough hook attachment, begin kneading the dough on a low speed. Continue to knead for 5-7 minutes. The dough should come together and form a soft, cohesive ball that pulls away from the sides of the bowl. If the dough appears too dry or stiff, add the additional 1/3 cup of water, one tablespoon at a time, allowing it to incorporate fully before adding more. Conversely, if the dough feels too sticky or wet, add a tablespoon of all-purpose flour until the desired soft, pliable consistency is achieved. The goal is a dough that is soft and slightly tacky, but not sticky.
- The First Rise (Proofing): Patience for Puffy Pockets. Lightly brush the inside of a clean large mixing bowl with about 2 teaspoons of olive oil. Transfer the kneaded dough ball to this oiled bowl, turning it once to coat lightly with oil. This prevents it from sticking and drying out. Cover the bowl tightly with plastic wrap, then drape a clean kitchen towel over it for extra insulation. Place the bowl in a warm, draft-free spot in your kitchen. This could be a slightly warm oven (turned off!), near a sunny window, or just on your countertop on a warm day. Allow the dough to proof (rise) for at least 1 hour, or until it has visibly doubled in size. This slow rise develops flavor and texture.
- Portioning and Shaping: Creating Uniform Pita Discs. Once the dough has doubled, gently punch it down with your fists to release the air. Transfer the dough onto a lightly floured work surface. Using your hands, divide the dough into 10-12 equal pieces. For best results and uniform pita, you can weigh each piece to ensure they are roughly the same size (approximately 2.5-3 ounces or 70-85 grams each). Roll each piece of dough into a smooth, tight ball between your palms. Cover the dough balls with a clean kitchen towel and let them rest for another 20 minutes. This resting period is crucial as it relaxes the gluten, making the dough much easier to roll out without it springing back.
- Rolling Out the Pita: Achieving the Ideal Thickness. After the rest, take one dough ball at a time, keeping the others covered. On a lightly floured surface, use a floured rolling pin to roll the dough ball into a circular shape, approximately 8 inches (20 cm) in diameter and about 1/4 inch (0.6 cm) thick. Aim for an even thickness throughout the circle; inconsistent thickness can prevent the pita from puffing evenly. Dust with additional flour as needed to prevent sticking, but avoid excessive flour, which can make the pita dry.
- Baking for the Perfect Puff: High Heat is Key. Preheat your oven to a scorching 500°F (260°C). If you have a pizza stone or baking steel, place it in the oven during preheating for superior results. Otherwise, a heavy baking sheet will work. Once the oven is fully preheated (and your stone/steel is hot), carefully place one or two rolled pita discs directly onto the hot baking surface. Bake for 2 minutes. The high heat will cause the moisture in the dough to rapidly turn into steam, inflating the pita into a beautiful pocket. Using tongs, carefully flip each pita over and bake for another 1 minute, or until it’s fully puffed and lightly golden.
- Repeating and Storing: A Fresh Batch Every Time. Remove the puffed pita from the oven and immediately transfer it to a plate or basket lined with a clean kitchen towel. Cover the hot pita with the towel to trap the steam, which helps keep them soft and pliable. Repeat the baking process with the remaining dough balls, working quickly to maintain oven temperature. Enjoy your freshly baked whole wheat pita bread warm, straight from the oven!
Pro-Tips for Mastering Your Homemade Whole Wheat Pita Bread
Achieving perfectly puffed and tender homemade pita bread is surprisingly simple when you know a few key tricks. These expert tips will help you consistently bake impressive whole wheat pita pockets:
- Get the Oven Blazing Hot: This is arguably the most critical tip for getting your pita to puff. A super-hot oven, ideally 500°F (260°C), creates a sudden burst of steam inside the dough, which forces the two layers of the pita to separate, forming that iconic pocket. Allow your oven ample time to fully preheat, preferably 20-30 minutes, especially if you’re using a pizza stone or baking steel, as these need to reach maximum temperature.
- Ensure Your Yeast is Lively: Your pita’s rise depends entirely on active yeast. Always use lukewarm water (105-115°F / 40-46°C) for activation. If the yeast mixture doesn’t become foamy and bubbly after 10-15 minutes, your yeast might be old or the water temperature was off. It’s better to start with a fresh batch of yeast than to proceed with inactive yeast, which will result in flat pita.
- Roll the Pita Carefully and Consistently: The thickness of your rolled dough significantly impacts the pita’s ability to puff. Aim for a uniform thickness of about 1/4 inch (0.6 cm) and a round shape of approximately 8 inches (20 cm) in diameter. If the dough is too thick, it may not puff or will be too dense. If it’s too thin, it might bake too quickly and become crisp before forming a pocket, or tear easily. Even rolling also ensures even cooking.
- Don’t Overcrowd the Baking Sheet: Resist the urge to cram too many pita discs onto your baking sheet. Giving each pita enough space (usually one or two at a time) ensures that hot air can circulate freely around them, leading to even baking and maximum puff. Overcrowding can lower the effective oven temperature and result in unevenly cooked or poorly puffed pita.
- Keep Baked Pitas Covered: As soon as your pita comes out of the oven, transfer it to a bowl or basket and cover it immediately with a clean kitchen towel. This traps the residual steam, keeping the pita soft and pliable. If left uncovered, the pita will quickly dry out and become stiff.
- Consider a Pizza Stone or Baking Steel: For professional-level results, baking your pita directly on a preheated pizza stone or baking steel can make a huge difference. These surfaces retain heat exceptionally well, providing a consistent, high-temperature environment that promotes an even and robust puff.
- Hand-Kneading is an Option: If you don’t have a stand mixer, don’t worry! This dough can absolutely be kneaded by hand. It will require a bit more elbow grease and patience, typically 10-15 minutes of vigorous kneading, until the dough is smooth, elastic, and passes the “windowpane test” (stretching a small piece thin enough to see light through it without tearing).
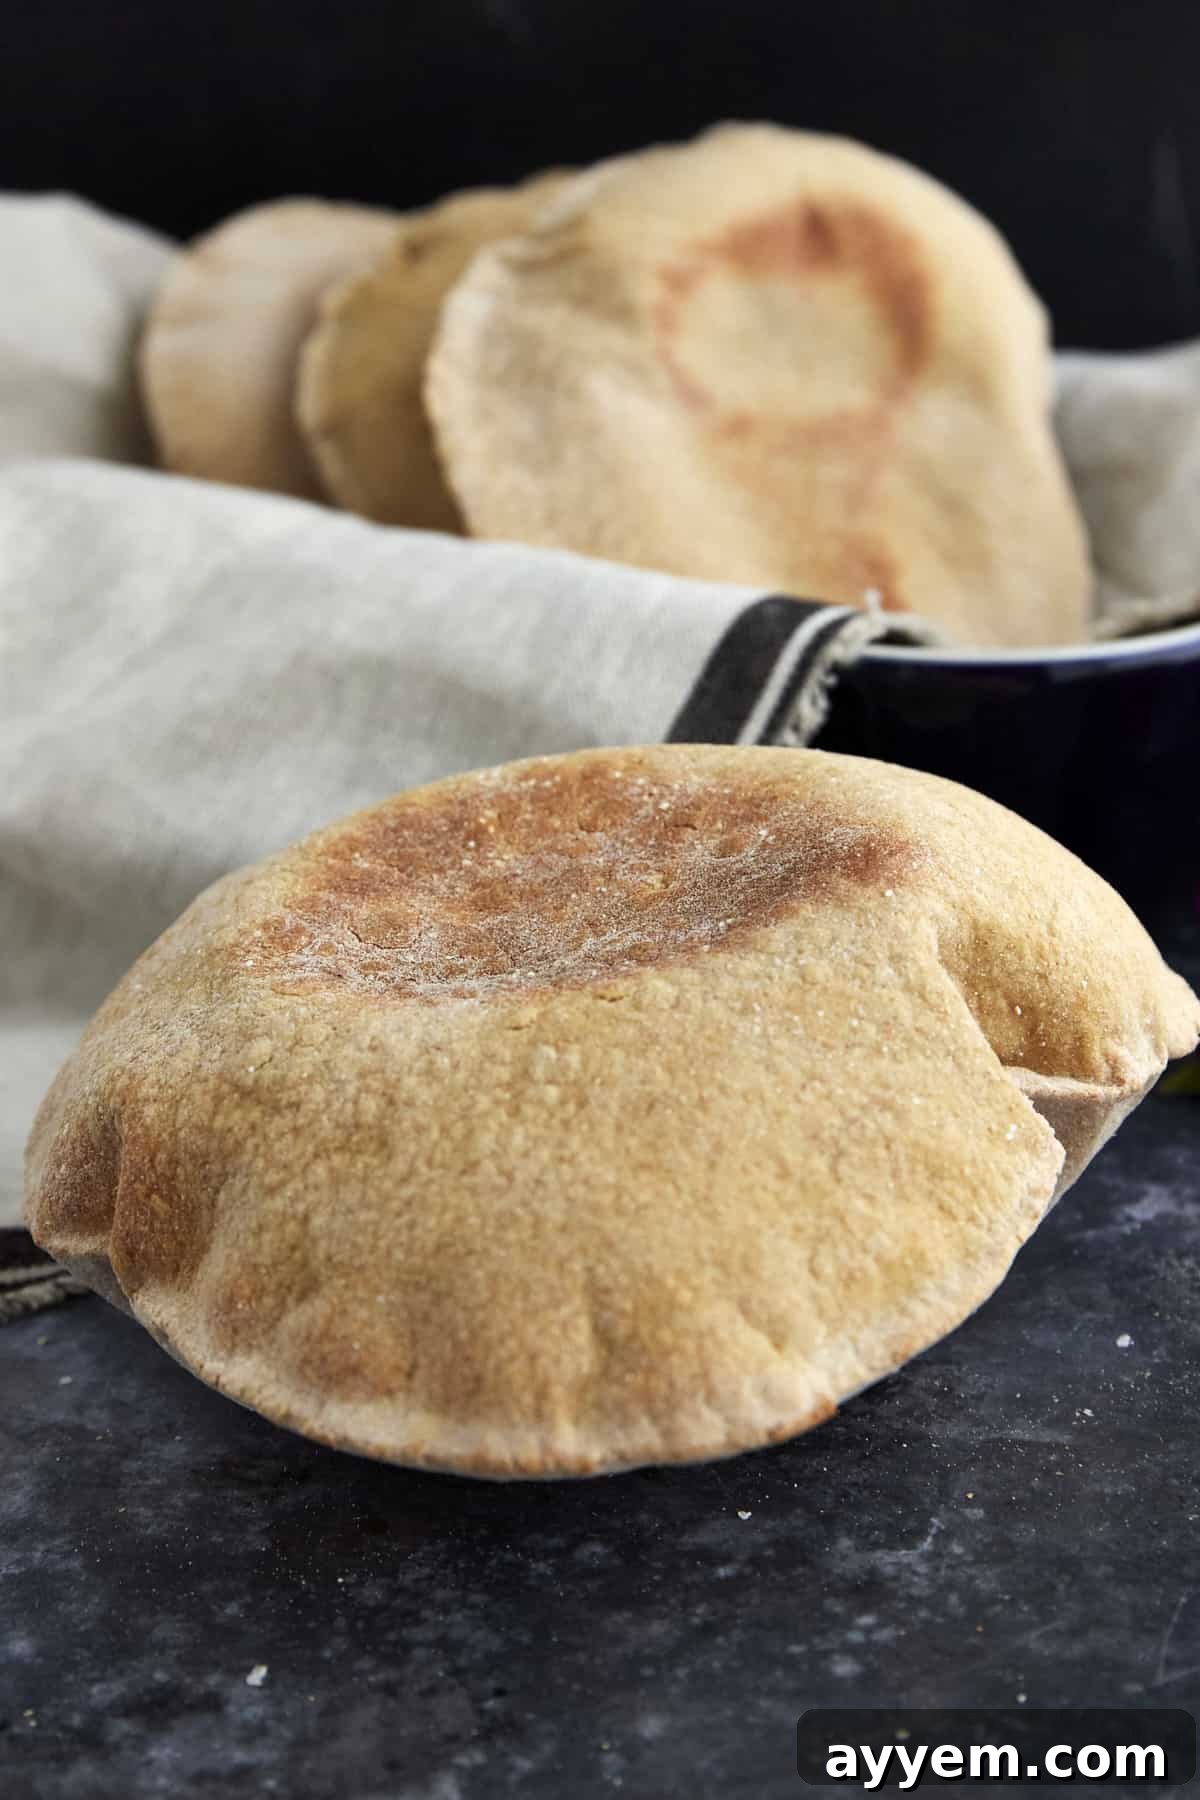
Creative Ways to Enjoy Your Versatile Homemade Whole Wheat Pita Bread
Once you’ve mastered the art of making whole wheat pita bread, you’ll discover that its versatility knows no bounds. This fluffy, flavorful bread is far more than just a simple side; it’s a culinary canvas ready for your favorite flavors. Here are some of our most beloved ways to enjoy this incredible bread:
- For Epic Gyros, Wraps, and Stuffed Pockets: The natural pocket in pita bread makes it perfect for stuffing. Load it with classic Greek gyros meat, fresh veggies, and tzatziki. Or, get creative with fillings like grilled chicken or falafel with hummus, crunchy salads, or even scrambled eggs and avocado for a hearty breakfast wrap.
- Quick & Easy Homemade Pita Pizzas: Forget delivery! Pita bread makes an excellent personal pizza crust. Simply spread a thin layer of your favorite pizza sauce, sprinkle with cheese, and top with any ingredients your heart desires – from pepperoni and mushrooms to olives, peppers, and fresh herbs. Bake until the cheese is bubbly and the crust is golden.
- As a Hearty Companion to Salads and Grain Bowls: Serve warm pita bread alongside vibrant salads like a Chickpea and Lentil Salad or a flavorful Crispy Rice Bowl. Its soft texture is perfect for scooping up every last bit of dressing and ingredient.
- Perfect for Dipping into Soups and Stews: There’s nothing quite like tearing off a piece of warm pita and dipping it into a comforting bowl of soup. It pairs wonderfully with robust soups like Moroccan Spicy Tomato Soup, hearty Middle Eastern Orzo Soup, or a creamy Easy Butternut Squash Soup.
- The Ultimate Accompaniment for Appetizers and Dips: Pita bread is a staple for mezze platters. It’s the ideal vehicle for scooping up creamy Chickpea Hummus, rich Warm Feta Dip with Marinated Olives, smoky baba ghanoush, or even a spicy Romesco Sauce.
- Homemade Crispy Pita Chips: For a delicious snack, cut leftover pita bread into triangles, brush lightly with olive oil, sprinkle with salt, pepper, and your favorite spices (like za’atar or paprika), and bake at 375°F (190°C) for 8-12 minutes until golden and crisp. Perfect for dipping!
- Breakfast Sandwiches and Toast: Slice the pita in half and toast it lightly, then fill with eggs, cheese, and bacon for a portable breakfast sandwich. Or simply enjoy it toasted with jam or avocado.
Storing Your Freshly Baked Whole Wheat Pita Bread
While homemade whole wheat pita bread is best enjoyed warm and fresh from the oven, it’s also incredibly convenient to make ahead or store leftovers. Proper storage ensures your pita remains soft and delicious for future meals. Here’s how to store and reheat your delicious creations:
- To Store at Room Temperature: Once your pita bread has completely cooled to room temperature, place it in an airtight container or a resealable plastic bag. Stored this way, it will retain its freshness and soft texture for up to 3 days. For best results, avoid refrigerating pita bread, as this tends to dry it out and make it stiff.
- To Freeze for Longer Storage: If you’re planning to bake a large batch or want to keep pita on hand for quick meals, freezing is an excellent option. After the pita bread has fully cooled, stack the individual pieces, placing a sheet of parchment paper or wax paper between each pita to prevent them from sticking together. Transfer the stack to a heavy-duty freezer-safe bag, pressing out as much air as possible before sealing. Frozen pita bread can be stored for up to 3 months without losing quality. This method ensures you always have wholesome, homemade pita ready when you need it.
- To Reheat Your Pita Bread: Reviving fresh or frozen pita is simple and brings back that soft, warm texture.
- Oven Method: For multiple pitas, preheat your oven to 350°F (175°C). Lightly sprinkle the pitas with a few drops of water (this helps create steam) and wrap them in aluminum foil. Heat for 5-10 minutes (longer for frozen), until warm and pliable.
- Air Fryer Method: A great option for one or two pitas. Place pita bread directly in the air fryer basket (no need to overcrowd). Heat at 350°F (175°C) for 1-2 minutes for fresh, or 3-4 minutes for frozen, until soft and warm.
- Toaster Method: For a quick reheat, you can pop a single pita into a toaster or toaster oven for a minute or two until warmed through and slightly crisp. Be careful not to over-toast, or it will become brittle.
- Skillet Method: Heat a dry skillet over medium heat. Place a pita in the skillet and heat for 30-60 seconds per side, or until warmed and slightly pliable.
Common Questions about Homemade Whole Wheat Pita Bread
Several factors can prevent your pita from puffing. The most common reasons include an oven that isn’t hot enough (it needs to be scorching hot, around 500°F/260°C, to create that instant steam), inactive yeast (ensure your yeast is fresh and activated properly in lukewarm water), or rolling the dough unevenly or too thick/thin. Also, avoid opening the oven door too frequently, as this drops the temperature.
Absolutely! While a stand mixer makes the kneading process easier, hand-kneading works just as well. Simply combine the ingredients in a large bowl, then turn the dough out onto a lightly floured surface. Knead vigorously for 10-15 minutes, pushing the dough away with the heel of your hand and folding it back, rotating as you go, until it’s smooth, elastic, and springy. It requires a bit more effort but yields excellent results.
For best results, warm pitas in a hot, dry skillet over medium heat for 1-2 minutes per side until soft and pliable. You can also wrap them in foil and heat them in a 350°F (175°C) oven for 5-10 minutes, or even briefly in a toaster or air fryer. The goal is to warm them through without making them crisp, unless you are making pita chips.
Yes, absolutely! Adding dried herbs or spices is a fantastic way to customize your pita bread. Incorporate 1-2 teaspoons of dried oregano, za’atar, garlic powder, onion powder, or even a pinch of cumin into the dry ingredients when you’re mixing the dough. This adds a wonderful aromatic flavor dimension that complements various cuisines.
While it’s possible to use 100% whole wheat flour, the resulting pita will be denser and less pliable, and the pockets might not form as easily or as large. The blend of whole wheat and all-purpose flour in this recipe is specifically designed to give you the best balance of nutrition, flavor, and that characteristic soft, puffy texture.
The dough has risen sufficiently when it has approximately doubled in size. You can gently poke two fingers into the dough; if the indentations remain, it’s ready. If it springs back immediately, it needs more time. Be careful not to over-proof, as this can sometimes lead to less vigorous puffing in the oven.
More Easy Bread Recipes to Explore
If you’ve enjoyed the rewarding experience of baking this whole wheat pita bread at home, you’ll love these other easy, flavorful, and family-friendly bread recipes from our kitchen. Expand your baking repertoire and discover new favorites!
- Garlic Caprese Bread
- Homemade Garlic Bread with Spinach and Artichokes
- Easy Focaccia with Tomatoes
- Olive Cheese Bread
- Air Fryer Pita Bread
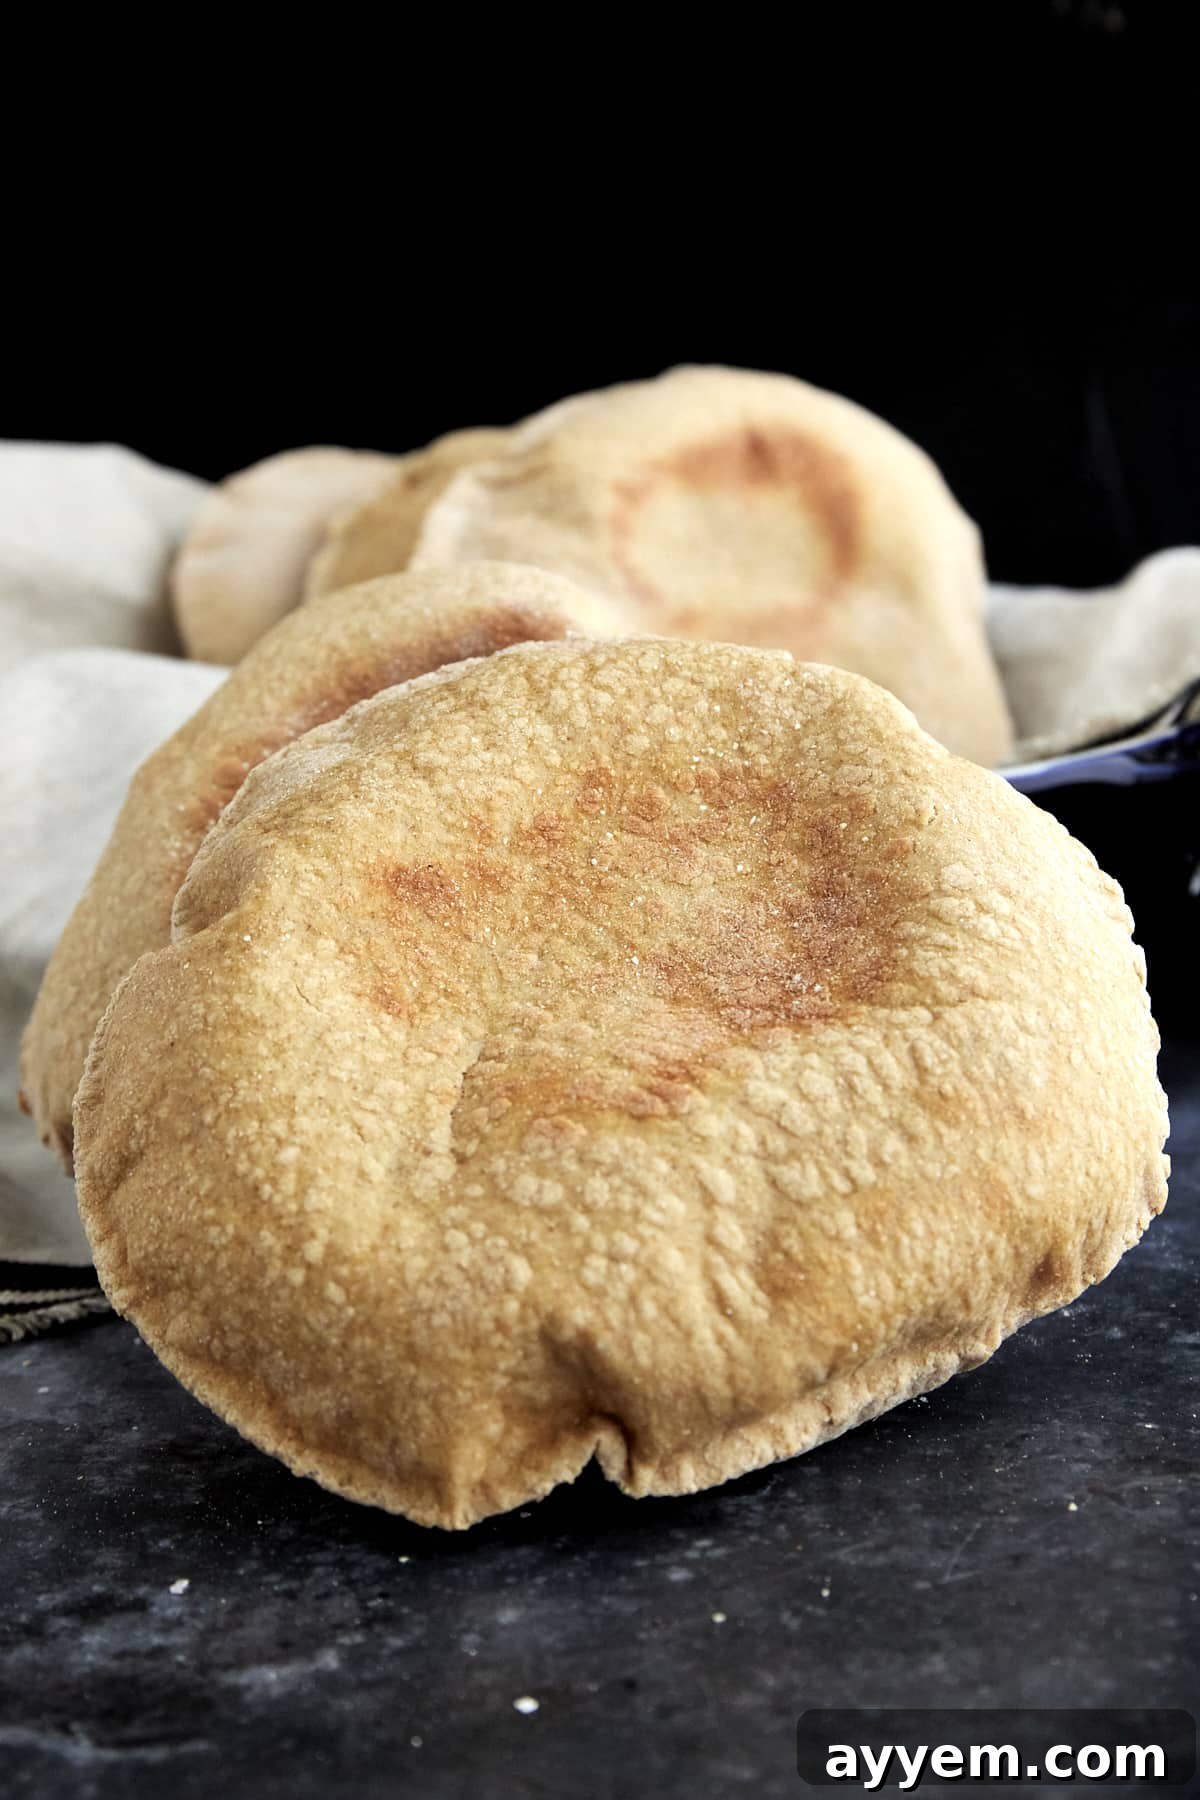
Whole Wheat Pita Bread Recipe
Food Dolls
10 -12 servings
1 hour hr 50 minutes mins
3 minutes mins
1 hour hr 53 minutes mins
Print Recipe
Email Recipe
Ingredients
- 1 cup lukewarm water
- 1 heaping Tablespoon yeast
- 1 Tablespoons granulated sugar
- 3 cups whole wheat flour
- 1 cup all-purpose flour plus more for dusting
- 1/2 teaspoon baking powder
- 1 teaspoon sea salt
- 1/3 cup additional water if needed
- 2 teaspoons olive oil
Instructions
-
In the bowl of a stand mixer, add 1 cup lukewarm water. Add the yeast and 1 tablespoon sugar, stirring until they are dissolved. Cover, and set aside for 15 minutes or until bubbles begin to form.1 cup lukewarm water, 1 heaping Tablespoon yeast, 1 Tablespoons granulated sugar
-
Sift in the flour, baking powder, salt. Then, using a dough hook attachment, knead the dough on a low speed. If needed, add more water 1 tablespoon at a time until the dough is well combined and soft. Note: If the dough becomes too runny, simply add 1 tablespoon flour at a time until the desired temperature is reached.3 cups whole wheat flour, 1 cup all-purpose flour, 1/2 teaspoon baking powder, 1 teaspoon sea salt, 1/3 cup additional water
-
Lightly brush a mixing bowl with olive oil, and add the dough. Cover the bowl tightly with plastic wrap followed by a towel. Set is aside in a cool, warm place for at least an hour or until the dough has doubled in size.2 teaspoons olive oil
-
Punch the dough down, deflating it with fists. Then, transfer it to a floured work surface. Using two hands, divide the dough into 10-12 equal mounds. Roll them between two palms until they resemble round balls. Cover the dough with a towel, and let it rest for 20 minutes.
-
Using a floured rolling pin, roll each dough ball into a circle roughly 8 inches round and a quarter-inch thick. Dust the dough with more flour as needed to prevent it from sticking.
-
Preheat the oven to 500° Fahrenheit, and place the dough on a sheet pan. Bake for 2 minutes. Then, using tongs, carefully turn each pita over, and place the pan back in the oven for 1 minute or until the pita is puffy.
-
Remove the pan from the oven, cover the baked pita bread with a clean towel, and repeat the process until all of the dough has been used.
-
Store in an airtight container at room temperature for up to 3 days.
Notes
Nutrition
Nutrition information is automatically calculated, so should only be used as an approximation.