
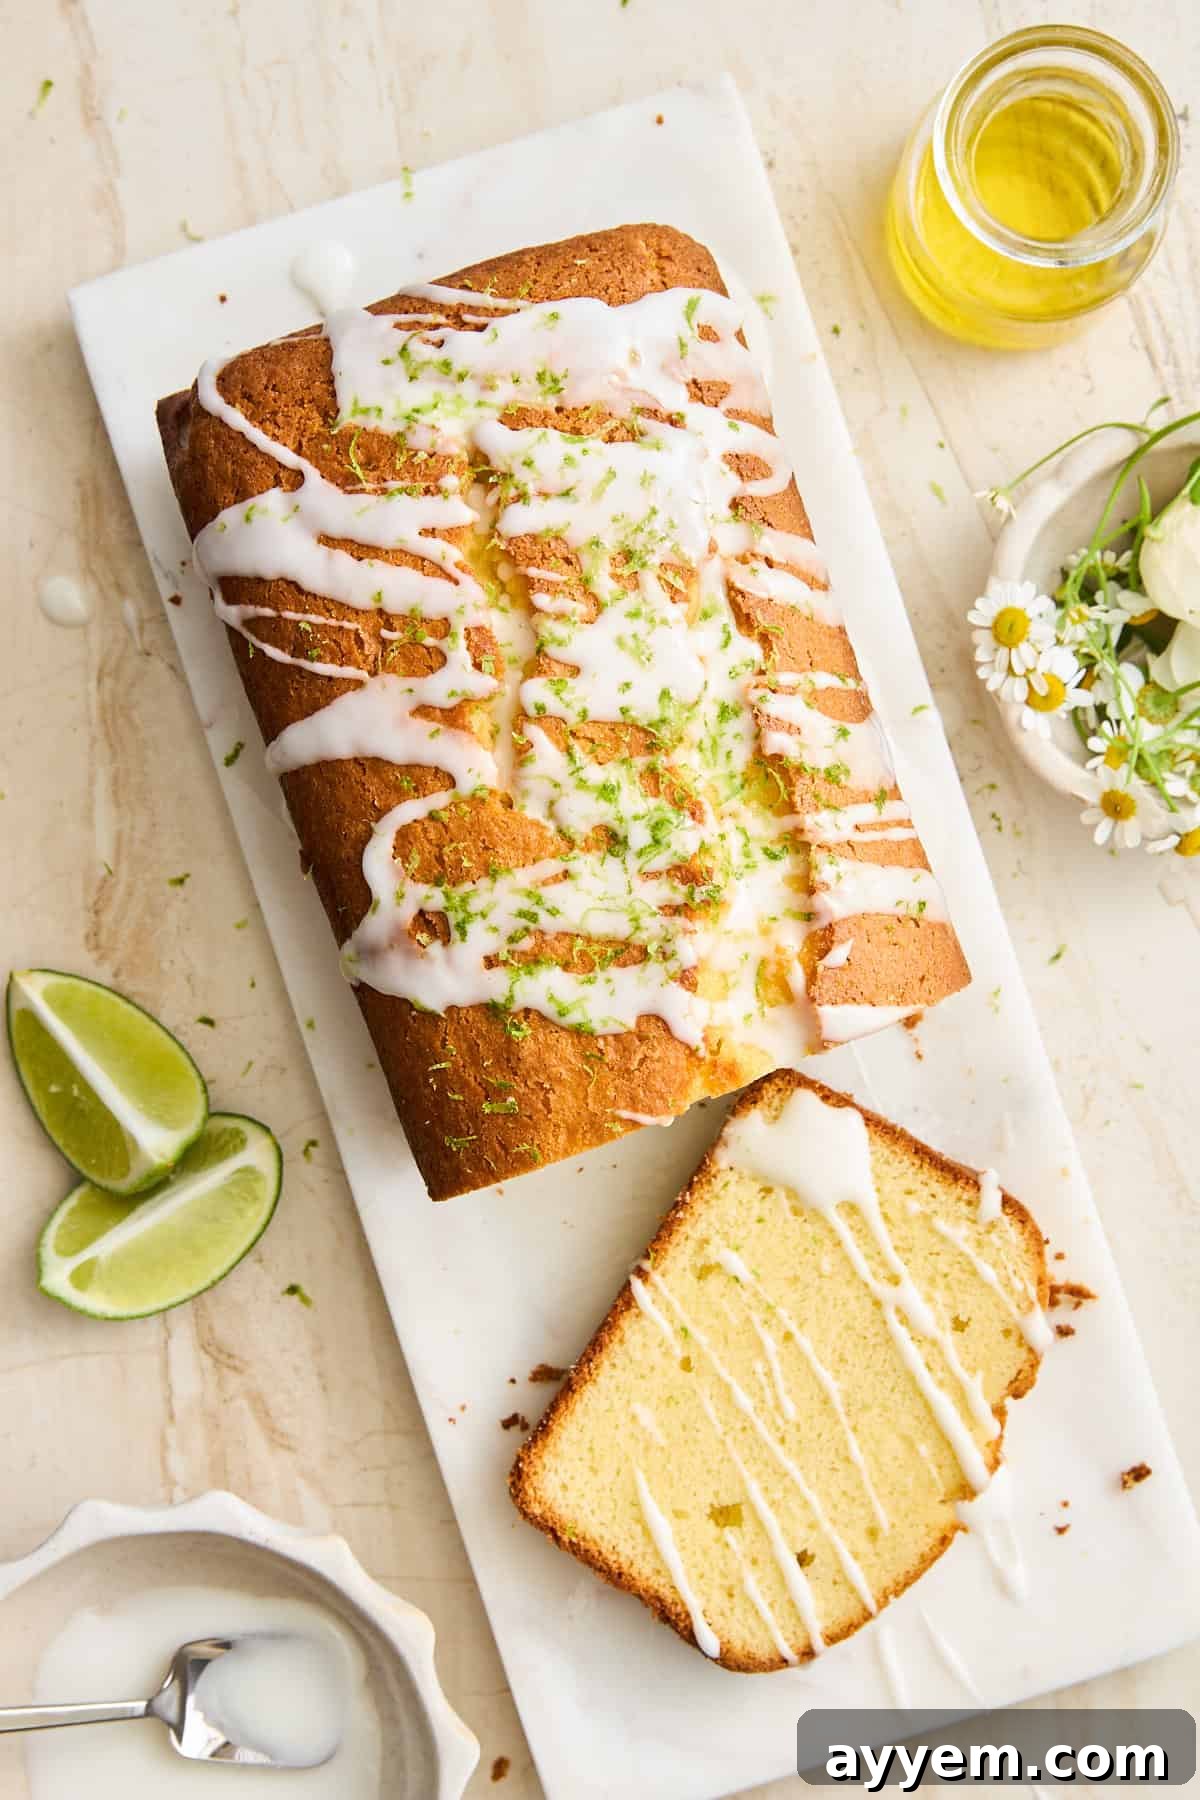
The Ultimate Key Lime Bread Loaf: A Tangy & Tender Delight
If you crave citrusy desserts that strike the perfect balance between vibrant tang and irresistible tenderness, this Key Lime Bread Loaf is about to become your new kitchen obsession. Forget complicated recipes – this one is delightfully easy to prepare, boasts a wonderfully light and fluffy crumb, and is crowned with a brilliant lime glaze that elevates every single bite. It’s more than just a quick bread; it’s a sunshine-infused treat that will brighten any day.
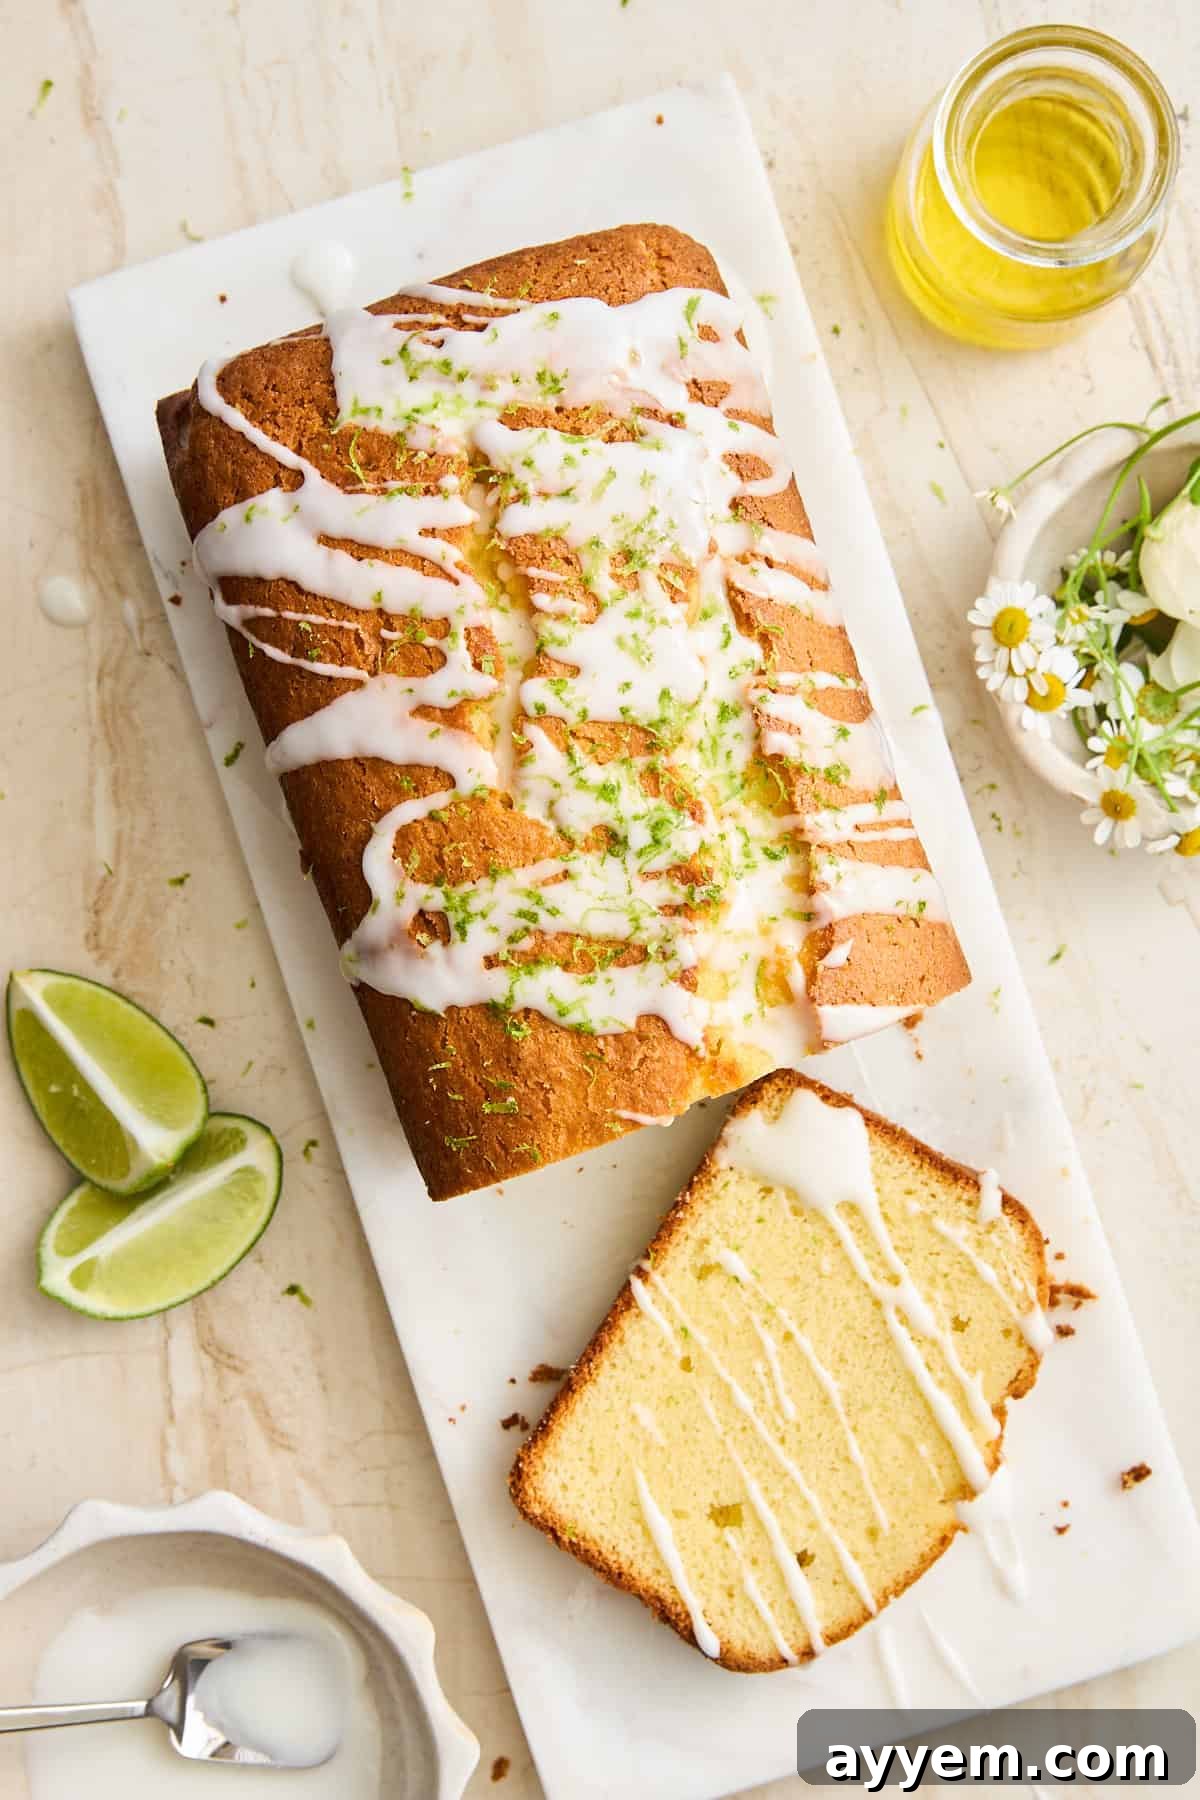
What is Key Lime Bread?
Key lime bread is a moist, quick bread that truly celebrates the bright, zesty essence of lime. Unlike many citrus breads that rely solely on juice and zest, this unique recipe takes flavor to the next level by incorporating whole, peeled Key limes (or large limes) directly into the batter. This innovative approach infuses the loaf with an unparalleled depth of citrus flavor, offering a delightful balance of tartness and natural sweetness.
Typically baked in a standard loaf pan, similar to beloved classics like banana bread or lemon bread, this Key Lime Loaf stands out with its intensely aromatic and tender crumb. The result is a fragrant, soft bread with a moist texture that practically melts in your mouth. A simple yet vibrant glaze, made from fresh lime juice and confectioners’ sugar, provides the perfect finishing touch, adding an extra burst of citrus and a beautiful, glossy sheen.
This loaf is a fantastic and fun twist on traditional lime desserts, making it an ideal choice for spring, summer, or whenever you need a taste of sunshine. It’s incredibly versatile – perfect for serving alongside your morning coffee, as a delightful afternoon snack, or even as a light dessert after a meal. Despite its sophisticated flavor, this recipe is surprisingly easy to make. You won’t need a stand mixer or any complicated tools; just a blender and a loaf pan are all it takes to create this satisfying, light, and utterly delicious treat.
Why You’ll Love This Key Lime Loaf
There are countless reasons why this Key Lime Bread Loaf will quickly become a household favorite:
- Unforgettable Flavor: The use of whole limes blended into the batter creates an incredibly deep and authentic key lime flavor that’s both vibrant and perfectly balanced.
- Effortless Preparation: No fancy equipment required! A blender does most of the work, making this recipe accessible for even novice bakers.
- Incredibly Moist Texture: Thanks to the combination of olive oil and sour cream, this loaf stays wonderfully moist and tender for days.
- Versatile Treat: Enjoy it for breakfast, brunch, an afternoon pick-me-up, or as a light dessert. It’s perfect for any occasion!
- Bright & Refreshing: The zesty lime flavor is wonderfully refreshing, especially during warmer months, making it a delightful alternative to heavier desserts.
- Beautiful Presentation: The simple, glossy lime glaze adds a professional touch and makes this loaf as visually appealing as it is delicious.
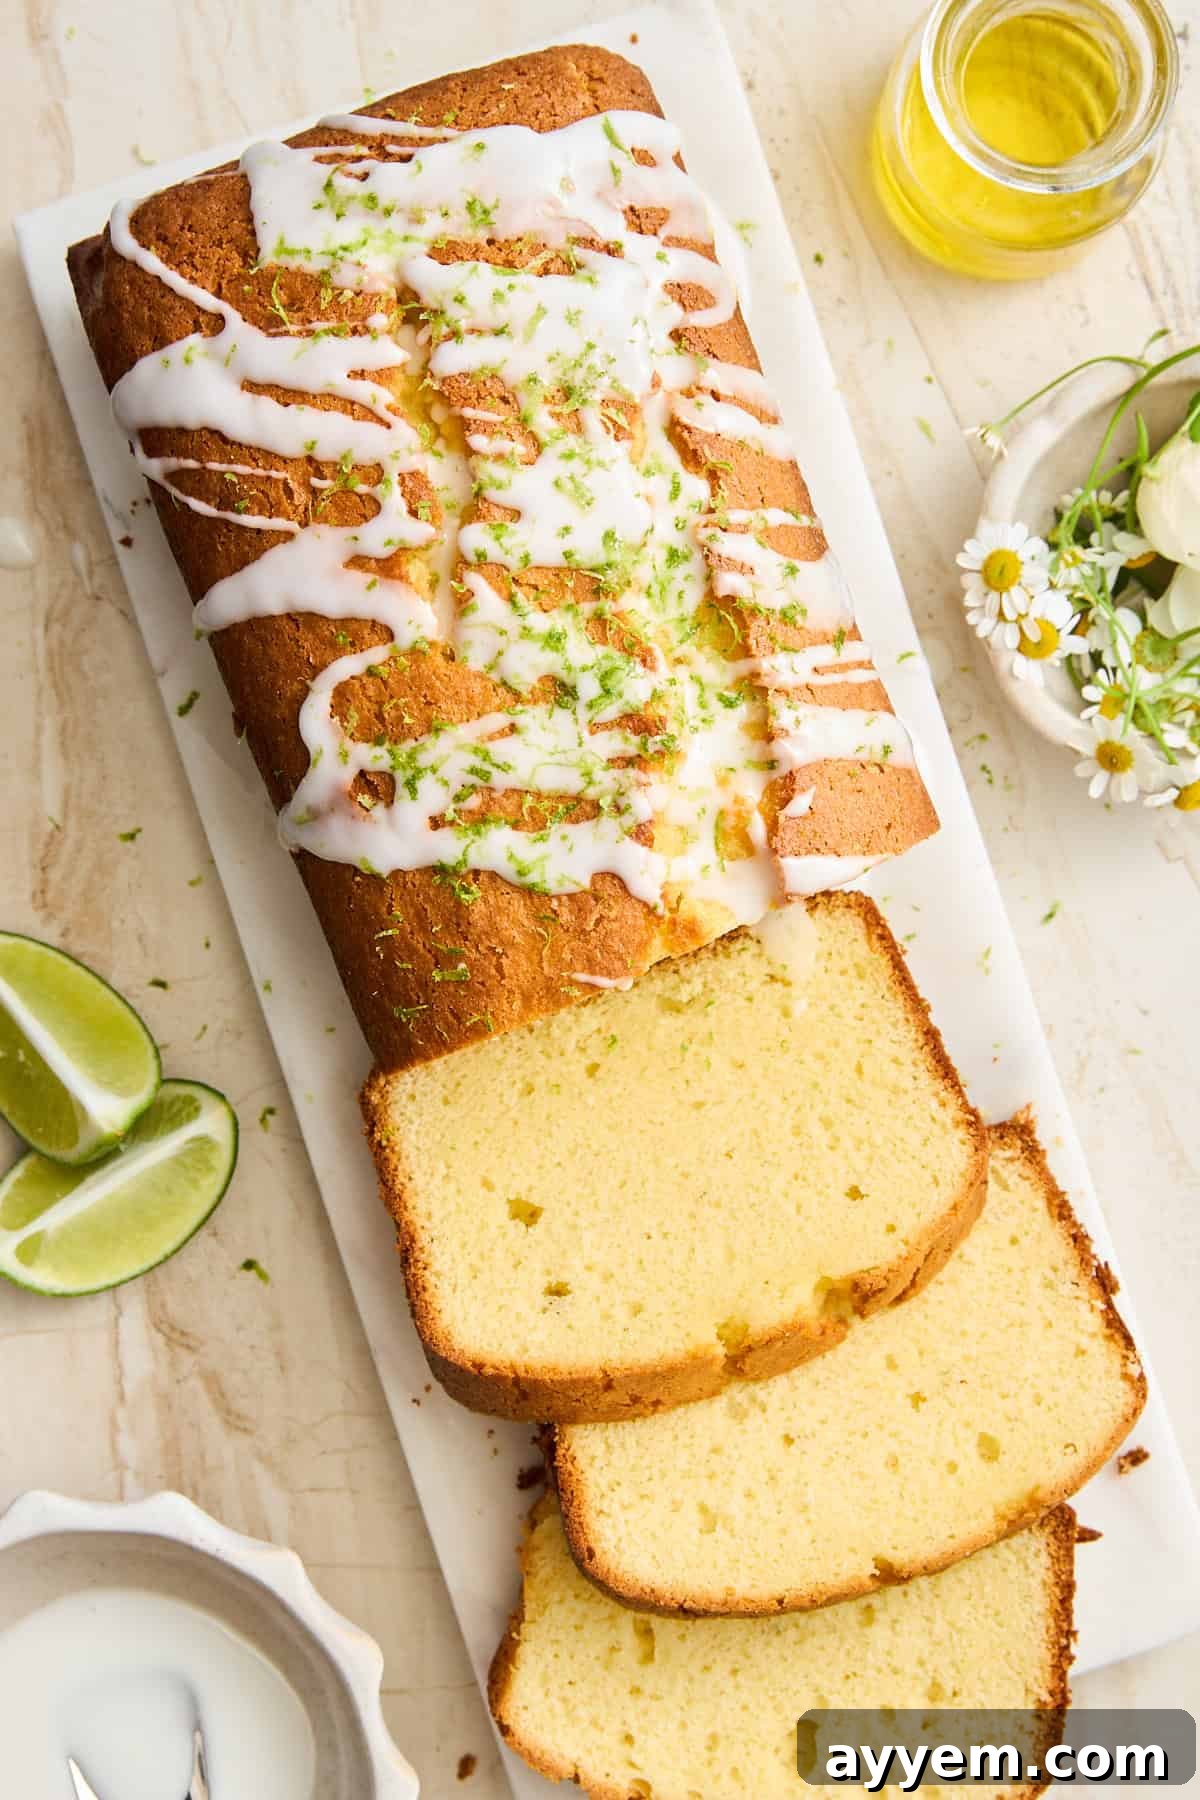
Key Ingredients You Need
Crafting this incredible Key Lime Bread Loaf starts with a selection of high-quality ingredients, each playing a crucial role in achieving its signature flavor and texture.
For the Bread
- Key Limes or Large Limes: The star of the show! We utilize peeled whole limes, ensuring the removal of any bitter pith, to infuse the bread with an incredibly bold and authentic lime flavor. This method provides a wonderful natural bitterness that perfectly counteracts the sweetness of the sugar. Key limes offer a more aromatic and slightly tarter flavor, but regular limes work beautifully too.
- Lime Zest: Before peeling your limes, remember to zest them! The zest contains concentrated citrus oils, which add an intense, vibrant aroma and deepen the fruity notes throughout the loaf. It’s a small detail that makes a huge impact on the overall flavor profile.
- Large Eggs: Eggs are essential for providing structure, richness, and binding the ingredients together. For the best incorporation into the batter and to prevent curdling, always ensure your eggs are at room temperature.
- Extra Virgin Olive Oil: This isn’t just for cooking! Extra virgin olive oil imparts a subtle fruity and slightly earthy flavor to the loaf, making it incredibly moist and tender. Its unique profile complements the tartness of the lime beautifully, resulting in a bread that’s anything but dry.
- Granulated Sugar: Beyond simply sweetening the batter, granulated sugar balances the intense lime flavor and contributes to that desirable golden-brown crust. It also helps with moisture retention.
- Sour Cream: A secret weapon for tenderness and moisture! Sour cream adds a delicate tang that enhances the lime, while its fat content ensures the loaf remains incredibly soft and rich. Greek yogurt can be a good substitute for a slightly tangier result.
- Vanilla Extract: Just a touch of pure vanilla extract rounds out the tartness of the lime with warm, comforting undertones. It adds complexity and depth, preventing the lime flavor from being overly sharp.
- All-Purpose Flour: This forms the foundational structure of the loaf. To ensure a light and airy texture, it’s crucial to measure your flour correctly by spooning it into the measuring cup and then leveling it off. Avoid scooping directly from the bag, as this can lead to over-packed flour and a dense loaf.
- Baking Powder: Our primary leavening agent! Baking powder helps the loaf rise beautifully, creating that signature light and airy texture. Always check the expiration date to ensure it’s fresh and active for maximum lift.
- Sea Salt: A small pinch of sea salt works wonders by sharpening the citrus notes and enhancing all the other flavors in the bread. It’s a crucial ingredient for balancing sweetness and acidity, making every flavor pop.
For the Glaze
- Confectioners’ Sugar (Powdered Sugar): This fine sugar creates a silky, smooth glaze that sets beautifully. If your confectioners’ sugar appears clumpy, a quick sift will ensure a perfectly smooth consistency.
- Fresh Lime Juice: The key to a vibrant, fresh-tasting glaze. Always use freshly squeezed lime juice for the best flavor. Start with a small amount and gradually add more, a teaspoon at a time, until you achieve the perfect drizzle consistency. This allows for easy adjustment to your desired thickness.

How to Make a Key Lime Bread Loaf
Creating this delicious Key Lime Bread Loaf is surprisingly straightforward, especially with the help of a blender. Follow these simple steps for a perfect bake every time:
- Prepare Your Pan & Preheat Oven: Begin by preheating your oven to 350°F (175°C). Lightly grease and flour a 9×5-inch loaf pan, or line it with parchment paper, leaving an overhang on the sides, to make removal easy after baking.
- Blend the Wet Ingredients: In your blender, combine the peeled limes (with all pith removed), lime zest, room-temperature large eggs, extra virgin olive oil, granulated sugar, sour cream, and vanilla extract. Blend these ingredients on high speed until the mixture is completely smooth and creamy, with no visible chunks of lime. This ensures an even distribution of flavor throughout the bread.
- Add the Dry Ingredients: To the smooth wet mixture in the blender, add the all-purpose flour, baking powder, and sea salt. Pulse the blender just a few times (typically 5-10 short pulses) until the dry ingredients are fully incorporated. It’s crucial not to overmix the batter at this stage, as overmixing can develop the gluten in the flour, leading to a tough and dense loaf. Stop as soon as you see no more dry streaks.
- Pour and Bake: Carefully transfer the prepared batter into your greased and floured (or parchment-lined) loaf pan. Gently smooth the top of the batter with a spatula. Bake for approximately 50-55 minutes, or until the loaf is beautifully puffed, golden brown on top, and a wooden skewer or toothpick inserted into the center comes out clean. If the top begins to brown too quickly, you can loosely tent it with aluminum foil.
- Cool the Loaf: Once baked, remove the loaf from the oven and let it rest in the pan for about 10-15 minutes. This crucial resting period allows the bread to firm up and finish setting, preventing it from crumbling when you remove it. After resting, carefully transfer the loaf to a wire cooling rack to cool completely to room temperature. Glazing a warm loaf will cause the glaze to melt and run off.
- Make the Glaze: While the bread cools, prepare your simple lime glaze. In a small bowl, whisk together the confectioners’ sugar and fresh lime juice until you achieve a smooth, pourable consistency. If the glaze is too thick, add a tiny bit more lime juice (half a teaspoon at a time). If it’s too thin, sprinkle in a bit more confectioners’ sugar until it reaches your desired drizzling consistency.
- Glaze and Enjoy: Once the Key Lime Bread Loaf has cooled completely, generously drizzle the prepared lime glaze over the entire top. Allow the glaze a few minutes to set and harden slightly before slicing and serving. The slight wait is absolutely worth it for that perfect finish!
Pro Tips for the Perfect Key Lime Loaf
- Room Temperature Ingredients: Always use room temperature eggs and sour cream. They incorporate more easily into the batter, leading to a smoother, more emulsified mixture and a finer crumb.
- Measure Flour Correctly: For accurate results, spoon your flour into the measuring cup and level it off with a straight edge. Scooping directly can compact the flour, leading to a dry, dense loaf.
- Don’t Overmix: After adding the dry ingredients, blend only until just combined. Overmixing develops gluten, which can make your bread tough.
- Remove Pith Thoroughly: The white pith under the lime peel is bitter. Ensure you remove it completely when peeling the whole limes for blending to avoid any unpleasant flavors.
- Test for Doneness: The toothpick test is reliable. If it comes out with moist crumbs, bake a few more minutes. If it comes out clean, your loaf is ready.
- Cool Completely Before Glazing: Patience is key! Glazing a warm loaf will cause the glaze to melt into the bread rather than forming a nice, set layer.
Variations to Try
While this Key Lime Bread Loaf is perfect as is, it’s also wonderfully adaptable! Here are some creative variations to customize your bake:
- Meyer Lemons: For a delightful twist, swap out the Key limes for Meyer lemons. These hybrid lemons offer a sweeter, more floral citrus flavor with less tartness, resulting in a slightly milder and exceptionally aromatic loaf.
- Shredded Coconut: Fold in about ½ to 1 cup of unsweetened shredded coconut into the batter before baking. This adds a fantastic tropical texture and a subtle richness that pairs beautifully with the lime.
- Lime Zest Sugar Topping: Before baking, mix a tablespoon of granulated sugar with an additional teaspoon of lime zest. Sprinkle this mixture over the top of the batter for a crisp, incredibly citrusy crust that caramelizes beautifully.
- White Chocolate Chips: Stir in ½ to ¾ cup of white chocolate chips into the batter for a creamy, sweet contrast to the tangy lime. The combination of sweet chocolate and tart lime is truly irresistible.
- Greek Yogurt Swap: Replace some or all of the sour cream with full-fat plain Greek yogurt. This will make the loaf just as moist but will impart an extra touch of tang, appealing to those who love a bolder citrus punch.
- Coconut Glaze: For an even more tropical experience, prepare your glaze by whisking confectioners’ sugar with coconut milk (canned or carton, unsweetened) instead of lime juice. You can still add a tiny bit of lime zest to the glaze for flavor.
- Poppy Seeds: Add 1-2 tablespoons of poppy seeds to the batter for a subtle crunch and a classic bakery-style aesthetic.
- Cardamom Infusion: Incorporate ½ teaspoon of ground cardamom into the dry ingredients for an exotic, fragrant twist that complements citrus exceptionally well.
Can I Store Leftovers?
While this Key Lime Bread Loaf is undoubtedly at its peak freshness on the day it’s baked, any leftovers are still absolutely delicious! Just be aware that the glaze might soften a bit over time as it absorbs moisture from the bread.
To store, place individual slices or the entire cooled loaf in an airtight container. It will keep wonderfully at room temperature for up to 3 days, maintaining much of its moist texture. For extended freshness, you can refrigerate the slices in an airtight container for up to 4 days.
This loaf also freezes beautifully, especially if it’s unglazed. Wrap the cooled, unglazed loaf tightly in plastic wrap, then in aluminum foil, and store it in a freezer-safe bag or container for up to 2 months. When you’re ready to enjoy it, simply let it thaw at room temperature for several hours or overnight before preparing and drizzling with a fresh batch of lime glaze. This way, you can enjoy a fresh-tasting loaf whenever the craving strikes!
Common Questions About Key Lime Loaf
Absolutely! While Key limes offer a distinct, slightly more aromatic and tart flavor, regular (Persian) limes will work perfectly well in this recipe and still provide that wonderfully citrusy punch. The primary goal is to remove the pith for the best flavor.
The pith is the white, spongy layer found directly under the colored peel (zest) of citrus fruits. It contains compounds that can impart a very bitter and unpleasant taste to your baked goods. Removing it ensures you get only the bright, pure lime flavor without any harsh, bitter undertones, resulting in a beautifully balanced loaf.
Yes, you certainly can! Simply swap the all-purpose flour with a high-quality 1-to-1 gluten-free baking blend that contains xanthan gum. Many brands are designed to perform just like regular flour in recipes like this, so you should achieve a delicious gluten-free Key Lime Loaf without much adjustment.
For the best results, use a microplane zester or a fine grater. Gently grate only the vibrant green outer layer of the lime peel. Stop as soon as you hit the white pith underneath, as this part is bitter and you only want the fragrant zest. Rotate the lime as you go to get as much zest as possible.
While bottled lime juice can be used in a pinch, fresh lime juice is highly recommended, especially for the glaze. Fresh juice provides a much brighter, more vibrant, and natural lime flavor that truly elevates the overall taste of the bread. Bottled juice often contains preservatives and lacks the fresh aroma and zestiness.
More Easy Bread Recipes to Love
If you enjoyed this simple yet stunning Key Lime Bread Loaf, you’re in for a treat! We’re always in the mood for quick and easy bread recipes that deliver on flavor and comfort. Explore some of our other favorites:
Lemon Bread (Easy Blender Recipe)
Cinnamon Sugar Pull Apart Bread
Easy Banana Pecan Bread
Chocolate Chip Walnut Banana Bread
Banana Blueberry Bread with Streusel Topping
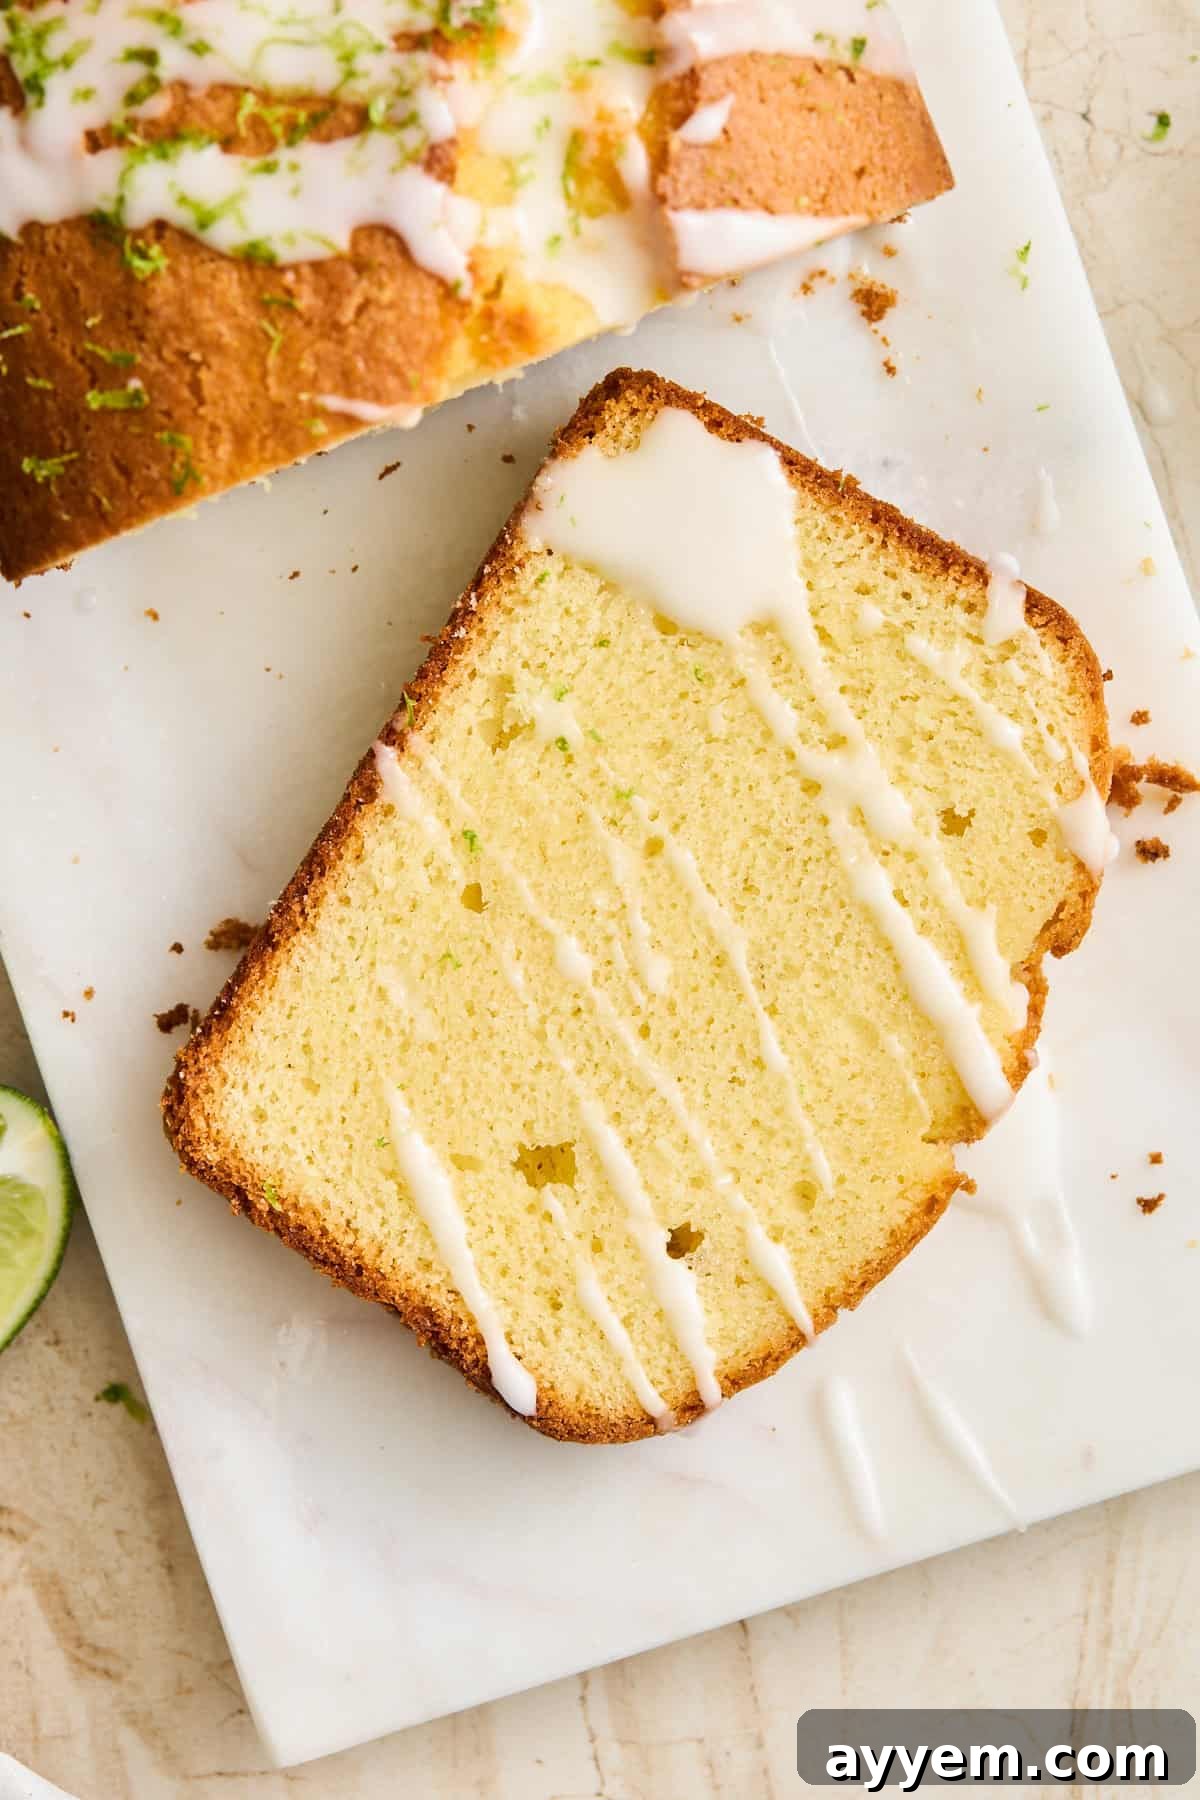
Key Lime Bread Loaf Recipe
Food Dolls
12 servings
10 mins
55 mins
10 mins
1 hr 15 mins
Pin
Ingredients
-
4 whole key limes or 2 large limes peeled and pith removed -
1 teaspoon lime zest -
4 large eggs at room temperature -
¾ cup extra virgin olive oil -
1 1/3 cups granulated sugar -
1/3 cup sour cream -
2 teaspoons vanilla extract -
2 cups all-purpose flour -
3 teaspoons baking powder -
½ teaspoon sea salt
For the Lime Glaze:
-
1 cup confectioners’ sugar -
1 –2 Tablespoons fresh lime juice
Instructions
Preheat the Oven:
-
Set the oven to 350°F (175°C). Grease and flour a 9×5-inch loaf pan, or line it with parchment paper for easy removal.
Prepare the Wet Ingredients:
-
In a blender, combine the peeled and pith-removed limes, lime zest, eggs, olive oil, granulated sugar, sour cream, and vanilla extract.4 whole key limes or 2 large limes,
1 teaspoon lime zest,
4 large eggs,
¾ cup extra virgin olive oil,
1 1/3 cups granulated sugar,
1/3 cup sour cream,
2 teaspoons vanilla extract -
Blend until the mixture is smooth.
Incorporate Dry Ingredients:
-
Add the all-purpose flour, baking powder, and sea salt to the blender. Pulse just until the dry ingredients are fully incorporated, about 10 pulses. Be careful not to overmix, or the bread will be dry!2 cups all-purpose flour,
3 teaspoons baking powder,
½ teaspoon sea salt
Bake the Bread:
-
Pour the batter into the prepared loaf pan. Bake for 50–55 minutes, or until a toothpick inserted into the center comes out clean and the top is golden brown.
Cool the Bread:
-
Allow the bread to cool in the pan for about 10 minutes.
-
Transfer it to a wire rack to cool completely.
Prepare the Lime Glaze:
-
In a small bowl, whisk together the confectioners’ sugar and fresh lime juice until smooth.1 cup confectioners’ sugar,
1 –2 Tablespoons fresh lime juice -
Adjust the consistency by adding more sugar or lime juice as needed. (if it is too runny add a teaspoon or two or powdered sugar and mix, if it is too thick, add a teaspoon of lime juice at a time until you get the right consistency.
Glaze the Bread:
-
Once the bread has cooled, drizzle the lime glaze over the top. Let the glaze set before slicing and serving.
Equipment
Notes
– Ensure that all ingredients, especially the eggs and sour cream, are at room temperature for a smoother batter.
– Store any leftovers in an airtight container at room temperature for up to 3 days, or refrigerate for up to a week.
Nutrition
Calories: 412kcal |
Carbohydrates: 50g |
Protein: 13g |
Fat: 23g |
Saturated Fat: 5g |
Polyunsaturated Fat: 3g |
Monounsaturated Fat: 13g |
Trans Fat: 0.03g |
Cholesterol: 305mg |
Sodium: 321mg |
Potassium: 146mg |
Fiber: 1g |
Sugar: 23g |
Vitamin A: 478IU |
Vitamin C: 1mg |
Calcium: 115mg |
Iron: 3mg
Nutrition information is automatically calculated, so should only be used as an approximation.