
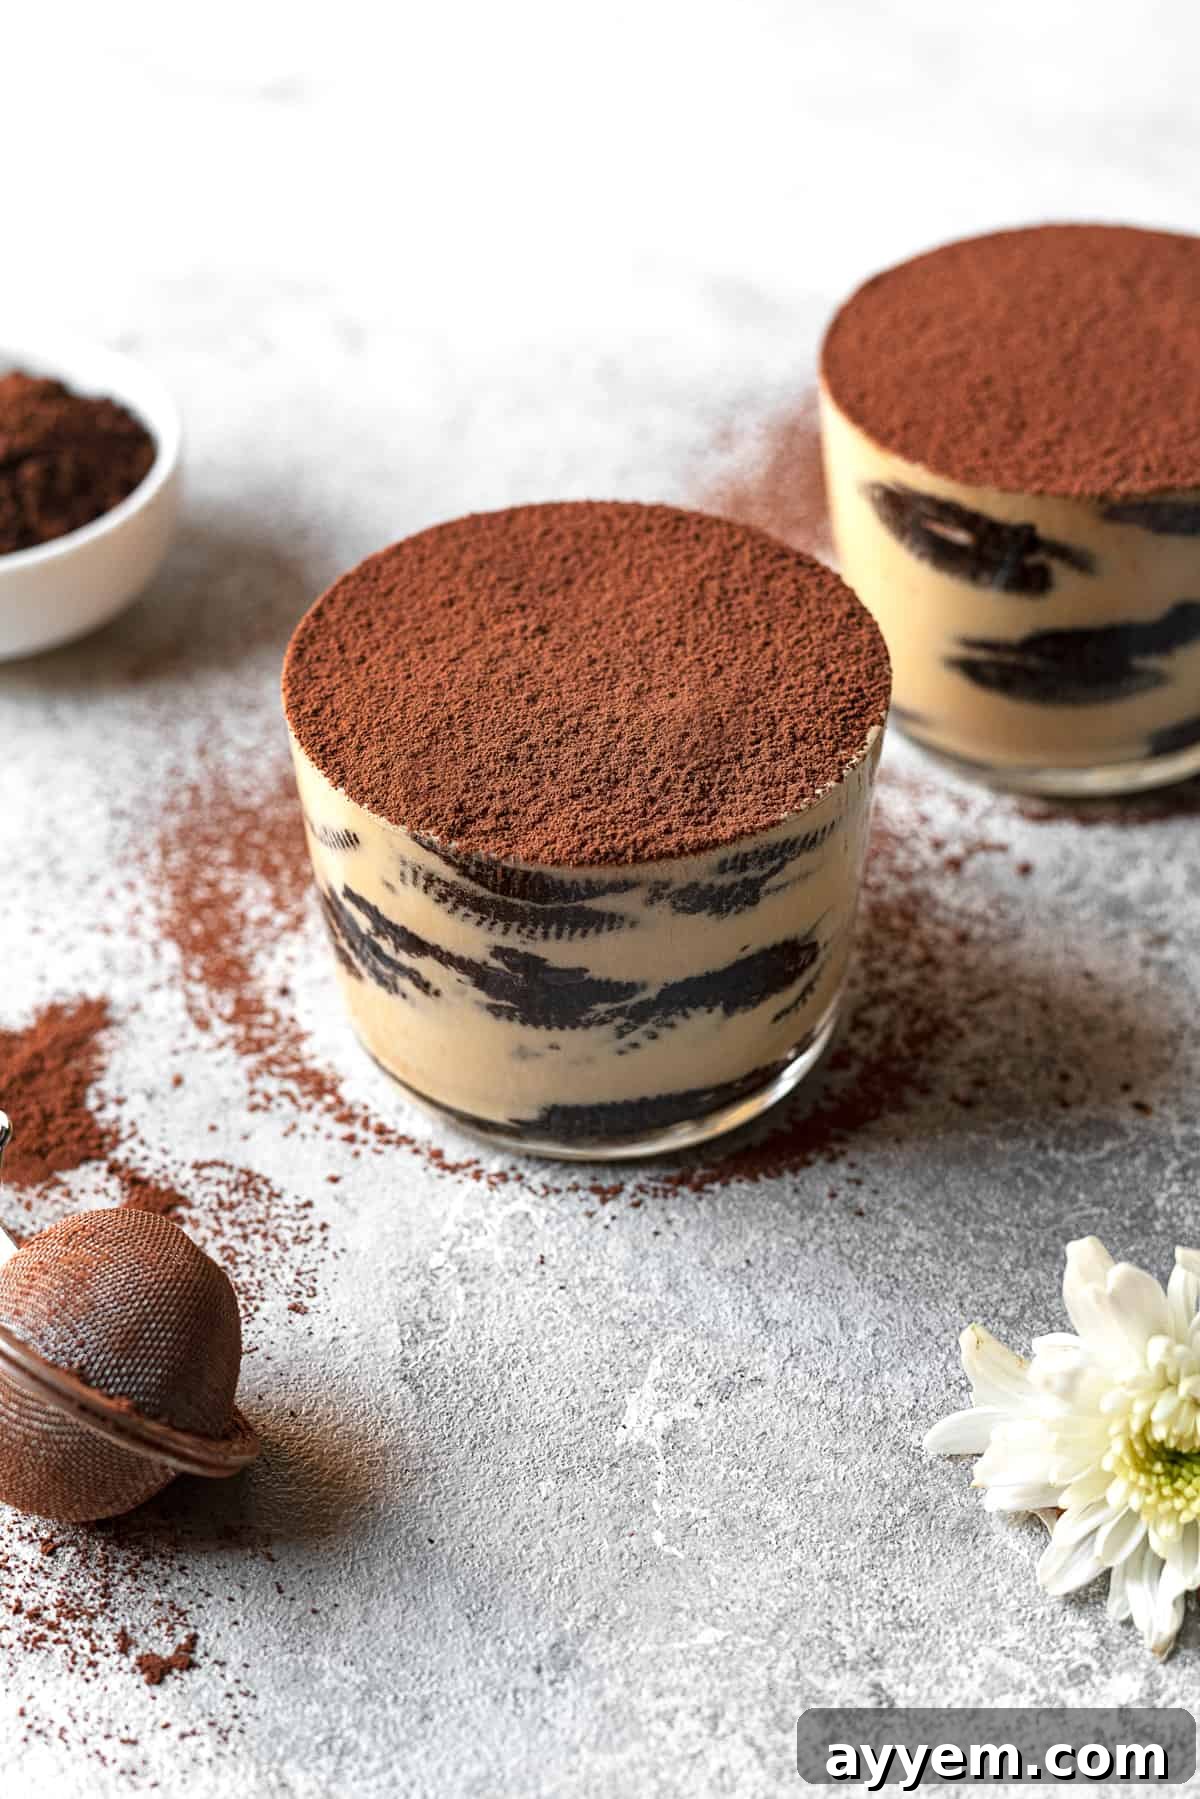
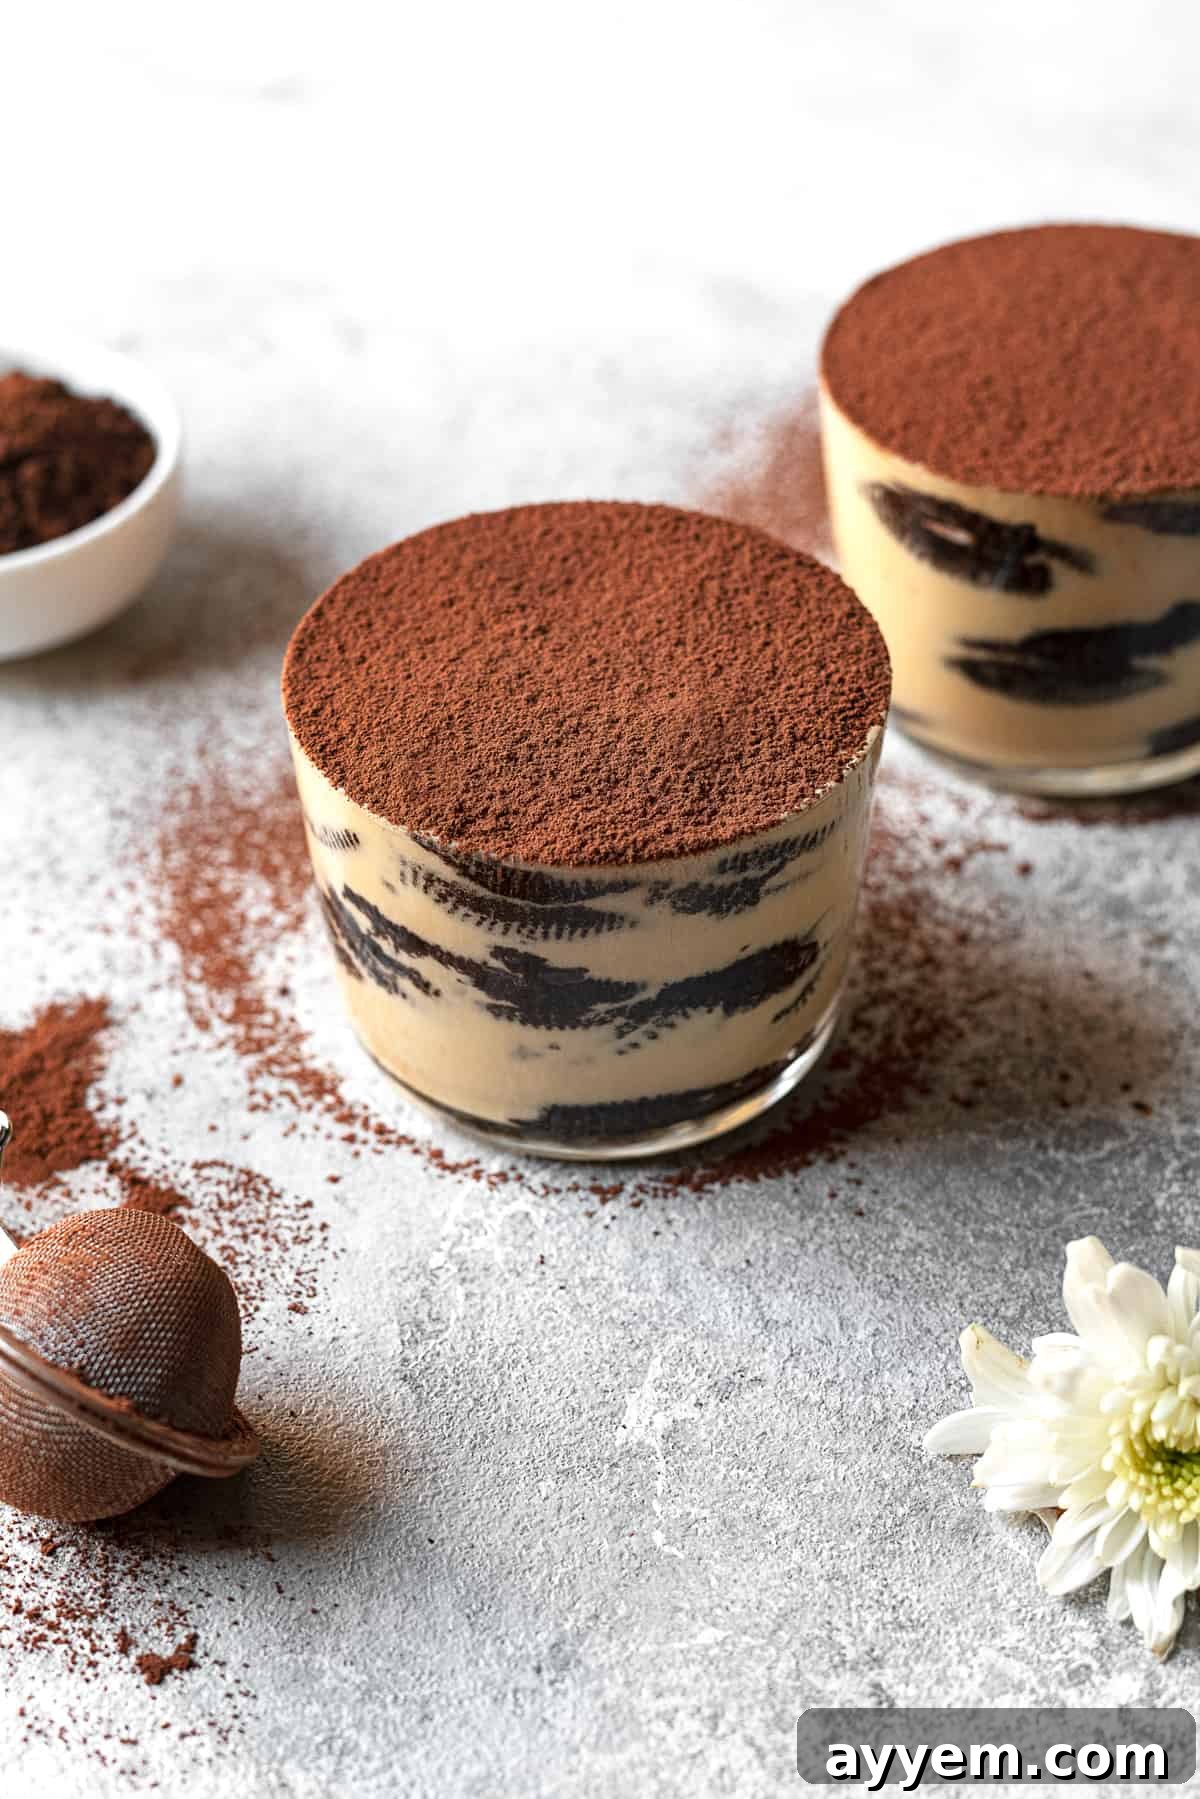
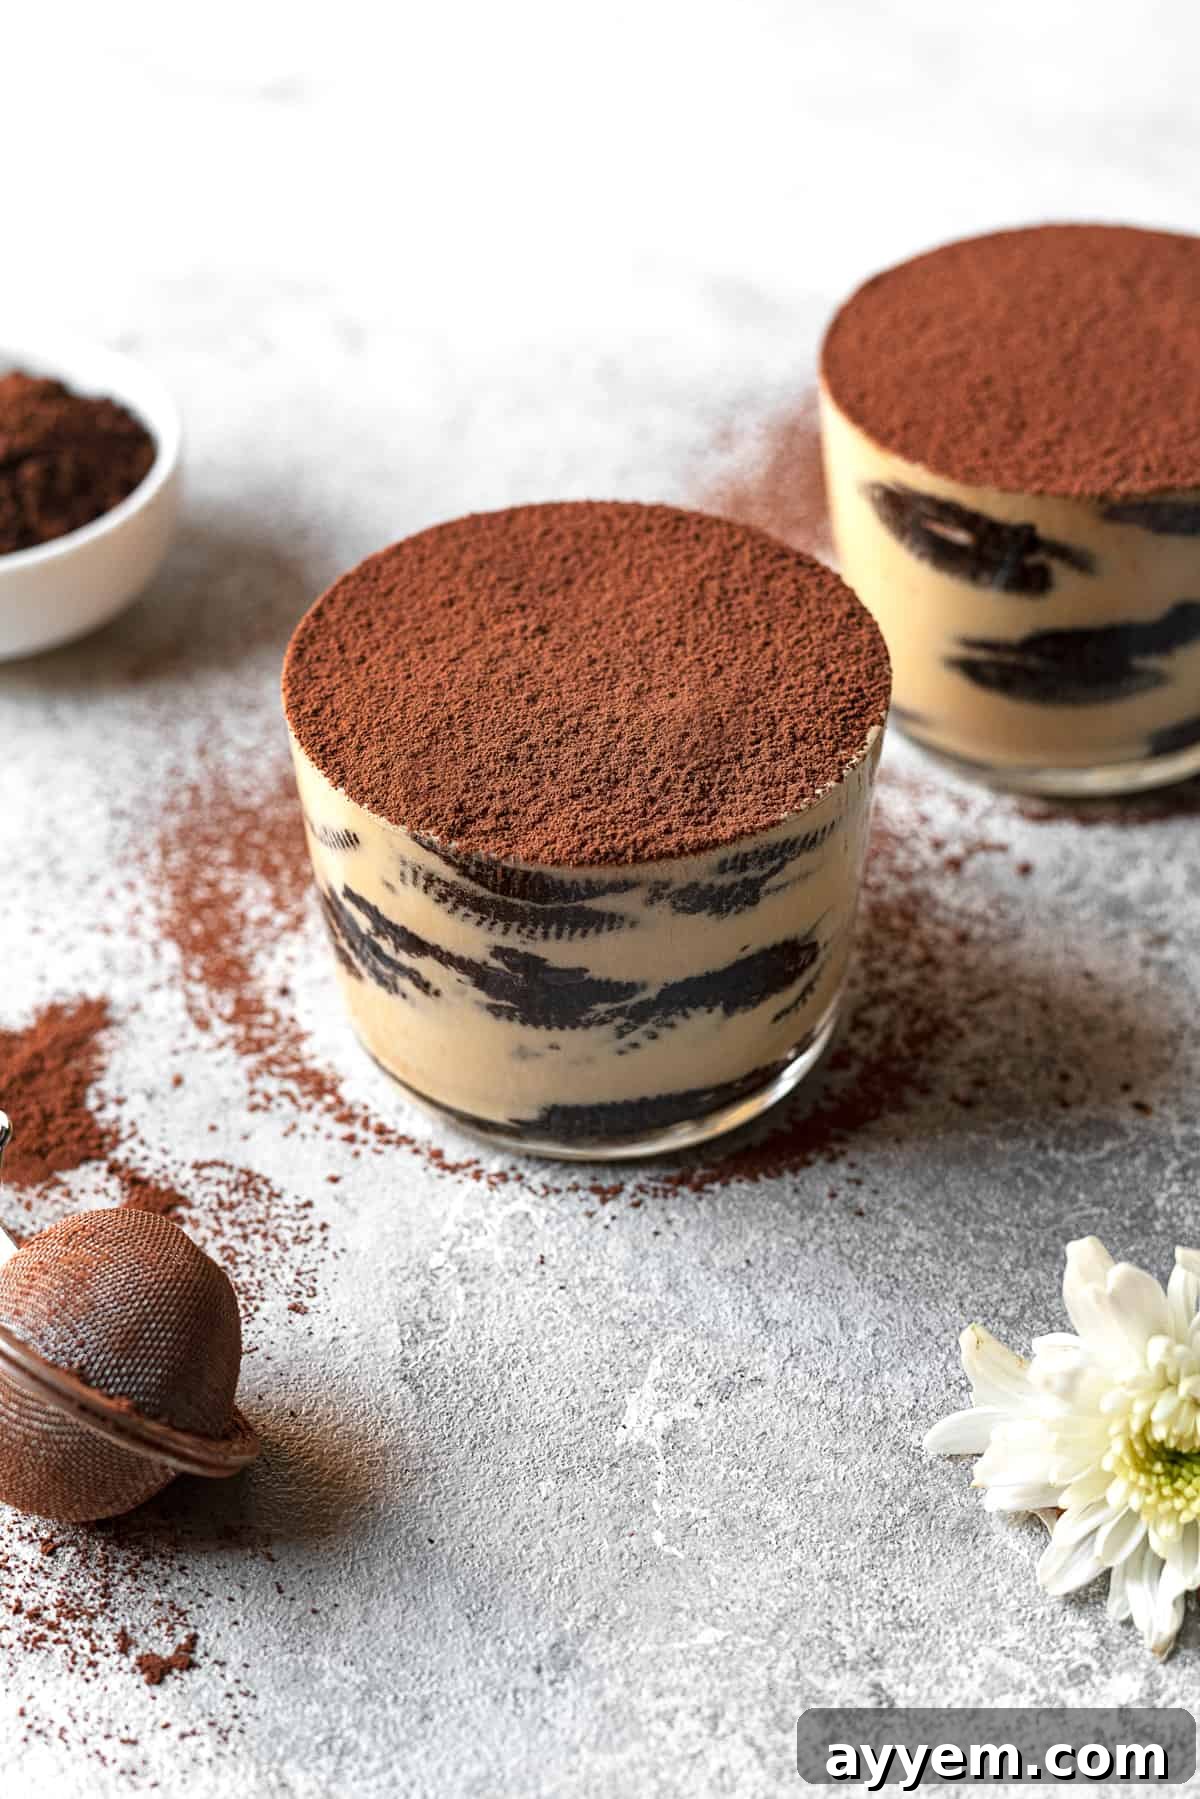
Indulge in the ultimate dessert experience with this rich and creamy Oreo Tiramisu. This decadent treat masterfully blends the beloved crunch of Oreo cookies with a velvety smooth mascarpone cream, offering a delightful twist on the traditional Italian classic. Perfect for dazzling guests at dinner parties, celebrating special occasions, or simply enjoying a luxurious moment, this no-bake dessert is guaranteed to impress. Its captivating layers and irresistible flavor make it a dream come true for any dessert lover.
The Iconic History of Oreo Cookies
Few cookies have captured hearts and taste buds quite like the Oreo. Can you believe this globally recognized “Milk’s Favorite Cookie” has been delighting generations for over a century? First introduced to the American public in March of 1912 by Nabisco, the original Oreo sandwich cookie boasted a design remarkably similar to the one we cherish today. Its distinctive dark chocolate wafers and sweet cream filling quickly made it a household name.
Interestingly, the Oreo wasn’t the very first cookie of its kind. It emerged as a direct competitor, some might even say a “knockoff,” of a popular cookie called Hydrox, which was produced by the Sunshine company a few years earlier. While Hydrox paved the way for the black-and-white sandwich cookie, it was Oreo that truly perfected the concept and ultimately dominated the market. Through astute marketing and a consistently delicious product, Oreo eclipsed its predecessor to become an enduring snack icon.
Despite the passage of over 100 years, the core essence of the Oreo has remained remarkably consistent. While numerous varieties, flavors, and sizes have been introduced over the decades—from Double Stuf to mint, golden, and seasonal editions—the original cookie recipe has largely stayed true to its roots. This commitment to its classic formula, famously comprising just 11 ingredients, is a testament to its timeless appeal and a key factor in its continued global success.
Are Oreos Actually Vegan? A Surprising Revelation
One of the most intriguing facts about Oreos, often sparking disbelief, is that the classic cookie is considered vegan! Yes, you read that correctly. Despite its iconic pairing with milk and the creamy appearance of its filling, traditional Oreos are made without any animal products. The “cream” filling, to the surprise of many, does not actually contain dairy cream or milk. Its smooth, sweet texture is achieved through plant-based fats and other ingredients.
However, it’s important to note a crucial advisory for individuals with severe dairy allergies: Oreo’s manufacturing facilities do handle dairy products. This means there’s a potential risk of cross-contamination during production. Therefore, while the ingredients themselves are vegan, those with life-threatening allergies should exercise caution or consult with their physician.
The journey of Oreos to becoming a vegan-friendly snack is quite an interesting tale, and it wasn’t initially driven by a desire to appeal to the growing plant-based or dairy-free communities. The shift occurred in the late 1990s when Oreo’s original competitor, Hydrox, attempted a comeback in the cookie industry. At that time, Oreo utilized lard—an animal-derived fat—as a binding agent in its cream filling. Hydrox, however, did not use lard, which allowed them to obtain Kosher certification. This distinction gave Hydrox a significant advantage, particularly in appealing to Jewish communities in the United States.
In a strategic move to regain a competitive edge and secure Kosher certification for their own product, Nabisco decided to reformulate the Oreo. They replaced the lard with a plant-based fat alternative. This change not only made Oreos Kosher but, as an unintended yet beneficial consequence, also rendered them vegan. Shortly after this reformulation, Hydrox unfortunately went out of business again, cementing Oreo’s place as the undisputed leader in the sandwich cookie market and, coincidentally, a favorite among many vegans.
What Exactly is Tiramisu? The “Pick Me Up” Dessert
Tiramisu is a world-renowned Italian dessert, celebrated for its rich, complex, and utterly irresistible flavor profile. The name itself, “Tirami Sù,” beautifully translates from Italian to “pick me up” or “cheer me up,” a fitting description for a dessert that delivers such a delightful boost with every spoonful. Traditionally, tiramisu is constructed with layers of delicate ladyfinger biscuits, which are quickly dipped in strong espresso coffee. These coffee-soaked biscuits are then alternated with a lavish, airy cream made from whipped mascarpone cheese (often combined with egg yolks and sugar to create a zabaglione-like base) and sometimes flavored with a hint of liqueur like Marsala wine or rum. The entire creation is typically finished with a generous dusting of unsweetened cocoa powder, adding a touch of bitterness that perfectly balances the sweetness of the cream and coffee.
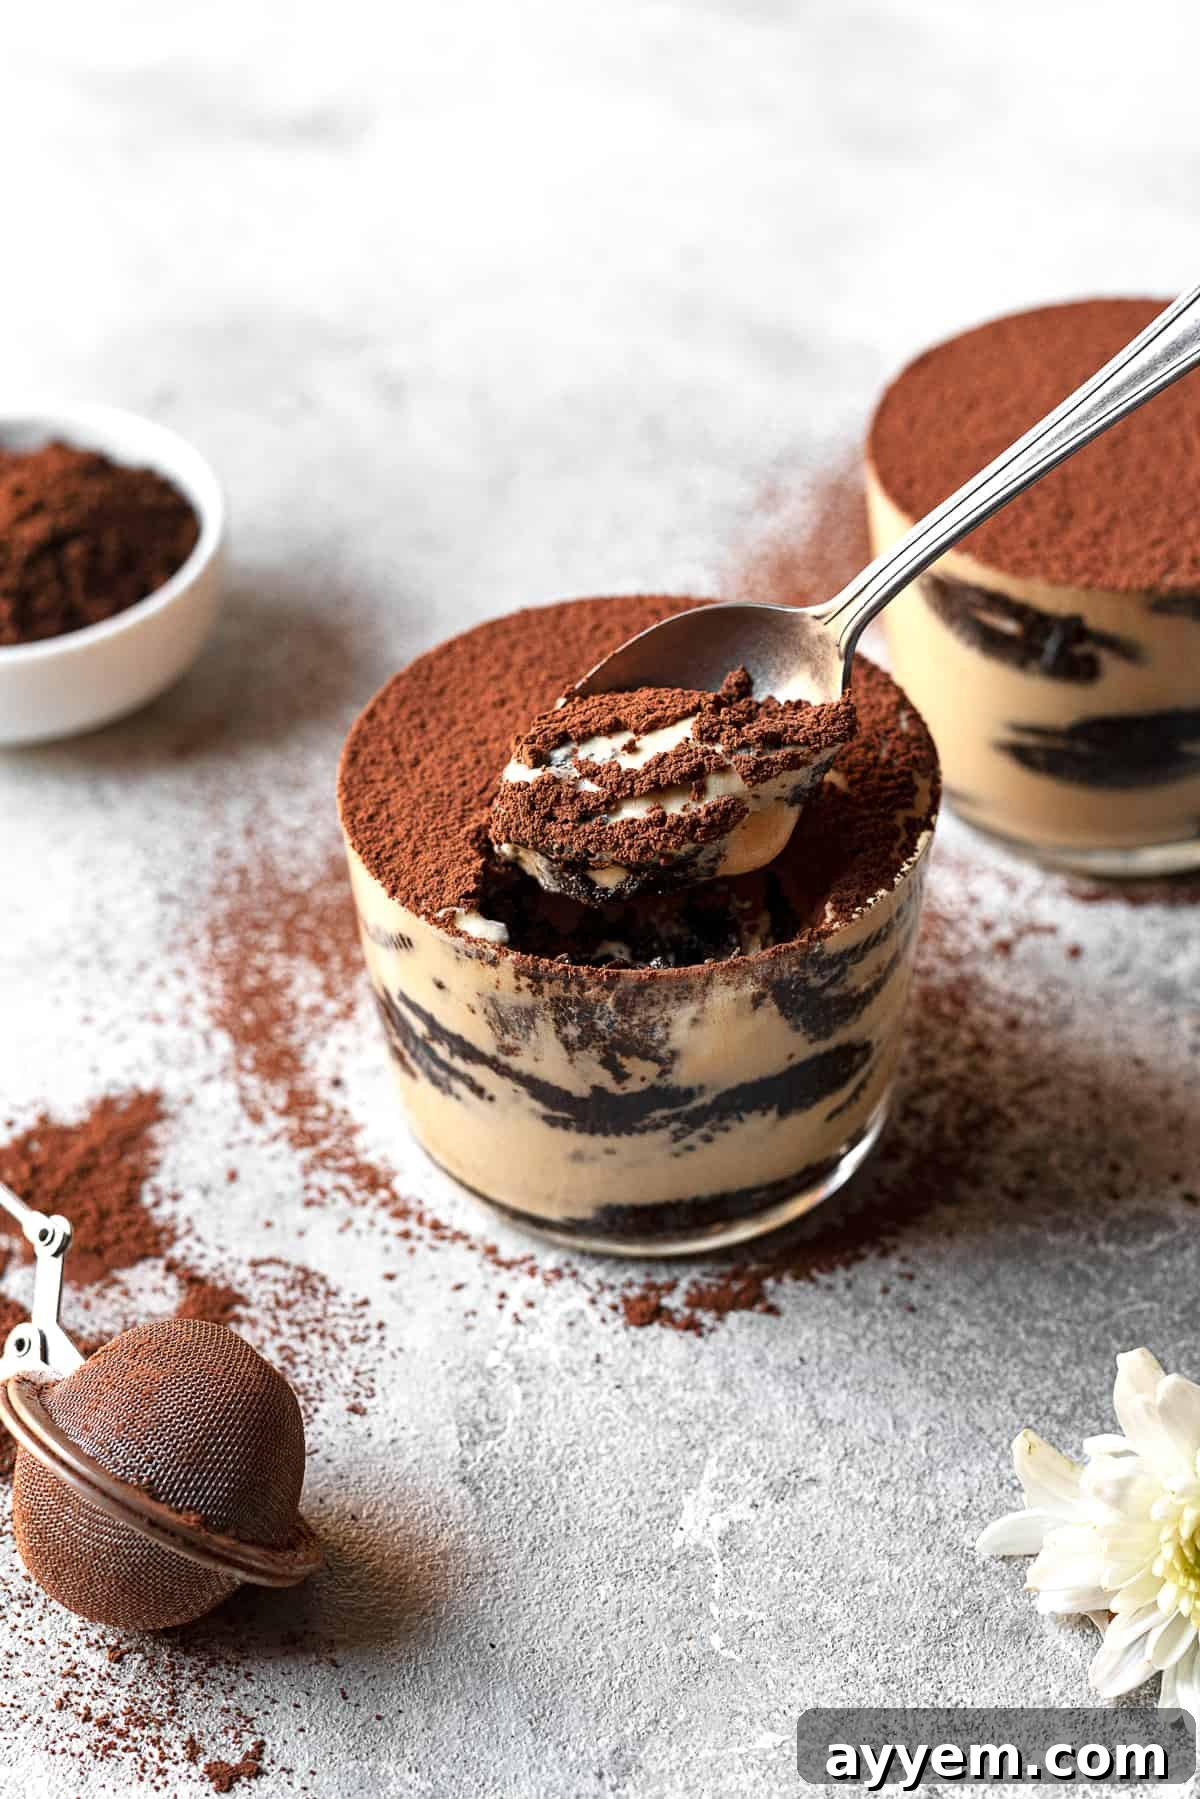
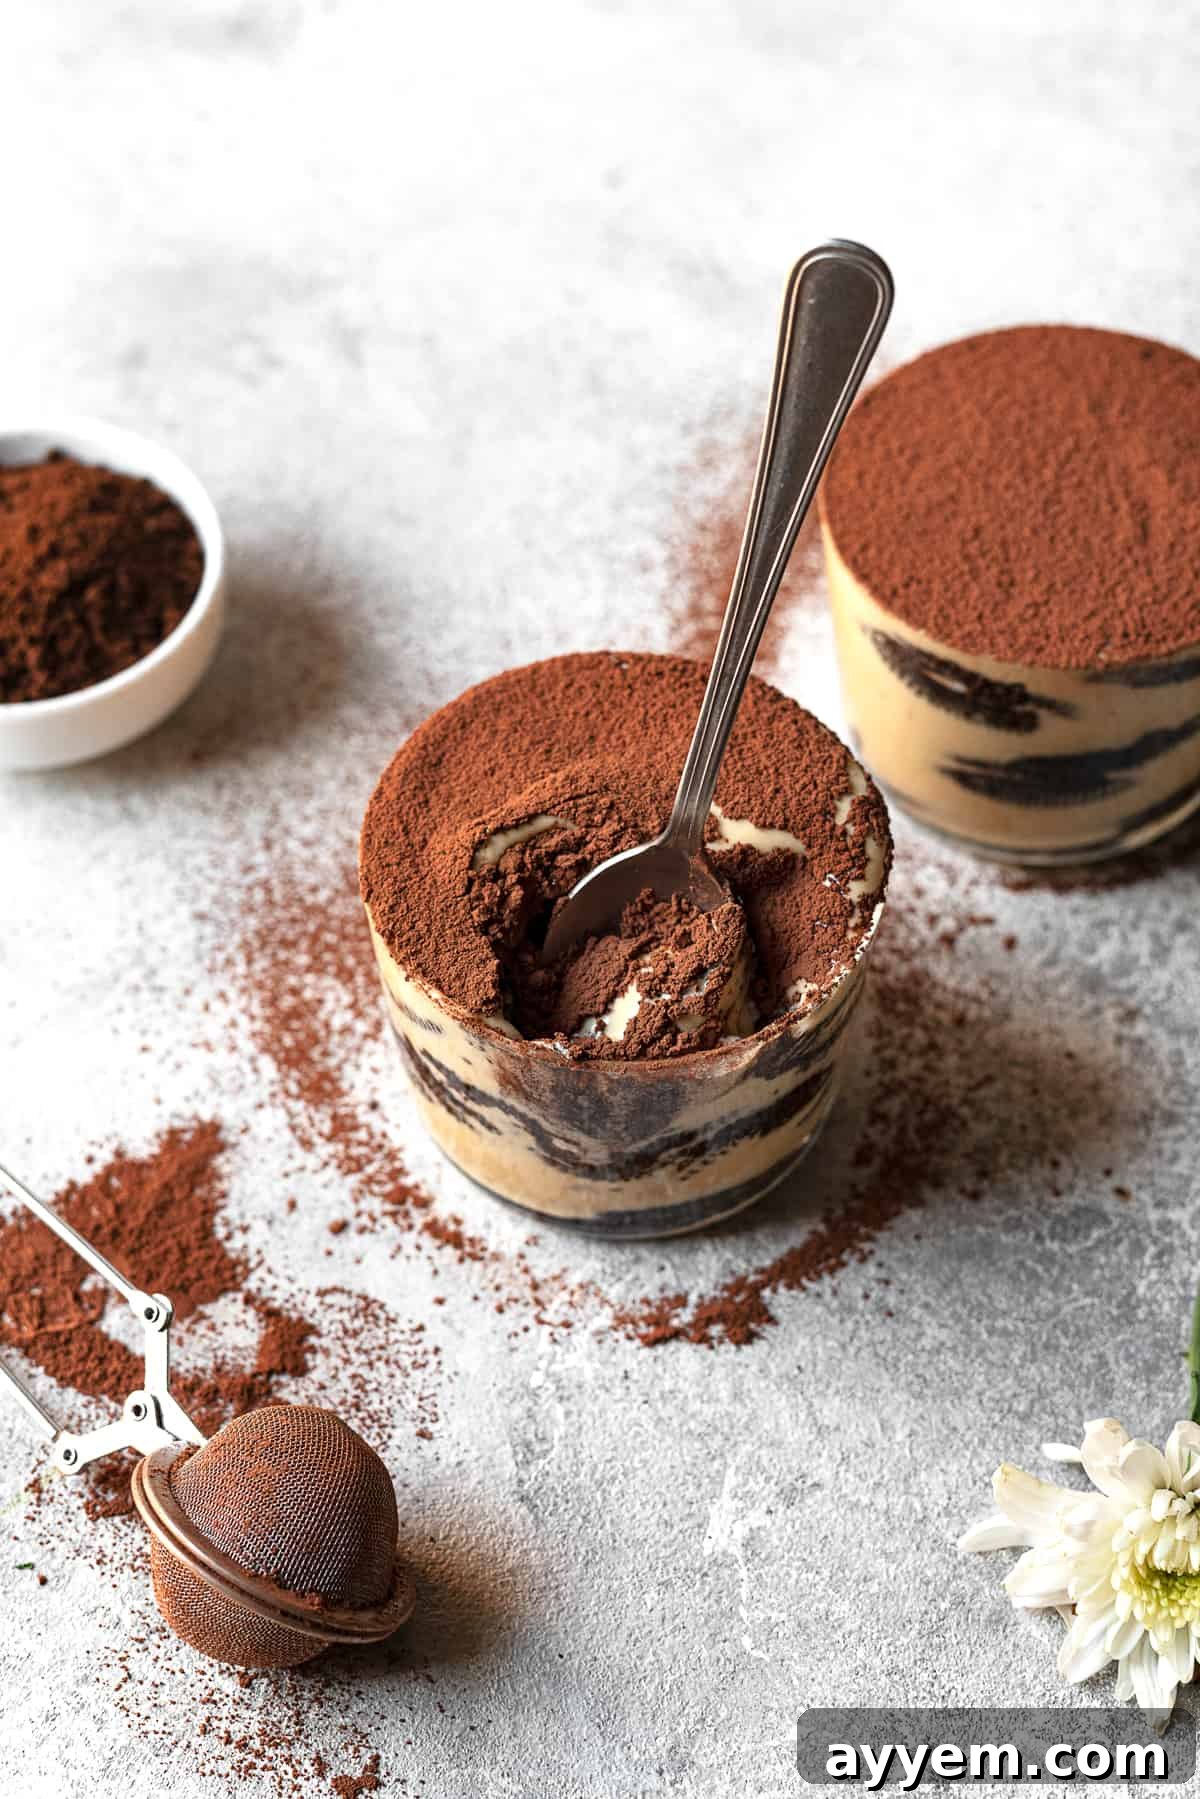
Our innovative version of tiramisu takes this beloved classic and infuses it with the playful charm of everyone’s favorite cookie: Oreos! We’ve discovered that substituting the traditional ladyfingers with Oreo cookies transforms the dessert into something uniquely delicious and even more accessible. The chocolate wafers of the Oreo cookies readily absorb the coffee, imparting a deep, robust flavor that complements the sweet cream filling beautifully. Furthermore, the inherent creaminess of the Oreo filling adds an extra layer of sweetness and texture to the overall dessert, making it an extraordinarily decadent and incredibly satisfying experience. This delightful fusion creates a dessert that retains the sophistication of tiramisu while offering a fun, familiar, and utterly addictive twist.
Crafting Your Own Heavenly Oreo Tiramisu: A Step-by-Step Guide
Creating this irresistible Oreo Tiramisu is a surprisingly straightforward process, especially since it requires no baking. Follow these simple steps to assemble a dessert that tastes like it came from a gourmet patisserie:
- Prepare the Mascarpone Cream Base: In a large mixing bowl, preferably one suitable for an electric hand mixer or a stand mixer, combine the room-temperature extra-large egg yolks with the granulated sugar. Beat this mixture at a high speed for approximately 5 to 6 minutes. The goal is to achieve a remarkably thick, pale, lemon-yellow mixture that falls from the whisk or beater in thick “ribbons.” This intense beating incorporates air, giving the cream its light and airy texture.
- Incorporate Flavorings: Once the egg yolk and sugar mixture has reached the desired consistency, reduce the mixer speed to low. Gently add the mascarpone cheese, followed by the cold espresso or strong black coffee, and finally the vanilla extract. Mix until all ingredients are just combined and the cream is smooth. Be careful not to overmix, as mascarpone can curdle if beaten too vigorously.
- Whip the Heavy Cream: In a separate, clean mixing bowl, whip the cold heavy cream until it forms stiff peaks. This means the cream will hold its shape firmly when the whisk is lifted. Ensure your cream is very cold for the best results.
- Fold to Create Zabaglione Cream: Carefully add the whipped heavy cream to the mascarpone and egg yolk mixture. Gently fold it in with a spatula or use the mixer on the lowest speed, just until the mixture is homogenous and creamy. This delicate folding technique preserves the airiness of the whipped cream, resulting in a luscious, cloud-like “zabaglione cream” that is characteristic of a perfect tiramisu.
- Prepare the Oreo Layers: Pour the room-temperature espresso or strong coffee into a wide-rimmed bowl or shallow dish. Take each Oreo cookie and quickly dip it into the coffee. The goal is to moisten the cookie without letting it become soggy, as it will continue to absorb liquid as it chills.
- Assemble the Tiramisu: Arrange a single layer of coffee-dipped Oreo cookies flat across the bottom of your chosen baking dish (an 11×8 inch dish works wonderfully, or a 13×9 inch dish for two layers). Try to leave as few gaps as possible. Don’t hesitate to gently cut some cookies to fit snugly into any empty spaces.
- Layer the Cream and Cookies: Evenly spread about one-third of your prepared zabaglione cream over the first layer of Oreos. Follow this with another layer of coffee-dipped Oreo cookies, arranging them similarly. Repeat this step once more, so you have two full layers of Oreos and cream, finishing with a final, generous top layer of zabaglione cream.
- Chill for Perfection: Cover the baking dish tightly with plastic wrap and refrigerate for at least eight hours. For the absolute best texture and for the flavors to fully meld and deepen, we highly recommend letting it chill overnight. This crucial step allows the cookies to soften completely and the cream to set perfectly.
- Dust and Serve: Just before serving, generously dust the top of your Oreo Tiramisu with unsweetened cocoa powder. This adds a beautiful visual appeal and a delightful bitter note that perfectly complements the sweetness of the dessert.
Common Questions About Oreo Tiramisu
Can I use other cookies instead of Oreos for this recipe?
While Oreos are our top recommendation for their unique flavor and texture in this specific tiramisu, you absolutely can experiment with other types of chocolate sandwich cookies. Chocolate chip cookies could also work for a different flavor profile, or you might even try other varieties of Oreo cookies, such as Golden Oreos for a vanilla twist, if you’re feeling adventurous. The key is to choose a cookie that can hold its structure after a quick coffee dip and complement the mascarpone cream.
How long should I chill the Oreo tiramisu before serving?
For the best possible flavor and texture, it is crucial to chill your Oreo tiramisu for a minimum of 4 hours. However, we strongly recommend chilling it overnight, or for at least 8 hours. This extended refrigeration period allows the Oreo cookies to fully absorb the coffee and soften to a cake-like consistency, while also giving the rich flavors of the mascarpone cream a chance to meld and deepen beautifully. It also ensures the cream sets properly, making it easier to serve.
Can I make Oreo tiramisu ahead of time for an event?
Absolutely! Oreo tiramisu is an excellent make-ahead dessert, making it perfect for dinner parties, holidays, or any special occasion where you want to minimize last-minute preparation stress. In fact, many believe it tastes even better when made a day in advance, as the flavors have more time to develop and the textures to harmonize. Simply assemble the tiramisu, cover it well, and refrigerate it. Dust with cocoa powder just before serving.
Is it possible to freeze Oreo tiramisu?
While technically you could freeze this dish, we generally do not recommend it. The delicate texture of the coffee-soaked Oreo cookies and the airy zabaglione mascarpone cream are quite sensitive to freezing and thawing. When thawed, the cookies may become overly soggy or crumbly, and the cream might lose its smooth, stable consistency, potentially becoming grainy or watery. For the optimal experience, it’s best enjoyed fresh after its recommended chilling time.
Storing Your Delicious Oreo Tiramisu
One of the many advantages of this delightful Oreo Tiramisu is its excellent storage capabilities, primarily because it’s a dessert that’s best served chilled. However, due to the presence of the fresh egg yolks in the zabaglione cream, it doesn’t have as long a shelf life as some other desserts. To keep any leftover tiramisu fresh and delicious, you’ll want to store it properly.
Simply transfer any remaining portions into an airtight container and place it in the refrigerator. When stored correctly, your Oreo Tiramisu will maintain its quality for up to 3 days after the day you assembled it. If you wish to enhance its presentation or refresh its flavor before serving leftovers, you can always dust it with a fresh layer of unsweetened cocoa powder or even top it with a dollop of freshly whipped cream. This simple step can make the dessert feel brand new, ensuring every bite is as enjoyable as the first.
Oreo Tiramisu
Average rating: 4.60 out of 5 stars from 5 votes.
Food Dolls
12 servings
10 mins
8 hrs
8 hrs 10 mins
Print Recipe
Email Recipe
Ingredients
- 12 extra large egg yolks room temperature
- 1/2 cup granulated sugar
- 8 ounces mascarpone cheese
- 2 teaspoons vanilla extract
- 1/4 cup espresso or strong black coffee cold
- 2 cups cold heavy cream
- 36-42 Oreo Cookies
- 1 cup espresso or strong coffee for dipping room temperature
- unsweetened cocoa powder for dusting
Instructions
-
In a bowl of an electric mixer or stand mixer, add the room temperature egg yolks and granulated sugar. Beat on high speed until the mixture is very thick and light in color, approximately 5-6 minutes. It should fall from the beater in thick ribbons. Once this consistency is achieved, lower the speed and carefully add the mascarpone cheese, vanilla extract, and cold espresso or strong black coffee. Mix gently until just combined and smooth.
-
In a separate, clean bowl, beat the cold heavy cream until stiff peaks form. This means the cream will hold its shape when the whisk is lifted. Gently fold the whipped cream into the egg yolk and mascarpone mixture using a spatula, or beat on the lowest speed until just combined and creamy. Be careful not to overmix, as you want to keep the cream light and airy. This is your luscious zabaglione cream.
-
Pour the room temperature espresso or strong coffee into a shallow bowl or wide mug for dipping. Quickly dip each Oreo cookie into the coffee, ensuring it is moistened but not soggy. Arrange the coffee-dipped Oreo cookies in a single layer across the bottom of an 11×8 inch baking dish (or a 13×9 inch dish for two layers). Fill any gaps by carefully cutting some cookies to fit. Spread one-third of the prepared zabaglione cream evenly over this first cookie layer. Repeat this layering process: add another layer of coffee-dipped Oreos, followed by another third of the zabaglione cream. Finish with a final layer of coffee-dipped Oreos, topped with the remaining zabaglione cream. You should have three layers of cookies in total, ending with a generous top layer of cream.
-
Cover the dish tightly with plastic wrap and refrigerate for at least eight hours, or preferably overnight. This chilling period is essential for the cookies to soften and the flavors to fully develop and meld. Before serving, remove the plastic wrap and generously dust the top surface of the tiramisu with unsweetened cocoa powder for a beautiful finish and balanced taste.
Notes
Nutrition
Nutrition information is automatically calculated, so should only be used as an approximation and for general guidance.
Enjoy this delightful twist on a classic dessert! We encourage you to try it and share your thoughts in the comments below.