
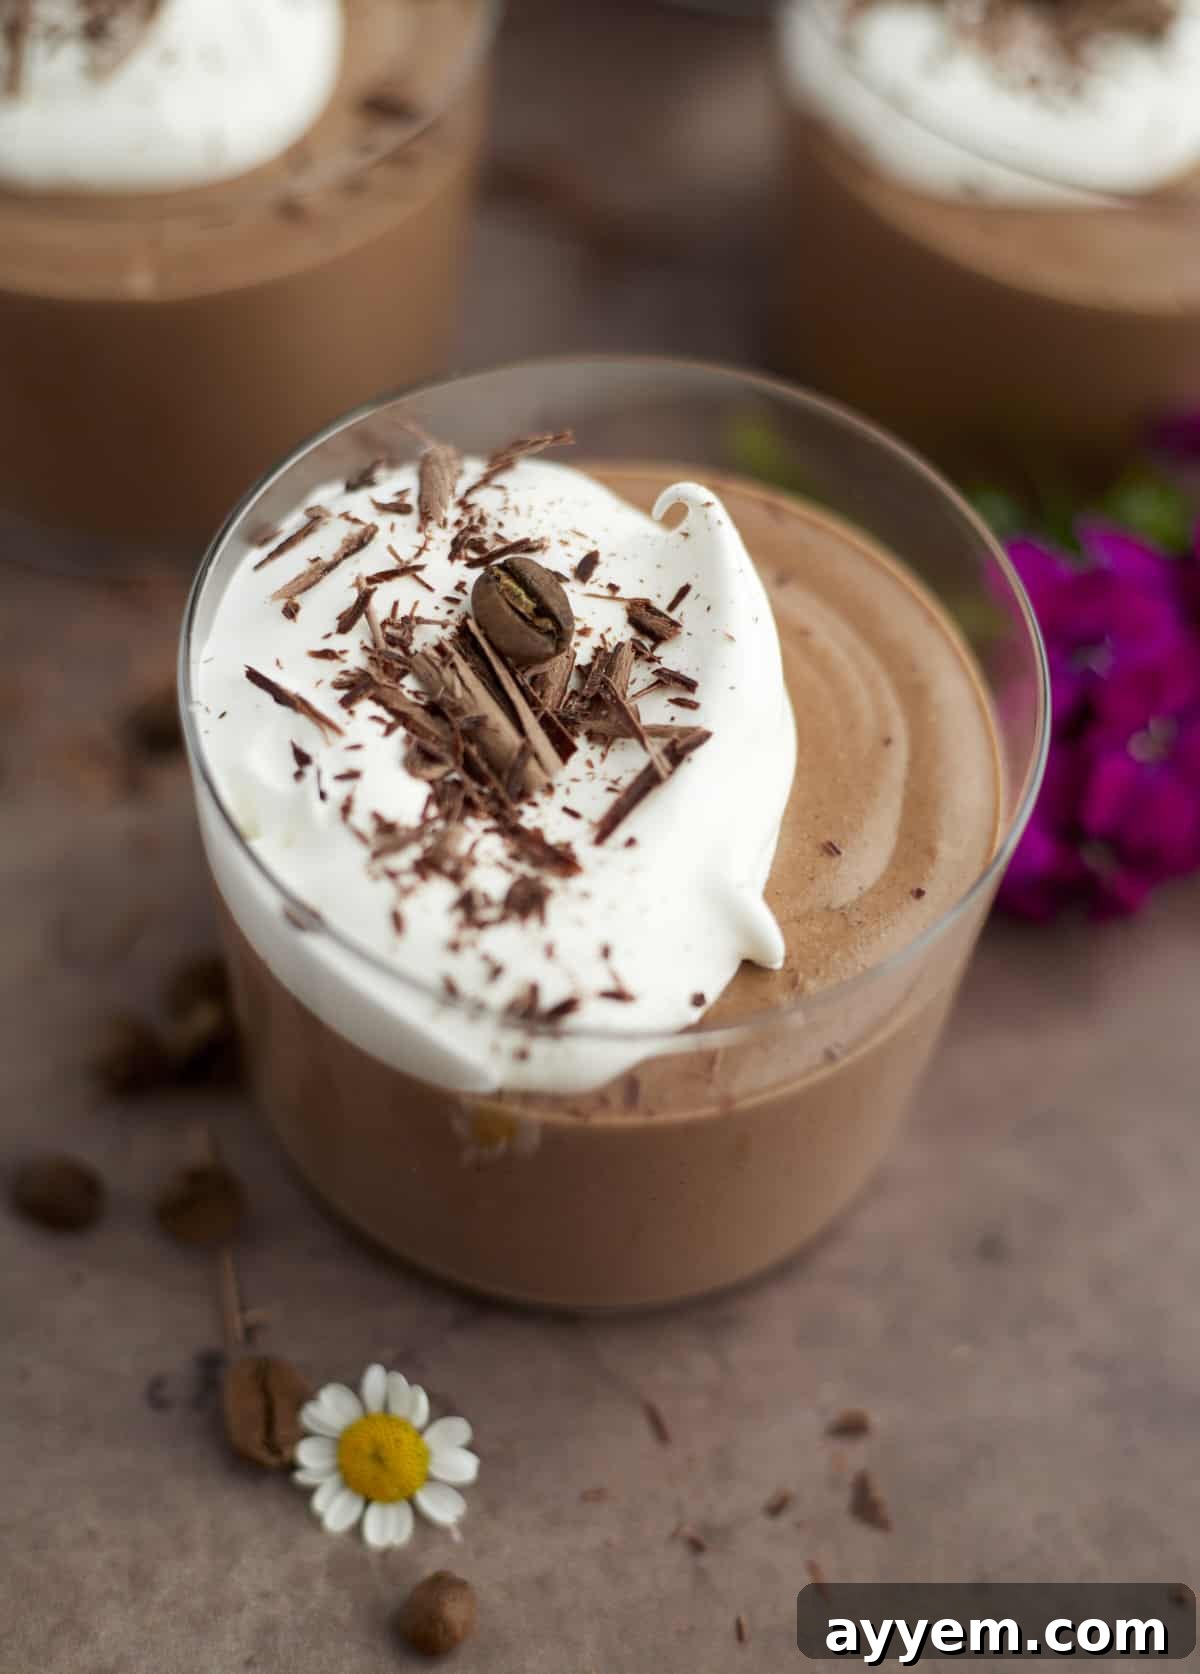
Indulge your deepest chocolate desires with this incredibly decadent yet surprisingly simple Chocolate Mousse recipe. Crafted with just five essential ingredients, this velvety smooth dessert is a dream come true for every chocolate lover. What makes it even more special? It’s completely egg-free, ensuring that almost everyone can savor its rich, creamy goodness without worry. Forget about the fuss of complicated techniques like tempering chocolate or wrestling with a double boiler; this recipe is designed for effortless preparation, delivering gourmet results with minimal effort.
Our goal was to create a chocolate mousse that redefines ease and accessibility without compromising on flavor or texture. This isn’t just an egg-free alternative; it’s a celebration of pure, unadulterated chocolate bliss. Its luxurious texture melts in your mouth, leaving a lingering taste of premium cocoa. Whether you’re a seasoned baker or a kitchen novice, you’ll find joy in how quickly and easily this sophisticated dessert comes together, proving that exquisite treats don’t always require intricate steps.
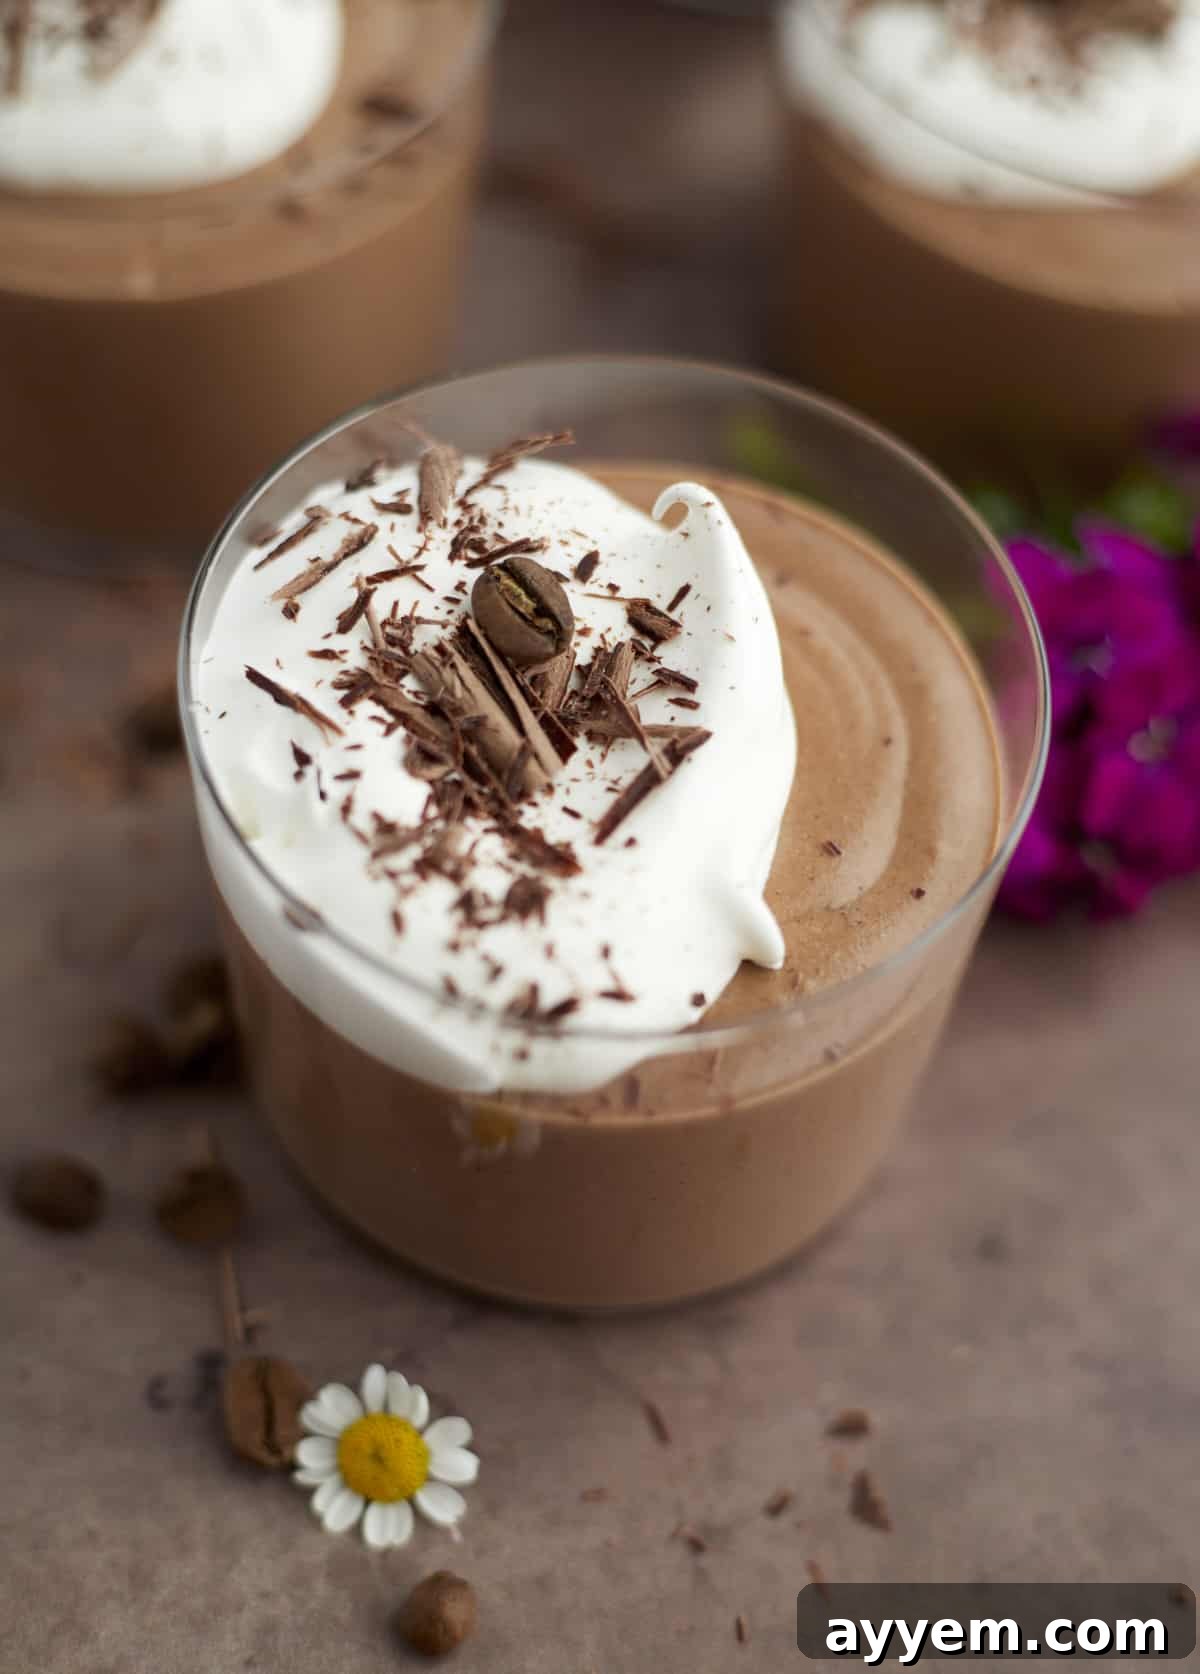
Crafting this sensational egg-free chocolate mousse requires just a handful of high-quality ingredients, transforming them into a culinary masterpiece. You’ll need premium semi-sweet chocolate, rich heavy cream (with an excellent dairy-free alternative discussed below), a touch of powdered sugar for subtle sweetness, instant espresso powder to amplify the chocolate’s complexity, pure vanilla extract for aromatic depth, and a tiny pinch of salt to balance all the flavors. While technically achievable with just three core components – chocolate, cream, and sweetener – these additional ingredients elevate it from good to truly extraordinary.
The secret weapon in this easy chocolate mousse recipe is undoubtedly the instant espresso powder. Far from making your dessert taste like coffee, it acts as a magical flavor enhancer, deepening the chocolate notes and making them sing. It’s similar to how a dash of salt intensifies sweet flavors. If instant espresso isn’t readily available, don’t fret; instant coffee granules are a perfectly suitable substitute, offering a similar effect. This subtle addition is crucial for achieving that sophisticated, intense chocolate flavor that sets this mousse apart.
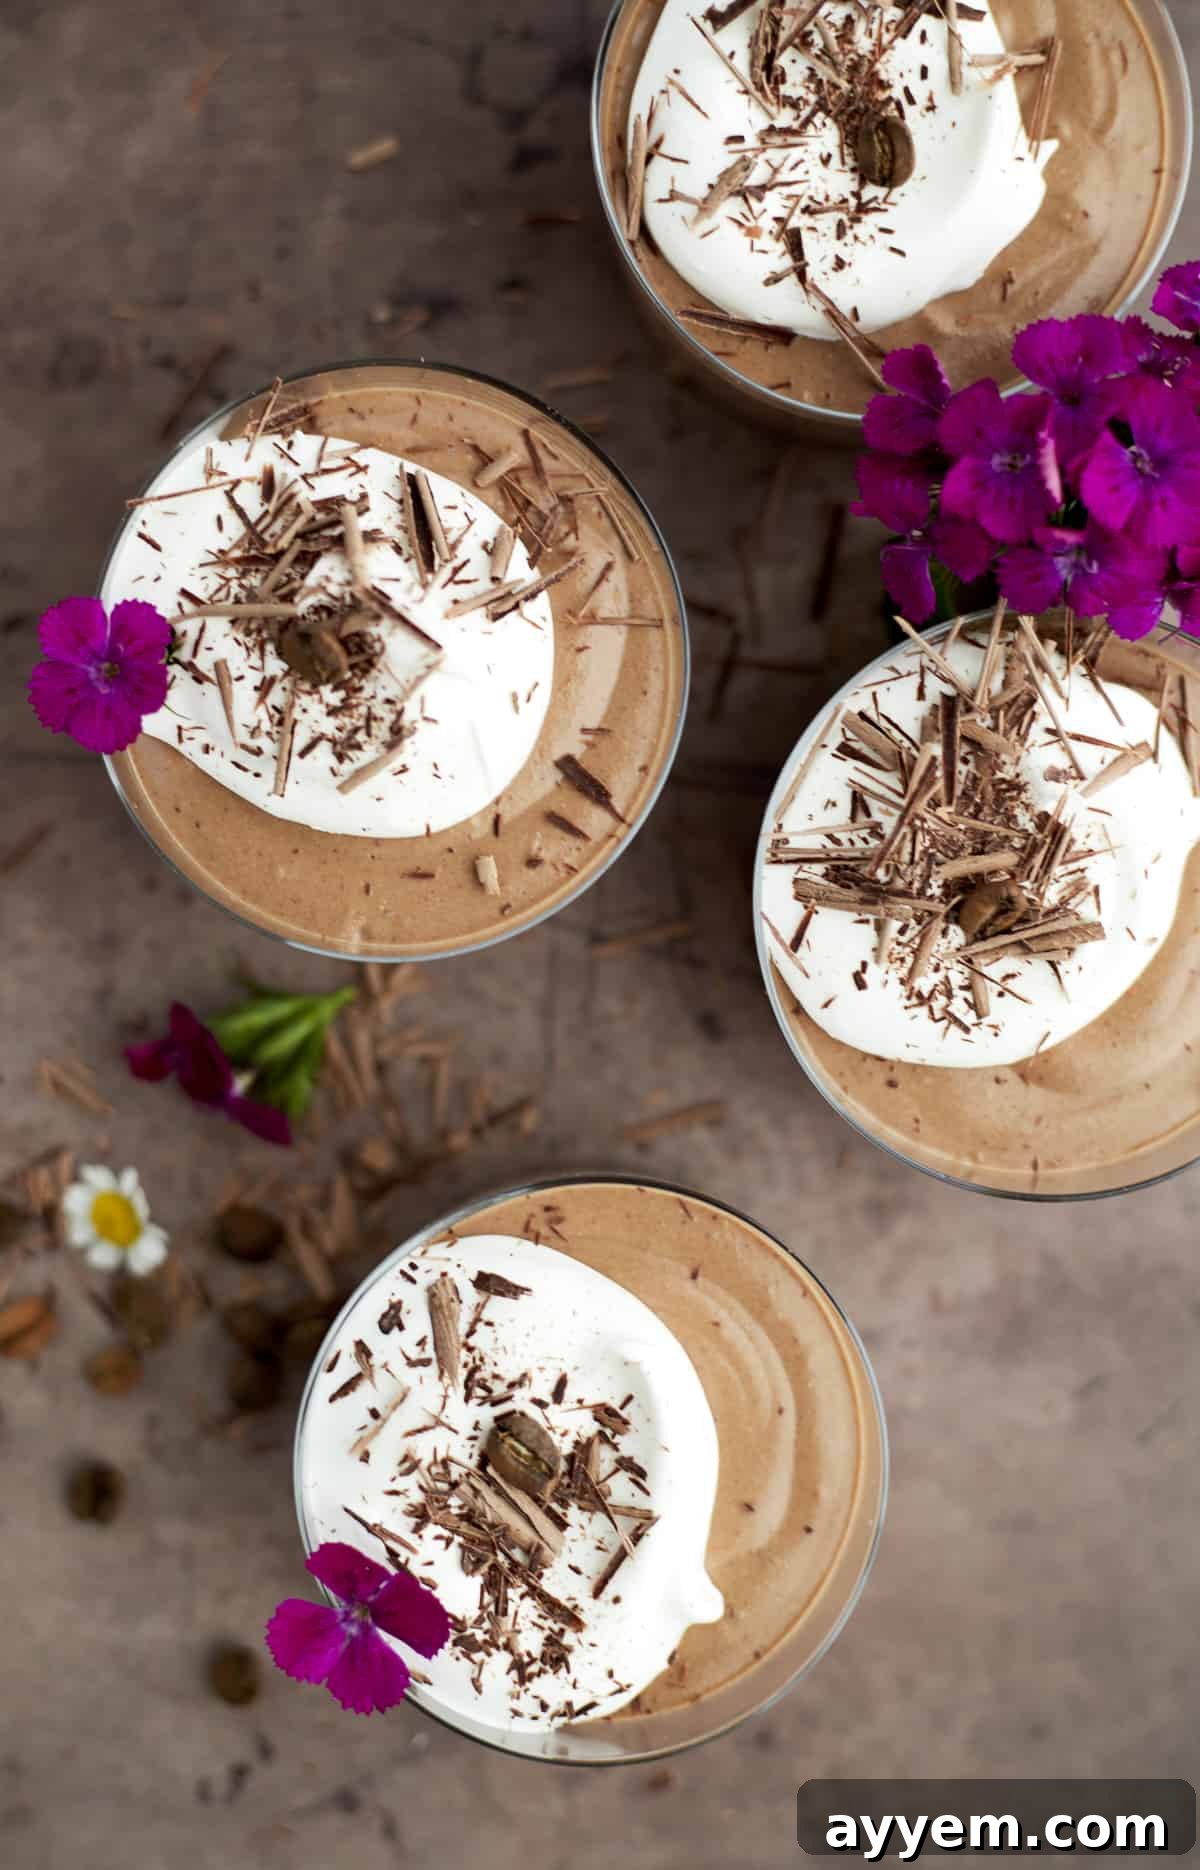
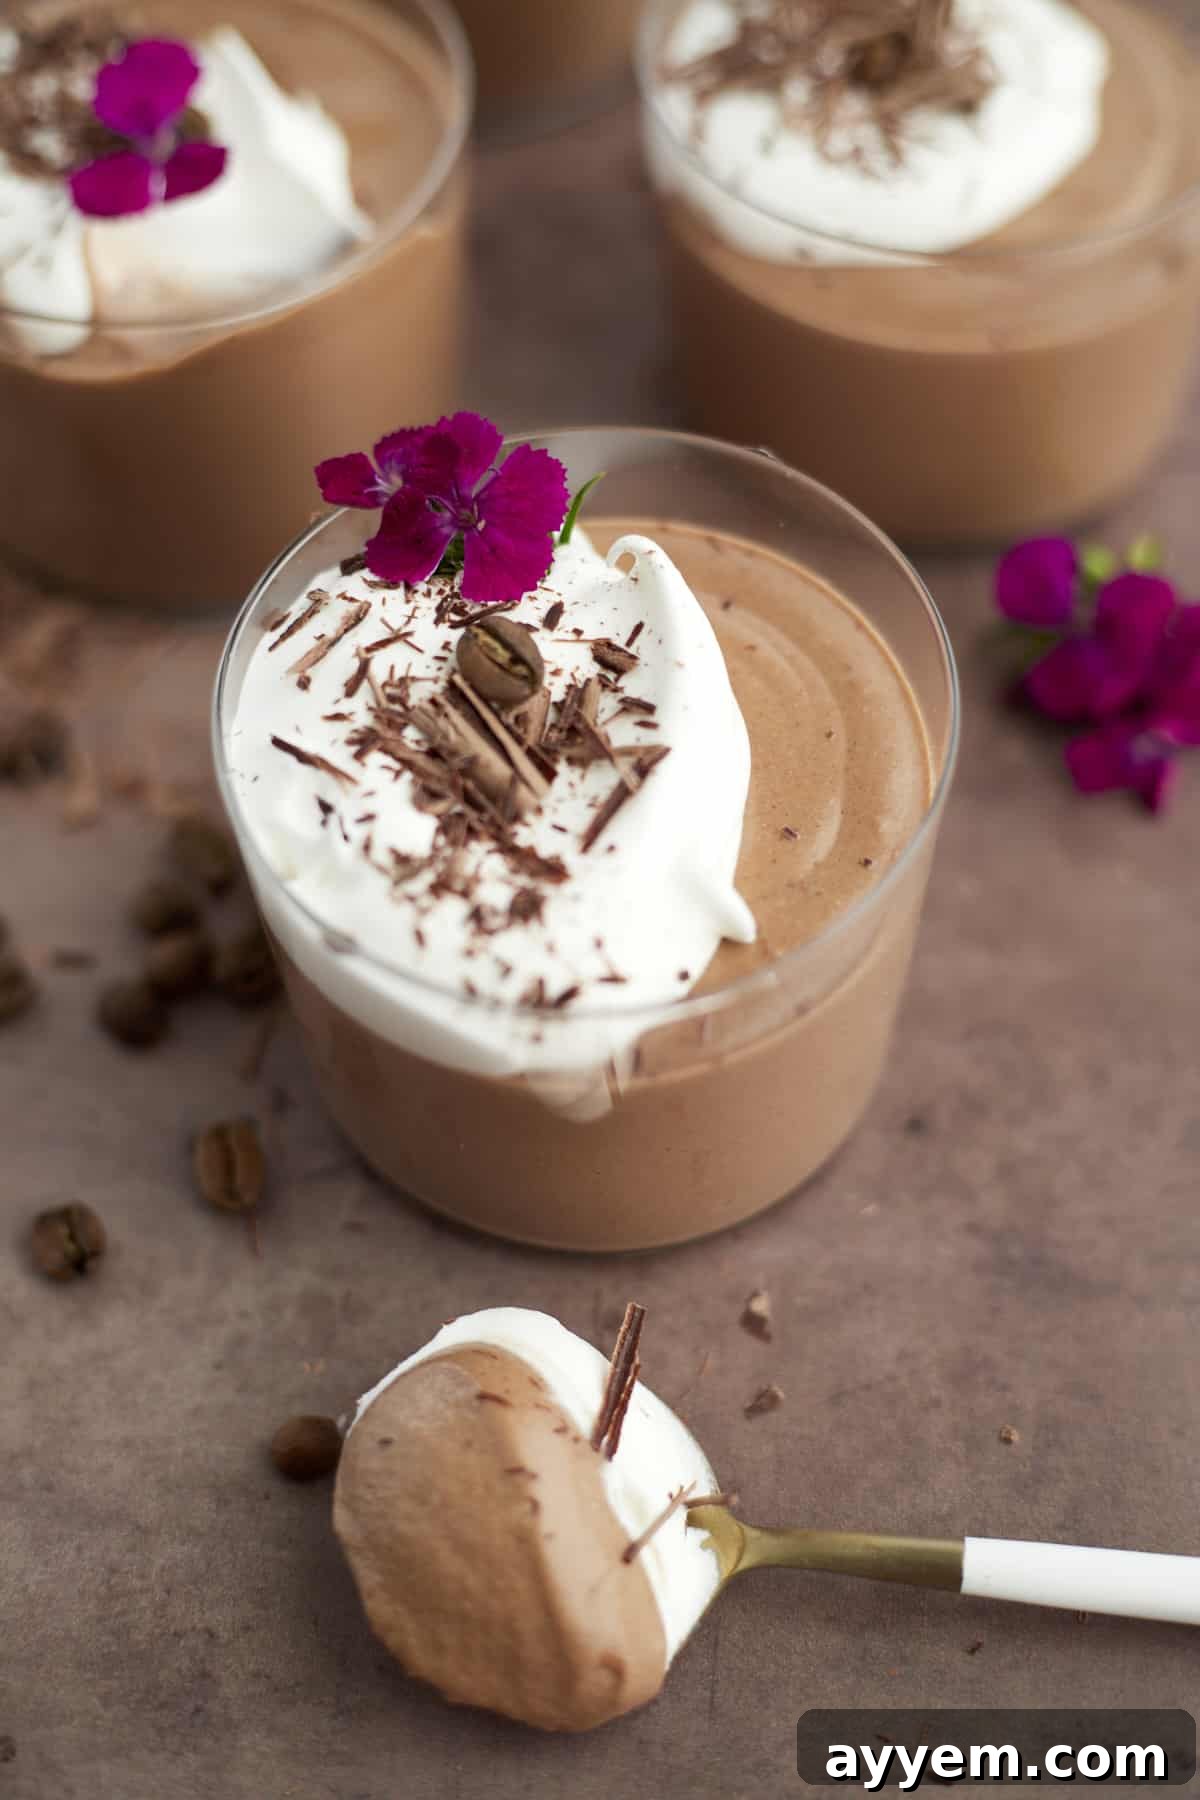
Once your luscious homemade chocolate mousse is perfectly chilled and firm, it’s time to consider presentation. Elegantly spoon it into individual serving ramekins, small glass bowls, or even charming mini shooter glasses for a sophisticated cocktail party treat. The possibilities for garnishing are endless and allow for personal flair. Elevate your dessert with delicate chocolate curls or shavings, a sprinkle of cocoa powder, or a dollop of fresh whipped cream. For a burst of color and a tangy counterpoint, fresh berries like raspberries, strawberries, or blueberries make a delightful addition, providing both visual appeal and a refreshing contrast to the rich chocolate.
Beyond traditional serving dishes, consider layering the mousse with crushed cookies, chopped nuts, or even a swirl of salted caramel sauce for an extra layer of indulgence. This versatile dessert can be dressed up for a formal dinner party or enjoyed simply as a comforting treat after a long day. No matter how you choose to present it, this creamy chocolate dessert is guaranteed to impress.
Crafting Dairy-Free and Vegan Chocolate Mousse
For those following a dairy-free or vegan lifestyle, enjoying a rich chocolate mousse is absolutely within reach! Our recipe is easily adaptable to accommodate these dietary preferences. The key lies in using specific plant-based alternatives that mimic the richness and texture of heavy cream. The best substitutes for creating a truly decadent dairy-free chocolate mousse are full-fat coconut milk and dedicated coconut cream. These ingredients, when properly chilled and whipped, provide a remarkably similar consistency to traditional whipped cream, making your mousse just as light and airy.
When selecting your coconut products, opt for full-fat varieties found in cans, not the carton versions designed for drinking. The higher fat content is crucial for achieving that desirable thick, whip-able cream. Look for cans specifically labeled “coconut cream” for the purest form, or choose a good quality full-fat coconut milk and let it chill overnight to separate the cream from the liquid. This simple swap ensures that everyone, regardless of dietary restrictions, can indulge in this delightful chocolate treat.
Mastering Dairy-Free Coconut Whipped Cream
Creating perfect coconut whipped cream for your vegan chocolate mousse is a straightforward process, but a few key steps ensure success. Begin by chilling a can of full-fat coconut milk or coconut cream in the refrigerator overnight – resist the urge to freeze it, as this can affect the texture. This chilling process allows the rich, thick coconut cream to separate and solidify at the top of the can.
Once thoroughly chilled, carefully open the can without shaking it. Scoop out the hardened, thick coconut cream into a clean, cold mixing bowl, leaving as much of the clear, watery liquid behind as possible. This coconut water is excellent for smoothies, stir-fries, or even just drinking, so don’t discard it! With a hand mixer or stand mixer fitted with a whisk attachment, whip the solid coconut cream on medium-high speed until it becomes light, fluffy, and forms medium peaks. During this whipping phase, gradually incorporate the powdered sugar to sweeten it to your taste. The result will be a remarkably light and airy topping that perfectly complements the rich chocolate mousse.
Recommended Coconut Cream Brands for Whipping
While many brands of full-fat coconut milk can yield good results for whipped cream, some consistently perform better due to their higher fat content and smoother texture. Over time, we’ve identified a few favorites that tend to produce the silkiest, most stable coconut whipped cream, ideal for this dairy-free chocolate mousse. Brands like Savoy Coconut Cream, Aroy-D Coconut Milk, and Nature’s Charm Coco Whipping Cream are often praised for their reliability and excellent whipping consistency. Experimenting with different brands might be necessary to find your personal favorite, as not all coconut milk cans are created equal.
The key is to seek out full-fat varieties, where the thick, white cream naturally separates and rises to the top when chilled. It’s worth noting that some brands might result in a slightly gritty texture or a tendency to become oily if over-whipped. However, with the right chilling and careful whipping, you’ll achieve a light, fluffy, and utterly delicious coconut whipped cream that can stand proudly alongside its dairy counterpart.
Versatile Delights: Beyond Mousse with Coconut Whipped Cream
While perfect as a topping for our egg-free chocolate mousse, homemade coconut whipped cream is incredibly versatile and can elevate a wide array of desserts. Imagine a cloud of light, subtly coconut-flavored cream gracing a warm Chocolate Soufflé, adding a delightful counterpoint to its rich intensity. Or consider it crowning a vibrant Cherry Crisp, where its coolness perfectly balances the warm fruit and crunchy topping. Its applications extend far beyond these; it’s excellent on fruit tarts, pancakes, waffles, hot cocoa, or even as a simple, light dessert on its own with fresh berries.
The beauty of coconut whipped cream is its broad appeal. You don’t need to be dairy-free or vegan to fall in love with its unique flavor and luxurious texture. For coconut enthusiasts, it’s an absolute game-changer, offering a tropical twist to classic whipped cream. Its versatility and deliciousness make it a staple for any dessert lover looking to explore new flavors or cater to diverse dietary needs.
The Indispensable Role of Quality Chocolate
In any chocolate dessert, the quality of your chocolate is paramount, and our rich chocolate mousse is no exception. Using premium chocolate elevates the flavor profile from merely good to truly unforgettable. Brands like Scharffen Berger Chocolate are renowned for their superior taste and melting properties, making them an excellent choice for this recipe. While semi-sweet chocolate offers a beautifully balanced flavor that appeals to most palates, don’t hesitate to experiment with dark chocolate (70% cocoa or higher) for a more intense, less sweet, and bolder chocolate experience. The higher cocoa content in dark chocolate will yield a deeper, more sophisticated flavor profile.
When preparing your chocolate, you don’t necessarily need pre-made chocolate chips or chunks. If you have a high-quality chocolate bar, simply chop it into smaller, uniform pieces. This ensures even melting when combined with the warm cream, preventing lumps and guaranteeing a silky-smooth chocolate base for your mousse. The better the chocolate, the more luxurious and profound the final taste of your homemade chocolate mousse will be, making it worth investing in a good quality brand.
Essential Tips for Perfect Chocolate Mousse
The Art of Folding Whipped Cream
One of the crucial steps in achieving an airy and light chocolate mousse is correctly folding in the whipped cream. Folding is a delicate technique designed to gently combine ingredients without deflating the air that has been incorporated into the whipped cream. This is key to maintaining the mousse’s characteristic fluffy texture. To do this, use a large rubber or silicone spatula. Begin by cutting down through the center of the mixture in the bowl, sweeping the spatula along the bottom, then turning it over and bringing the lighter mixture (the whipped cream) from the bottom up to the top. Rotate the bowl slightly after each fold, and continue this motion gently, scraping down the sides of the bowl as you go, until no streaks of whipped cream remain and the mixture is uniformly combined. Patience is vital here; overmixing can quickly lead to a dense mousse.
Understanding the Nuances: Heavy Cream vs. Heavy Whipping Cream
When selecting dairy for your easy chocolate mousse recipe, you might encounter labels like “heavy cream” and “heavy whipping cream.” The good news is, for all practical purposes, these terms are interchangeable. Both typically contain a minimum of 36% milk fat, which is the ideal percentage for creating stable, well-structured whipped cream. If you examine their nutritional labels, you’ll often find identical fat content. However, be mindful of products simply labeled “whipping cream” (without the “heavy”). This lighter version has a slightly lower fat content, usually between 30-35%. While it can still be whipped, it won’t hold its shape as firmly or for as long as heavy cream or heavy whipping cream.
For a truly stable and luxurious whipped cream topping or for incorporation into a mousse where structural integrity is important, always opt for heavy cream or heavy whipping cream. Their higher fat content ensures a more robust and airy whip, providing that perfect cloud-like texture for your desserts, sauces, or even savory dishes. Knowing this subtle difference will ensure your culinary creations consistently turn out perfectly.
Common Questions about Our Egg-Free Chocolate Mousse
Absolutely, and our recipe proves it! While traditional mousses often rely on eggs for their structure and airy texture, modern culinary techniques and alternative ingredients allow for equally stunning results. Our recipe brilliantly uses whipped cream to achieve that desired lightness and richness. Beyond whipped cream, other popular egg substitutes for mousse include aquafaba (the liquid from canned chickpeas, which whips up beautifully like egg whites) or silken tofu, which provides a wonderfully creamy, dense texture for a different style of mousse. The possibilities for an egg-free chocolate mousse are diverse and delicious!
Traditionally, eggs play a multi-faceted role in chocolate mousse. Egg yolks contribute to the richness and emulsification, creating a smooth, velvety base, while whipped egg whites are folded in to incorporate air, giving the mousse its signature light and fluffy texture. They also act as a stabilizer. However, as demonstrated in our easy chocolate mousse recipe, these functions can be skillfully replicated using other ingredients. Whipped heavy cream or dairy-free alternatives like coconut cream provide the necessary aeration and creaminess, ensuring a mousse that is just as luxurious and airy without the need for eggs, making it safer for those with egg allergies or preferences.
Our delectable egg-free chocolate mousse, when stored properly, will remain perfectly fresh and delicious in the refrigerator for up to 3-4 days. To ensure it retains its exquisite texture and prevents it from absorbing any fridge odors, cover individual ramekins or a larger serving dish tightly with plastic wrap. While it technically lasts a few days, its irresistible richness and creamy appeal mean it rarely lingers in the fridge for long – it’s often devoured within a day or two! The flavors tend to deepen slightly after a day, making it an excellent make-ahead dessert.
Yes, it is certainly possible to create a delicious chocolate mousse using cocoa powder, offering a slightly different flavor profile than one made with solid chocolate. When using cocoa powder, you’ll need to make adjustments to compensate for the lack of fat and sugar that solid chocolate provides. You’ll typically increase the amount of sweetener (like powdered sugar) and may need to incorporate a bit more fat, such as butter or a richer cream, to achieve that signature luxurious mouthfeel and smooth texture that makes mousse so special. While the depth of flavor can be wonderfully intense with cocoa powder, the texture might be slightly less unctuous than with melted chocolate, requiring careful balancing to perfect.
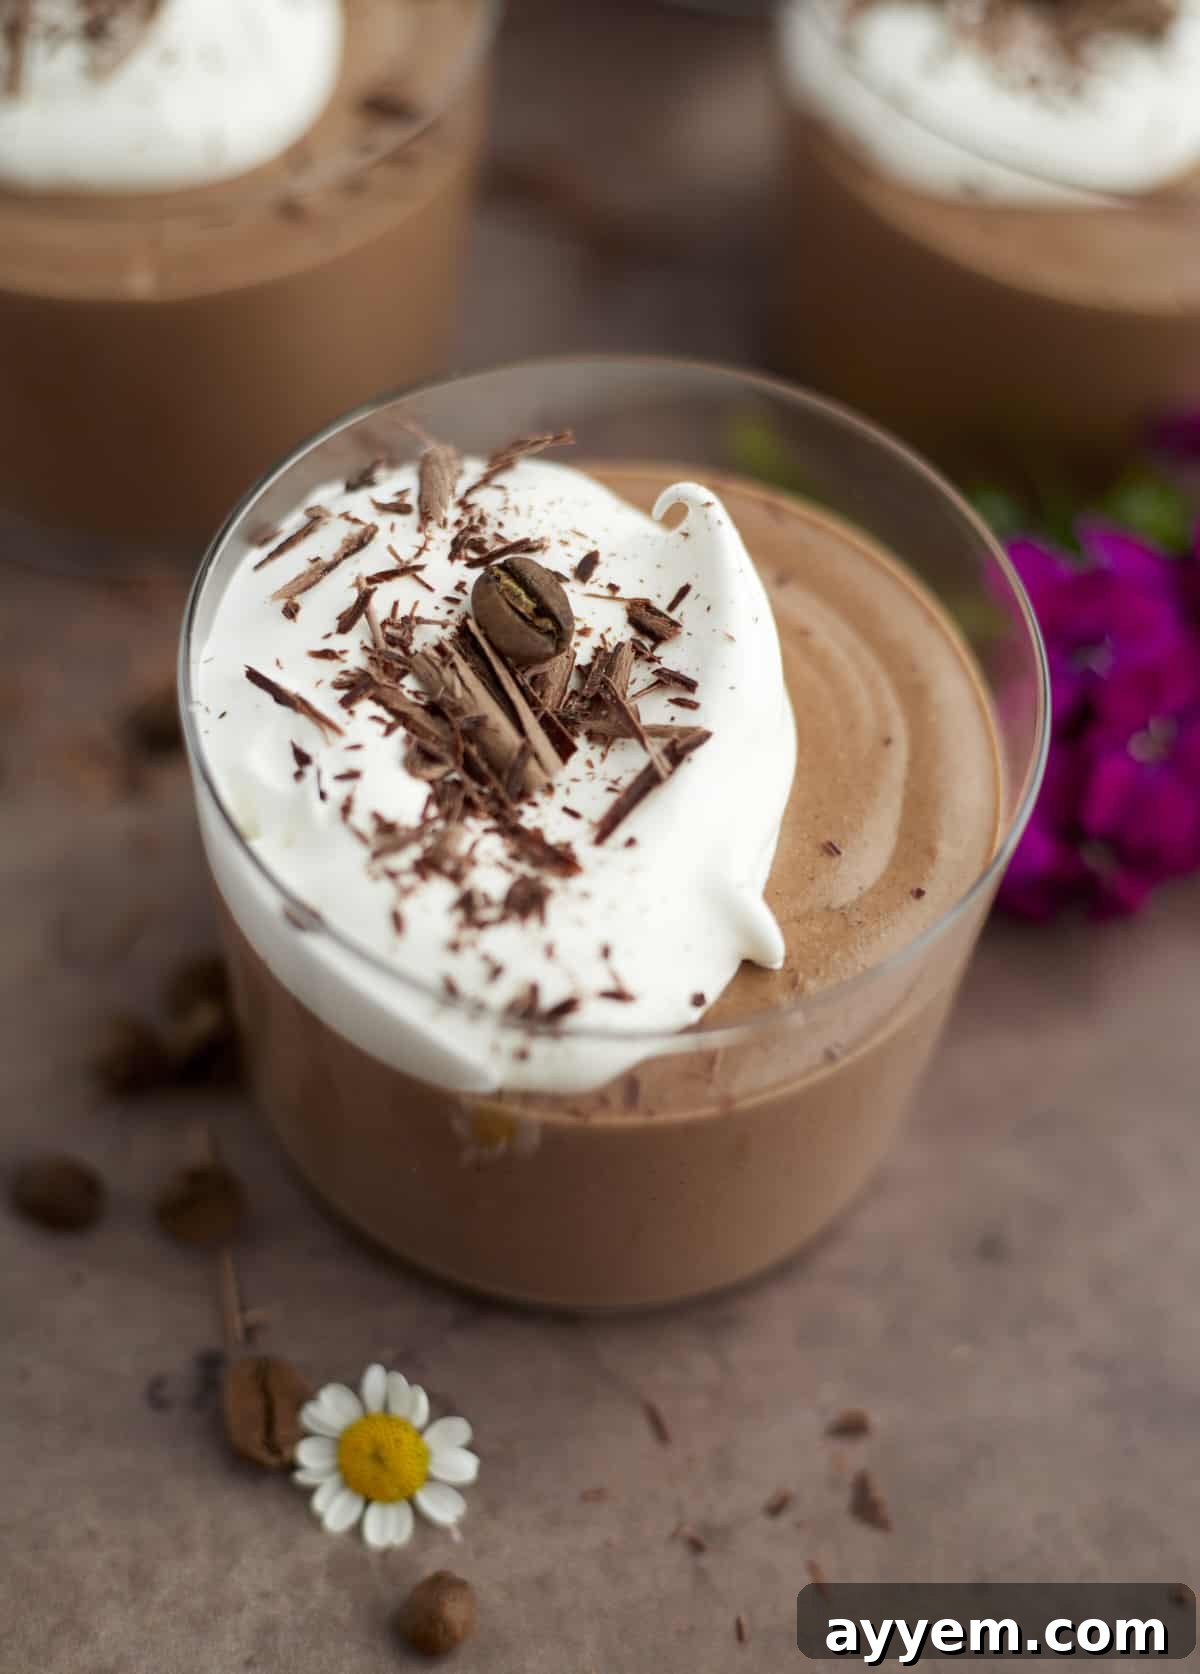
Chocolate Mousse
Author: Food Dolls
Servings: 6 servings
Prep Time: 10 mins
Cook Time: 1 min
Chill Time: 2 hrs
Total Time: 2 hrs 11 mins
This Chocolate Mousse is rich and creamy, incredibly simple to make with only 5 main ingredients! It also includes an easy option to make it dairy-free and vegan friendly, ensuring everyone can enjoy this delightful treat.
Print Recipe
Email Recipe
Ingredients
- 6 ounces good quality semi-sweet chocolate chips
- 3 cups cold heavy cream, divided
- 1/2 teaspoon instant espresso powder
- 1 teaspoon vanilla extract
- Pinch of salt
- 1/4 cup powdered sugar
Instructions
- In a microwave-safe bowl, add the chocolate chips or chopped chocolate.
- Heat 3/4 cup of heavy cream in the microwave for 1 minute, or until hot (but not boiling). Pour the hot cream over the chocolate. Let it sit undisturbed for 5 minutes to allow the chocolate to melt.
- Whisk the chocolate and heavy cream mixture until it becomes smooth, glossy, and creamy. This may take a minute or two of continuous whisking. If any chocolate pieces remain unmelted, microwave for an additional 30 seconds, then stir thoroughly until completely smooth. Stir in the instant espresso powder, vanilla extract, and a pinch of salt. Set this chocolate ganache aside to cool completely to room temperature, which will take approximately 30 minutes.
- In the bowl of a hand mixer or a stand mixer fitted with the whisk attachment, add the remaining heavy cream and the powdered sugar. Beat on medium-high speed until stiff peaks form. Be careful not to overbeat, as this can turn the cream grainy.
- Once the chocolate ganache has cooled to room temperature, gently fold the sweetened whipped cream into the chocolate mixture. Use a large rubber spatula and employ the folding technique described earlier (cutting through the center, sweeping from the bottom to the top) until the whipped cream is fully incorporated and no white streaks remain. This ensures the mousse stays light and airy.
- Transfer the prepared mousse into small ramekins or serving dishes. This recipe typically yields about five 4-ounce ramekins.
- Refrigerate the mousse for at least 2-3 hours, or until it is firm and properly set. Chilling is essential for the mousse to develop its characteristic rich and stable texture.
- Before serving, garnish with additional whipped cream, chocolate shavings, fresh raspberries, or a dusting of cocoa powder for an elegant touch.
- For a firmer mousse, serve directly from the fridge. If you prefer a slightly softer, silkier texture, let it sit at room temperature for about 15 minutes before serving. Enjoy your exquisite homemade chocolate mousse!
Nutrition Information
Nutrition information is automatically calculated and should be used as an approximation.
Calories: 590 kcal |
Carbohydrates: 23 g |
Protein: 5 g |
Fat: 54 g |
Saturated Fat: 34 g |
Polyunsaturated Fat: 2 g |
Monounsaturated Fat: 14 g |
Trans Fat: 0.02 g |
Cholesterol: 136 mg |
Sodium: 35 mg |
Potassium: 278 mg |
Fiber: 2 g |
Sugar: 19 g |
Vitamin A: 1763 IU |
Vitamin C: 1 mg |
Calcium: 96 mg |
Iron: 2 mg
Enjoyed this recipe?
We’d love to hear from you! Please leave a comment and share your thoughts.