
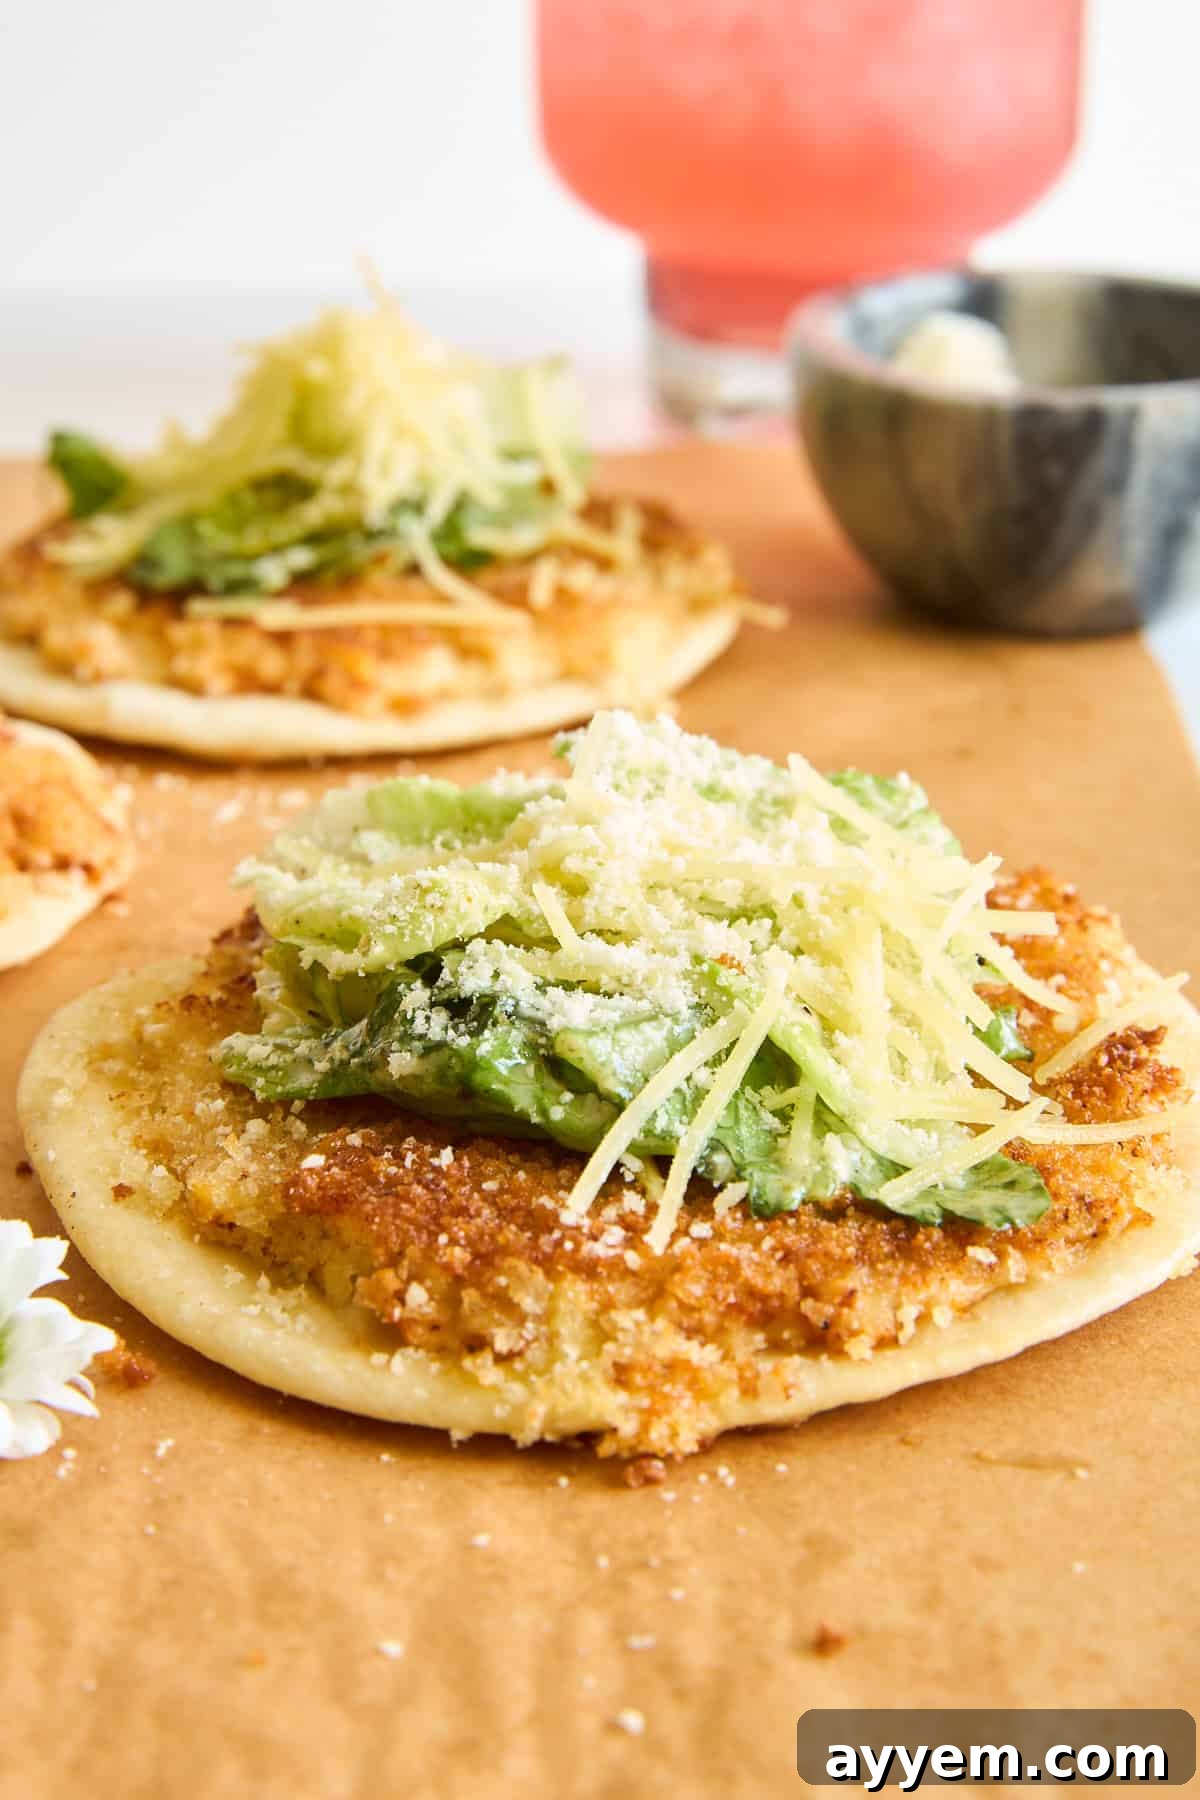
Crispy Panko Chicken Caesar Tortilla Wraps: A Quick & Delicious Handheld Meal
Transform your favorite Caesar salad into an exciting, warm, and crunchy handheld delight with this incredible Crispy Panko Chicken Caesar Tortilla Wrap recipe. Perfect for a speedy lunch or a satisfying weeknight dinner, these wraps combine tender, perfectly seasoned chicken coated in golden panko breadcrumbs with crisp romaine lettuce, savory Parmesan, and tangy Caesar dressing, all nestled within a soft tortilla. Every bite delivers an irresistible symphony of textures and flavors, making this recipe a new family favorite that’s both easy to prepare and incredibly flavorful. Forget soggy salads and embrace the crunch!
Unpacking the Crispy Panko Chicken Caesar Tortilla Wrap Phenomenon
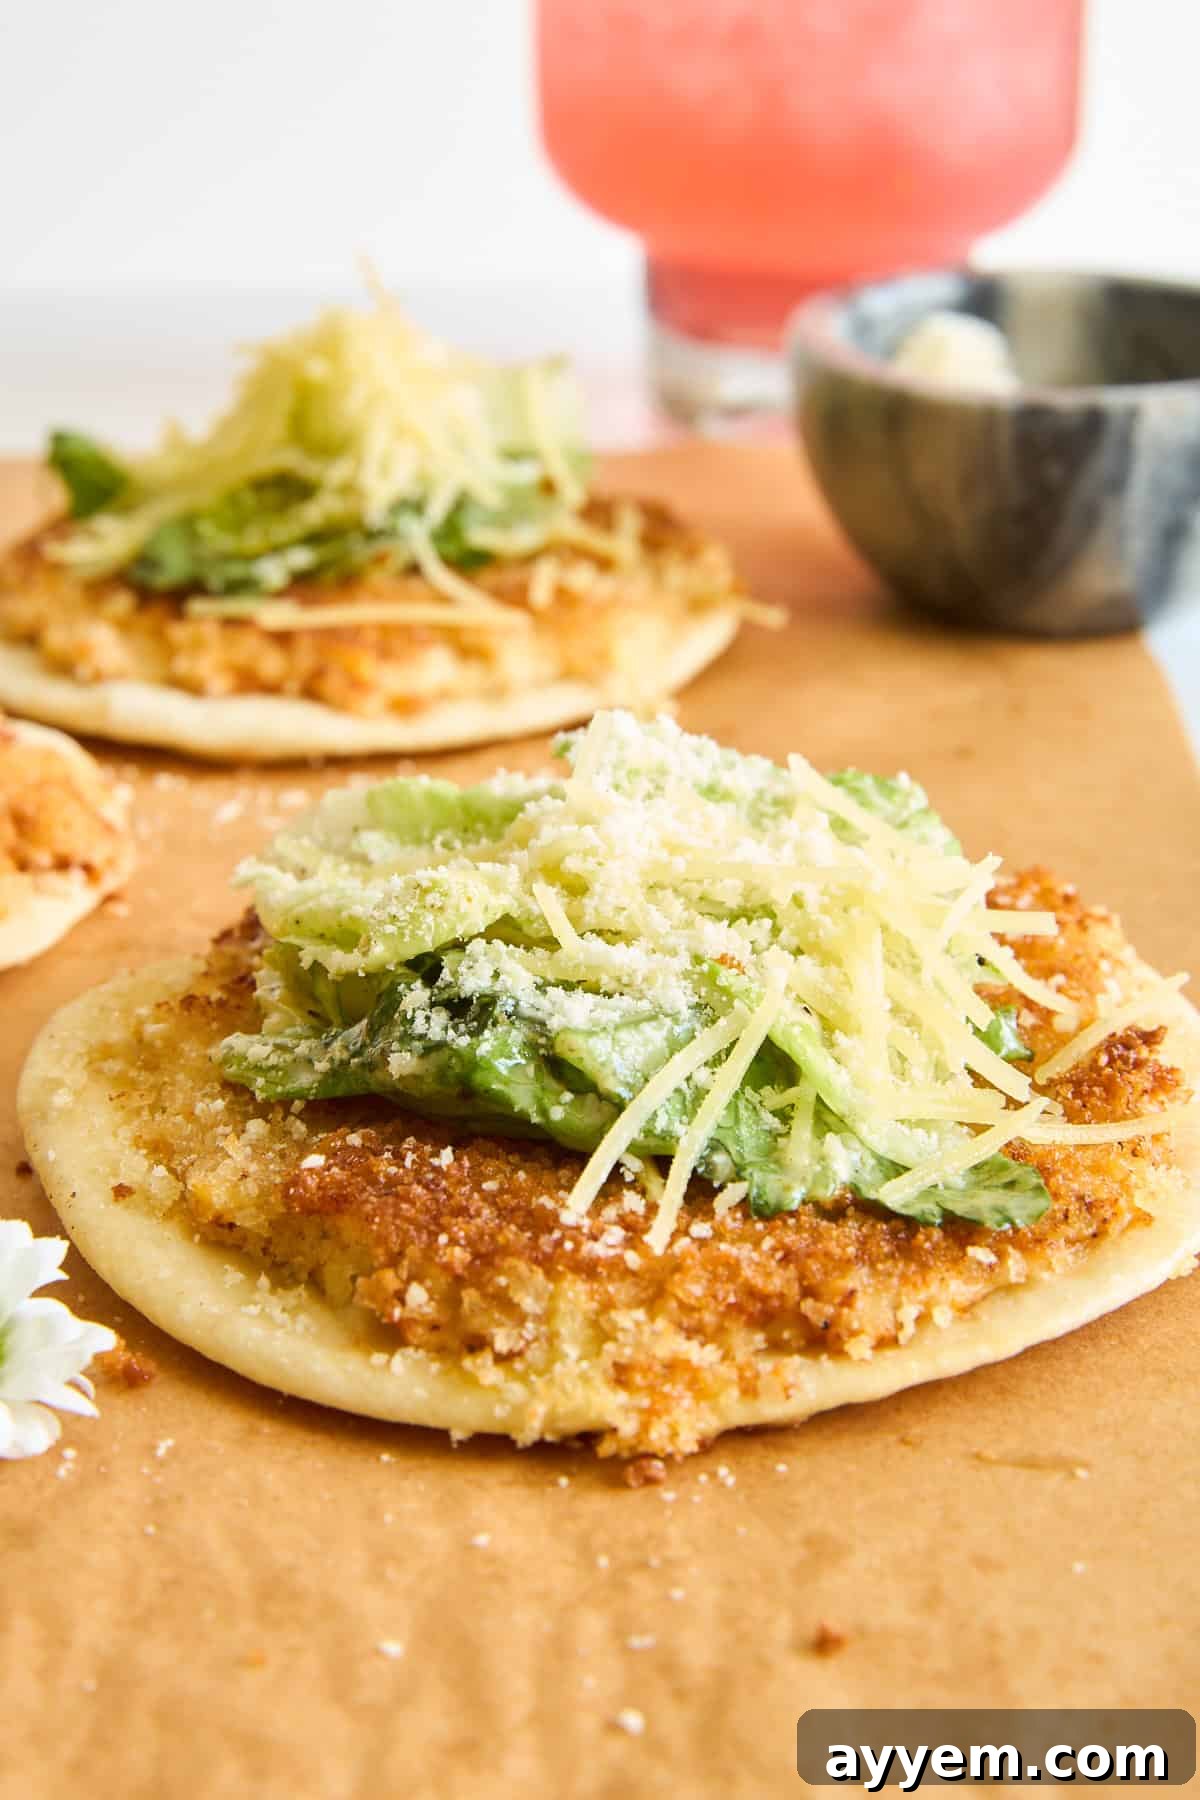
What exactly makes a Crispy Panko Chicken Caesar Tortilla Wrap so special? It’s a clever and delicious reimagining of the classic Caesar salad, designed for maximum enjoyment and convenience. Instead of simply topping a bed of greens, we take juicy, seasoned chicken, give it a wonderfully crunchy panko crust, and then combine it with all the beloved elements of a Caesar salad inside a warm, pliable flour tortilla. This ingenious format offers a unique culinary experience that’s far more engaging than a traditional bowl of greens.
The magic lies in the contrast: the satisfying crunch of the panko-coated chicken against the fresh crispness of romaine lettuce, the creamy tang of Caesar dressing, and the salty bite of Parmesan cheese. This isn’t just a wrap; it’s a textural adventure. It’s warm, savory, and incredibly satisfying, offering a complete meal that’s easy to hold and eat on the go. Whether you’re looking for a quick yet gourmet lunch, a fun and easy dinner option, or an elevated snack, these wraps deliver a perfect blend of taste, texture, and convenience in every single, delightful mouthful. They cater to all ages and are surprisingly simple to whip up, making them an ideal choice for busy households seeking flavorful solutions.
Essential Ingredients for Your Perfect Crispy Chicken Caesar Wrap
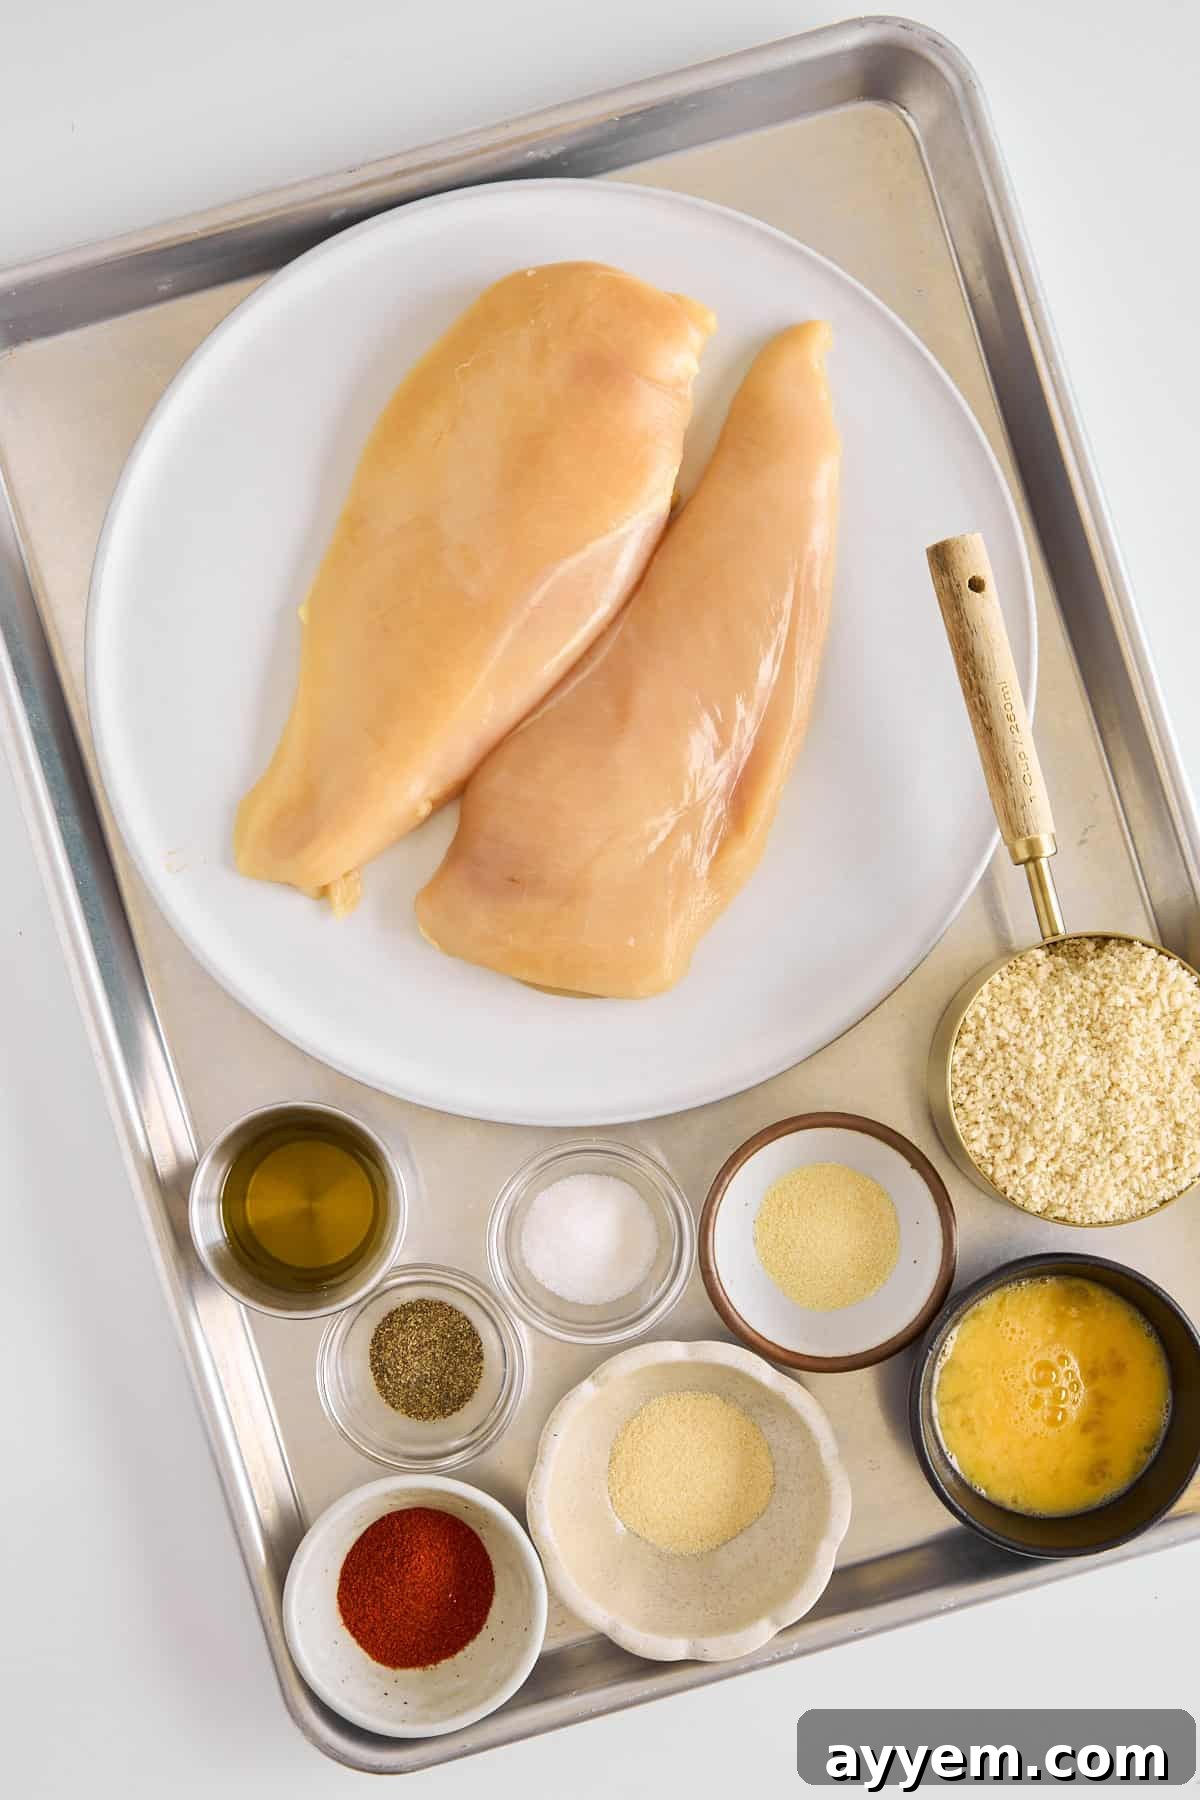
Crafting the perfect Crispy Panko Chicken Caesar Tortilla Wrap starts with a selection of fresh, high-quality ingredients. Each component plays a crucial role in building the layers of flavor and texture that make this dish truly outstanding. Here’s what you’ll need:
- Ground Chicken: We highly recommend using lean ground chicken for this recipe. It’s incredibly versatile, cooks quickly and evenly, and beautifully absorbs the medley of spices we’ll be adding. Its fine texture allows for an even coating of panko, ensuring a crispy crust in every bite. If ground chicken isn’t available, you can finely mince chicken breasts or even use ground turkey as a leaner alternative.
- Garlic Powder: A fundamental spice that adds a deep, aromatic, and savory backbone to the chicken seasoning. It offers a concentrated garlic flavor without the moisture or texture of fresh garlic, ensuring the panko adheres perfectly.
- Onion Powder: Similar to garlic powder, onion powder contributes a rich, savory sweetness to the chicken, enhancing its overall flavor profile. It’s an essential addition for creating a well-rounded and delicious seasoning blend.
- Smoked Paprika: This spice is a game-changer, infusing the chicken with a subtle yet distinct smoky warmth. It adds an indulgent, complex note that elevates the chicken from simple to extraordinary, without being overly spicy.
- Salt: Essential for seasoning, salt brightens and amplifies all the other flavors. Use a good quality fine sea salt and adjust the amount to your personal preference for a perfectly balanced taste.
- Black Pepper: Freshly ground black pepper adds a mild, pungent kick and an additional layer of depth to the chicken seasoning. For the best flavor, grind your pepper just before mixing.
- Flour Tortillas: Large, soft flour tortillas are the vessel for our delicious creation. Their flexibility allows for easy folding, securely holding all the savory chicken and fresh salad components, making them ideal for a handheld meal.
- Egg: A single beaten egg acts as the crucial binder, helping the panko breadcrumbs adhere firmly to the chicken layer. This ensures a uniform and incredibly crispy coating once cooked.
- Panko Breadcrumbs: The secret to that exceptional crunch! Panko breadcrumbs are Japanese-style breadcrumbs known for their light, airy, and flaky texture, which results in a much crispier coating than regular breadcrumbs. Make sure to press them firmly onto the chicken for maximum adherence and crispiness.
- Olive Oil: Used for pan-frying, olive oil helps the chicken and tortilla achieve a beautiful golden-brown color and irresistible crispiness. A good quality extra virgin olive oil can also add a subtle fruity note.
- Caesar Salad Kit: For ultimate convenience and classic flavor, a Caesar salad kit is your best friend. It typically includes crisp romaine lettuce, savory Parmesan cheese, crunchy croutons, and a rich, tangy Caesar dressing. Tossing these elements together just before assembling the wraps ensures the greens remain vibrant and crisp.
Step-by-Step Guide: Crafting Your Crispy Panko Chicken Caesar Wraps
Making these delightful Crispy Panko Chicken Caesar Tortilla Wraps is surprisingly simple and quick, perfect for those busy days when you crave something homemade and delicious. Follow these easy steps to achieve culinary perfection:
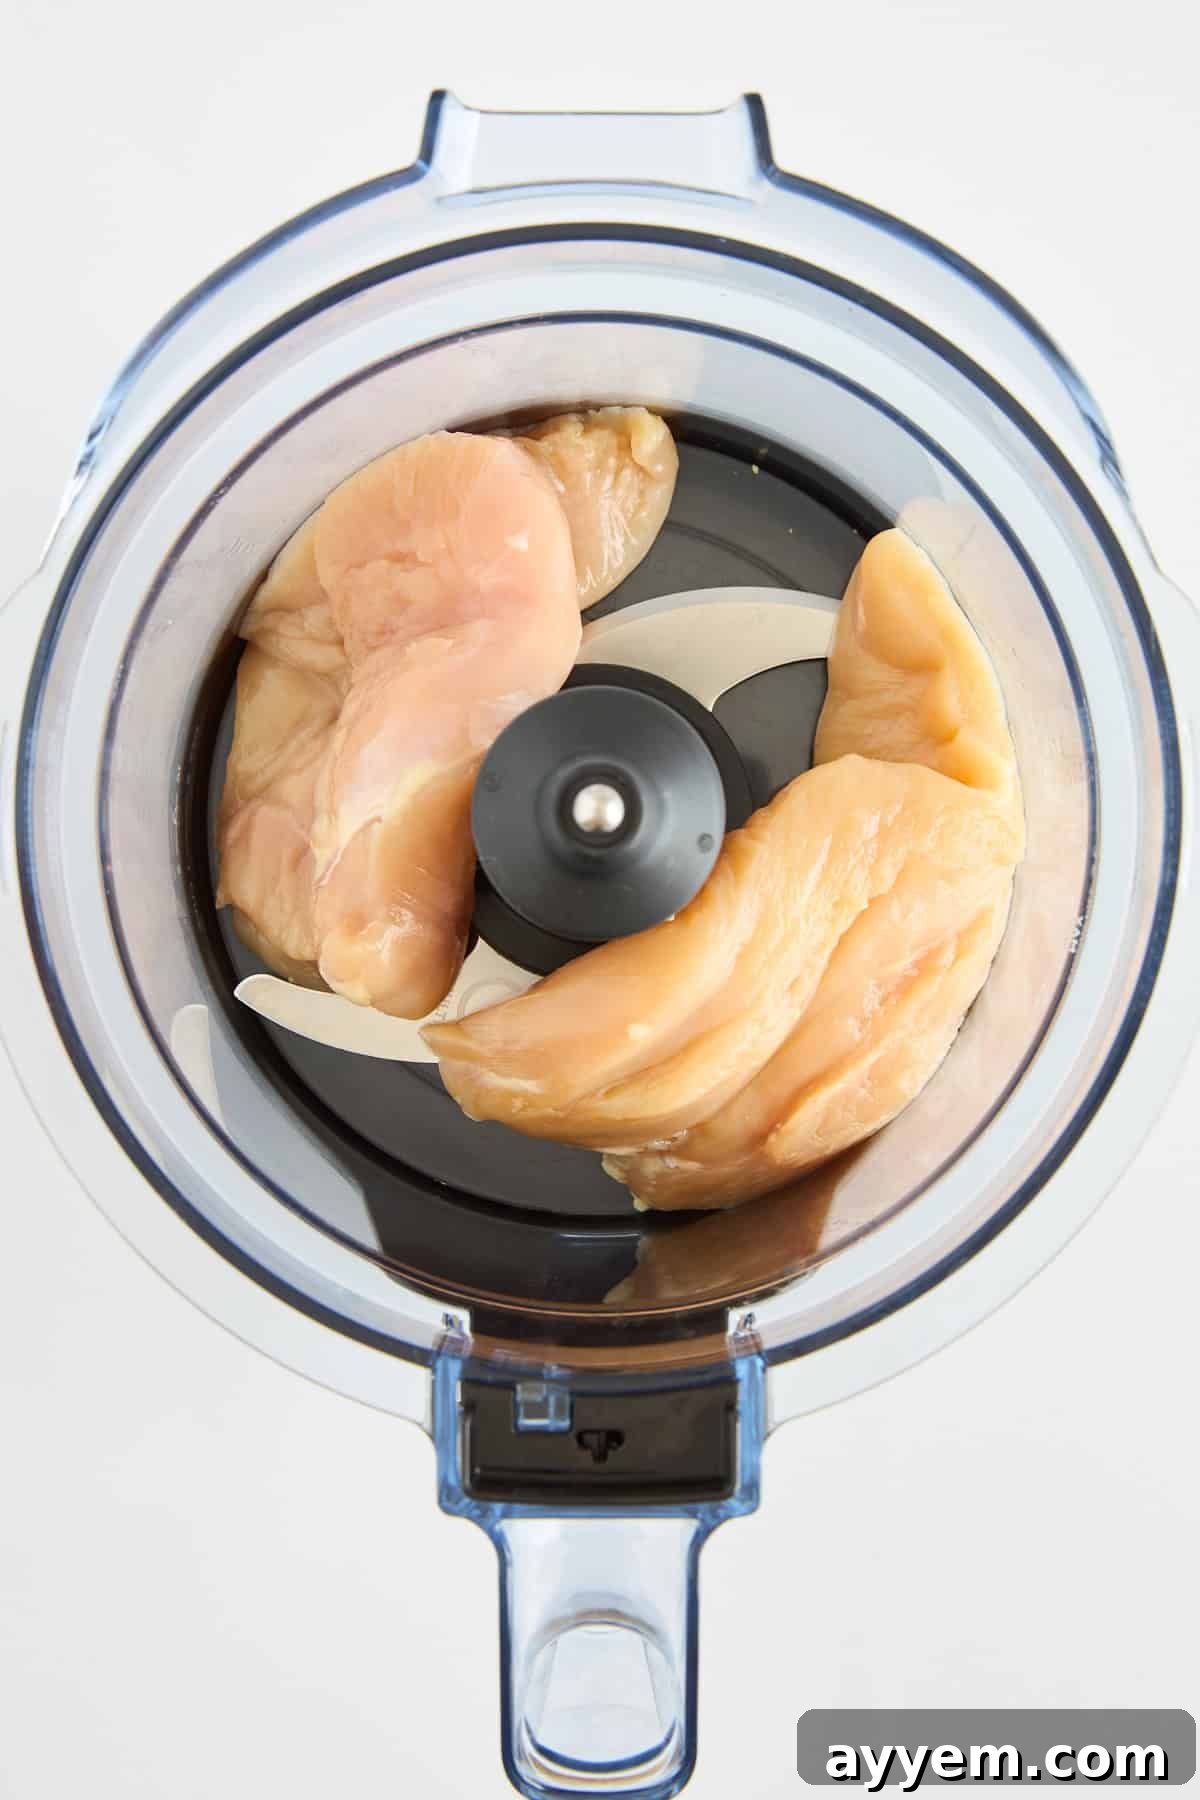
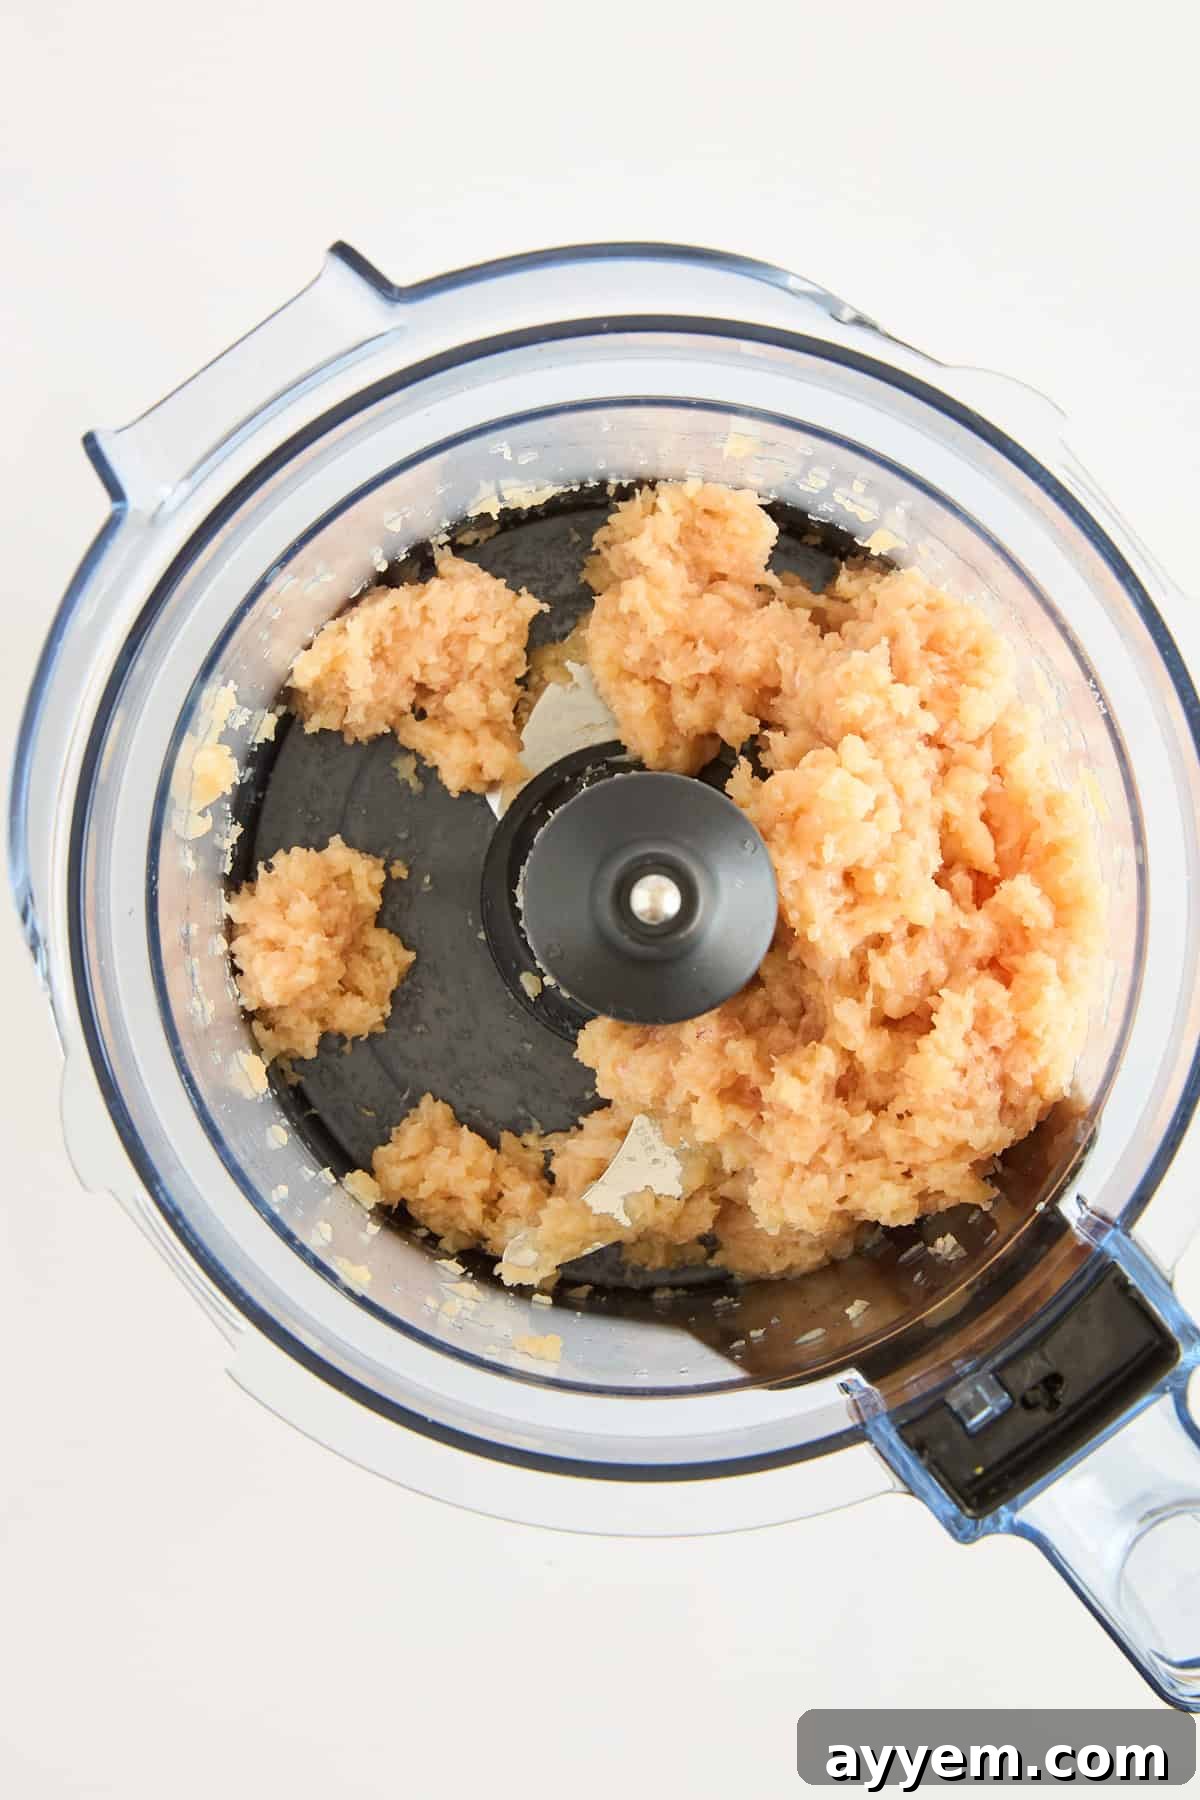
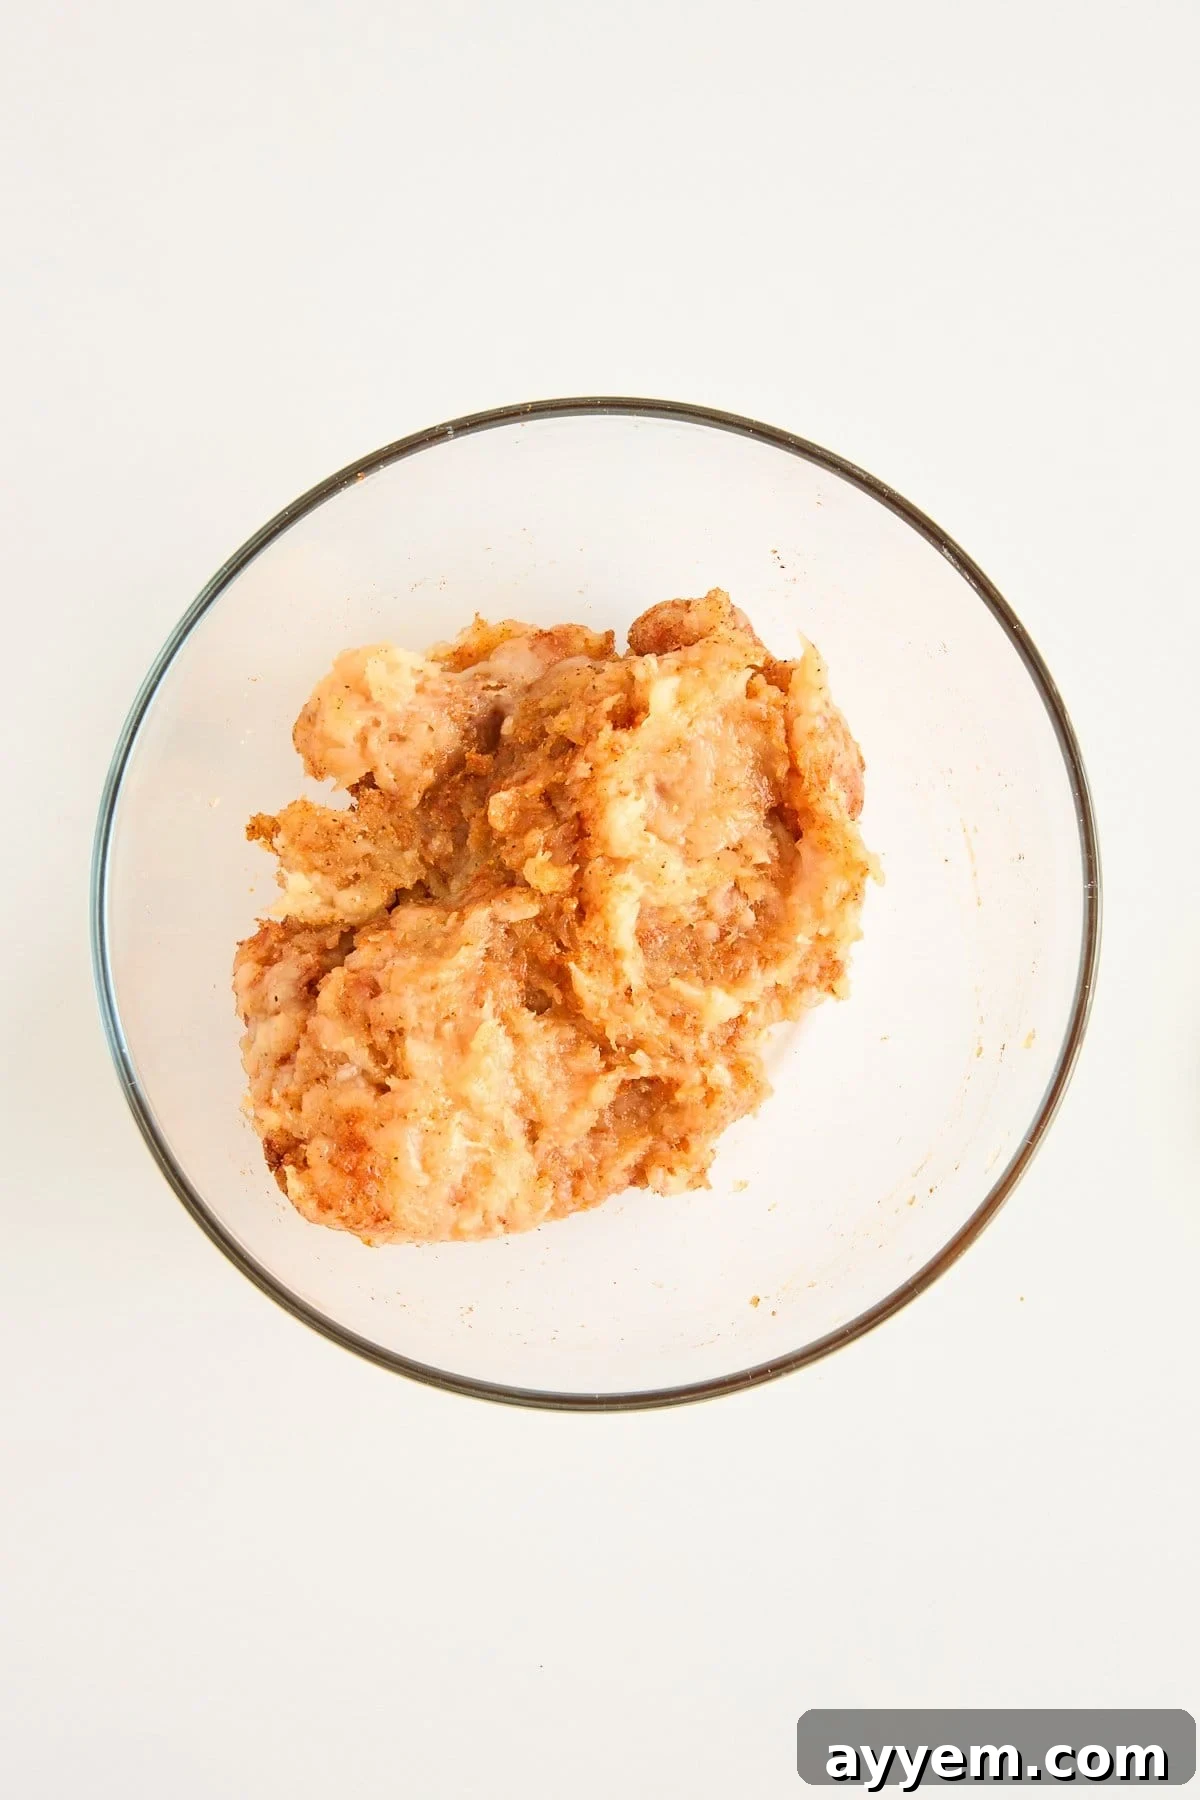
- Season the Chicken to Perfection: Begin by placing your ground chicken into a medium-sized mixing bowl. Add the garlic powder, onion powder, smoked paprika, salt, and black pepper. Using your hands, gently but thoroughly mix all the ingredients until the spices are evenly distributed throughout the chicken. Avoid overmixing, as this can make the chicken tough. Set aside.
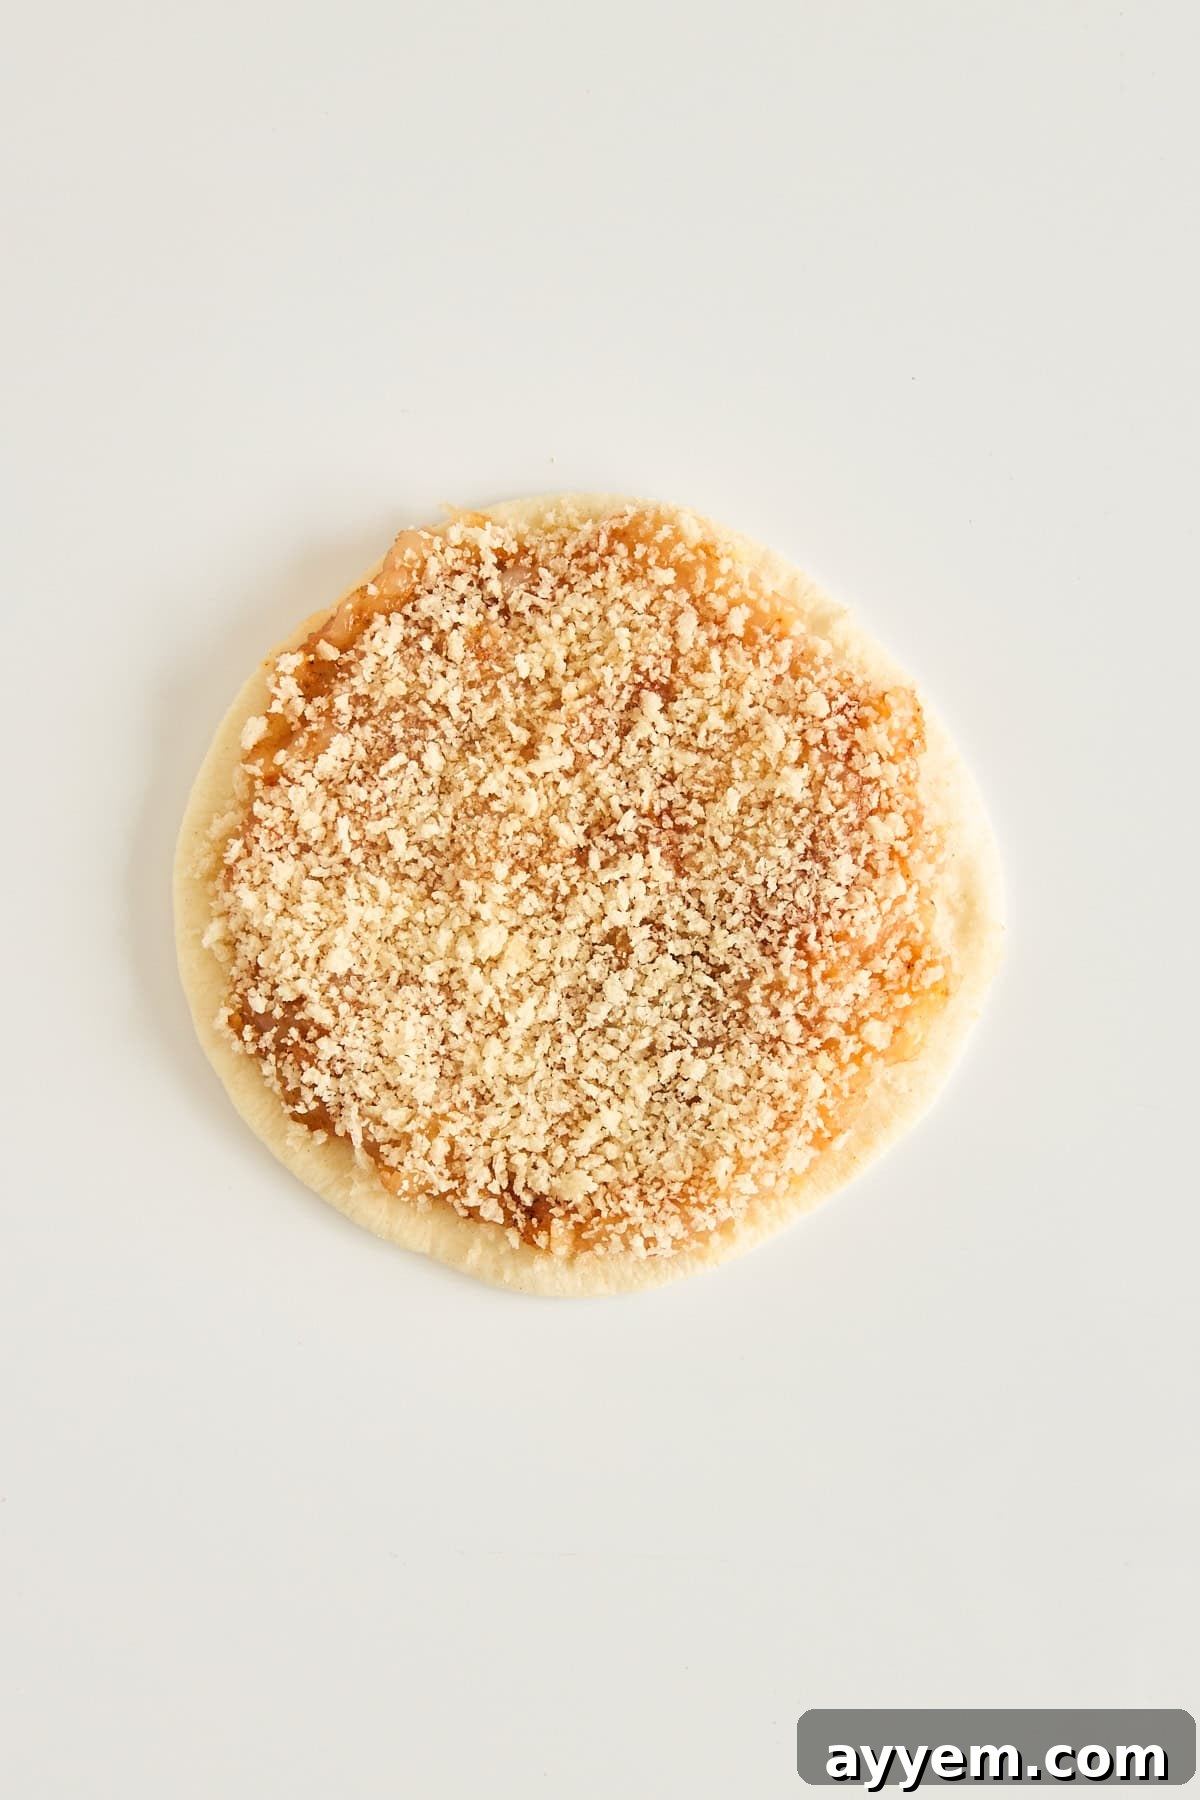
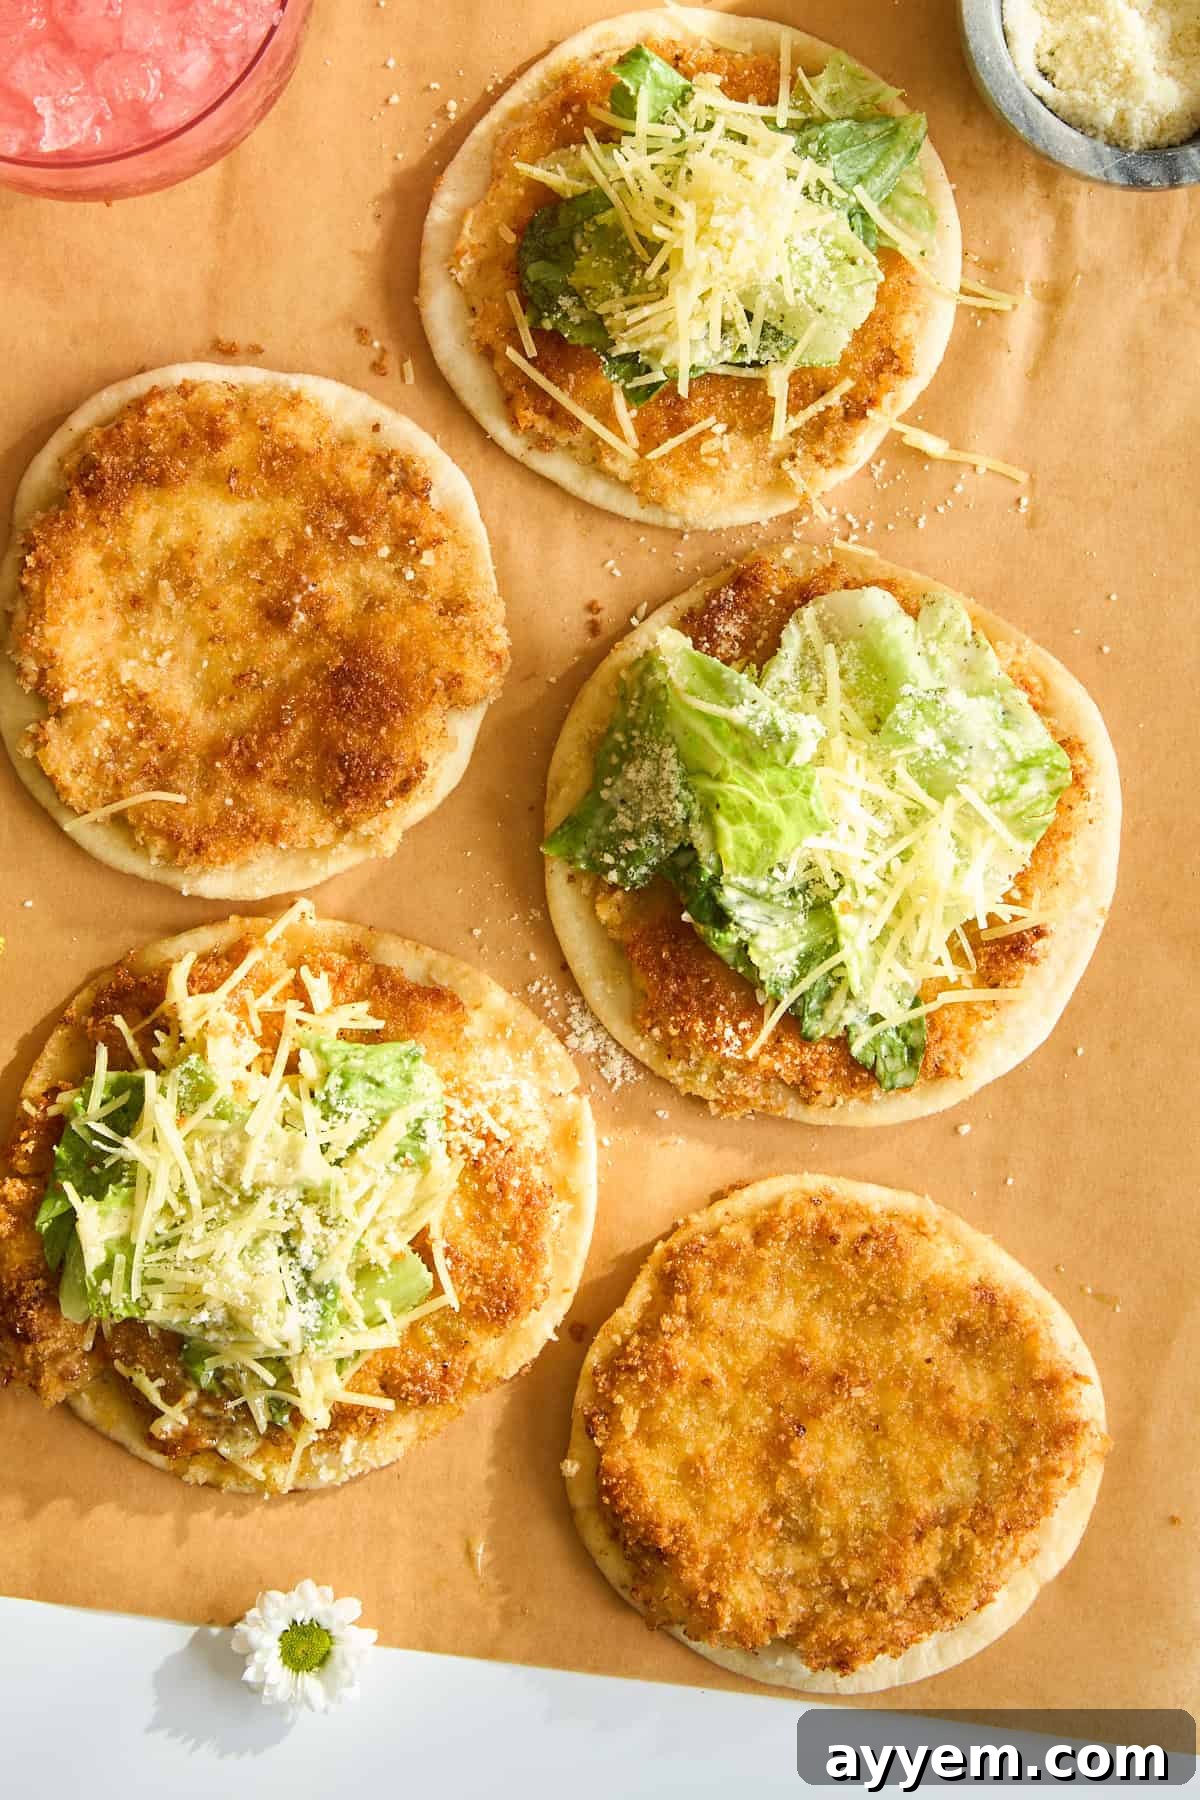
- Prepare the Tortillas with Chicken and Panko: Lay your flour tortillas flat on a clean surface. Take a portion of the seasoned ground chicken and press a thin, even layer onto one side of each tortilla, extending almost to the edges. Ensure the chicken layer is compact and adheres well to the tortilla. In a separate shallow dish, lightly beat one large egg. Using a pastry brush or the back of a spoon, apply a thin layer of the beaten egg over the chicken-covered side of each tortilla. Next, pour the panko breadcrumbs into another shallow dish. Carefully place each egg-washed chicken-side down into the panko, pressing gently but firmly to ensure a generous and even coating. The panko should completely cover the chicken for maximum crispiness.
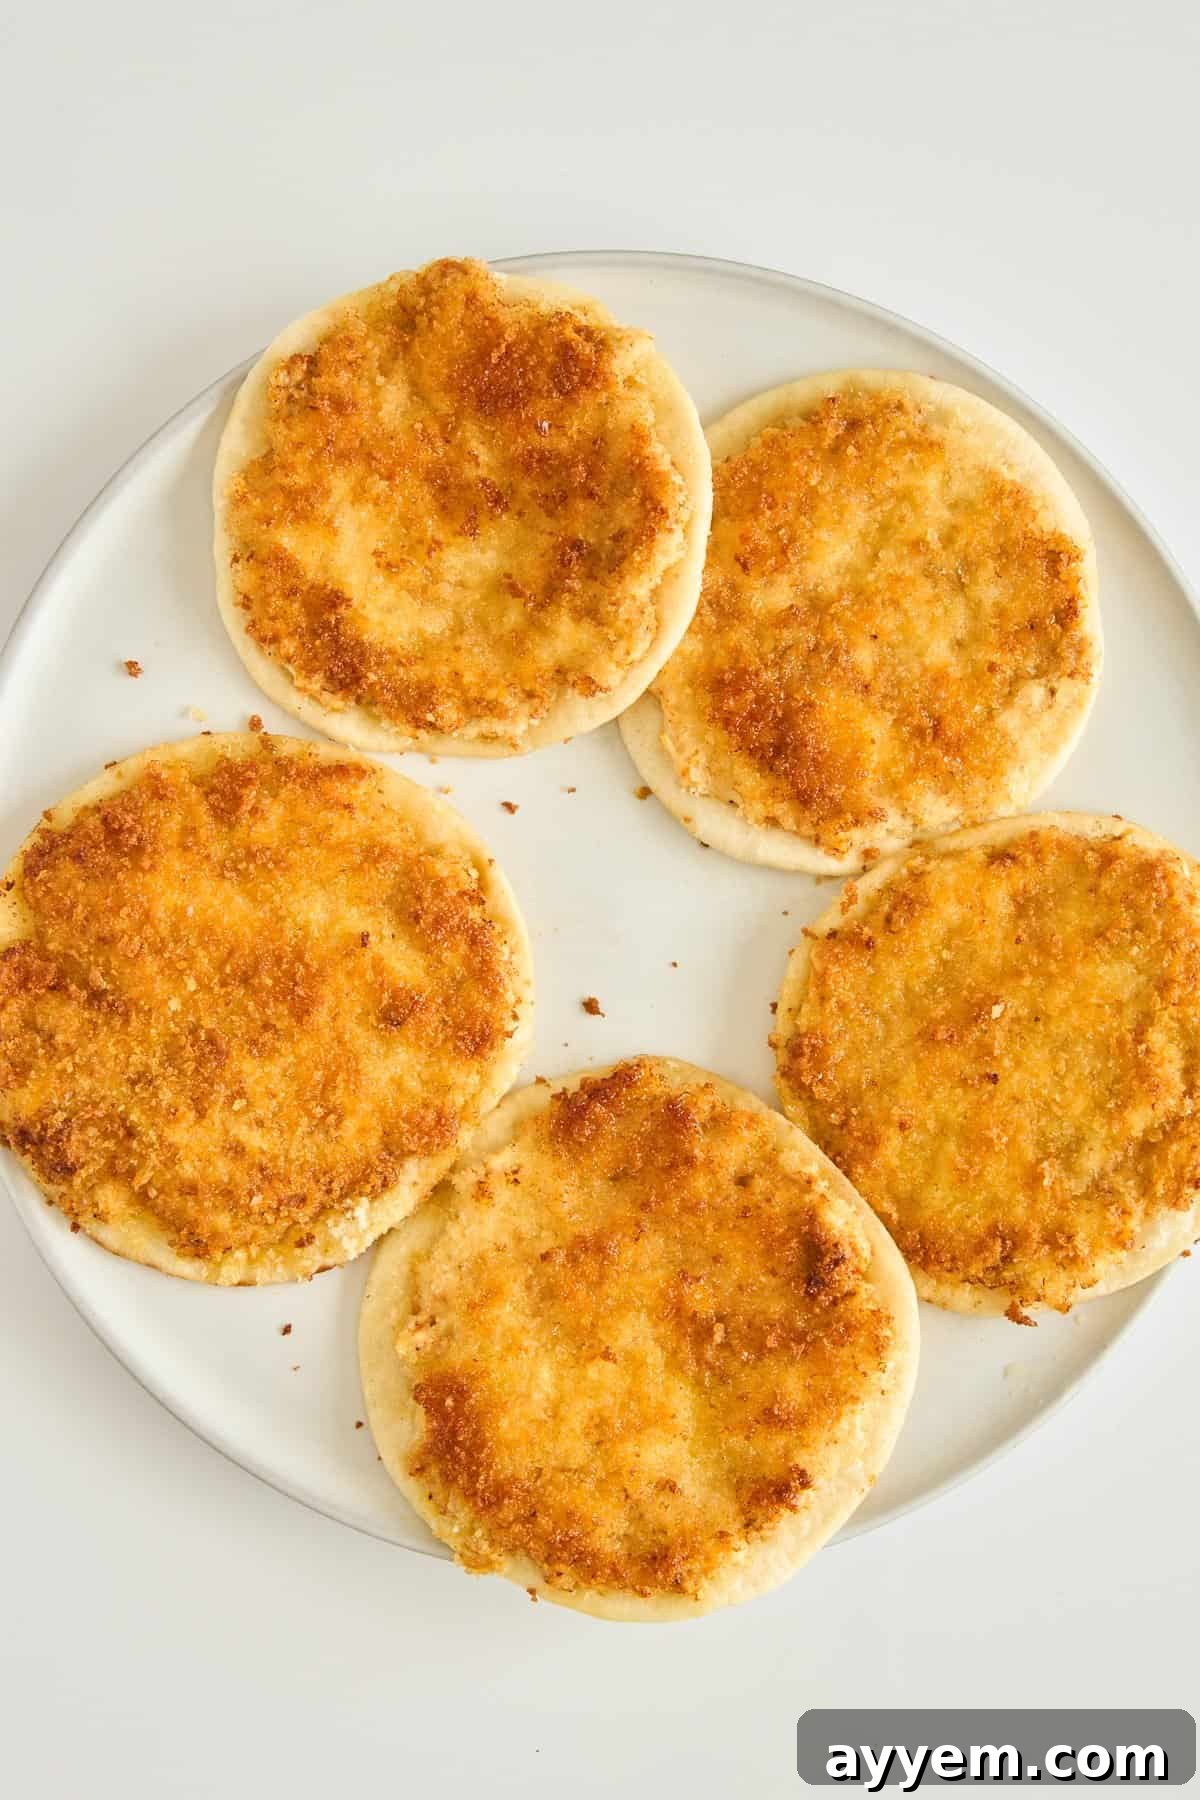
- Cook the Crispy Wraps: Heat two tablespoons of olive oil in a large skillet or non-stick pan over medium heat. Once the oil is shimmering, carefully place each tortilla, chicken-side down, into the preheated skillet. Cook for about 4-5 minutes, or until the chicken is cooked through and the panko coating is beautifully golden brown and incredibly crispy. This is where the magic happens! Once the chicken side is perfectly crisp, flip the tortilla and cook the plain tortilla side for just 1-2 minutes to warm it through and give it a slight toast. Remove the cooked wraps from the pan and place them on a plate.
- Prepare the Caesar Salad: While the wraps are cooling slightly, prepare your Caesar salad. Open your Caesar salad kit and combine the romaine lettuce, Parmesan cheese, and croutons in a large bowl. Drizzle with the Caesar dressing provided in the kit (or your favorite homemade dressing) and toss everything together gently until all the ingredients are well coated and vibrant. Toss just before assembly to prevent the greens from becoming soggy.
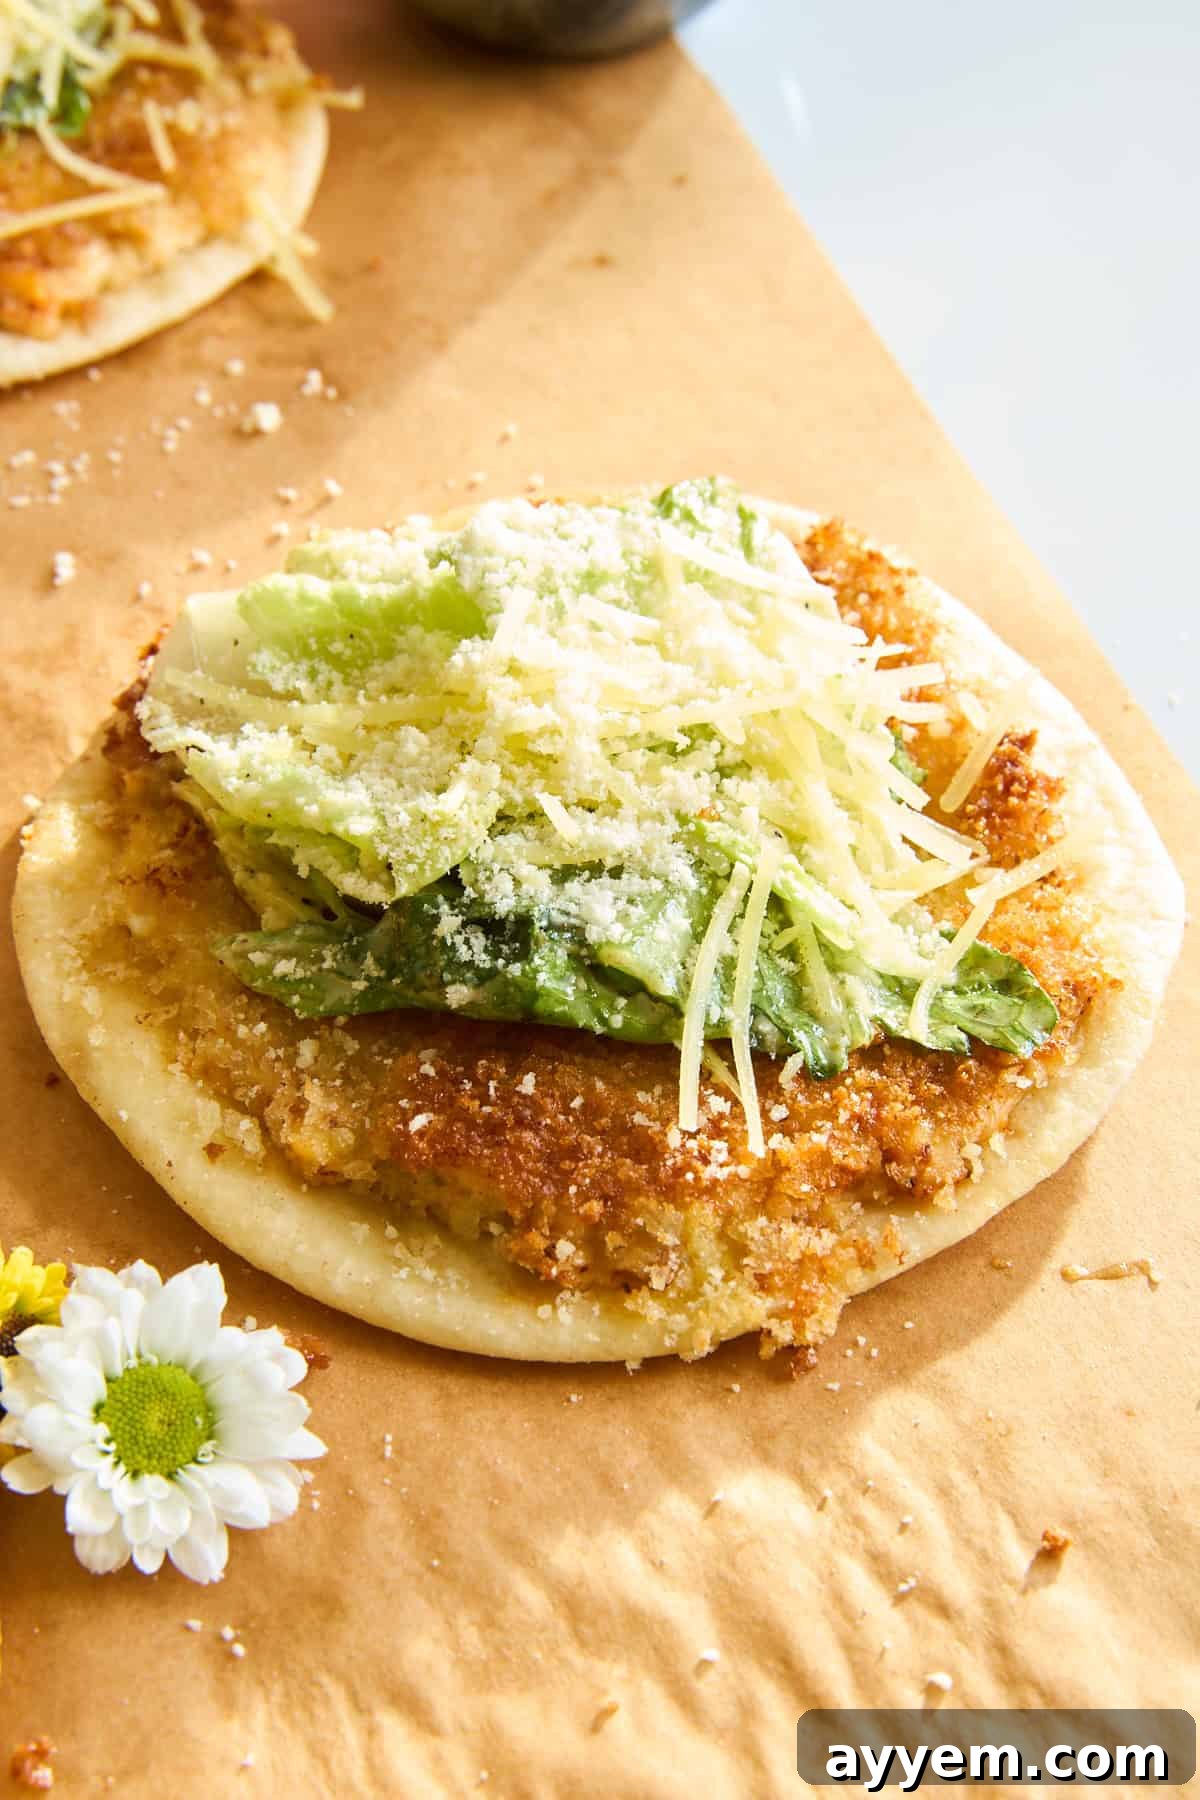
- Assemble and Serve Immediately: Lay a cooked tortilla (chicken-side up) on your work surface. Spoon a generous amount of the freshly tossed Caesar salad mixture over the crispy chicken layer. Now, it’s time to assemble! You can fold it tightly like a traditional wrap by folding in the sides and then rolling it up from the bottom, or simply fold it in half like a taco for an open-faced experience. Serve your Crispy Panko Chicken Caesar Tortilla Wraps immediately while they are still warm and the panko chicken is at its absolute crispiest. Enjoy the symphony of flavors and textures!
Customize Your Wrap: Delicious Variations and Substitutions
One of the best things about the Crispy Panko Chicken Caesar Tortilla Wrap is its versatility! You can easily customize it to suit your taste preferences or whatever ingredients you have on hand. Don’t be afraid to get creative and make this recipe truly your own:
- Chicken Options: While ground chicken is fantastic for its even texture and quick cooking, you can easily swap it for finely chopped or shredded cooked chicken breast. If using cooked chicken, toss it with the spices and then coat with egg and panko as directed for a different, yet equally delicious, texture. Ground turkey also makes an excellent lean alternative.
- Greens Galore: Romaine lettuce is classic, but feel free to experiment with other leafy greens. Arugula will add a peppery bite, spinach offers a milder flavor, or a vibrant mixed greens blend can introduce a variety of textures and nutrients.
- Amp Up the Crunch: For even more textural excitement, consider sprinkling toasted slivered almonds, crispy fried onions, or even some crushed seasoned tortilla chips over the salad filling. This adds another layer of satisfying crunch that complements the crispy chicken beautifully.
- Cheese, Please!: Parmesan is traditional, but you can swap it for shredded mozzarella for a milder, meltier quality, asiago for a sharper flavor, or a sprinkle of crumbled feta cheese for a salty, tangy kick. A blend of Italian cheeses would also be delicious.
- Spice It Up: If you love a bit of heat, add a pinch of cayenne pepper or a dash of chili powder to the chicken seasoning blend. You can also drizzle a little hot sauce over the salad before wrapping for an extra kick.
- Vegetarian Twist: Easily make this recipe vegetarian by replacing the chicken with crispy pan-fried tofu or tempeh. Cube the tofu/tempeh, toss with the same spices, coat with egg (or a plant-based alternative) and panko, and fry until golden and crispy.
- Sauce Swaps: While Caesar dressing is key, don’t limit yourself! Try a creamy ranch, a zesty Italian dressing, or even a spicy sriracha mayo for a completely different flavor profile.
- Extra Veggies: Boost the nutritional value and add extra freshness with thinly sliced cucumbers, diced bell peppers, cherry tomatoes, or shredded carrots to your Caesar salad mixture. Just be mindful not to add too much moisture to keep the wrap from getting soggy.
Storage Tips: Keeping Your Crispy Chicken Caesar Wraps Fresh
While these Crispy Panko Chicken Caesar Tortilla Wraps are undoubtedly at their best when enjoyed fresh and immediately after preparation, you might find yourself with leftovers or wish to prep components in advance. Here are some storage guidelines to help maintain their deliciousness:
Immediate Enjoyment is Key: The panko coating on the chicken is designed for maximum crispness, which is best experienced right off the pan. Assembled wraps, especially with the fresh salad, will inevitably soften over time. Therefore, we highly recommend eating the wraps the same day they are made for the optimal crunchy texture.
Refrigerating Leftovers (Unassembled is Best): If you do have leftover components, the best approach is to store the cooked crispy chicken tortillas separately from the Caesar salad mixture. Place the cooled chicken tortillas in an airtight container in the refrigerator for up to 2 days. Store the tossed Caesar salad (romaine, Parmesan, croutons, dressing) in a separate airtight container. When ready to eat, reheat the chicken tortilla gently in a dry skillet or an air fryer to crisp it up again, then assemble with the fresh salad. This method helps preserve the distinct textures.
Freezing is Not Recommended: Freezing these wraps, either assembled or unassembled, is generally not recommended. The delicate panko coating will become soggy and lose its crispness upon thawing, and the fresh salad components will wilt and become watery, significantly compromising the overall quality and texture of the wrap. For the best experience, always aim to enjoy them fresh.
Frequently Asked Questions About Crispy Panko Chicken Caesar Wraps
Have some questions about making these irresistible Crispy Panko Chicken Caesar Tortilla Wraps? We’ve got answers to help you achieve perfect results every time!
Can I use regular breadcrumbs instead of panko?
Yes, you can certainly use regular breadcrumbs if panko isn’t available. However, be aware that panko breadcrumbs are specifically known for their light, airy, and extra-crunchy texture, which truly makes this recipe special. Regular breadcrumbs will still provide a crisp coating, but it might be denser and less delicate than what panko offers.
How do I keep the tortilla from getting soggy?
To prevent sogginess, there are a few key tips: ensure your panko chicken is thoroughly cooked and crispy before removing it from the pan. More importantly, only toss your Caesar salad components (romaine, dressing, croutons) right before you plan to assemble and serve the wraps. The moisture from the dressing and lettuce can quickly make the crispy chicken and tortilla soft. Eating them immediately after assembly is also crucial for maintaining crispness.
Can I bake the wraps instead of pan-frying?
Absolutely! Baking is a great alternative if you prefer not to pan-fry or want to cook a larger batch at once. Preheat your oven to 400°F (200°C). Lightly brush the panko-coated chicken side of the tortillas with a little olive oil. Bake for 12-15 minutes, or until the chicken is cooked through and the panko is golden brown and crispy. Keep an eye on them to prevent burning.
Can I add more vegetables to the wrap?
Yes, incorporating more vegetables is a fantastic idea to boost freshness and nutrition! Thinly sliced cucumbers, finely diced red bell peppers, or quartered cherry tomatoes can all add a wonderful crunch and vibrant flavor without overpowering the classic Caesar taste. Just remember to slice or dice them finely so they don’t make the wrap too bulky or difficult to fold.
Can I prepare any components ahead of time?
You can definitely prep some elements in advance. You can mix the ground chicken with the spices and store it covered in the refrigerator for up to 24 hours. The romaine lettuce can be washed and chopped ahead of time, but store it separately from the dressing and croutons. Assemble the entire wrap just before you’re ready to eat to ensure the best texture and flavor.
Explore More Irresistible Chicken Recipes
If you’ve loved this innovative chicken recipe and are on the hunt for more exciting ways to prepare poultry, we’ve got you covered! Chicken is a versatile protein that lends itself to countless delicious dishes. Discover your next favorite meal from our curated selection of top-notch chicken recipes, perfect for any occasion:
Easy Oven Fried Chicken
Cheddar Cheese Herb Chicken
Easy Shawarma Chicken Sheet Pan Dinner
Slow Cooker Honey Garlic Chicken Thighs
Chicken Caesar Wrap Recipe
Ingredients
- 1 pound ground chicken
- 1 teaspoon garlic powder
- 1 teaspoon onion powder
- 1 teaspoon smoked paprika
- 1 teaspoon salt
- ½ teaspoon black pepper
- 4 large flour tortillas
- 1 large egg beaten
- 1 cup panko breadcrumbs
- 2 Tablespoons olive oil for frying
- 1 Caesar salad kit romaine, dressing, parmesan, croutons
Instructions
Season the chicken:
-
Mix ground chicken with garlic powder, onion powder, paprika, salt, and pepper until evenly combined.1 pound ground chicken,
1 teaspoon garlic powder,
1 teaspoon onion powder,
1 teaspoon smoked paprika,
1 teaspoon salt,
½ teaspoon black pepper
Assemble tortillas with chicken:
-
Spread a thin layer of the seasoned ground chicken onto one side of each tortilla, pressing it down so it sticks well.4 large flour tortillas
-
Brush the chicken layer lightly with beaten egg.1 large egg
-
Sprinkle and press panko breadcrumbs on top so it fully coats the chicken.1 cup panko breadcrumbs
Fry:
-
Heat olive oil in a skillet over medium heat.2 Tablespoons olive oil
-
Place tortilla chicken-side down and cook for 4–5 minutes until golden brown and crispy.
-
Flip and warm the tortilla side for 1–2 minutes. Remove and set aside.
Add Caesar salad:
-
Prepare the Caesar salad kit (toss lettuce, dressing, parmesan, and croutons).1 Caesar salad kit
-
Place some salad on top of the chicken side of each tortilla.
Fold & serve:
-
Fold like a taco or wrap, and serve immediately while warm and crunchy.
Equipment
Nutrition
Calories: 574kcal |
Carbohydrates: 34g |
Protein: 24g |
Fat: 38g |
Saturated Fat: 7g |
Polyunsaturated Fat: 13g |
Monounsaturated Fat: 14g |
Trans Fat: 0.1g |
Cholesterol: 169mg |
Sodium: 1199mg |
Potassium: 648mg |
Fiber: 2g |
Sugar: 1g |
Vitamin A: 325IU |
Vitamin C: 0.2mg |
Calcium: 35mg |
Iron: 2mg
Nutrition information is automatically calculated, so should only be used as an approximation.
Like this recipe?
Please leave a comment!